Search models, users, collections, and posts

Baseball | lamp
IP Report
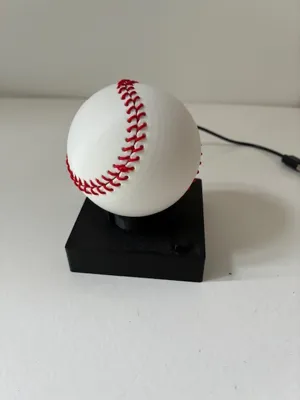
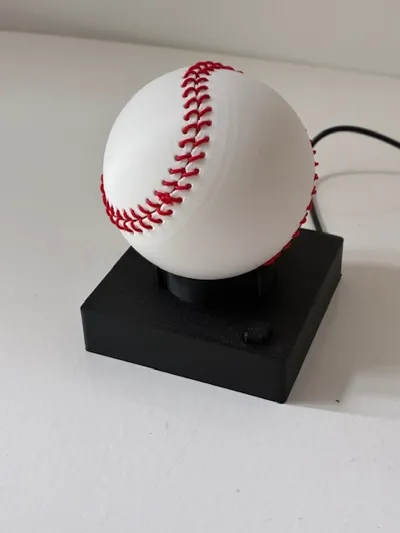
Print Profile(1)

0.2mm layer, 2 walls, 15% infill
Designer
3.2 h
5 plates
Open in Bambu Studio
Boost
92
232
4
2
119
37
Released
Bill of Materials
Maker's Supply Kits and Parts
Select all


Description
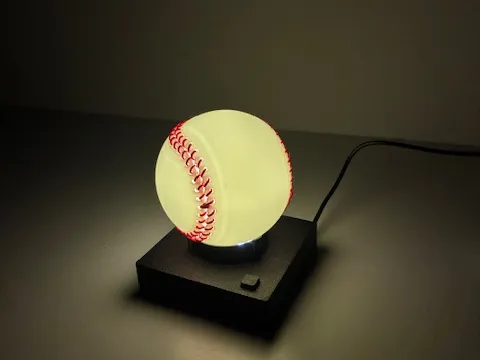
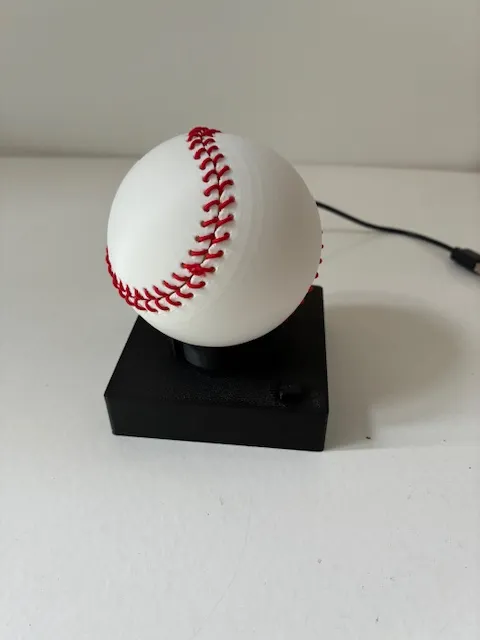
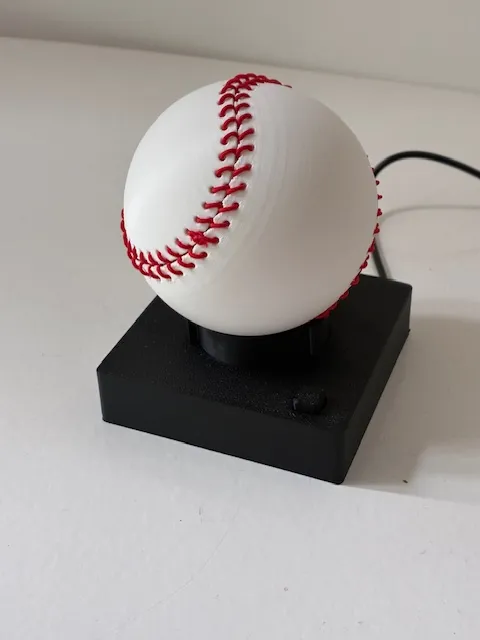
⚾️ Real Life-Sized Baseball Lamp Design
🎁 Ideal Gift For:
- Kids and teens passionate about baseball
- Sports-themed bedrooms or desks
- Fans looking for a fun, functional decor piece
🏗️ 3D Printed Parts
- Baseball Sphere (2 Halves)
- Modeled as a true-to-life baseball (approx. 75 mm diameter)
- Holes for red “stitching” (simulated using thread or red wire)
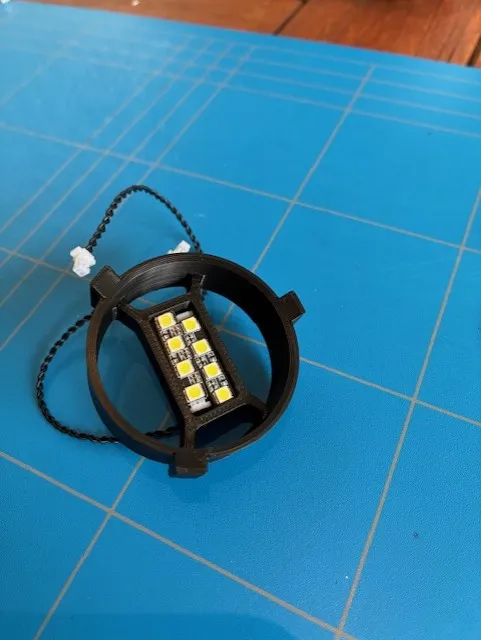
- Baseball Holder
- Cradle shape with a socket for LED strips
- Integrated channel for wire routing
- Lamp Case
- Box-style casing that fits the holder inside
- Screw holes for securing electronics
- Closing Lid (Snap Fit)
- Designed to cleanly snap onto the bottom of the case
🛠️ Assembly Instructions
Step 1: Print & Prepare the Baseball Sphere
- Print both halves of the baseball using white PLA
- Use red thread, red wire, elastic band to lace through pre-made holes for realistic stitching
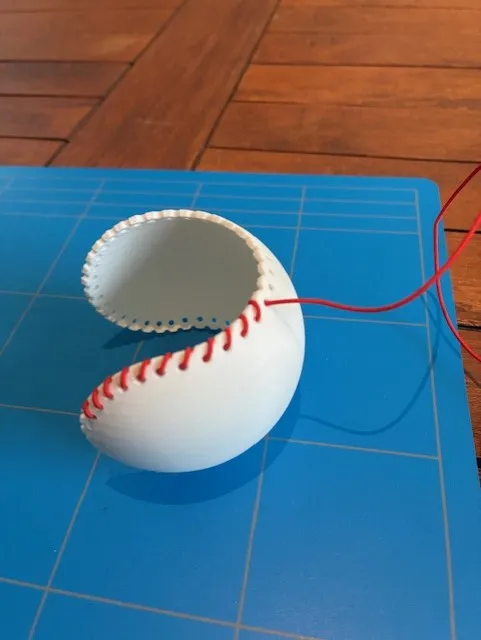
Step 2: Print Holder and Install LEDs
- Print the baseball holder (PLA in color of choice)
- Insert and secure 2 LED strips in the designated channels
- Test the lights to ensure wiring is correct
Step 3: Print the Case & Mount Holder
- Print the case and the snap-fit closing lid
- Install the baseball holder securely inside the case
- Ensure LED wires are routed cleanly to the electronics compartment
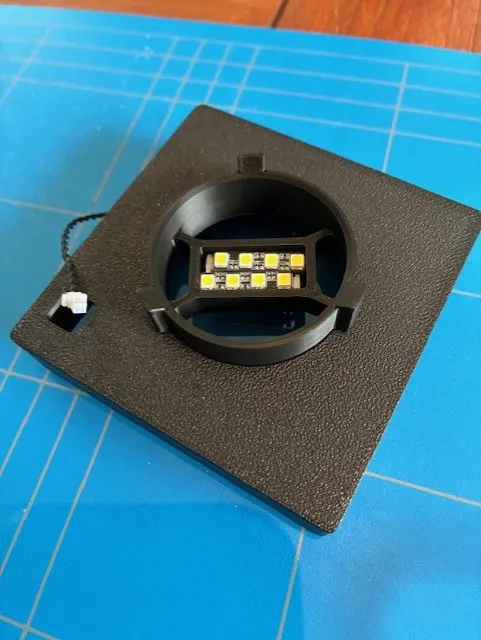
Step 4: Install Electronics
- Use 2mm screws to mount the Power Board and the button
- Connect wires (see picture below)
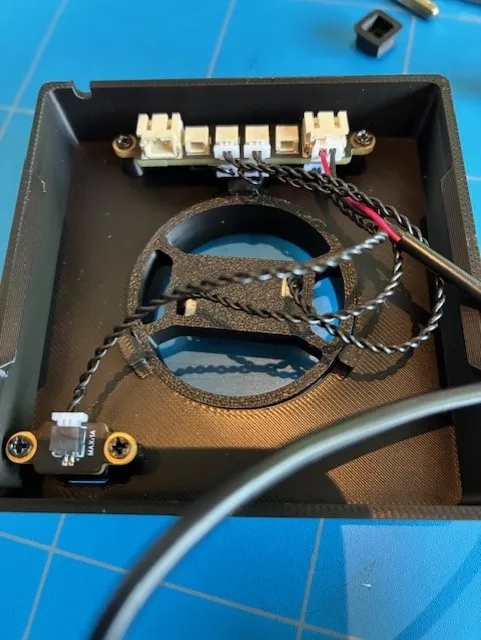
- Test before final closing
Step 5: Close the Lid
Snap the lid in place using the integrated clips
All electronic components are from bambu makers' lab. See bill of materials below.
Boost Me (for free)
Boost the model if you like it. It's free but means a lot!
License

This user content is licensed under a
Creative Commons Attribution-Noncommercial


Comment & Rating (4)