
SKÅDIS Mount for IKEA ÂSKVÄDER Power Strip

Print Profile(2)


Description
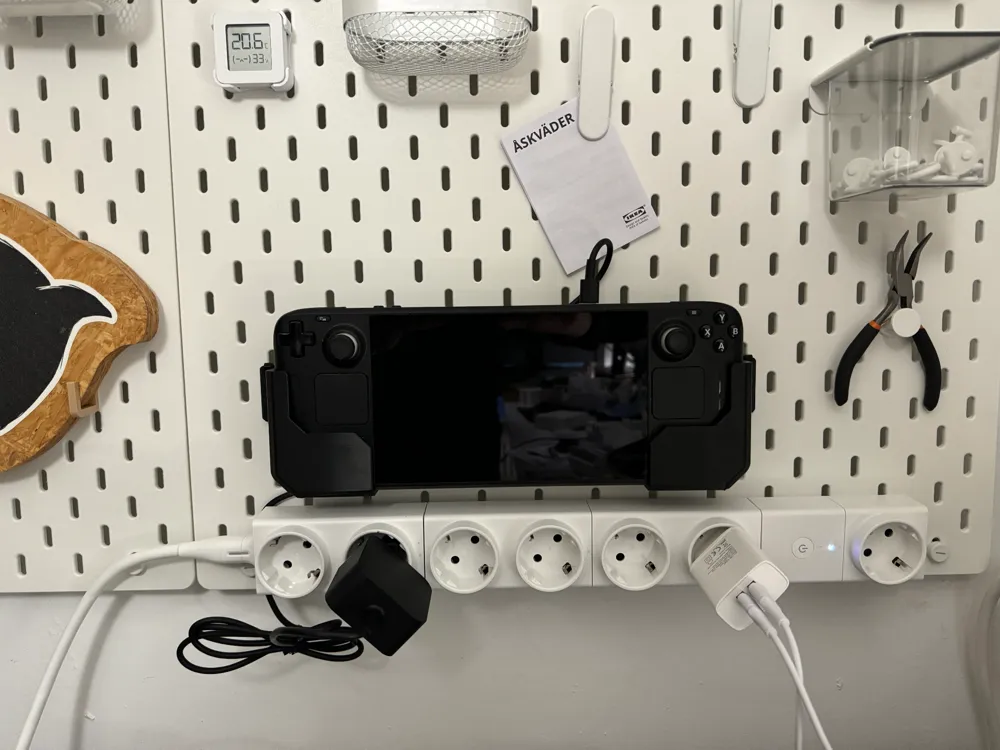
I recently installed some IKEA SKÅDIS in my office to hang devices and clean up the soldering corner. However charging means I would need power and I also wanted to have a smart home controlled socket there. IKEA's ÂSKVÄDER is perfect for that, but there was no mount available for the SKÅDIS, so I made some.
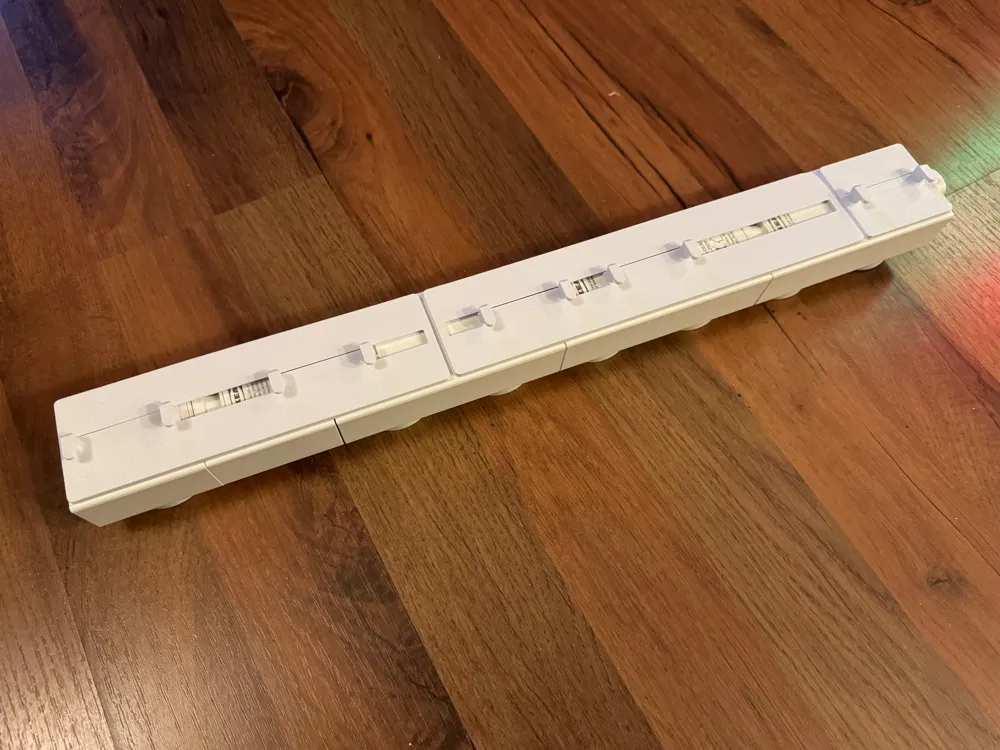
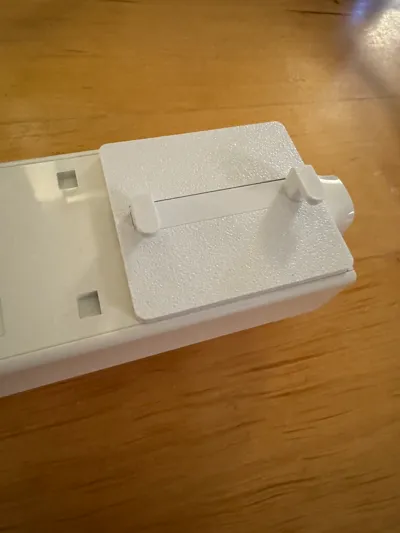
There are mounts for a single socket or 2, 3, 4 sockets. They can be one socket of 2 or a mix connected together. The mounts are a snap fit into the back of the ÂSKVÄDER (remove the purple rubber squares). You will need to apply some pressure to get them in. There are holes on the sides to place a spudger to get them off.
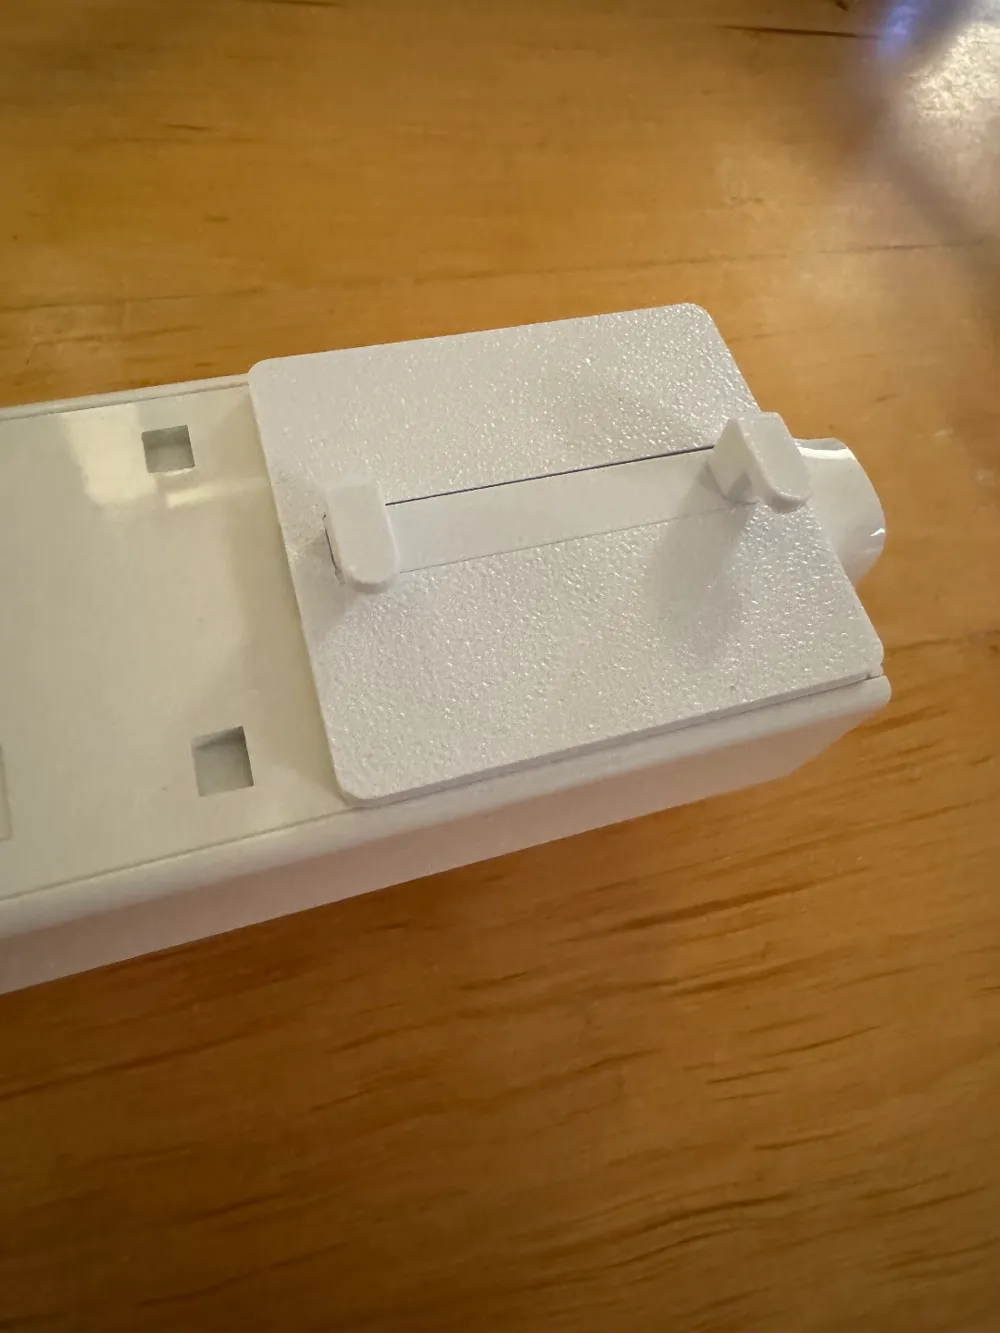
The pegs slide into a mount using a dovetail, this to make the system flexible in placement and not require a big amount of supports.
Printing
Use PLA or PETG and don't use too much infill or wall loops. The parts needs to be somewhat flexible. The Bambu Lab 0.2 Standard profile works great.
If you want the ÂSKVÄDER to slide left/right you can use just the 2-3-4 socket version, if you want the ÂSKVÄDER to stay in place I recommend to always print the single socket version and fill the rest with 2-3-4 socket versions. For the 3 and 4 sockets versions I would recommend multiple pegs, just make sure to not fill the entire space with pegs or it won't fit.
The pegs should be flat side on the plate and have build plate only supports for the stickout part.
Assembly
Place the pegs in the slot on the mount with the pegs sticking out of the flat side. For the 3 and 4 sockets versions I recommend using more than 1 peg, measure on the SKADIS where you want to place them to see how many pegs you need, there needs to be a large gap between each set of pegs
Possible Complaint: The mounts are hard to get in/out
This is on purpose, I would rather have the 3D printed part break, than to have the power strip come of the wall every time I unplug something.
License



Comment & Rating (15)