
VL53L0X water level sensor
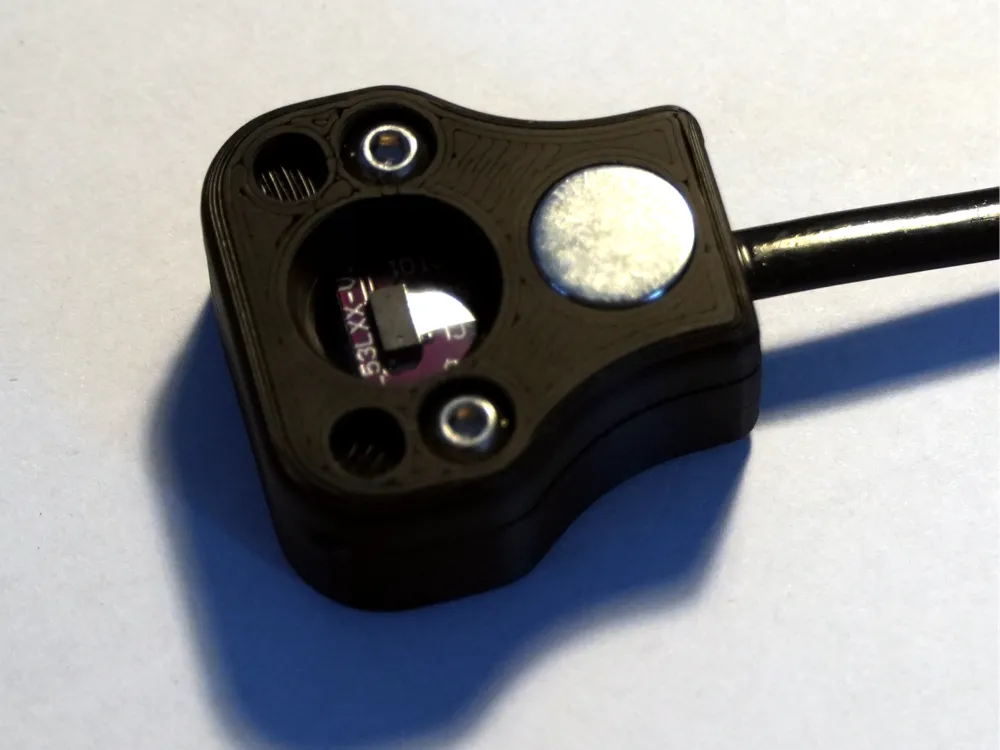
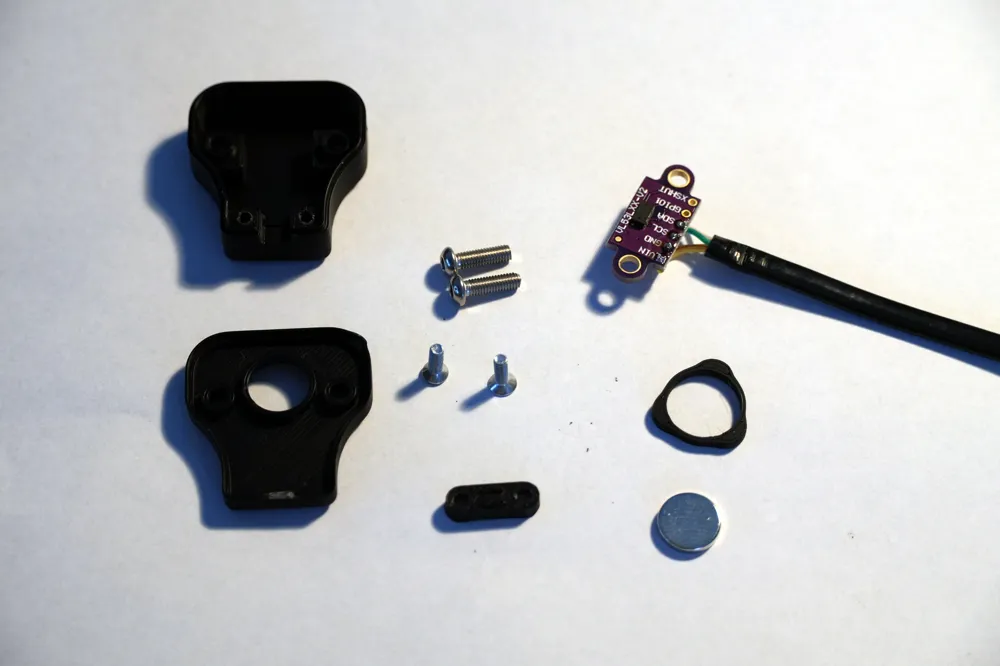
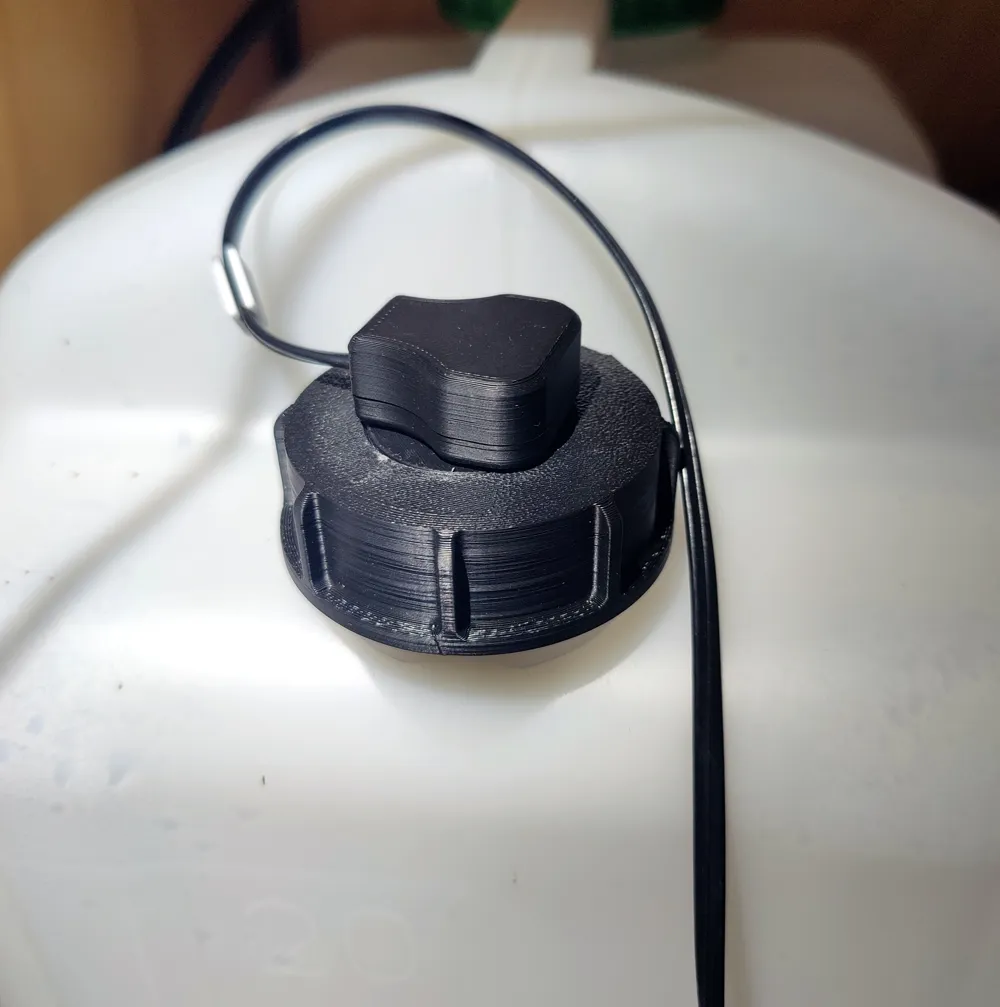
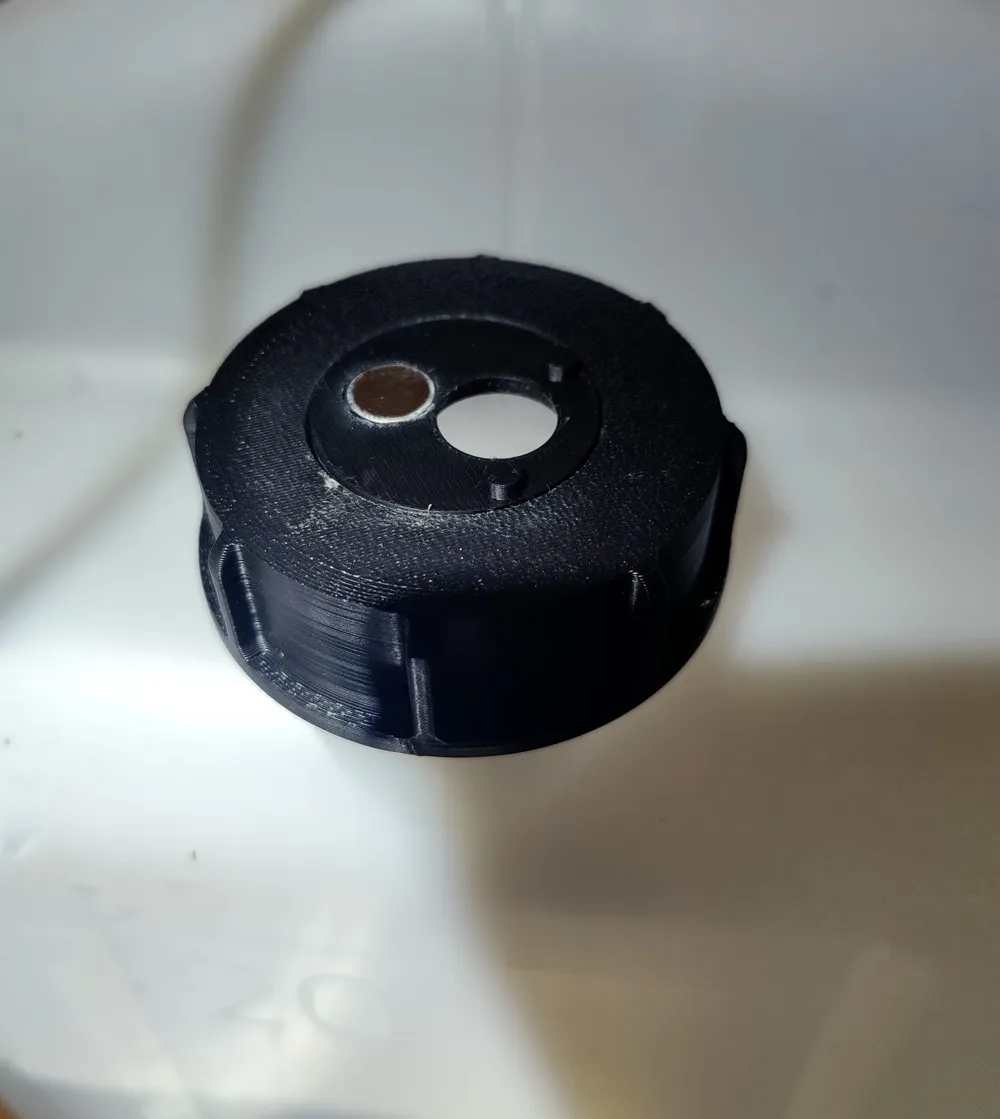
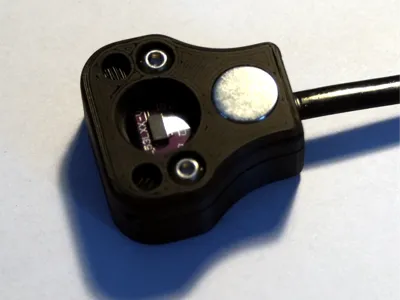
Print Profile(1)

Bill of Materials


- ribbon cable 4 pol. x 1: or similar
- Piece of cling film x 1:
- VL53L0X ToF Sensor Breadboard x 1: https://www.amazon.de/AZDelivery-VL53L0X-Flight-kompatibel-Arduino/dp/B086TSKJBT/ref=sr_1_5?crid=2HPGU8ZPUO55&dib=eyJ2IjoiMSJ9.hcYdlL3FZ2usysmt9Pn9g7ydurusmLe7Jhvf7KyCyRV-Yq1pqs0tGwR-sqVeEBtZoRGrIVseBOQHKywCRqcE5LglvEavyAlQqRxFs05sVlFX20EUARjoq32npeRs3wAbm69nVU7bLs5hVemOFX9uORwnNXEkXI_0tF8XunPQwwSitGqyhIhf2fMUTgd7jvEWzkkVAL7I0FnNgMfRcOAaU75lPKiUpvarCPdo8CK7KOg.-GGMsSLbrAMbOUj0kfHLmu4V30dwA_7QWNV15H51HWk&dib_tag=se&keywords=vl53l0x&qid=1749408002&sprefix=vl53%2Caps%2C113&sr=8-5&th=1
Description
This model was created by me.
The sensor is designed to detect the water level in a 5L canister, which presented several challenges:
- Condensation can damage the sensor.
- No holes should have to be drilled into the canister.
- The sensor should be quickly removable to empty and refill the canister.
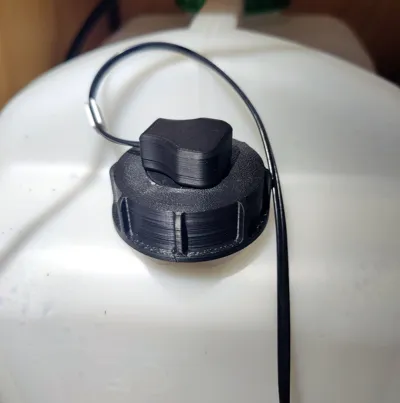
The caps were not created by me; I only edited the STLs in the slicer to allow my adapters to be added.
The models originate from:
- DIN51: Basierend auf einem Modell von florin2468, lizenziert unter CC BY 4.0. Quelle: https://www.thingiverse.com/thing:3488069. Änderungen wurden vorgenommen
- DIN45: Modell ursprünglich von mycroft, veröffentlicht unter CC BY 4.0. Quelle: https://www.printables.com/model/813599. Es wurden Änderungen vorgenommen.
Thanks very much for uploading these high-quality models.
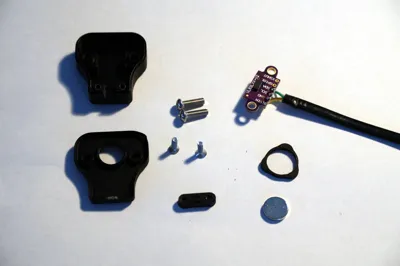
Bill of Materials:
- 1x VL53L0X (https://www.amazon.de/dp/B086TSKJBT)
- 2x Magnets Ø10x2mm (https://eu.store.bambulab.com/de/products/round-magnet?id=49238743056732)
- 2x Button head screws M3x10 (https://eu.store.bambulab.com/de/products/m3-button-head-cap-machine-screws-bhcs?id=48671486968156)
- 2x Hex nuts M3 (https://eu.store.bambulab.com/de/products/hex-nut?id=48722463129948)
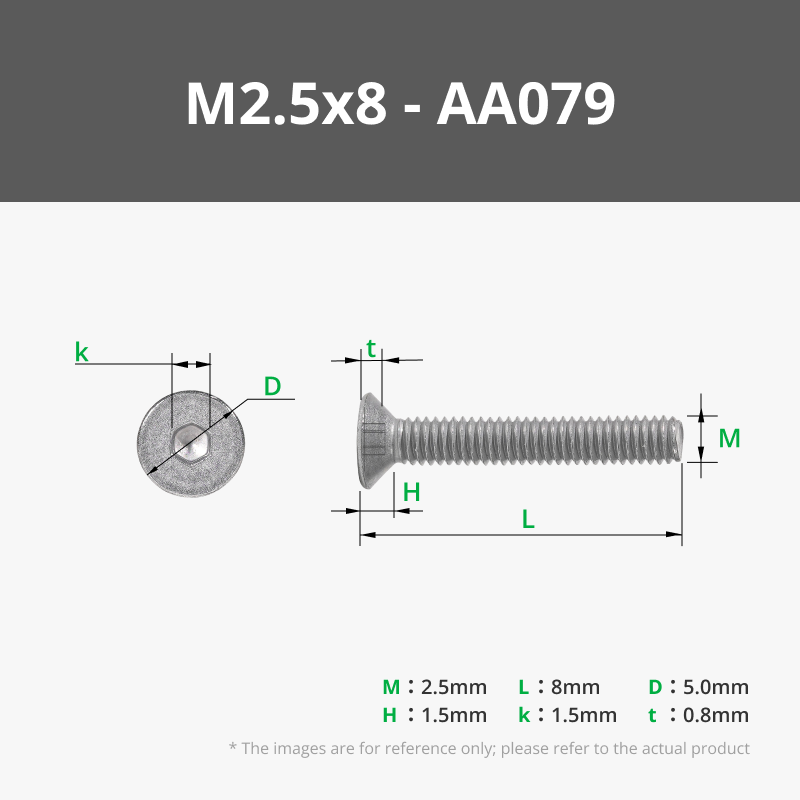
- 2x Flat head screws M2.5x8 (https://eu.store.bambulab.com/de/products/m2-5-flat-head-cap-machine-screws-fhcs-1?id=48691725107548)
- Cling film
- 4-pin ribbon cable (e.g., https://www.reichelt.de/de/de/shop/produkt/modularkabel_flach_4-polig_schwarz_25_m-12723)
Printing Instructions:
At layer #33, insert the M3 nuts into the upper part (housing1).
Assembly Instructions:
- Attach the cable and strain relief
The sensor can be temporarily fixed with M3 screws for assistance.
Mount the strain relief with M2.5x8mm flat head screws.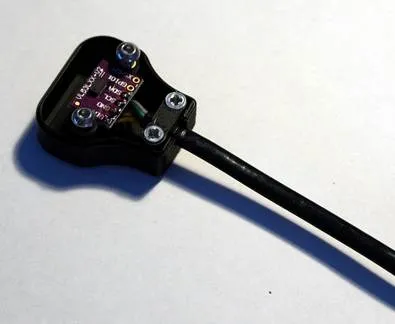
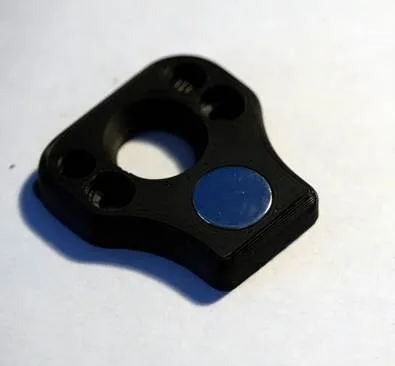
- Insert the magnets, optionally secure with a small drop of glue.
- Attach condensation protection:
a. Place a small piece of cling film over the opening.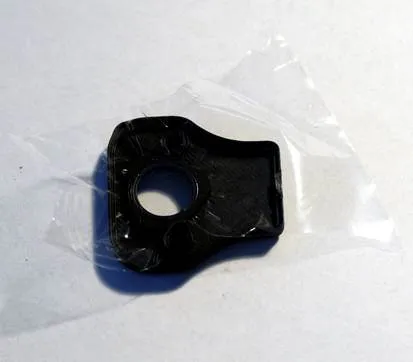
b. Position the ring over the opening and gently press it down.
c. Trim off the excess film with a sharp knife.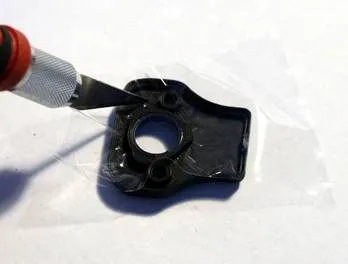
- Join upper and lower parts, secure with M3x10mm screw.
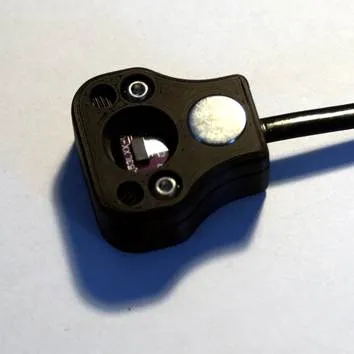
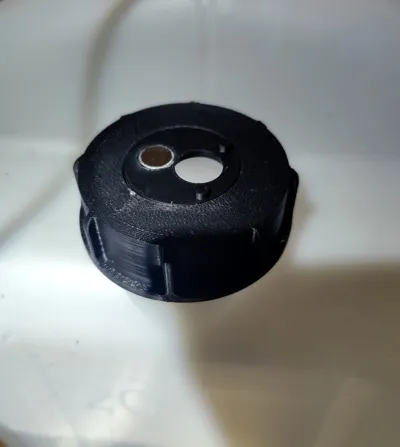
- Prepare the lid:
Insert the magnet into the adapter — be sure to observe polarity!
Insert the adapter ring into the lid, optionally secure with glue. - FINISHED 😊
If you have any suggestions for improvement, please let me know.
Now you can use the sensor in your projects – for example to measure the fill level in tanks, canisters or other containers.
License

You shall not share, sub-license, sell, rent, host, transfer, or distribute in any way the digital or 3D printed versions of this object, nor any other derivative work of this object in its digital or physical format (including - but not limited to - remixes of this object, and hosting on other digital platforms). The objects may not be used without permission in any way whatsoever in which you charge money, or collect fees.


Comment & Rating (5)