
Laboratory horizontal rotator (USB powered)
Print Profile(1)

Bill of Materials


Description
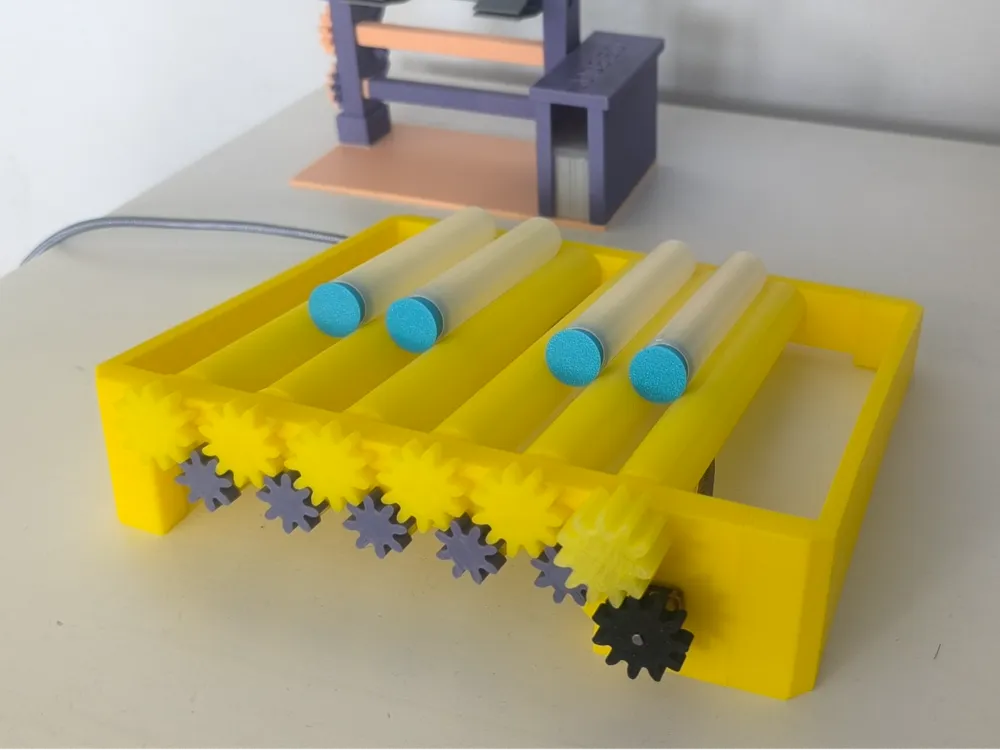
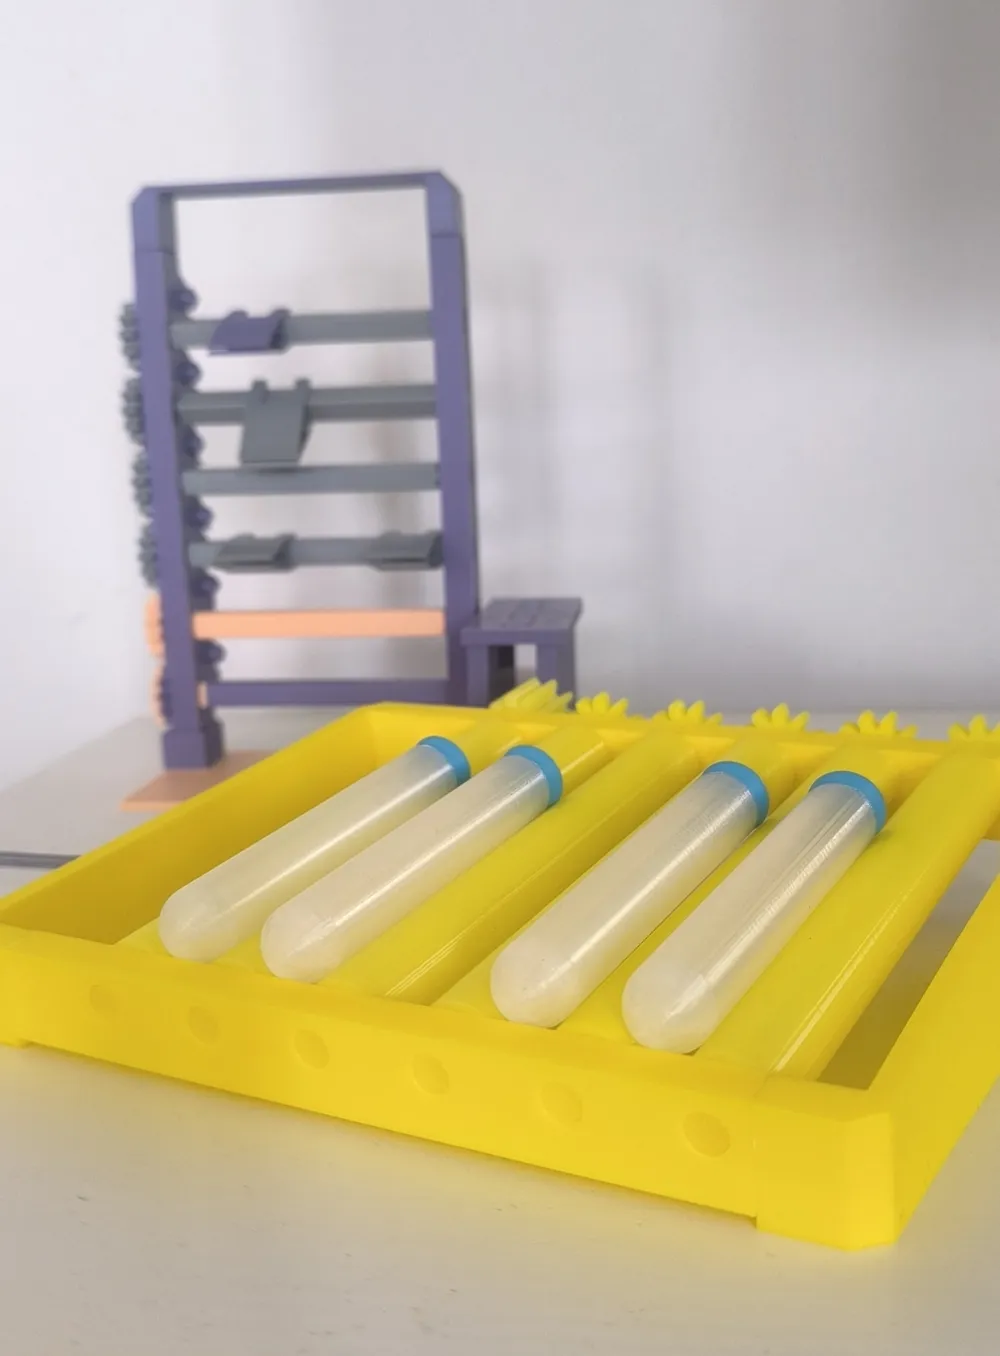
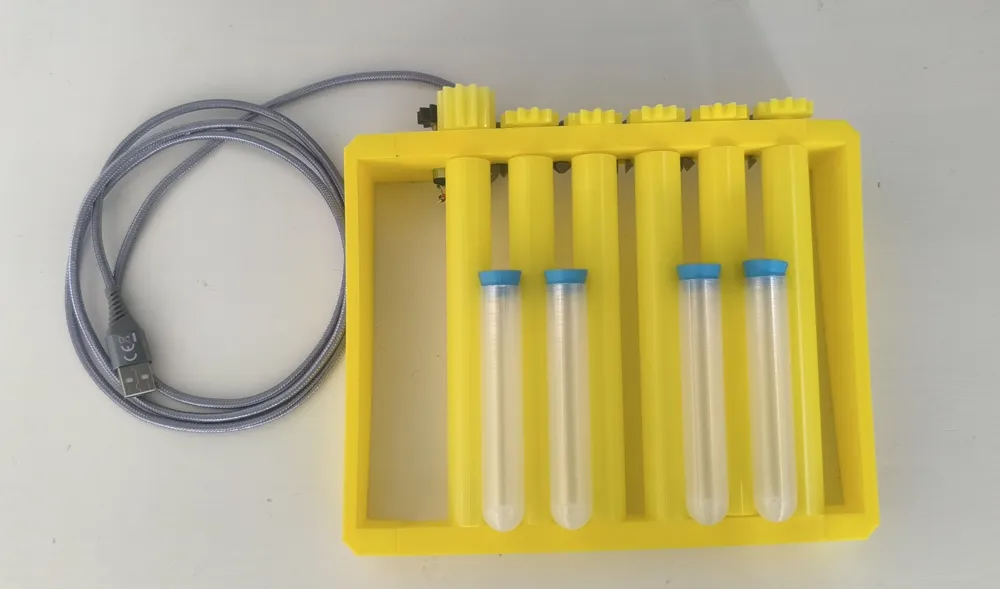
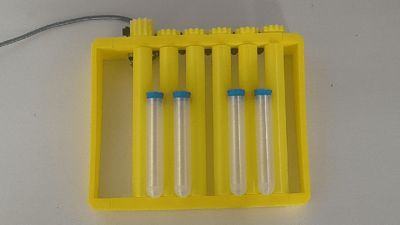
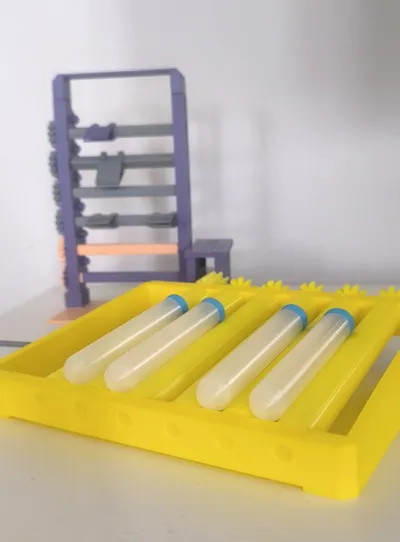
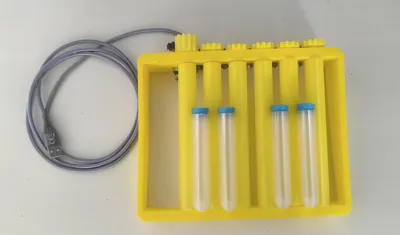
This is a compact USB-powered laboratory rotator designed for gently mixing liquid samples in test tubes.


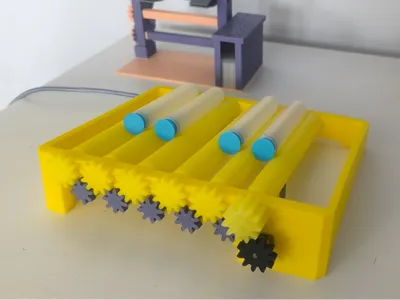
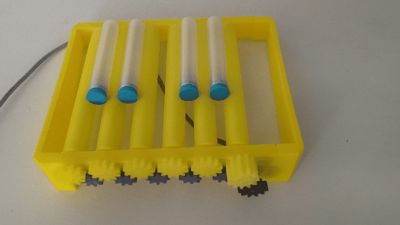
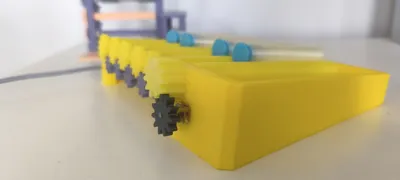
The device consists of six parallel rollers, driven in the same direction by a geared electric motor.
You simply place the test tubes between the rotating rollers, and as the rollers spin, they cause the tubes to rotate as well — ensuring smooth and consistent mixing without shaking or foaming.
Features:
- Powered via standard USB connection
- Holds five standard test tubes
- Gentle, continuous rotation
The entire rotator can be 3D printed in under 7 hours.
Its final size is approximately 20 × 18 cm, making it compact and easy to fit on any lab bench or workspace.
ASSEMBLY INSTRUCTIONS:
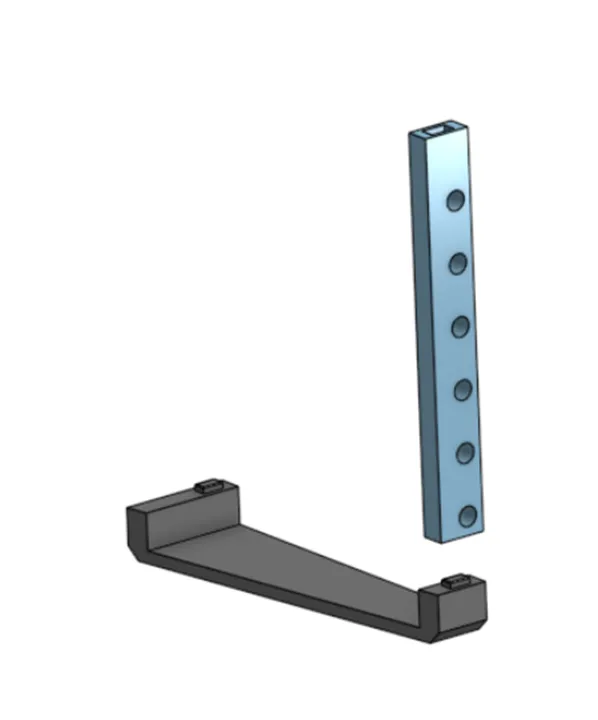
Place one of the side panels flat on the table. Apply glue and set one of the end pieces vertically onto it.
Thanks to the flat surfaces and balanced design, the end piece will stand on its own, so no clamping is necessary.
⚠️ Important: Make sure to align the end piece in the correct orientation — it can easily be glued the wrong way.
Refer to the assembly image to ensure correct alignment before gluing.
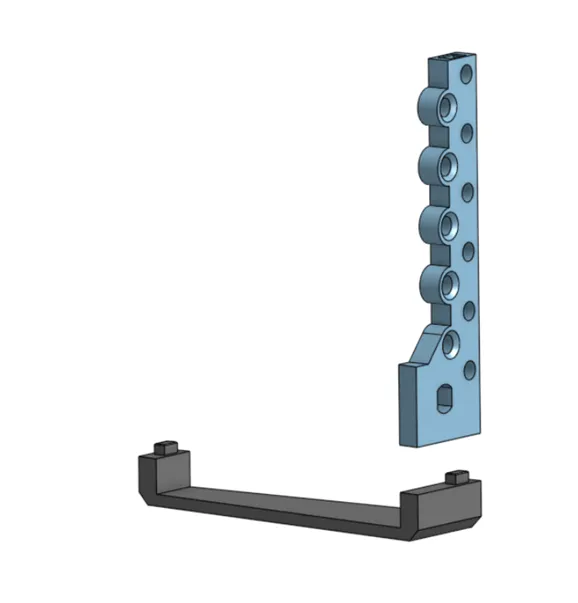
In the same way, glue the second end piece and the other side panel.
Again, make sure to check the correct orientation of the end piece using the assembly image before gluing.
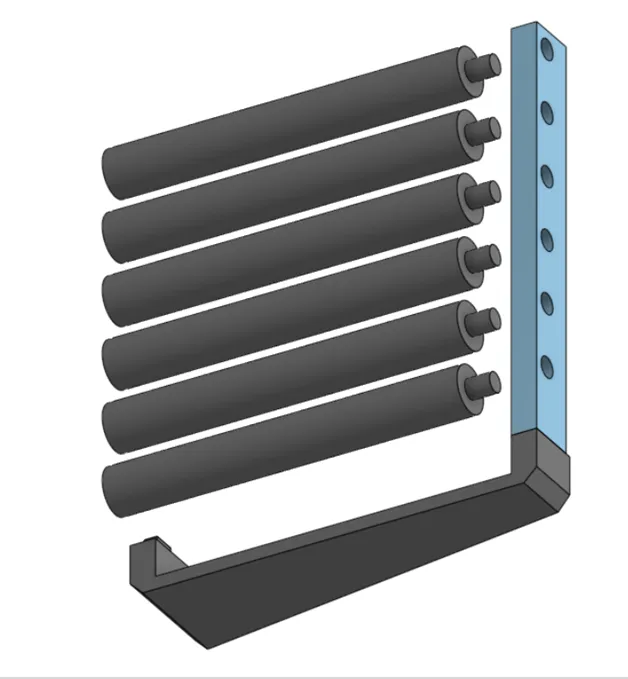
Before gluing these two parts together, insert the inner rollers — they cannot be added afterwards.
Make sure the rollers are oriented correctly before closing the assembly.
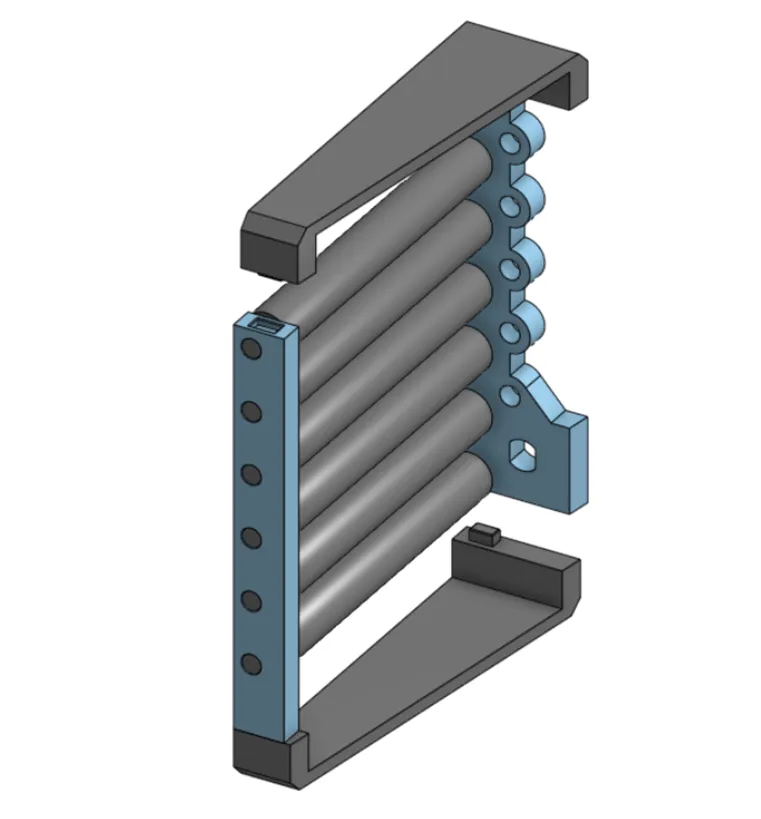
Glue the entire assembly together as shown in the image.
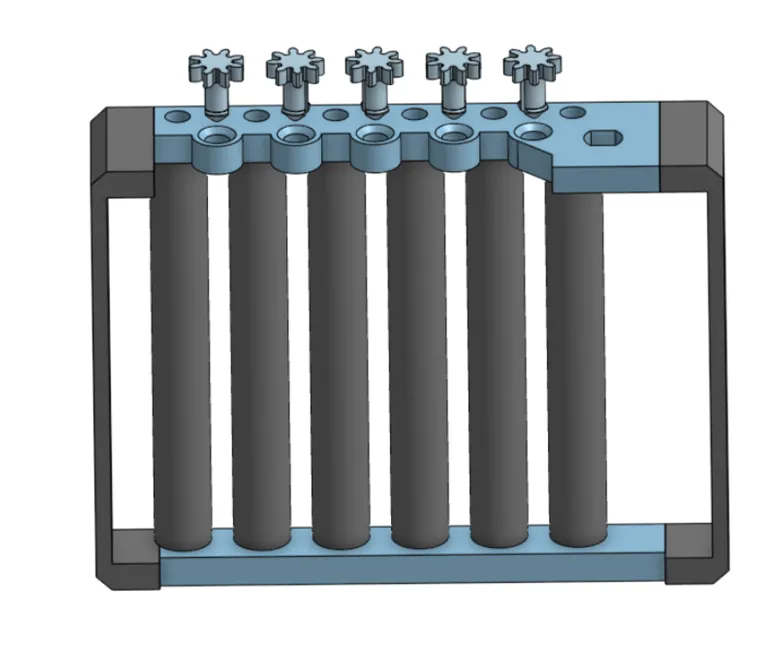
Insert the five idler gears into the mounting holes with the sloped (tapered) edges — these are designed to guide the flexible shafts into place. The gears simply snap in thanks to the springy shafts, and the locking tabs on the ends will hold them securely from behind.
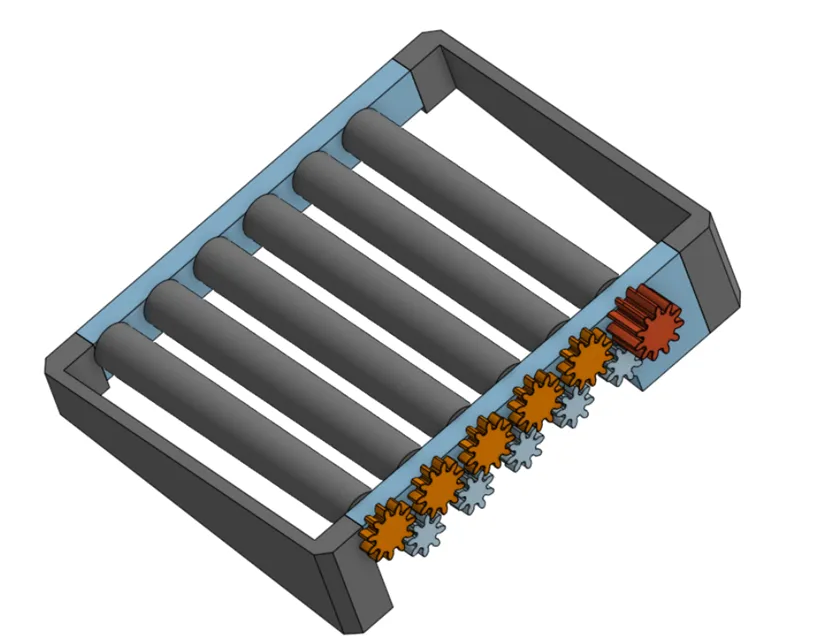
Insert the six main gears through the side frame into the rollers. Each gear fits into a cross-shaped slot on the roller to enable rotation.
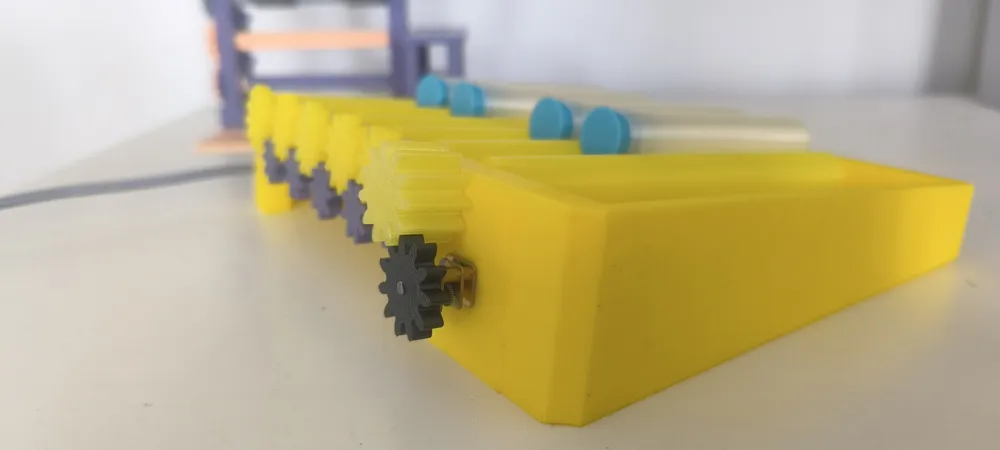
Note: Five gears are identical, but one is slightly taller. This taller gear must be used on the first roller — it aligns with the motor, which is slightly offset due to the gearbox. The taller gear ensures proper contact between the motor and the gear system.
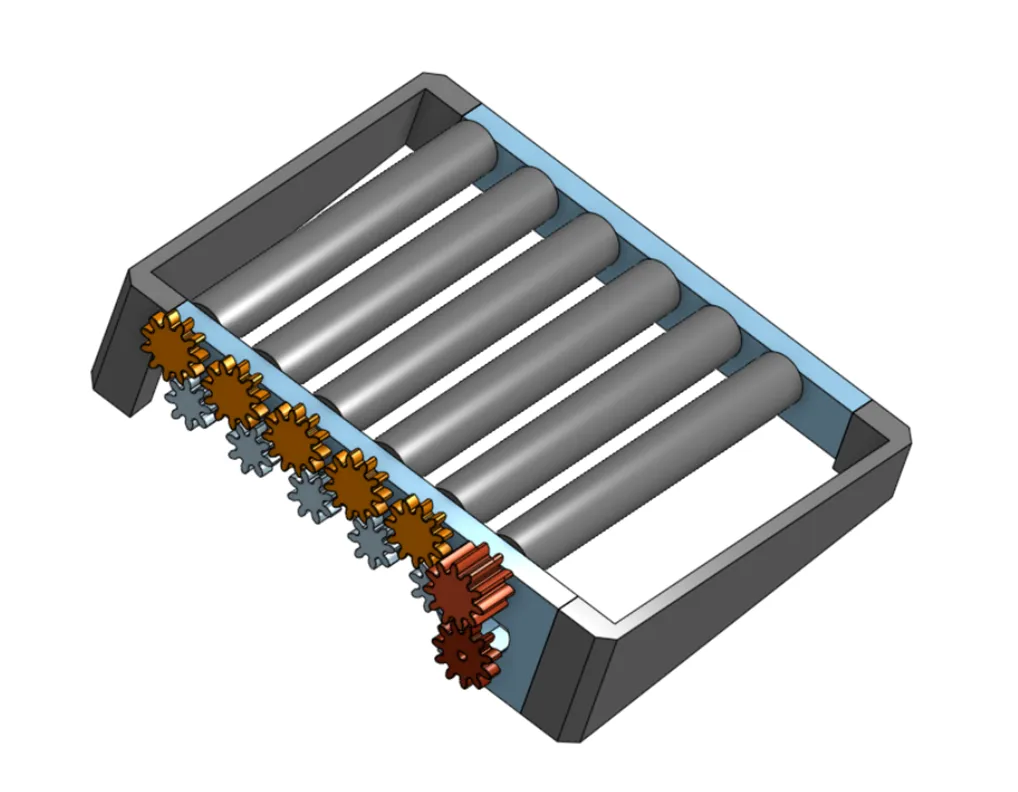
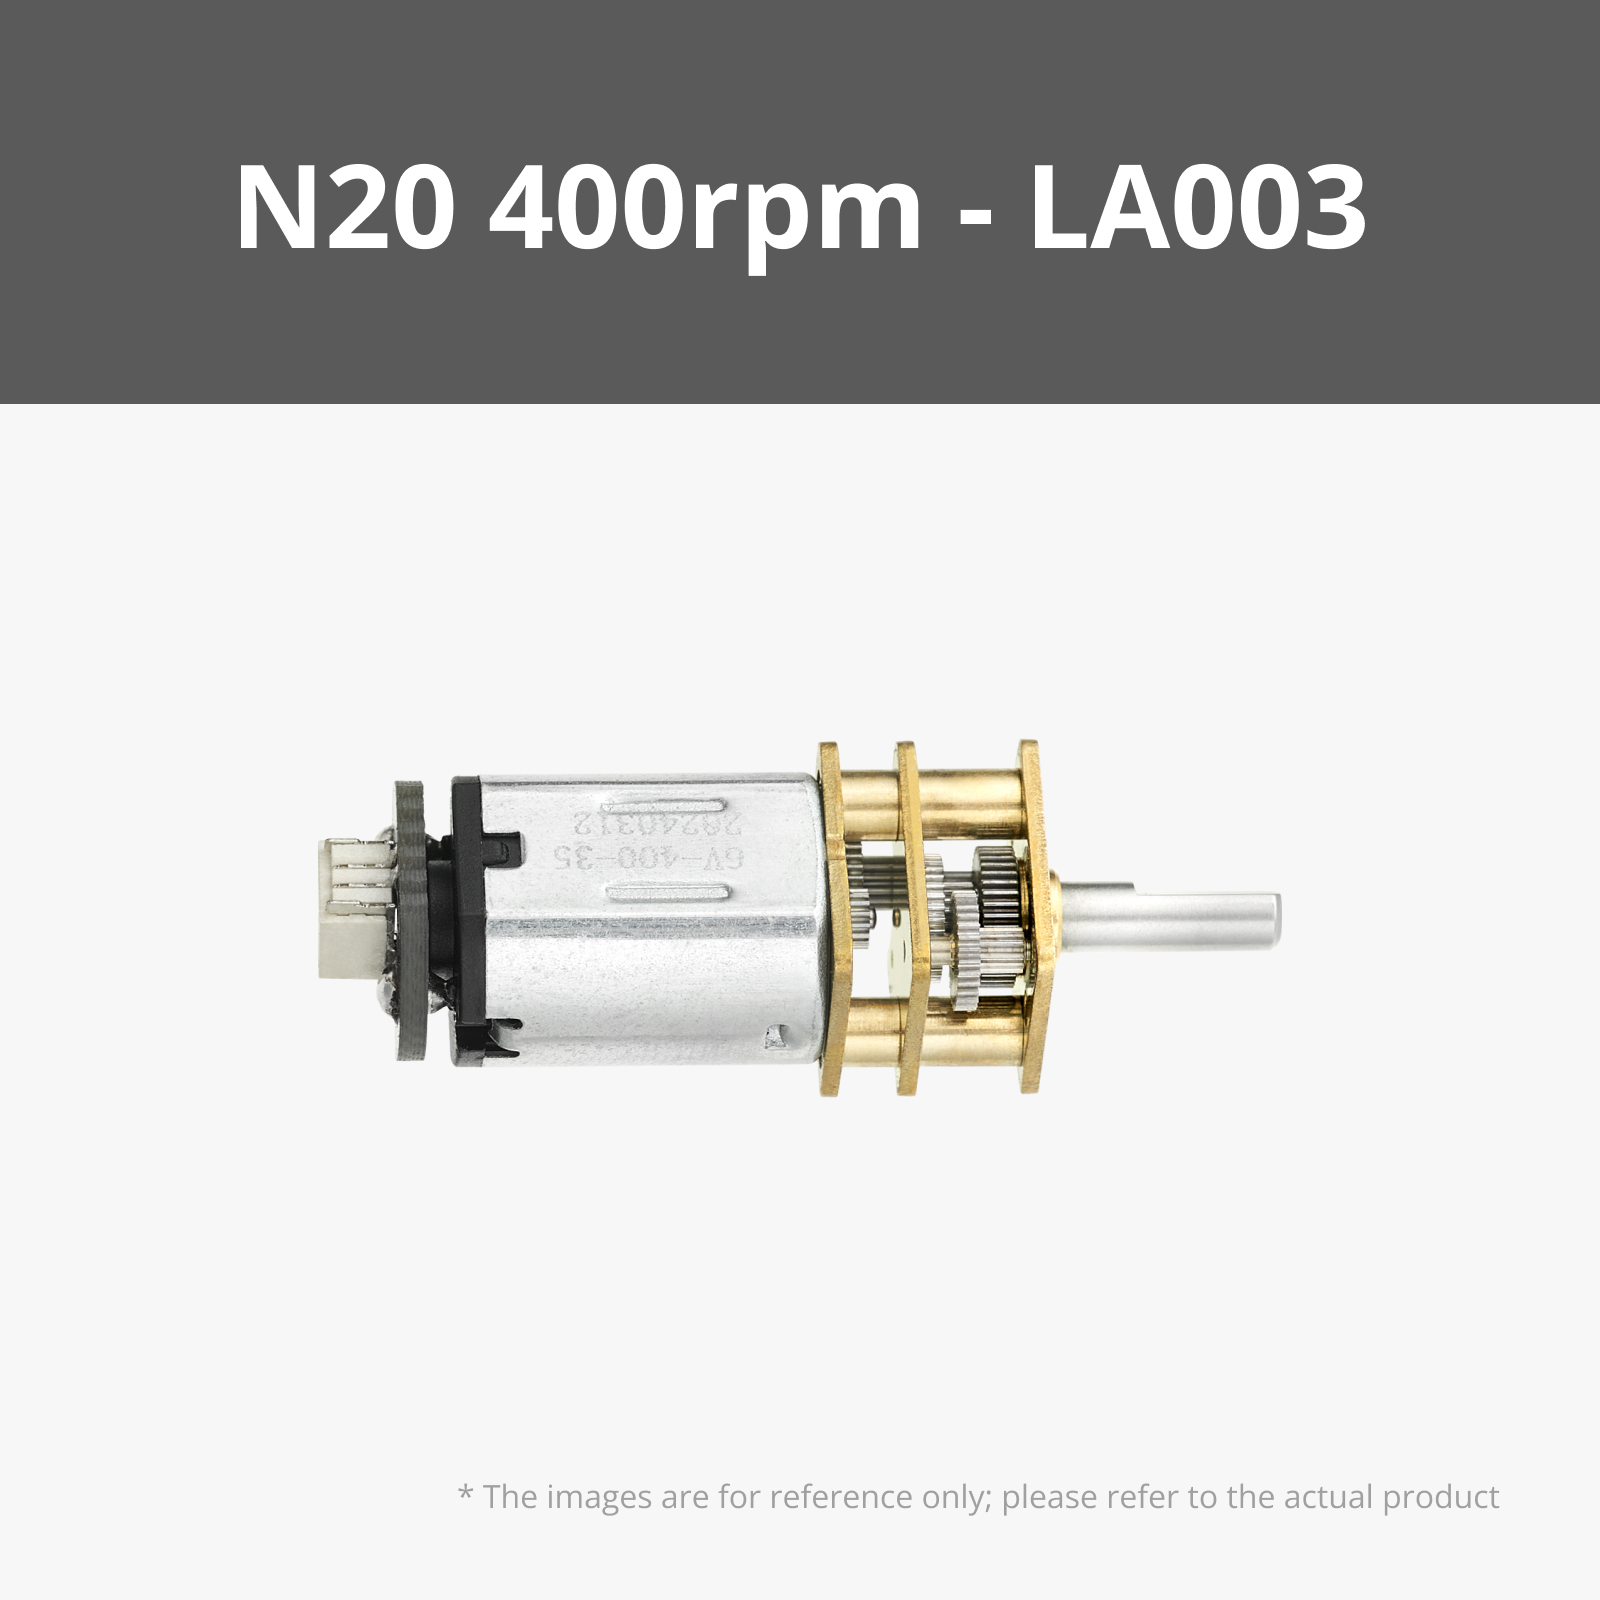
Insert the motor so that the gearbox faces outward from the frame.
Place the provided gear onto the motor shaft — it is shaped to fit the shaft and must be aligned correctly to engage with the first (taller) gear.
A link to the recommended motor is provided below.
To power the device via USB or battery, solder the appropriate cable to the motor terminals according to your chosen power source.
We recommend using the 150 RPM motor for this rotator. The 150 RPM motor ensures gentle and effective mixing of your samples without being too fast. Faster options like 400 or 1000 RPM are available, but may be too intense for many typical laboratory applications.
License

You shall not share, sub-license, sell, rent, host, transfer, or distribute in any way the digital or 3D printed versions of this object, nor any other derivative work of this object in its digital or physical format (including - but not limited to - remixes of this object, and hosting on other digital platforms). The objects may not be used without permission in any way whatsoever in which you charge money, or collect fees.


Comment & Rating (10)