Carbon Tube Brace


Print Profile(3)


Description
Boost Me (for free)
OPEN SOURCE (FOSSCAD)
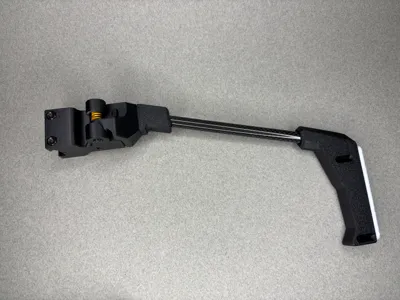
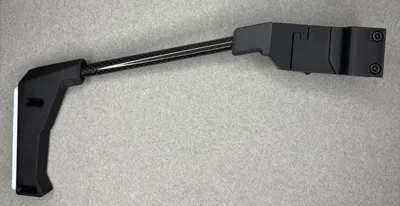
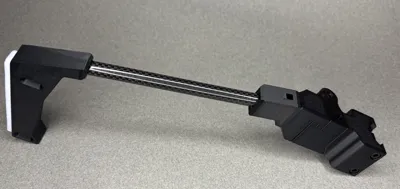
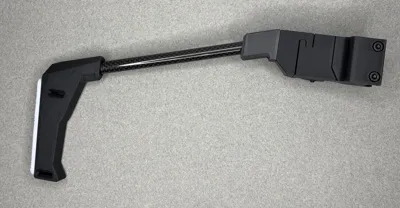
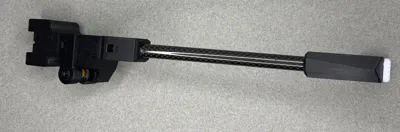
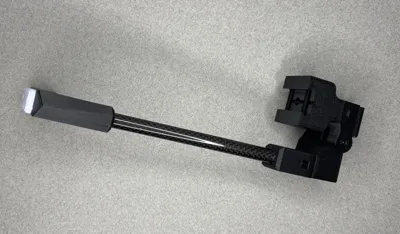
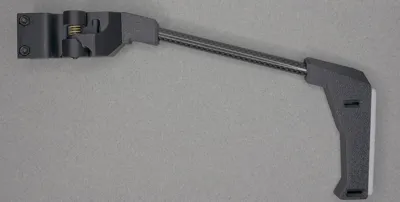
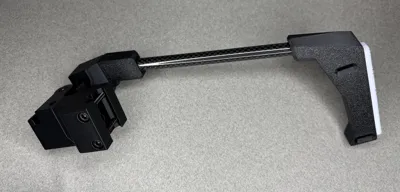
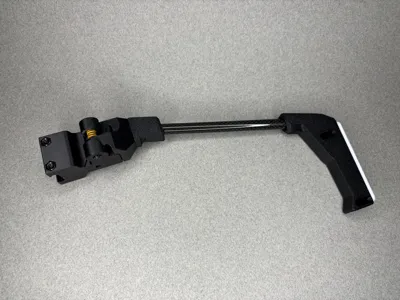
This is yet another version of my pistol brace design. This version incorporates a carbon fiber tube as the main body, this allows for custom
lengths easily by cutting your tube shorter or longer. This version also gets rid of the Brass heat stakes and replaces them all with nuts.
BOM
Two Part Epoxy Preferrably clear epoxy
10mm OD CFT Cut to your custom length (Anything else that is 10mm OD will work too)
2 M3 Hex Nuts Nylock or standard is fine ( For FIXED brace only need 2) (FOLDING with Hinge V2 will need 4)
2 M3x12 SHCS ( For FIXED brace only need 2) (FOLDING with Hinge V2 will need 4) The M3x8 is obsolete with this new system.
2 M3 Brass inserts If you are doing the Rear Pad
2 M3x6 BHCS If you are doing the Rear Pad
Flat surface IE granite counter, or someplace relatively flat lay down some paper or something so you don't epoxy your counter.
Cruddy rag
ASSEMBLY
Print the parts
Cut your tube, I used a dremel with a diamond wheel, I'm sure there are easier ways, like a hacksaw, but I'm using what I have.
Do a dry fit check before mixing your epoxy, ensure everything seats in nicely, grind any burs ECT.
Sand the ends of the CFT and inside the holes on the part.
Mix your epoxy, take your time with this step and ensure you mix the ratio correctly or it will not cure.
I made the mistake of using a Q tip and i think it was absorbing one of the chemicals more than the other and kept throwing off the ratio.
Use a popsicle stick or some plastic stirring device, maybe even print one.
Make sure you mix a decent little amount.
Be generous with the epoxy and coat the inside of the holes on the printed part. Its okay if some comes out when assembling.
Press the two printed parts on to the ends and ensure they are seated all the way in.
Use your rag to wipe the excess epoxy off the part before it cures.
Use your protected flat surface, lay the brace down, and press evenly on both parts, the flat surface will determine if your brace ends up wonky.
If you have a something flat you can set it on top of the brace and add weight. Not really necessary, but if you're a perfectionist.
Wait at least like one hour before lifting up the brace, I know the epoxy says 5 minute cure, its BS.
If after an hour goes by and you pick up the brace and the parts are not welded to the CFT then your epoxy ratio got messed up.
If this is the case you need to thoroughly clean the CFT and the insides of your parts with IPA, if you dont and you go to try to epoxy it again, the residual amounts WILL throw off your epoxy ratio.
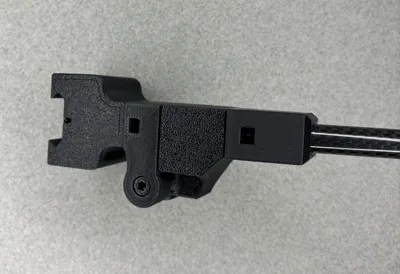
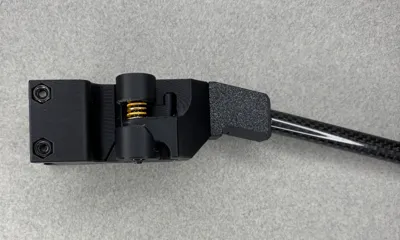
After the parts are cured to the tube, slide in your two M3 Hex nuts into the slots and attach either the Picatinny Mount, or the Hinge to them with your M3x12 SHCS.
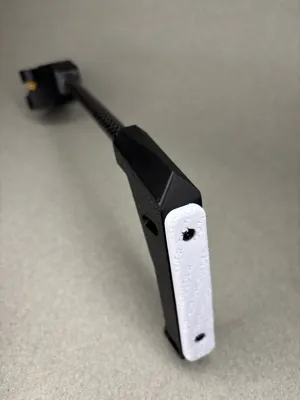
If you're doing the Rear Pad you will still need to do the two brass heat stakes in the rear of the brace and use the two M3x6 screws.
Comment & Rating (13)