
T10 Bulb Holder - MH001 Replacement
Print Profile(2)


Description
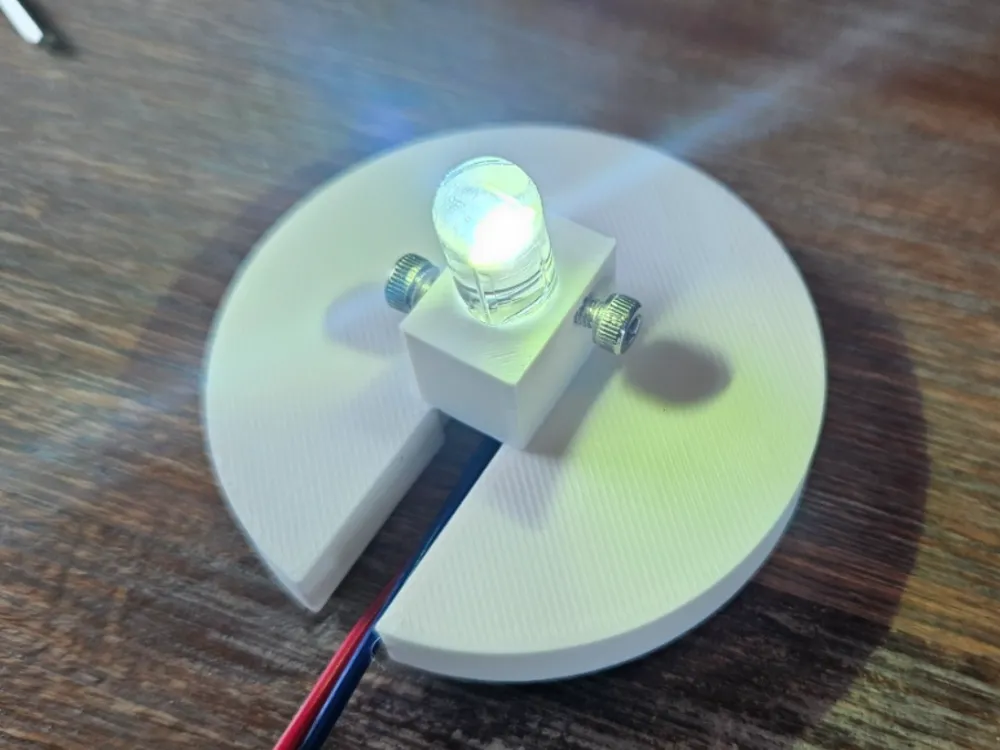
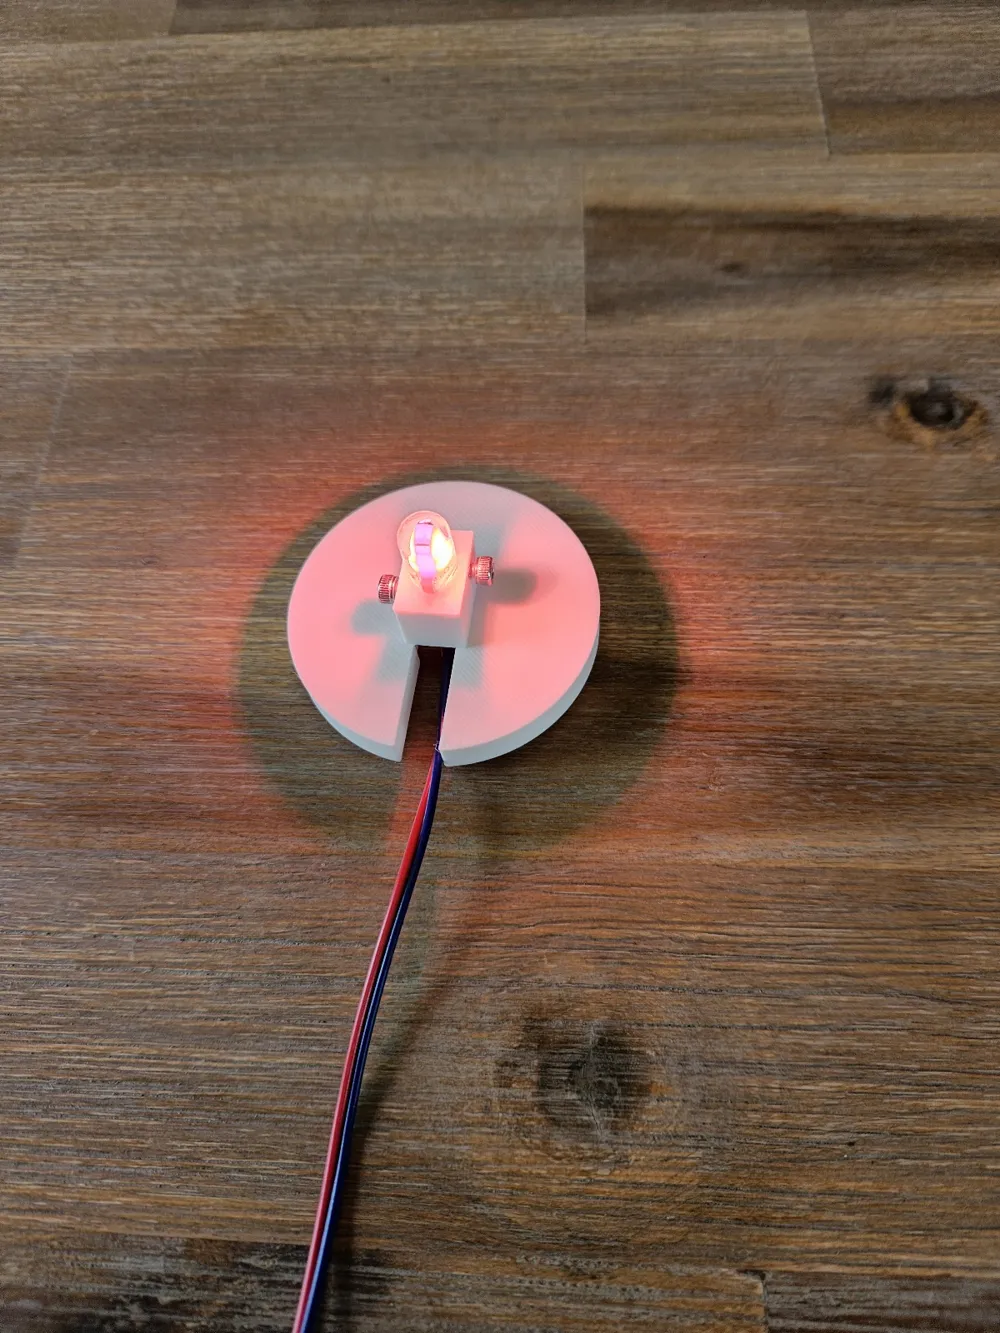
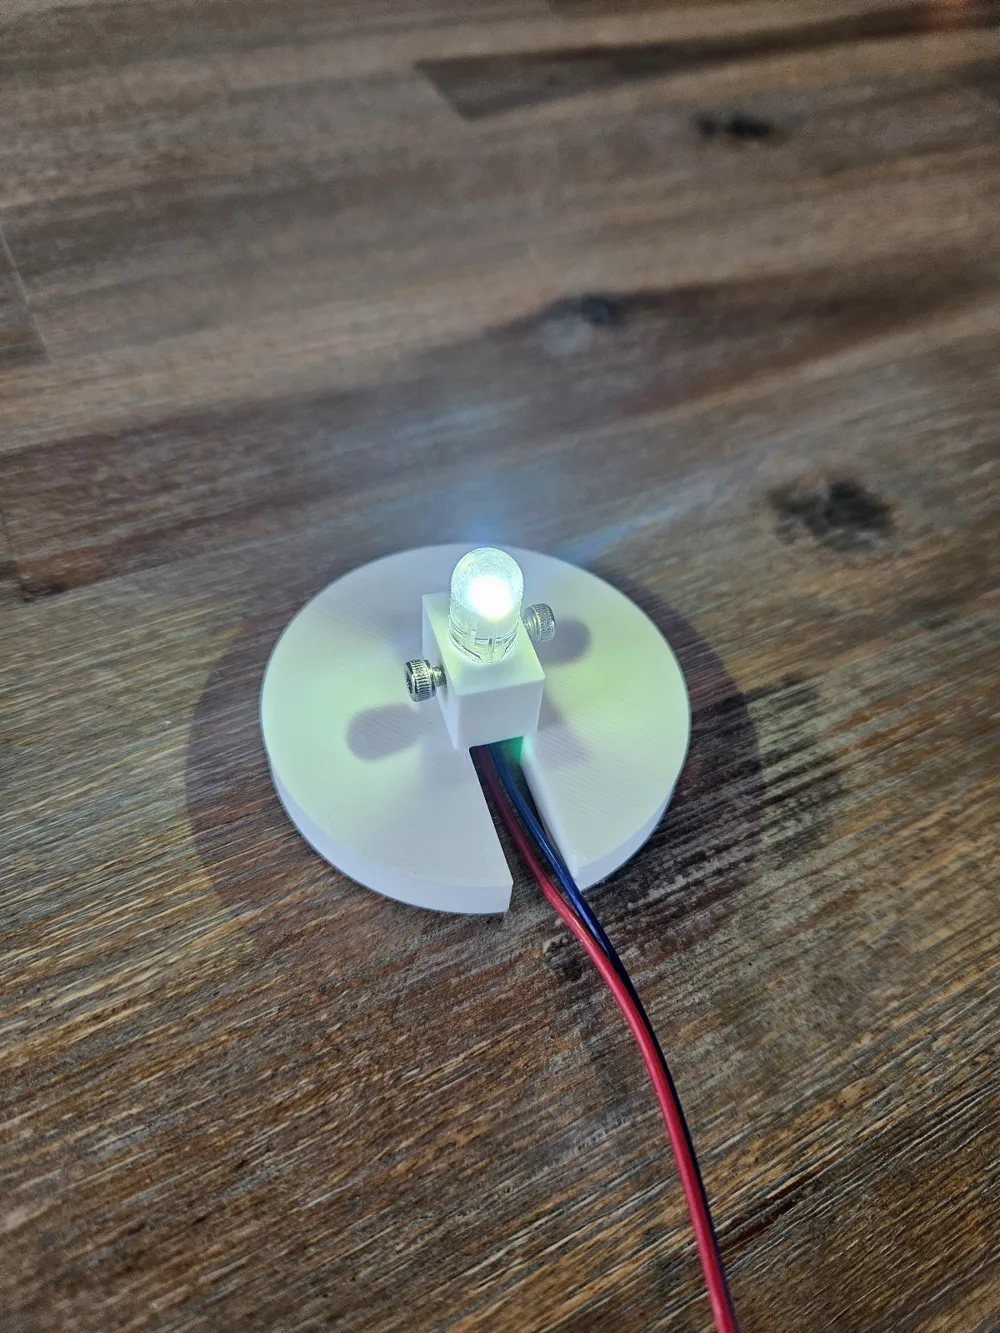
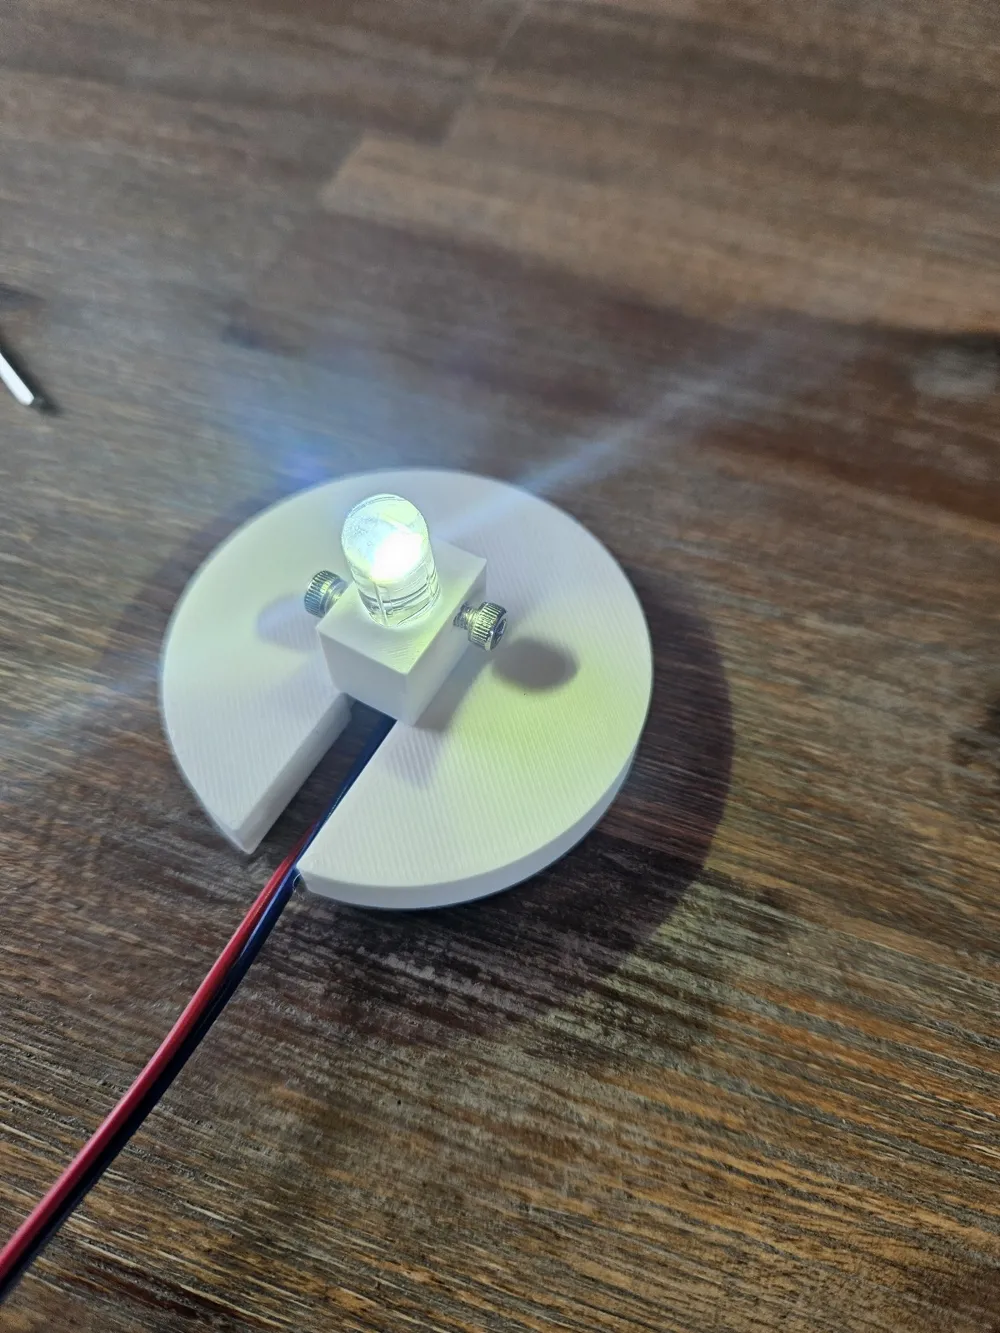
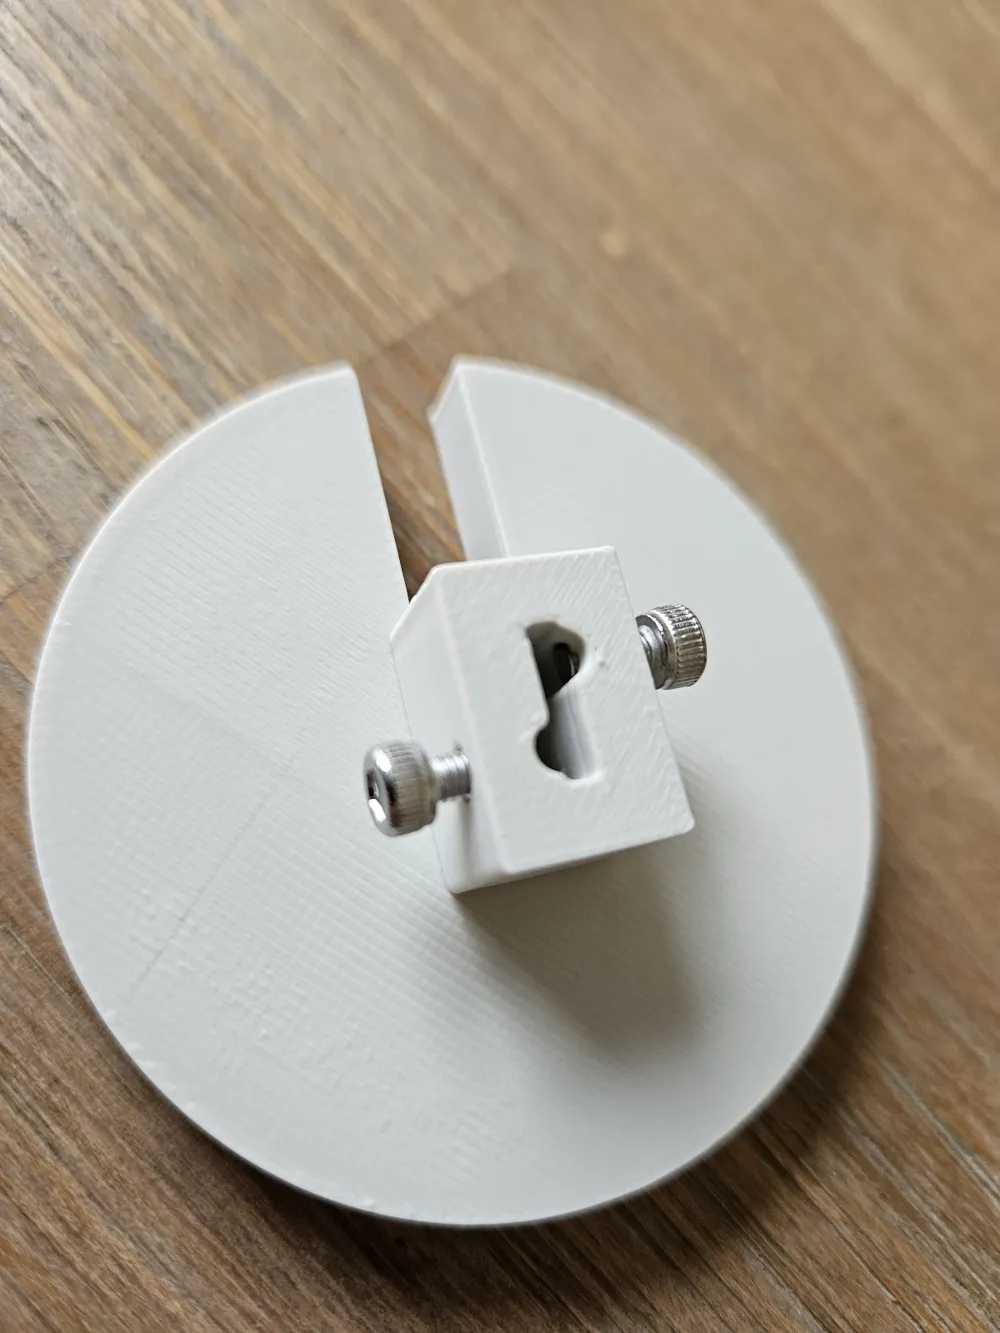
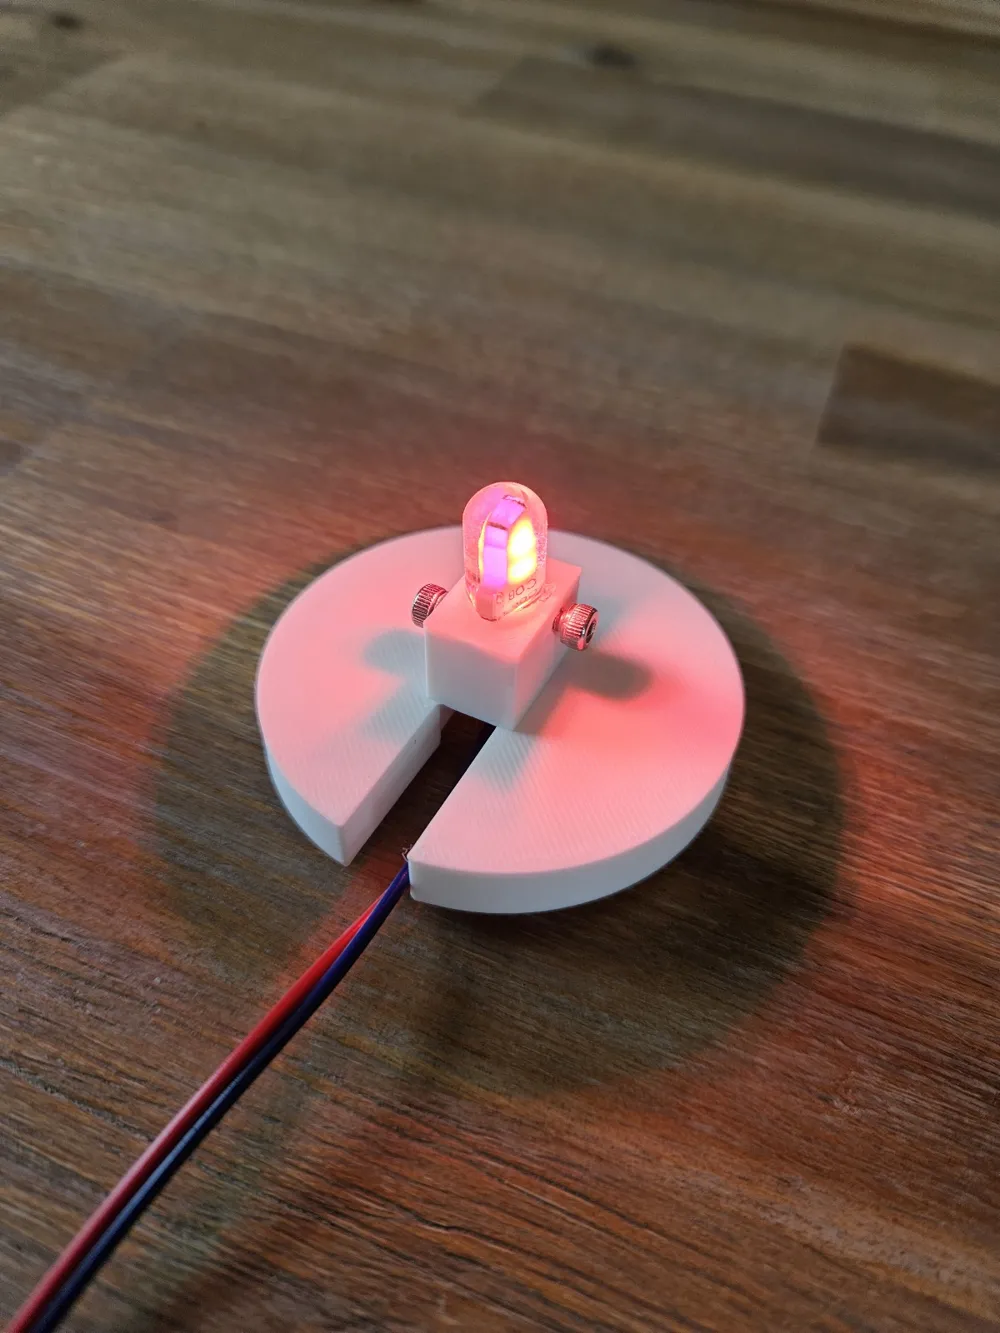
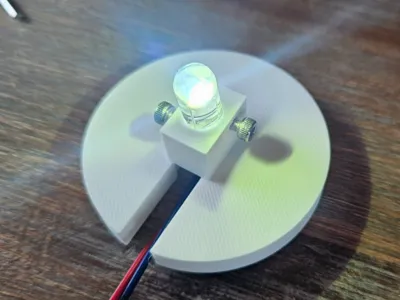
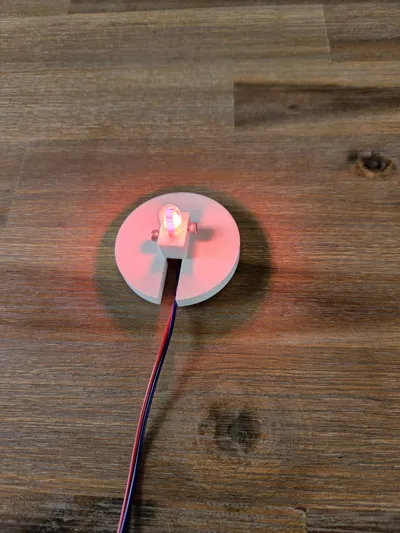
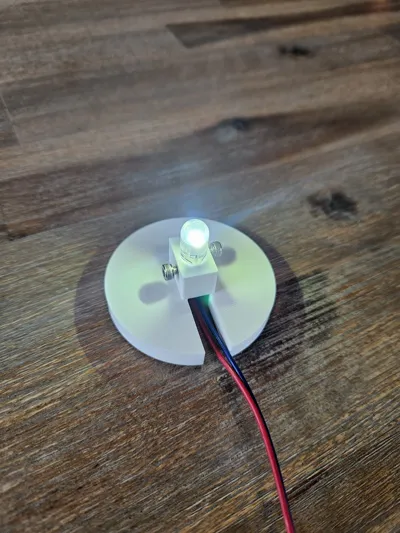
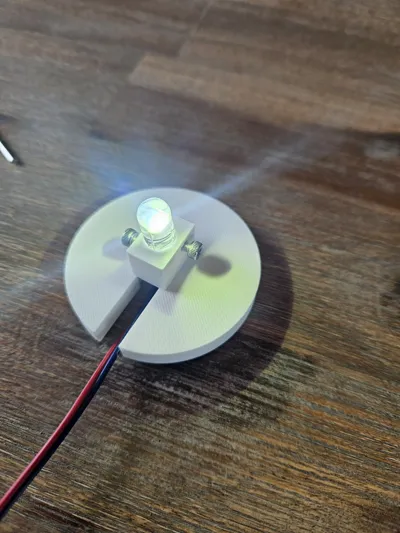
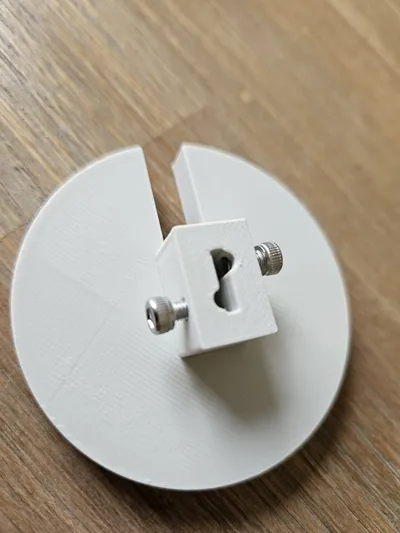
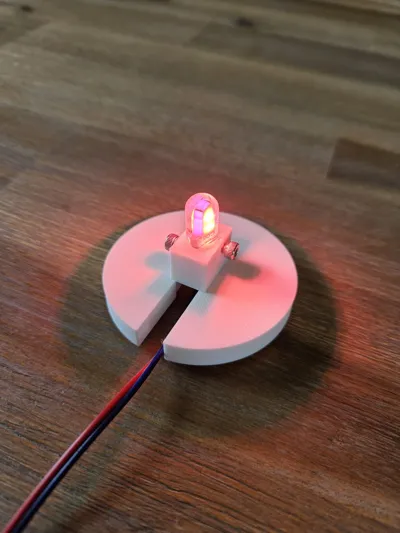
This 3D-printed T10 bulb holder is designed to grip a standard T10 wedge bulb securely, providing a solid connection with minimal hardware. Whether you're building custom lighting, restoring a model, or experimenting with low-voltage LED setups, this holder offers a clean and reusable solution.
Features:
- Snug, Reliable Fit: Tailored to the shape of T10 wedge bulbs, ensuring a firm grip without adhesives.
- Tool-Free Use: Simply insert the bulb — the design provides tension to hold it securely in place.
- Compact Footprint: Ideal for tight spaces or embedded lighting in models, props, and small enclosures.
Why T10 Bulbs?
T10 (also known as W5W) wedge bulbs are incredibly popular for their:
- Versatility: Widely used in automotive lighting, model making, hobby electronics, and home decor.
- Availability: Easily sourced in both 12V halogen and LED variants, online or in hardware/automotive stores.
- Low Voltage Compatibility: Commonly run on 12V systems, making them perfect for battery-powered or Arduino-based projects.
- Wide Range of Colors and Styles: From warm white to vibrant colored LEDs.
Perfect For:
- Automotive-style lighting for models or dioramas
- Interior accent lighting
- Cosplay and prop builds
- Custom desk or night lights
- Low-voltage DIY light fixtures
Wiring Recommendation:
For best performance, use 0.75mm² wire (stranded copper recommended). This size ensures a snug fit and reliable electrical connection with the bulb contacts, reducing the risk of loose connections or voltage drop.
Additional Parts
This build requires 2 x M3 6mm bolts.
Assembly
Step 1
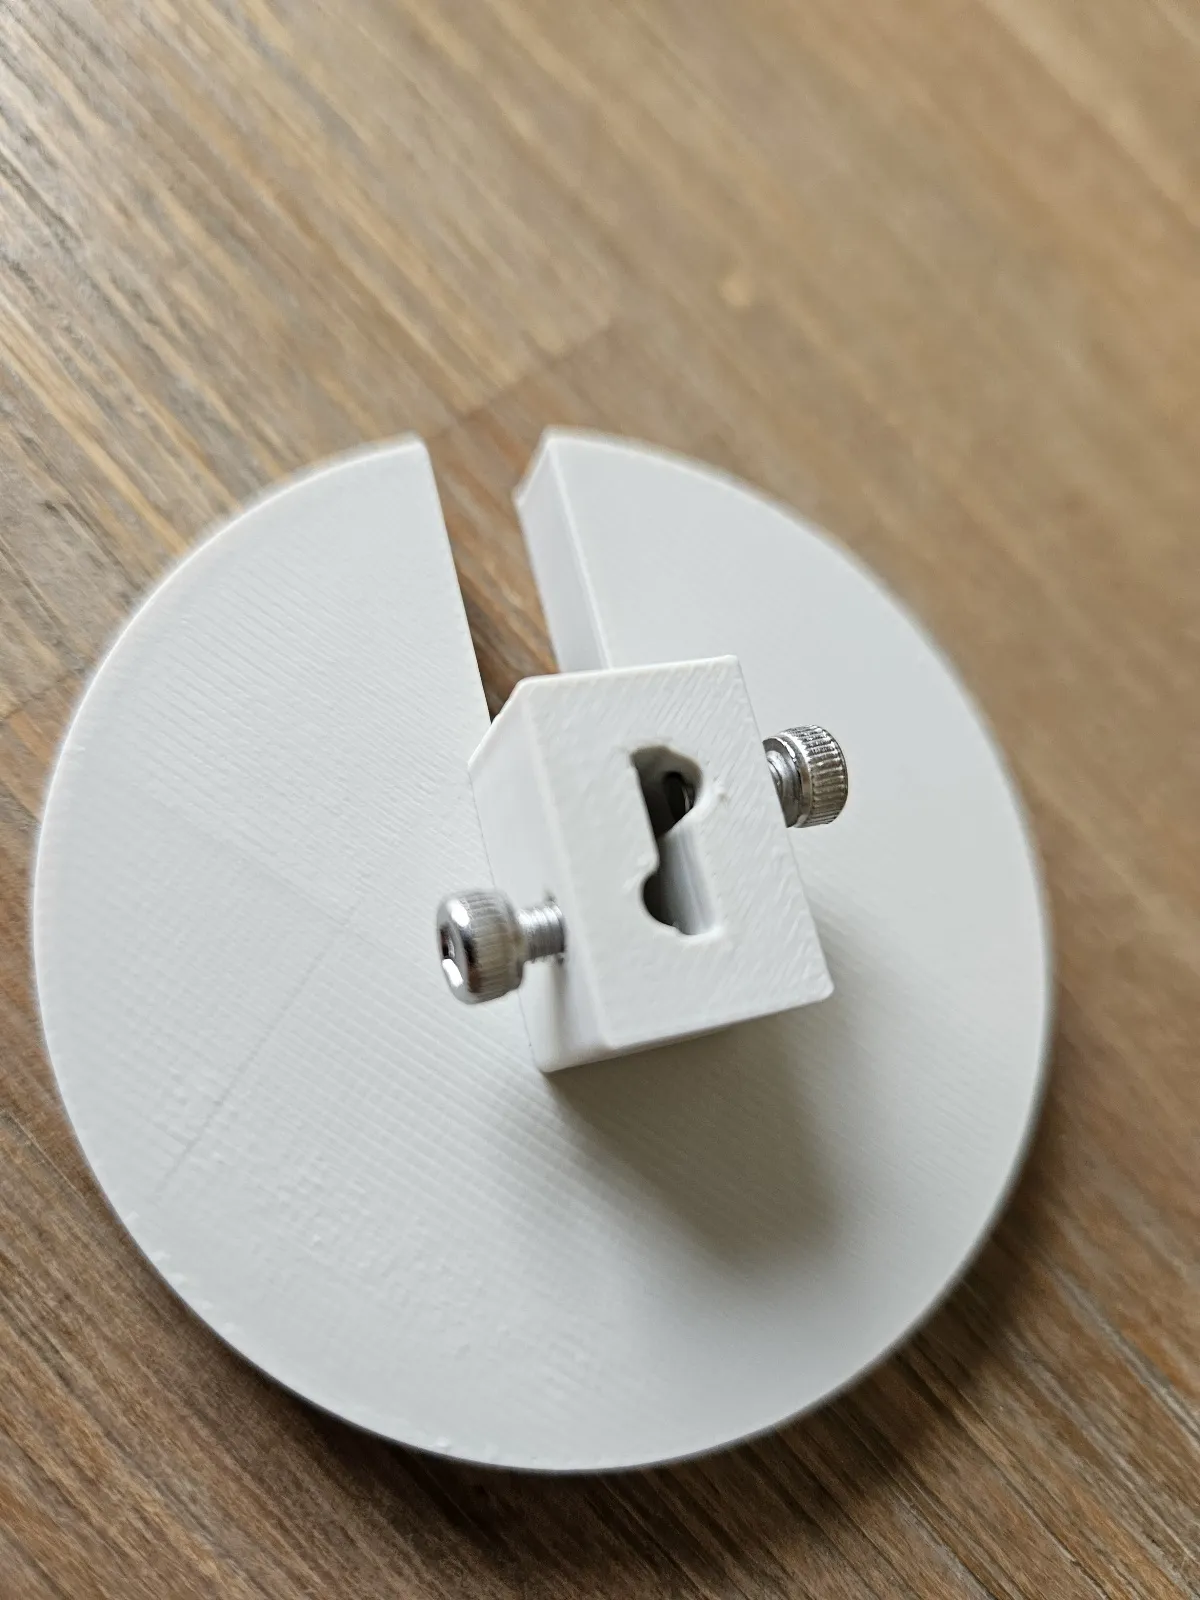
Insert the two M3 6mm bolts into the allotted holes, these are friction fit, insert until they are just visible from the inside
Step 2
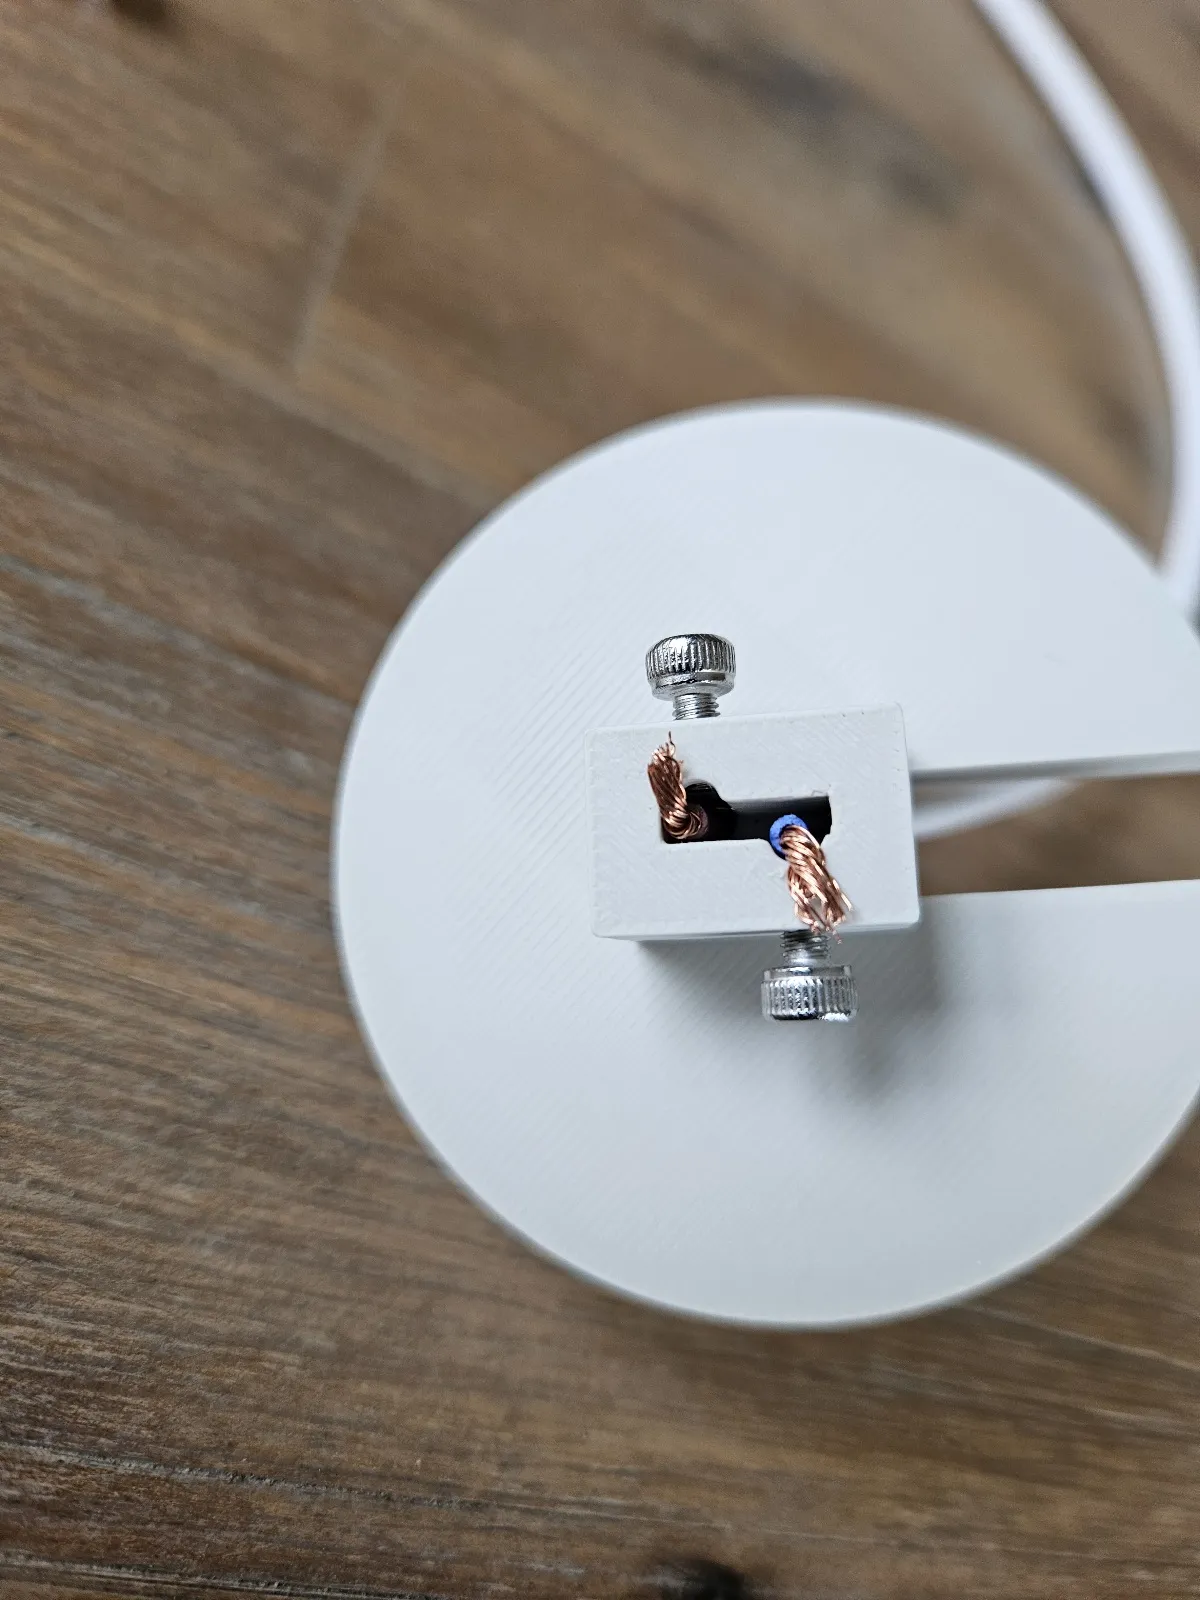
Insert the wires from below, you want no more than about 4mm of wire exposed from the insulation. Once the wire is inserted with the insulation just below the top of the print, bend the copper outwards. Now insert the bulb slowly, this will push the wire down slightly and ensure a snug fit with no wires sticking out.
Step 3
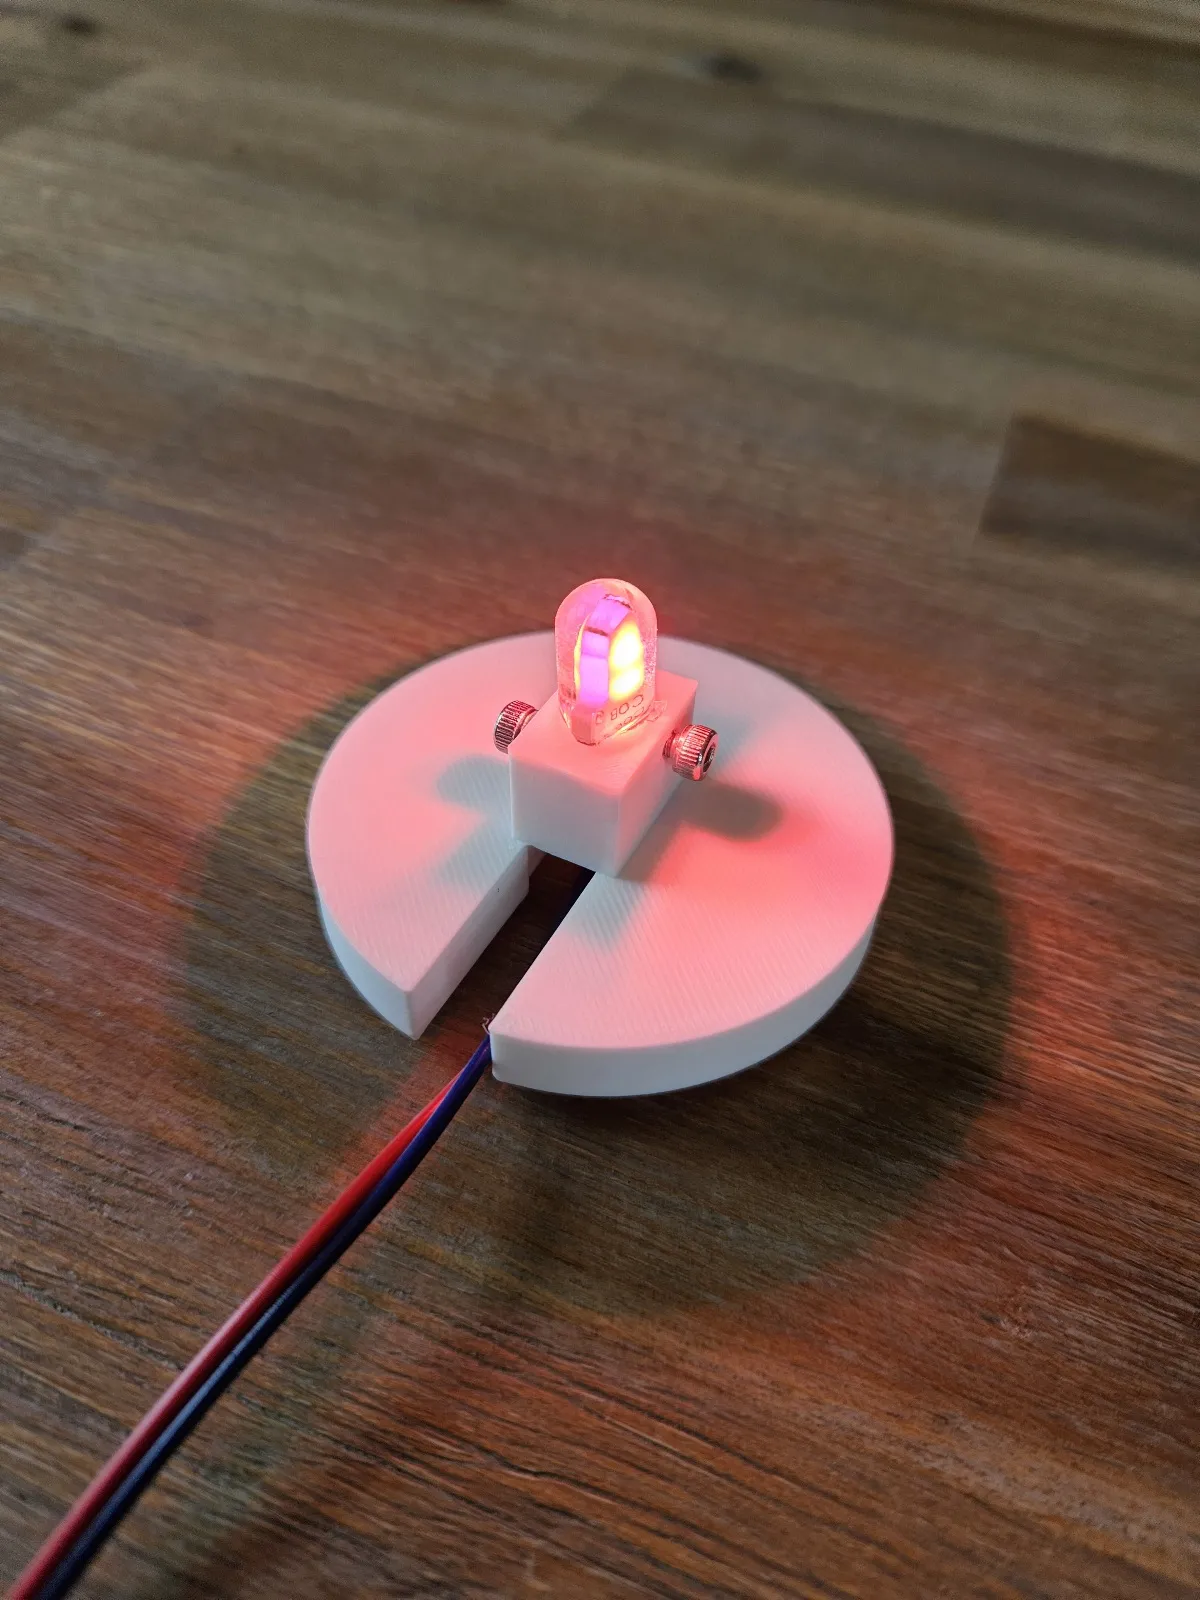
Tighten the two bolts to hand tight only and you are done.
Additional Info
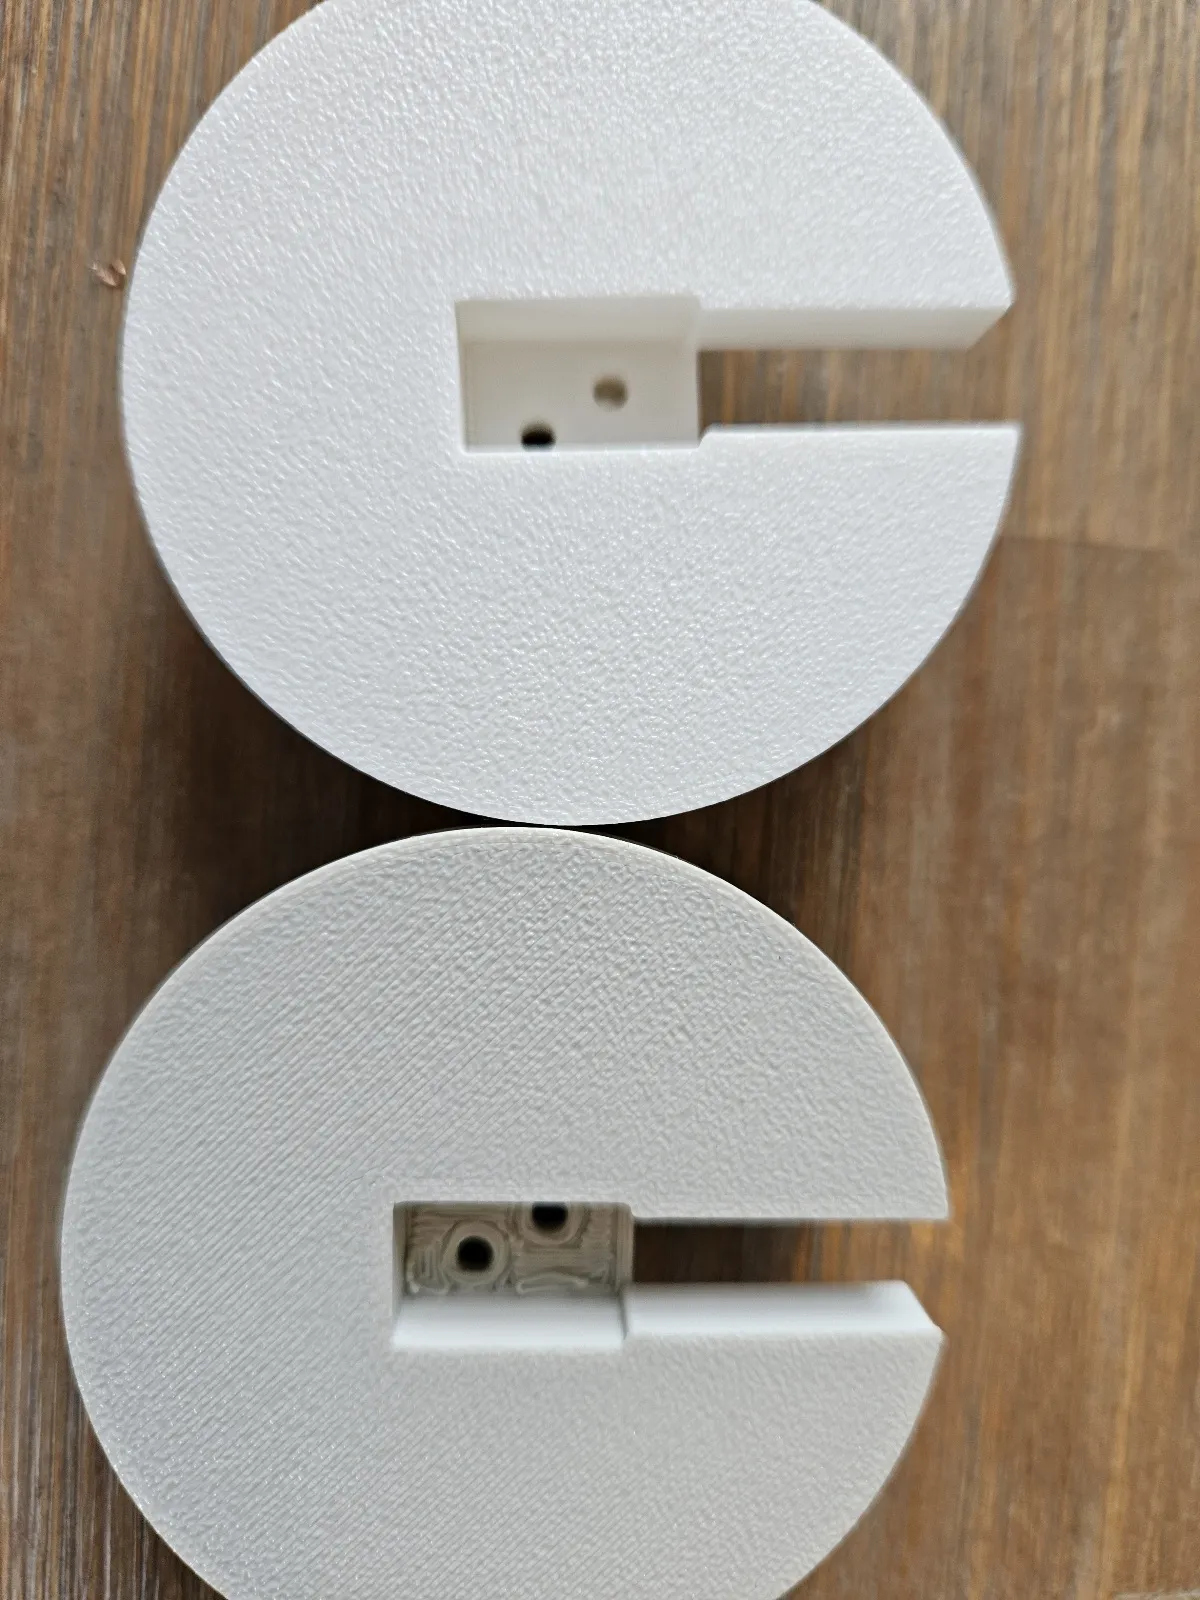
There are two print profiles, one using standard support and one with an interface layer, the below image shows the difference when printed.
Hope you enjoy :-)
License



Comment & Rating (0)