
Print Profile(1)

Bill of Materials




Description
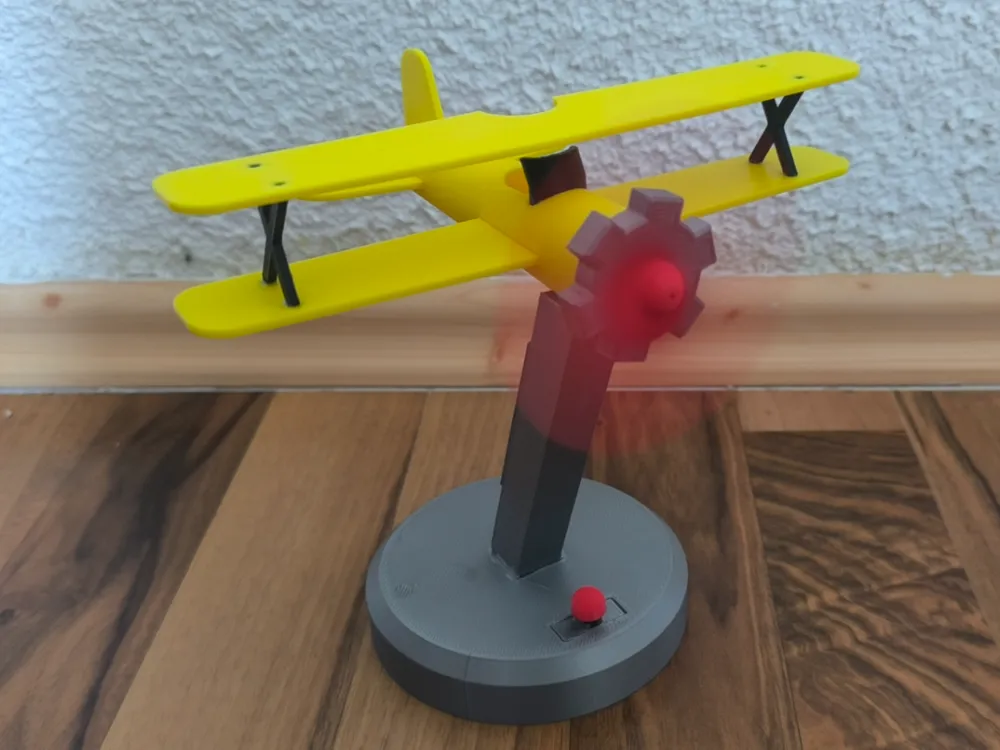
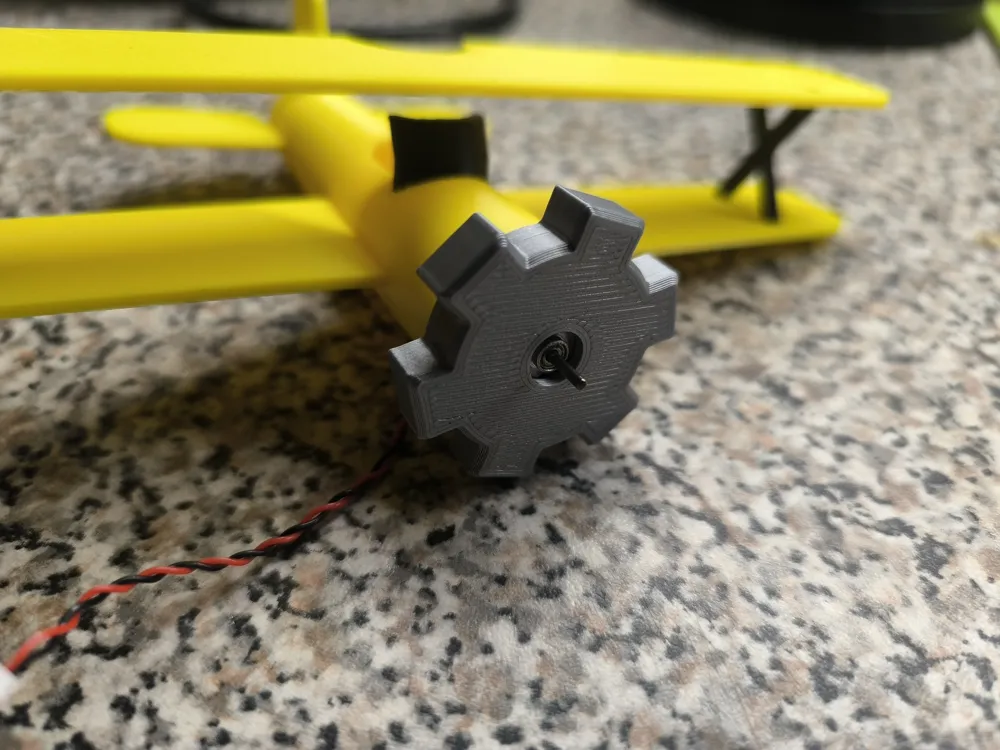
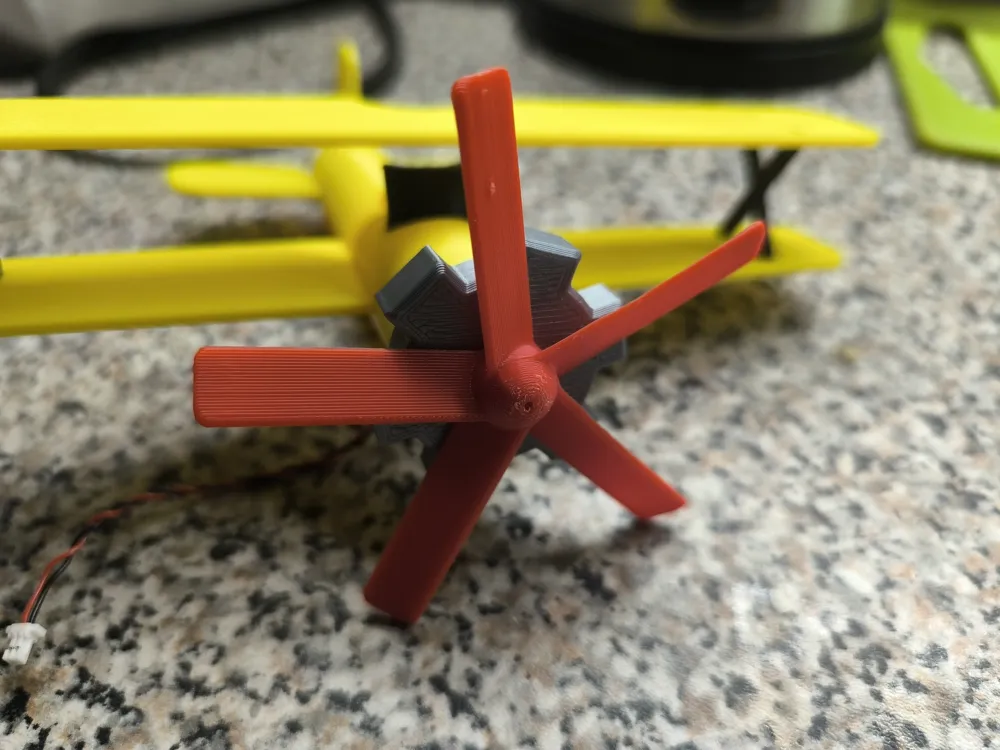
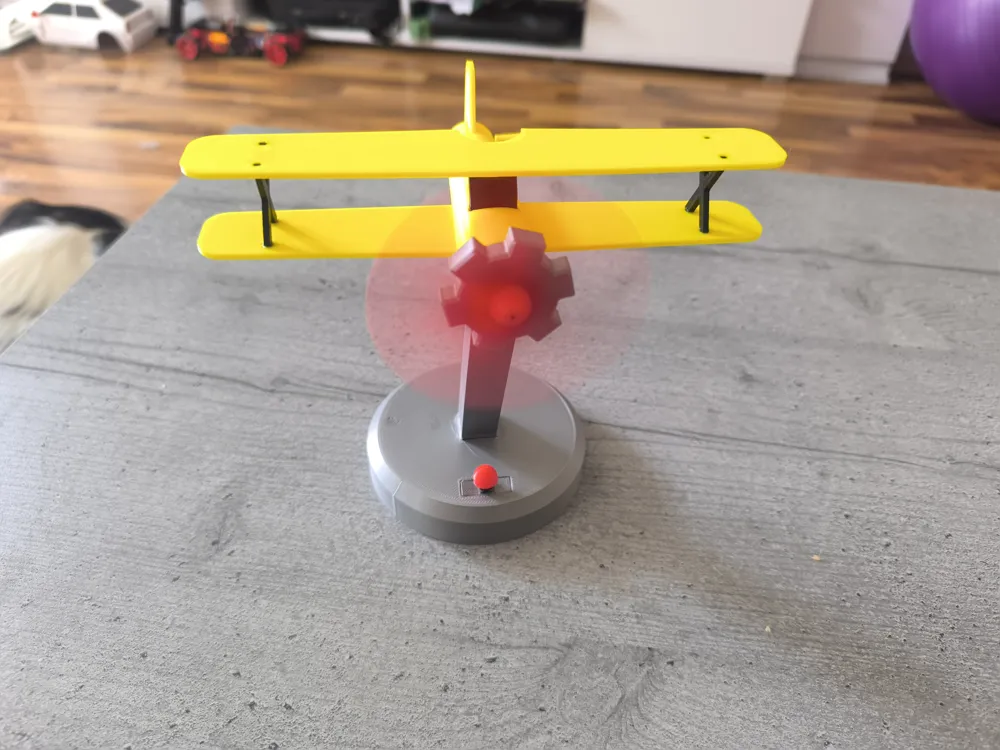
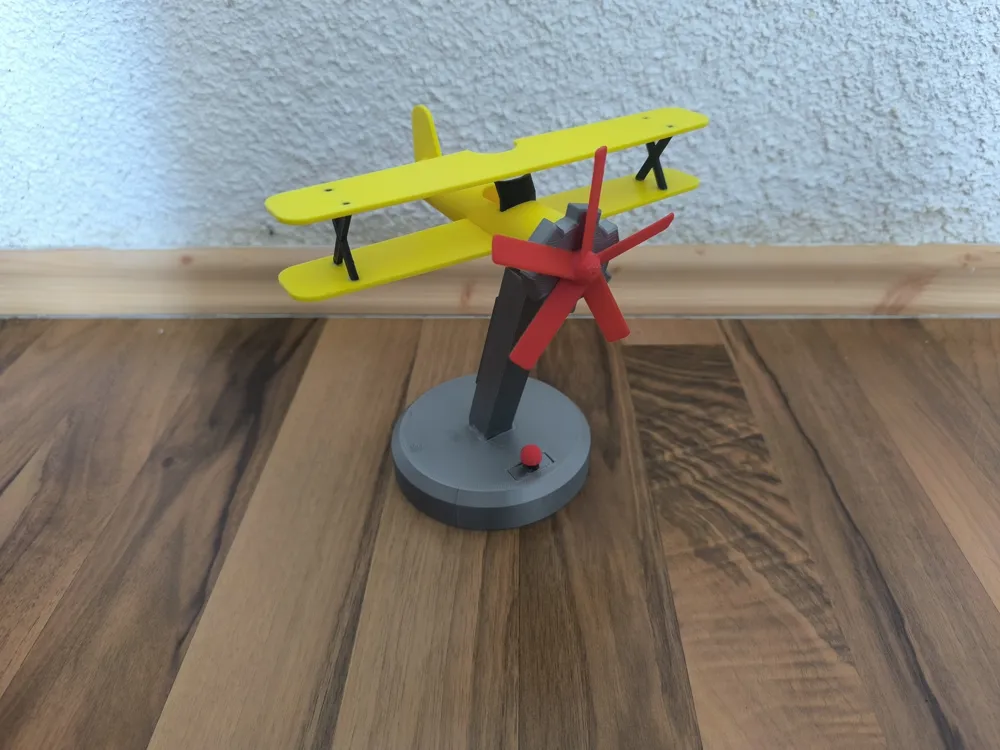
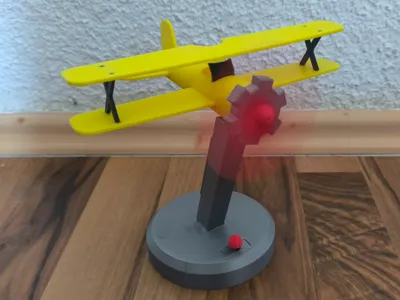
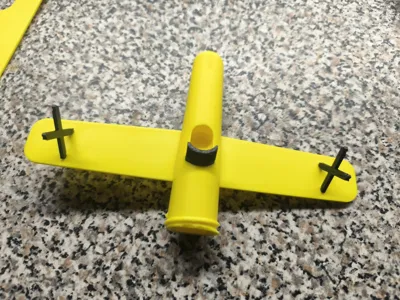
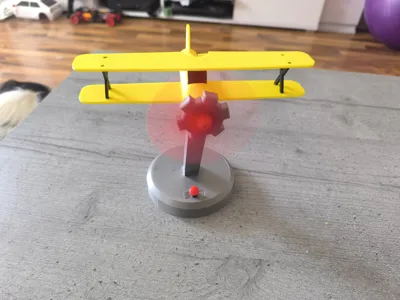
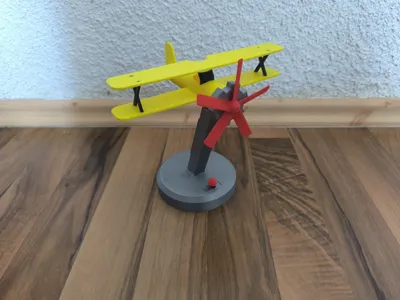
A simple biplane as a decoration and a table fan in this hot season. Decorate your desk with this decoration that will cool you down. The fan is portable and can be used anywhere, even outdoors, such as on the beach. Printing is very simple.
Assembly is not difficult, for assembly you will need the following:
030 Micro DC Motor with SH1.0
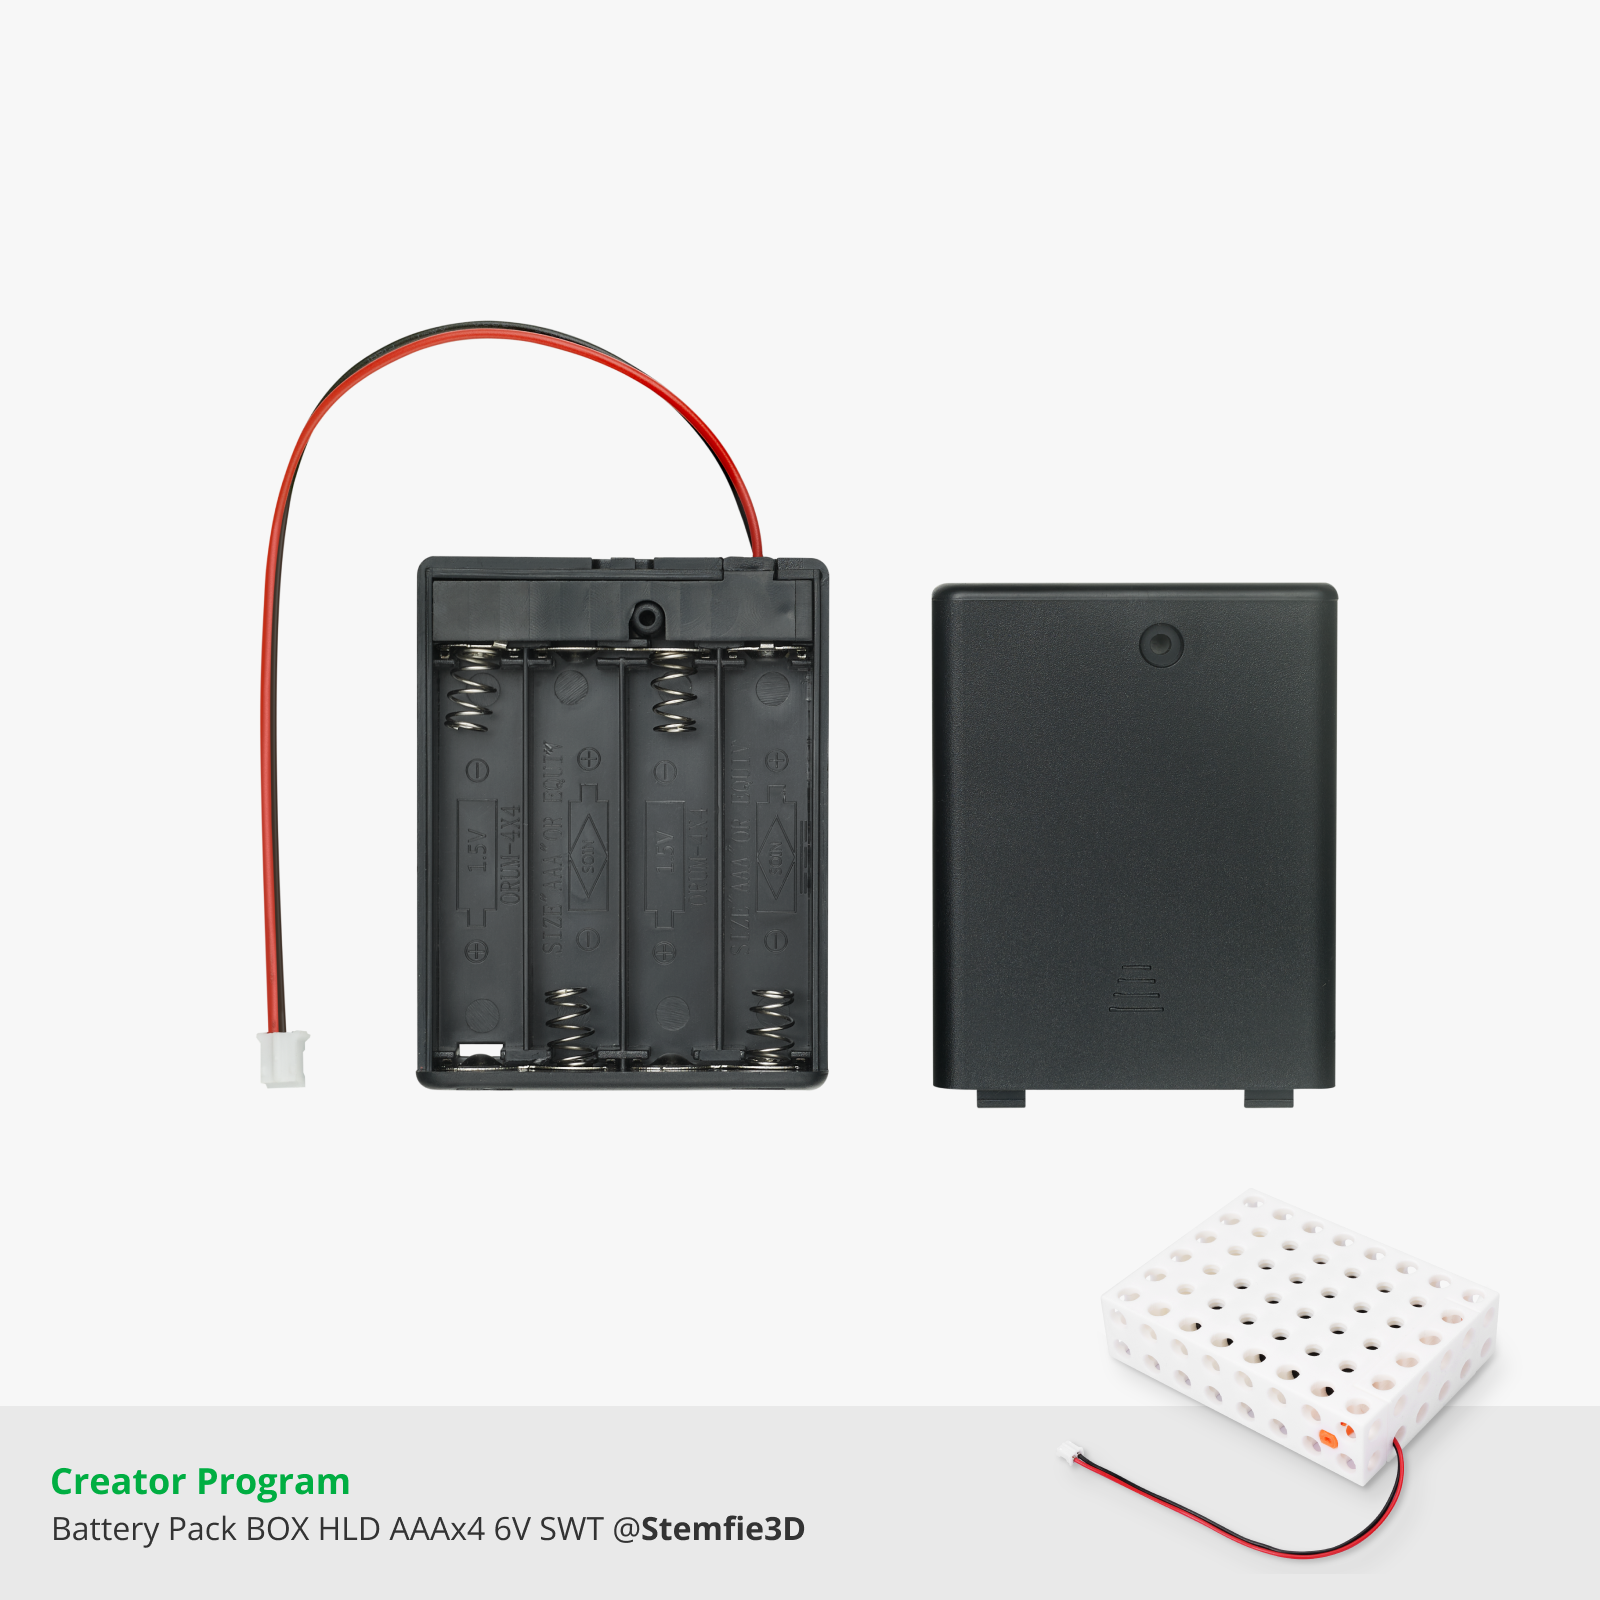
Battery pack box HLD AAAx4
Power Distribution Board - 4 Channels (1PCS) - IA005
Self-Locking Button Switch - IA006
Jumper Cable with SH1.0 Connector
4x battery AAA
You can get everything at BAMBU store.
Assembly:
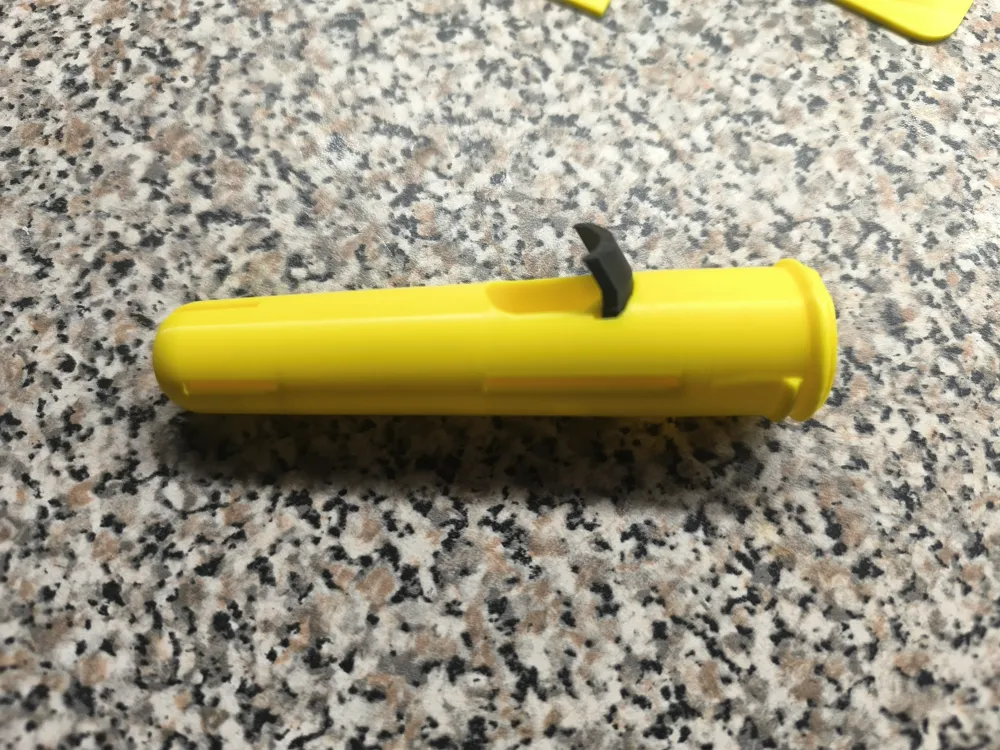
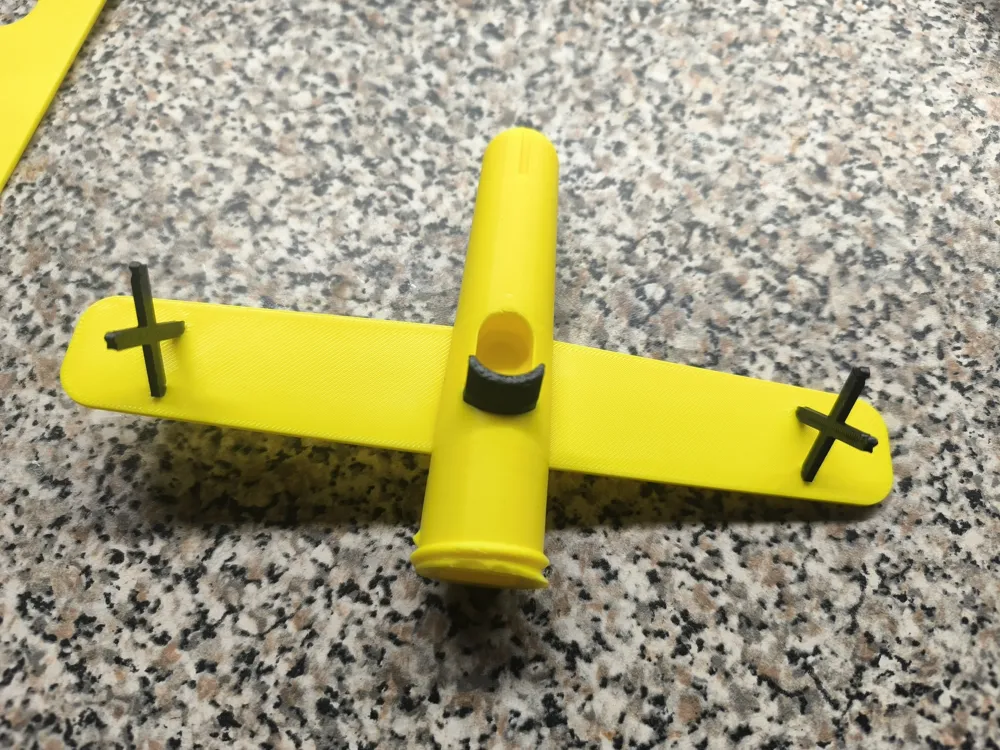
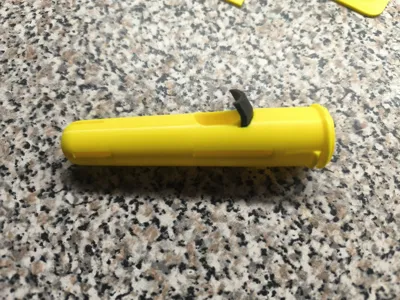
Assemble the fuselage of the aircraft from the wings, rudder and elevator. Use a drop of glue on all joints.
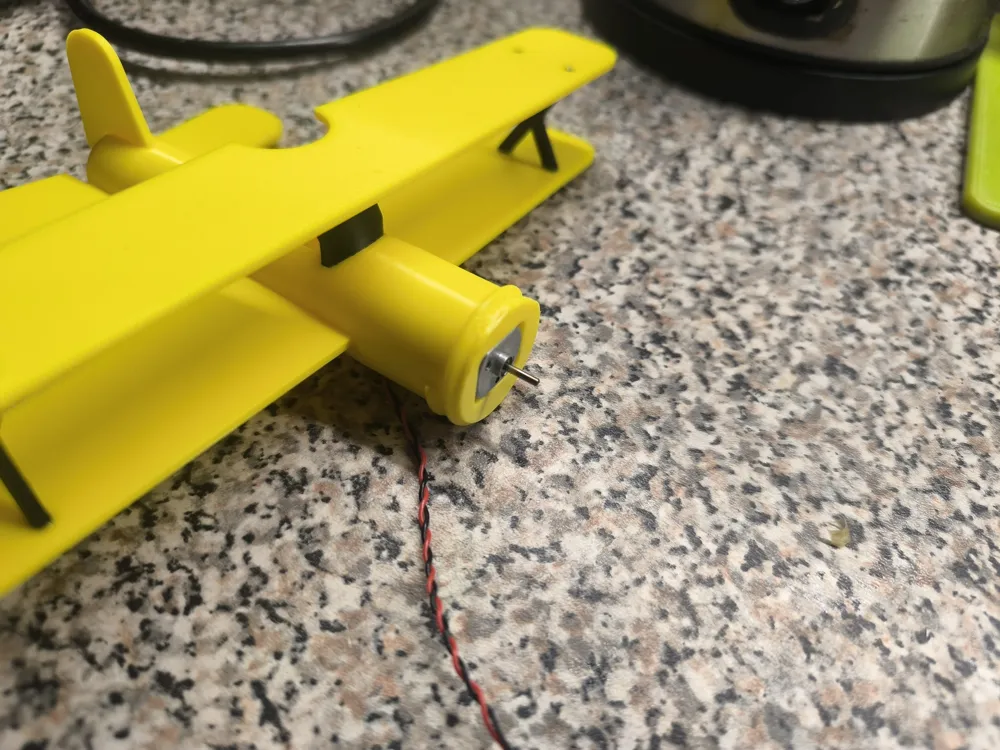
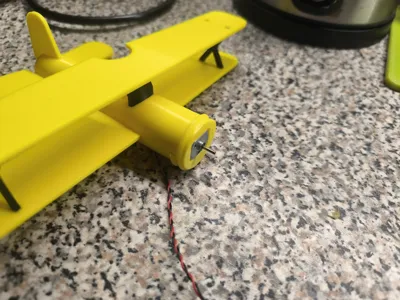
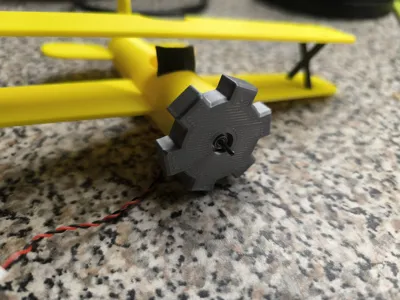
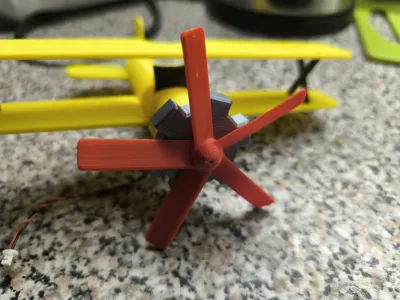
Insert the motor into the front part, insert the cable and screw the silver plug. Insert the propeller - you need to push it hard.
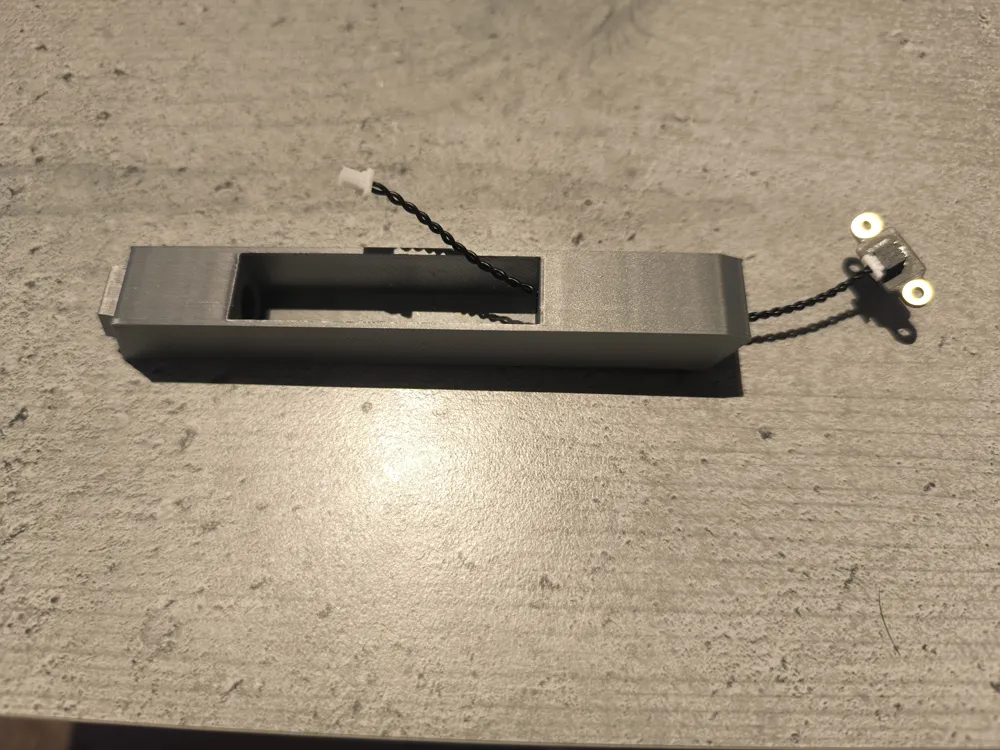
Insert the switch into the round stand and insert the cable through the square hole in the middle.
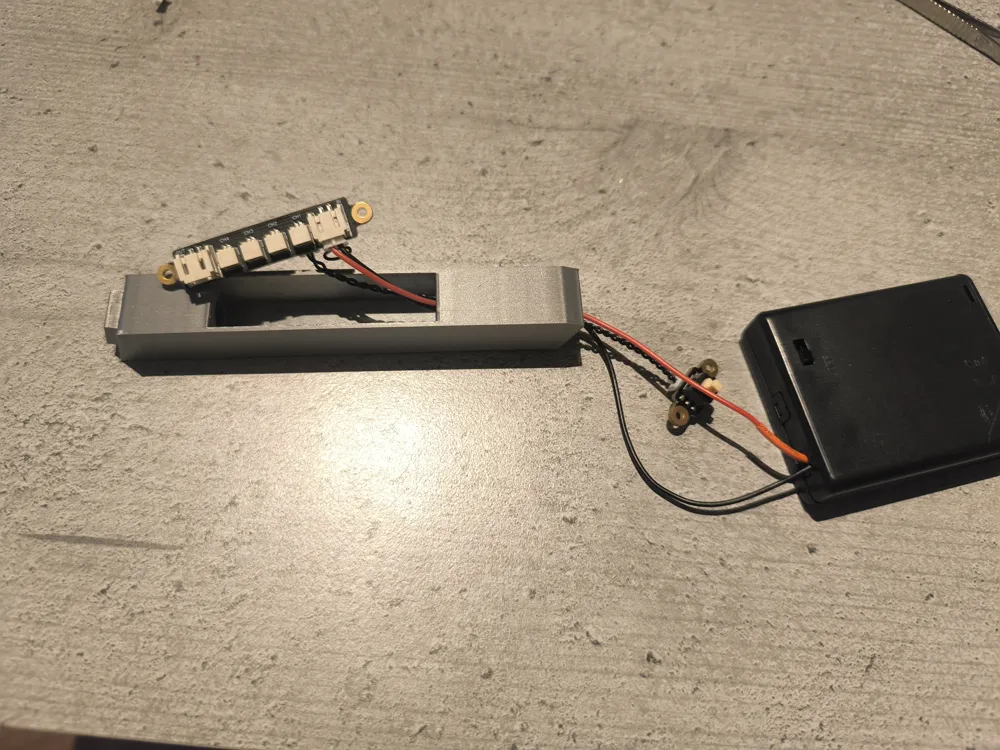
Insert the batteries into the battery box and click into the round stand.
Place the battery box with the switch facing down so you can turn it on and off. Don't forget to push the cable through the square hole.
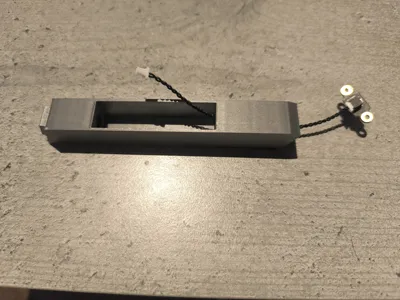
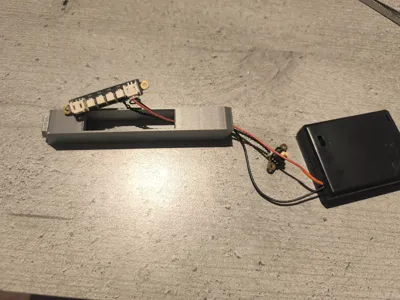
Pass the cables from the switch and the battery box through the square stand and pull it out through the rectangular hole. Insert both parts of the stand together and use a drop of glue. Insert the Power Distribution Board - 4 Channels into the rectangular hole and connect all the cables. Cover the hole with a cap, put the aircraft in place and glue it. Cover the switch and click the button on the switch, you need to push it.
License

You shall not share, sub-license, sell, rent, host, transfer, or distribute in any way the digital or 3D printed versions of this object, nor any other derivative work of this object in its digital or physical format (including - but not limited to - remixes of this object, and hosting on other digital platforms). The objects may not be used without permission in any way whatsoever in which you charge money, or collect fees.


Comment & Rating (1)