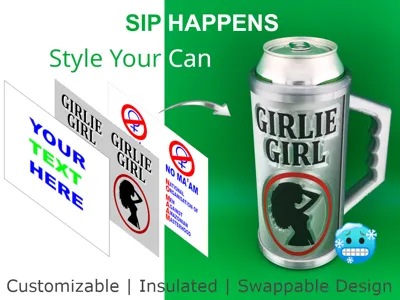
Sip Happens – Customizable 0.5L Beer Can Holder


Print Profile(1)

Description
“Sip Happens”
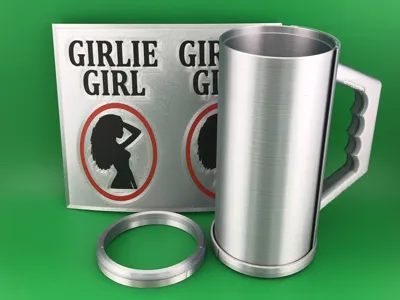
a 0.5-liter beer can holder designed for easy customization and a fun, personal touch to your drink. Using Bambu Studio, you can quickly add your own text to the included template and print a thin decorative film that slides neatly into the grooves of the cup. The film is secured with a top ring and can be swapped out anytime for a fresh new look.
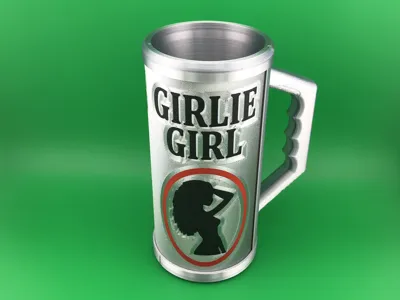
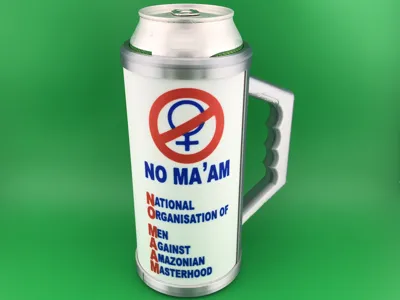
You can also print the included "Girlie Girl" sleeve – a tribute to Al Bundy’s NO MA'AM beer – or use the classic “NO MA'AM” sign, which is also available in the print profile. Of course, you're free to design your own graphics and slogans as well.
Prefer something quick and easy? Just use regular paper or cardboard cut to 176mm x 148mm – but make sure the thickness doesn’t exceed 0.8 mm to ensure a proper fit.
Besides looking great, “Sip Happens” also offers insulating properties that help keep your drink cooler for longer – perfect for hot days or long chill sessions.
Whether you're prepping for a party, making a unique gift, or just want your beer to stand out, “Sip Happens” makes it fun, personal, and practical.
Tip: Combine it with a customized lid
https://makerworld.com/de/models/1506437-my-lid-customizer
🛠 How to Customize Your Own Text in Bambu Studio
Follow these simple steps to create your personalized sleeve using the template included in the print profile:
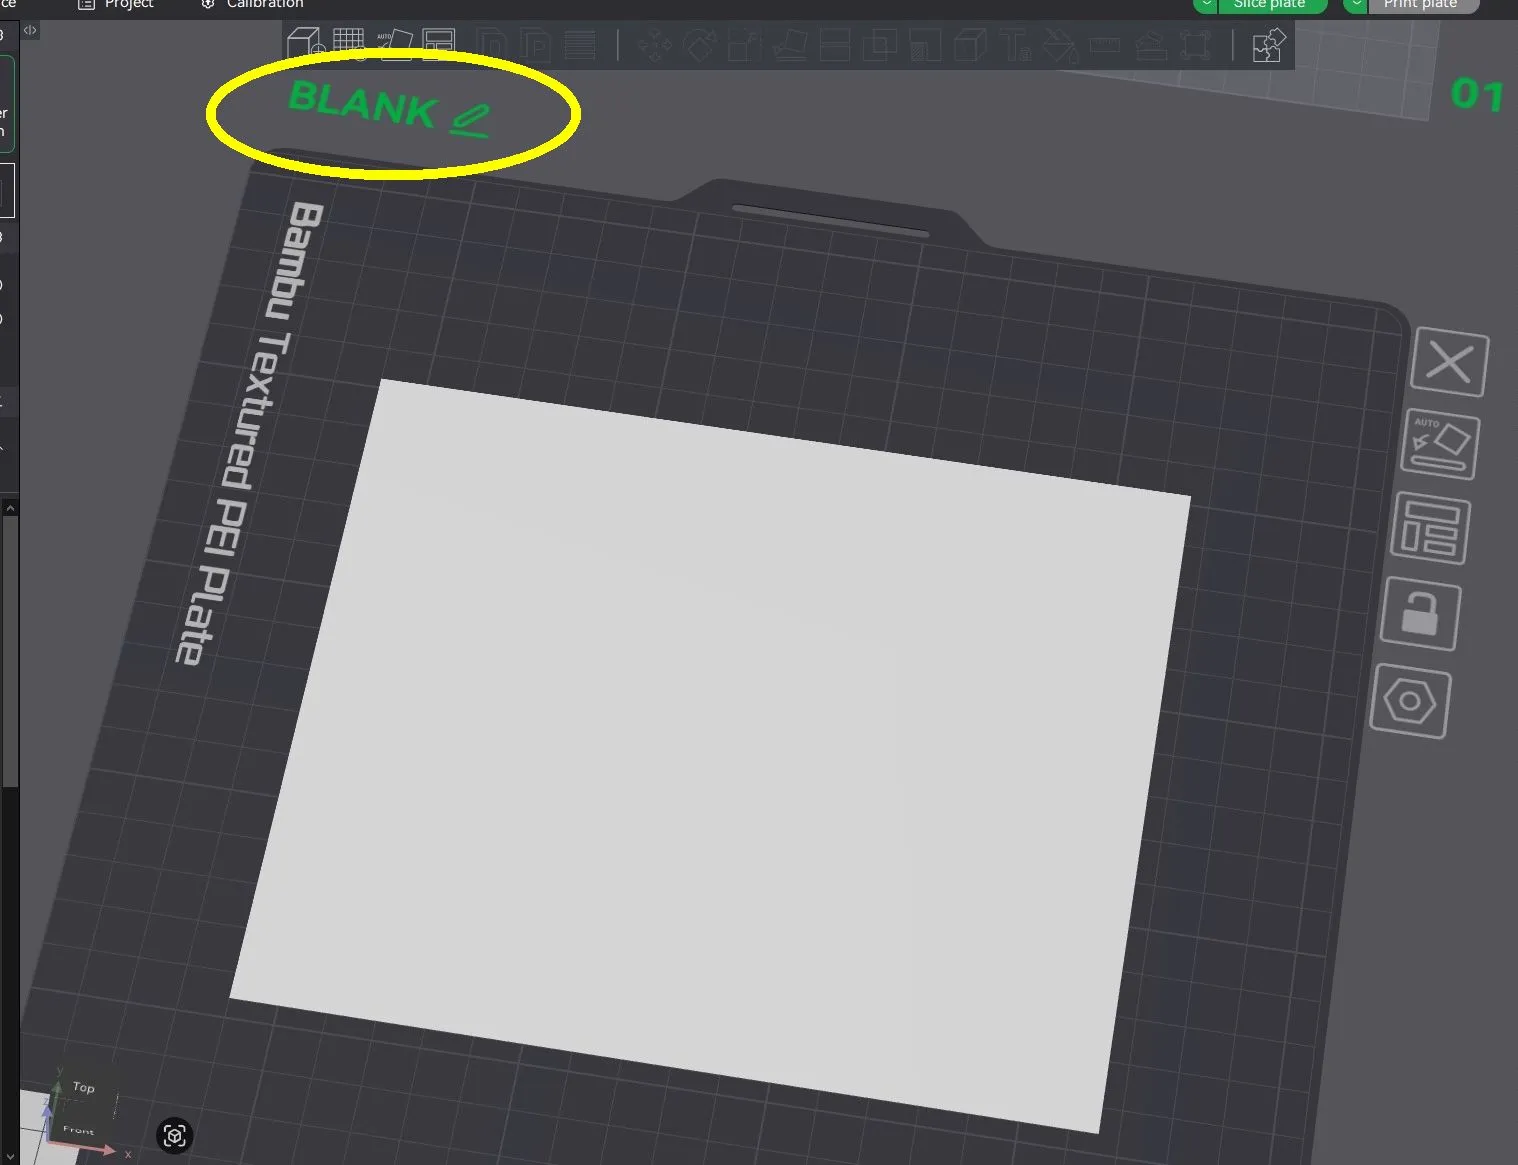
1. Choose the Template (Image 1)
Select the blank template named "BLANK" on the build plate.
2. Insert Text (Image 2)
- Click the Text icon in the toolbar.
- Choose your desired font and font size.
- Set the thickness to 0.01 mm.
- Type your text and place it wherever you like on the template.
- Press "Return" to go back.

3. Add More Text Elements
Repeat the previous step for each additional text element you'd like to include.
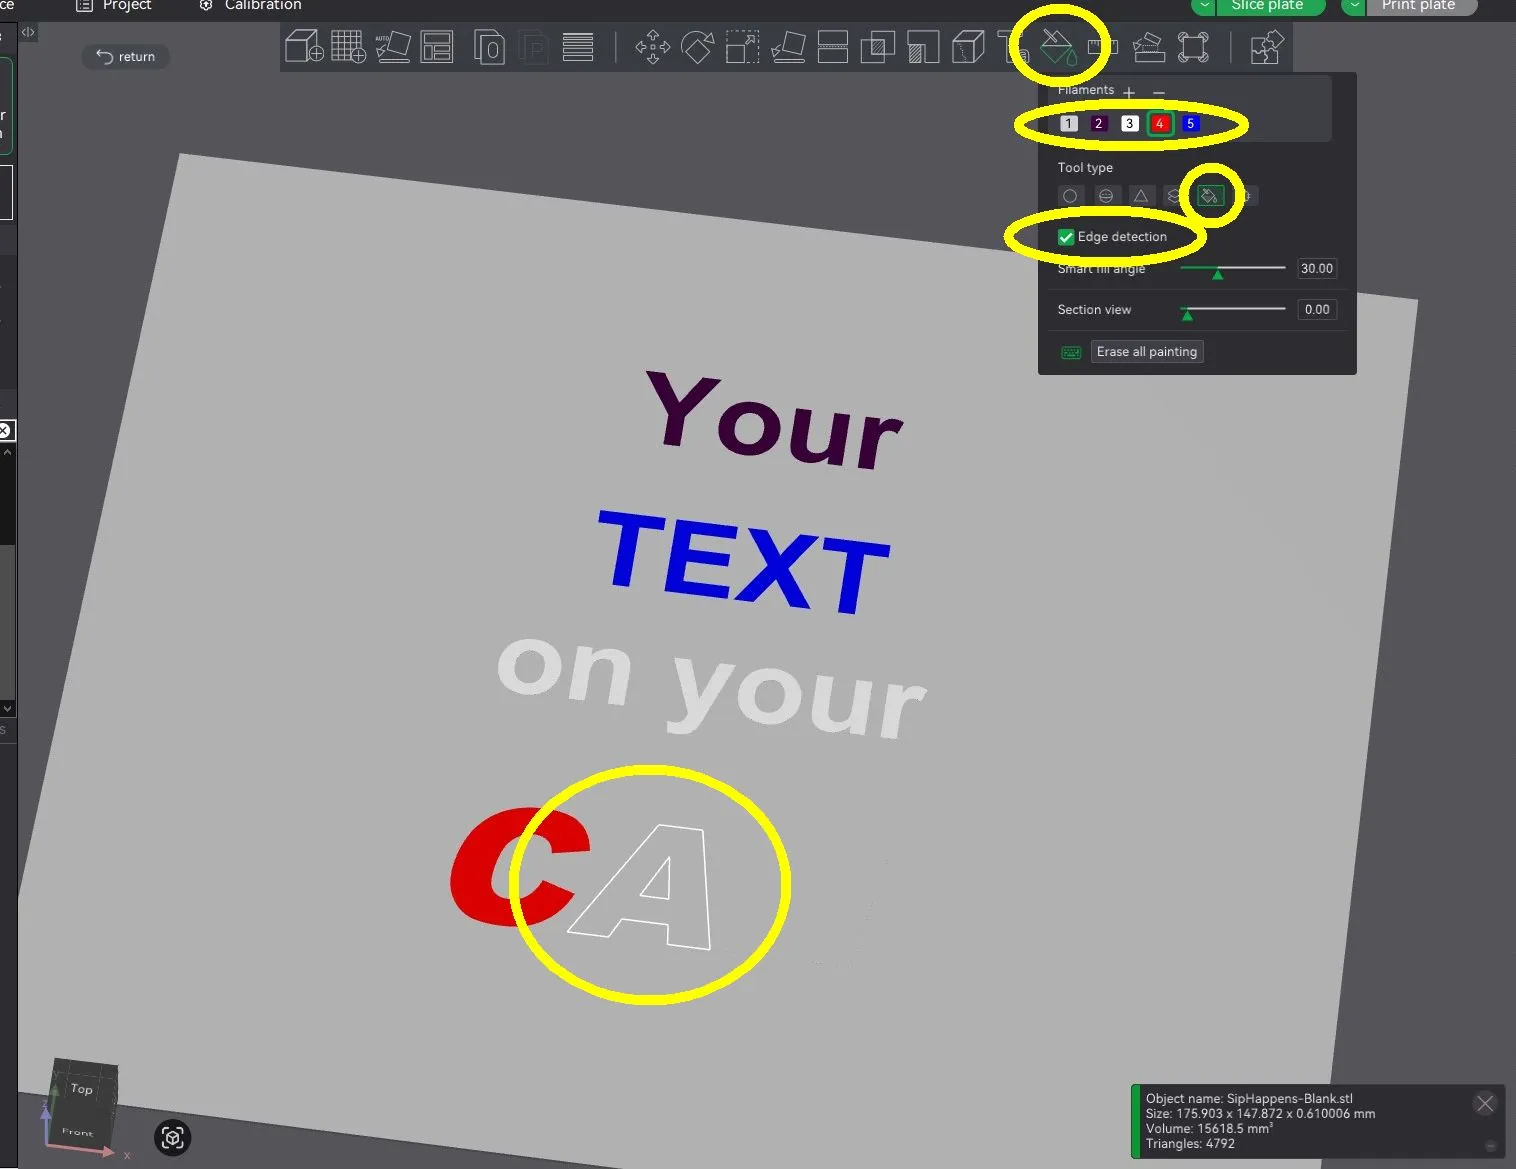
4. Apply Color (Image 3)
- Click the template again.
- Select the paint bucket icon from the toolbar.
- Choose your desired color, select the fill symbol, and enable edge detection.
- Hover over the surface — where the text is detected, you can now fill it with color.
- Once you're done coloring, press “Return” to exit.
5. Rotate 180 Degrees (Image 4)
- Click the object once more.
- Choose the rotation icon from the toolbar.
- Rotate the object 180° along the X-axis.
- This flips the text so it’s correctly mirrored for printing in perfect quality.

6. Slice
Proceed to slice the model as usual.
7. Print
Start your print and enjoy your fully customized design!
Boost Me (for free)
Small click, big smile 😊.
License
You shall not share, sub-license, sell, rent, host, transfer, or distribute in any way the digital or 3D printed versions of this object, nor any other derivative work of this object in its digital or physical format (including - but not limited to - remixes of this object, and hosting on other digital platforms). The objects may not be used without permission in any way whatsoever in which you charge money, or collect fees.
Comment & Rating (0)