
Sliding Radius Gauge (1:1)
Print Profile(7)


Description
Boost Me (for free)
A boost is really apprecieted if you like the tool I have designed :)
Update 2: I have also now released a similar tool which works with digital calipers
https://makerworld.com/en/models/1970694-digital-caliper-radius-tool-1-1#profileId-2118849
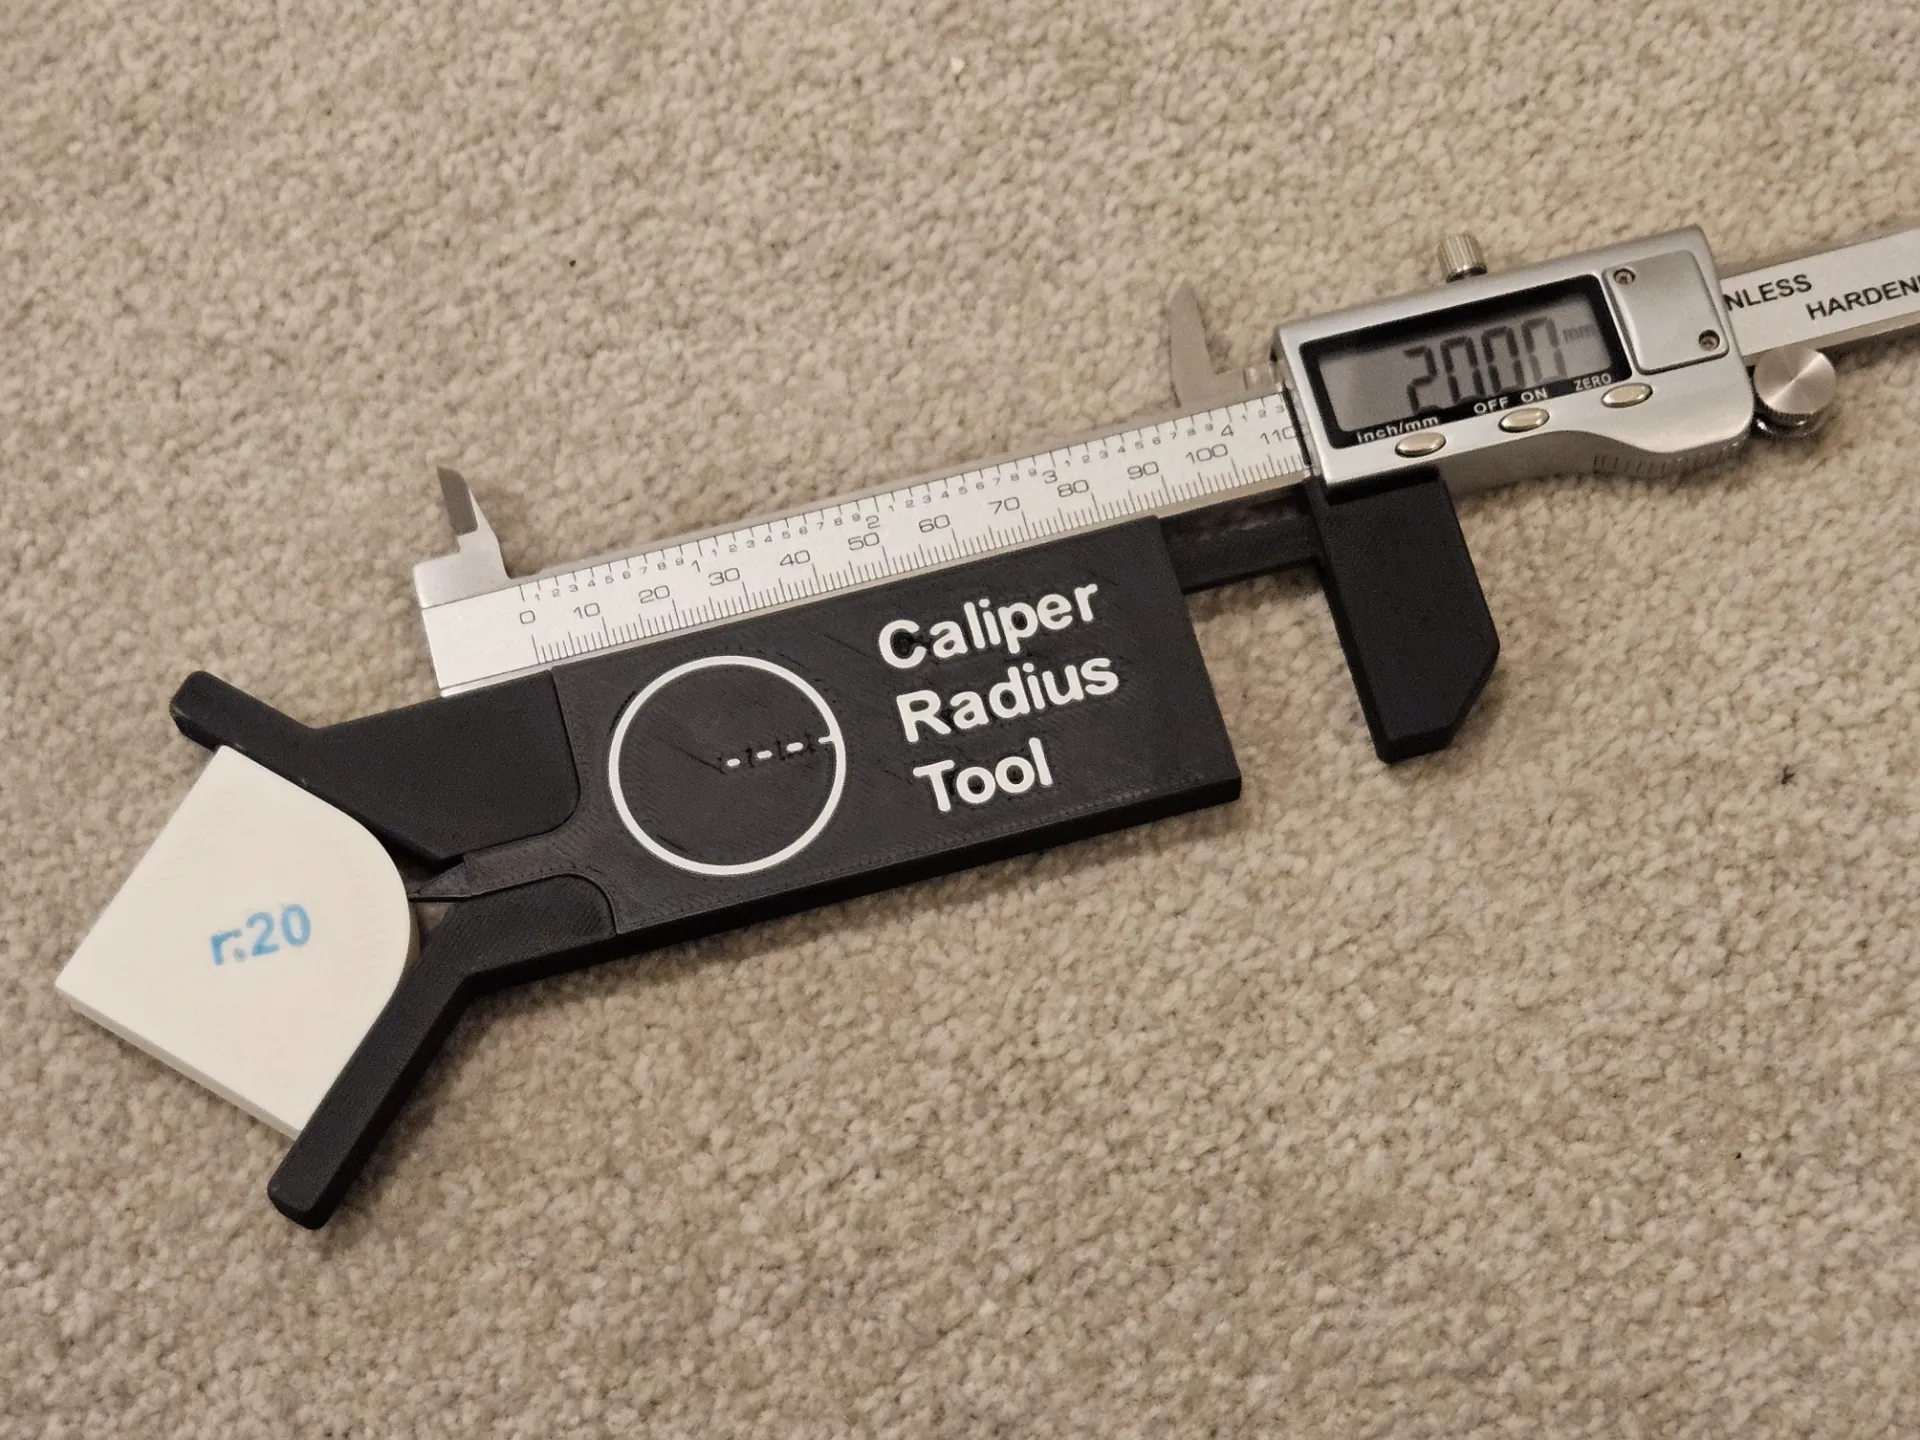
Update: Some people were having issues with tolerances and brims/rafts. So I have uploaded an alternate profile with increased tolerances on all the key areas, as well as disabling all brims/rafts so you can add them yourself if you want to with settings you know that work on your printer. Thanks for your feedback and your patience :)
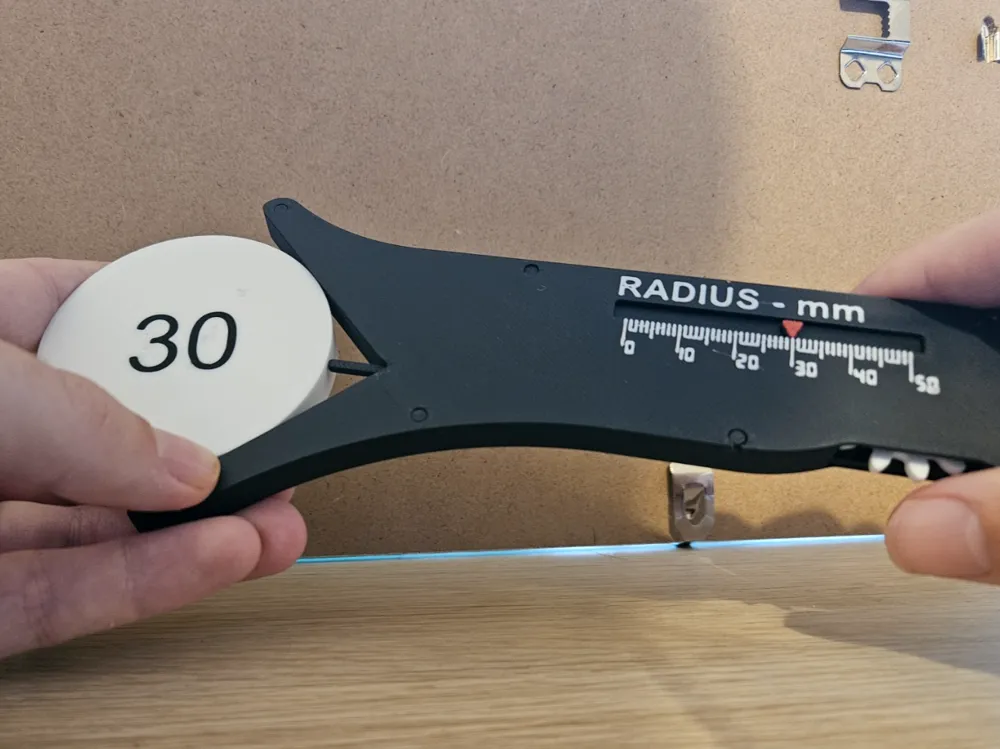
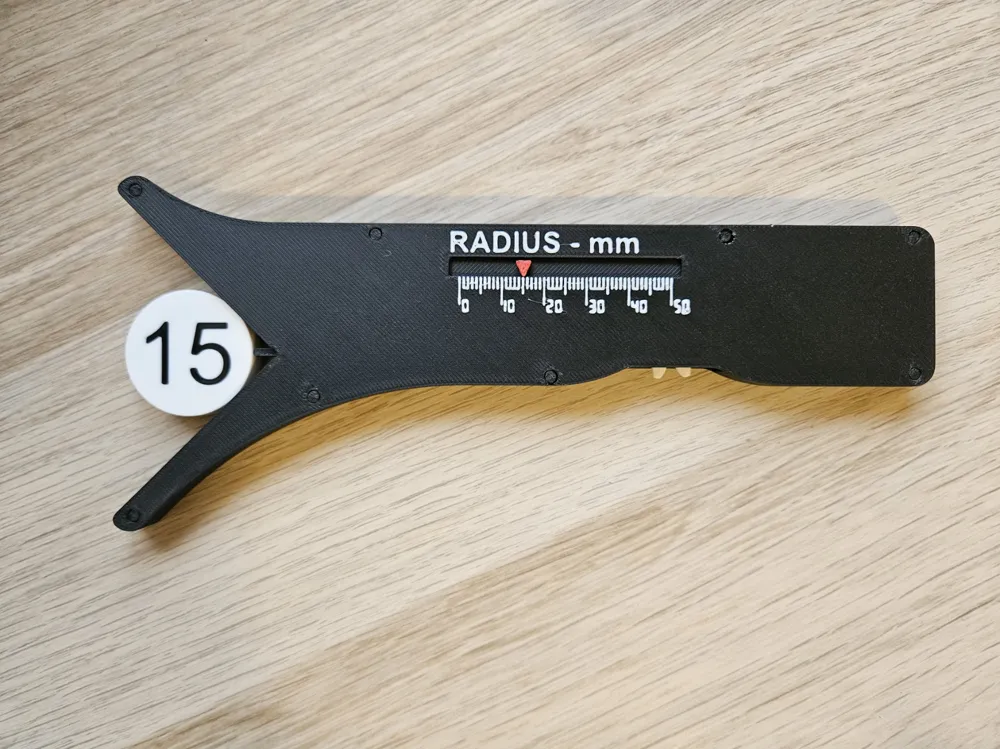
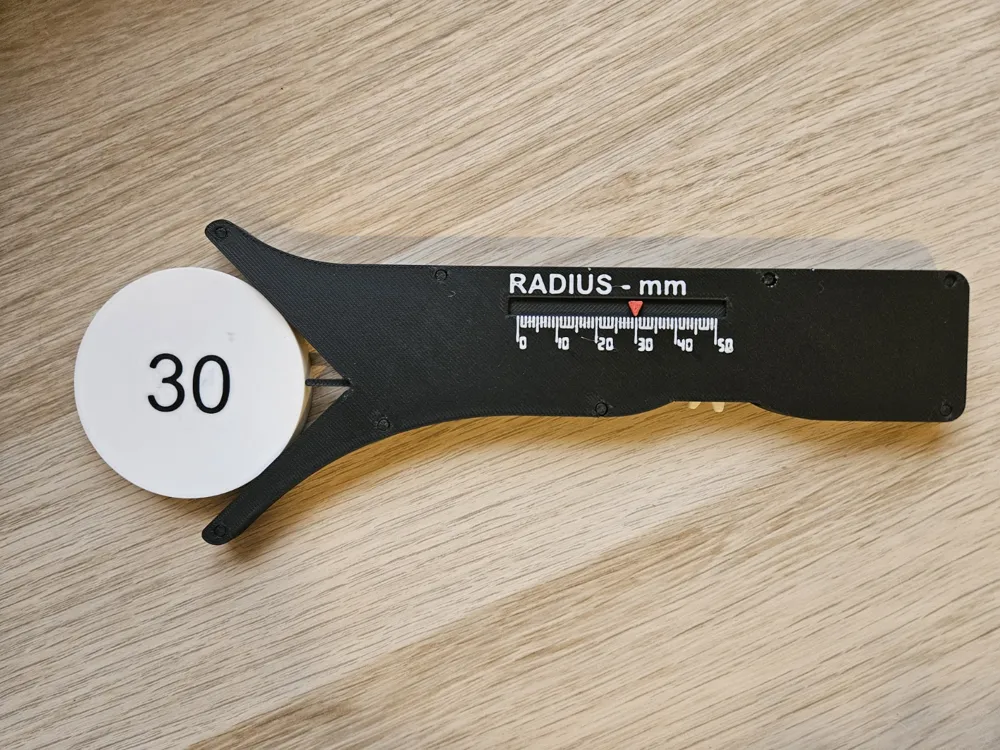
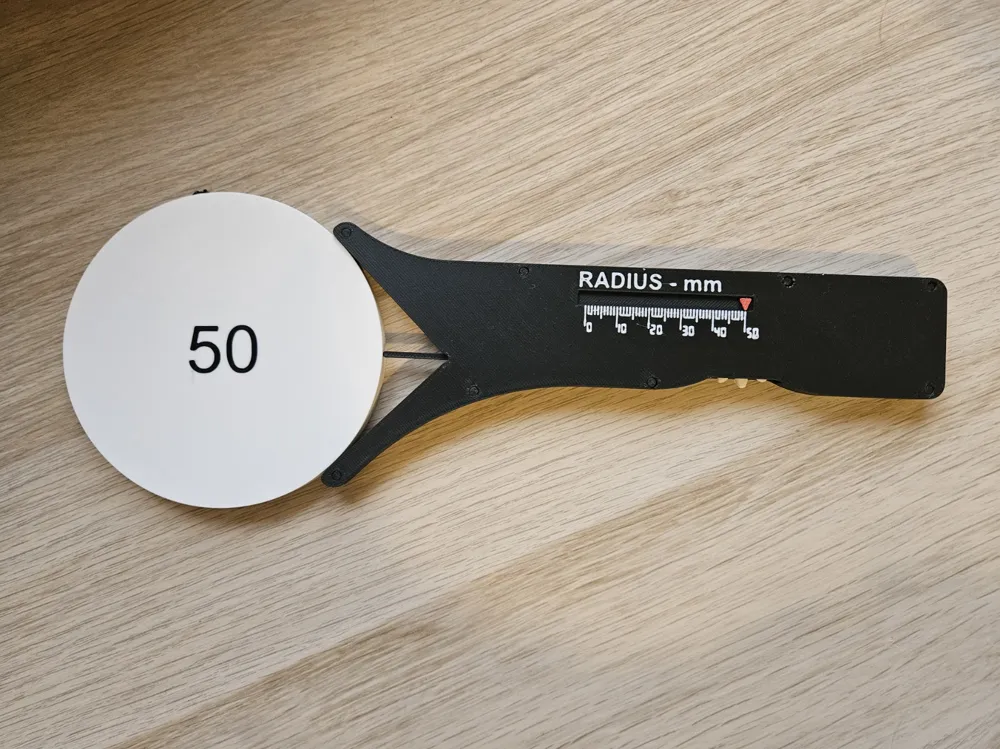
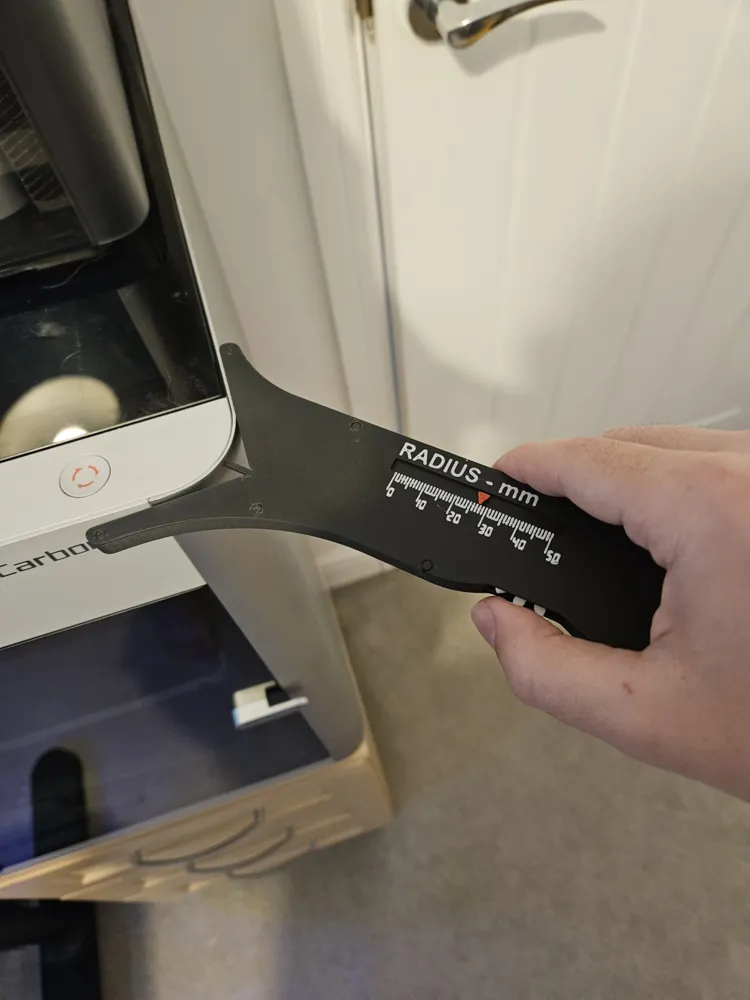
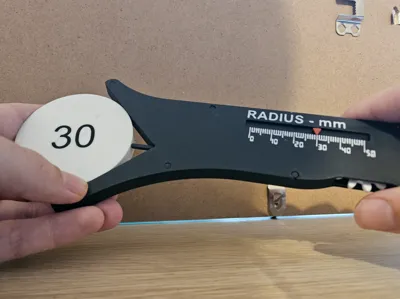
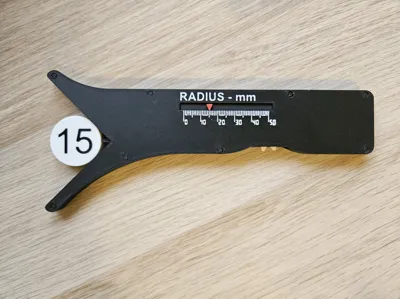
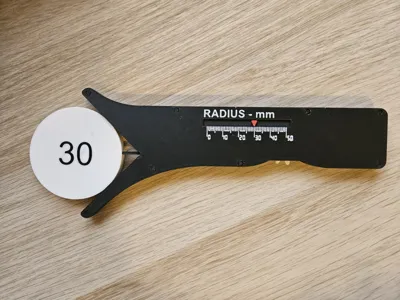
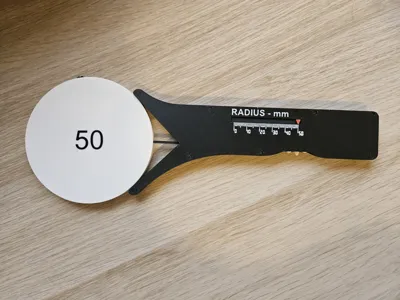
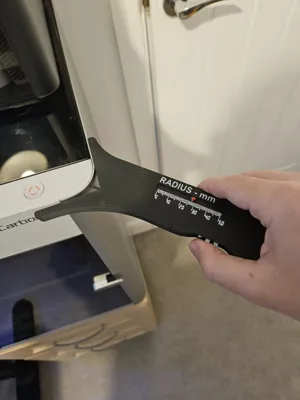
This is a fully printed tool for measuring the radius of circles and and corner fillets. It is an easy to use tool to measure a range of radii without needing dozens of separate gauges.
The range that it can measure is as low as ~2mm radius (4mm diameter) up to 50mm radius (100mm diameter)
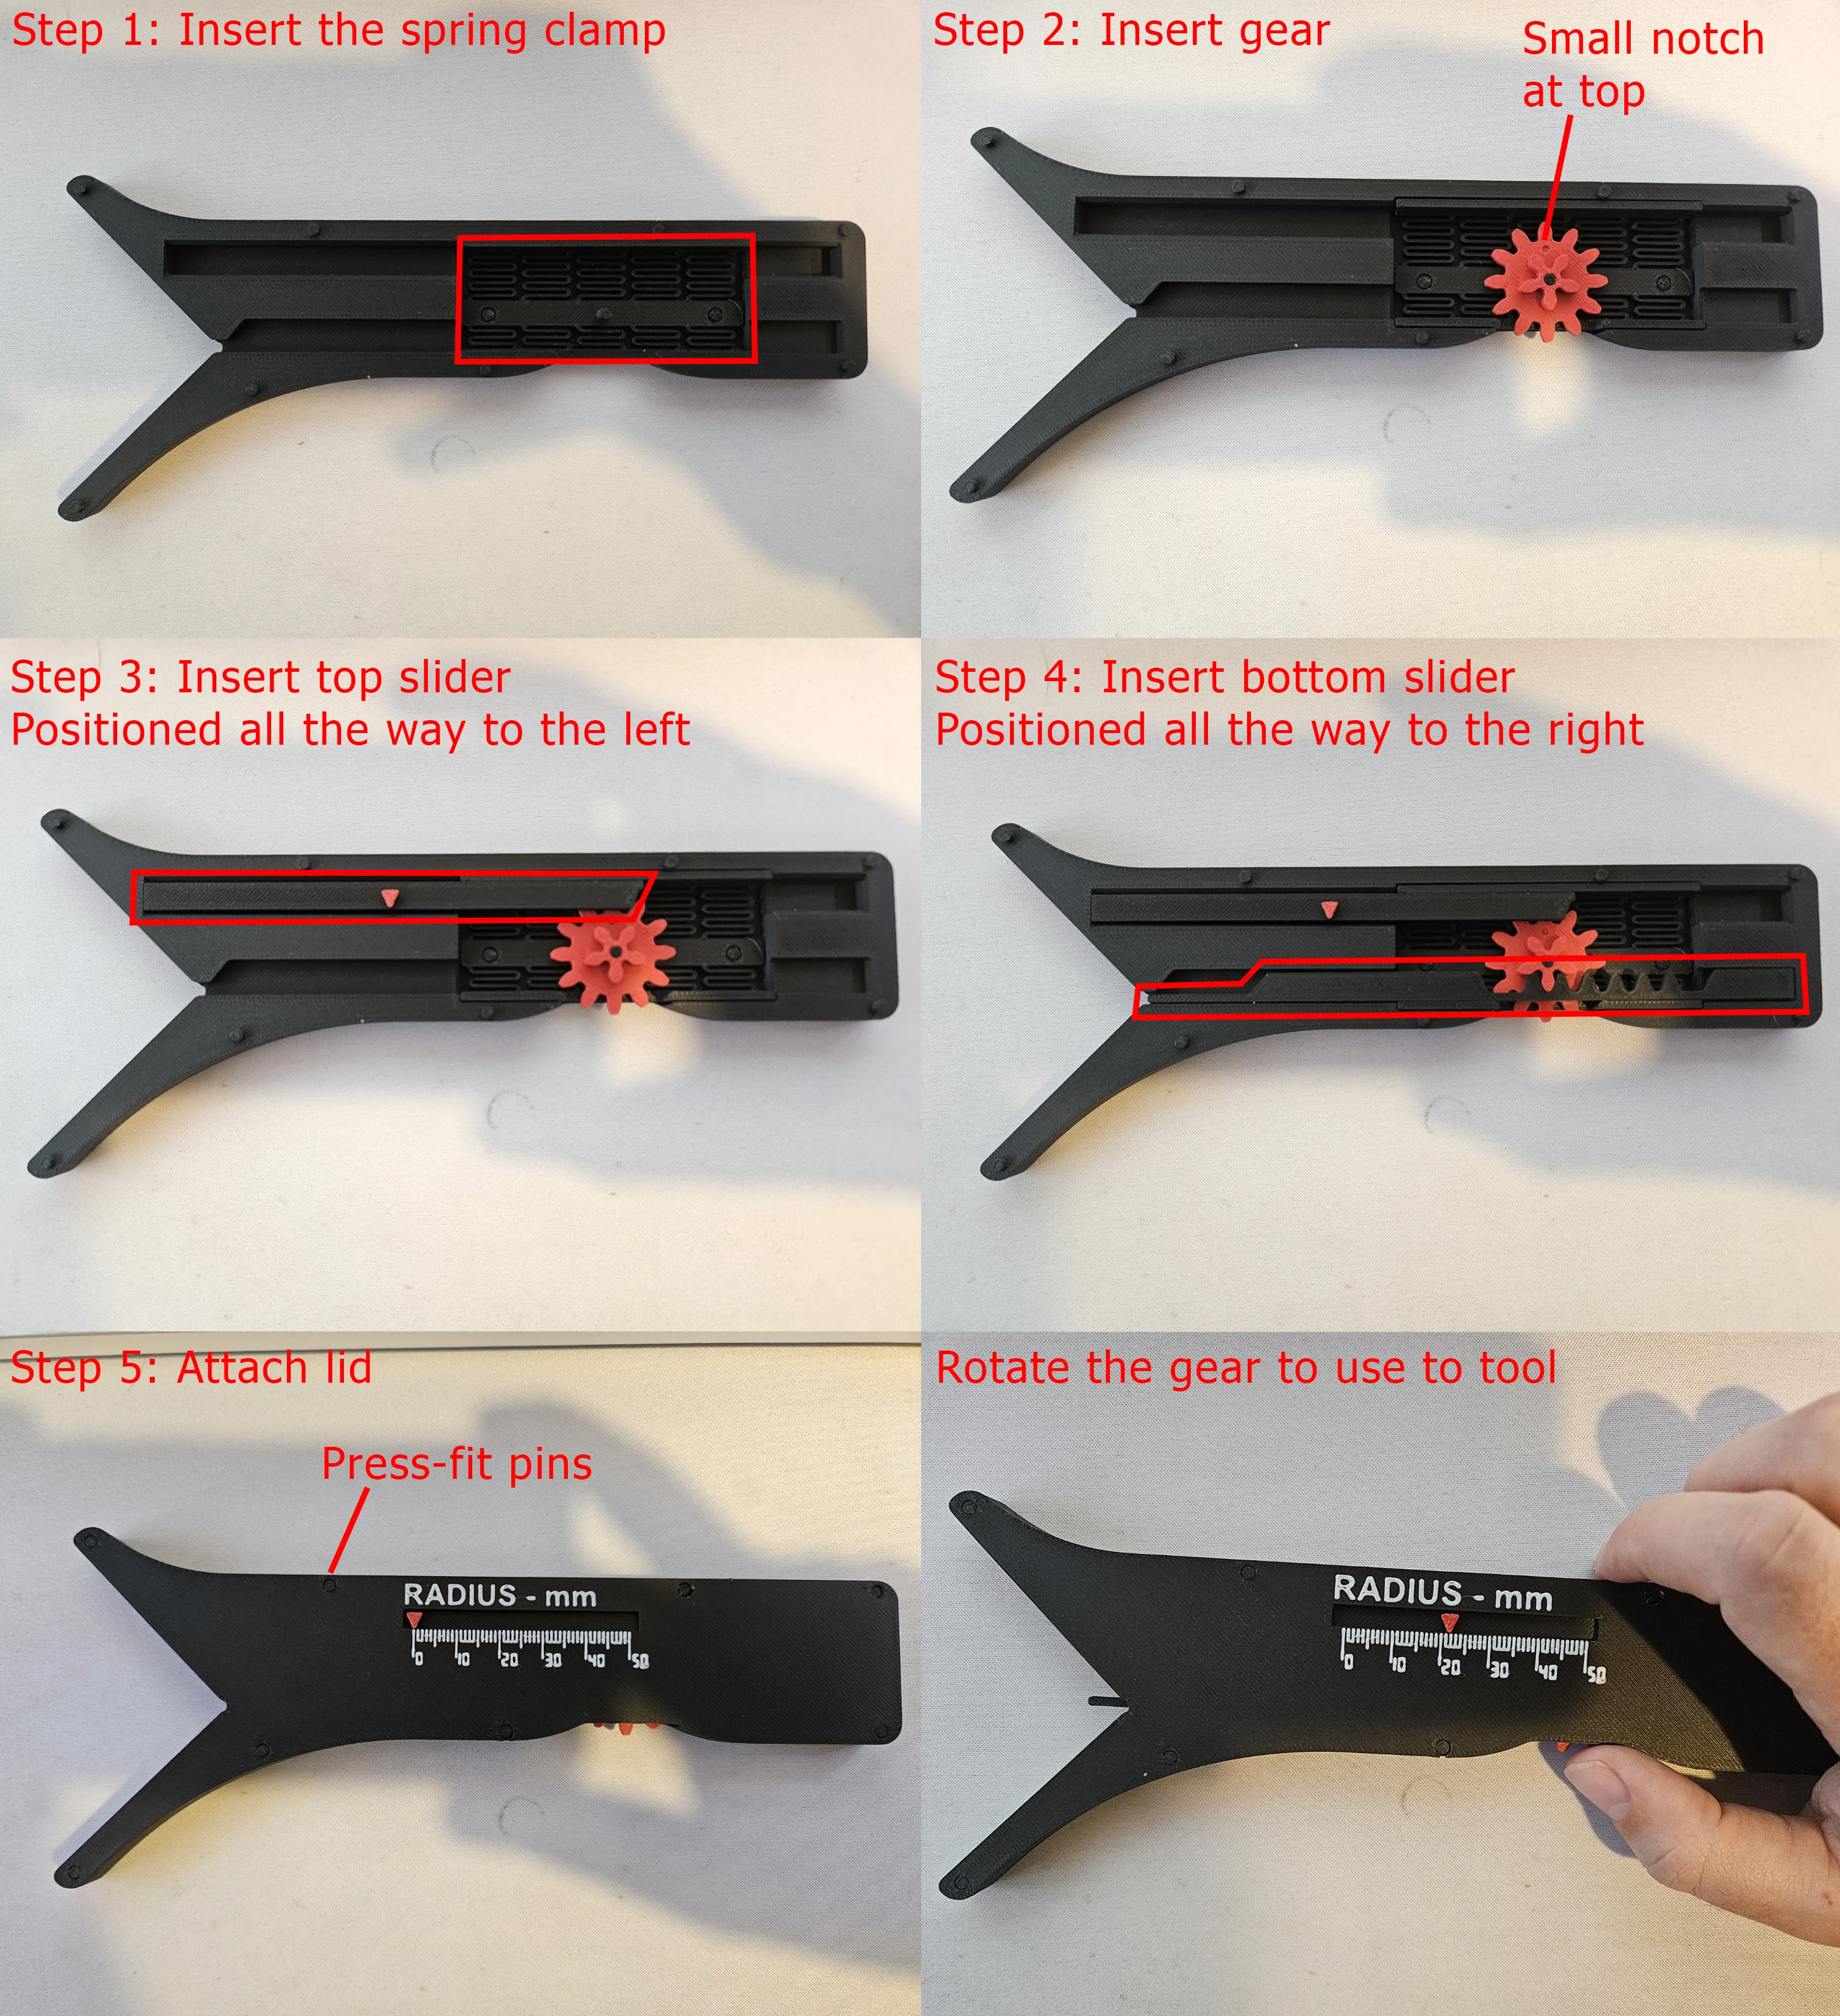
Pleaste note: You must assemble it exactly as per the instructions below otherwise it will not be accurate. The gear must be inserted at a specific orientation, and not just any way that will fit.
Unlike other versions that attach to digital calipers the scale is 1:1, so the reading on the scale is the actual radius of the circle, you do not need to multiply it by some number (such as 2.414). This multiplication is built into the mechanism inside the tool.
No tools, screws, or other parts are required to assemble or use this tool.
An AMS is recommended for printing the scale and arrow marker in another colour, but it is raised slightly so it would still be visible if printing in a single colour. If printing in a single colour you can print the spring clamp on the same bed as everything else. If you are printing with colour however you must print it seperately, as Bambu Studio does not allow the use of a prime tower and single-object raft at the same time. You could print without a prime tower, but I would advise against this.
The accuracy of the internal mechanism is extremely accurate, however printing tolerances obviously reduce this. Still it should be accurate approximately to the nearest millimeter.
Some of the parts are quite intricate, so to get the best results please ensure you have a very clean print bed (wash with soap and water). The spring clamp is recommended to print on a 2-layer raft due to the small springs that will struggle to stick to the print bed.
I strongly recommend using the provided print profile unless you know how best to tune your own.
Due to printing inaccuracies you might find the mechanism is a little stiff at first, just slide it back-and-forth a good few times and it will loosen up. The spring clamp inside is there to minimise backlash to improve the accuracy but this will provide a bit of friction.
All images provided here were printed with a standard 0.4mm nozzle, you could use a 0.2mm to improve the look of the printed scale.
Finally I hope you all like my tool, let me know if you need any help :D
Assembly Instructions
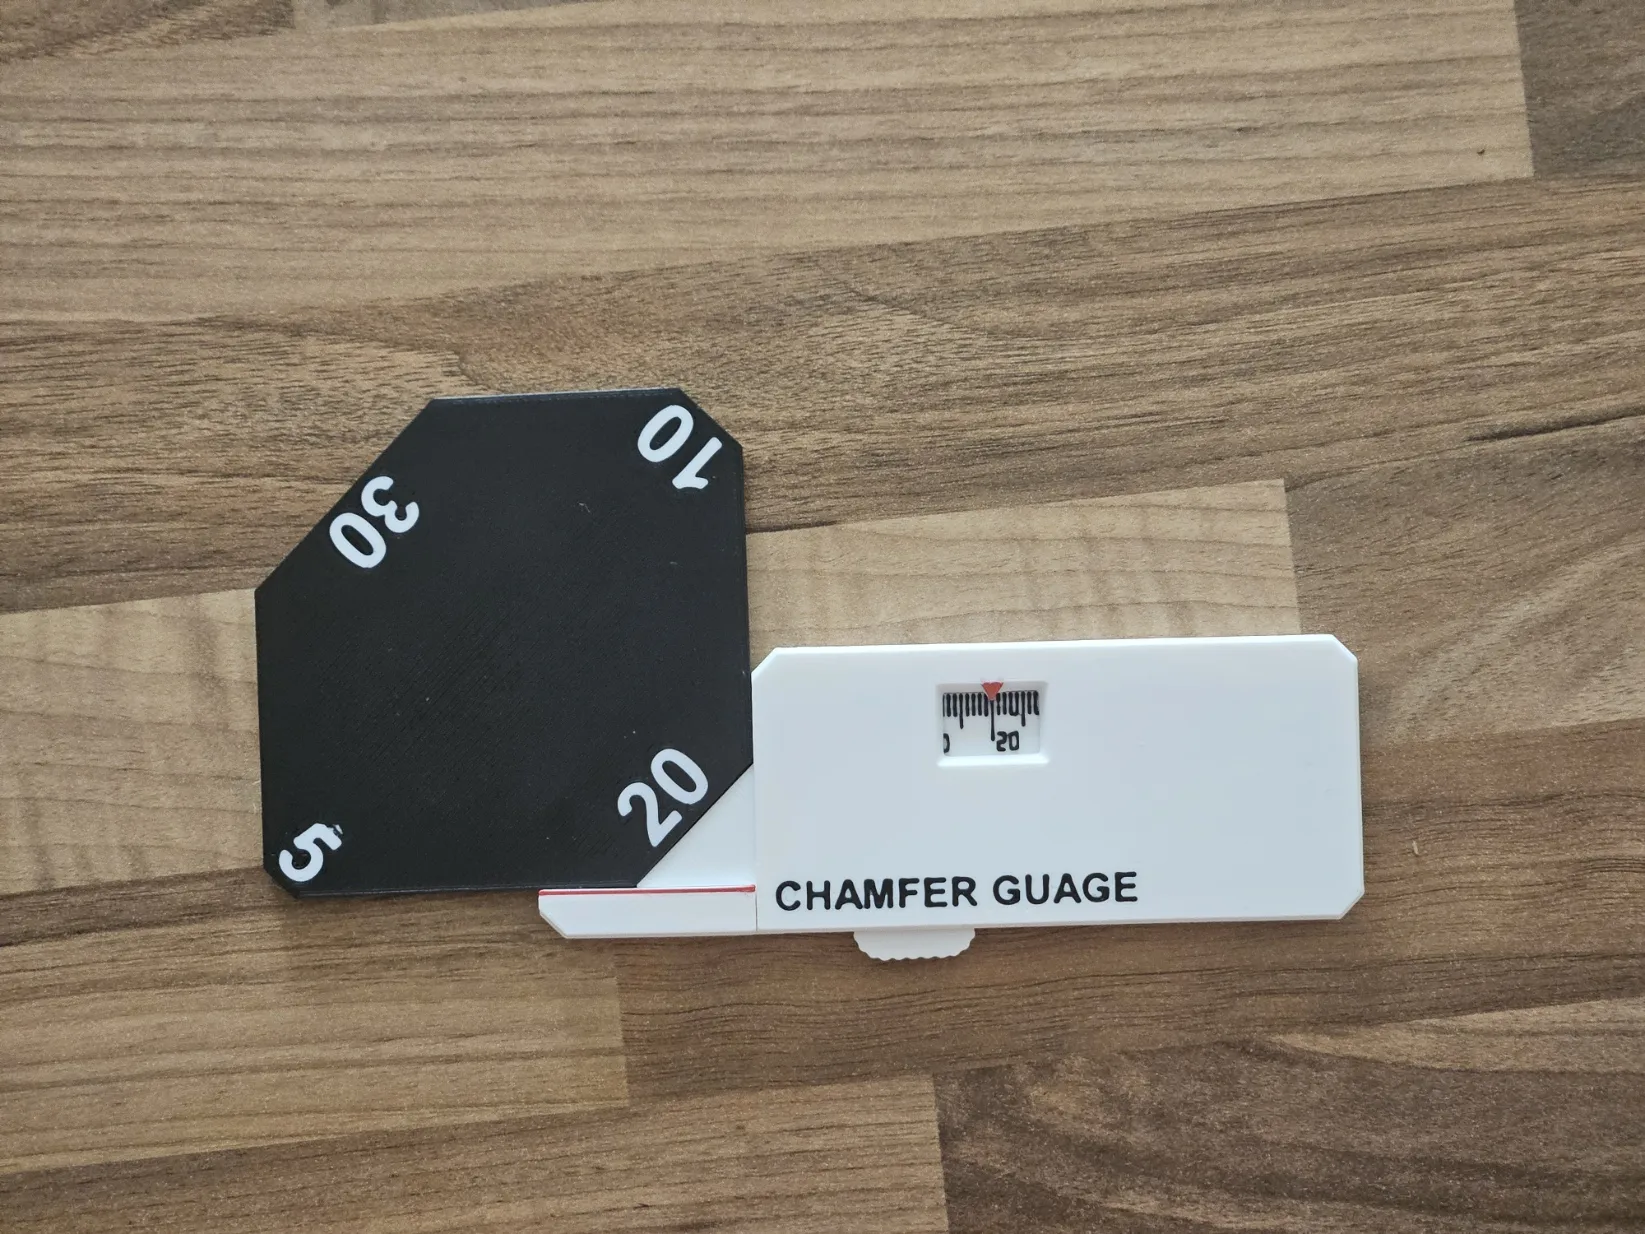
Also checkout my Chamfer Gauge
https://makerworld.com/en/models/1505553-adjustable-chamfer-gauge#profileId-1575605
License

You shall not share, sub-license, sell, rent, host, transfer, or distribute in any way the digital or 3D printed versions of this object, nor any other derivative work of this object in its digital or physical format (including - but not limited to - remixes of this object, and hosting on other digital platforms). The objects may not be used without permission in any way whatsoever in which you charge money, or collect fees.


Comment & Rating (1243)