
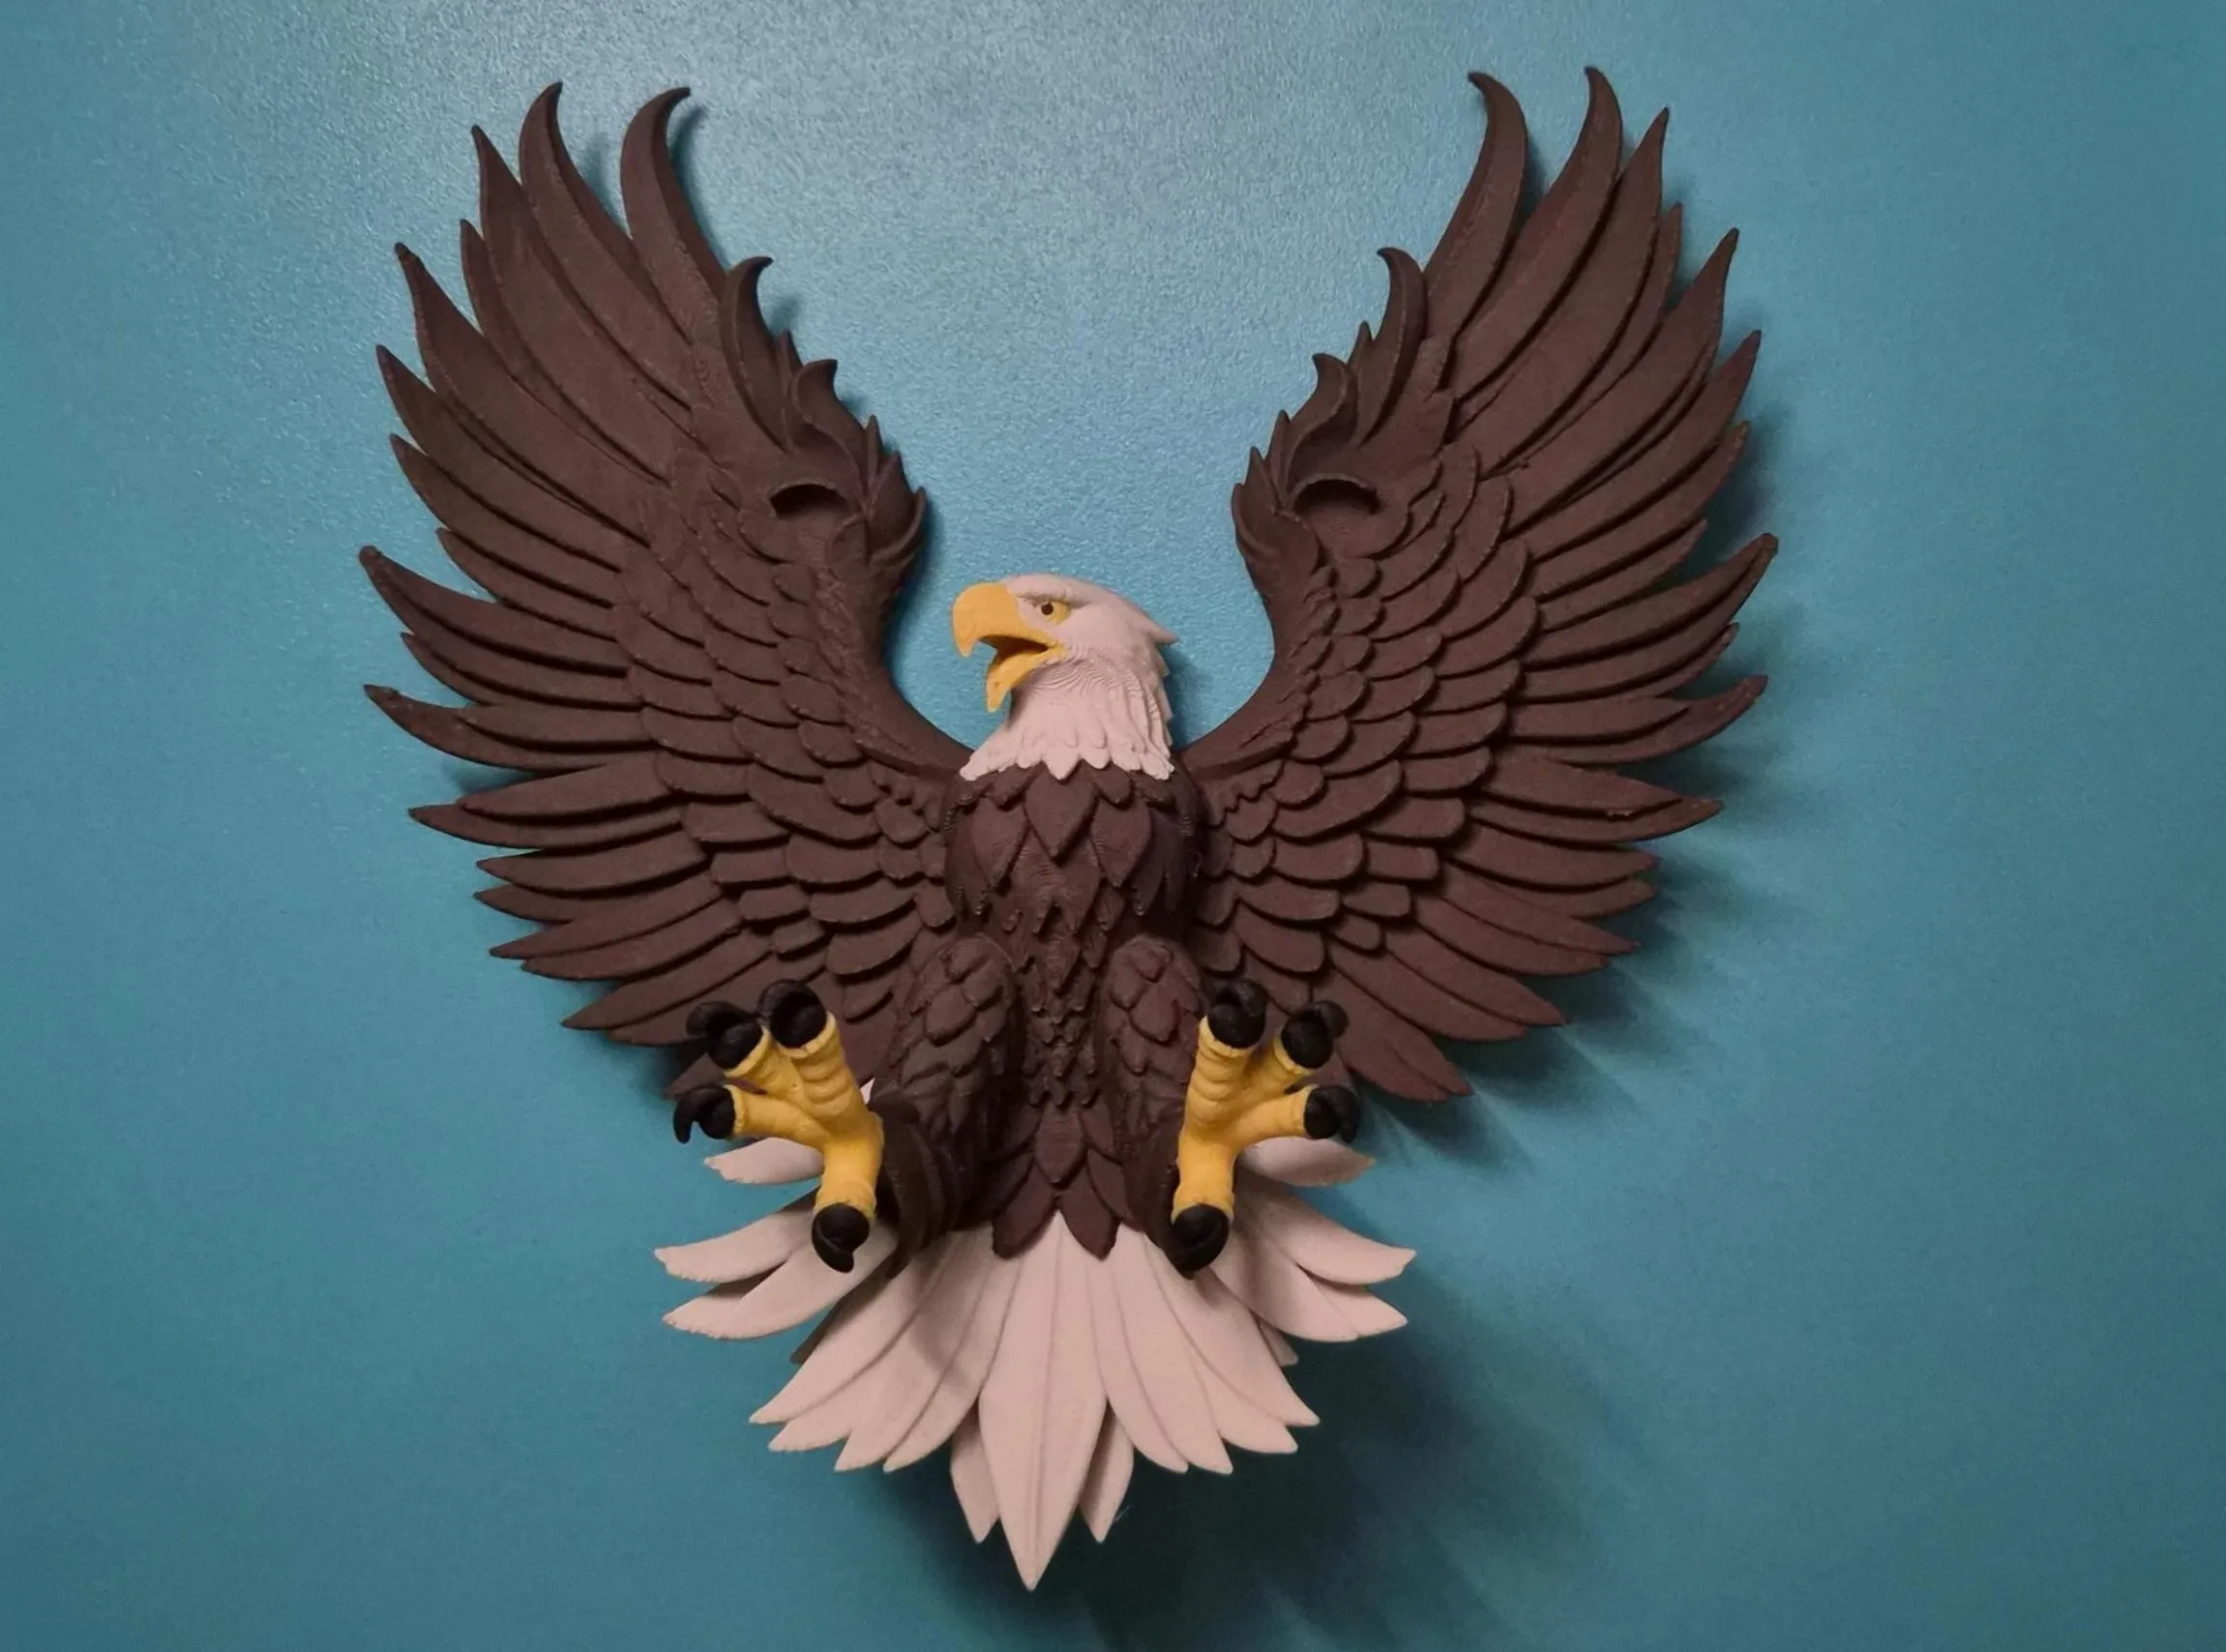
Bald Eagle Stormhold Crest | Multicolor Multipart
Print Profile(4)
![[225mm] variable layer, 2 walls, 5% infill](https://makerworld.bblmw.com/makerworld/model/USa7b748e6d114a/573502869/instance/2025-06-04_44bc387a3960f.jpeg?x-oss-process=image%2Fresize%2Cw_100%2Fformat%2Cwebp)
![[450mm] variable layer, 2 walls, 5% infill](https://makerworld.bblmw.com/makerworld/model/USa7b748e6d114a/773644700/instance/2025-10-19_ff753fe85df9b8.jpg?x-oss-process=image%2Fresize%2Cw_100%2Fformat%2Cwebp)
![[225mm] 0.16mm layer, 2 walls, 5% infill](https://makerworld.bblmw.com/makerworld/model/USa7b748e6d114a/573506164/instance/2026-01-20_d34576919632d8.jpeg?x-oss-process=image%2Fresize%2Cw_100%2Fformat%2Cwebp)
![[450mm] 0.2mm layer, 2 walls, 5% infill](https://makerworld.bblmw.com/makerworld/model/USa7b748e6d114a/773623317/instance/2026-01-20_64906b61505268.jpg?x-oss-process=image%2Fresize%2Cw_100%2Fformat%2Cwebp)






Description
Boost Me (for free)
Boost = fuel for the next design! If you’ve enjoyed my work, hit Boost and be part of the creative streak. Also, tap Follow to catch the next drop.
Membership
You can sell physical prints of this model as long as you subscribe to my Commercial License Membership.
⚠️ Print Profile Update & Recommendation
The majority of users have printed this model successfully using the original profiles. However, a small number of users reported issues related to supports, surface “fibers,” and head printing, when using variable layer height.
To ensure safer and more reliable printing for everyone, I have added new print profiles (225mm and 450mm) with the following changes:
- Variable layer height disabled, allowing the use of organic tree supports, which are more stable and reliable
- Reduce infill retraction enabled to minimize fine stringing or “fiber” residue
👉 Recommendation:
If you experienced failed prints, difficult assembly, or support issues with the variable layer height profiles, please use these new profiles instead. They are optimized for reliability and easier post-processing.
If you still encounter any issues, feel free to leave a comment.
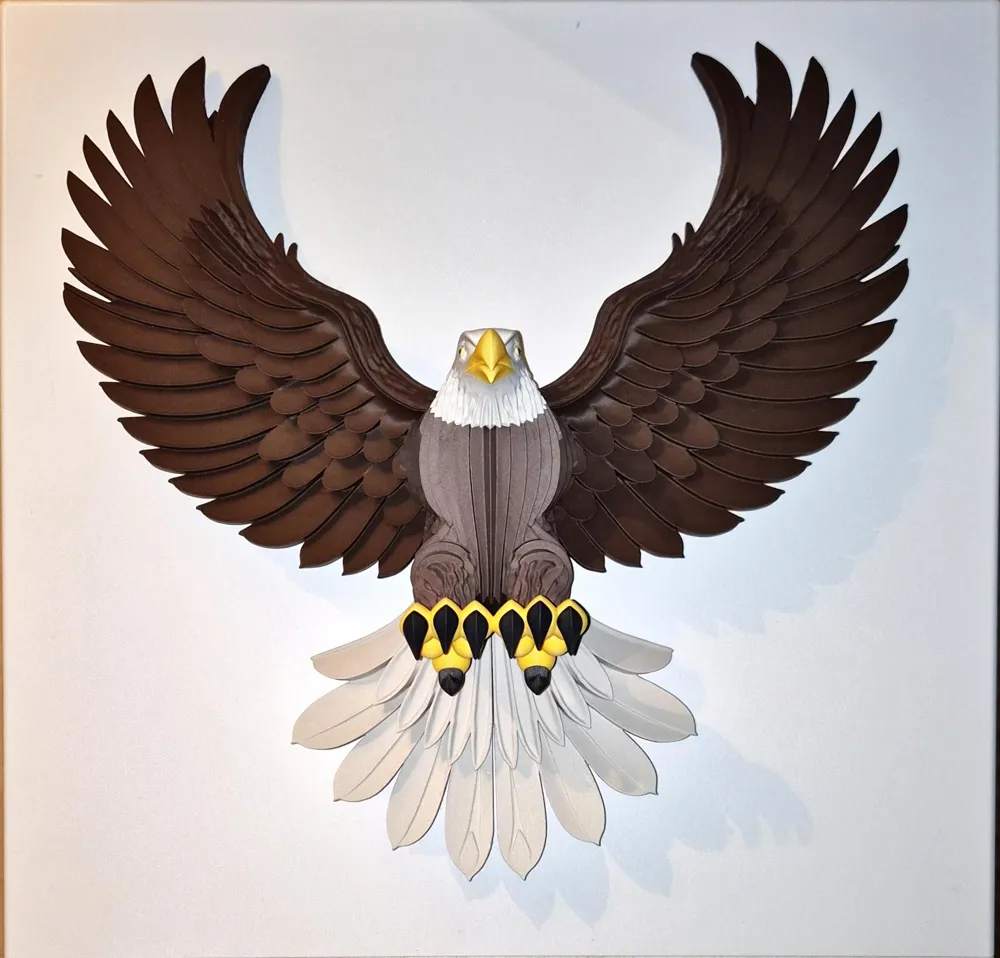
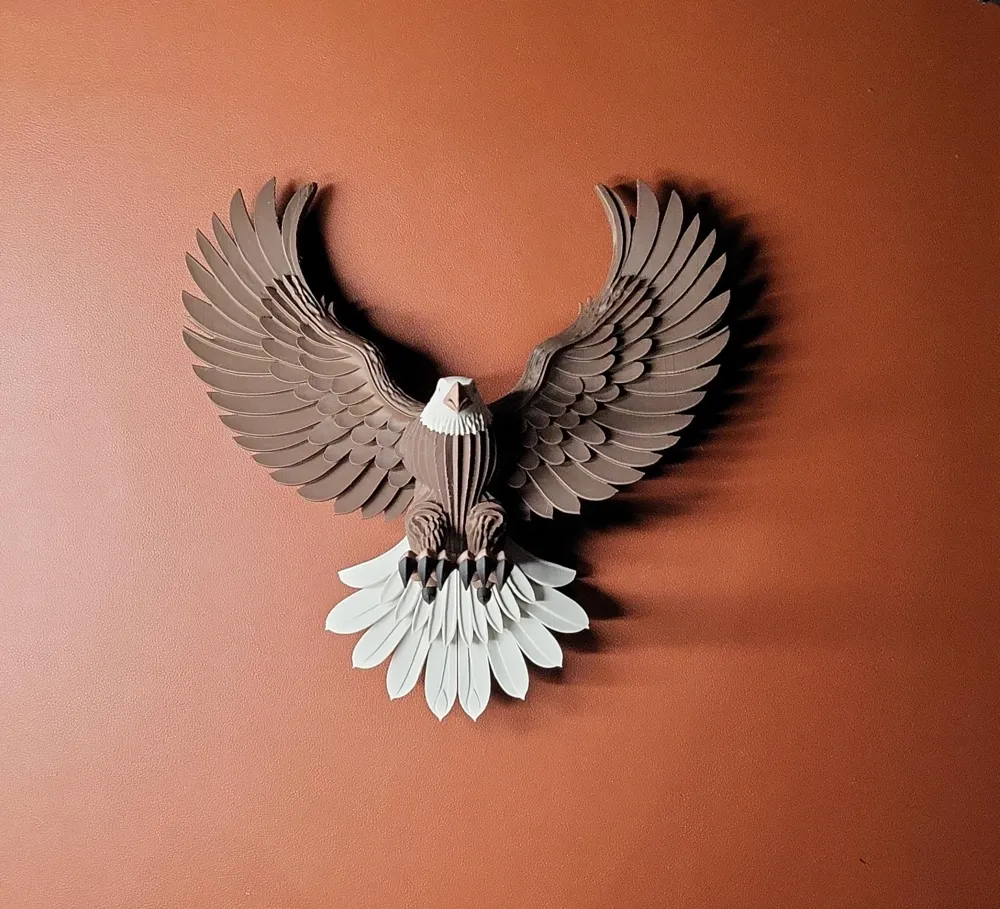
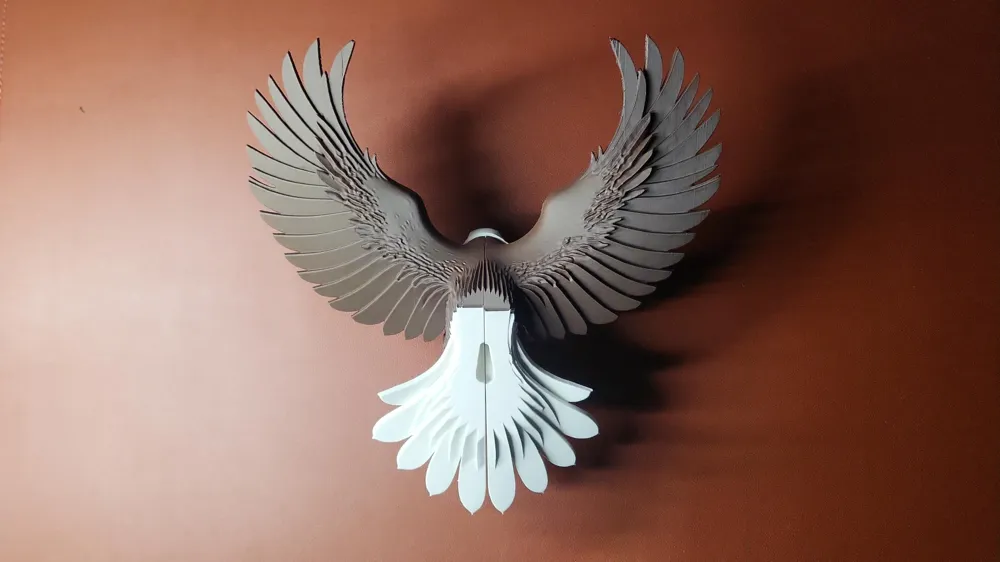
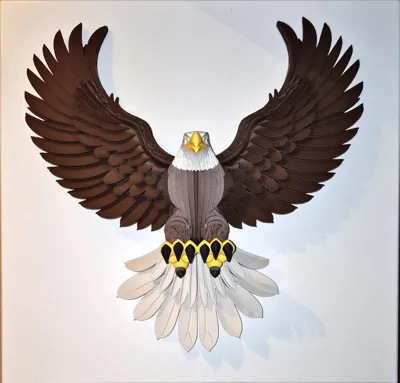
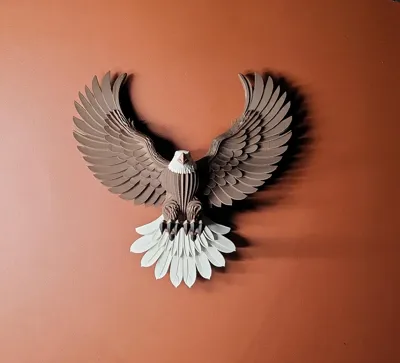
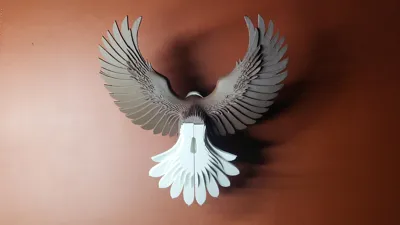
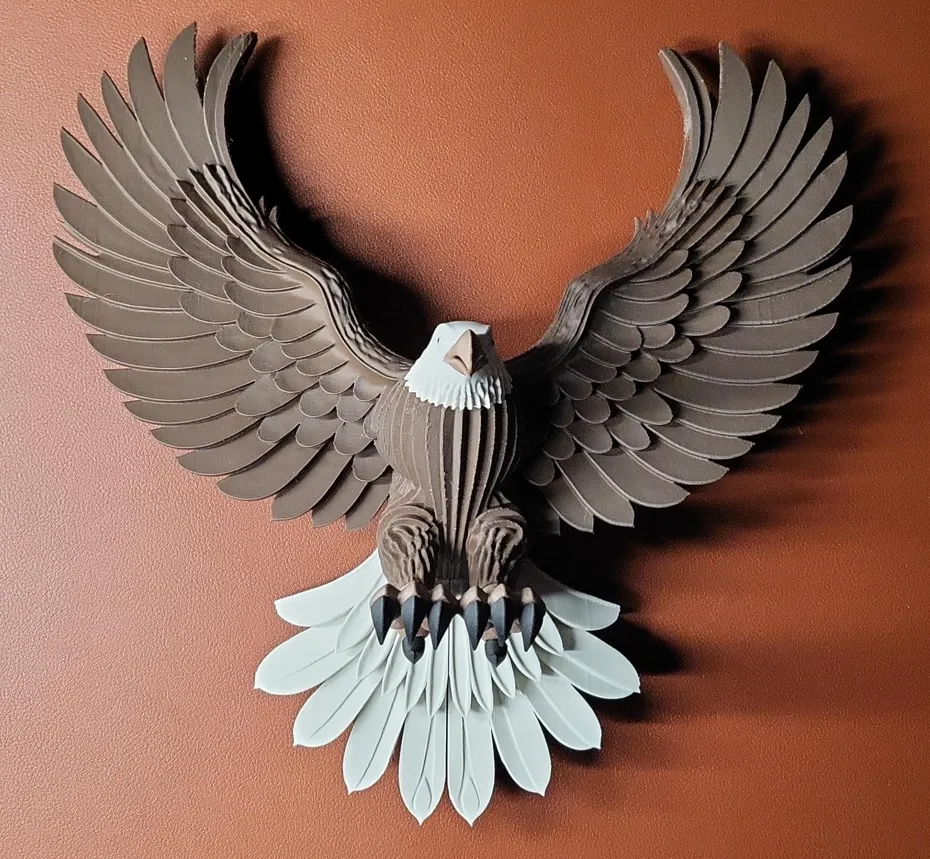
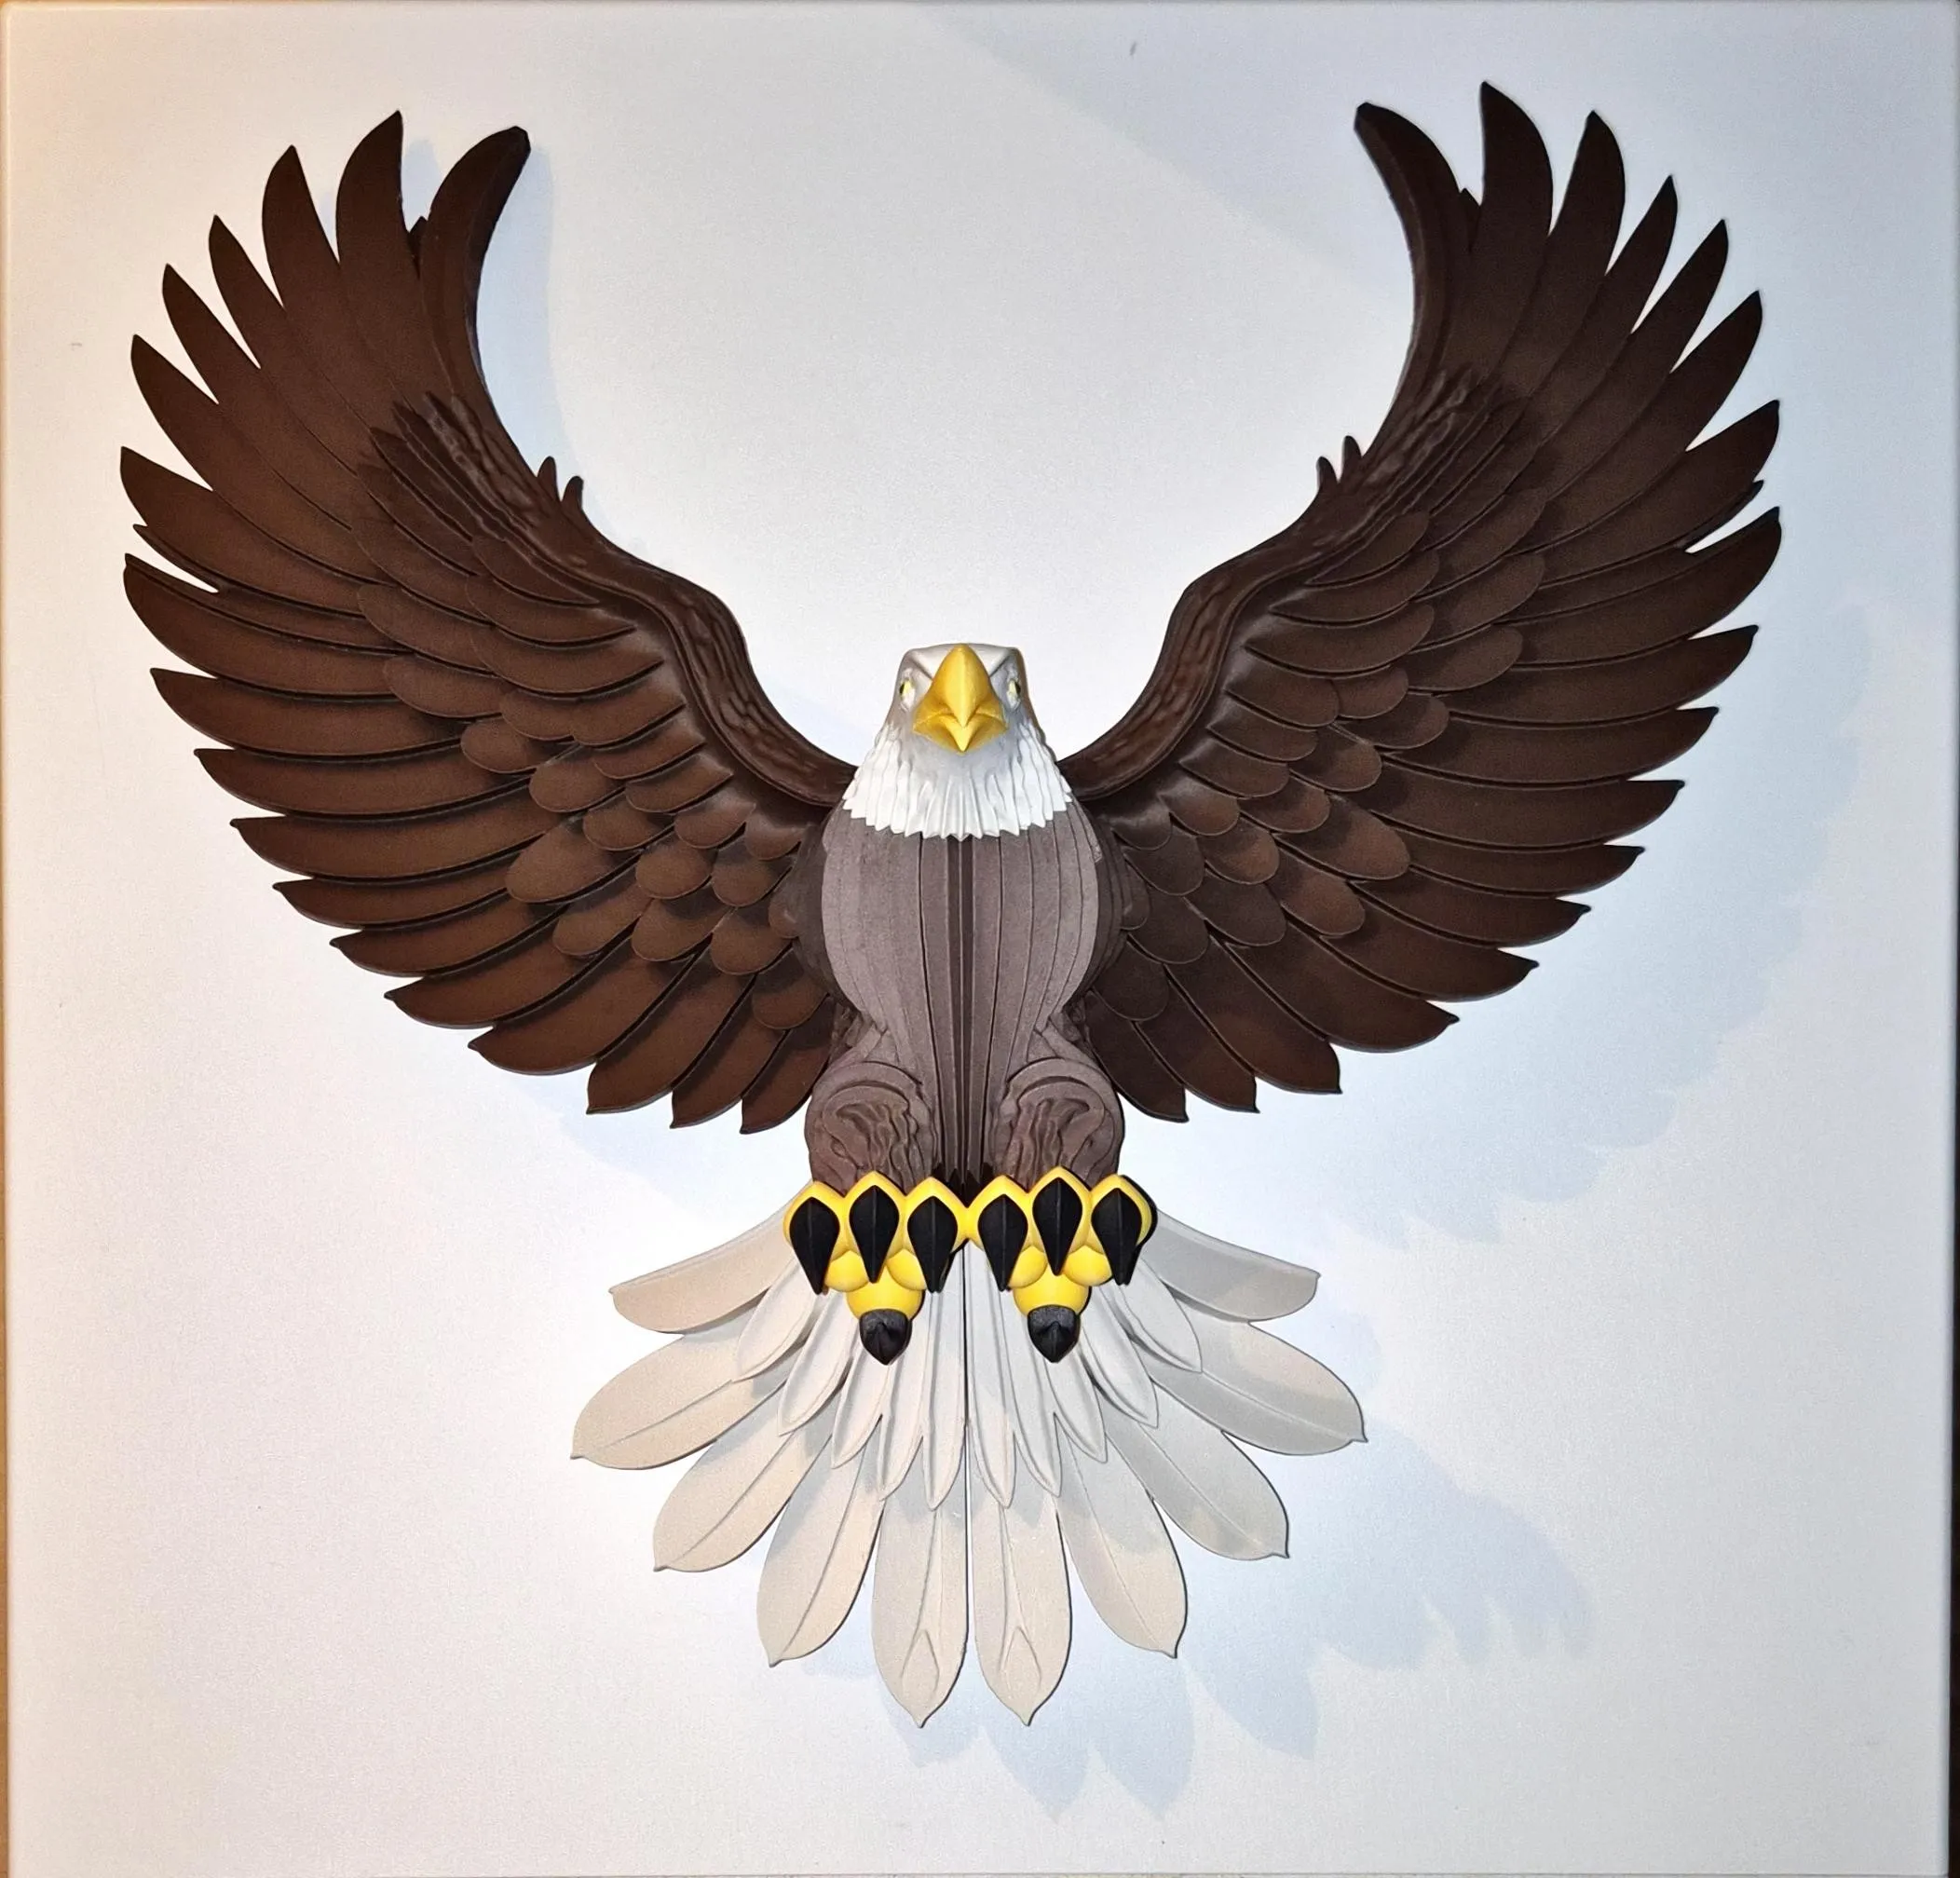
🦅 Eagle of the Stormhold Crest – Modular Wall Sculpture
Bring the fierce spirit of flight to your wall with this highly detailed modular eagle sculpture. Designed for efficient multicolor 3D printing and easy assembly.
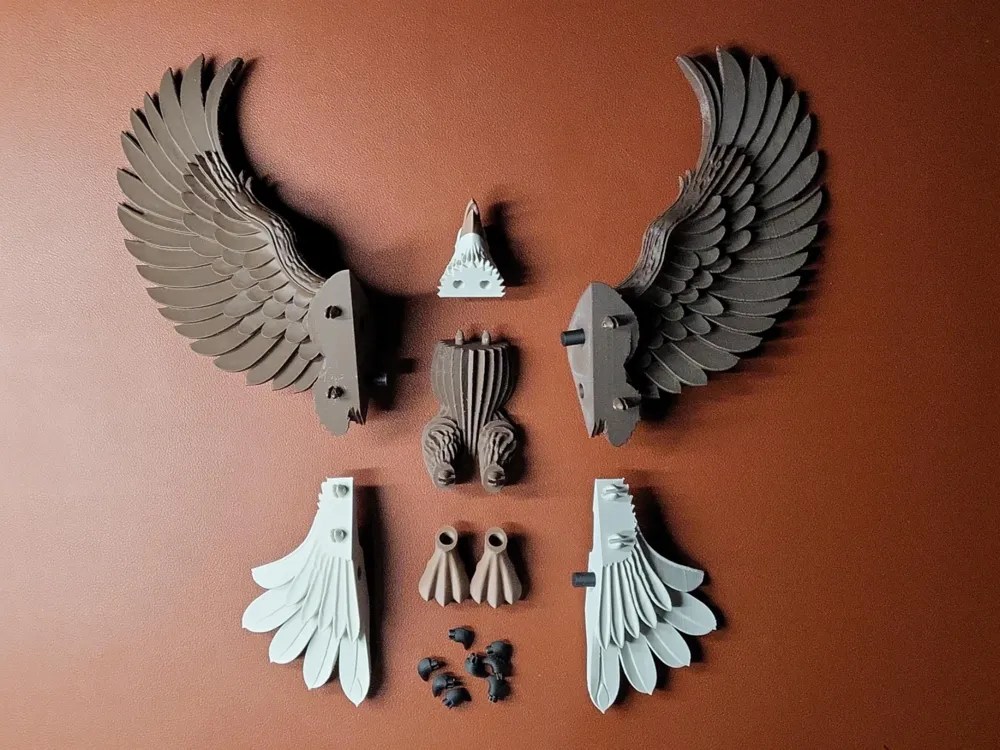
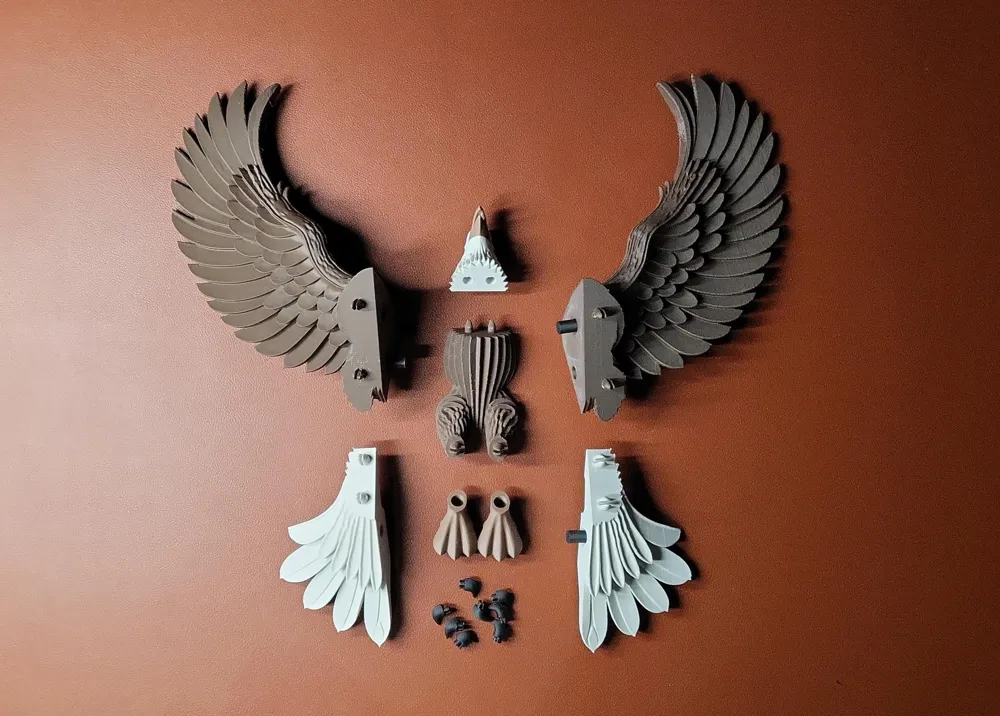
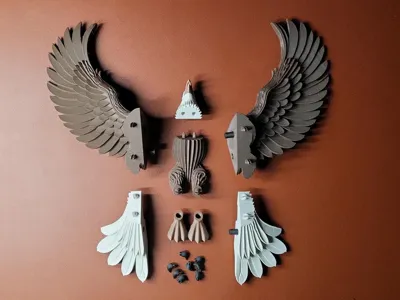
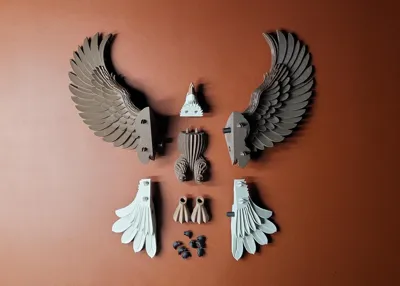
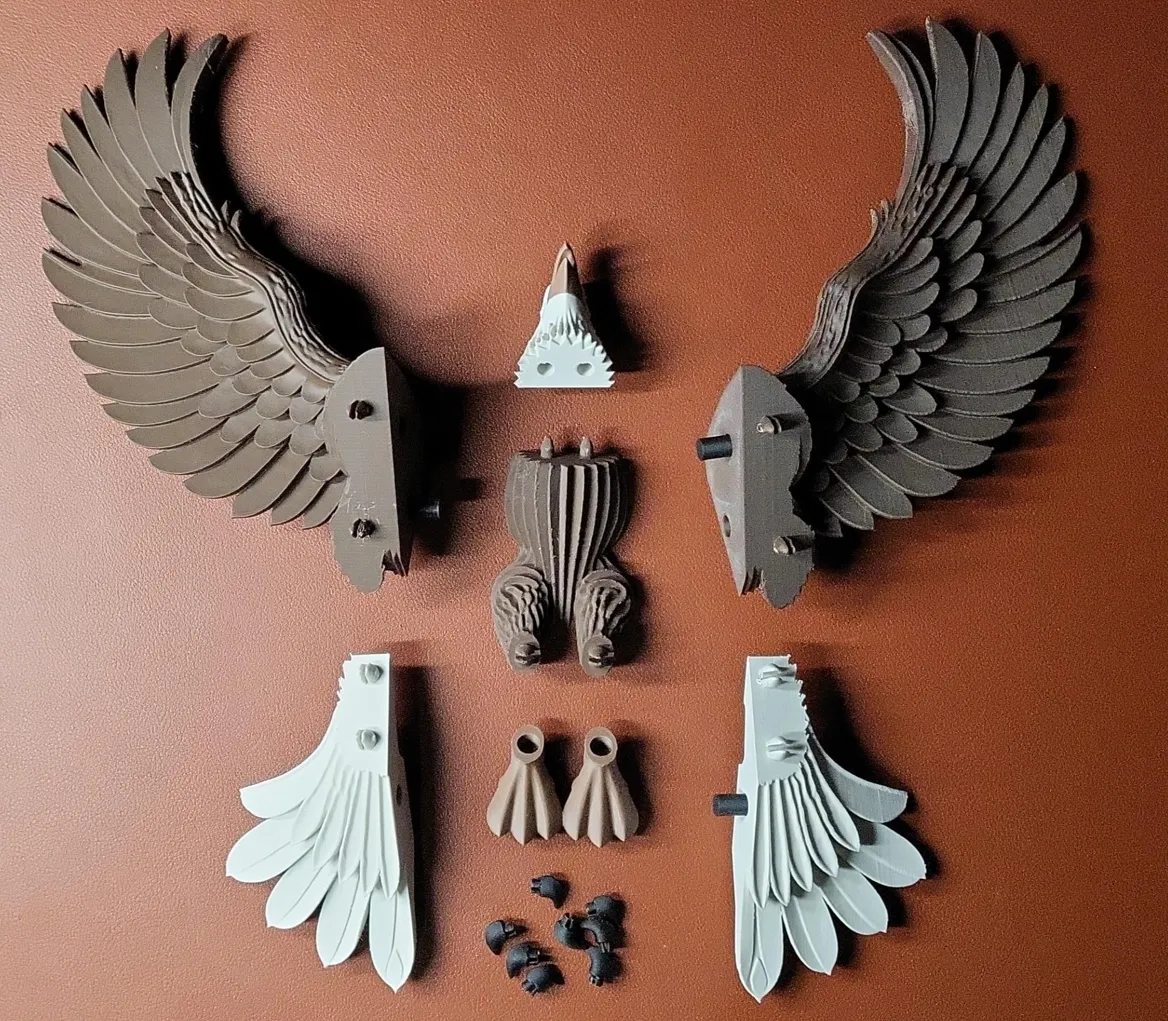
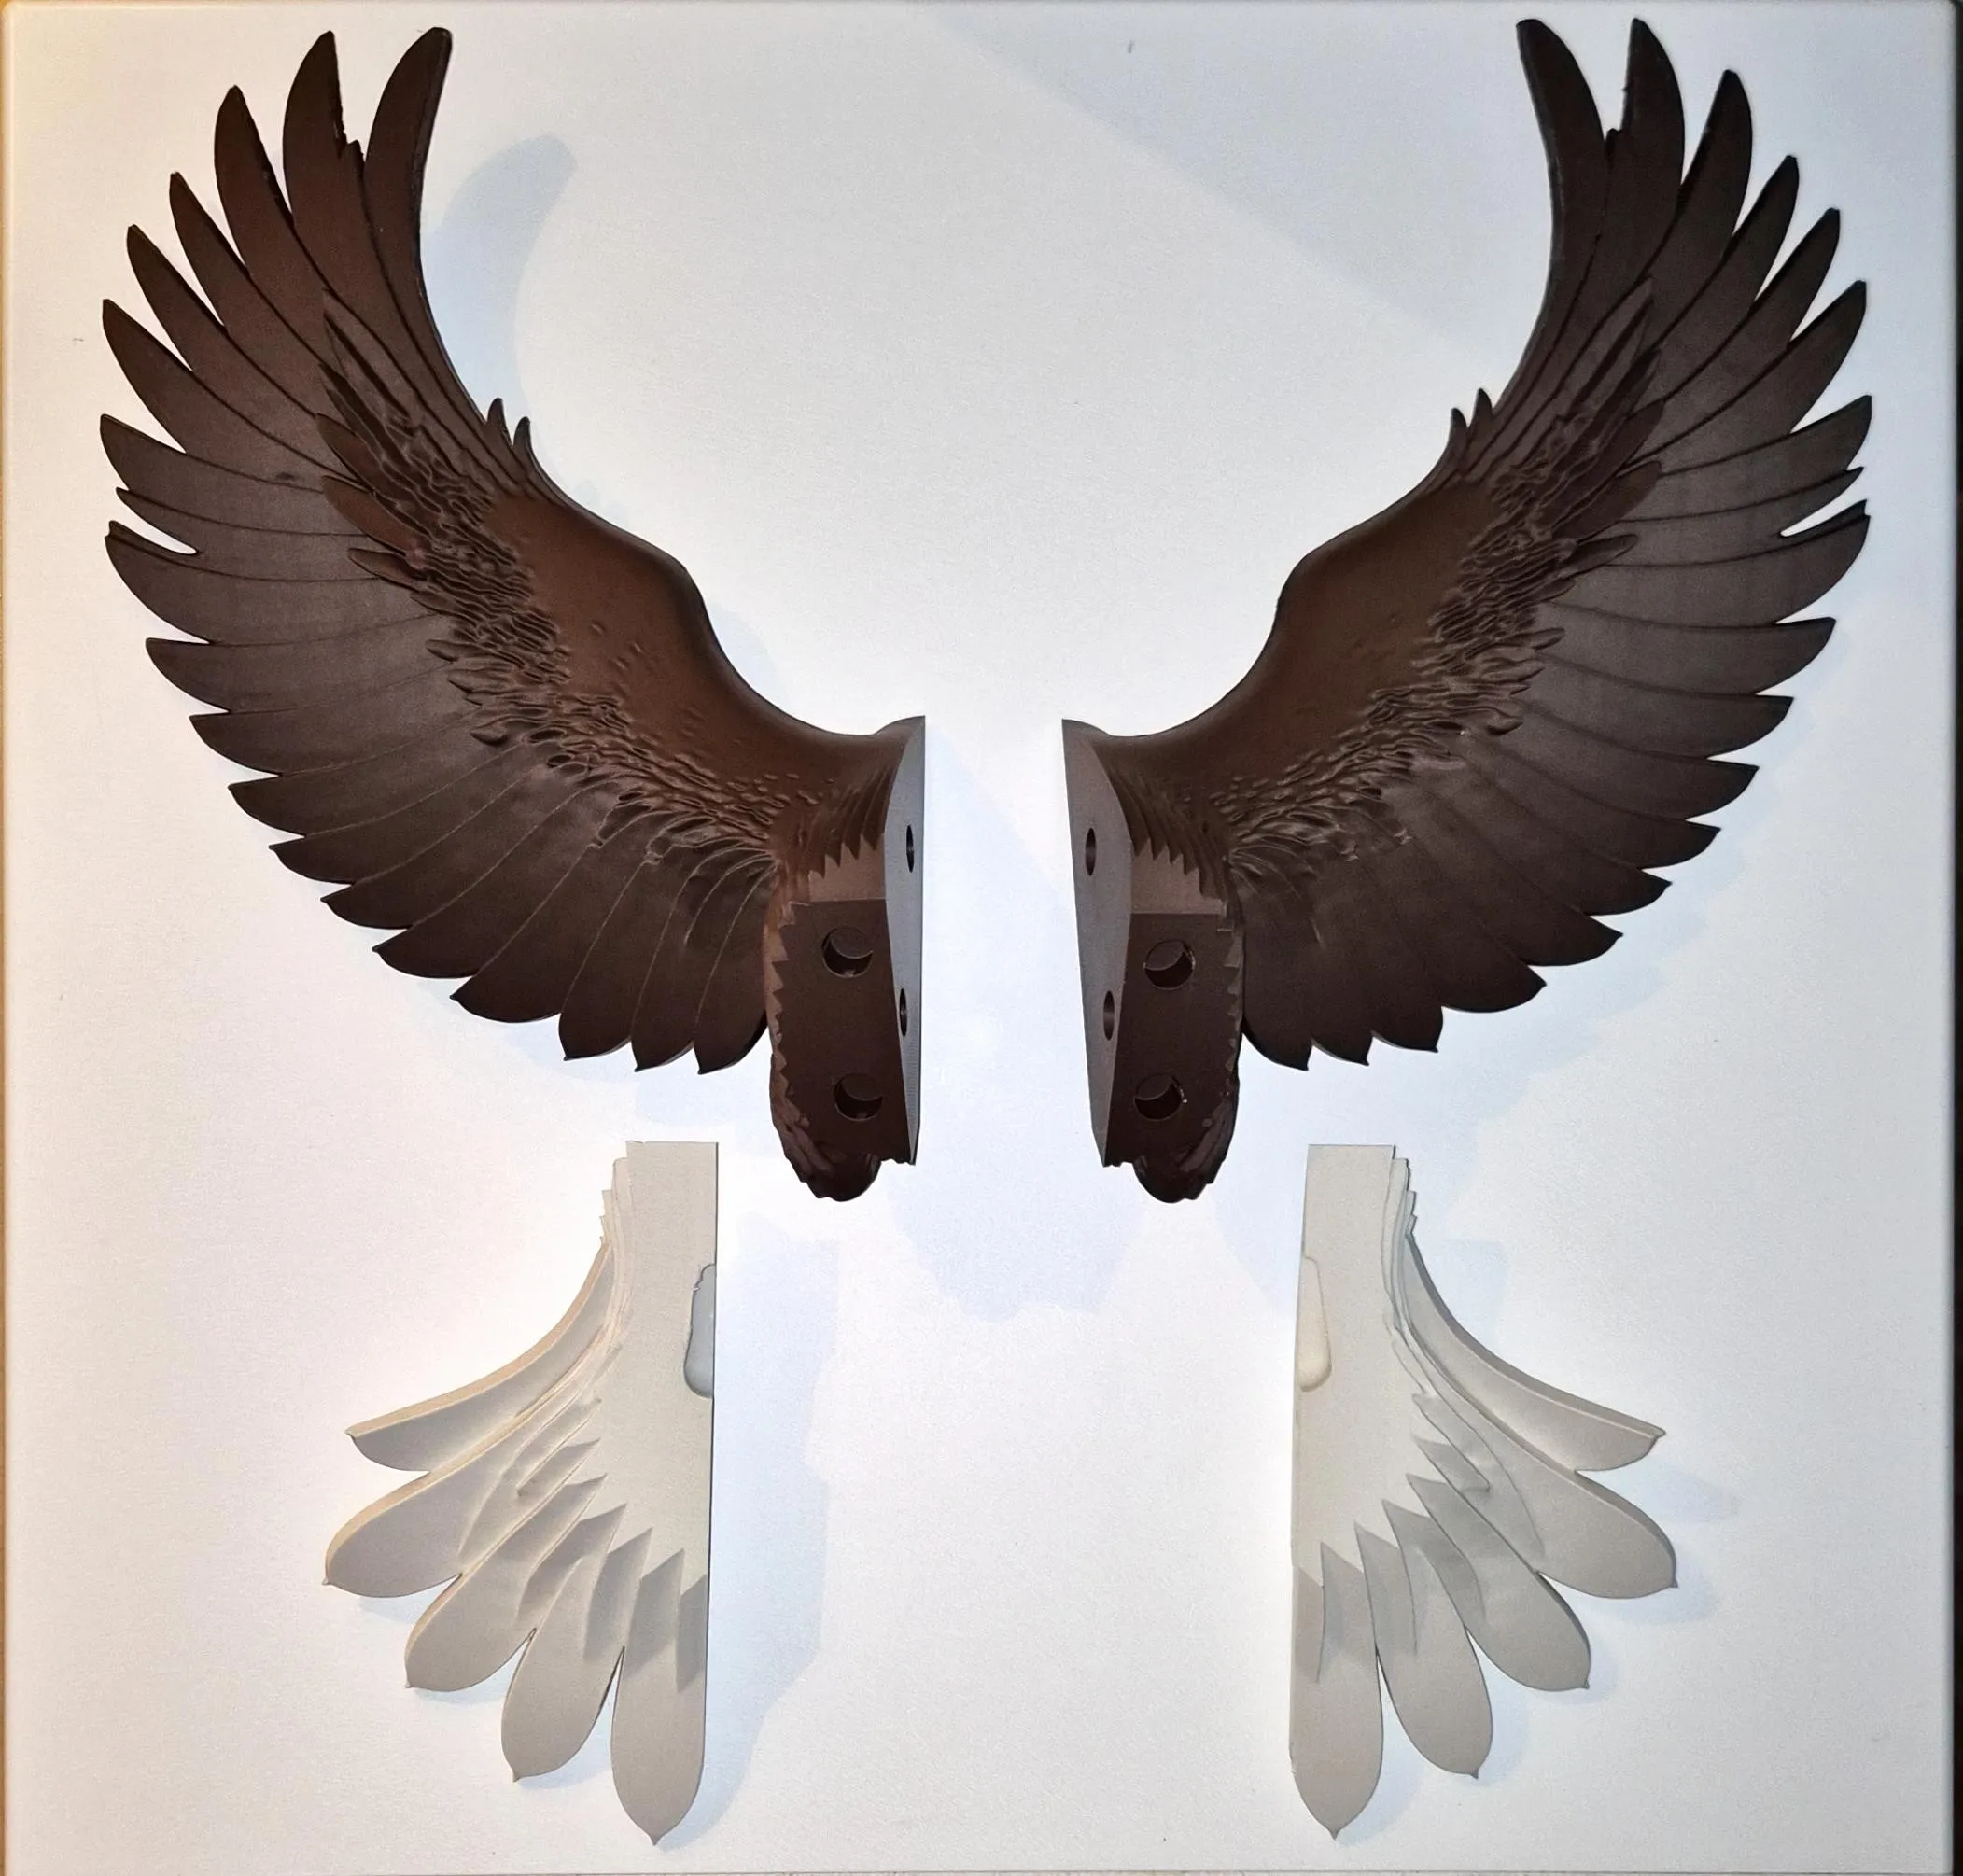
- Cut for optimal orientation to reduce supports and enable AMS-free multicolor printing (only the head needs AMS, but a single-color head is also included)
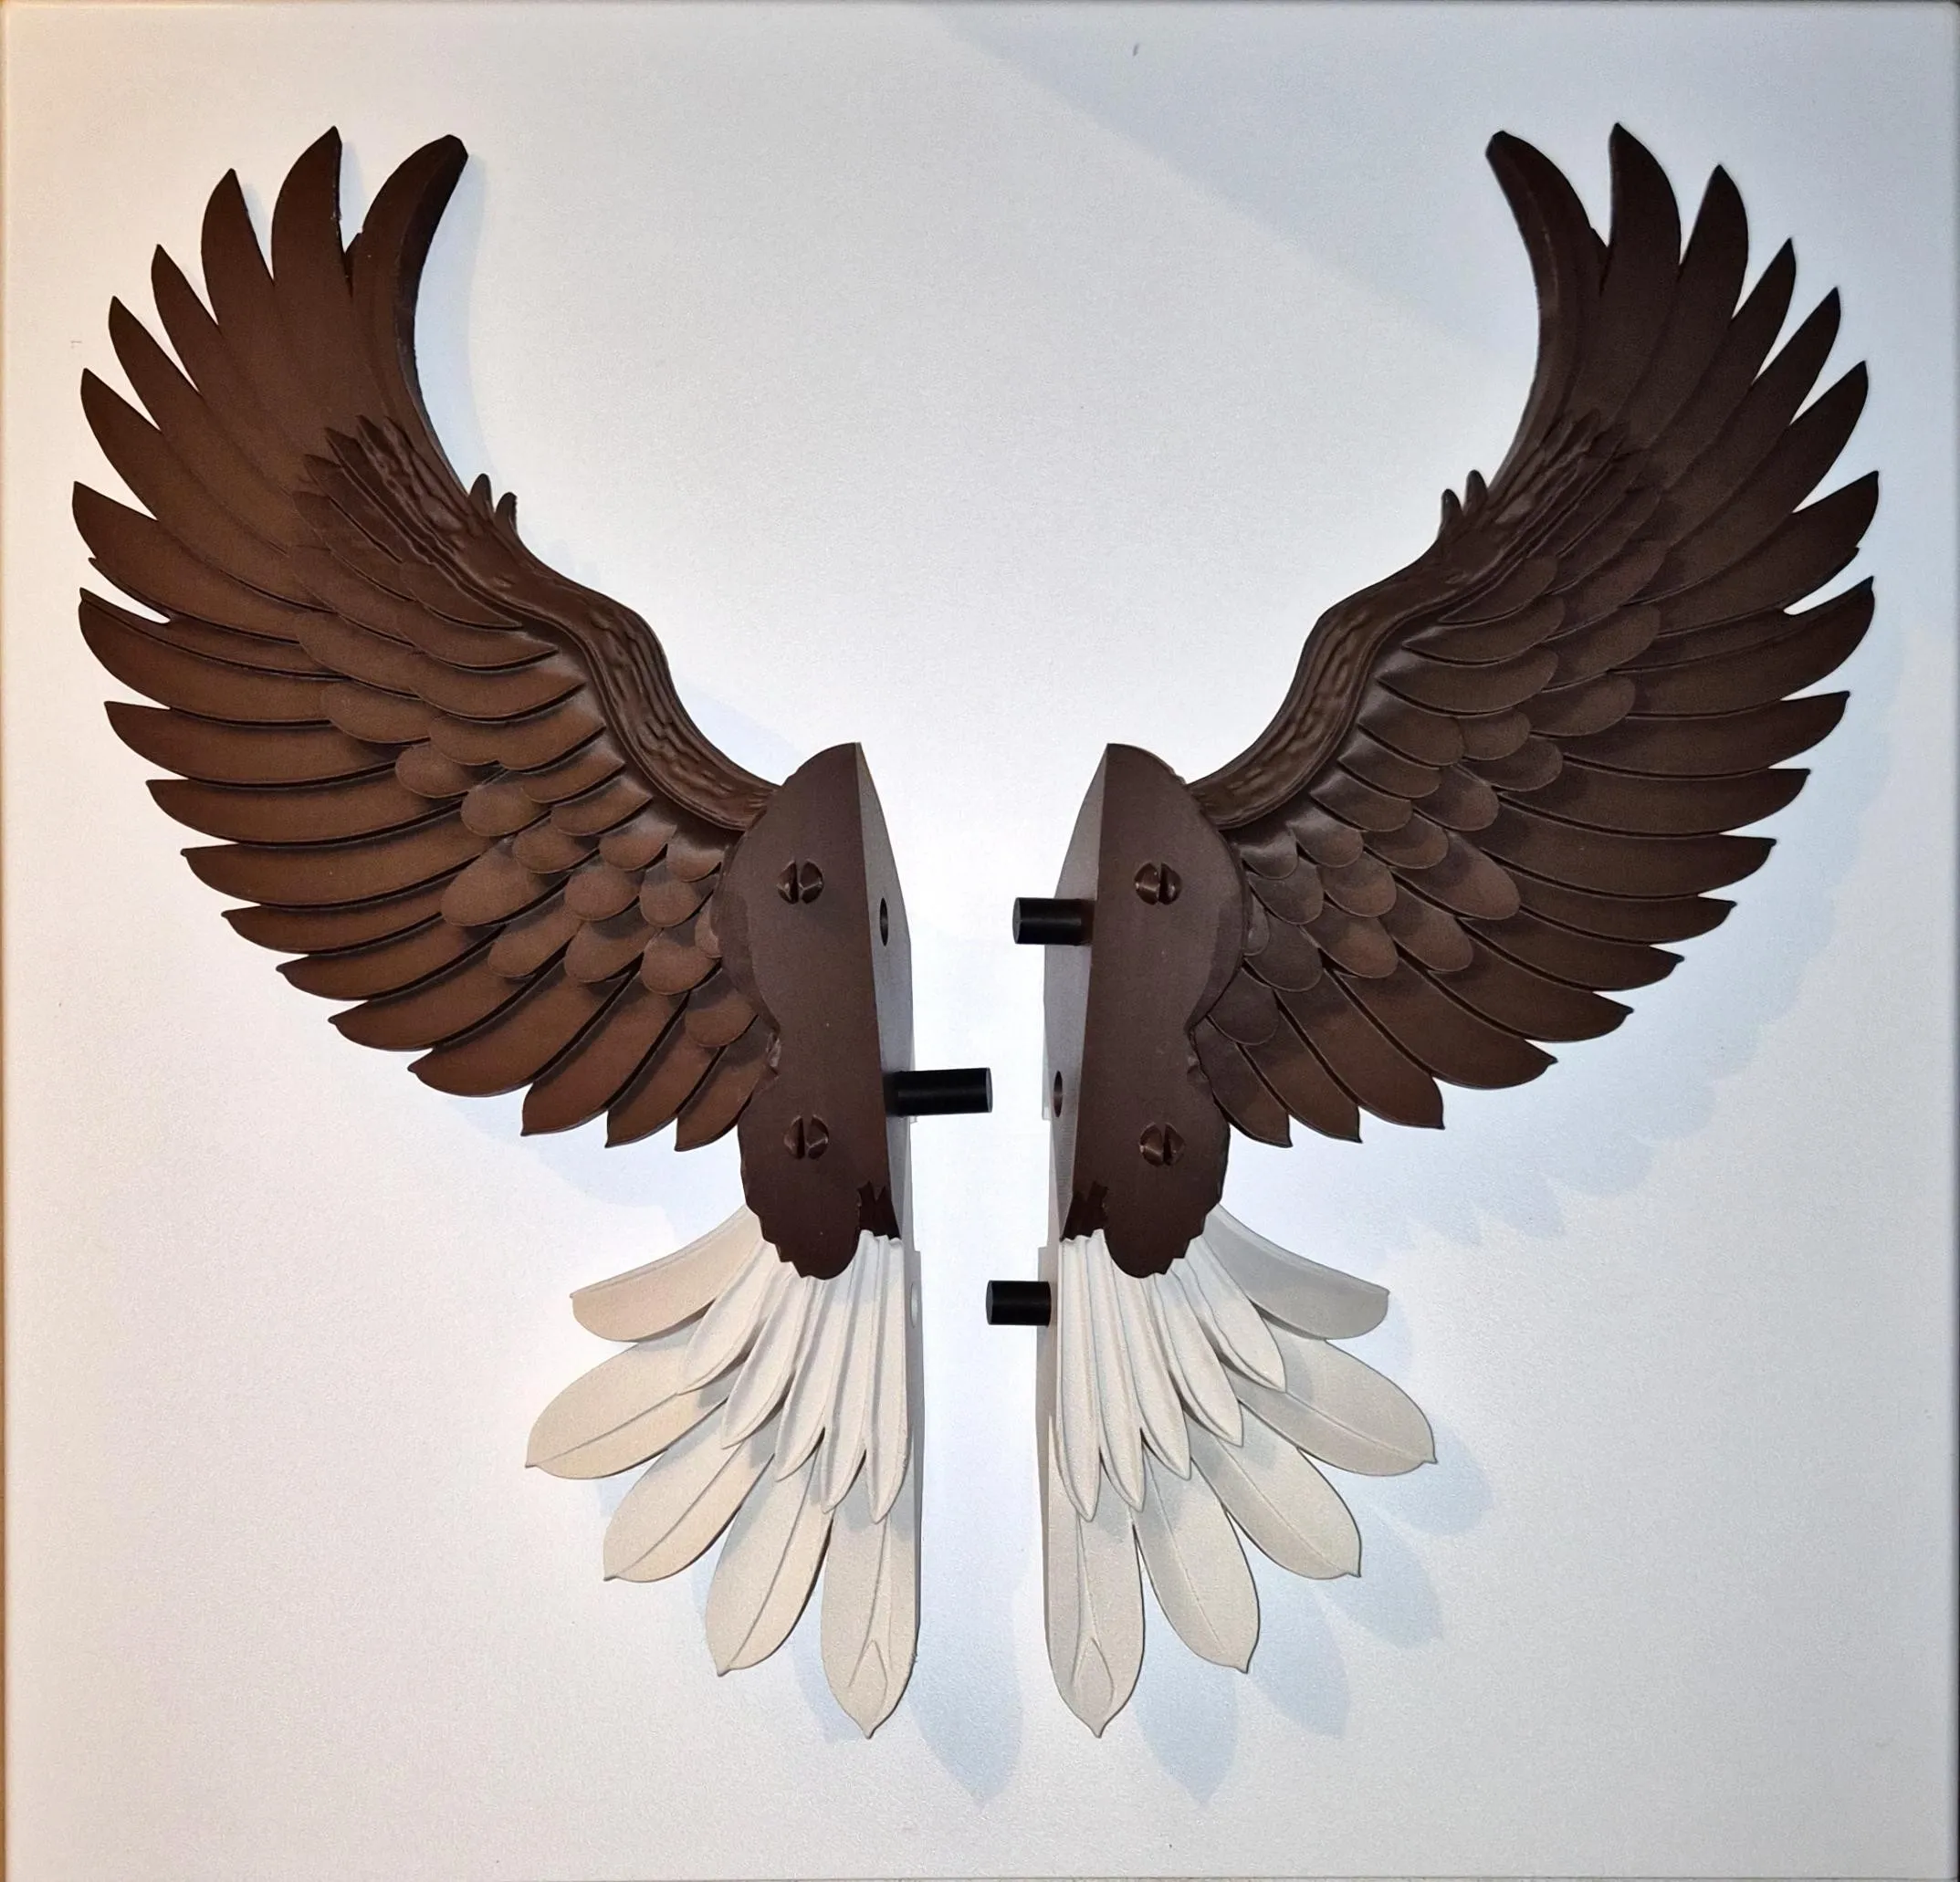
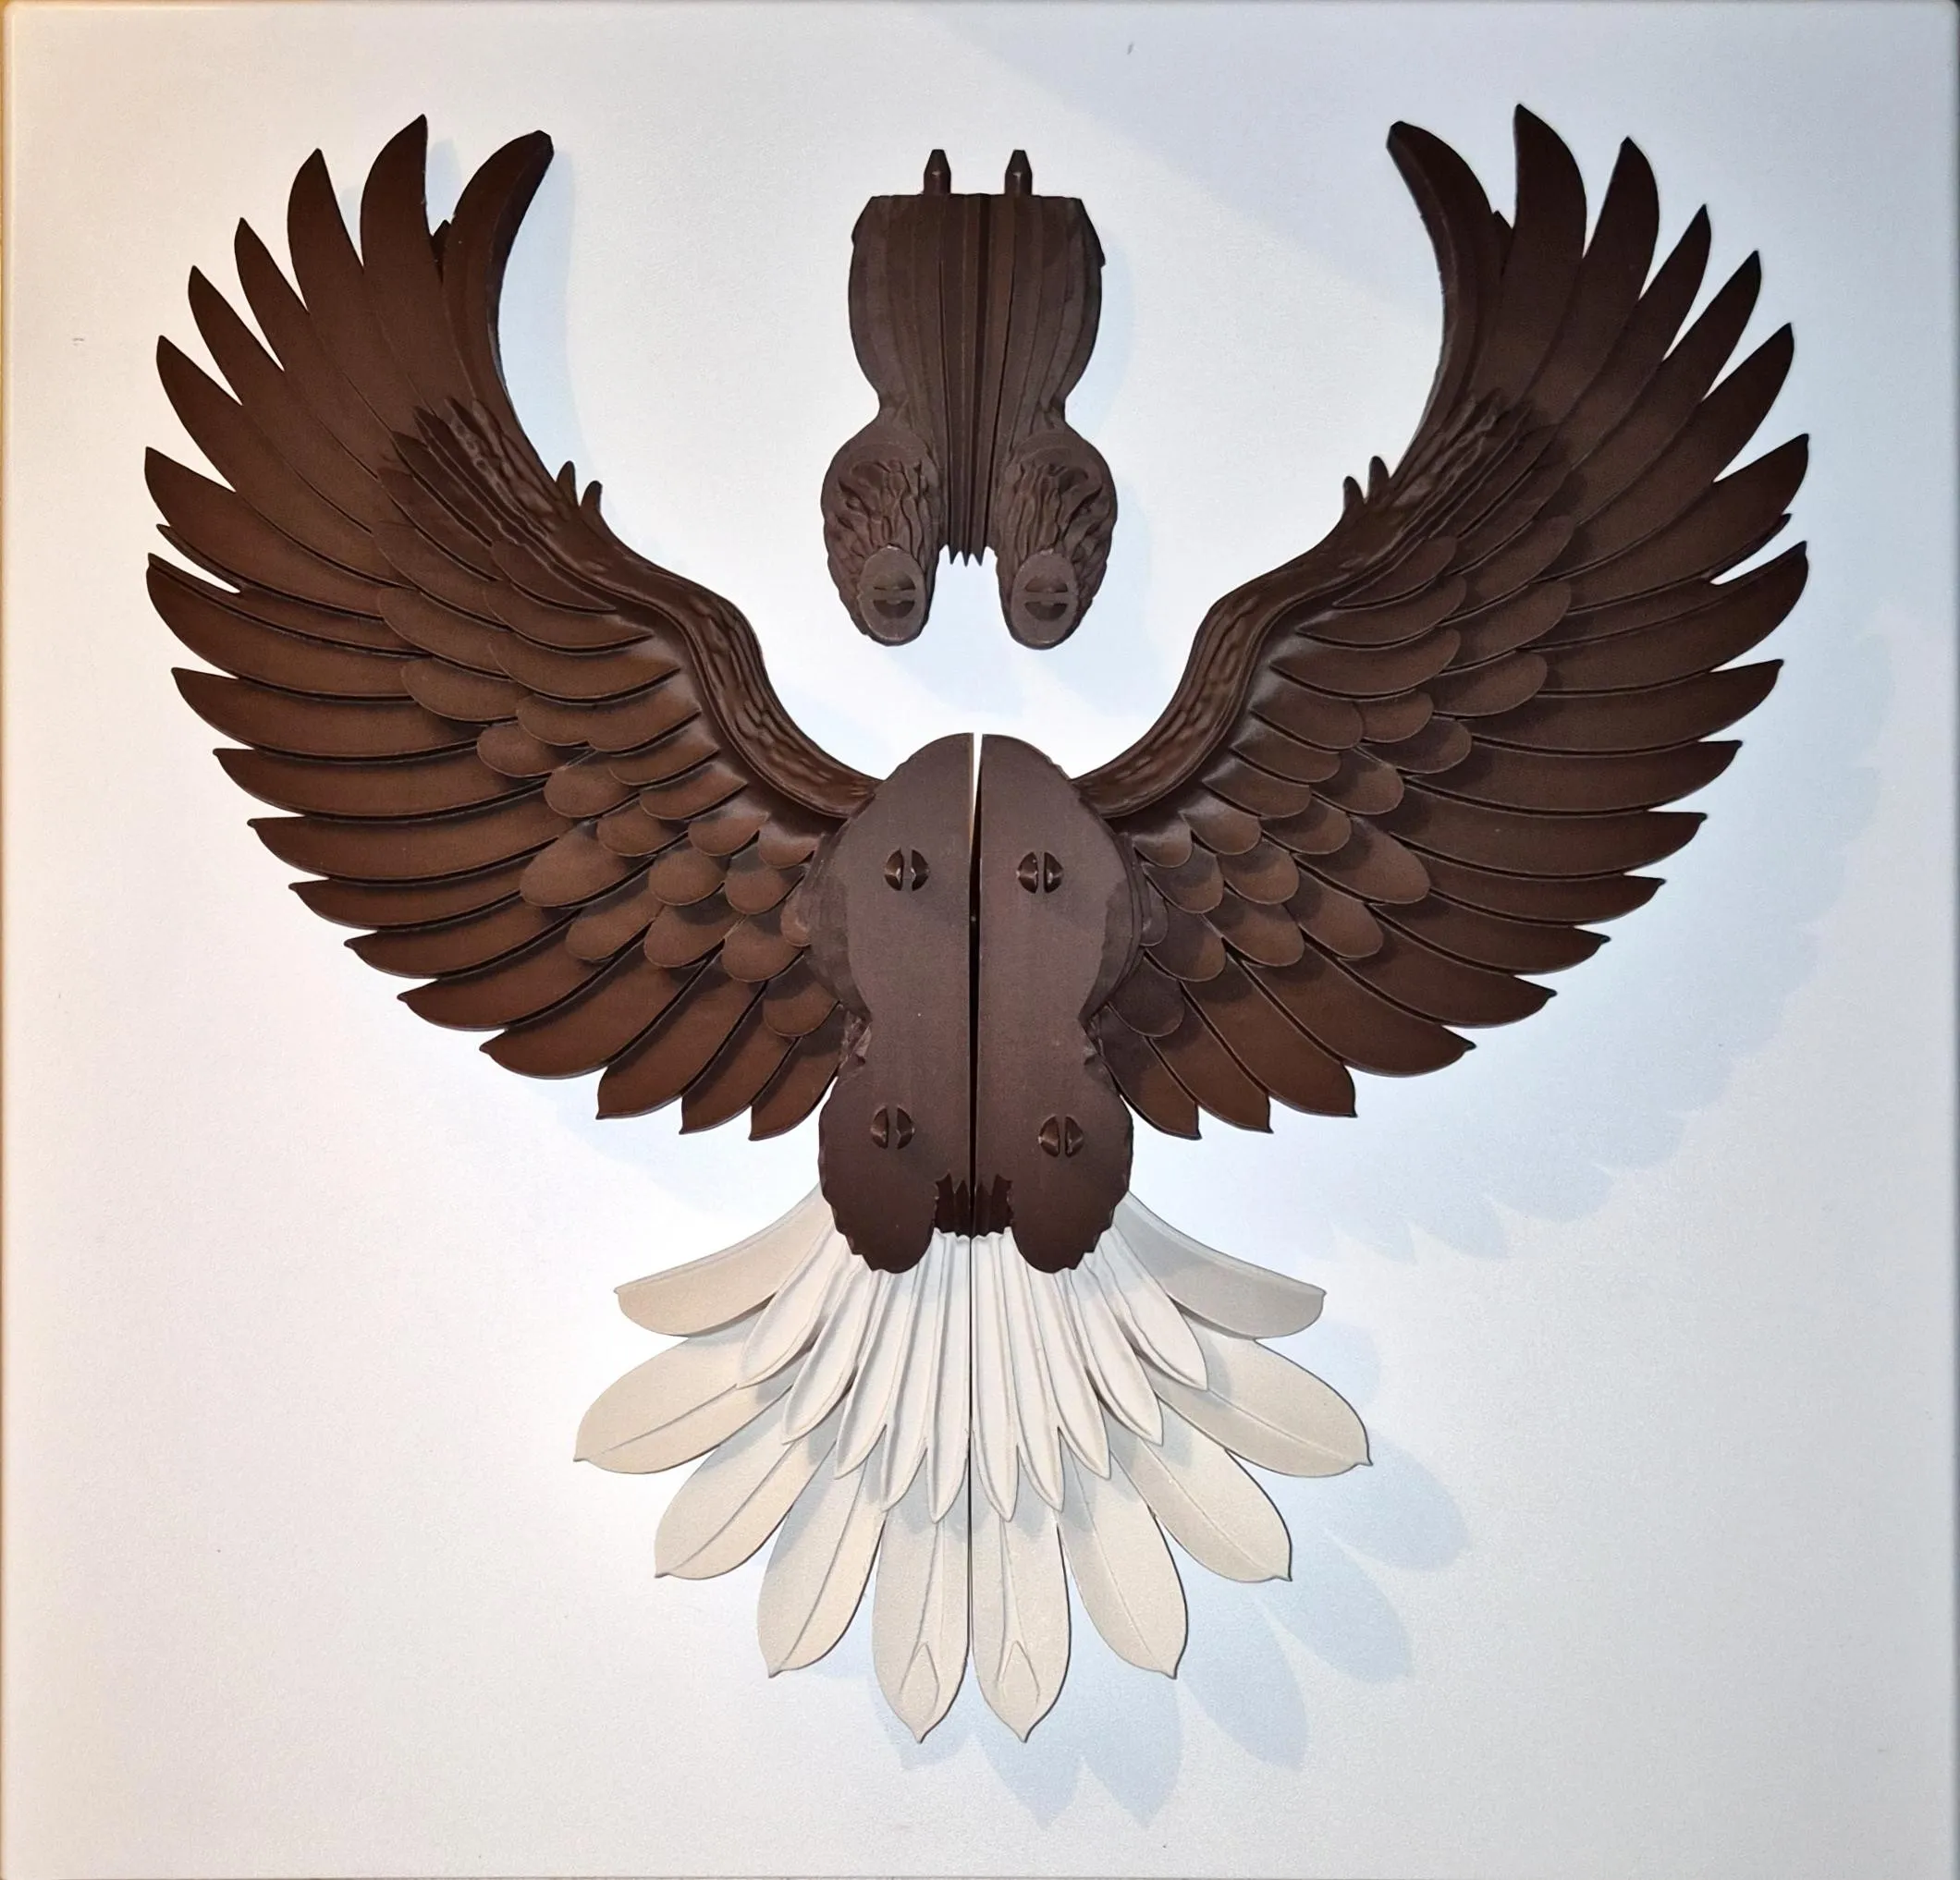
- Snap-fit and dowel connectors created using Bambu Studio’s native cut tools.
- Assembles without glue — though depending on printer calibration, some joints may feel loose and little glue might be needed.
Crafted with sharp talons, layered feathers, and outstretched wings, the eagle mounts cleanly to your wall and commands attention in any space.
If scaling, make sure to scale each part uniformly to preserve connector fit and alignment.
Print profiles included
[225mm] variable layer, 2 walls, 5% infill
- Assembled size: approx. 225 x 225 x 80 mm
- Variable layer height enabled most of the parts (read scaling and adjusting guide at the end of this page)
- It is recommended to use my filament settings for the supports not to fail:
- Setting Overrides
- Z hop when retract 0.6mm
- Z Hop Type Spiral
- Travel distance threshold 1mm
- Enable Retract when change layer
- Setting Overrides
- 2 Walls
- 5% gyroid with infill combination
- Plates
- Nails and dowels
- Wings
- Tail
- Feet
- Body
- Head (multicolor)
- Head (single color)
[450mm] variable layer, 2 walls, 5% infill
- Same style as smaller profile, but little bit more speed and higher layer height (variable)
- Size is approximately double of the smaller profile: 450x450x160 mm
- This prints beautifully with variable layer height
- It is recommended to use my filament settings for the supports not to fail:
- Setting Overrides
- Z hop when retract 0.6mm
- Z Hop Type Spiral
- Travel distance threshold 1mm
- Enable Retract when change layer
- Setting Overrides
- 2 Walls
- 5% gyroid with infill combination
- Plates
- Nails and dowels
- Tail
- Feet
- Body
- Head (multicolor)
- Head (single color)
- Left wing
- Right wing
[225mm] 0.16 layer, 2 walls, 5% infill
- Variable layer height disabled, allowing the use of organic tree supports, which are more stable and reliable
- Reduce infill retraction enabled to minimize fine stringing or “fiber” residue
[450mm] 0.20 layer, 2 walls, 5% infill
- Variable layer height disabled, allowing the use of organic tree supports, which are more stable and reliable
- Reduce infill retraction enabled to minimize fine stringing or “fiber” residue
Assembly Instructions
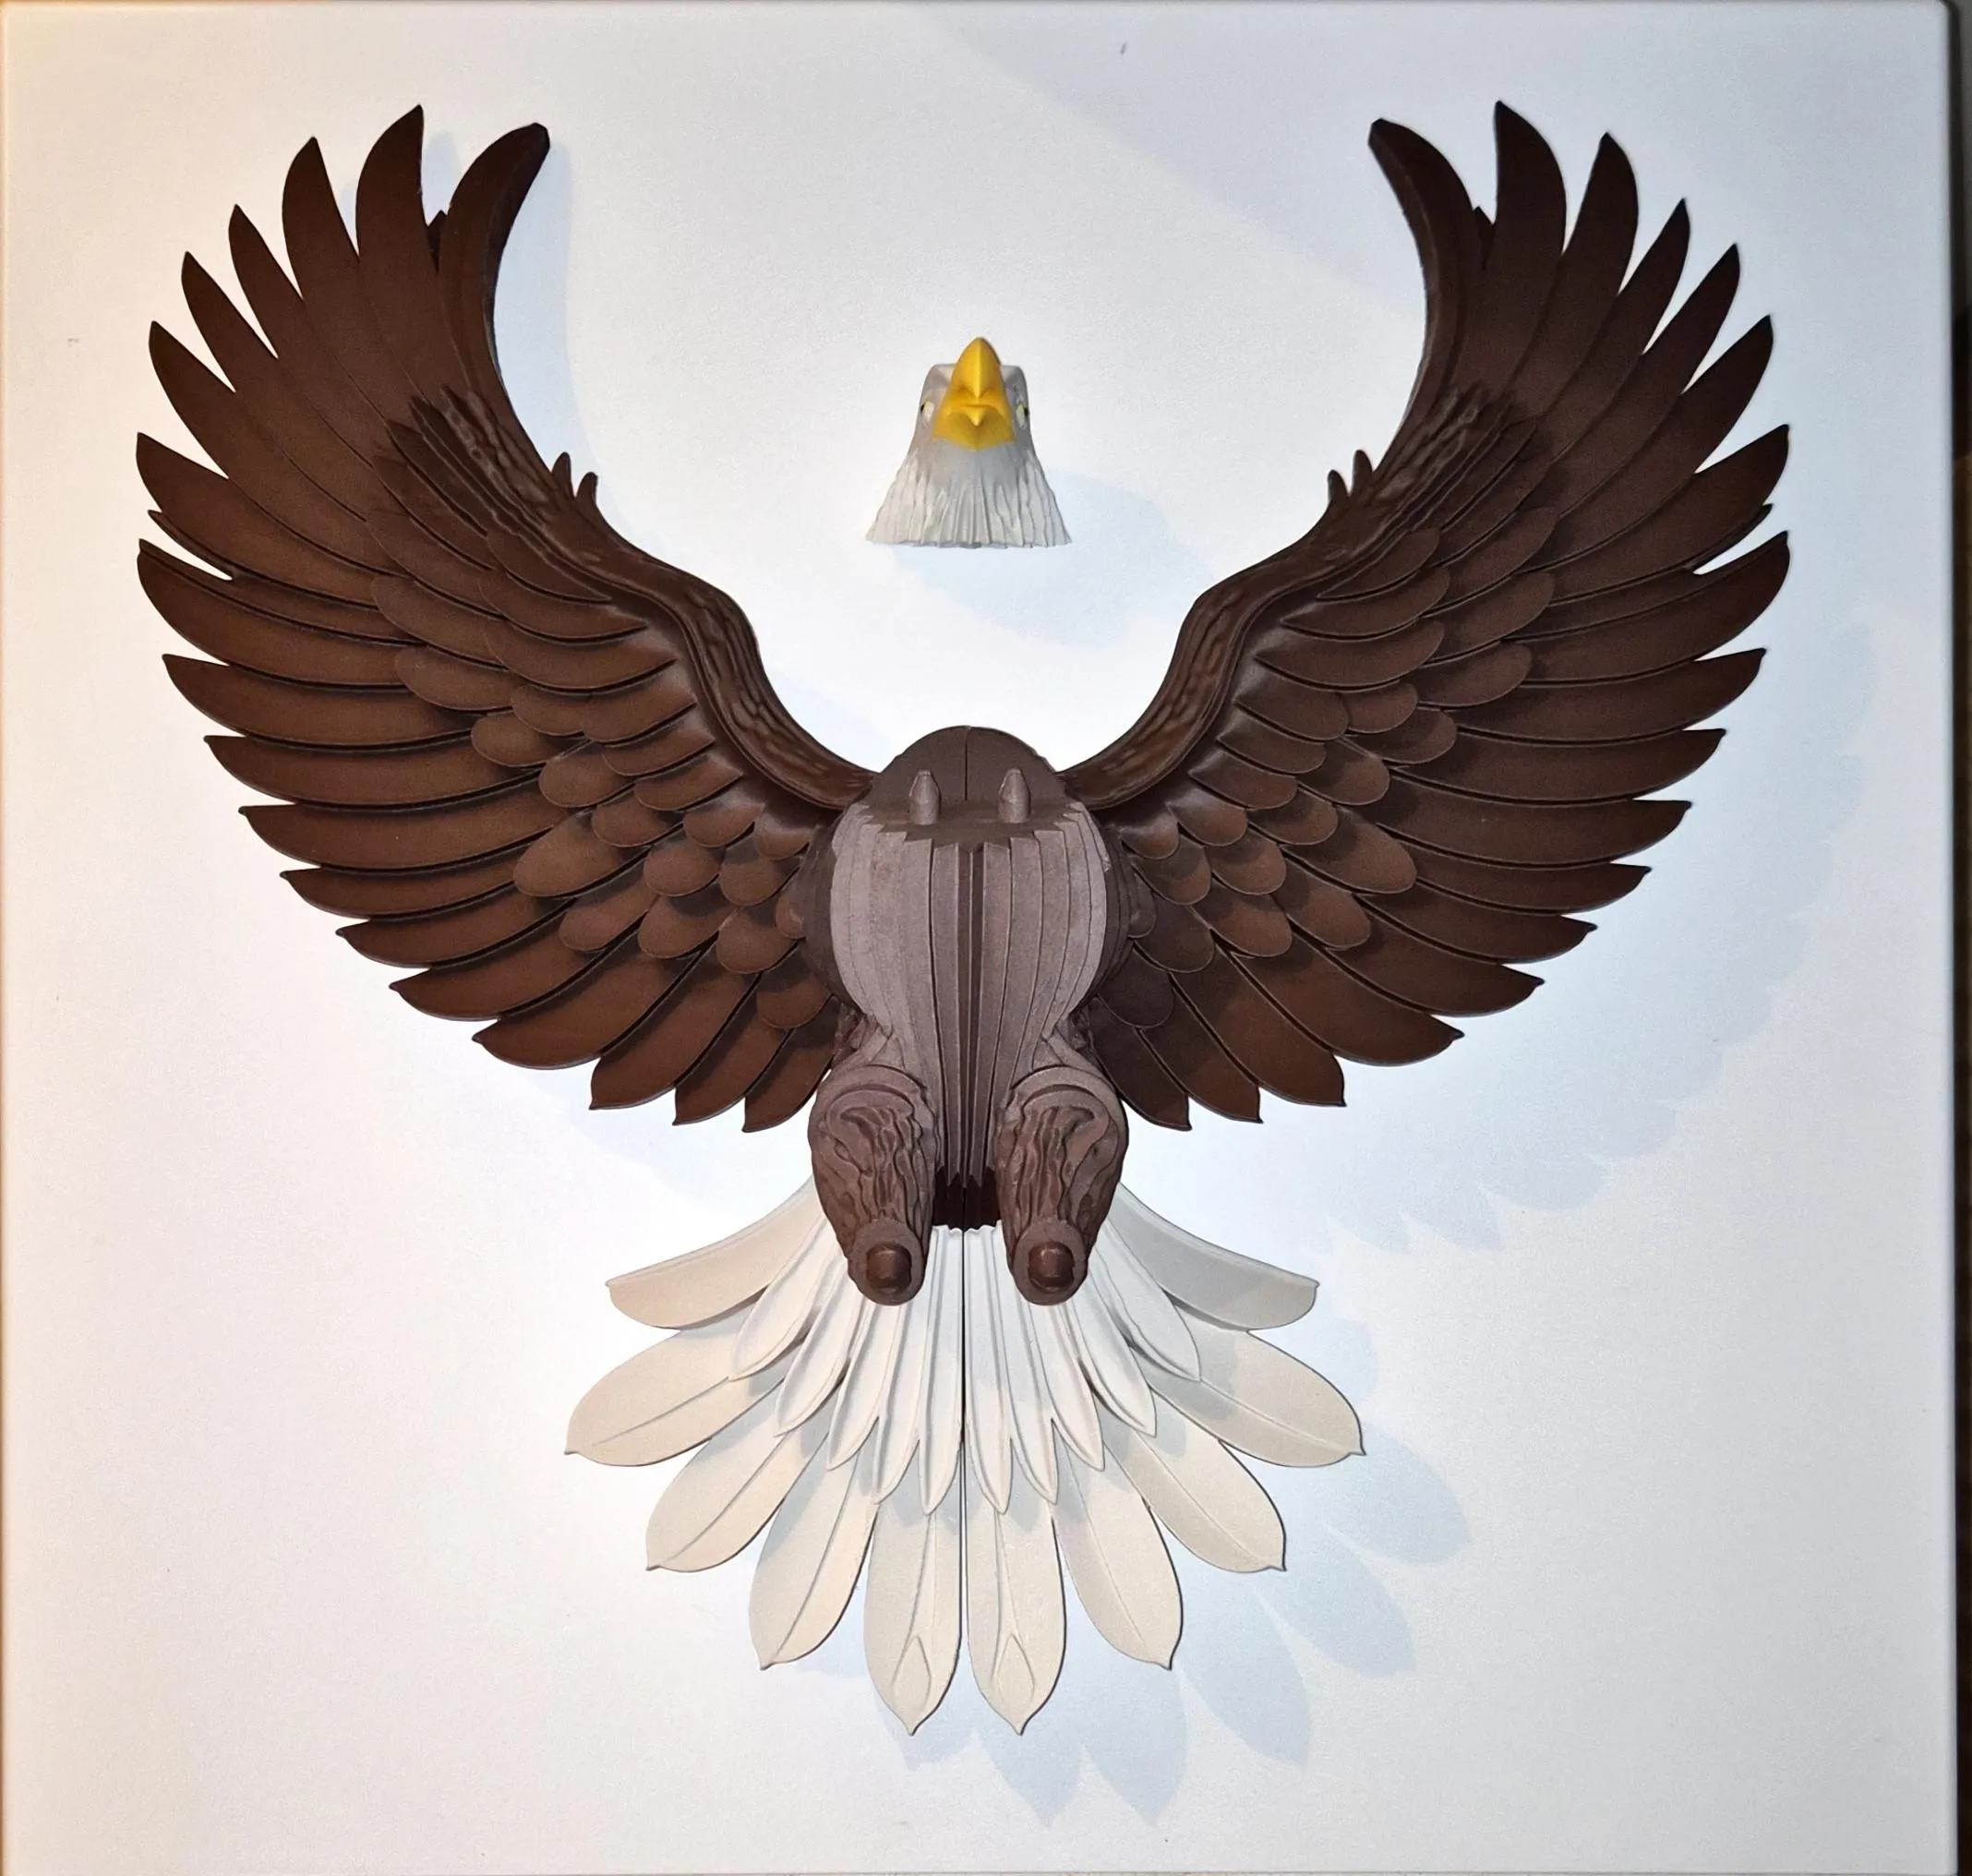
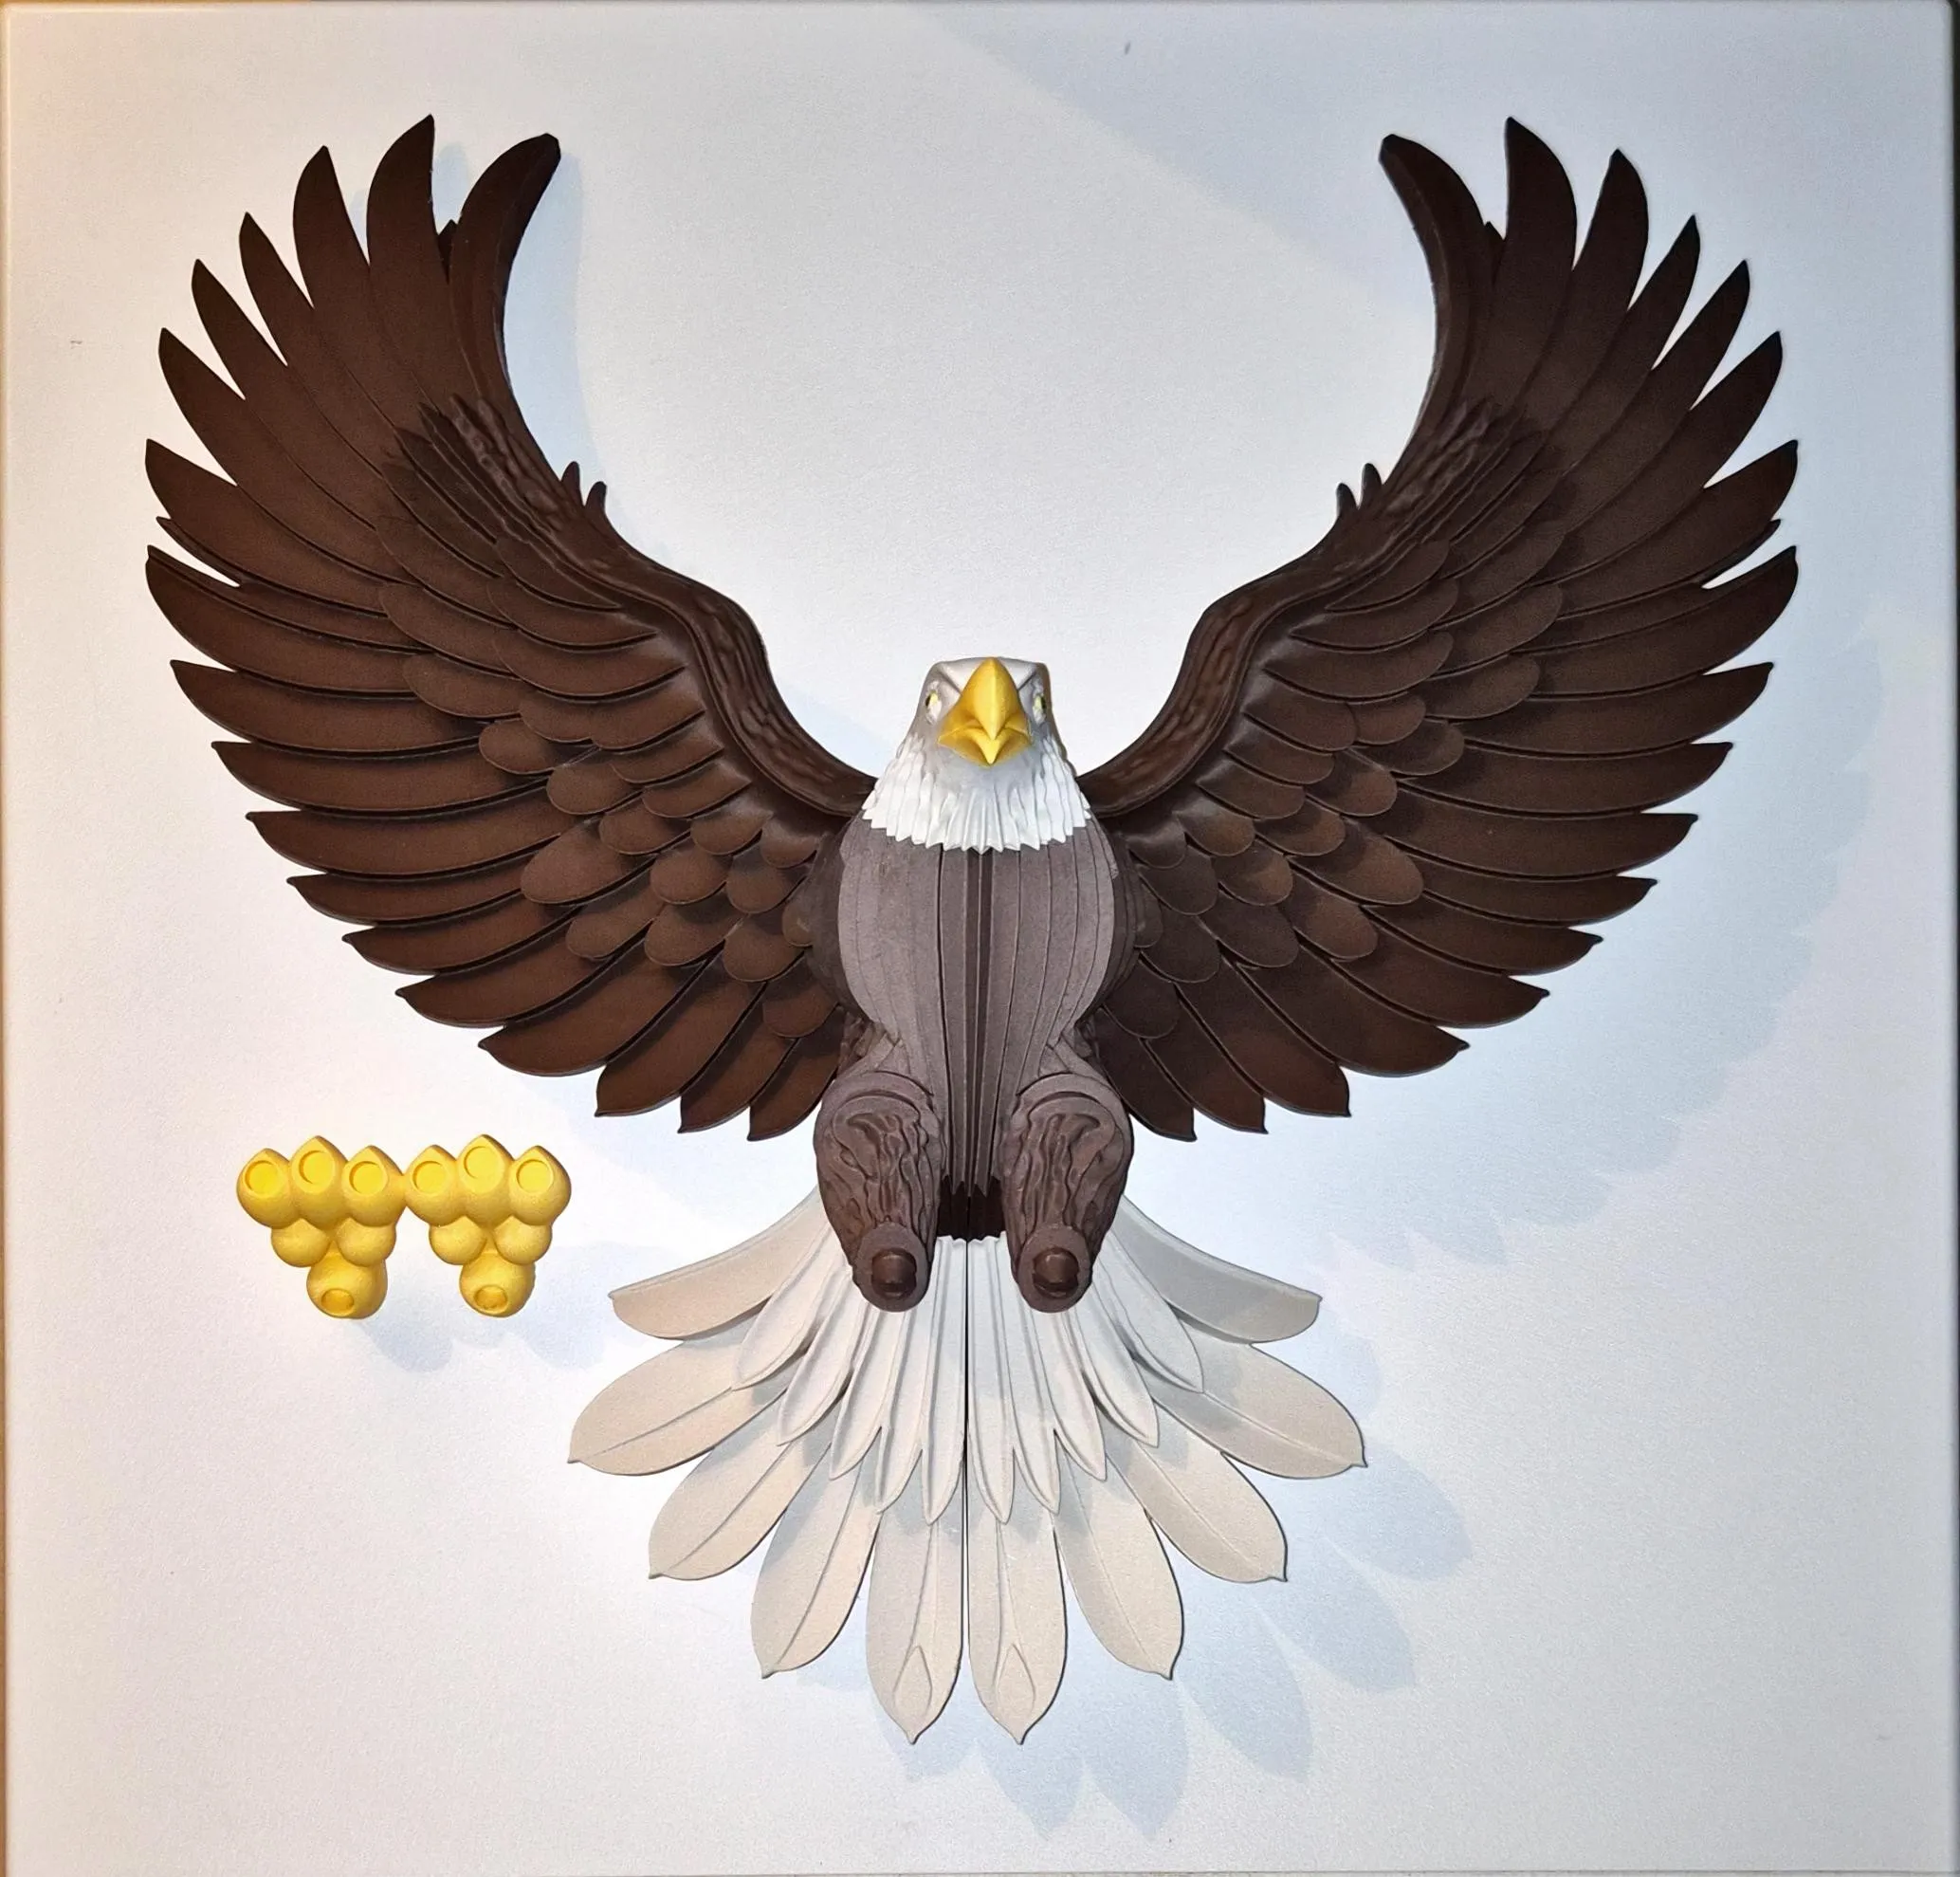
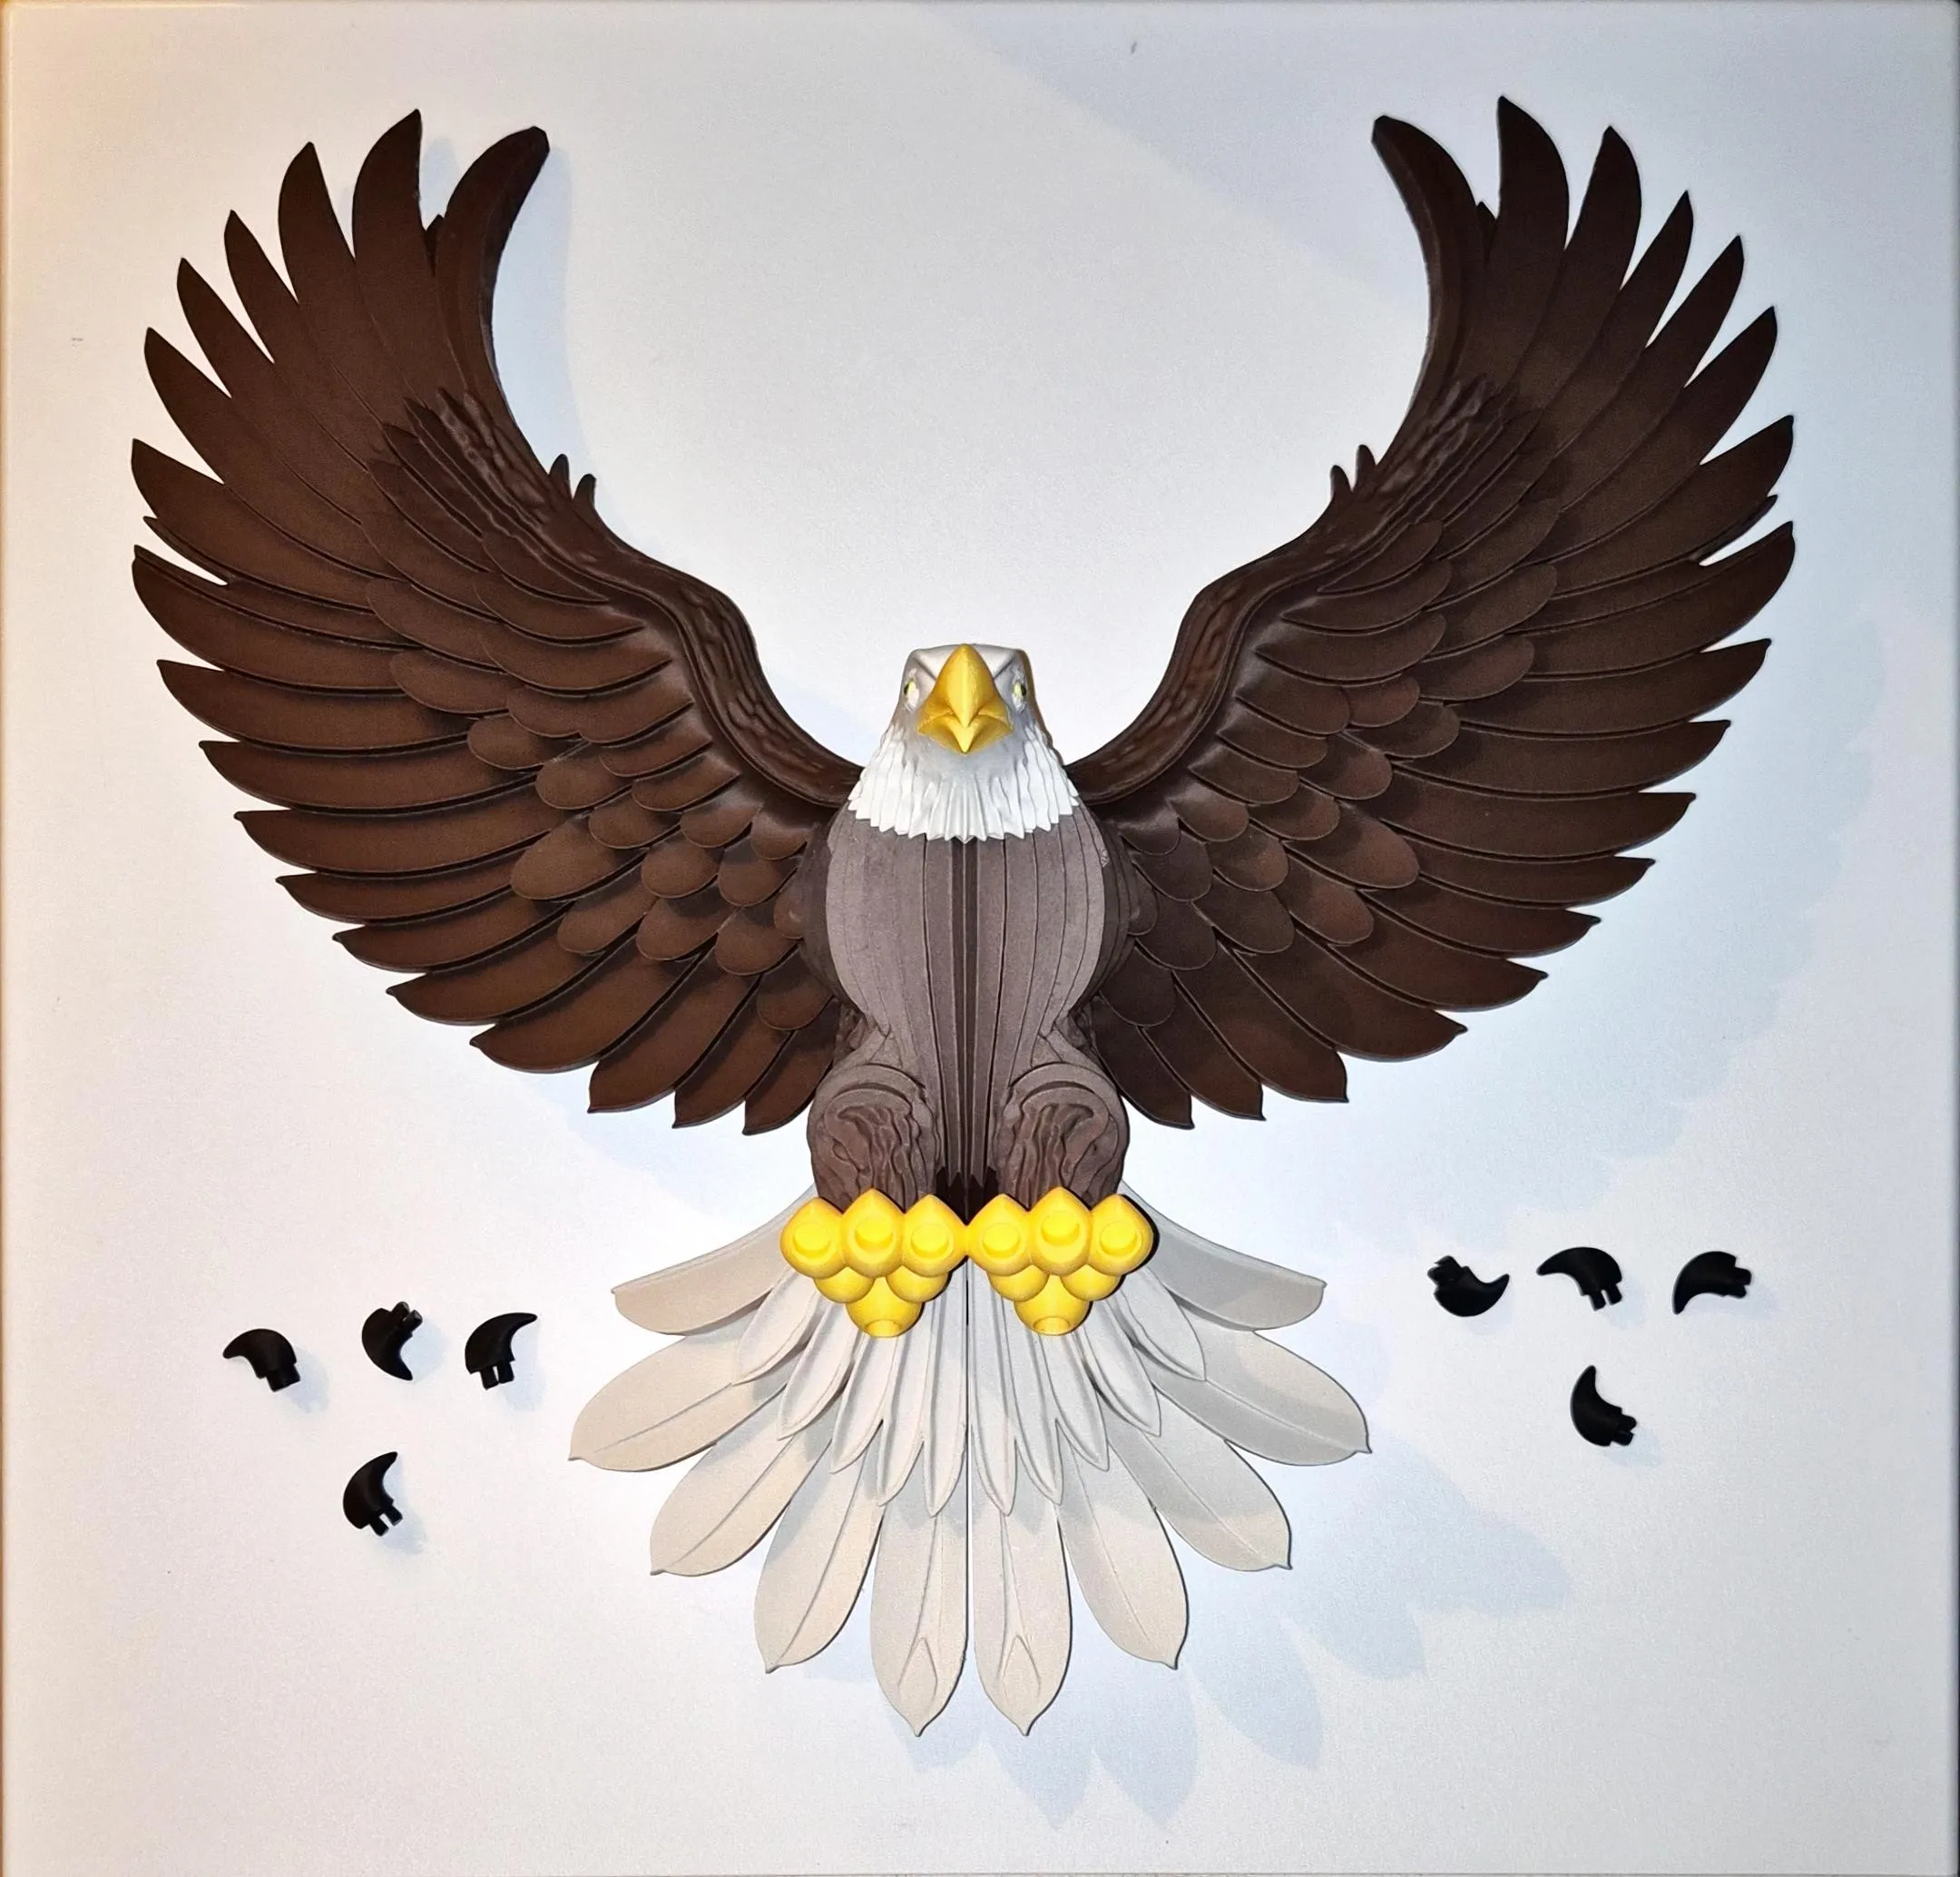
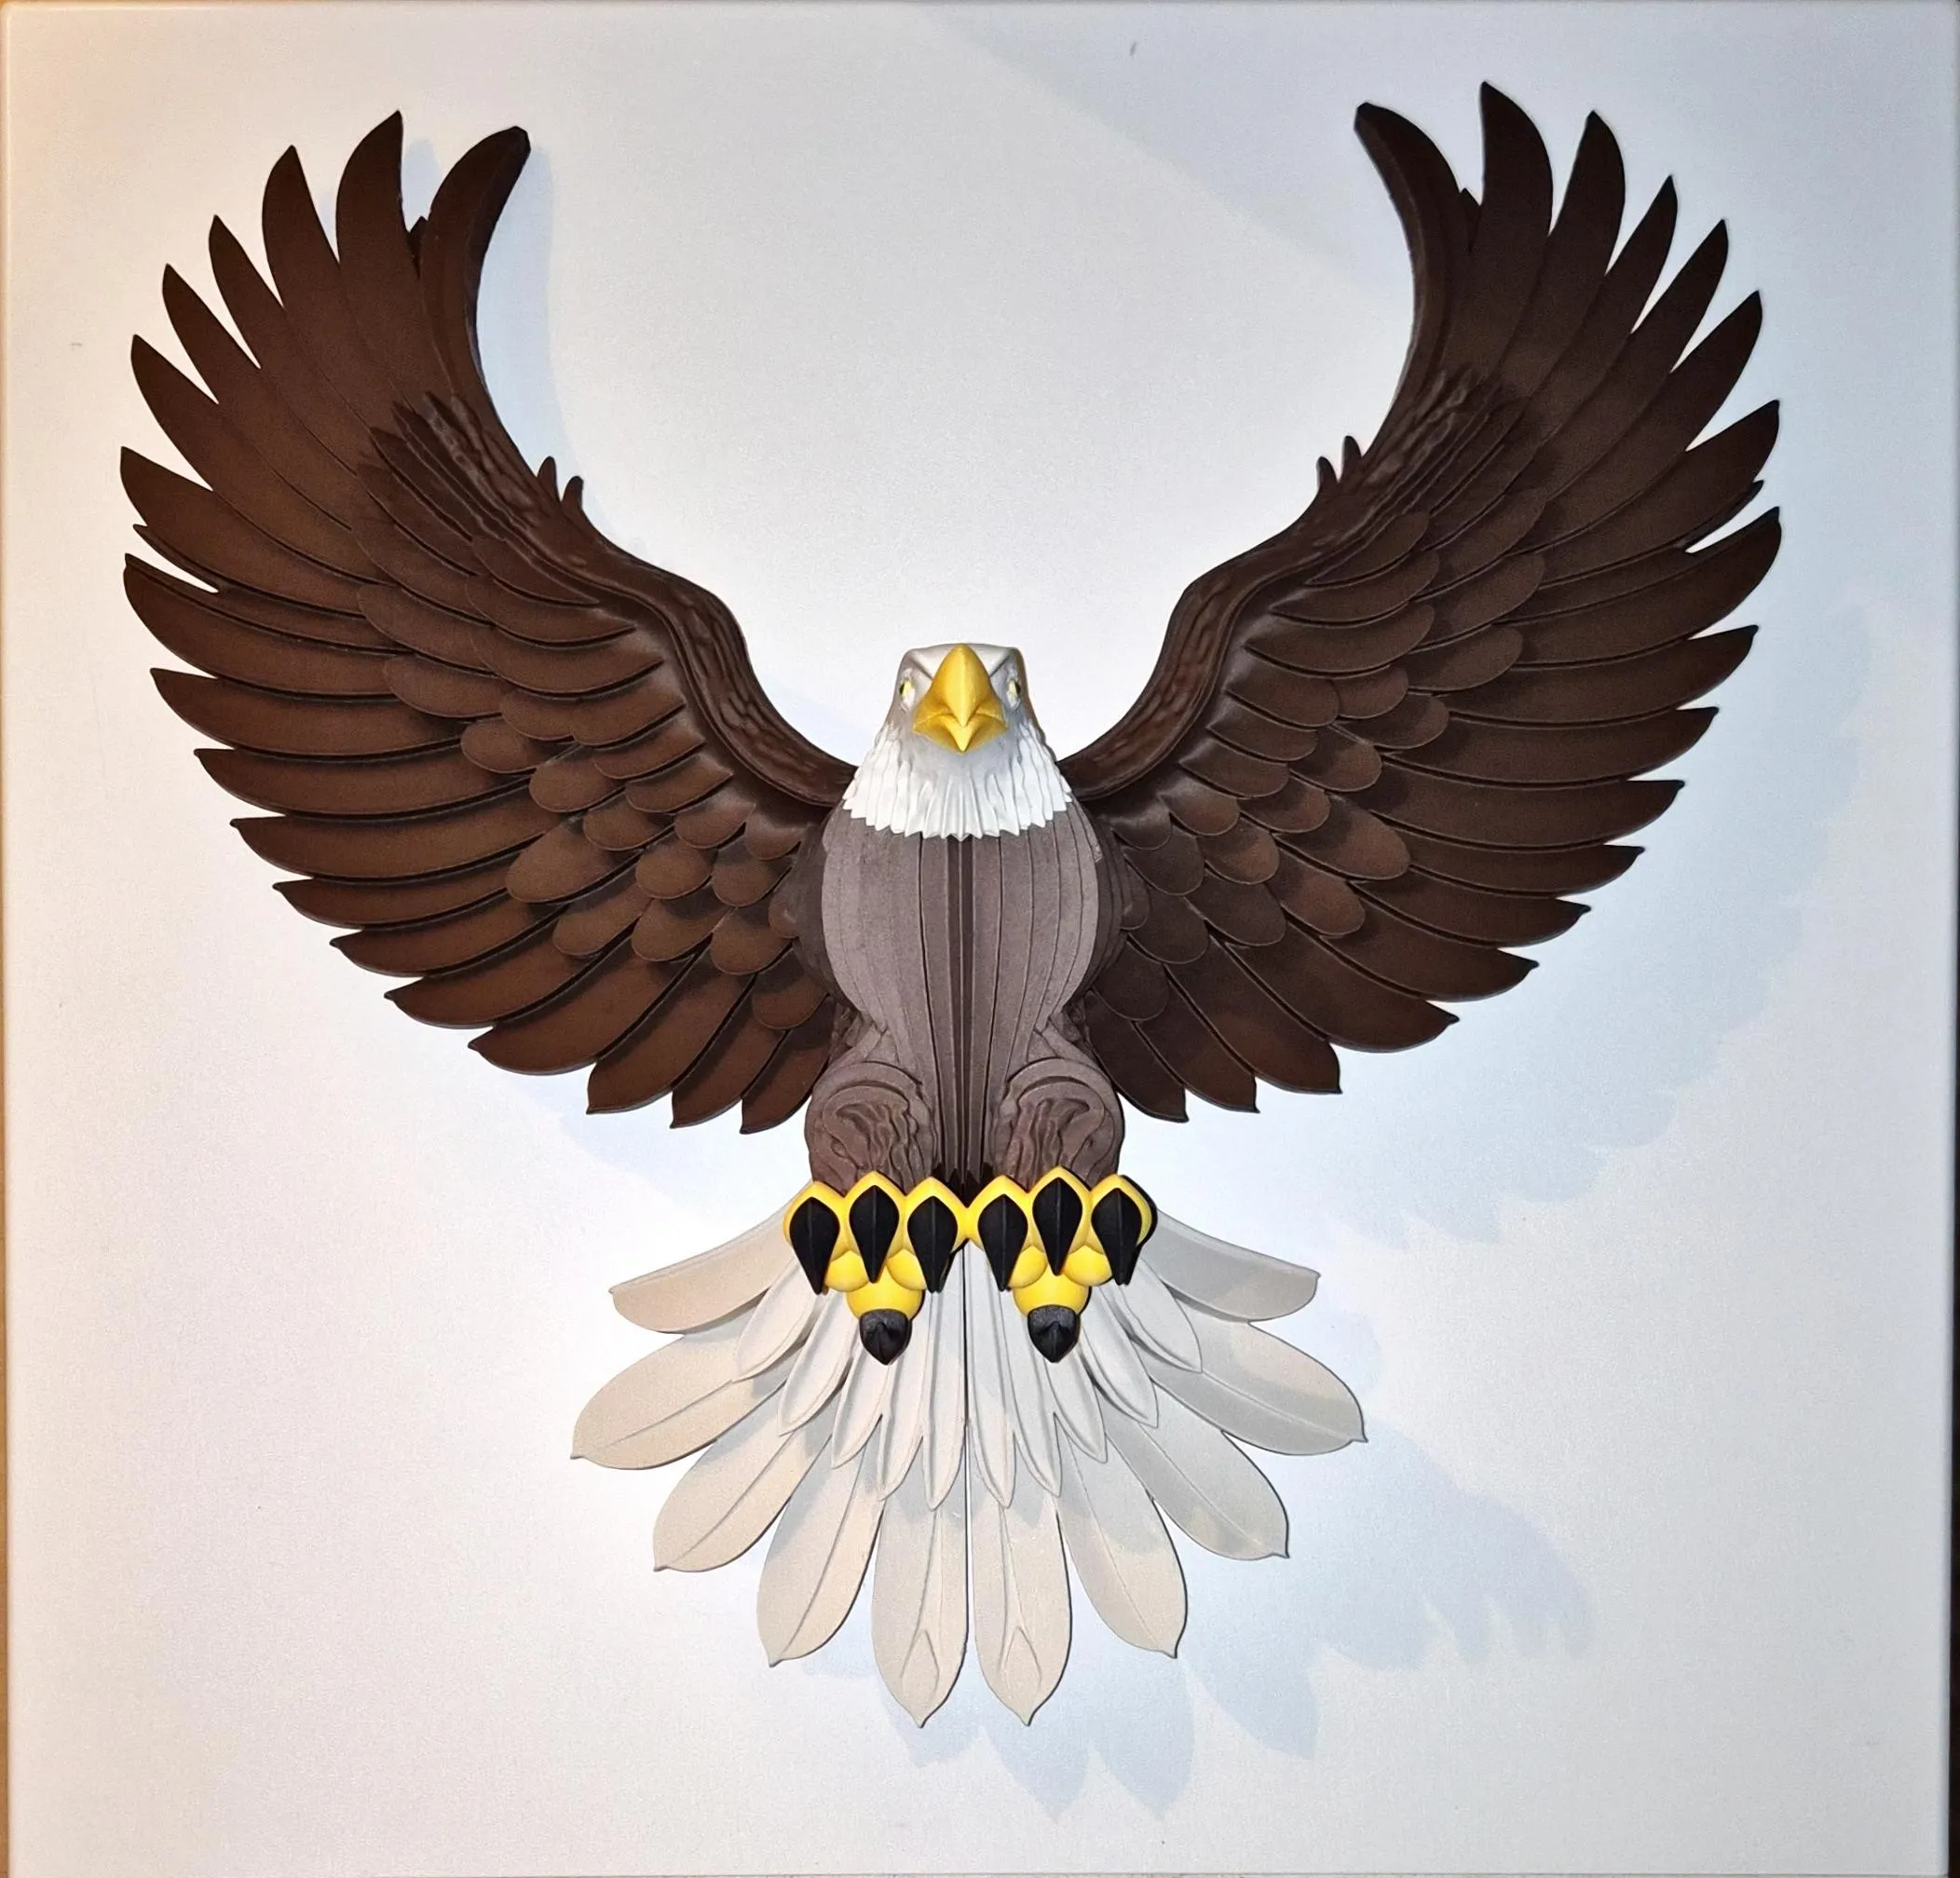
Prefer a more natural, next-gen look?
Check out Eagle of the Northwatch Crest. It has deeper feather layering, a sharper face, and a lifelike forward arch for true wall art.
Why Northwatch
- More detailed and realistic surface
- Single-color or AMS multicolor profiles
- Many sizes, including a giant 400 mm split-wings option
Key Printing Tips:
- Disable “Strength → Detect Thin Wall” → gives smoother, cleaner surfaces on detailed parts.
- Always check the slicing preview in Bambu Studio before starting the print.
- Support removal trick: Cut supports into small chunks first, then gently loosen → they usually pop off cleanly without damage.
- Some plates use lots of supports, if so → for reliable prints use these filament settings:
- Filament Overrides
- Z Hop When Retract: 0.6 mm
- Z Hop Type: Spiral
- Travel Distance Threshold: 1 mm
- ✅ Enable Retract When Changing Layer
- Also, disable these settings in Bambu Studio if Variable Layer height is used:
- Supports
- ❌ Disable Independent Support Layer Height
- Others
- ❌ Disable Reduce Infill Retraction
- I’ve found that a 0.15 mm top Z distance works best when printing with variable layer height.
- Supports
- Filament Overrides
Happy printing! Can't wait to see photos of your prints! If you're scaling, experimenting or encounter any issues, let me know → your input helps the next iteration. Please share your feedback for any rating below ⭐⭐⭐⭐⭐ so we can work on improving, thank you!
Boost Me (for free)
Boost / like / collect / follow if it made your day! 🚀
Membership
Now that you’ve printed this model, are you happy with the results? If so, why not sell it? With a subscription to my Commercial License Membership, you’re free to do so.
License

You shall not share, sub-license, sell, rent, host, transfer, or distribute in any way the digital or 3D printed versions of this object, nor any other derivative work of this object in its digital or physical format (including - but not limited to - remixes of this object, and hosting on other digital platforms). The objects may not be used without permission in any way whatsoever in which you charge money, or collect fees.


Comment & Rating (94)