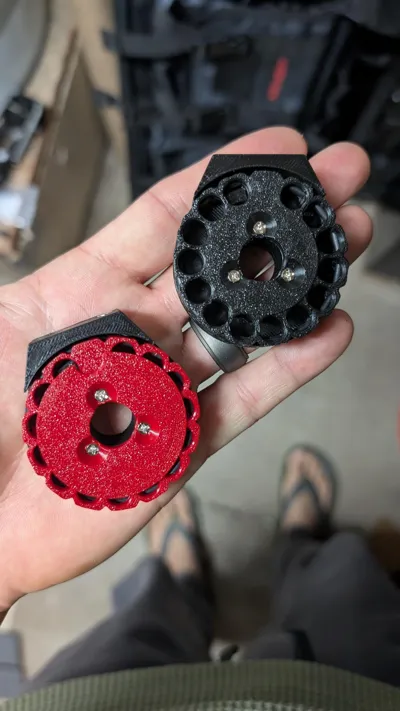
Umarex Zelos 14rd Magazine .25cal (Version.1)


Print Profile(1)
Description
**EDIT** There is now a new version here: https://makerworld.com/en/models/2151863-umarex-zelos-15rd-magazine-25cal-version-2#profileId-2332065 I reversed the direction of the drum, simplified the model slightly and added a 15th shot.
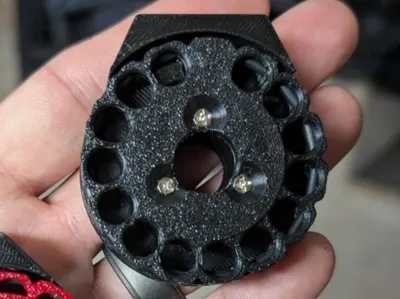
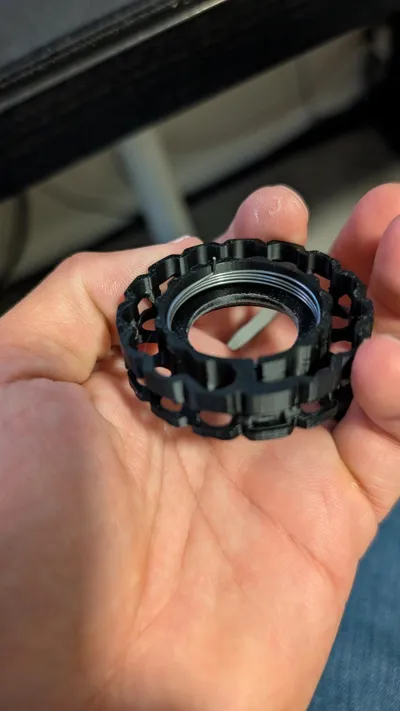
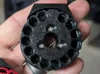
I was inspired by the 10rd Notos magazine by William Hemmingsen ( https://www.printables.com/model/887509-notos-10-shot-22-magazine ) and decided to make my own magazine for my .25cal Umarex Zelos. I've included two backing plates depending on how secure you want your pellets once loaded. Personally the open back is quite easy to load and seems secure enough. In my print profile I have the magnet insert holes painted not to allow seams because it was interfering with the depth and I was having a hard time fully inserting the magnets.
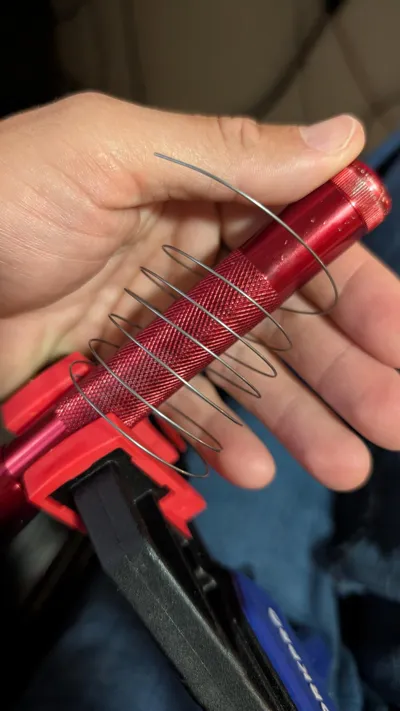
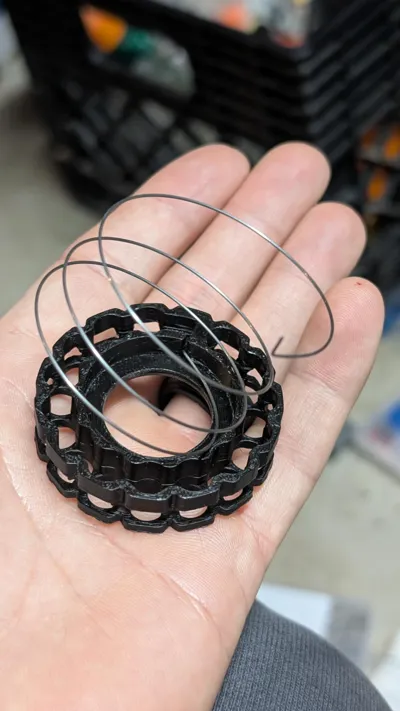
Some folks probably could make a jig for the spring but I just used a small maglight flashlight I had forgotten to put away. About 4 or so coils seems to work, too few and the magazine will bind up before it fully rotates. Bend one side out and one side down so that it correctly interfaces with the magazine. There is a small hole (that you might need to ream out slightly) on the main body that you can insert the spring tab into and a slot on the rotary for the other spring tab. I have had good luck coiling the spring into the rotary then holding most of it in place while I insert the tab into the main body, then twisting the rotary onto the main body, you'll figure it out.
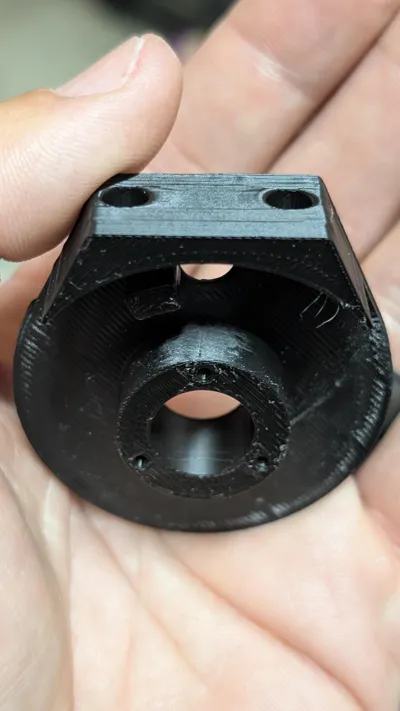
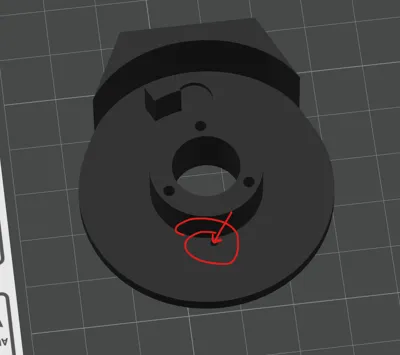
You will also need to clean up the seams on the main body using a small file or sandpaper. I've included a photo of the primary seam that has required attention, but you may find other areas that could be smoothed out a touch.
You will need the following bits of hardware to complete the magazine:
M2 Self Tapping Screws, 5 or 6mm
.025" OD Music wire for the spring
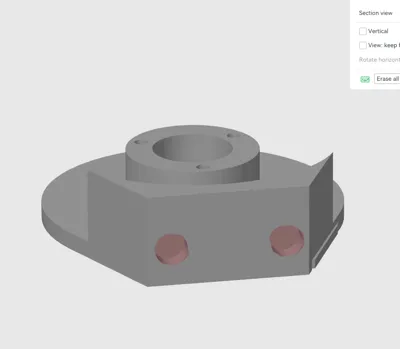
Magnets, 5mm x 3mm (+some superglue for permanent installation)
Some sort of o-ring, I just used some random 28x31.mm ones that came in an amazon multi-size kit.
Comment & Rating (3)