Table Rim Clock


Print Profile(1)

Bill of Materials

Description
Boost Me (for free)
If you enjoyed my work, I would be very grateful if you could give me a boost. Thank you very much
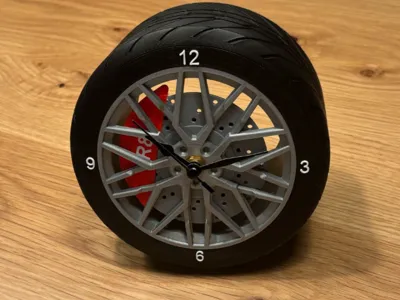
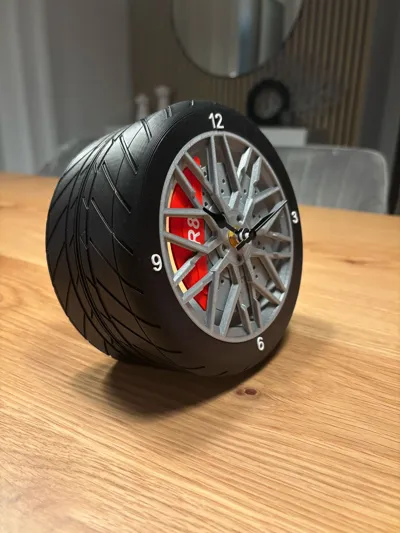
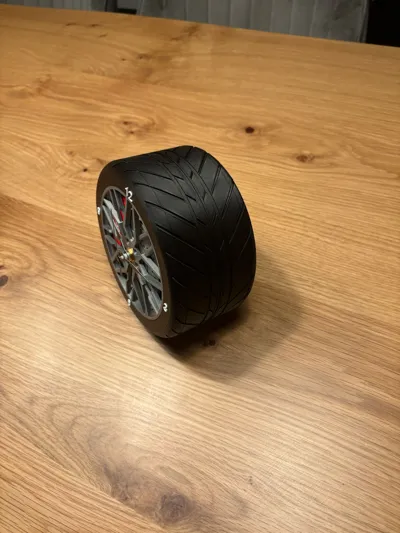
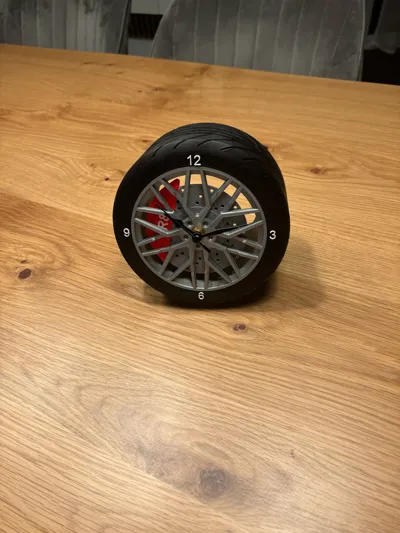
The Table Rim Clock is a real eye-catcher for car and technology enthusiasts. Inspired by the wheel of a sports car, the design of this clock is an original rim from an Audi R8. A brake disc serves as a particularly striking detail as an elegant cover for the clockwork, giving the clock an authentic and dynamic look. The clockwork itself is high-quality and can be conveniently ordered in the Bambulab Store. A perfect collector's item for all those who love technology, design and cars!
Step-by-step instructions:
- Insert cylinder into the tire:
- Take the cylinder and carefully slide it into the tire until it reaches the back of the tire. The cylinder should fit well into the tire and sit firmly.
- Glue the rim onto the cylinder:
- Take the rim and place it on top of the cylinder. You can rotate the rim to any desired position to adjust the design to your liking.
- Now glue the rim to the cylinder so that it remains stable in place. Make sure that it does not slip and is well aligned.
- Connect the brake disc to the caliper:
- Glue the brake disc to the caliper. Make sure that both parts are securely connected.
- Place the brake disc on the clockwork:
- Carefully place the assembled brake disc (with caliper) onto the thread of the clockwork.
- Insert the clockwork through the hole in the rim:
- Now you have to insert the clockwork from the back through the hole in the rim. Make sure the clockwork is correctly aligned.
- Secure the clockwork with the nut:
- Now place the supplied nut on the front of the clockwork thread. Tighten it to securely attach the clockwork to the rim.
- Attach the hands:
- Start with the hour hand and place it on the corresponding axle of the clockwork.
- Then attach the minute hand to the second axle.
- Finally, place the second hand on the third axle.
- Set the time:
- After all parts are assembled, you can now set the time. To do this, carefully turn the wheel on the back of the clockwork.
Done!
Your table rim clock is now fully assembled and ready to adorn your room. Have fun with your unique clock in the design of an Audi R8!
License
You shall not share, sub-license, sell, rent, host, transfer, or distribute in any way the digital or 3D printed versions of this object, nor any other derivative work of this object in its digital or physical format (including - but not limited to - remixes of this object, and hosting on other digital platforms). The objects may not be used without permission in any way whatsoever in which you charge money, or collect fees.
Comment & Rating (3)