
Halo Cortana AI Chip
Print Profile(2)


Description
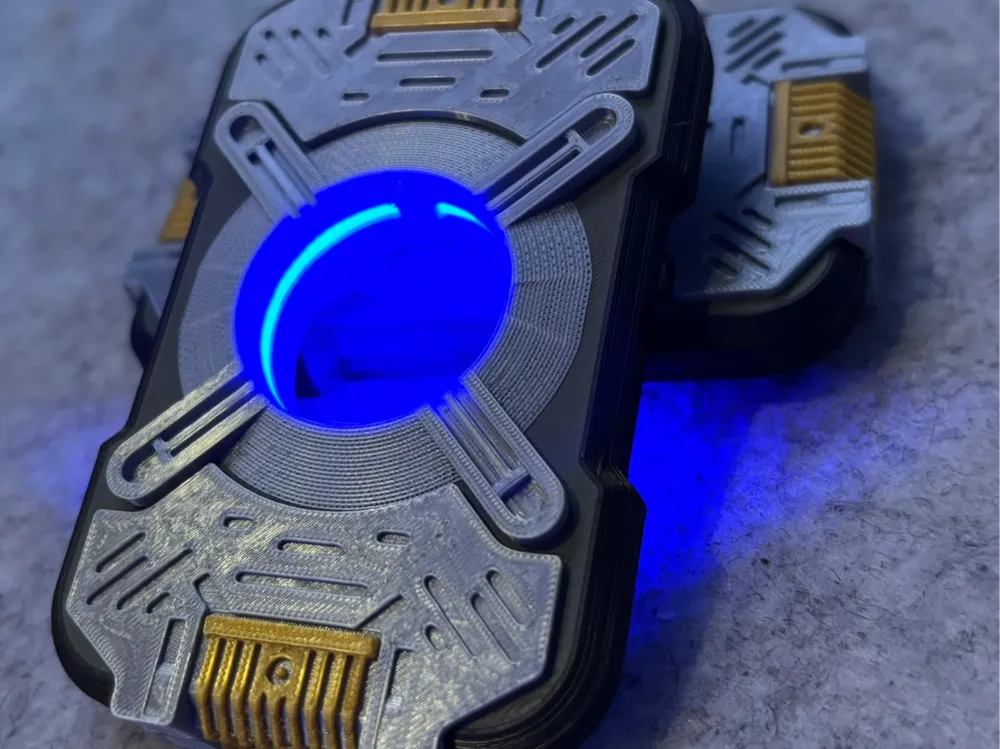
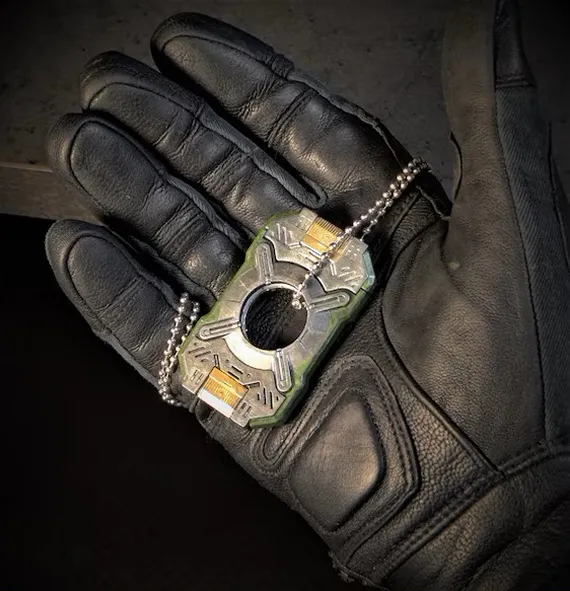
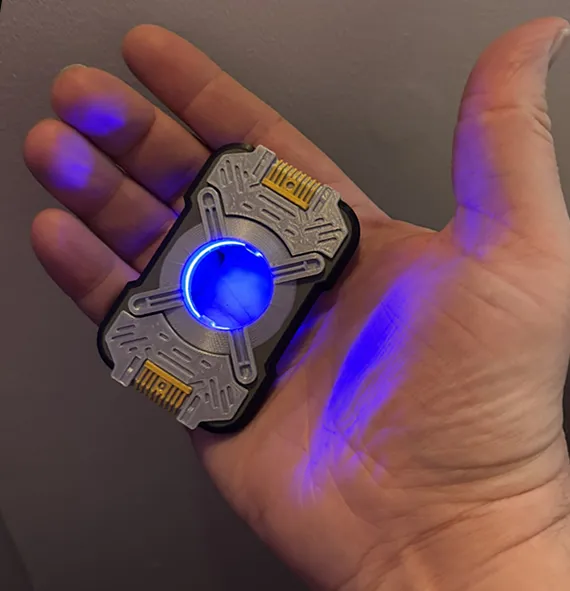
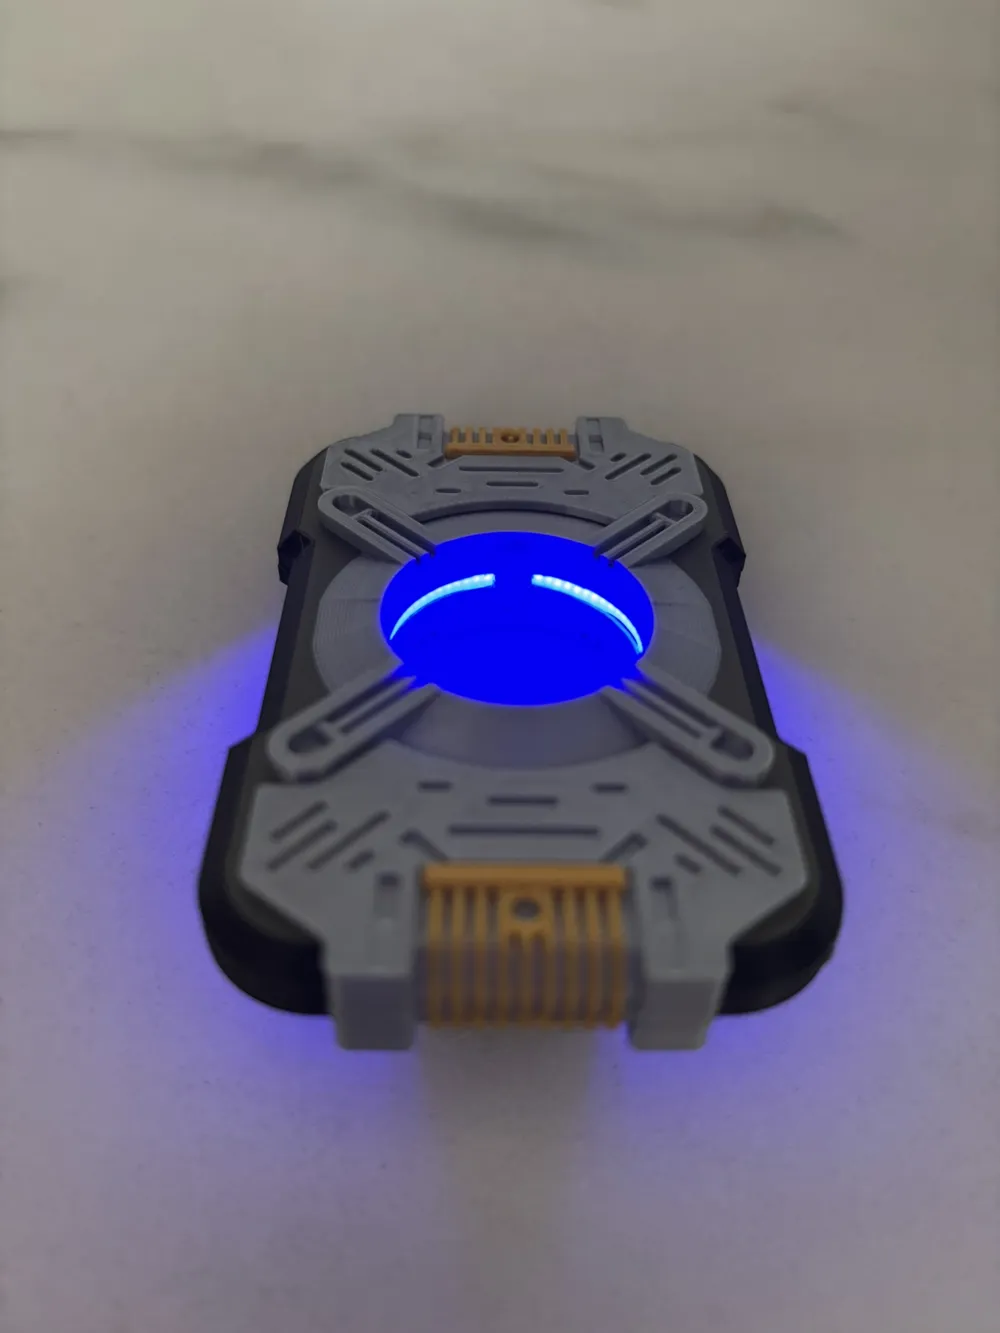
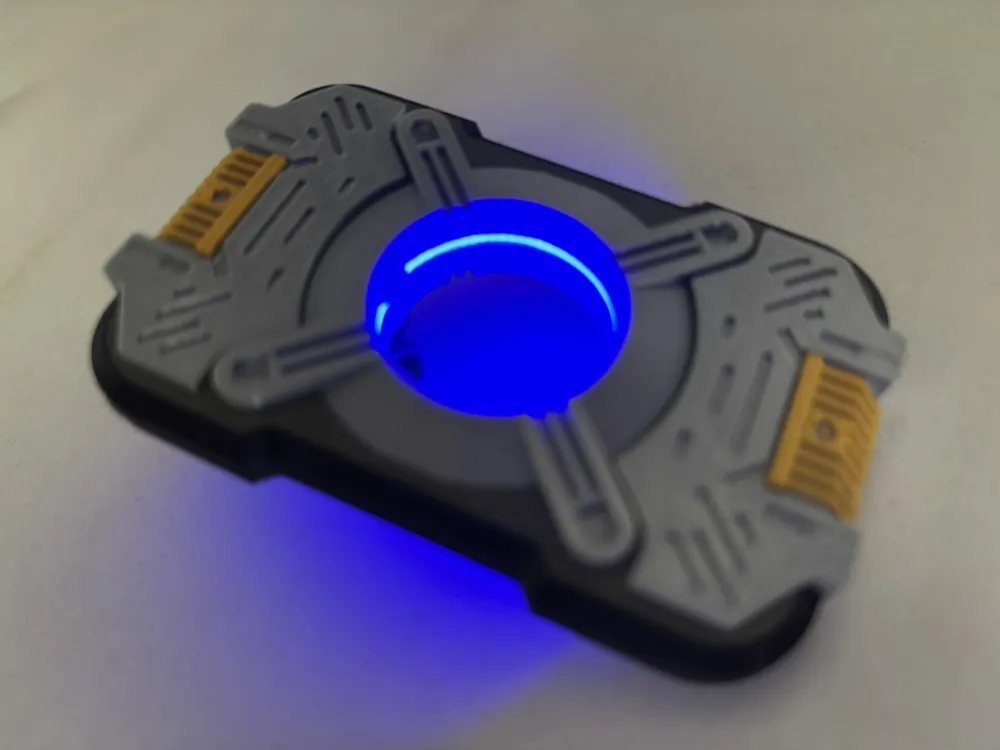
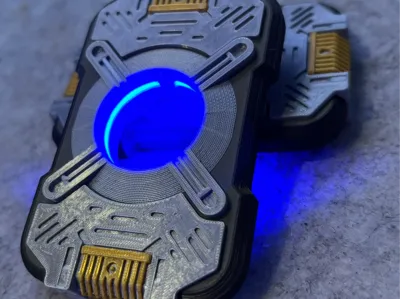
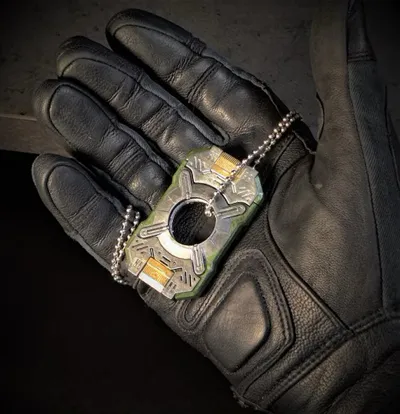
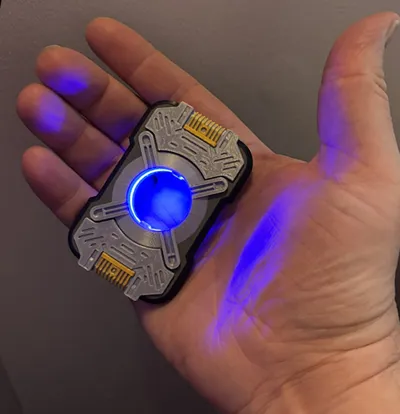
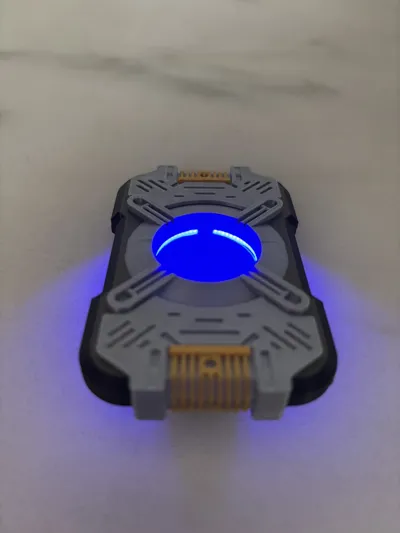
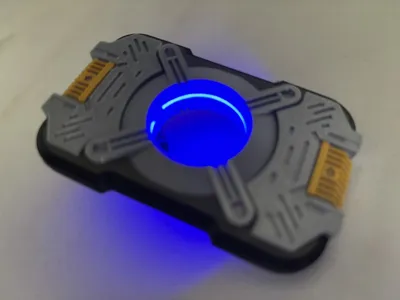
I couldn't find a good representation of the “chip” using to store Cortana and “The Weapon” in the Halo games so I created my own.
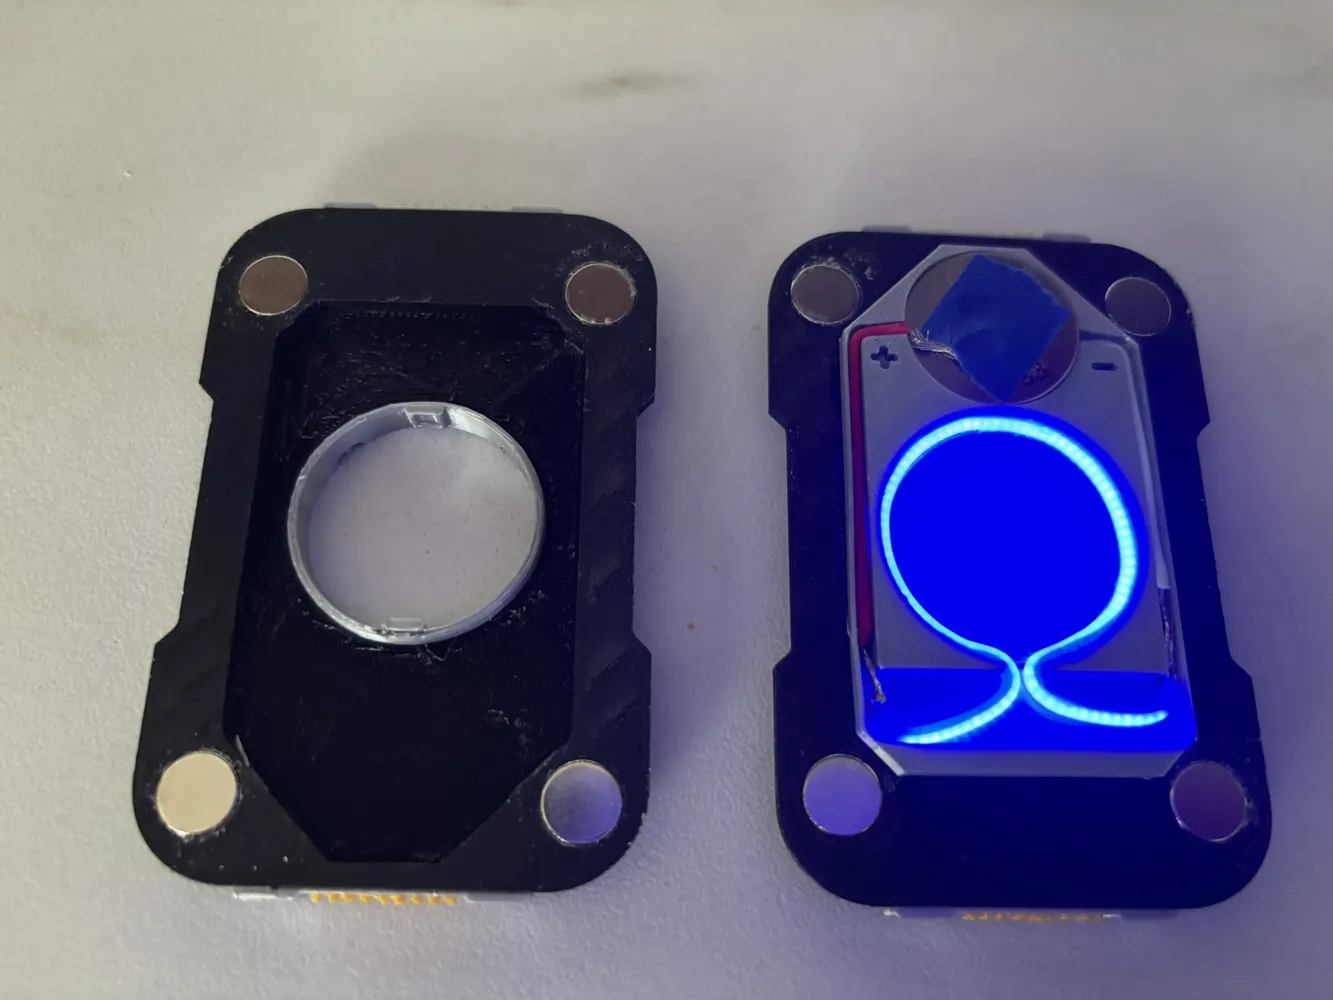
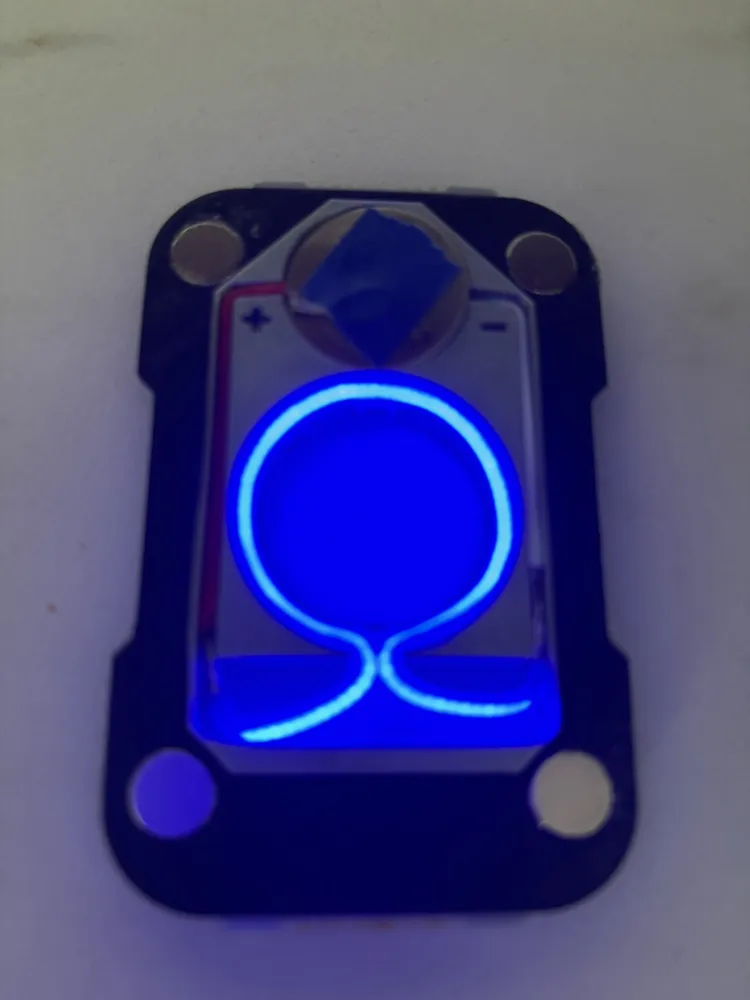
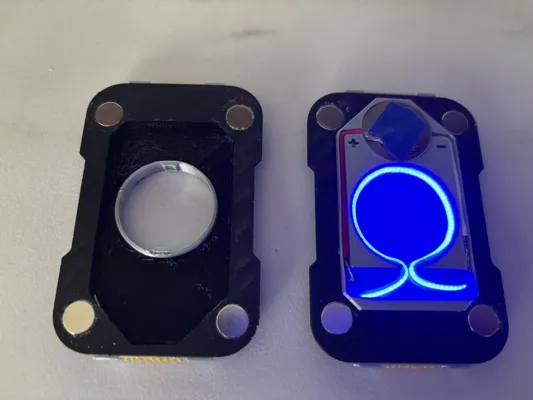
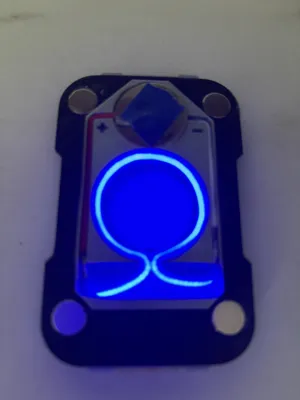
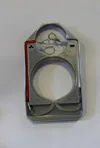
The chip is in two halves and uses magnets to hold them together and there is an optional inner part that can be used to add the lighting effect to the chip using an led filament.
Chip
Parts
Magnets: https://amzn.to/3SAMrrA
Filament
These are what I used but any will work:
Black: https://amzn.to/45ENO02
Green: https://amzn.to/43qBXBn
Gold: https://amzn.to/43oS1DG
Silver: https://amzn.to/4kuvprA
Instructions
AMS: If using an AMS you'll need all of the above colours loaded, then just print. The version in the photos is printed using a 0.2mm hotend and 0.10mm layer height to reduce payer lines as much as possible.
Painting: If you are not using an AMS then I would still recommend a small layer height to avoid layer lines showing through the paint.
Glue the magnets into the slots on both the top and bottom parts of the chip casing, be sure to put all the magnets into the top the same way around and all the magnets in the bottom the opposite way round to the top.
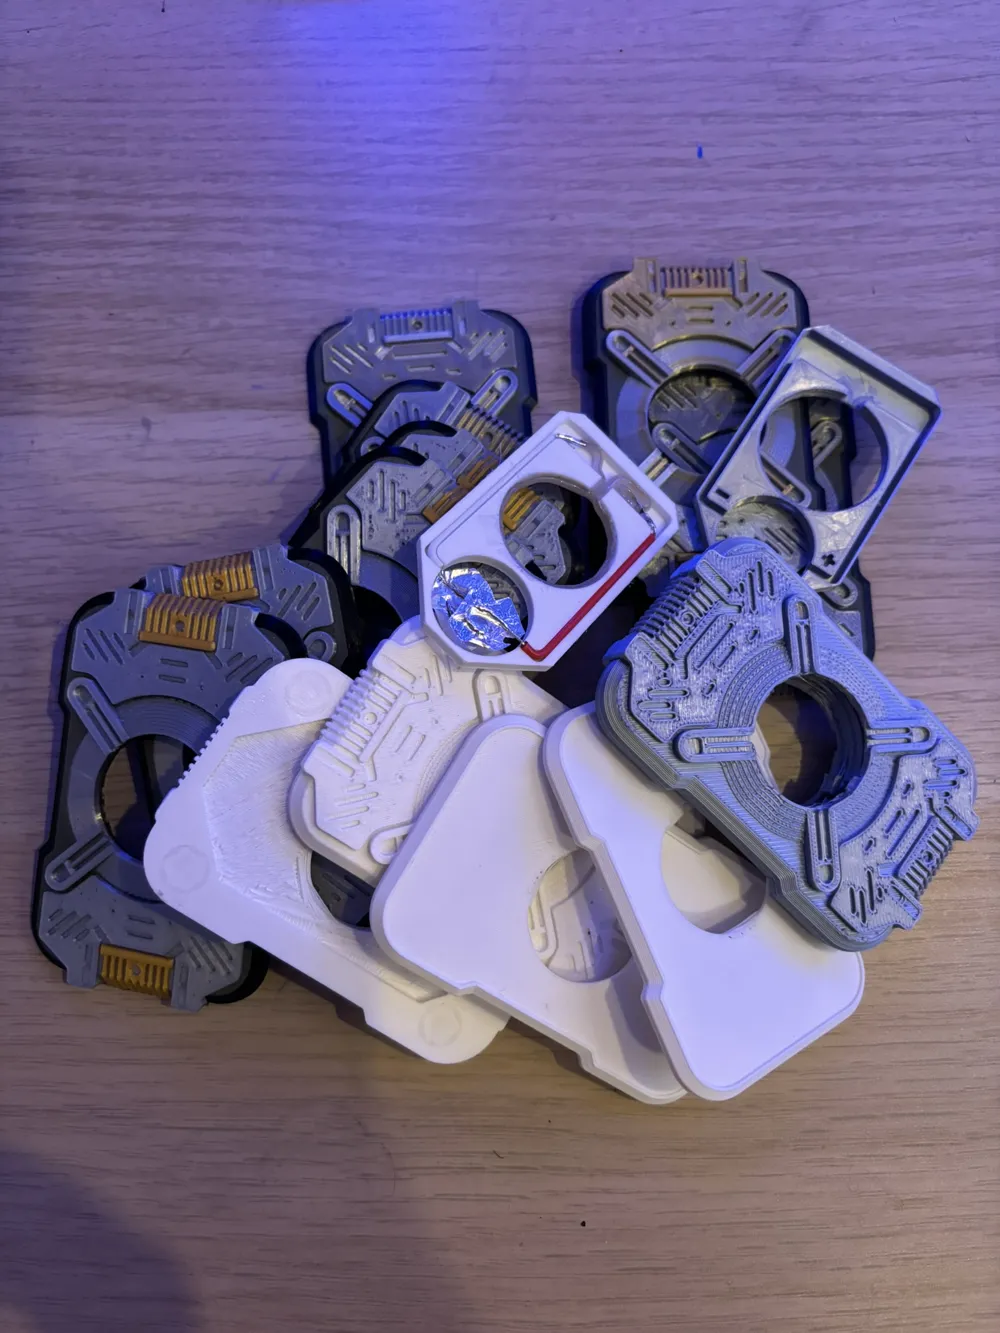
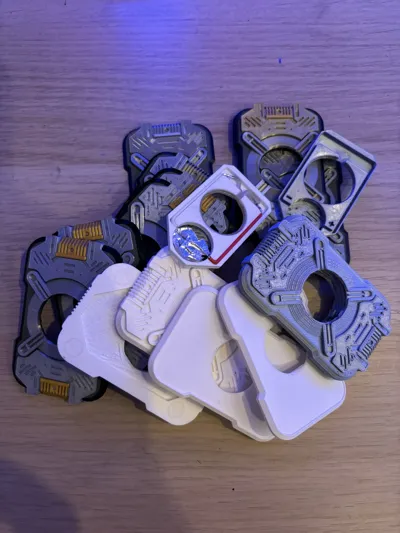
I did not use superglue for this, instead I used gorilla glue and then put tape over them and left them with the batteries down on a flat surface with a weight on top to dry. This is because I have left come clearance under the magnets for the glue to take up and doing it like this means that when the glue dries the magnets sit flush with the casing meaning there is no gap between them. As you can see in the pictures, it took a few iterations to get the clearances this right!
Lighting
Parts
Magnets: https://amzn.to/3SAMrrA
Battery: https://amzn.to/43JfAWu
LED: https://amzn.to/3HpD9MU (I got these on eBay for much cheaper and quicker delivery)
Instructions
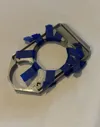
This is very simple, superglue the flexible LED Filament around the inside of the ring of the inner piece (use masking tape to hold it in place while it dries) and then solder a short piece of wire to each end. Run the wires down the channels to the space for the battery and strip the wires so it can make contact with the battery on either side. The CR2032 batter should press fit into the space at the end with the stripped wires on the top (+) and bottom (-). You can use a bit of tape to hold the wires on but once in the case they should be held against the battery anyway.
NOTE: The part links are affiliate links so I get a (very) small amount of money back if you use them.
Boost Me (for free)
Please boost this model so more people can see and enjoy it!
Documentation (2)
License



Comment & Rating (25)