
Print Profile(2)


Bill of Materials







Description
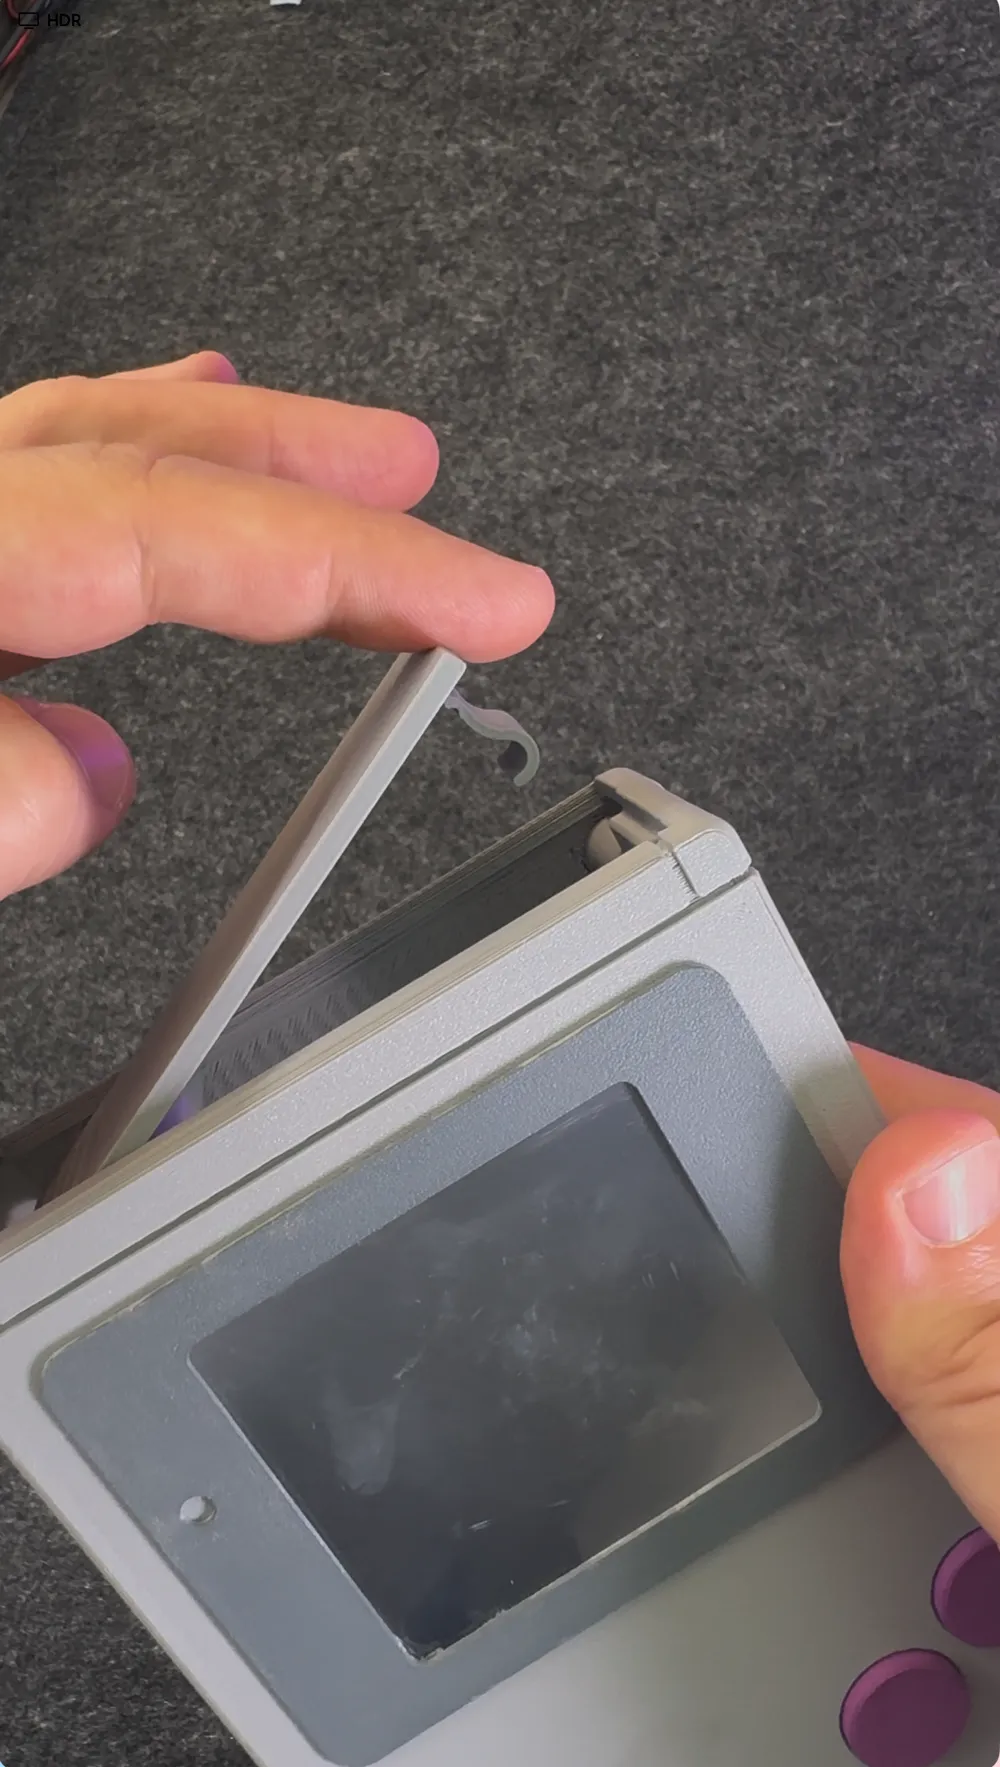
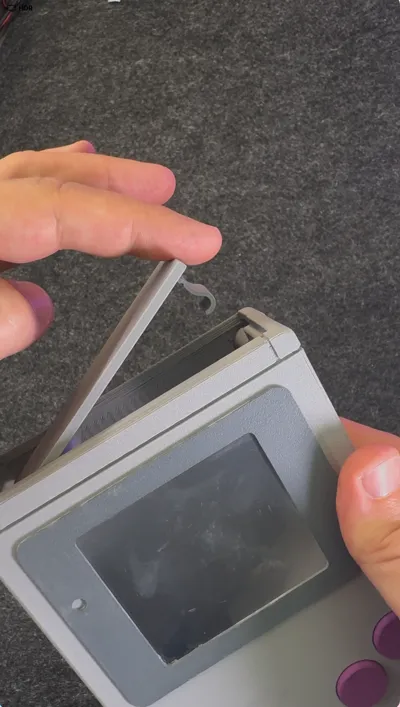
🆕 UPDATE – New Locking Lid Available! 🔒
new Lid Lock upgrade as an optional print profile.
This update comes from a user request. If you’re worried about candy spilling when the dispenser tips over (especially with kids around 😅), this simple upgrade keeps the lid securely closed, even when it flips!
👉 Check out the new profile: “Lid Lock Upgrade”
Thanks again to Projetos.Loucos for the idea, and as always, feel free to share your feedback or more suggestions! 🍬🎮
Take a sweet trip back to the ‘90s with a nostalgic twist!
Thanks to @Projetos.Loucos for the great idea and helpful feedback! 🙌🍬🎮
_________________________________

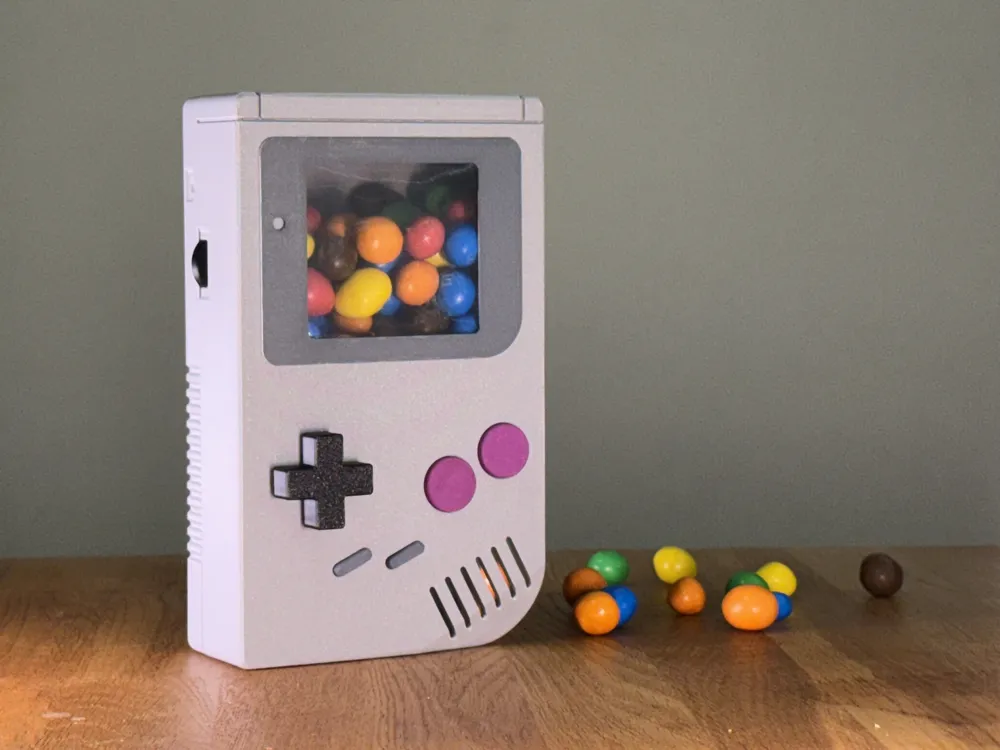
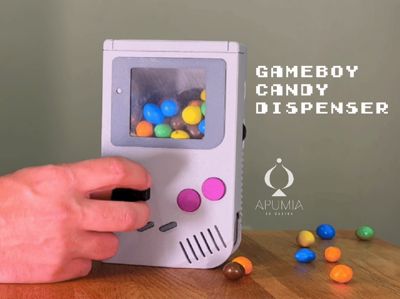
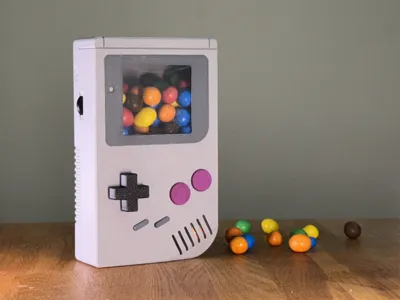
Game Boy Candy Dispenser
is inspired by the iconic Nintendo Game Boy.
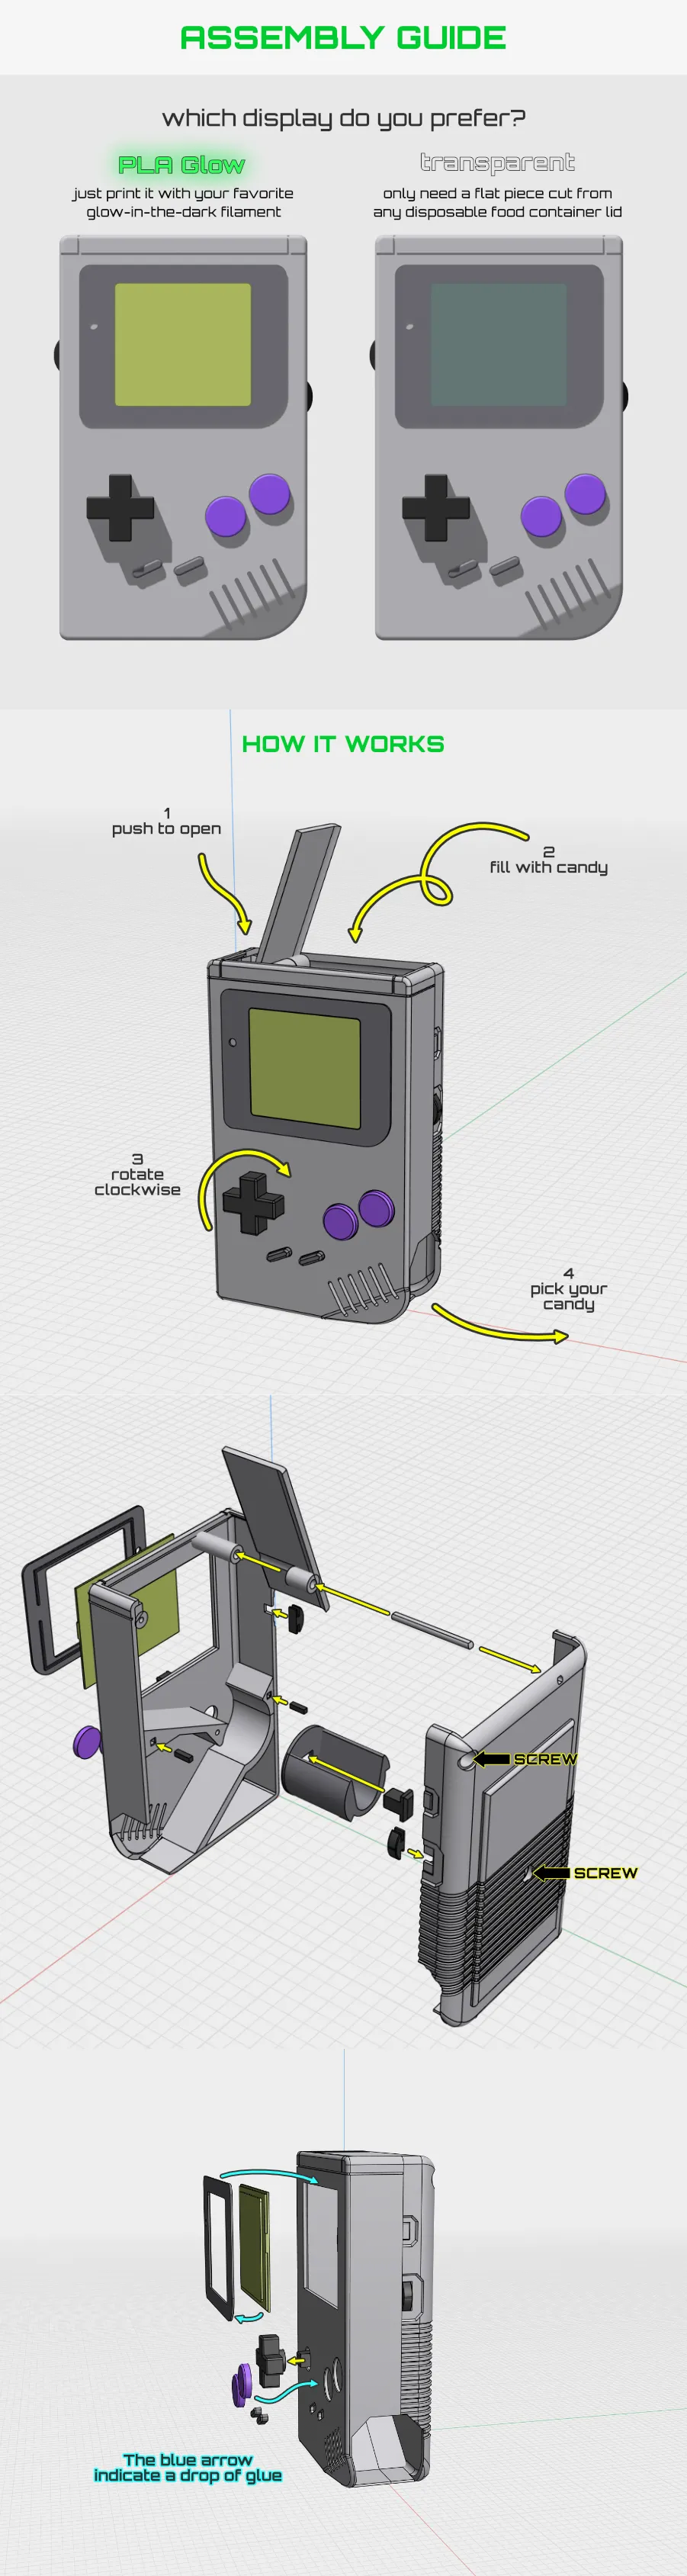
Just rotate the classic D-pad clockwise… and voilà! A candy pops out from the bottom-right corner, like a reward after beating a level!
Originally designed for m&m’s, but works perfectly with other small treats like pistachios or sunflower seeds.
It’s a joyful, retro-inspired way to make Children’s Day extra fun… for both kids and grown-up gamers!
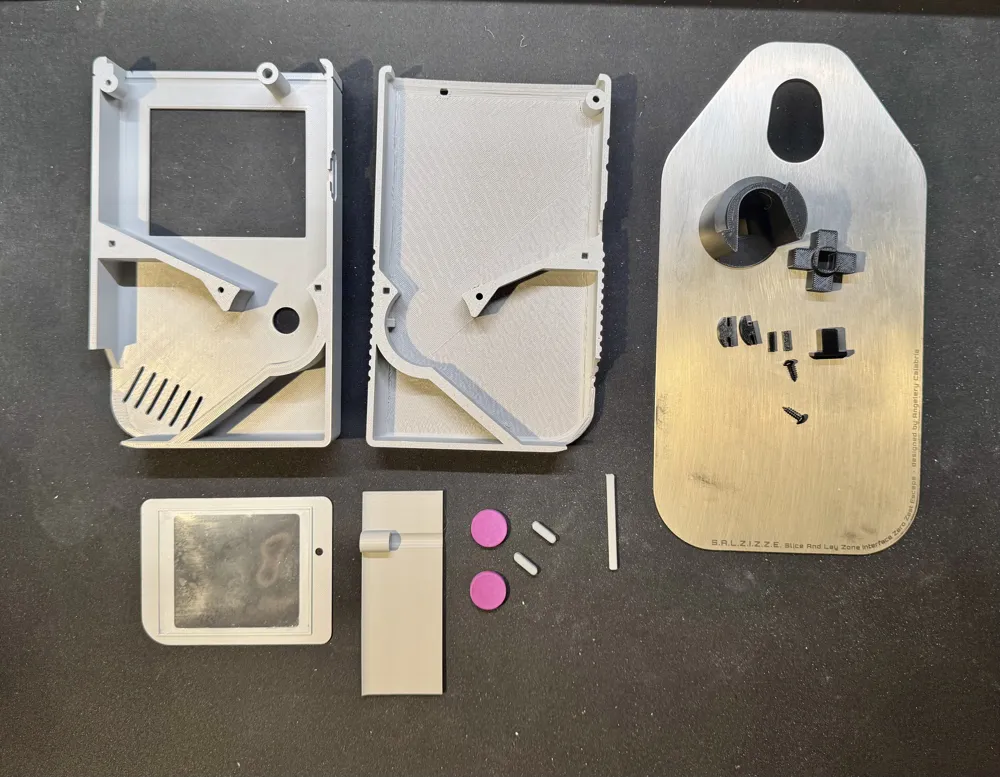
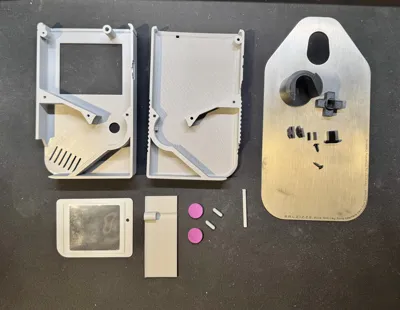
🧰 Required Materials
- M3x10 screws 2x
- 1x transparent disposable food container (to cut the display panel – for the transparent version)
- Glue
- Acrylic paint (purple and grey recommended) or PLA gray and purple
A video is worth a thousand words…
Boost Me (for free)
Nostalgia level 99? Let’s boost it to 100! 😄
Documentation (1)
License

You shall not share, sub-license, sell, rent, host, transfer, or distribute in any way the digital or 3D printed versions of this object, nor any other derivative work of this object in its digital or physical format (including - but not limited to - remixes of this object, and hosting on other digital platforms). The objects may not be used without permission in any way whatsoever in which you charge money, or collect fees.


Comment & Rating (162)