
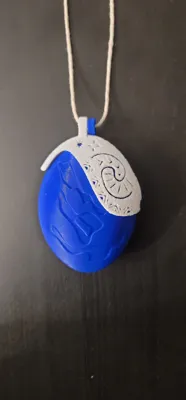
Moana Te Fiti Locket / Necklace (No AMS)
Print Profile(1)

Bill of Materials




Description
Most of my models are shared under a Makerworld exclusive license with REMIXES ALLOWED. They are posted exclusive so I can earn points for filament, but in the spirit of the open source community that made 3D printing what it is, I highly encourage adaptations and expansions on my work.
If you like my designs, be sure to follow me so you know when I publish new models.
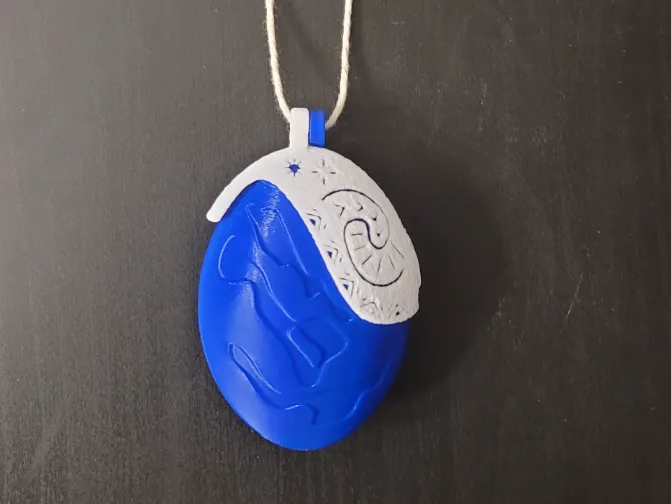
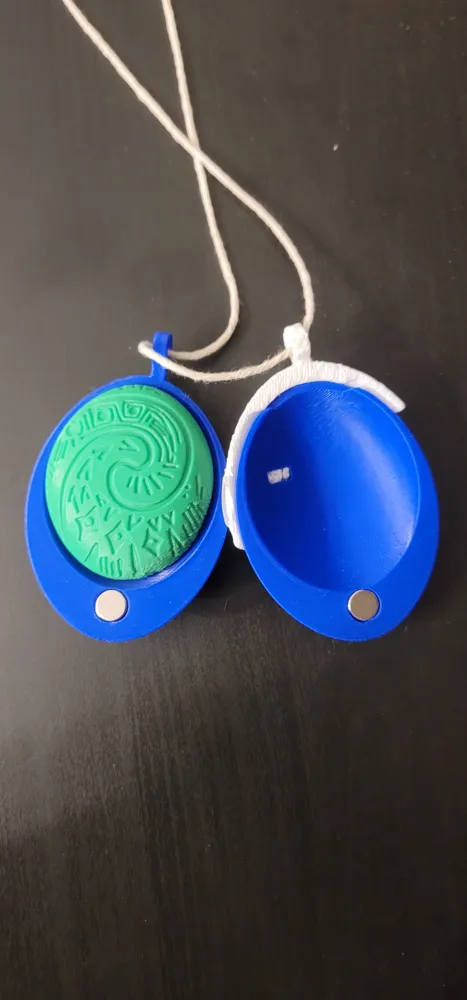
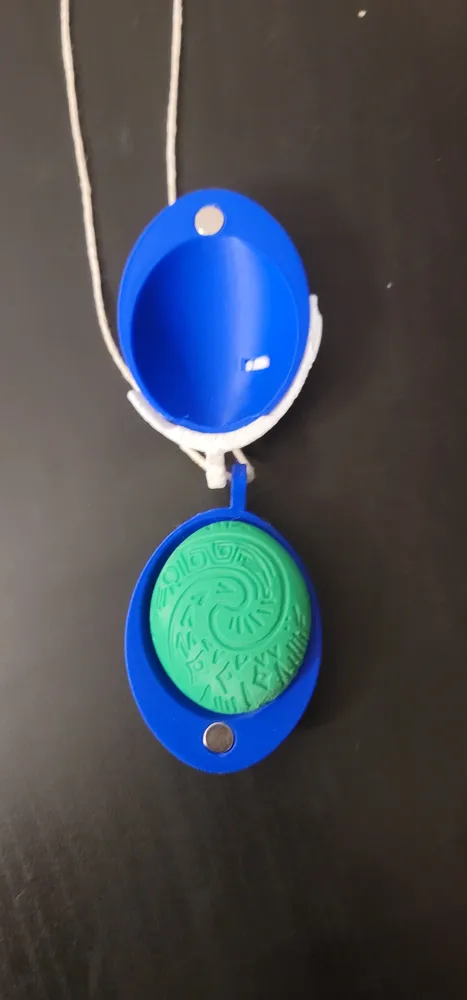
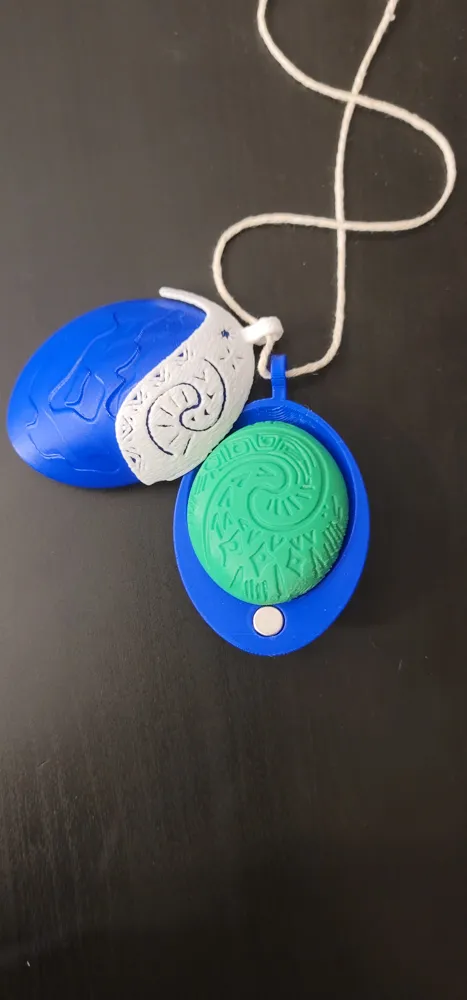
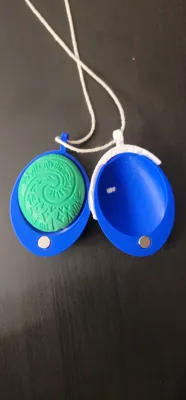
This is a simple locket to store the heart of te fiti (printed from here: Game Piece Moana/Vaiana Heart of Te Fiti by Fabs8819 MakerWorld: Download Free 3D Models)
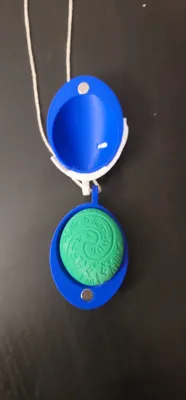
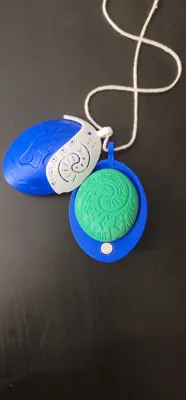
I didnt like the delicate hinges on the other models or the requirement for the AMS so I made one in parts that is capable of swinging open in just about any direction.
It takes 8x3mm magnets to hold the halves together. My magnets measure shy of 3mm (these: https://amzn.to/43BfU9P) so if your 8x3s dont fit, let me know and I will publish an updated model. They press fit in with a minor amount of force but depending on your printer calibration, you may need a dab of superglue.
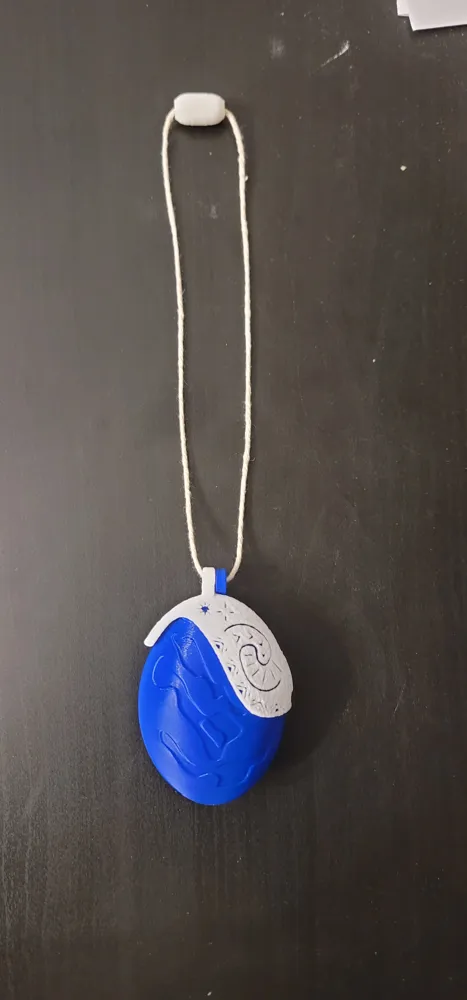
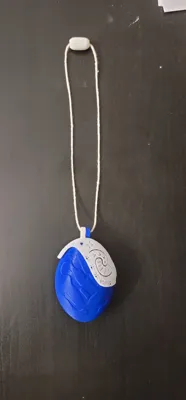
It also includes quick release connectors for the necklace. Run your rope/string through the hole in the rounded side, then tie a knot and trim any excess after the knot. Pull the string so the knot goes back into the cylindrical portion of the connector. Do this to both sides and the connectors can then slide into each other. Don't forget to put the necklace on before you put both connectors on. It will not fit over them.
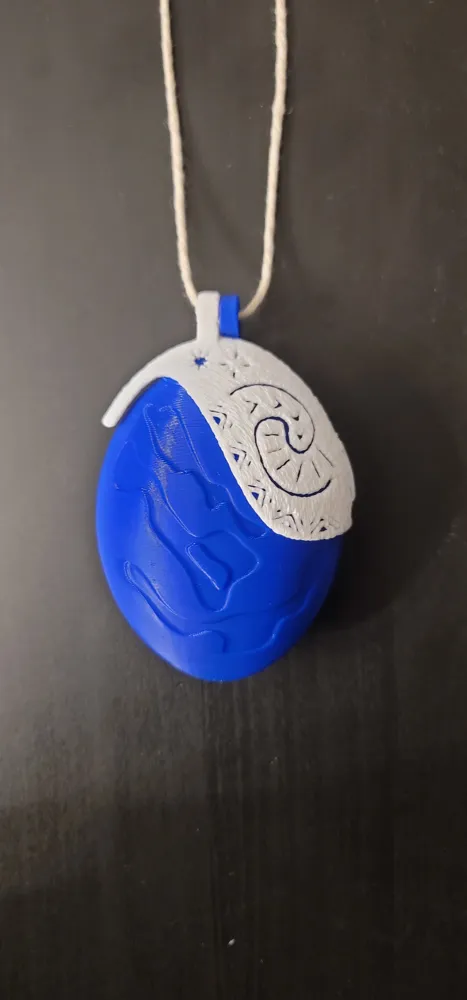
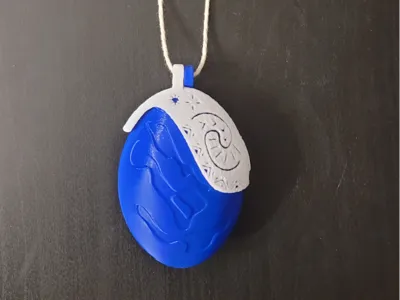
The print profile has 2 plates for the white shell, the first plate applies fuzzy skin to the shell to make it look more like the movie. The other plate prints it smooth.
For assembly, put the white shell over the blue one, then press the tab on the white shell into the notch on the blue one. It may take some force, but they should go into each other. I have had success with just the friction fit, but you could glue the parts together if they wont stay together on their own.
Boost Me (for free)
Boosting helps me buy filament to keep printing new prototypes!
Membership
Want to sell my models? Subscribe to a commercial membership and sell away!
License

You shall not share, sub-license, sell, rent, host, transfer, or distribute in any way the digital or 3D printed versions of this object, nor any other derivative work of this object in its digital or physical format (including - but not limited to - remixes of this object, and hosting on other digital platforms). The objects may not be used without permission in any way whatsoever in which you charge money, or collect fees.


Comment & Rating (22)