Logitech mouse charger dock


Print Profile(1)

Bill of Materials
- USB C port splitter x 1: wither splits into power or power and +/- data for the dongle : https://a.aliexpress.com/_mqW4YYZ
- USB A port x 1: USB 2 speed port for the dongle, get a port without the flared end: https://a.aliexpress.com/_oECJk4H
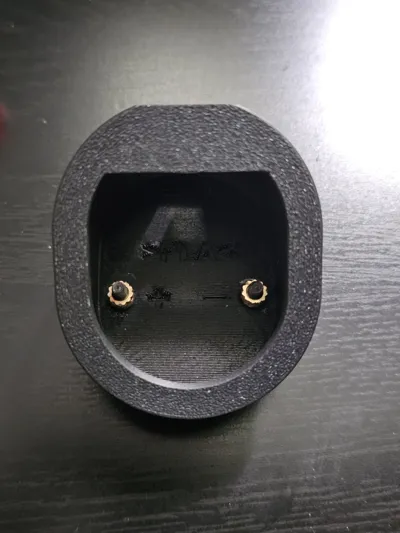
- M3 brass threaded insert x 2: For soldering power wires onto.
- 5*5*3 mm magnet x 2: As contacts if using the puck.
- M3*8mm or M3*12mm bolt x 2: screw in after soldering wires to threaded inserts. Screw in or out to adjust electrical contact after.
Description
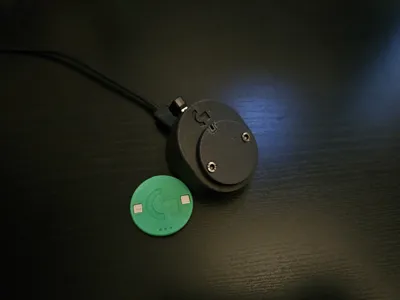
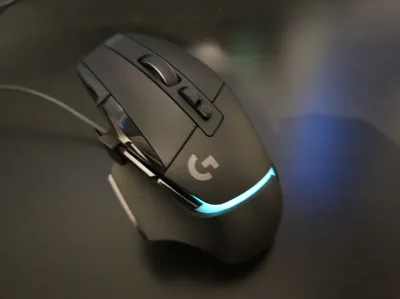
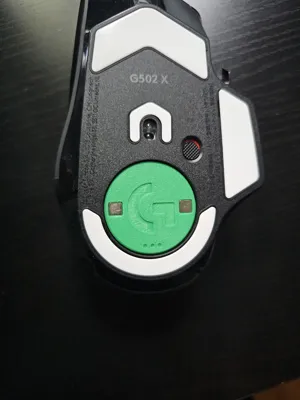
Made it to charge my mouse without a cable similar to Razer's system.
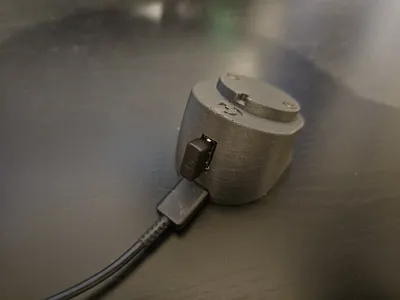
This model is designed to take a USB C port for a detachable cable.
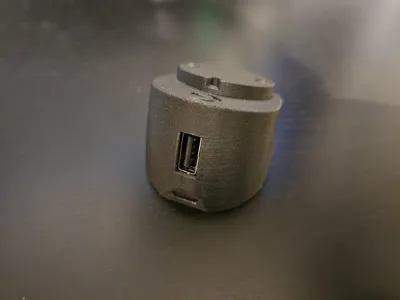
A version is available with an opening for a regular USB port for the wireless dongle.
Uses two M3 bolts as contacts, make sure your bolts are attracted to magnets and are conductive,
IMPORTANT: Solder the wires to the threaded inserts before attaching them to the bolts or you'll risk melting the plastic.
Make sure the threaded inserts and all the ports are well secured.
Added a puck to hold 2 5x5x3mm magnets, this addition is recommended as it ensures easier alignement of the mouse and also putting less stress on the tiny plastic tab in the charging port.
Puck may be glued on top of the charger face or just held in by the magnets, then it can be used instead of the standard cover when on the go.
To remove the mouse from the charger easily pull from the top of the mouse; as you would to remove the charging cover puck.
Make sure that the Bolts and magnets protrude slightly to make electrical contact. (You can adjust that with a screwdriver)
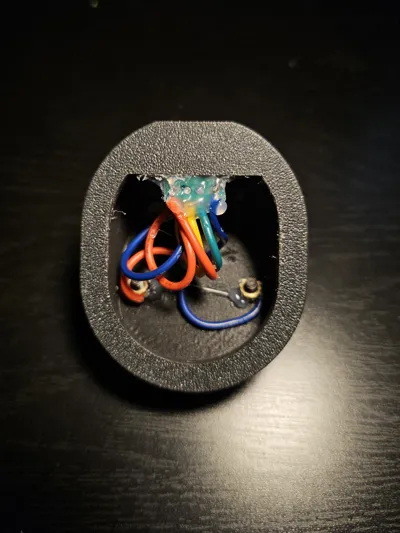
Everything was secured inside with hot melt glue.
Used some double sided tape to secure it to my desk.
No supports necessary, but some post processing is needed to make sure the USB openings fit correctly.
Polarity of the wires is indicated on the inside.
Comment & Rating (18)