
Themed Deck Boxes (MTG / Final Fantasy / Lorcana)
Print Profile(82)
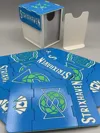
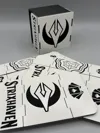
Description
Boost Me (for free)
Let me know you like it with a boost!
Membership
If you like the updates and want to leave a tip or if you would like to sell physical copies of my models and need a commercial license, please consider becoming a member.
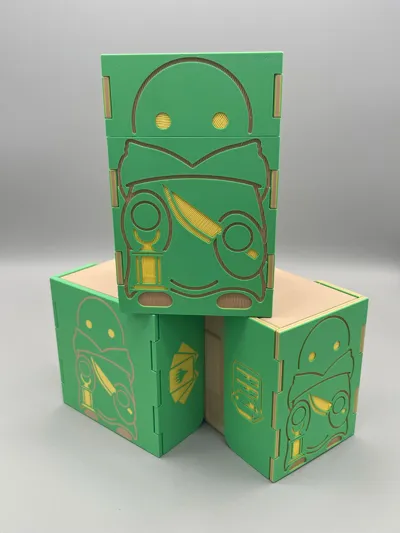
Themed Deck Boxes (Magic: The Gathering, Final Fantasy, Lorcana, More Soon!)
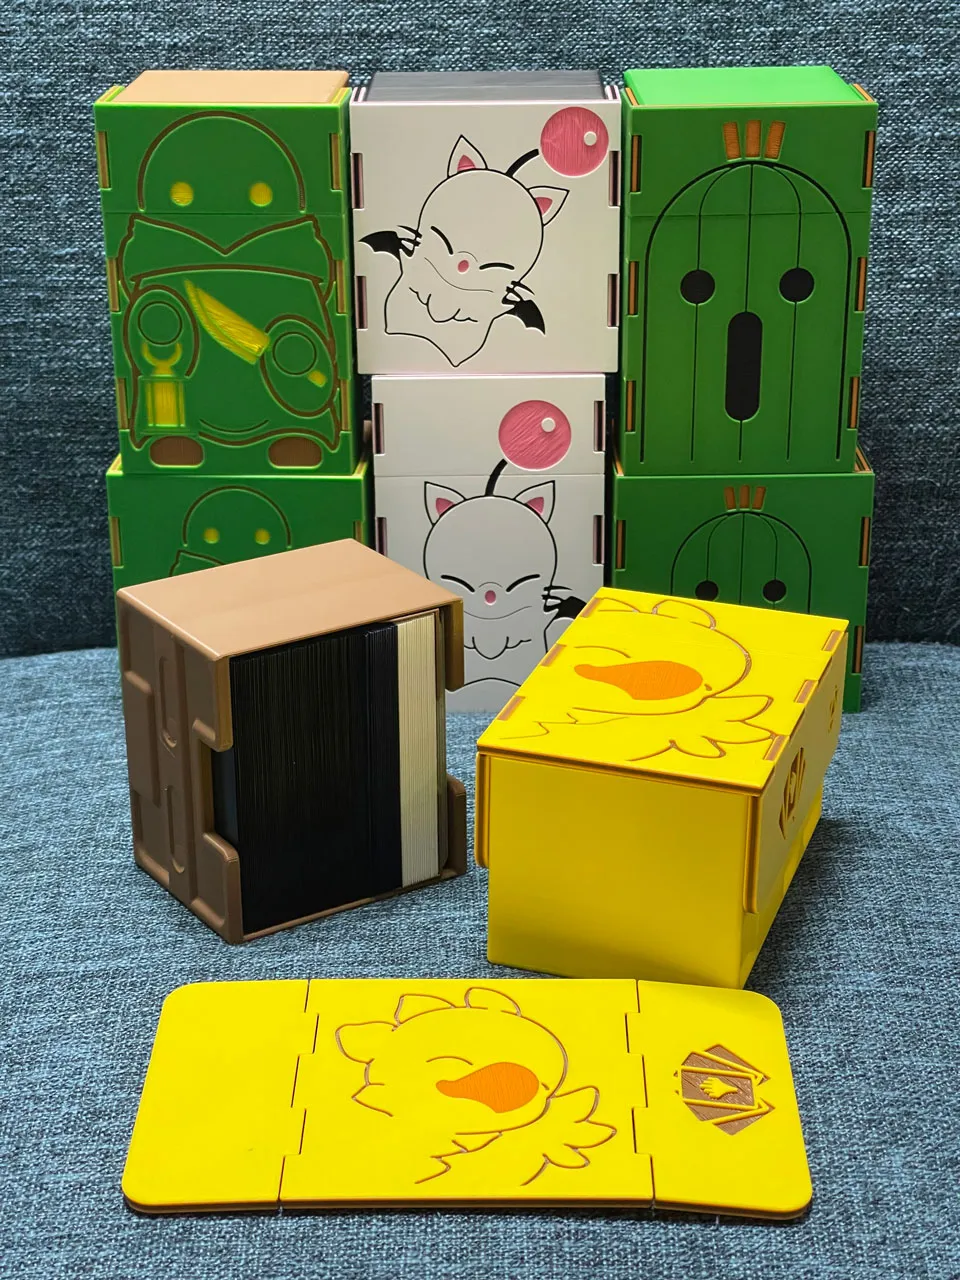
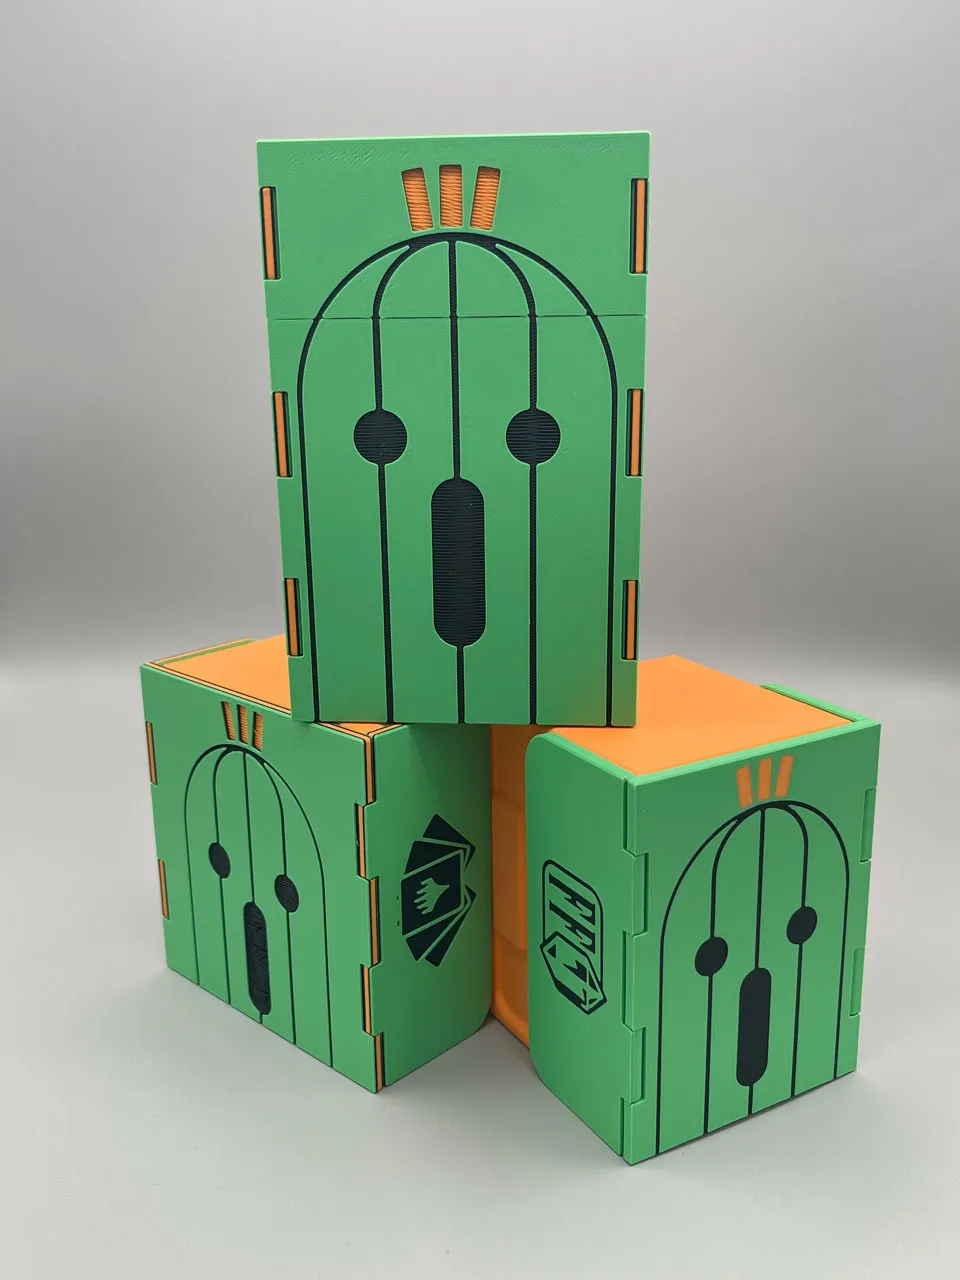
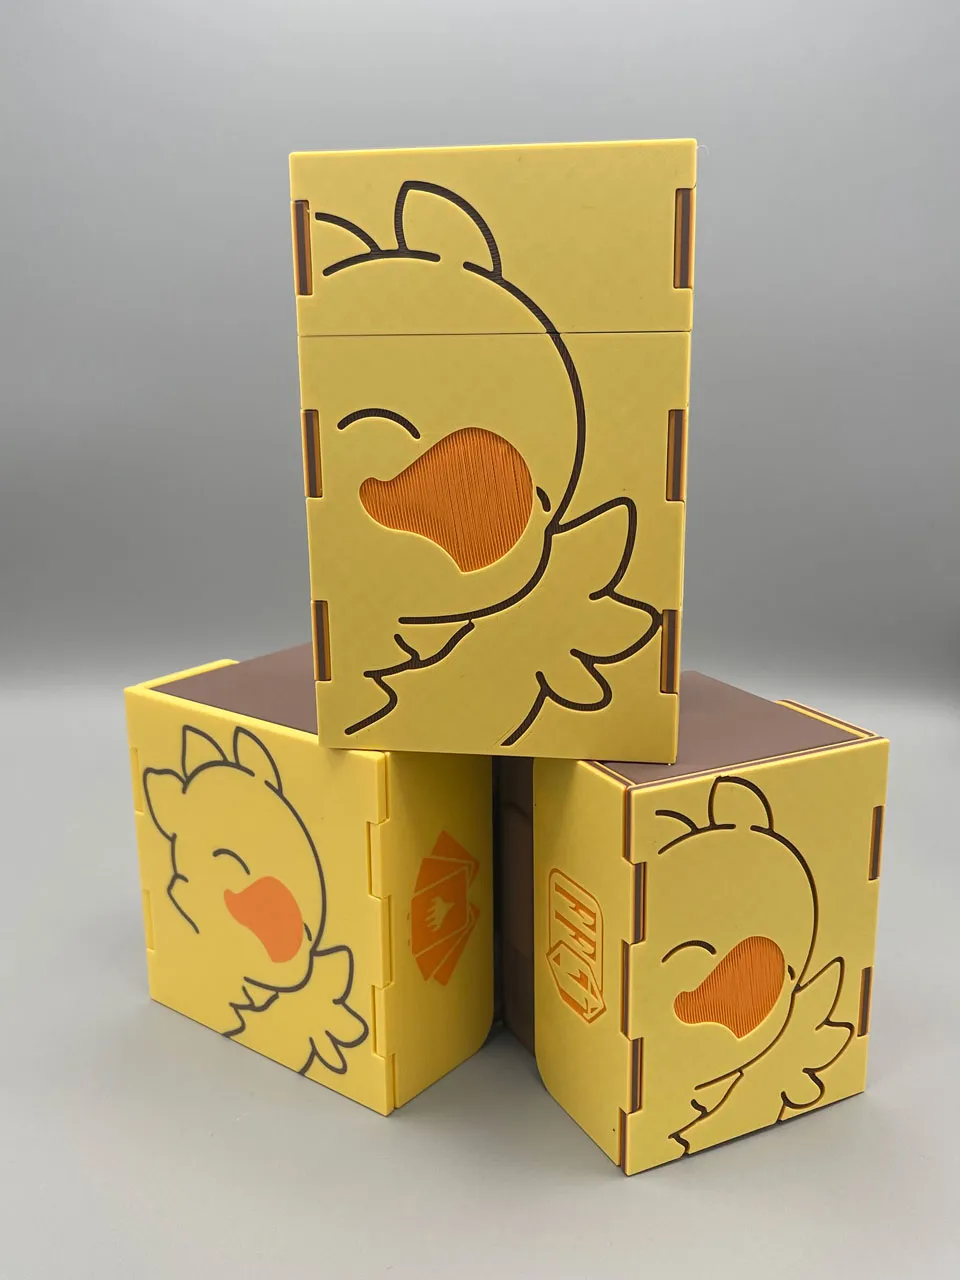
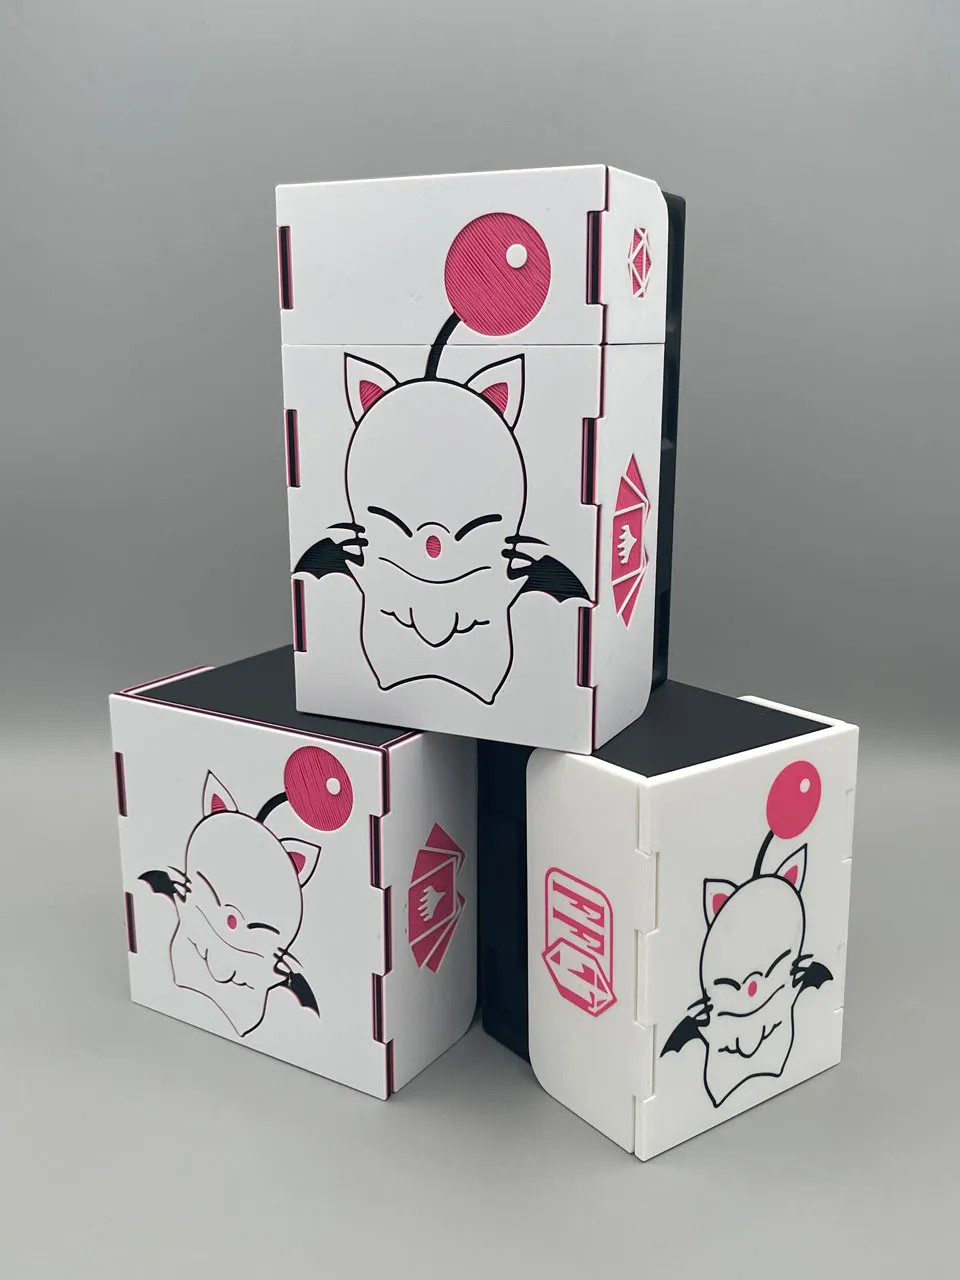
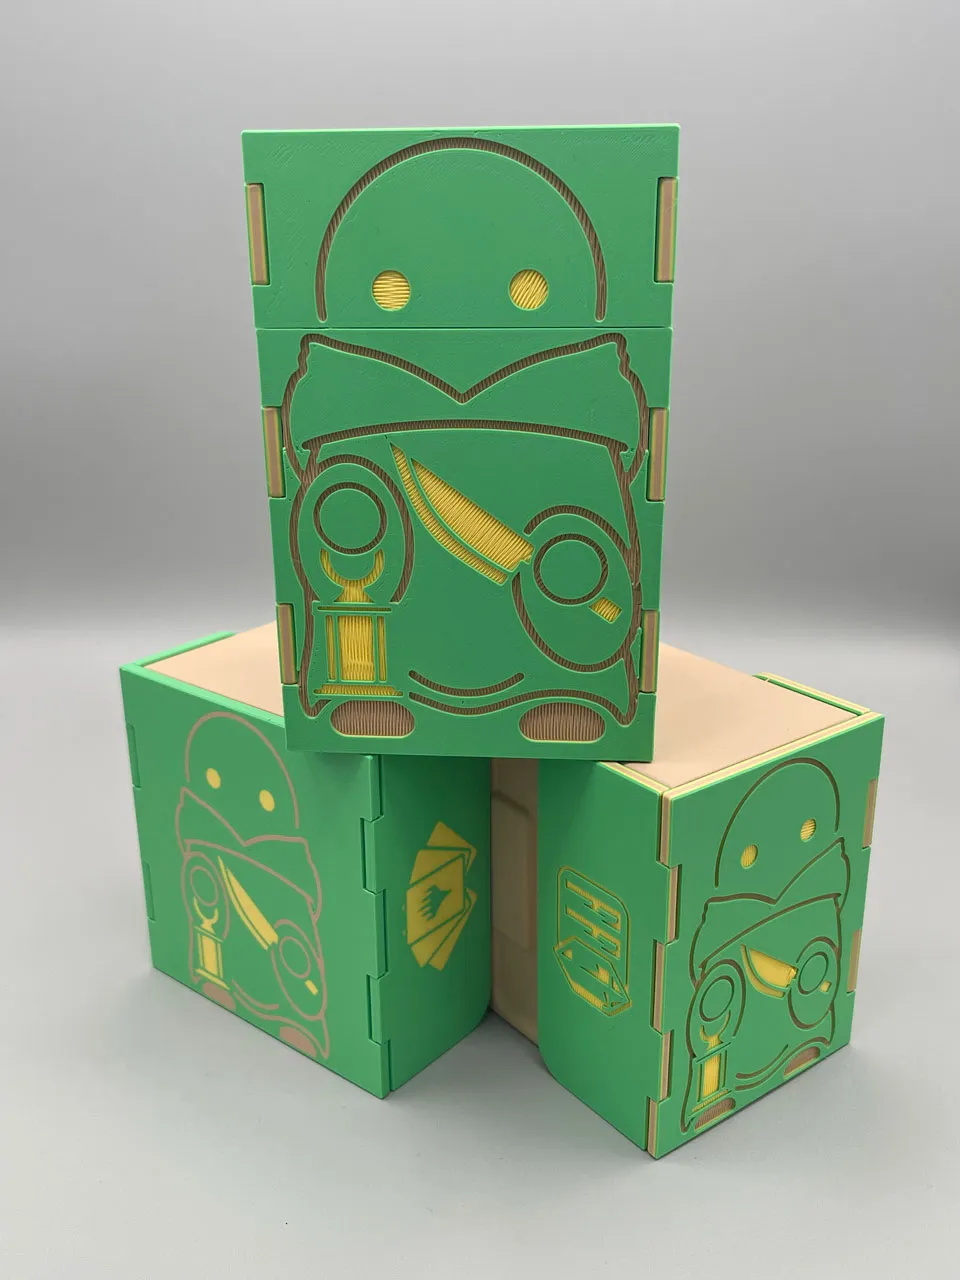
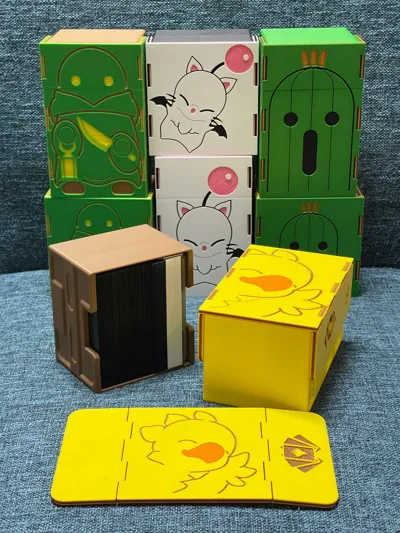
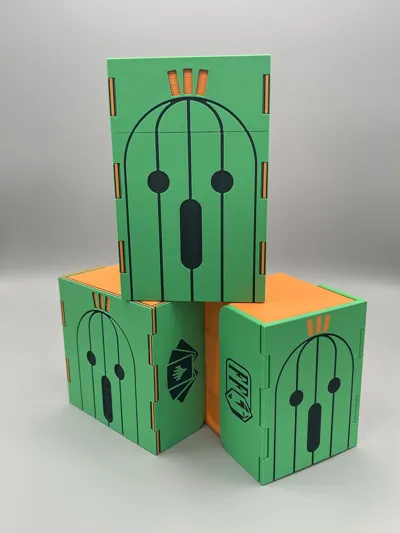
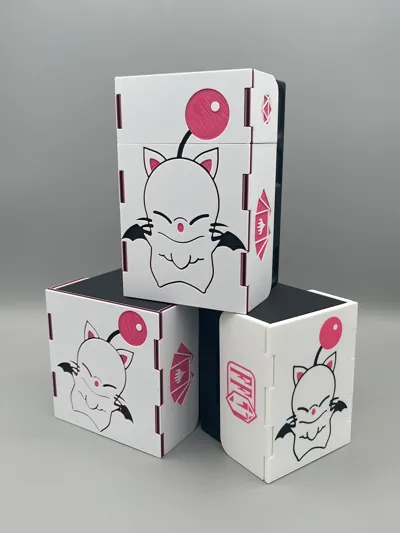
My inspiration for this one was a smaller way to enjoy my Jumbo Cactuar deck box without having to lug it around. So I made it in a more traditional format similar to my first deck box. Once I finished the Cactuar, I wanted to see which other ones I could do with simple lines and accent colors. The Tonberry was by far the most difficult. I wish I could have made the robe brown, but the style I limited myself to for this design really wouldn't allow it. (And of all of them, the Moogle is my personal favorite. White/pink/black turned out so well!)
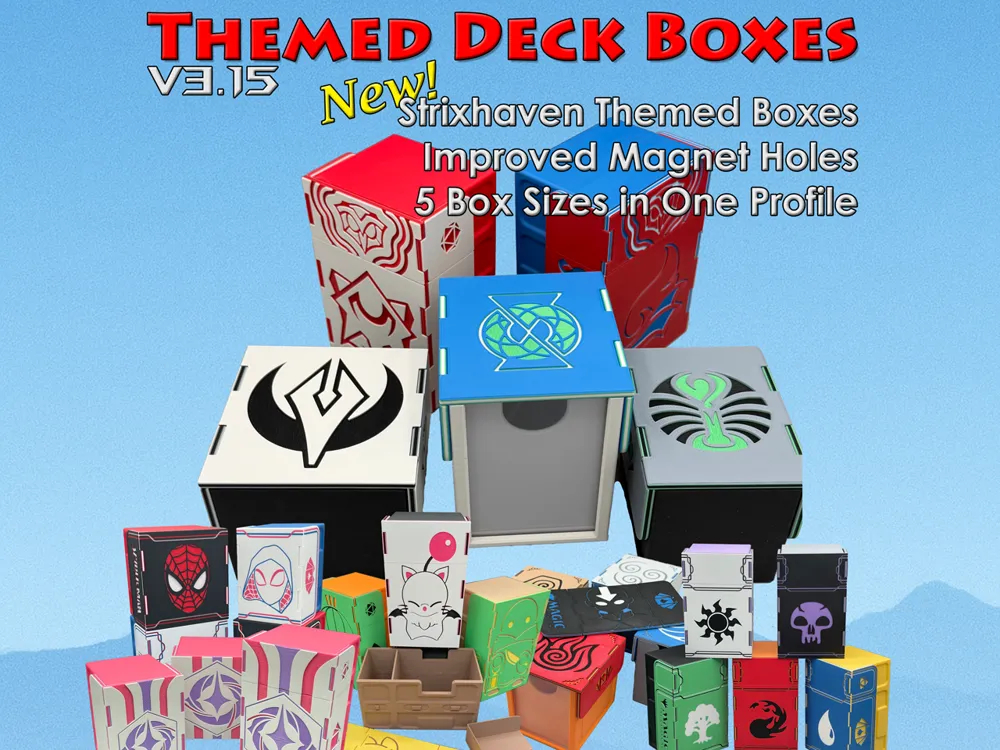
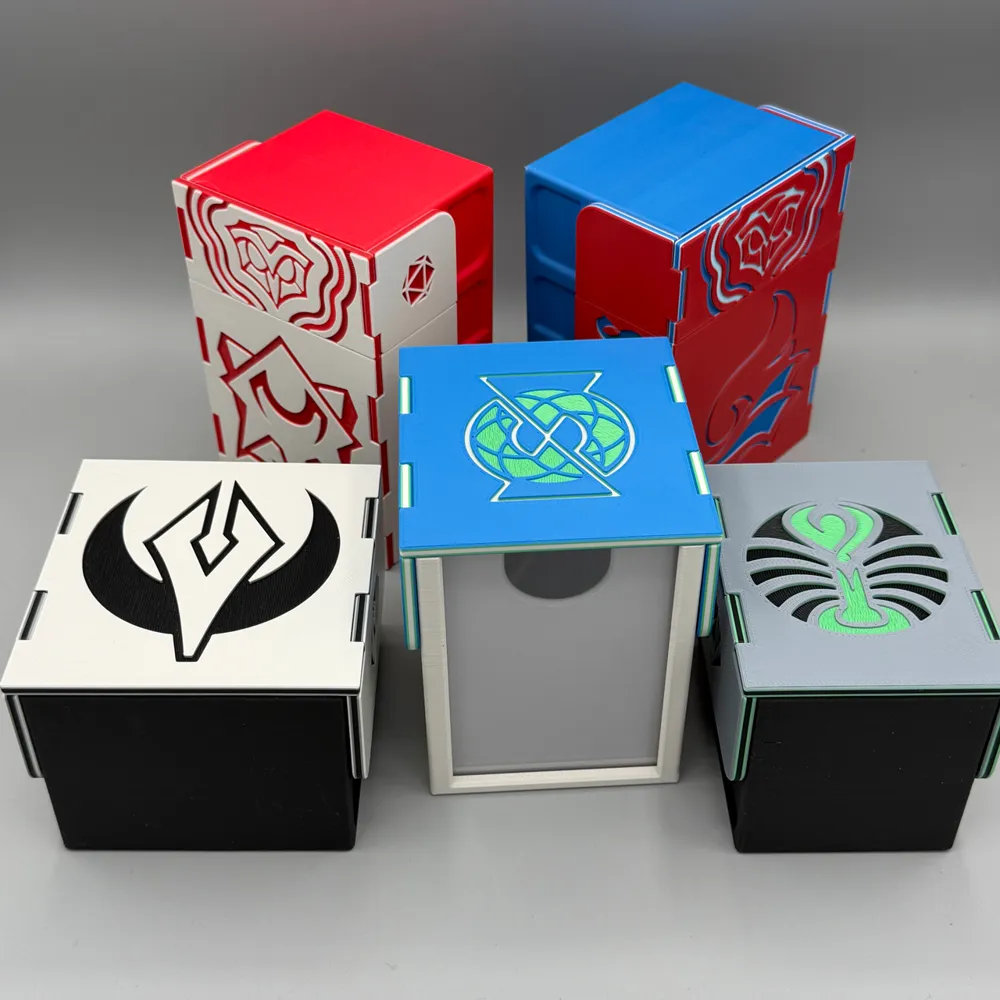
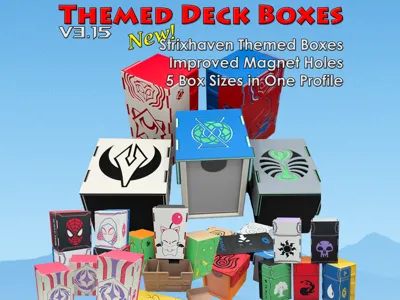
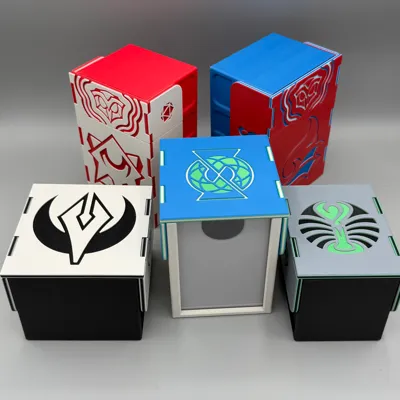
NEW: Strixhaven Themed Boxes and v3.15
Sorry that I missed the pre-release for Strixhaven, but better late than never! After extensive testing with the Avatar set and my own prints, I'm rolling out a v3.15 update for all models. This will be a gradual release, starting with Strixhaven and the Final Fantasy deck boxes, and the rest will be released as soon as they're ready. Here are the highlights of the 3.15 changes:
- All boxes are now in one profile: The list is getting WAY too long, so I'm planning on one profile per design, which should reduce the list by a lot. I'm going to leave the old ones up for a while, then I'll make them private.
- No more “Non-AMS Lid”: I started with just an A1 mini with no AMS, so I liked having the Non-AMS versions to keep it accessible. Fortunately, it's now a setting in Bambu Studio, so I don't have to spend extra time making them. When you print, select the "Multi-color with external" checkbox and you will be prompted to change the filament as it prints. If it doesn't work, please tell me!
- Better magnet holes: It took me a long time to design the magnet holes to fit the small tolerances between manufacturers and lock them in place without glue. I've done some small changes since v3.1 to ensure they print and look great.
- Ironing on topmost surface for Lids: Part of ensuring that the magnet holes look great at the end is ironing. I have the settings that work best for me in the file, but I recommend printing an ironing test and adjusting the global settings to work best for you.
- Commander Divider: I added a low-profile divider to the Commander deck box.
- A1 mini is now the default again: I made the change to the P2S last time, but some of the designs use 180mm exactly and would throw up an error when switching back to the A1 mini. But it's never a problem to switch from an A1 mini to something else, so the A1 mini is the default again. Hope this makes it easier for everyone to print!
Please be patient as I work through all the designs. I have the Final Fantasy and Strixhaven files as templates, so hopefully I can just get them out in a few clicks.
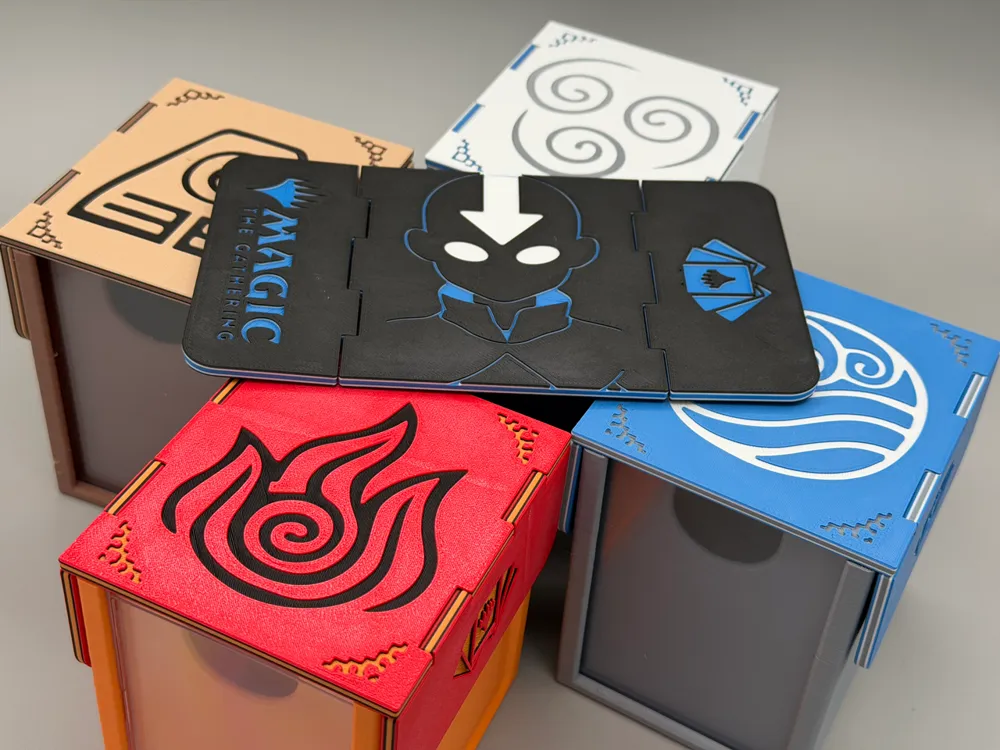
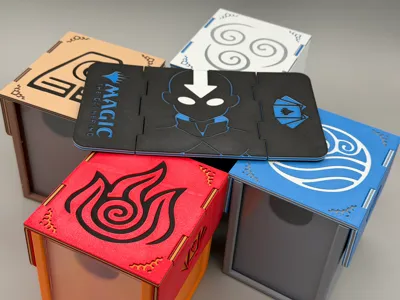
Avatar Themed Boxes
Not much else to say, but enjoy! The Avatar boxes are based on the v3.1 model. All the magnet holes are now part of the STL files and have been designed to be compliant and allow differences in tolerances. If you have issues getting the magnets to fit, you can add a negative part to widen the hole. The special designed holes are made for 6 x 3mm round magnets. The other designs will be updated shortly with 3.1 including all sizes. I wanted to nail down the magnet holes before uploading everything again.
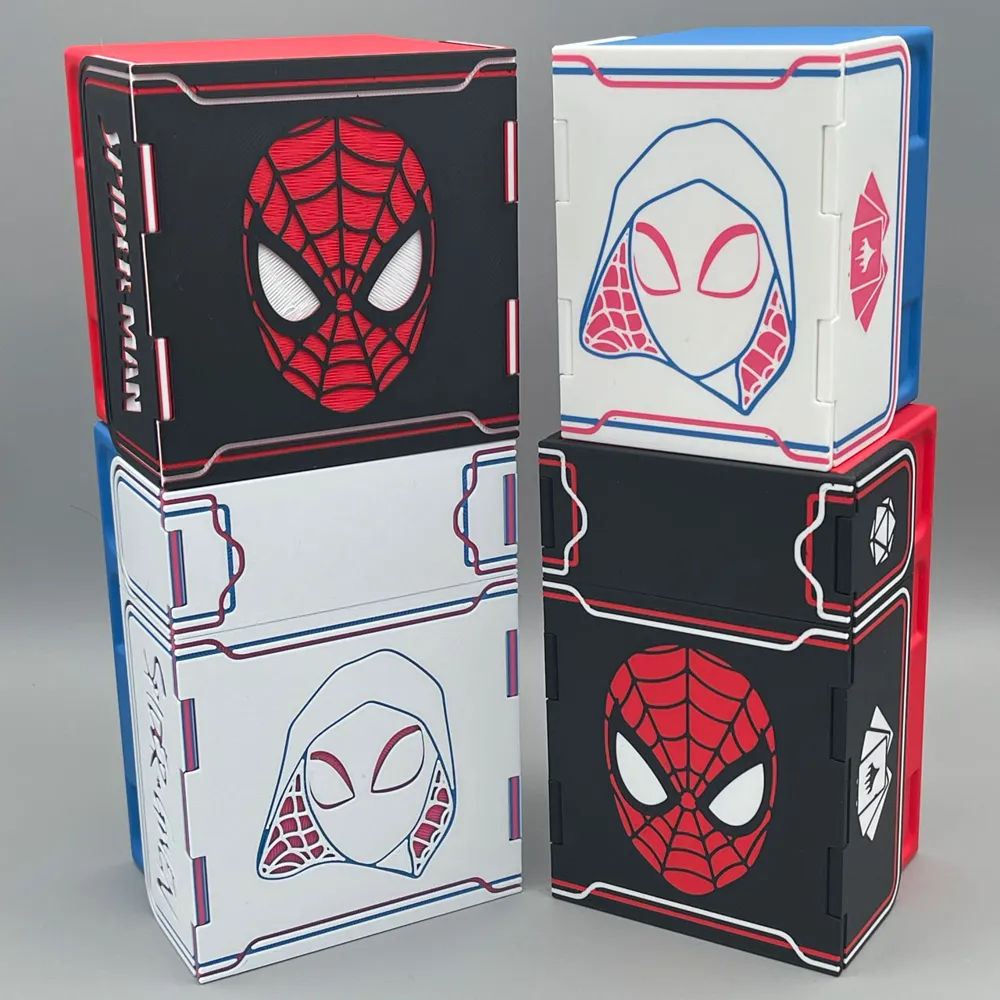
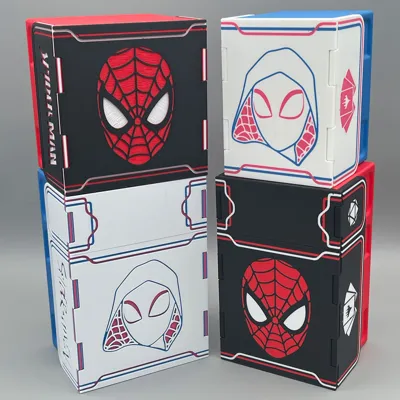
Spider-man and Spider-Gwen
While I was working on these cases, I was also trying to make some improvements. For now, I'm releasing Spider-man and Spider-Gwen cases using the same theme as the MTG cases. I tried just the masks and thought they just looked boring, but the borders really brought them to life. I am thinking about more designs, so you may see Venom or maybe the Spider-man logo. I'd like to do Miles as well, but you can almost do that by choosing different filament colors on the Spider-man mask, so it might not be that different.
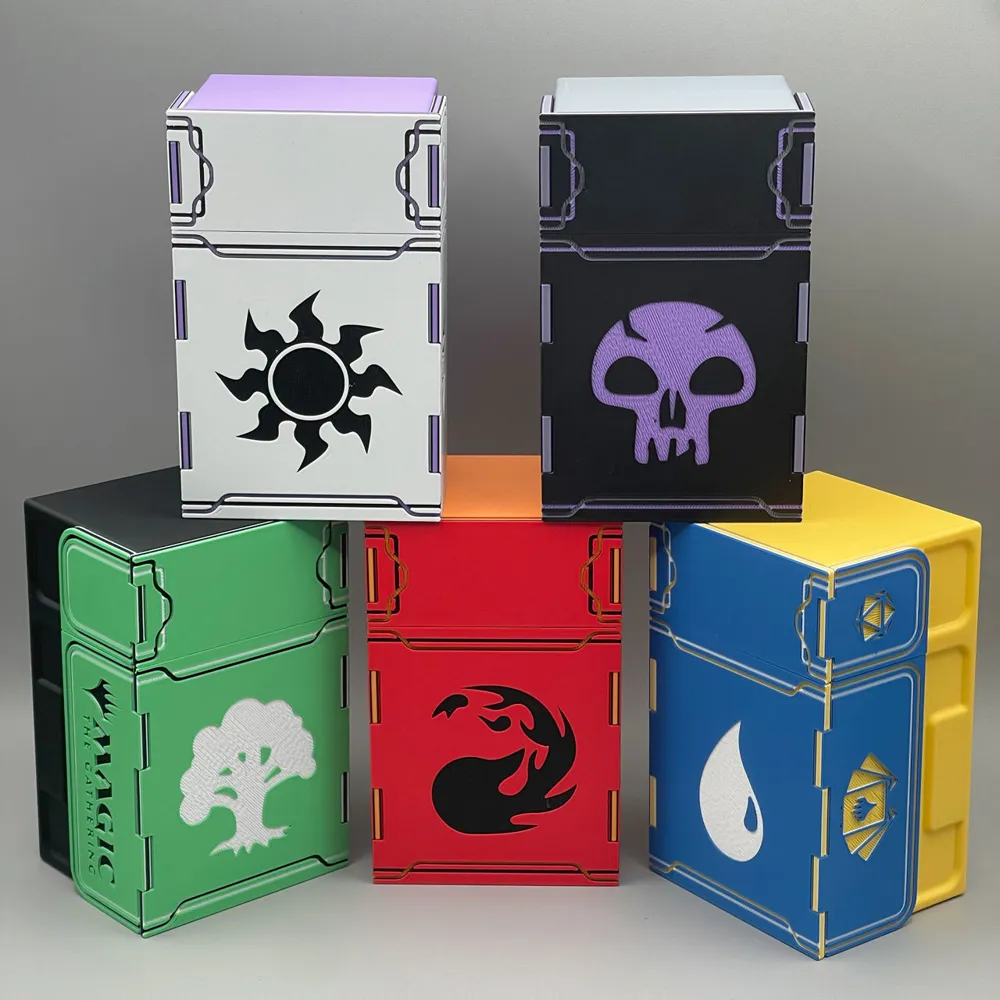
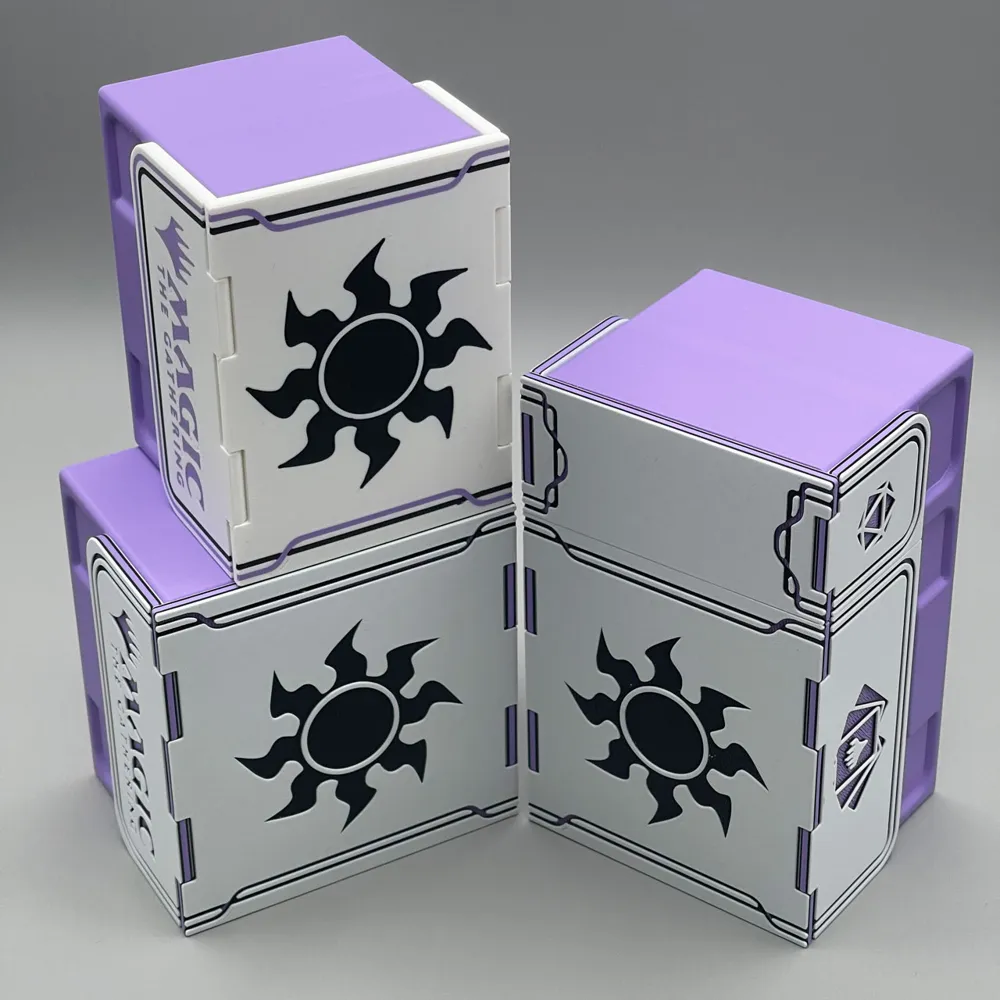
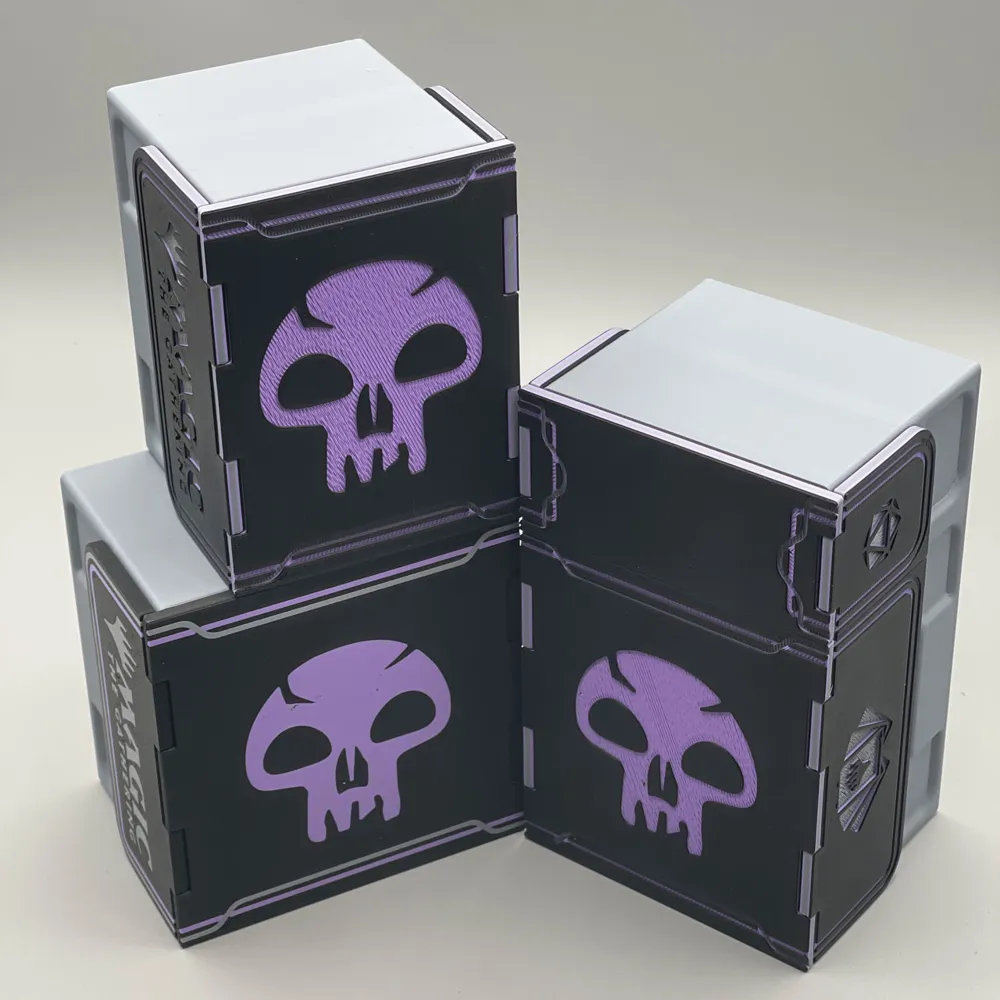
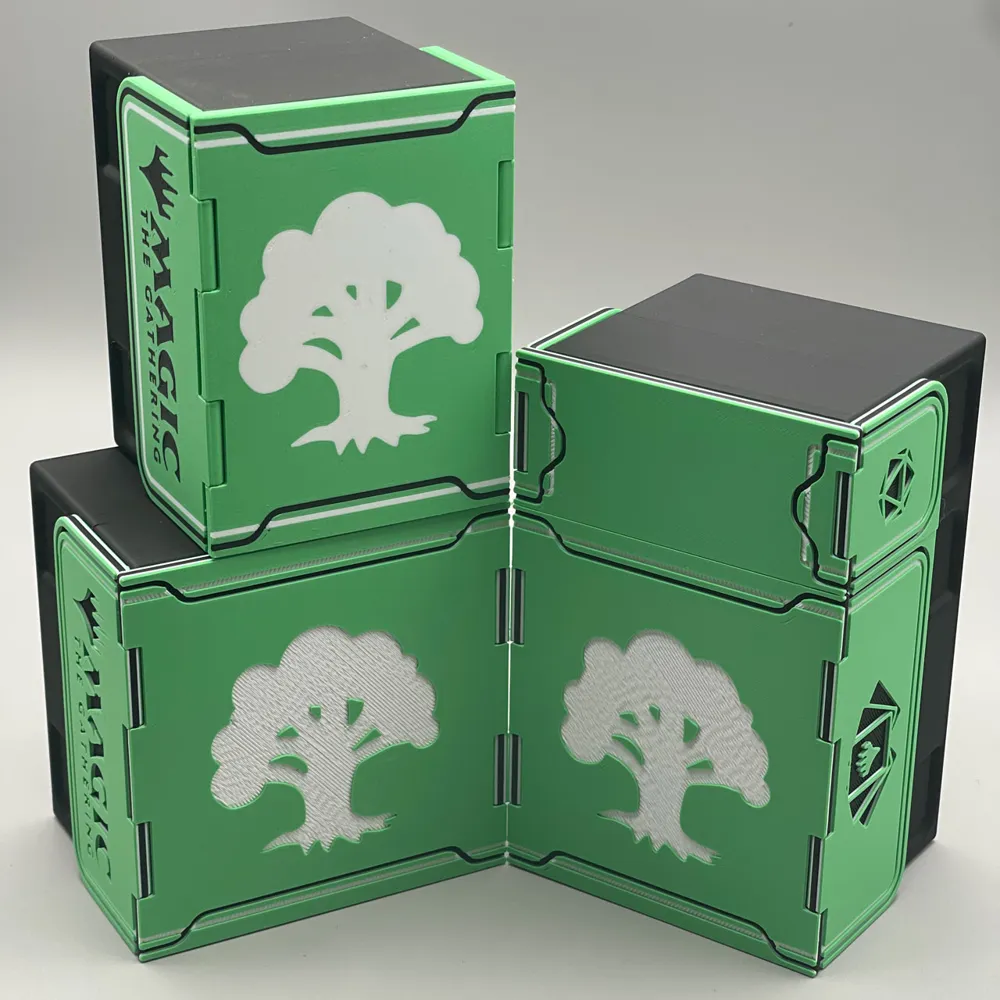
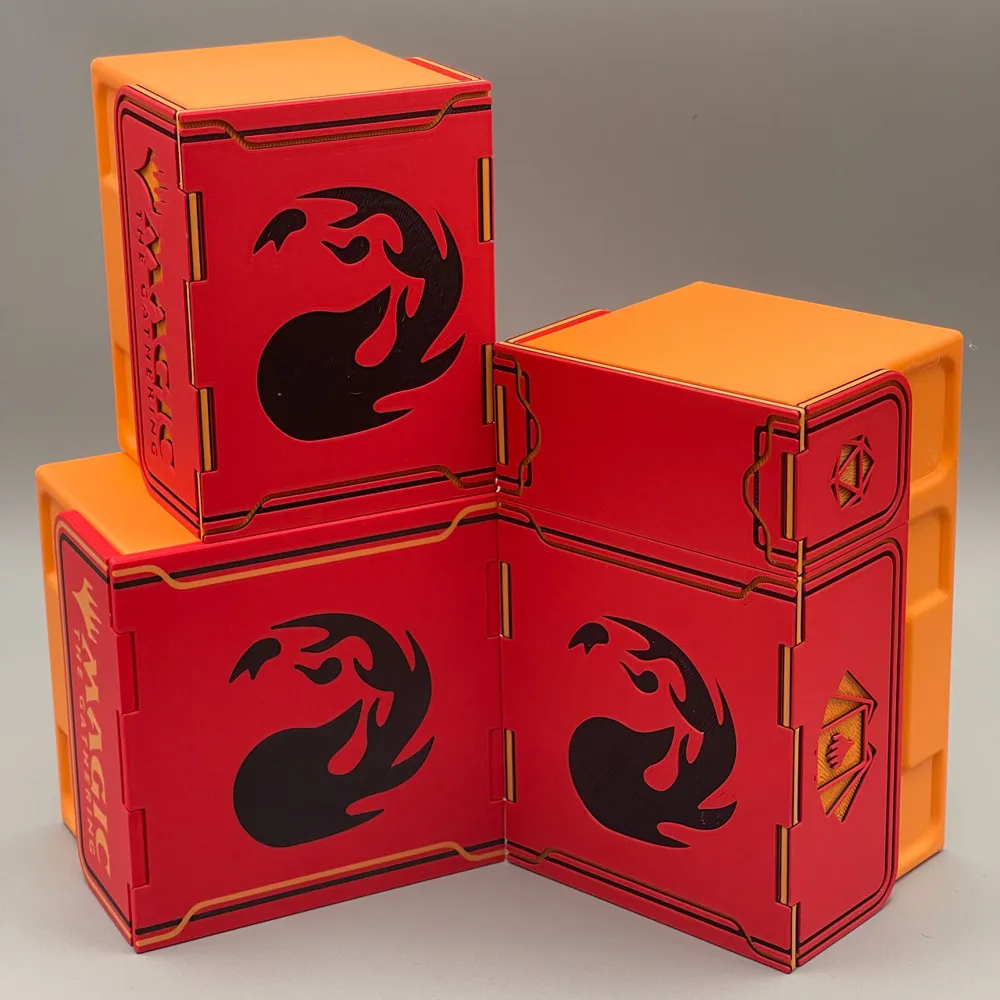
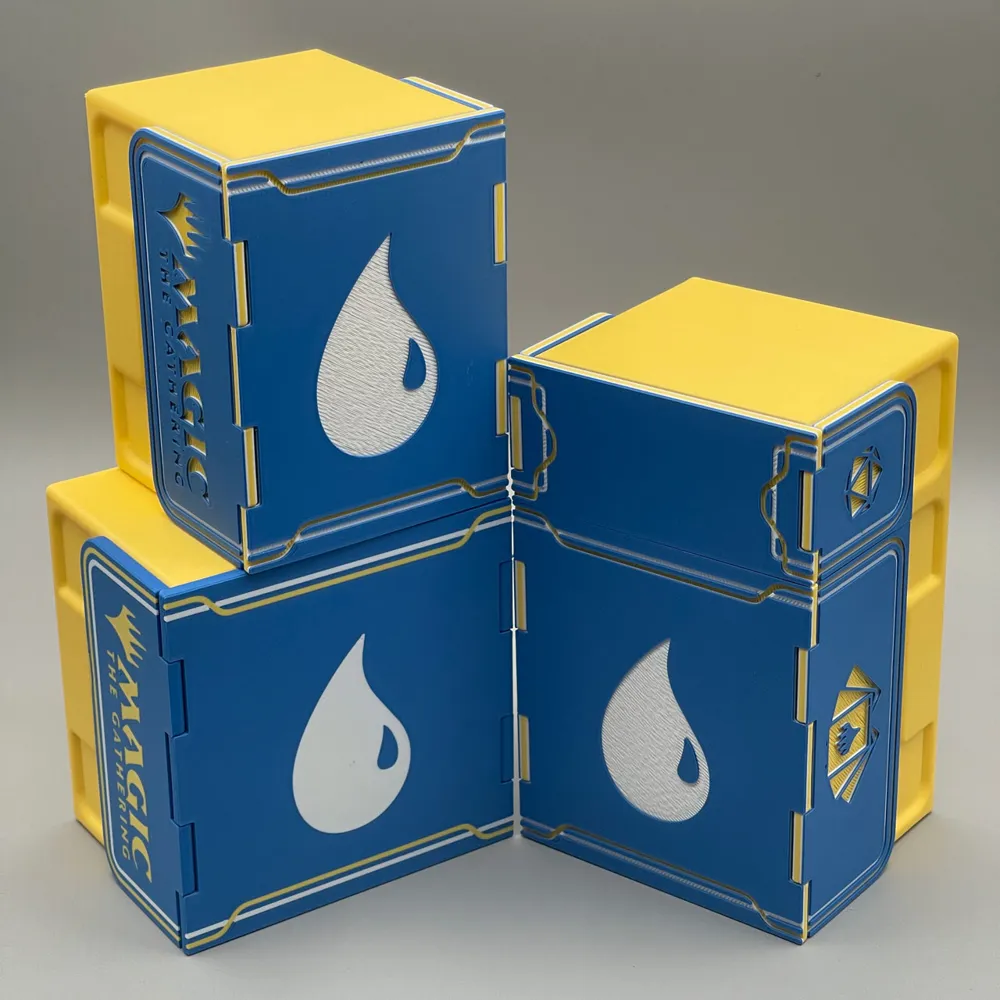
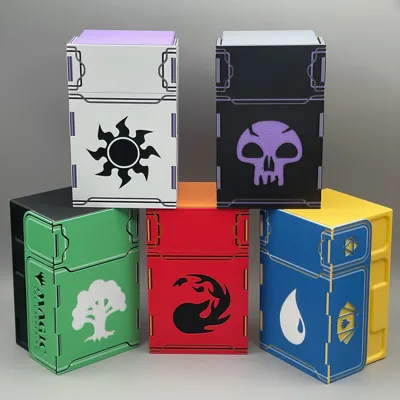
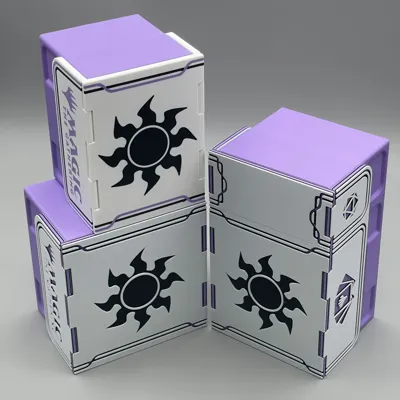
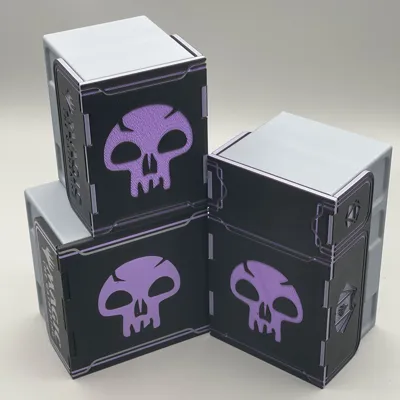
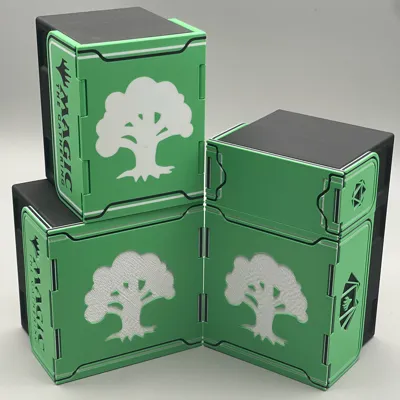
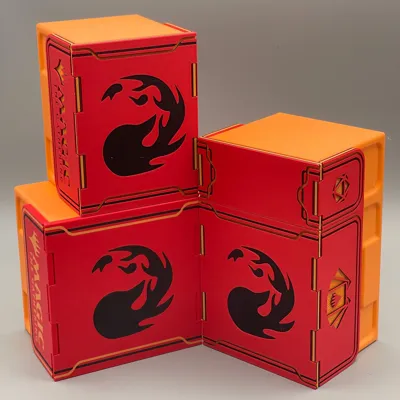
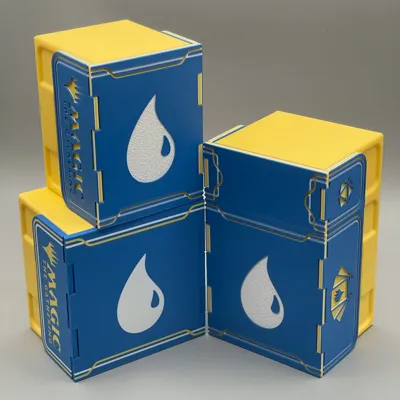
Magic: The Gathering Mana Symbol Boxes
I've spent much longer on these than I wanted to, but it took me forever to decide how to decorate them so they weren't just the symbol on a blank lid. I'm super interested to see what colors you make your boxes if you change things up. I decided that the lid would be the mana color, the symbol would either be black or white, and the accent color would be for the cards and magic logos on the sides. The accent colors are all colors which are different from the main 5 and different from each other. Please post your boxes, I want to see what everyone decides to do with them!
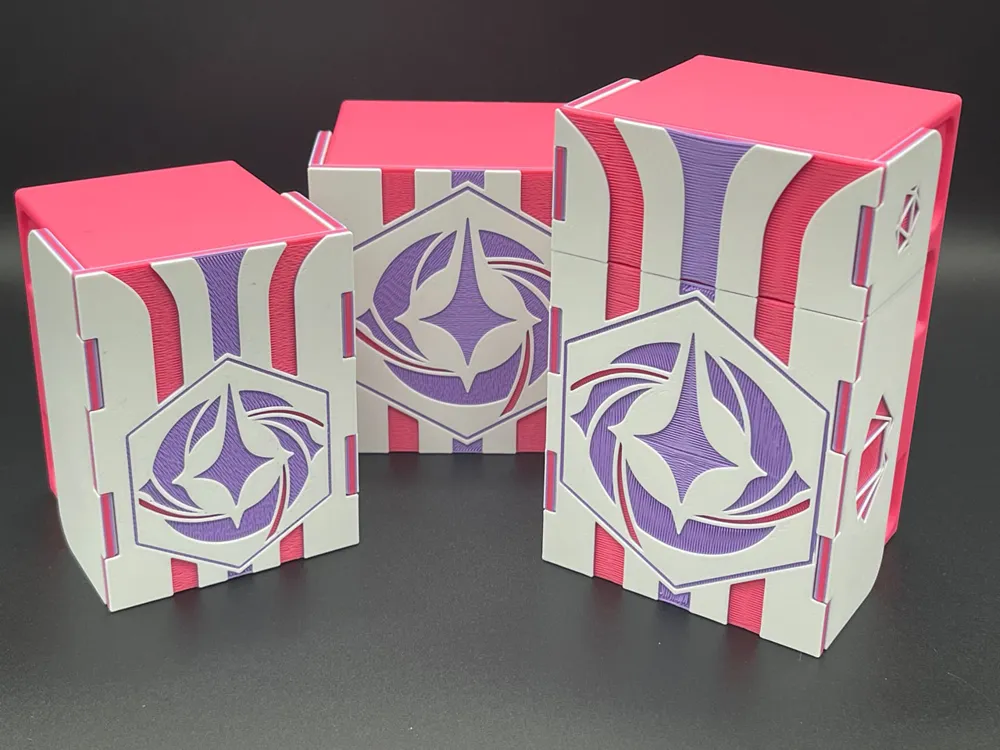
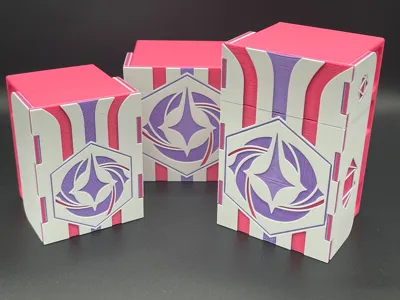
Lorcana Themed Deck Boxes
I was stuck for a while on the design, and how to make it work, and so on… But the final look I think keeps with the aesthetic of the logo and looks great (if I say so myself)! This was one of the most requested patterns, so I hope everyone can enjoy it. One other point that held me back was the previous title to this model being specifically for MTG x FF, but MakerWorld support advised me the best thing to do would be to make the title more general to include other designs. So this is the first new design that's not Final Fantasy, but I will be finally added the Magic: The Gathering Mana and then Spiderman and other Universes Beyond projects as well.
Supports
Now, you might be thinking to yourself, why does this need supports? Well, it does and it doesn't. The design and style for the layered models was always a bit of chaos from the bridging, but it also created situations where the bridges would get really messy or fail, especially when they touch the edge. When I make the Lorcana designs, I REALLY wanted the sweeping columns to go right to the edge, but the prints wouldn't always look the best. So I went back to the support settings and found a combination that really works. See for yourself!
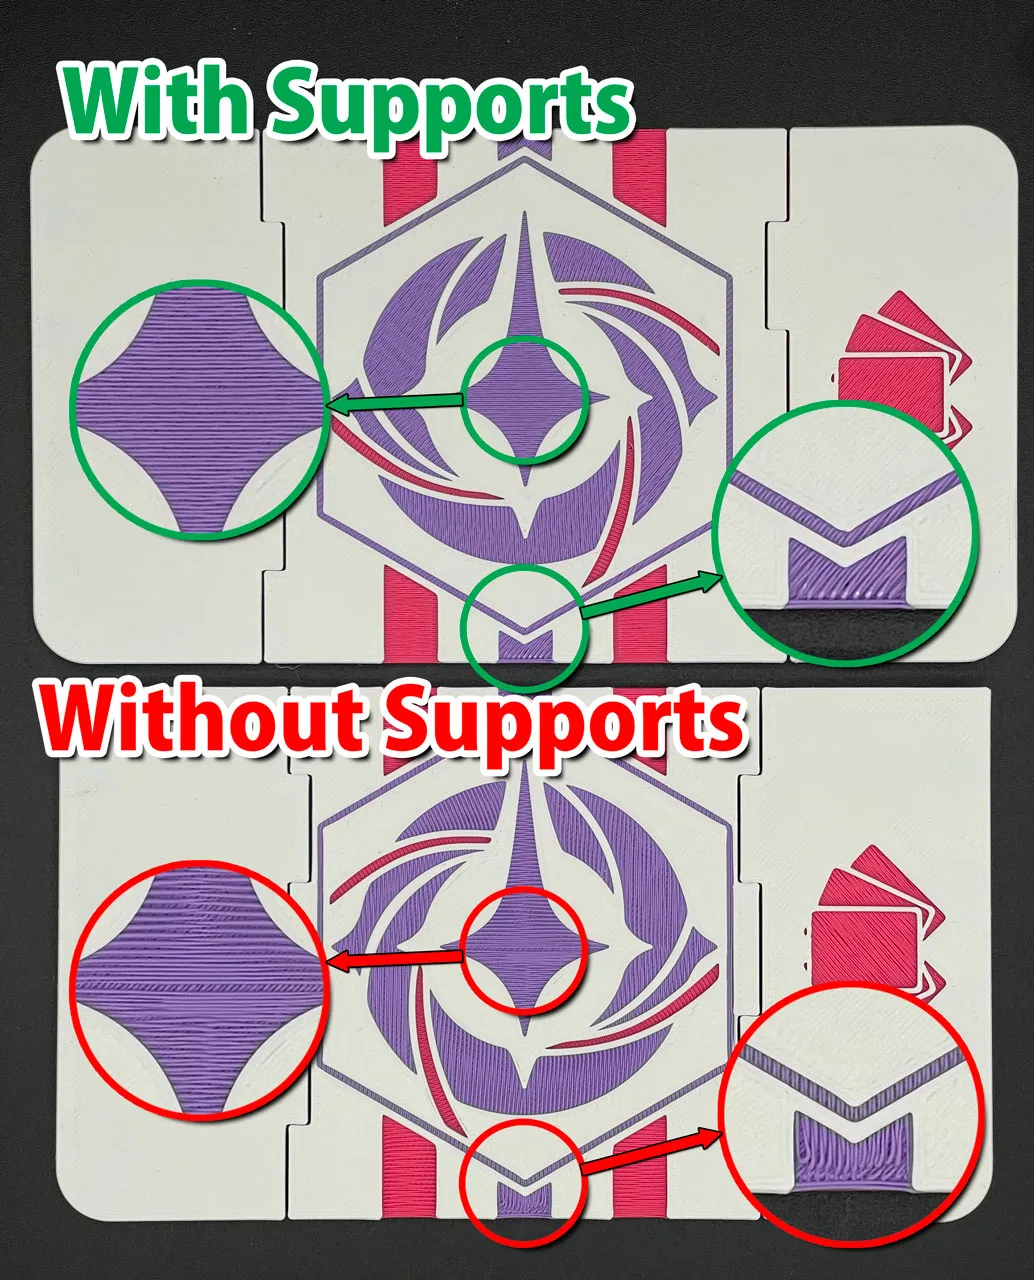
The edges look cleaner, and the middle section looks more uniform while keeping the layered effect. They worked so well that I've gone back and added supports to all models. The reason I didn't add supports originally was due to them being hard to remove and damaging the bridges. Well, good news there too! The supports essentially remove themselves, as long as your build plate is sticky enough. Here's what my build plate looked like after I peeled off the lid:
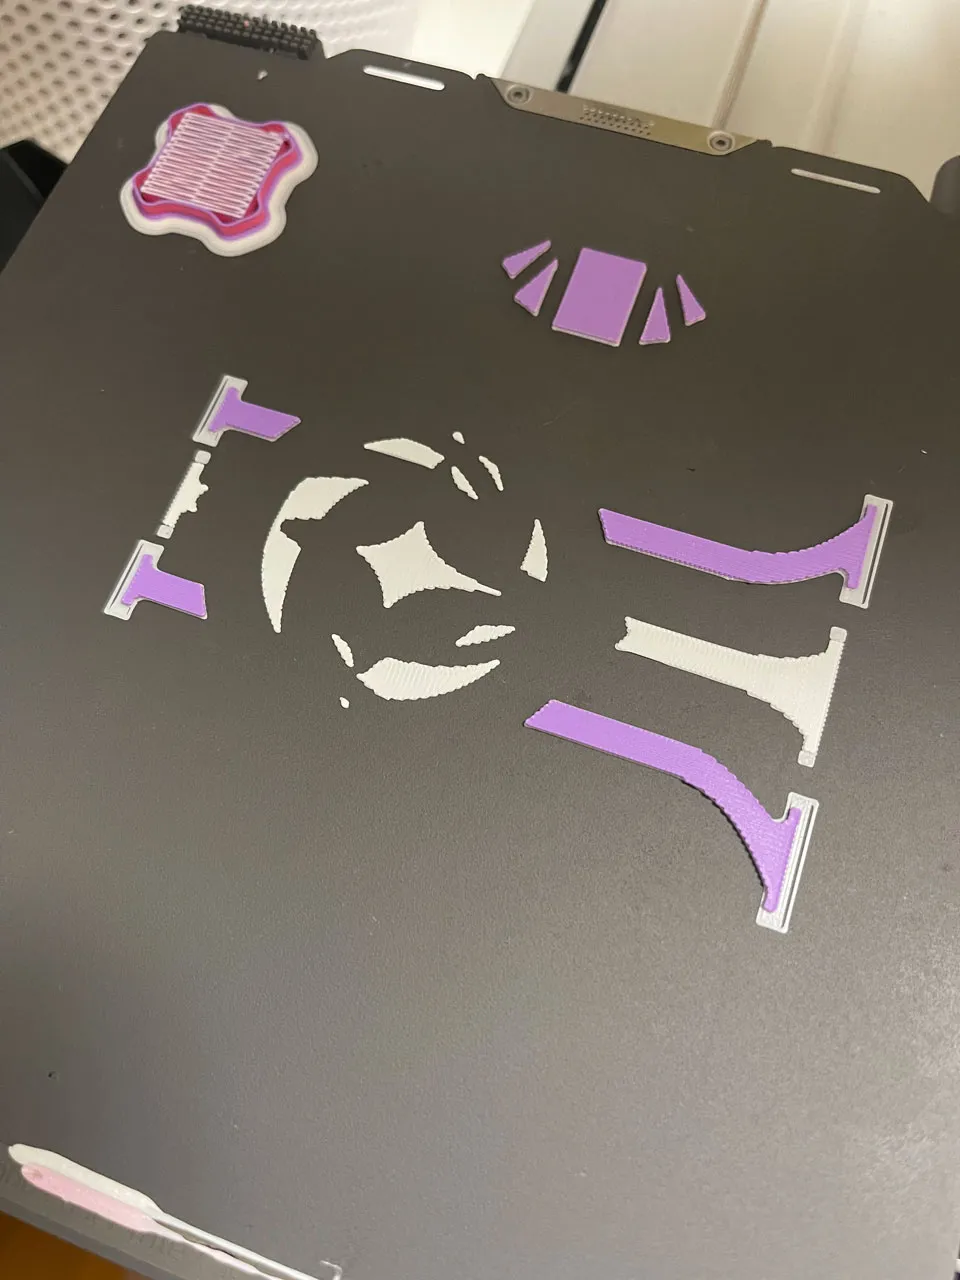
All the supports were still stuck to the plate and I had to scrape them off. If you don't want to use supports, you don't have to, just turn them off in the global settings. Support material isn't necessary either, this is just Bambu Labs PLA. Try it out and let me know how it works for you!
Compact Deck Size
I've settled on 3 major sizes for the deck boxes. The newest edition is designed for an 80 card deck. It comfortably holds 80 double-sleeved cards with space for additional tokens. It can JUST fit 100 single sleeved cards, but that may depend on which sleeves you're using. The next size up is the 100 card deck with the dice space on top, and the widest size should fit 120 cards. Here are the internal sizes for each box:
Compact: 56mm
Standard: 68mm
Large: 78mm
I would like to receive feedback from everyone. Please let me know how big your deck is in both the number of cards and millimeters thick for the main deck and for tokens. I'm willing to make adjustments to fit. Also, would you like to see the compact and large sizes with dice space, or the standard size without the dice space? Leave a comment and let me know! Thanks in advance
NEW!! Compact Divider
In order to accommodate more sleeve sizes, I've added a new print profile with a compact divider. This divider doesn't have the top/bottom walls to allow you to use it with sleeves over 92mm tall. It works with all boxes, but isn't as sturdy as the one included in each print profile.
Grip-lock Latch
The original design used oval shapes surrounding the magnets to hold the lids in place. And while this worked for small bumps and shakes, intense shaking wouldn't be able to keep the cards in.


So, I added a new tab to the space between the magnets. This tab sticks out twice as far as the original rim and at a steeper angle making it nearly impossible to shake open. I haven't been able to get the card lid to come off through my testing as my arm gets tired first. I have made the same revision to the dice lid, as well as a section on the inside to help keep the lid aligned, but the dice can break the door open. It's a lot harder than it used to be, but the dice only have half the number of magnets as the cards to resist the force. But take a look!
Flat AMS Versions
Inside each print profile there's a new AMS only lid with the design on the surface. Personally, I like the aesthetic of the layered colors, but it's not for everyone. So if you have an AMS and prefer to have the design right on the surface, you're in luck! While the new lids have the slot for the grip-lock system mentioned above, they are fully compatible with the original boxes. So you can just print a new lid and use it on your current box if you'd like.
Smaller Deck Box Size: No Dice Space + Larger Capacity
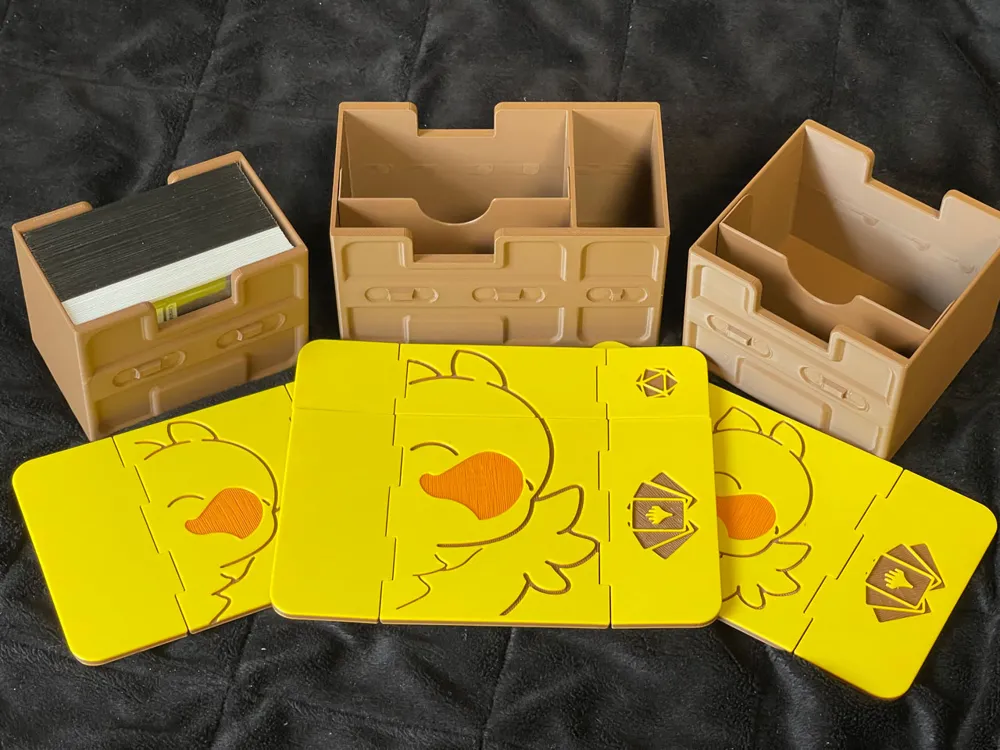
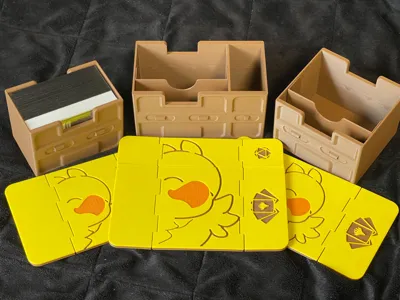
The original deck box with dice space easily holds 100 sleeved cards without any difficulty. In the picture, there are 60 red sleeved cards and 40 green sleeved cards. There's also an optional divider insert so you can separate tokens or other cards. The top has storage space for some dice or life counters.
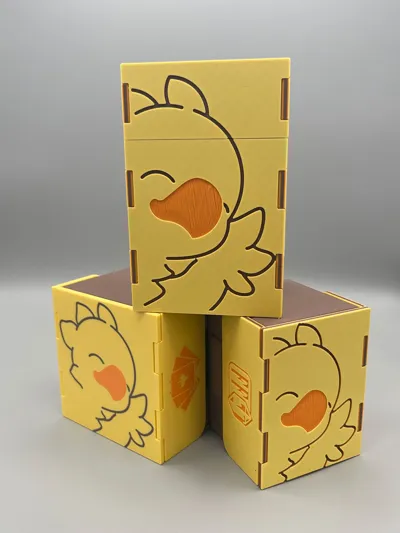
The new deck box size removes the dice storage space and adds more space to hold cards. I can fit 100 double-sleeved cards with 10 or so unsleeved tokens on the side. I also took the opportunity to add a little more to the Chocobo design to take advantage of the wider space, and decide the Moogle could be tilted a bit.
Magnets (6mm diameter x 3mm thickness)
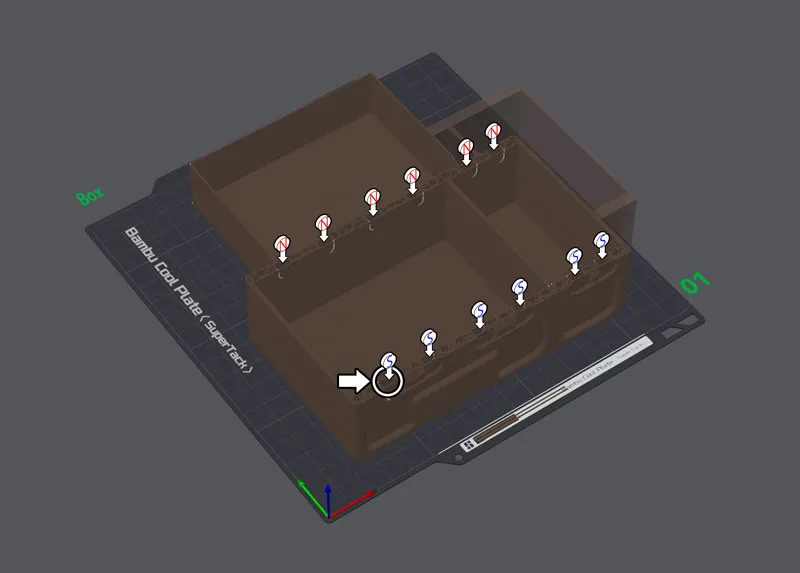
The magnets are required to hold the lid in place. However if you don't have the right size magnets, you can adjust the opening in Bambu Studio to fit whatever magnets you happen to have, as long as there's enough space in the model. The maximum width is 3mm, otherwise the magnet will poke through one of the walls. You may also have to adjust the pauses if you change the magnet size or layer height.
The magnets for the box should be inserted as follows. N and S orientation is not important, what is important is that either N or S for all magnets either face all inwards or all outwards. Then make sure the magnets in the lid are orientated appropriately to match the box.
AMS & Non-AMS Support
The print profiles have two versions for AMS and Non-AMS owners. The only difference being that the AMS version will automatically switch the colors at the right layers, while the Non-AMS version adds pauses to change. If you're using the Non-AMS version, you'll need to change to the following colors.
Cactuar
Start: Green Filament
Pause 1, Layer 4: Black Filament
Pause 2, Layer 7: Orange Filament
Pause 3, Layer 15: Black Filament
Pause 4, Layer 18: Green Filament
Pause 5, Layer 23: Insert Magnets (6 x 3mm)
Chocobo
Start: Yellow Filament
Pause 1, Layer 4: Orange Filament
Pause 2, Layer 7: Brown Filament
Pause 3, Layer 15: Orange Filament
Pause 4, Layer 18: Yellow Filament
Pause 5, Layer 23: Insert Magnets (6 x 3mm)
Moogle
Start: White Filament
Pause 1, Layer 4: Pink Filament
Pause 2, Layer 7: Black Filament
Pause 3, Layer 15: Pink Filament
Pause 4, Layer 18: White Filament
Pause 5, Layer 23: Insert Magnets (6 x 3mm)
Tonberry
Start: Green Filament
Pause 1, Layer 4: Yellow Filament
Pause 2, Layer 7: Brown Filament
Pause 3, Layer 15: Yellow Filament
Pause 4, Layer 18: Green Filament
Pause 5, Layer 23: Insert Magnets (6 x 3mm)
Future Plans (Updated)
I'm still planning on doing a version with the MTG mana symbols, but that may be a different upload, so be sure to follow me and check back. Also, there have been a few people asking why the STL files are blank. I prepare everything in Bambu Studio including the designs, space for magnets and the appropriate color settings for the filament. I understand not everyone has a compatible printer, so I am working on a baked in version of all the lids. The result will be that you'll have to manage the color changes, pauses for magnets, etc., yourself. I recommend using Bambu Studio if possible for the best experience, and if you can't for whatever reason, STLs will be coming soon! Also, I'm working on a new design, so keep your gems hidden!
Feedback
I appreciate any and all feedback, and will do my best to make the necessary adjustments and fixes as soon as possible.
License

You shall not share, sub-license, sell, rent, host, transfer, or distribute in any way the digital or 3D printed versions of this object, nor any other derivative work of this object in its digital or physical format (including - but not limited to - remixes of this object, and hosting on other digital platforms). The objects may not be used without permission in any way whatsoever in which you charge money, or collect fees.


Comment & Rating (541)