
Rocket Splash-Off
Print Profile(2)


Description
Rocket Splash-Off 🚀💦 | The Ultimate Backyard Water Rocket Fun!
Description

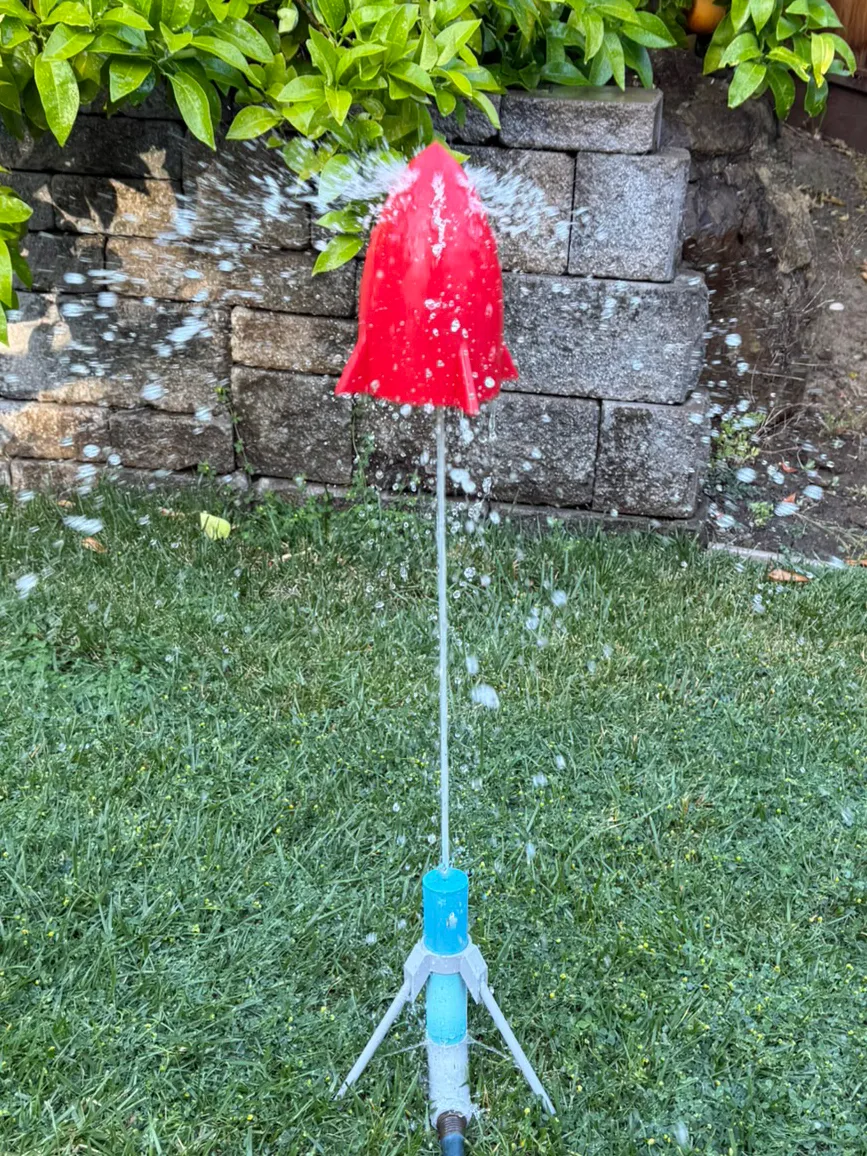
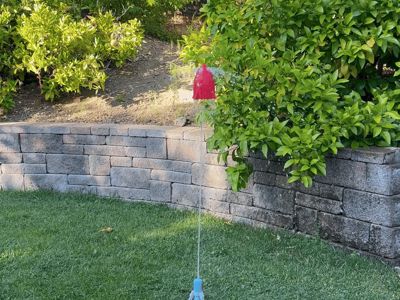
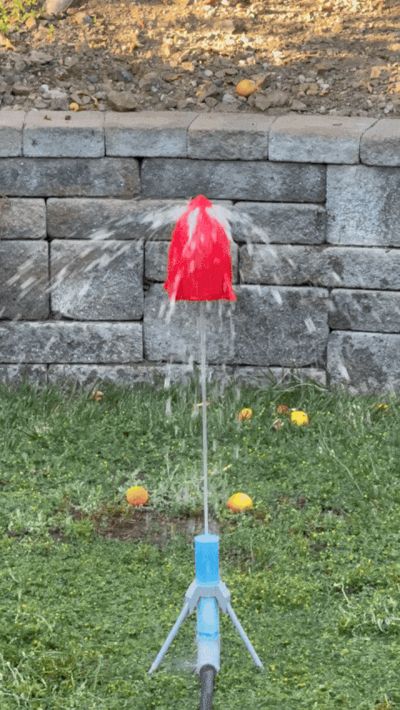
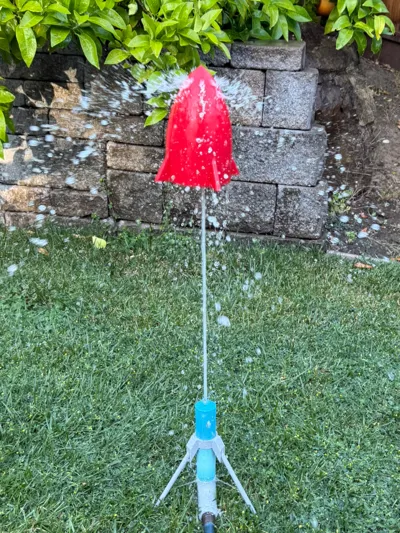
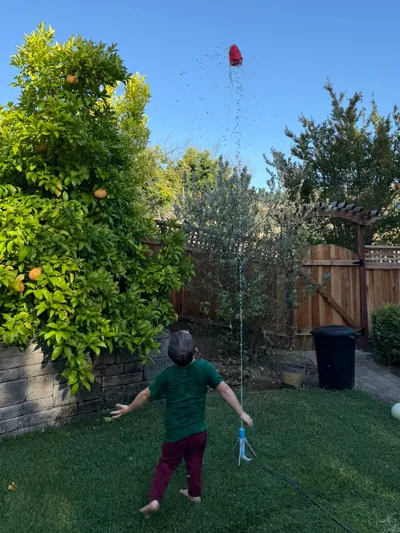
Get ready for takeoff and cool summer fun with the Rocket Splash-Off! 🚀💦


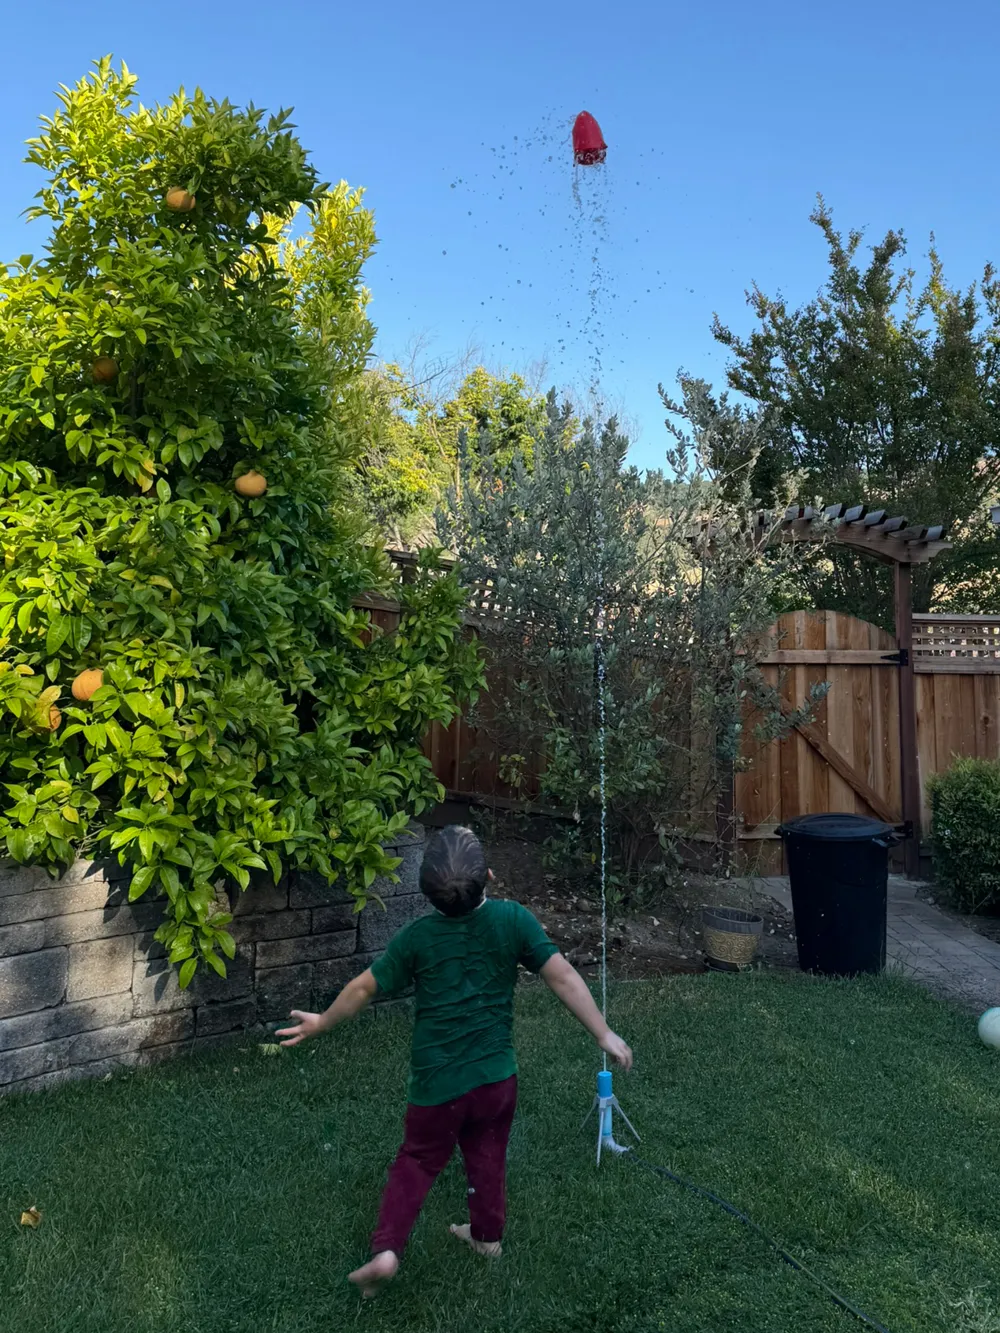
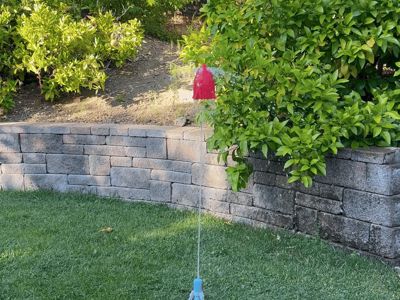
This 3D-printed water rocket launcher is the perfect way to beat the heat and keep kids (and adults!) entertained all day long. Just hook up your garden hose, place the rocket on the launcher, and get ready for liftoff—water pressure sends the rocket soaring into the sky with a spectacular splash! 🌞🌊
Features:
- Easy to print and assemble 🛠️
- Fits standard garden hoses 🚿
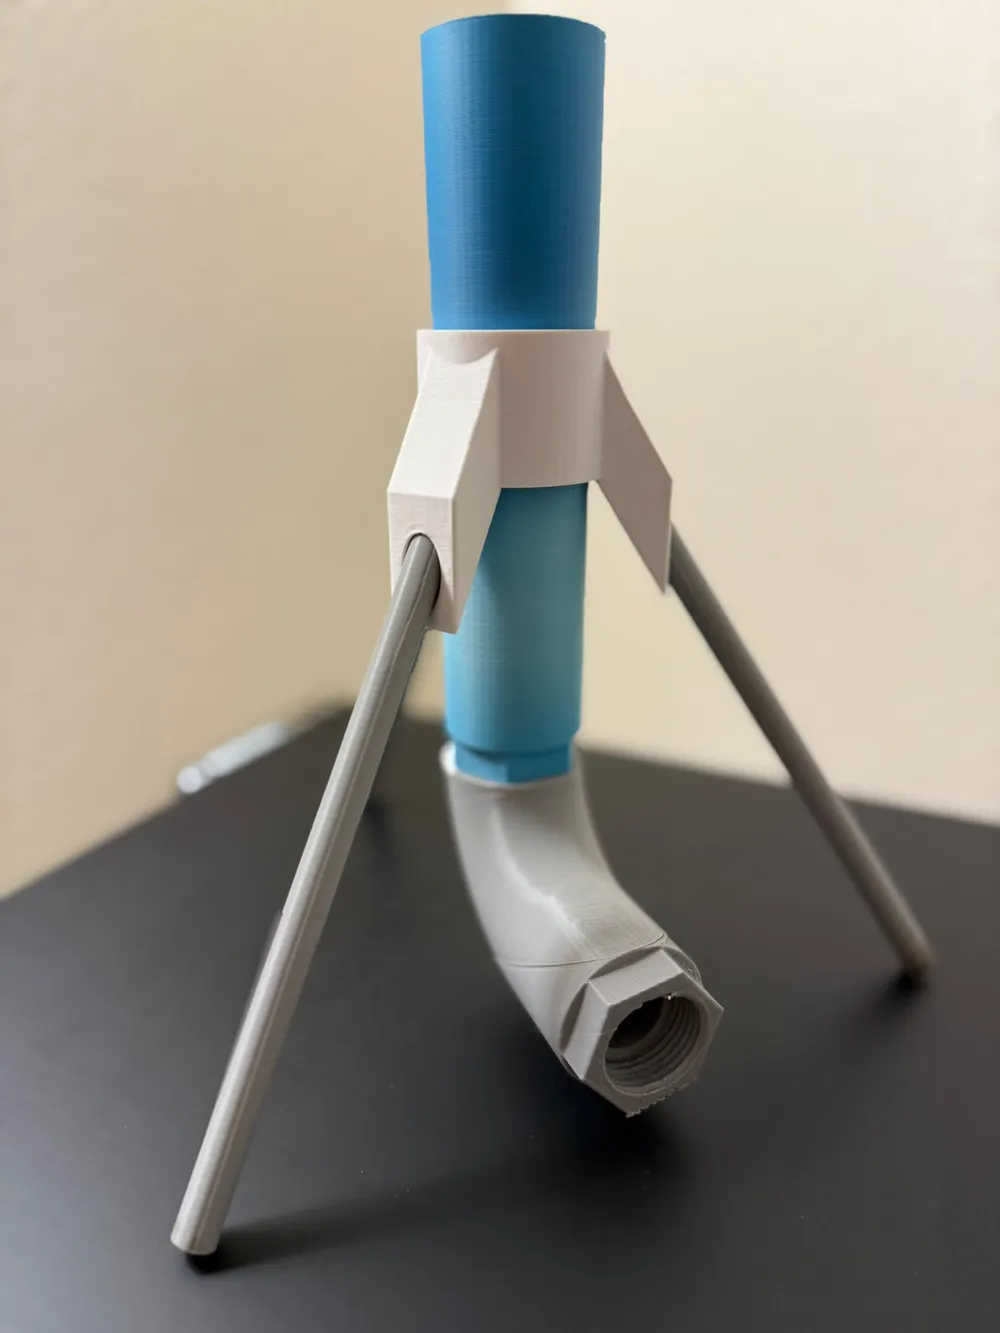
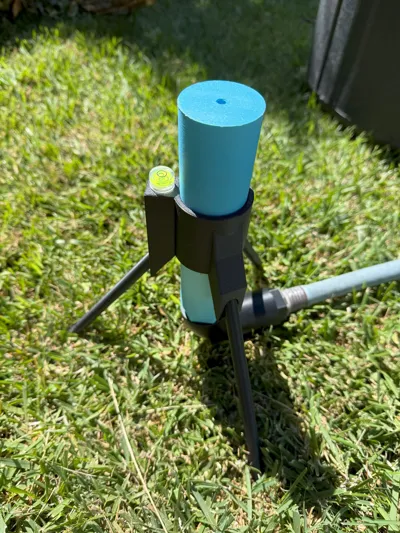
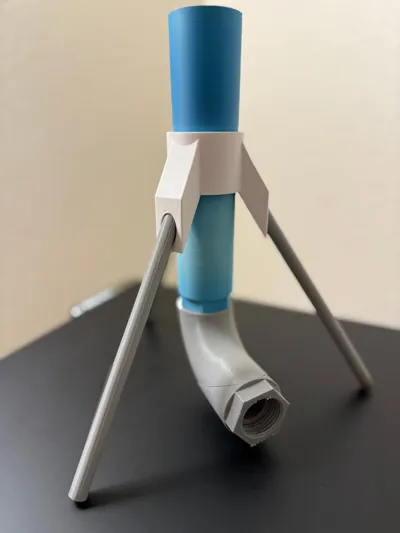
- Durable tripod base for stability 🦾
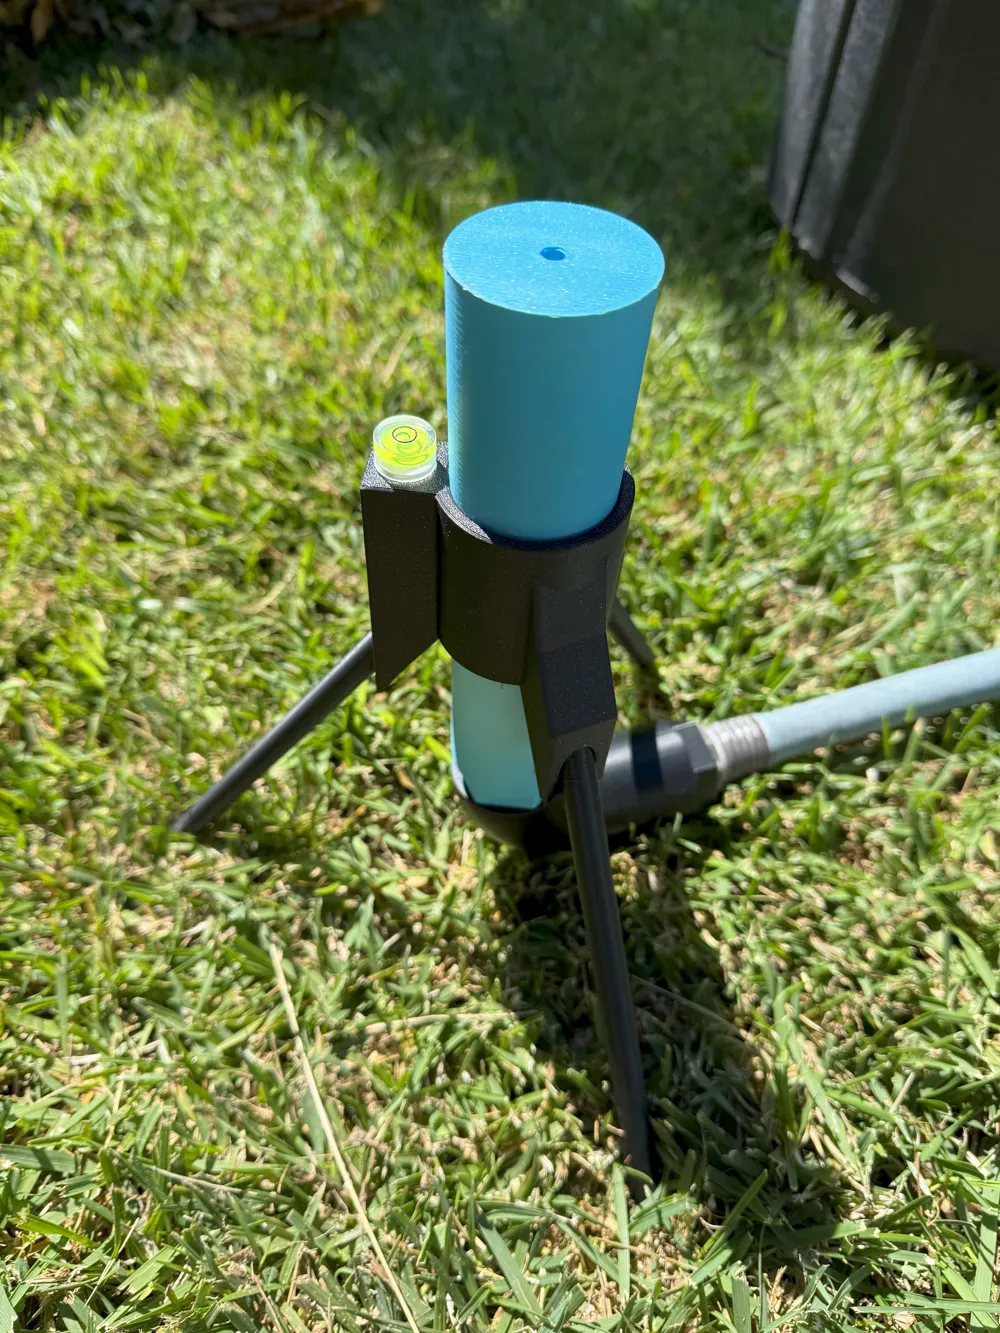
- Tripod hub provides a flat surface for optional bubble level eg. This one from Amazon. (Thanks for the idea @BluFeather !)
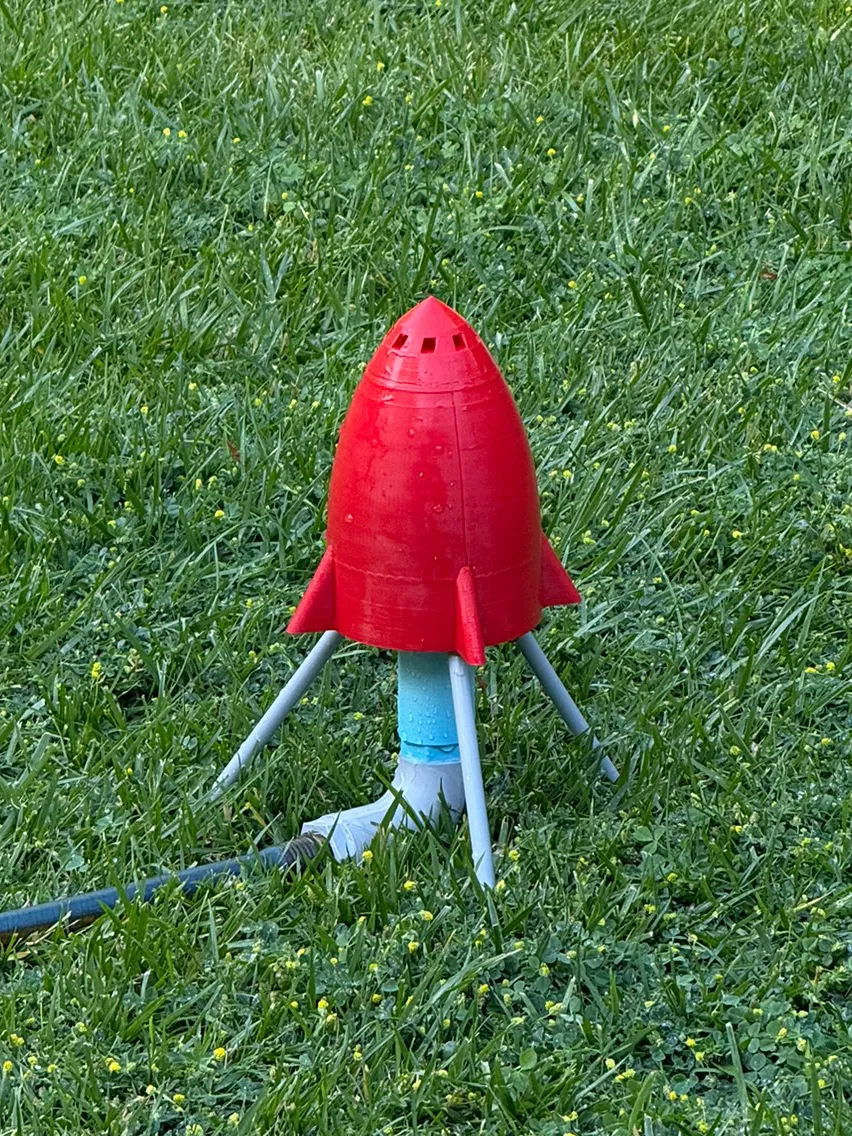
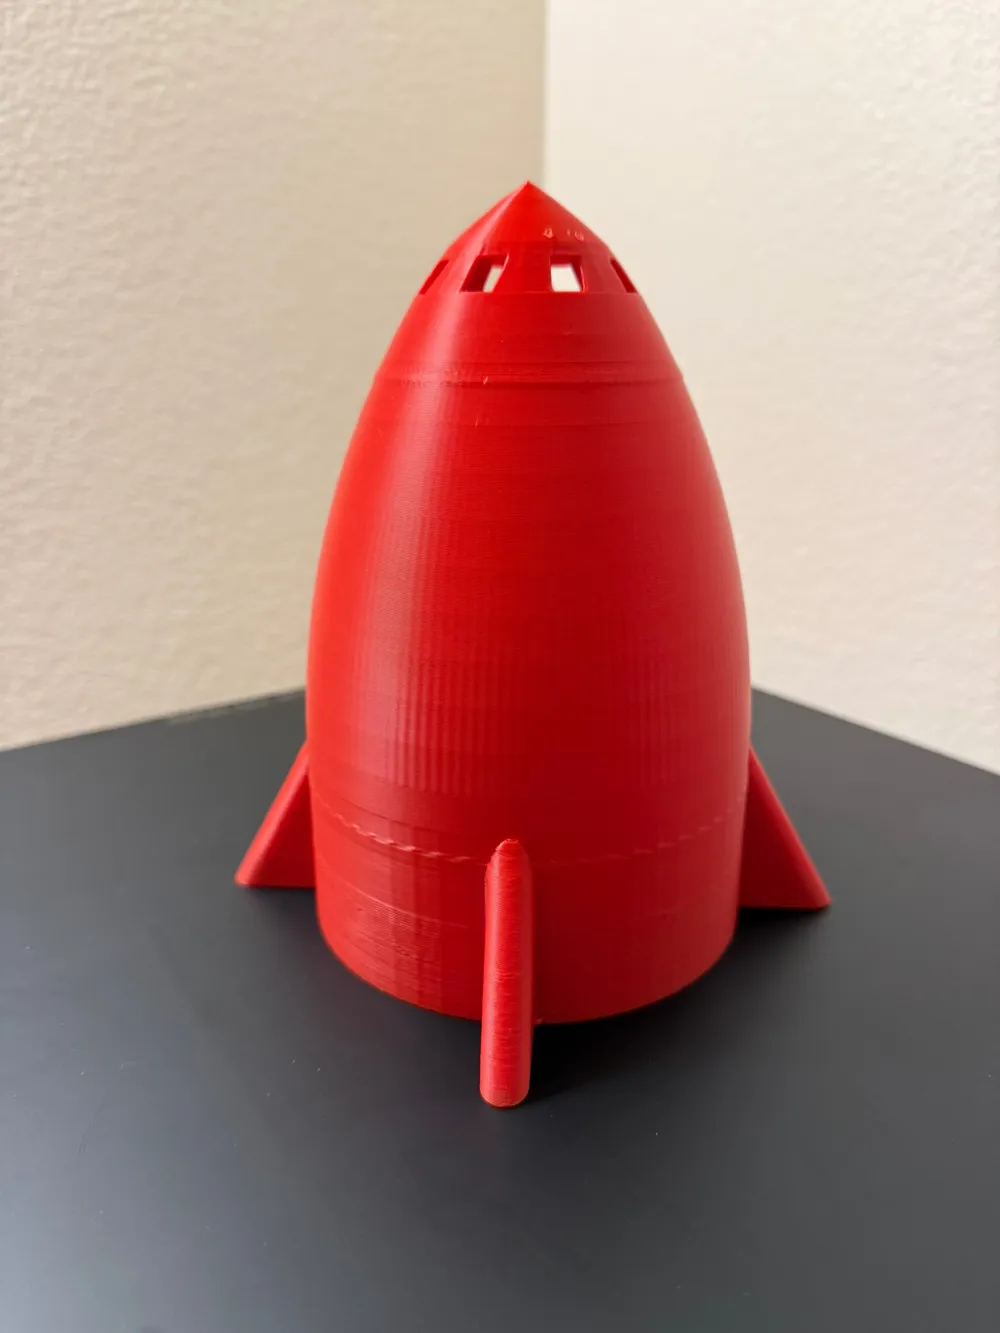
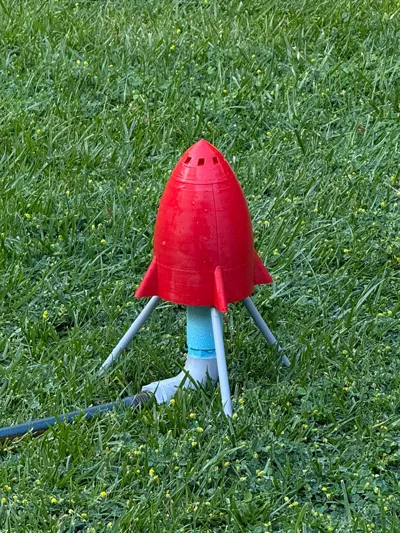
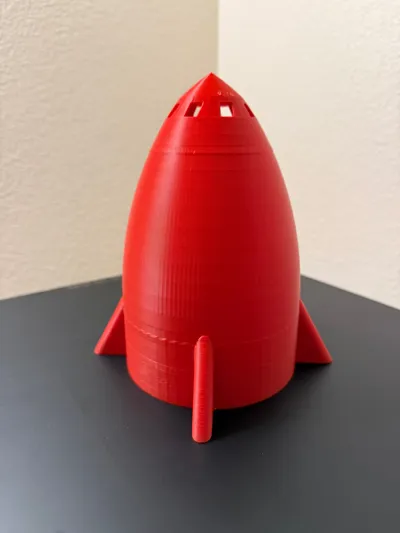
- Classic retro rocket design for max style points 🚀✨
Whether you’re hosting a backyard party, looking for STEM fun, or just want to see who can get the most soaked, the Rocket Splash-Off is your ticket to hours of outdoor excitement.
Pro Tips:
- Use it on a hot day for instant relief! 🥵❄️
- Try different water pressures to see how high you can go! 📏⬆️
- Challenge friends to rocket splash contests! 👨🚀👩🚀
Ready, set, SPLASH OFF! 🚀💦
Printing and Assembly
Tested with Bambu Lab PETG HF, Bambu Lab Basic PLA, and Polymaker HT-PLA. I mostly tested the hose fittings with PETG. Nozzle I had success with all three filaments, and the rocket shown in the pictures is PLA Basic Red. I mostly tested with .6 hot end which shaved some time off the prints. PLA can be used for the hub and supports as well.
After printing the required rocket, nozzle, and tripod plates (optional spare part tripod plates also provided if needed) :
- Slip the tripod collar on the nozzle
- Screw the 90 degree elbow into the nozzle
- Screw the 90 degree elbow into your standard garden hose
- Press fit the tripod legs into the tripod collar
- (potentially use a bubble level for optimal fun!)
Have Fun!
Updates
1.6
- Re-oriented 90 degree elbow to increase success rate of prints for some users. I had good success this new orientation as well.
- Added a leveling pad for potential bubble level (Thanks @BluFeather !)
- Added plates for spare parts
License

You shall not share, sub-license, sell, rent, host, transfer, or distribute in any way the digital or 3D printed versions of this object, nor any other derivative work of this object in its digital or physical format (including - but not limited to - remixes of this object, and hosting on other digital platforms). The objects may not be used without permission in any way whatsoever in which you charge money, or collect fees.


Comment & Rating (197)