
Vacuum-Clamped Radius & Chamfer Corner Routing Jig
Print Profile(6)


Description
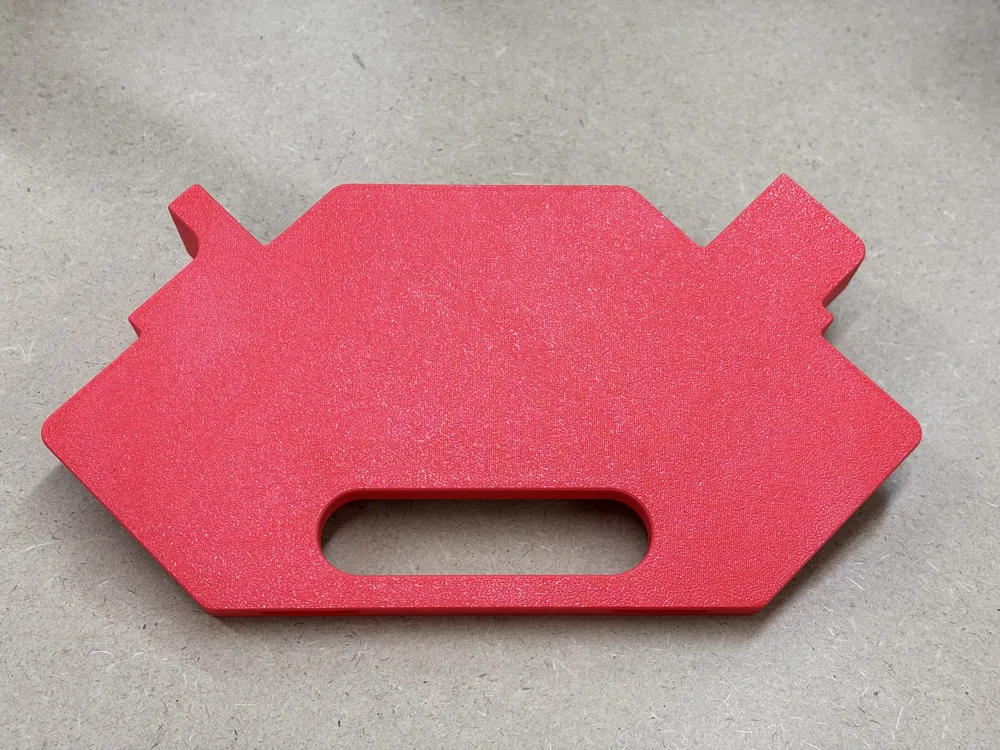
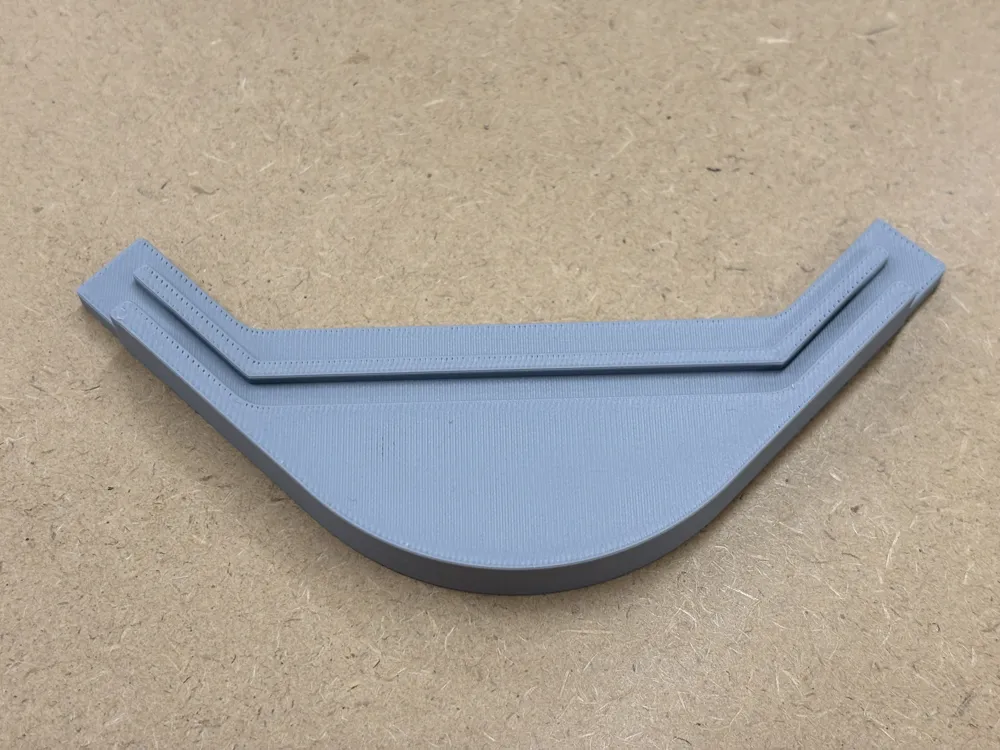
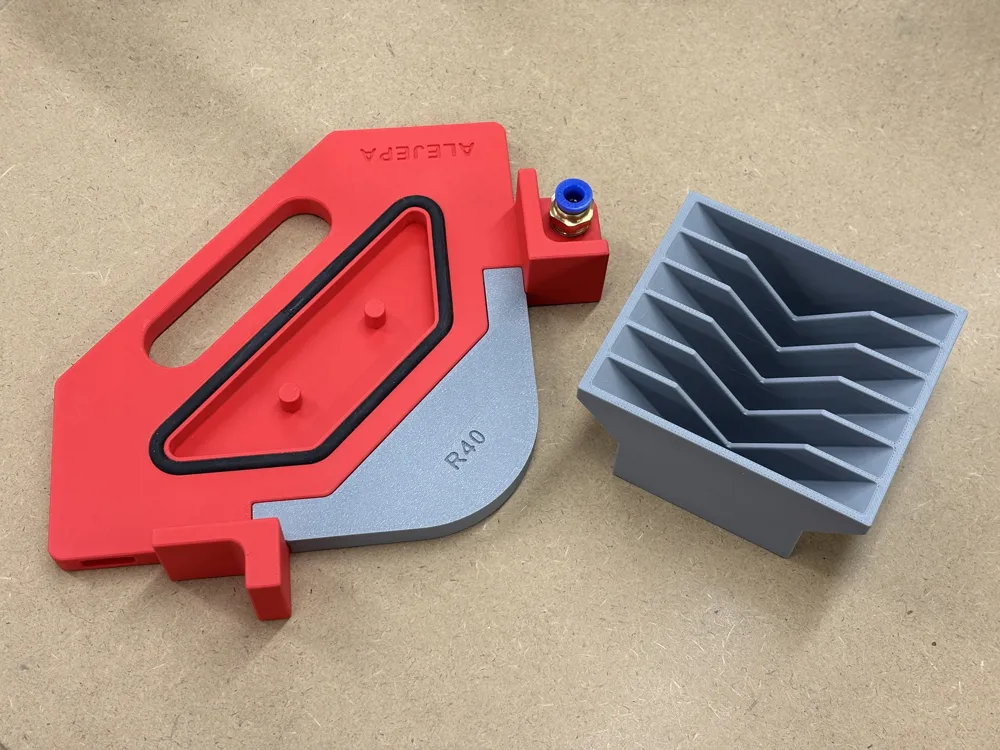
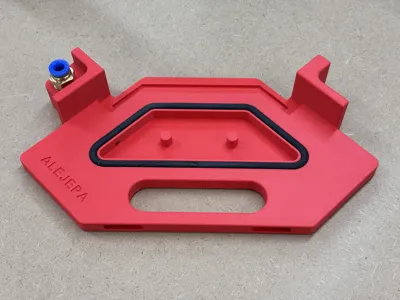
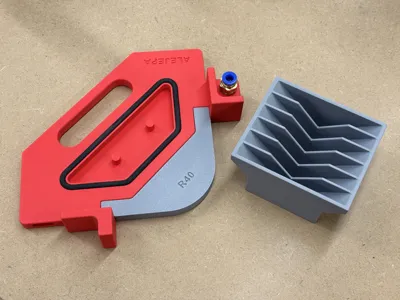
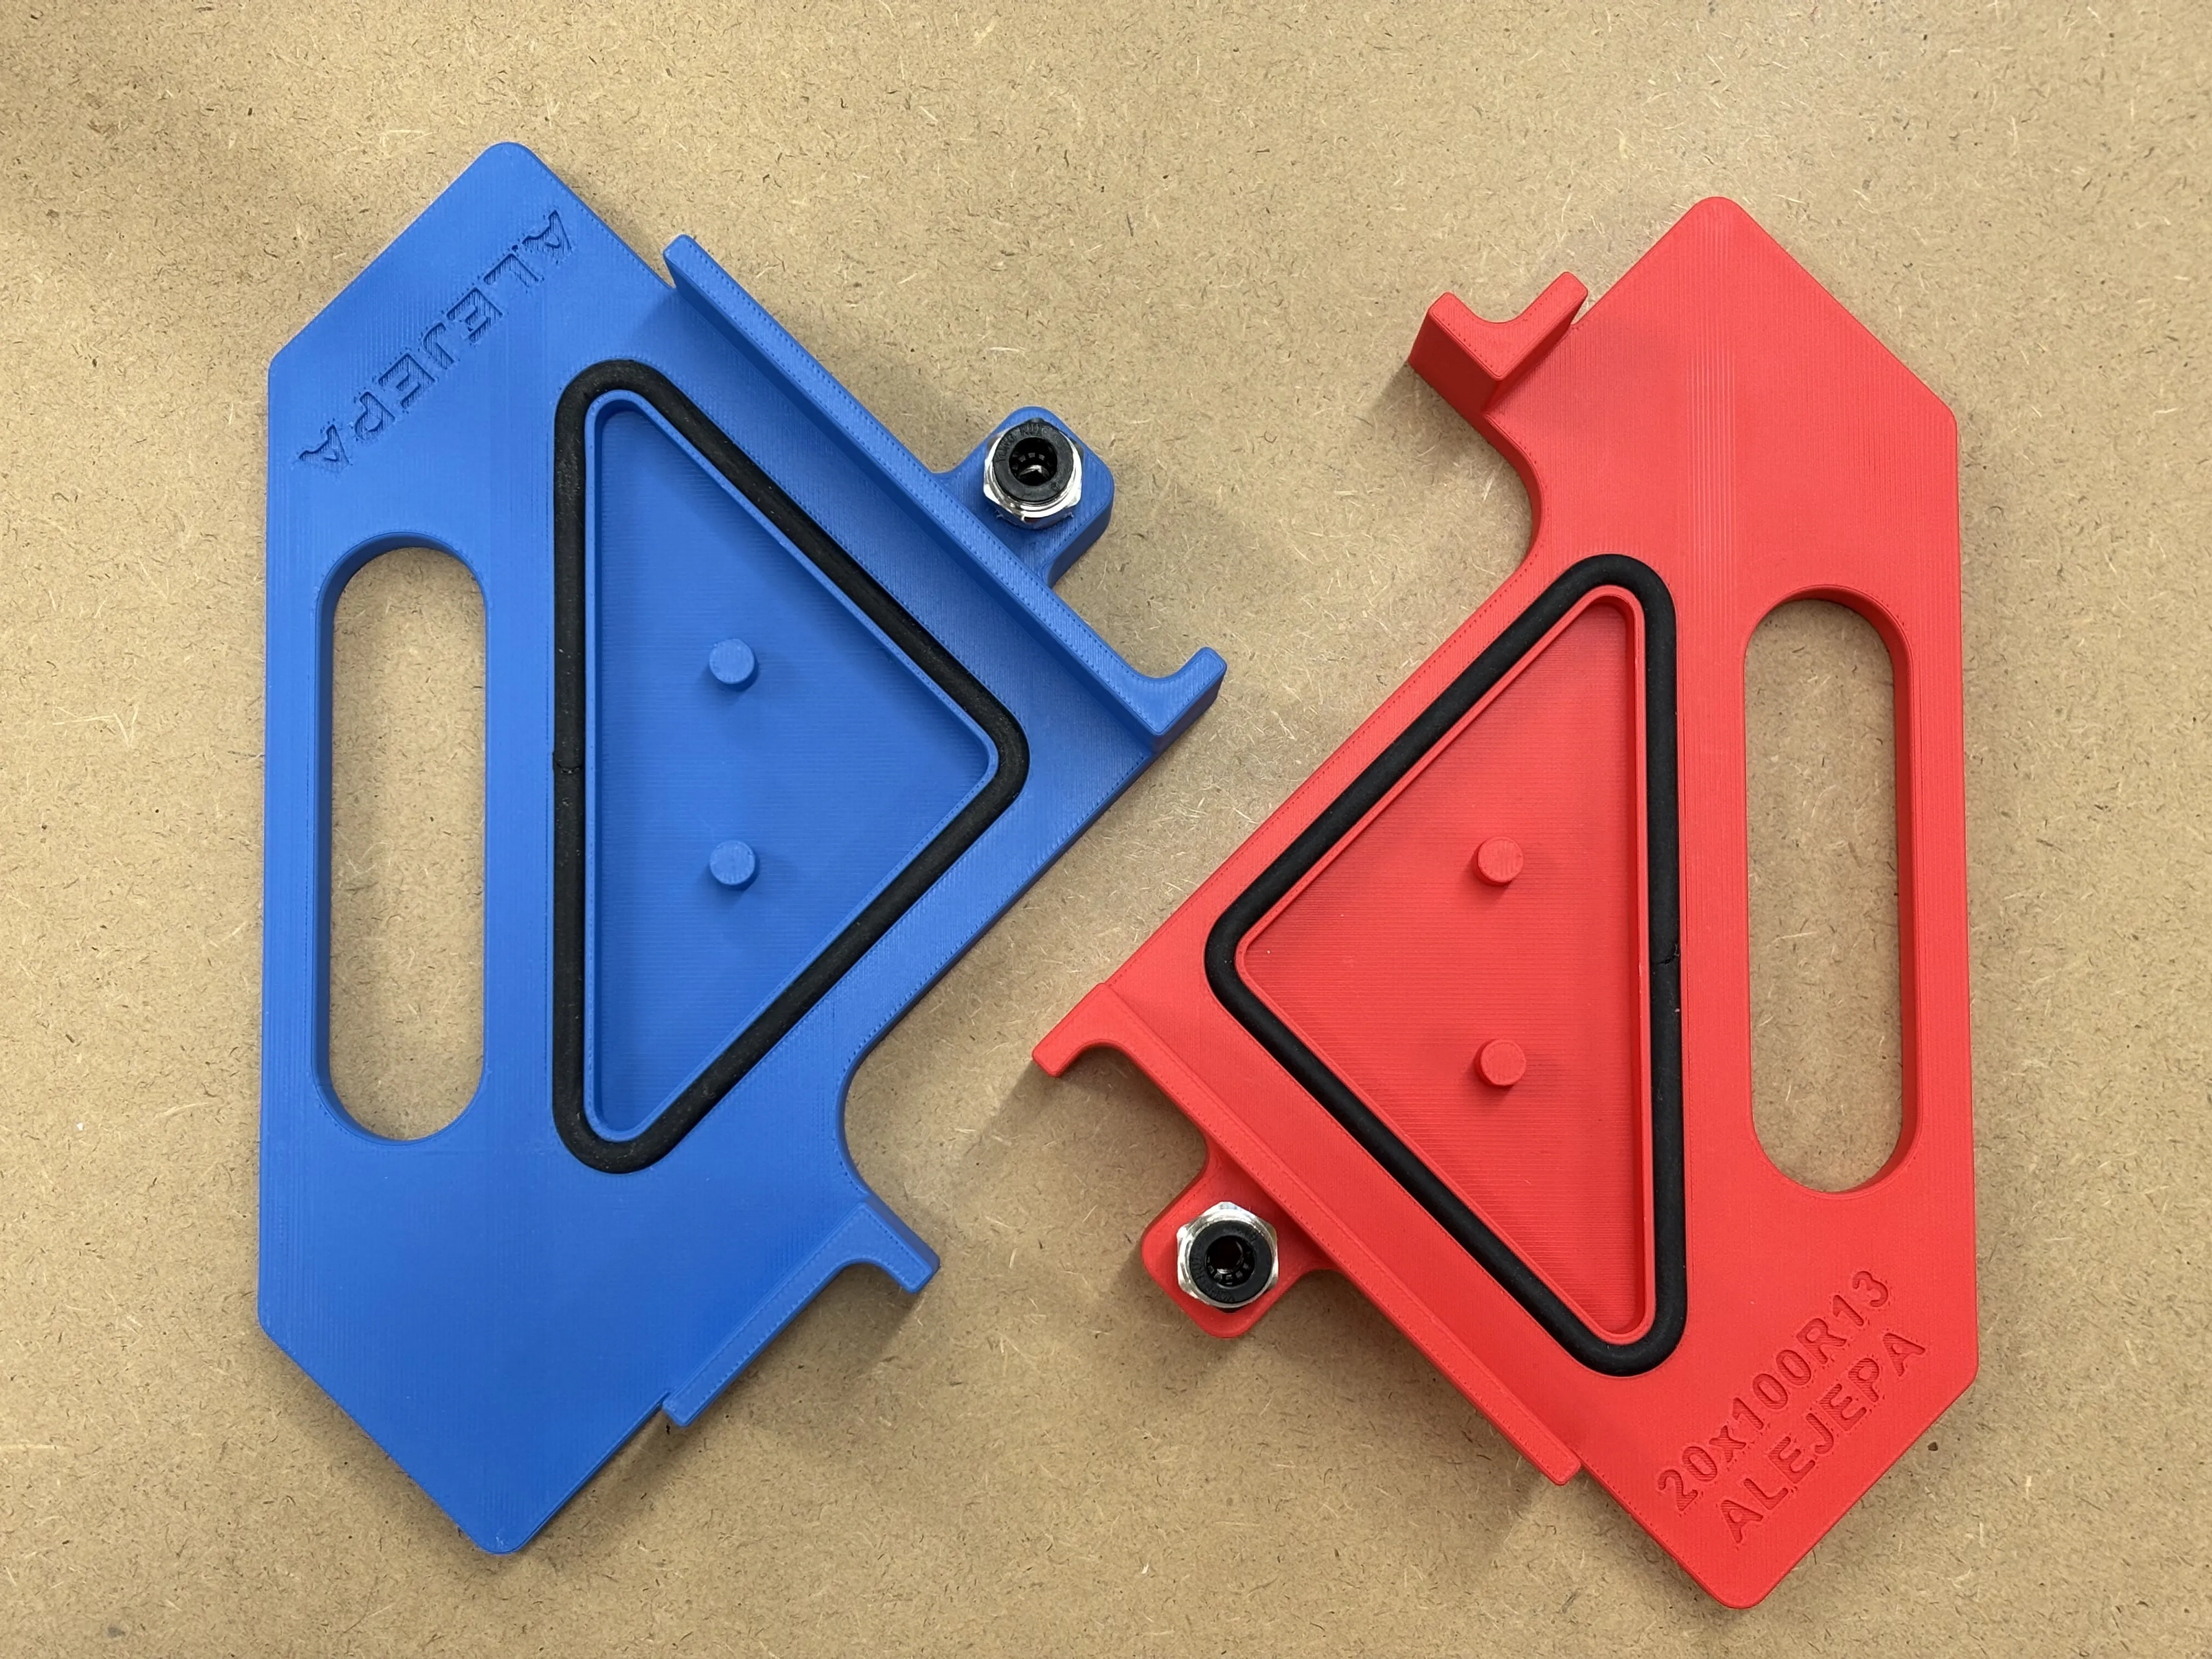
Corner Routing Jig with 3 clamping options including vacuum clamping
While developing a jig for routing cutouts for skirt boards I realized that the vacuum clamping method is a super-fast and super-safe method to use for router templates. While there are many good corner radius jigs on MakerWorld, the innovate addition of vacuum clamping is entirely new.
Normally these templates are either held by hand or via a metal clamp. Both of the options are not perfect - it is never nice to have the hand close to the router bit and clamps take some time to mount and might make dents if fastened too tight. So on top of the 2 standard options this jig also can be mounted via vacuum quickly and safely.
In the meantime the trilogy of vacuum-clamped routing jigs is complete to cover all the major use cases. And if you are interested in further vacuum-powered tools & jigs please see this collection.
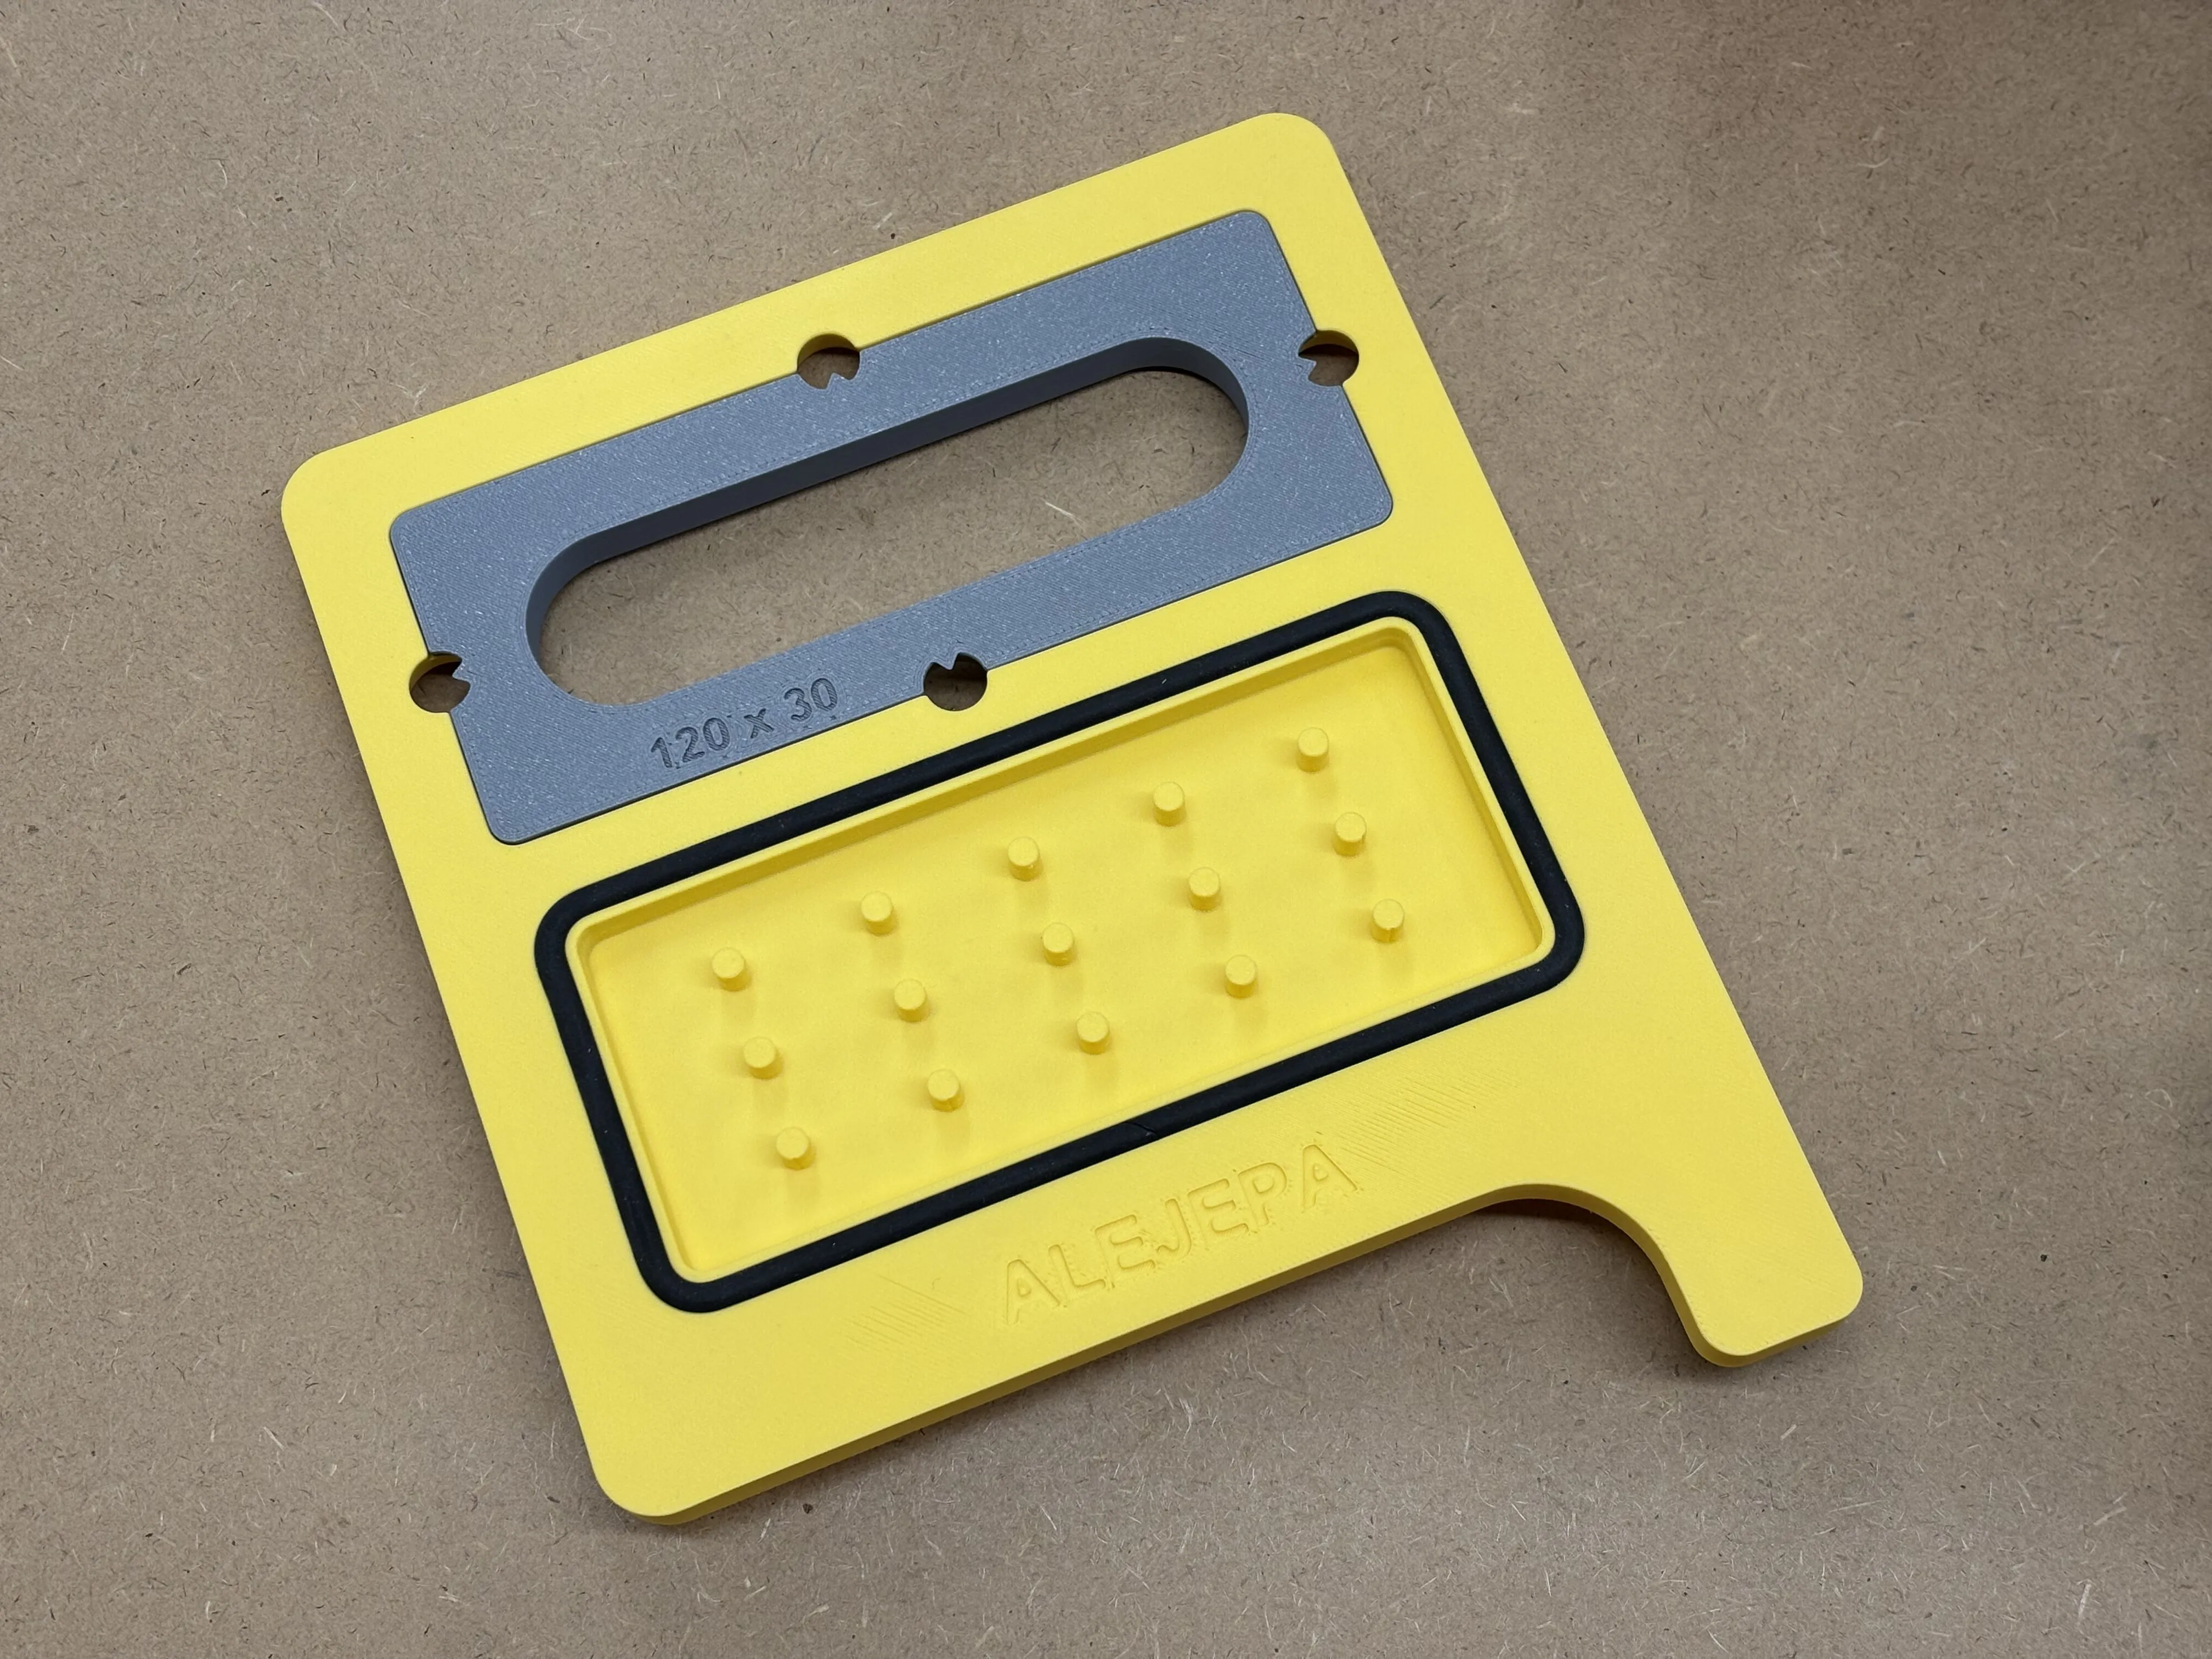 | 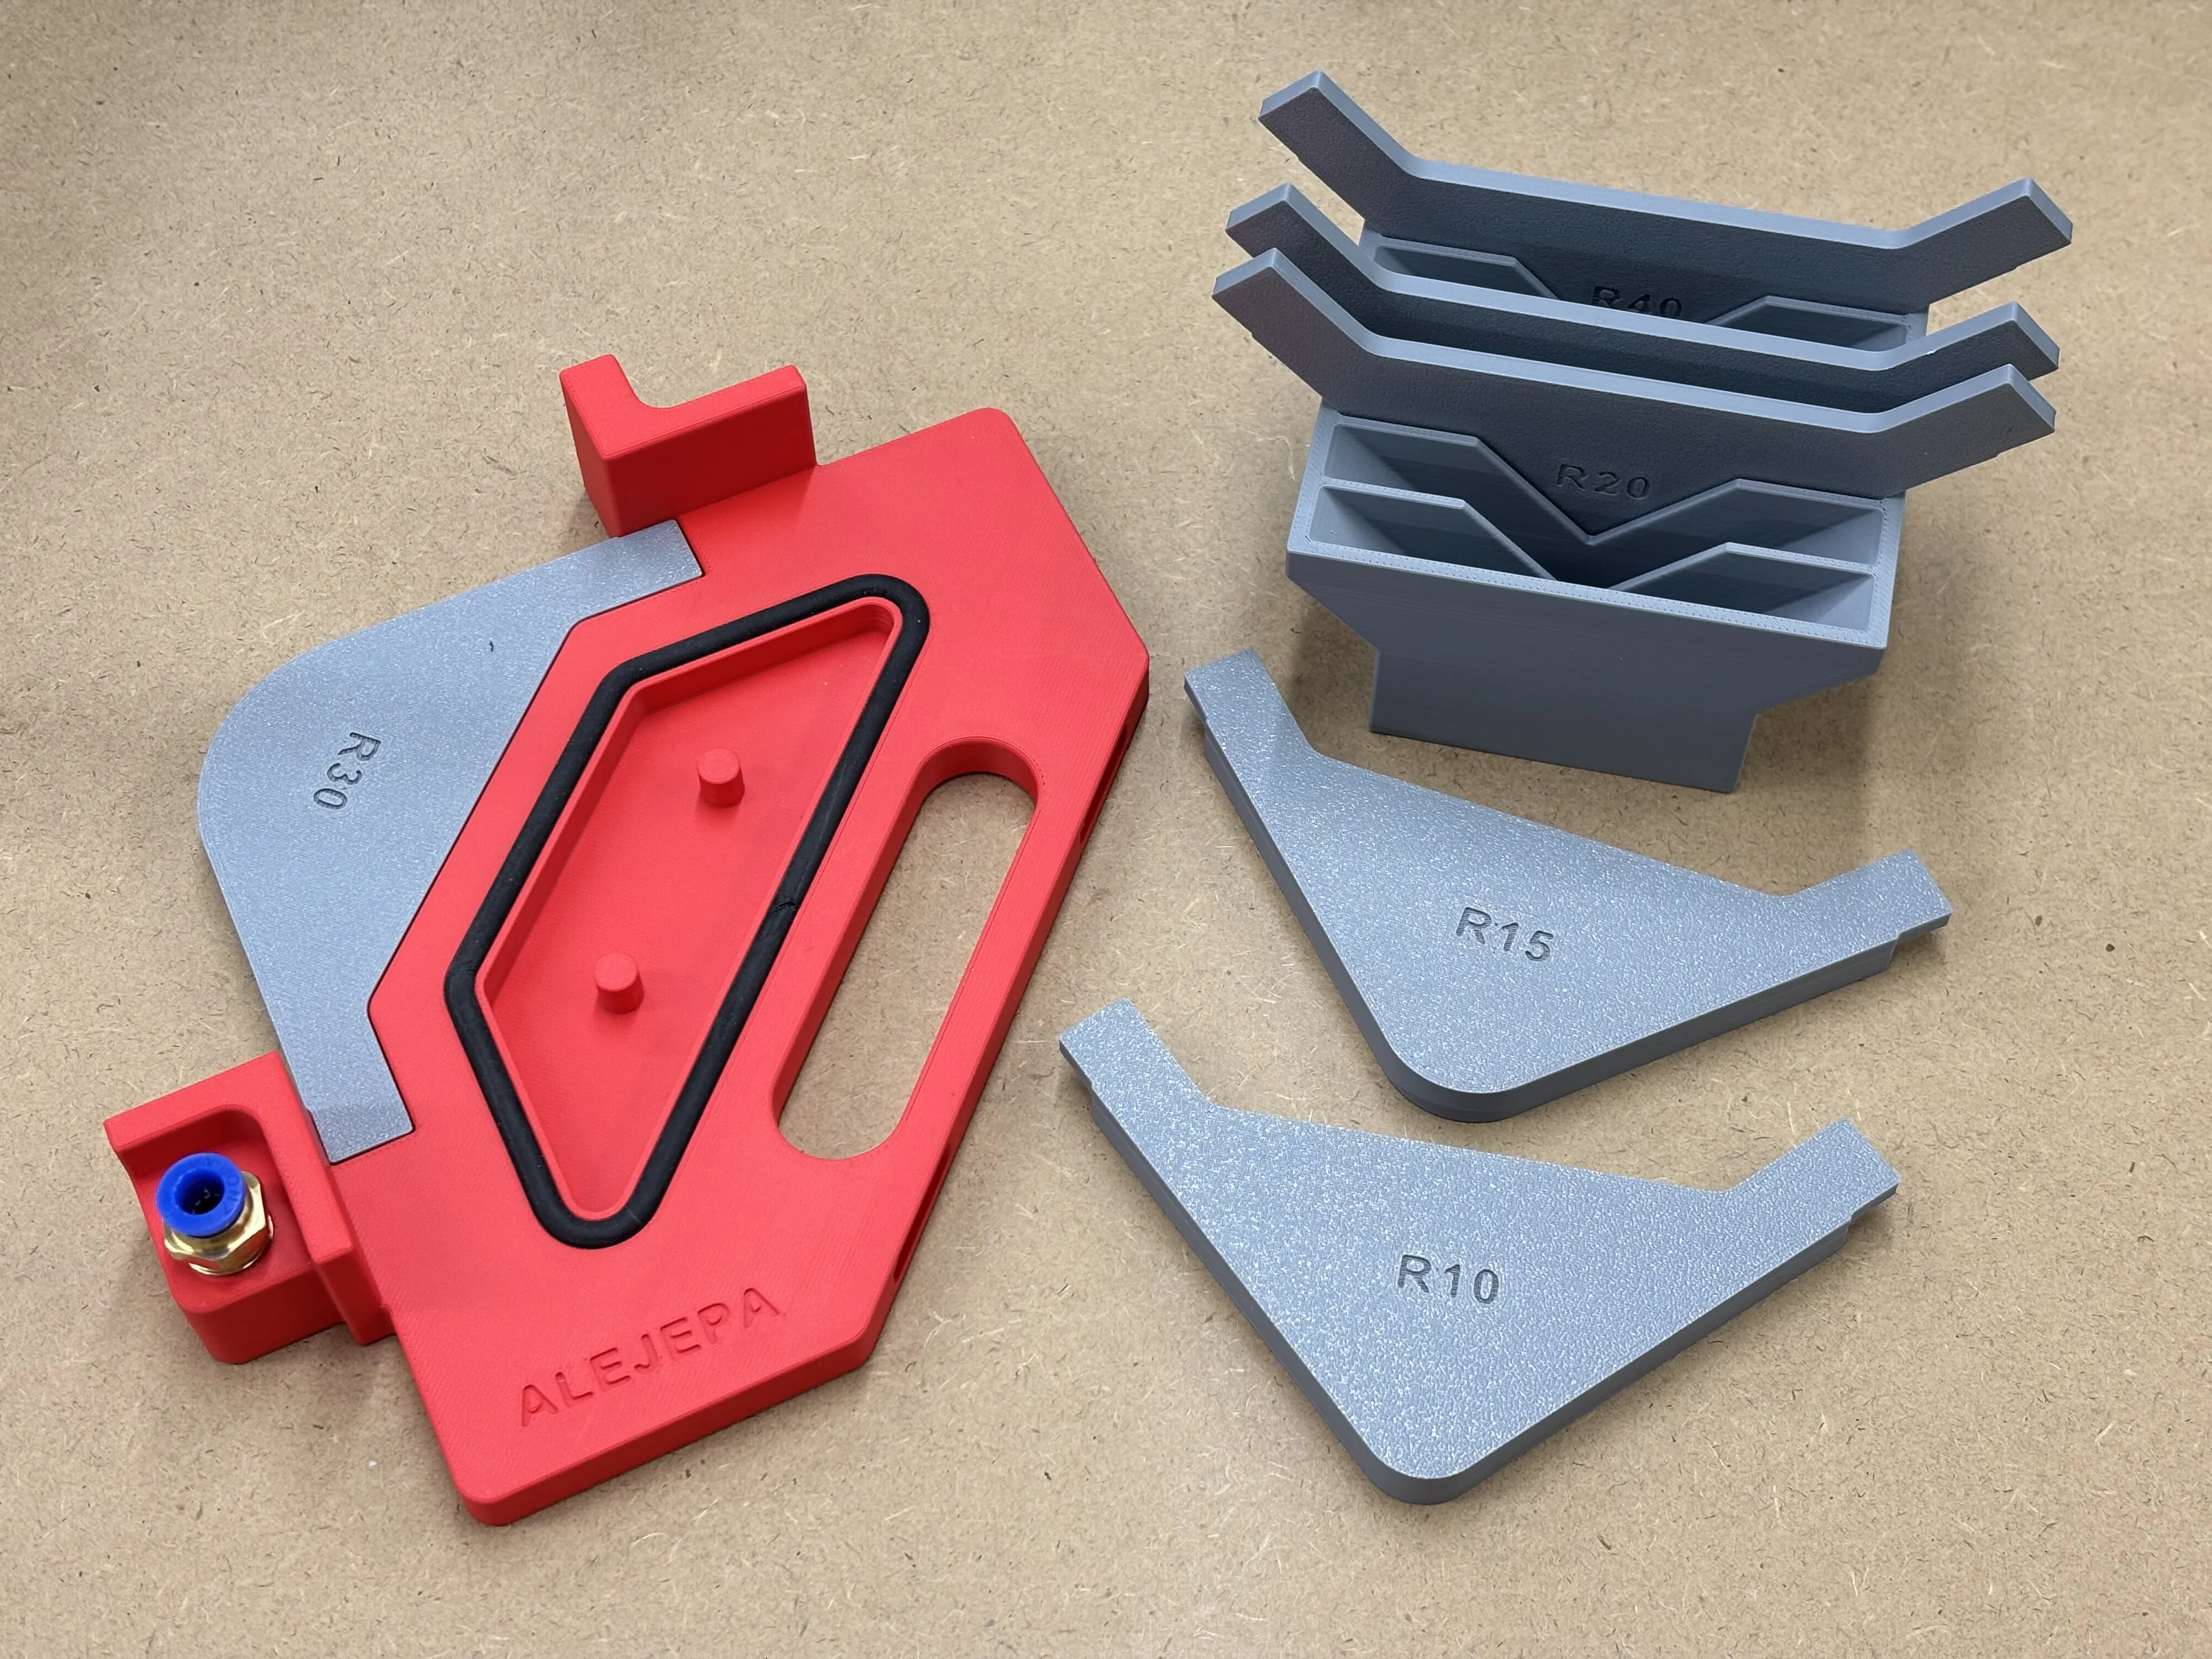 |  |
| Vacuum-clamped handle router jig | Vacuum-clamped corner radius & chamfer router jig (metric / imperial) | Vacuum-clamped skirt board router jig |
Features
- Included dimensions:
- Radius
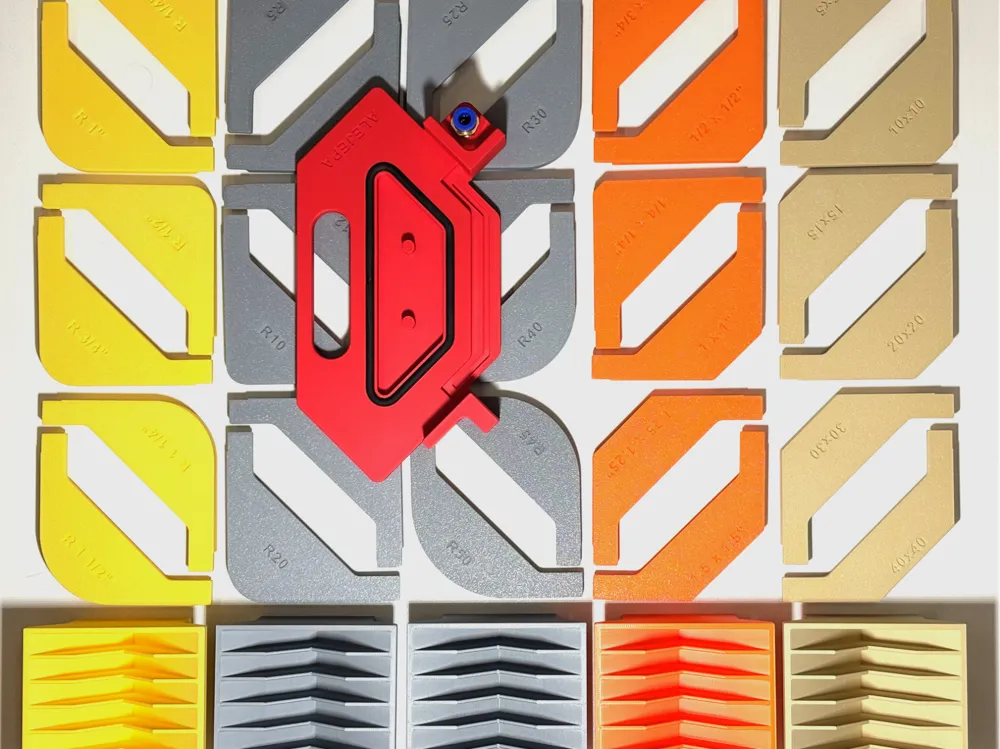
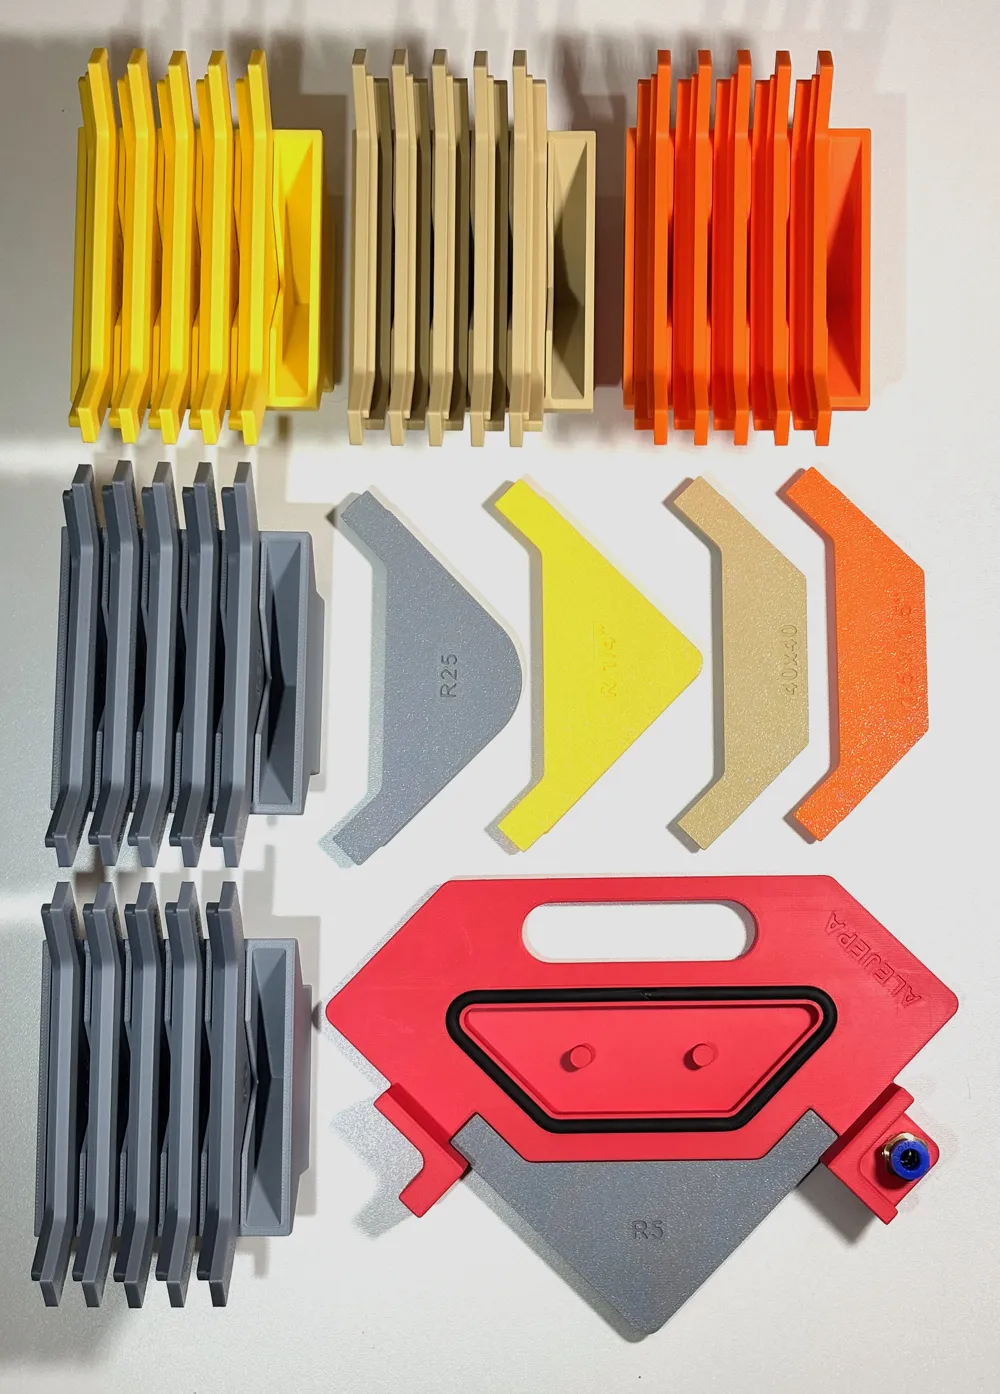
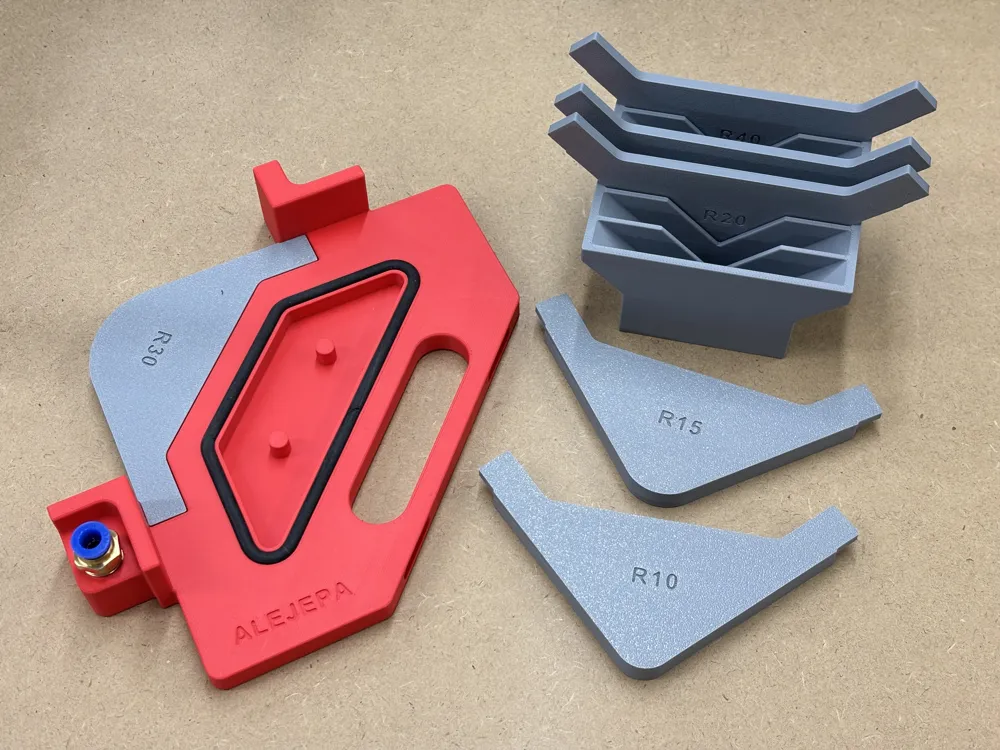
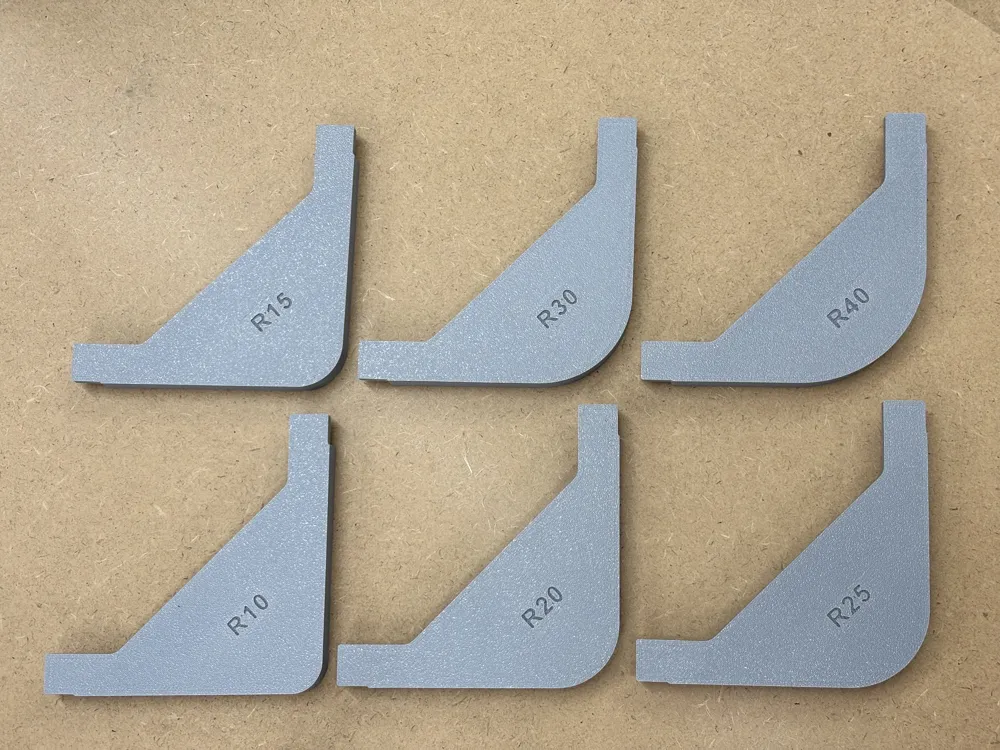
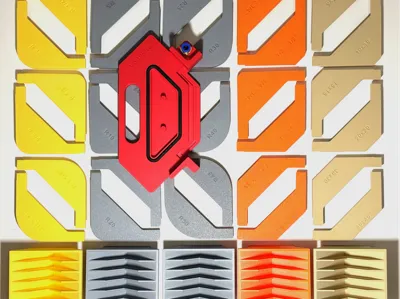
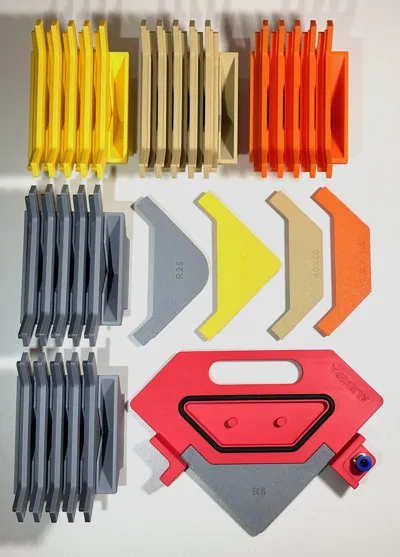
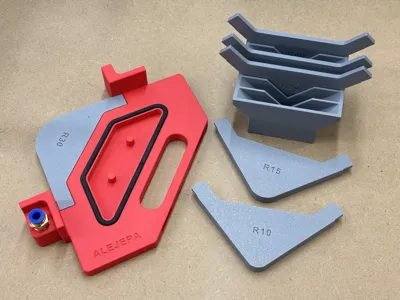
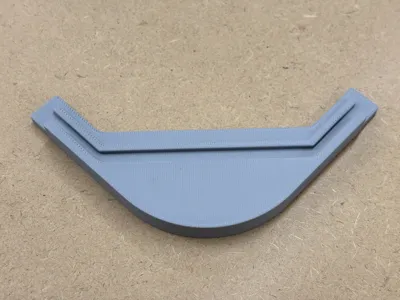
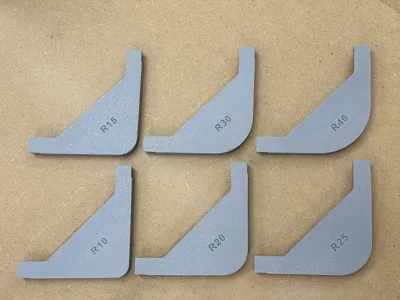
- 12x Metric: R 5, R8, R10, R12, R15, R20, R25, R30, R35, R40, R45, R50
- 6x Imperial: R ¼", R ½", R ¾", R 1", R 1 ¼", R 1 ½"
- Chamfer
- 6x Metric: 5x5, 10x10, 15x15, 20x20, 30x30, 40x40 mm
- 6x Imperial: ¼ x ¼, ½ x ½, ¾ x ¾, 1 x 1, 1.25 x 1.25, 1.5 x 1.5"
- In case you need other dimensions, please leave a comment! Happy to add more over time!
- Radius
- Special insert design with 0.5° run-out angle for smooth transition of radius area to flat area (in other words: 91° opening angle)
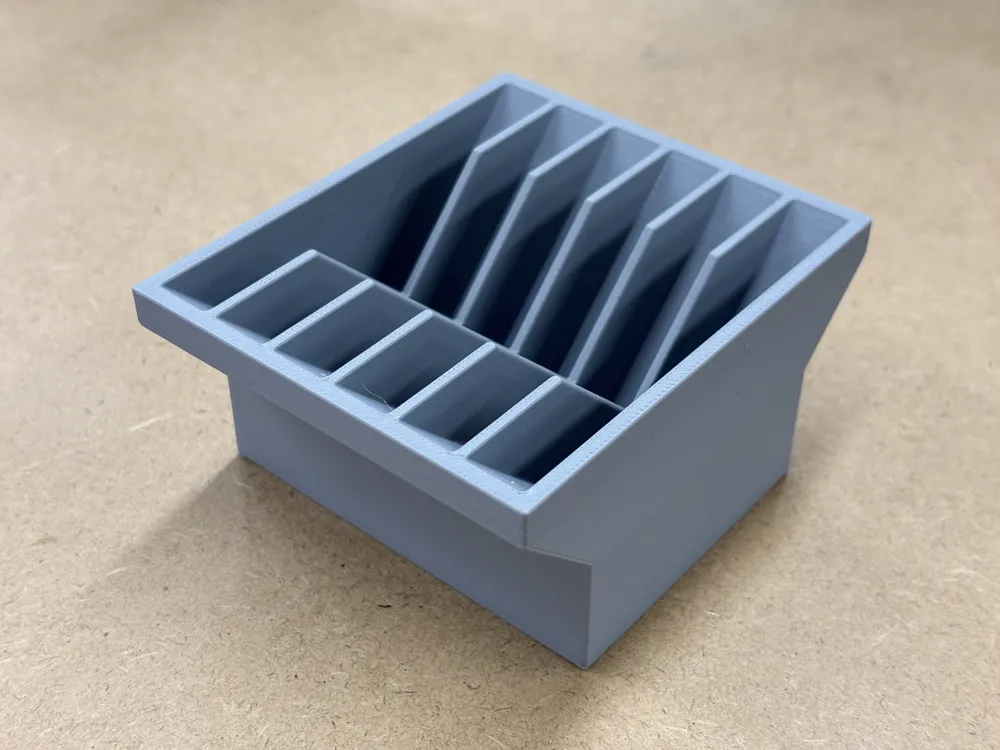
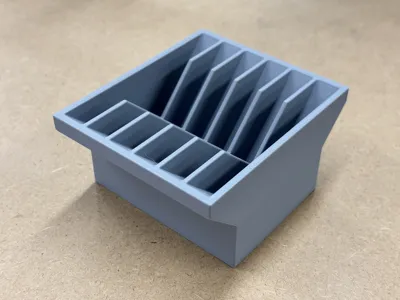
- Custom insert holder optionally available for storage
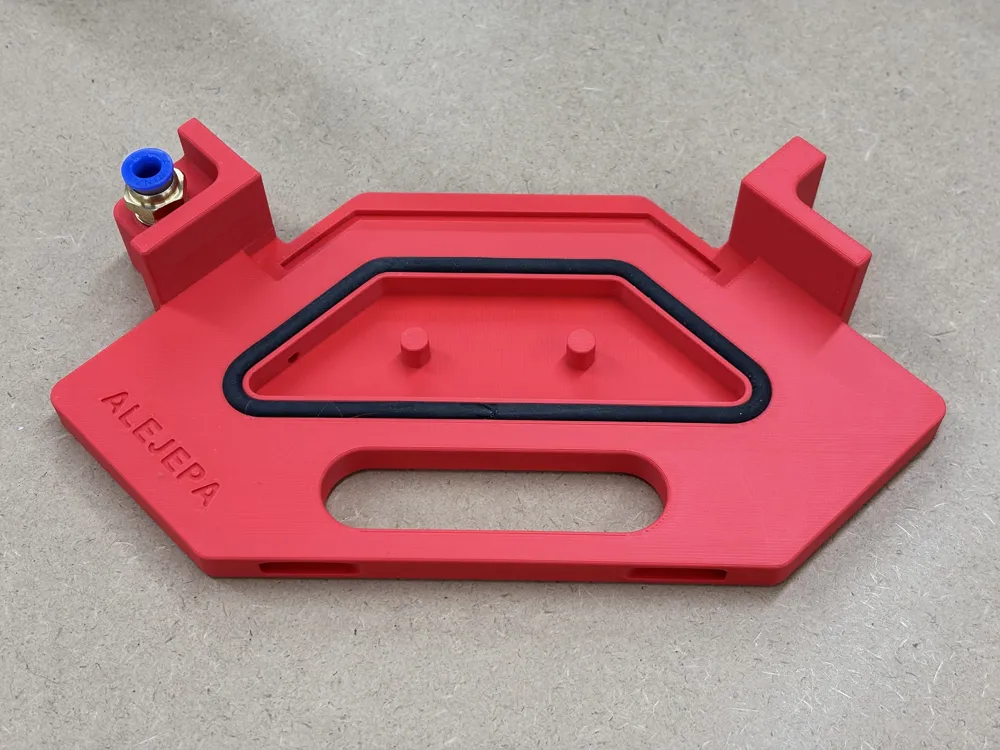
- 3 clamping options
- Vacuum
- C-Clamp (2 cutouts with opening dimensions of 15 x 5 mm)
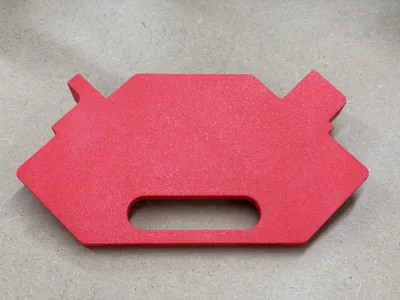
- Manually (via the integrated handle)
- Application for handheld routers (not suitable for stationary router tables)
Usage Instructions
- Step 1 (optional, especially for larger radii): Apply jig, mark contour with a pen, remove jig, pre-cut with a jig saw while leaving 1-3 mm material for the routing step
- Step 2: Apply jig, clamp via vacuum or C-clamps
- Step 3: Mill the radius using a flush trim router bit with top bearing
- Step 4: Remove jig
A picture documentation is available for the similar concept jig for routing cutouts for skirt boards
Instructions
- Print using the profiles
- Main router jig
- Inserts
- Insert storage holder
- Screw in the fitting
- Be gentle, no need for extra force, not needed to screw in entirely, ideally use an Allen key instead of a wrench to for better alignment
- Optionally soften the material with a heat gun or torch prior to screwing in the fitting to reduce the risk of layer separation
- Mount the seal (cut to length and glue with PA glue; I recommend cutting in 45°)
- Attach a vacuum pump and you are ready to go
Additional hardware required
- 5 mm foam seal, e.g.,
- https://amzn.eu/d/dGv3wjv as a cost efficient version (works perfectly well but a bit harder to mount)
- https://amzn.eu/d/6fLlTmm a bit more expensive but easier to mount
- PC6-02 pneumatic fittings (e.g., https://amzn.eu/d/fyI9GFa)
- Useful starter set including pneumatic fittings and tubes (e.g., https://amzn.eu/d/br2hIfl)
- CA glue for closing the foam seal
- Vacuum pump
- I would recommend a strong version with 500+ Watts if you are planning serious work like clamping for sanding or routing. I am the using this one.
- If you want to try it out and have a fun project, you can build the smaller Filament Vacuum Pump (I would not recommend it for this use case as it might be too weak but is great to create a filament vacuum for storage)
Boost Me (for free)
If you like the work I am doing, please support me by providing a boost! I really appreciate your support! Thank you very much in advance.
License

You shall not share, sub-license, sell, rent, host, transfer, or distribute in any way the digital or 3D printed versions of this object, nor any other derivative work of this object in its digital or physical format (including - but not limited to - remixes of this object, and hosting on other digital platforms). The objects may not be used without permission in any way whatsoever in which you charge money, or collect fees.


Comment & Rating (7)