
Print Profile(4)


Bill of Materials

Description
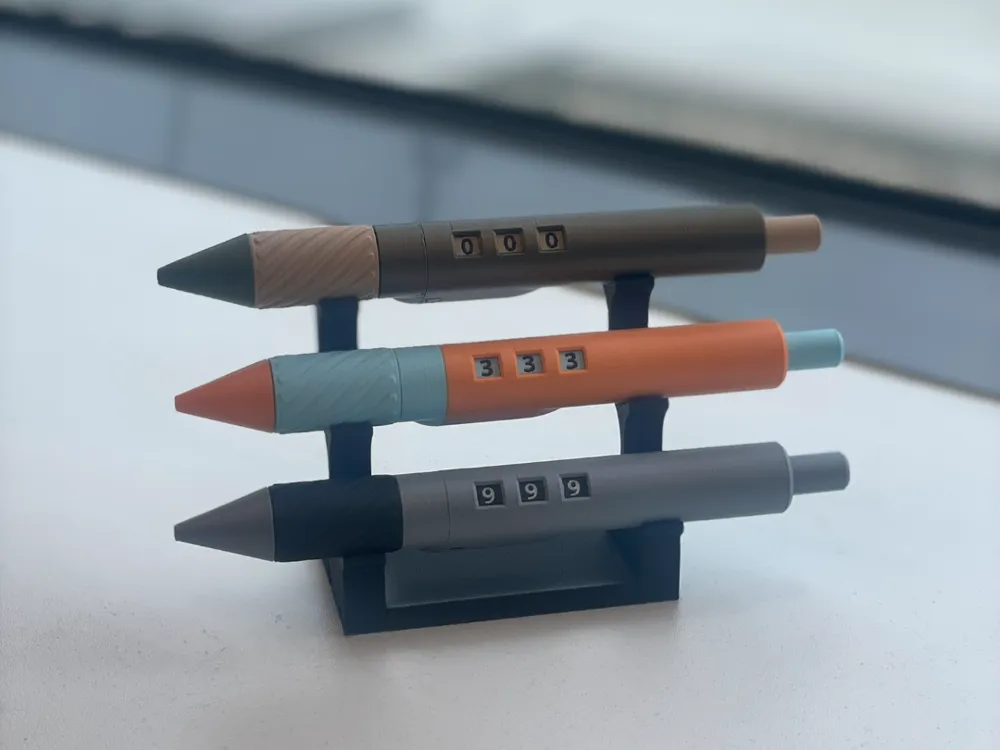
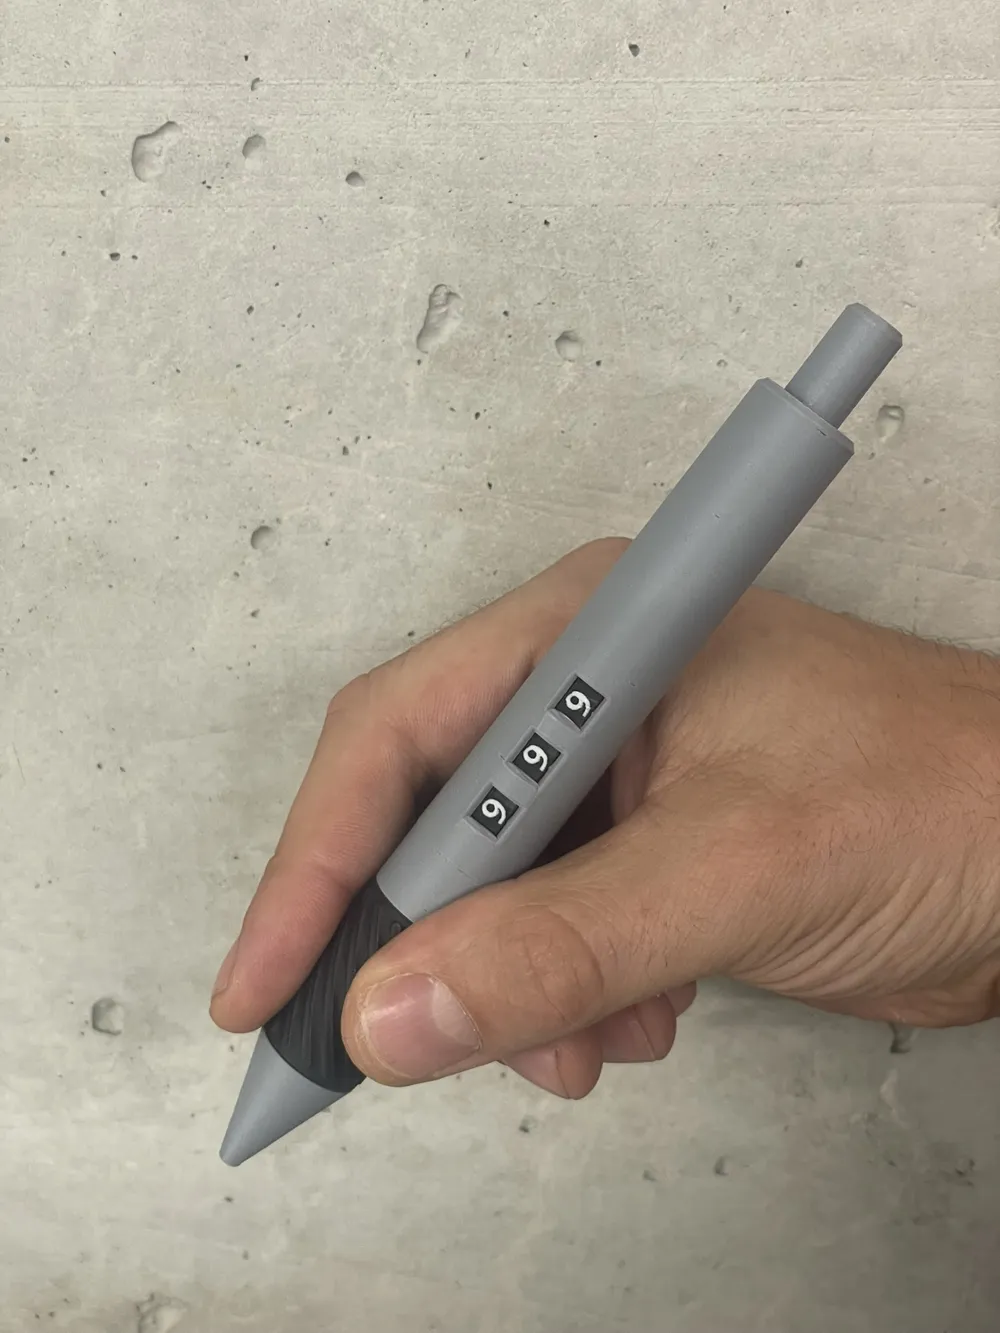
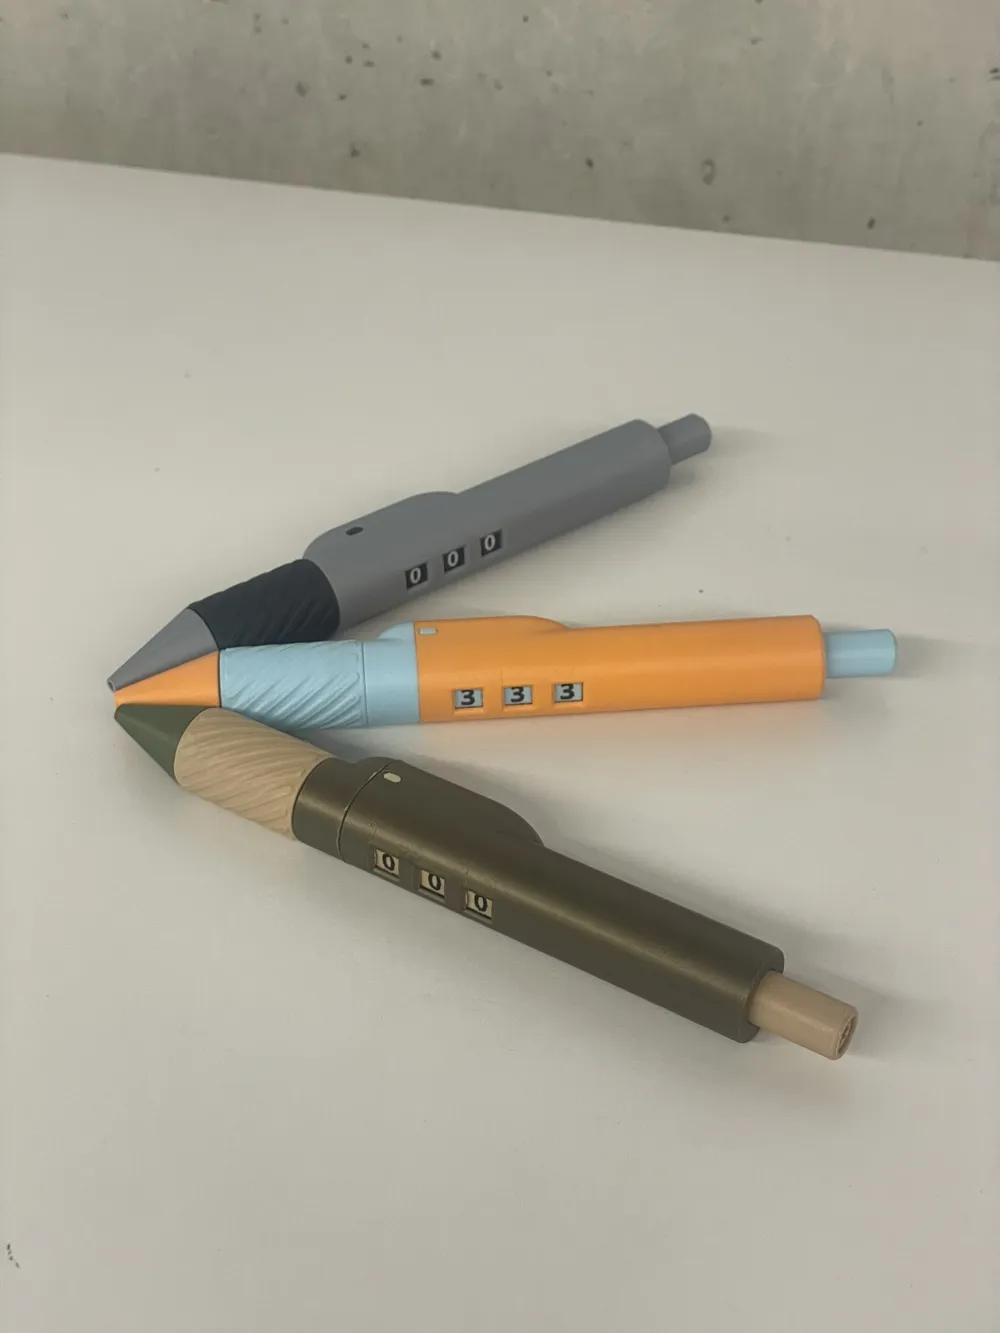
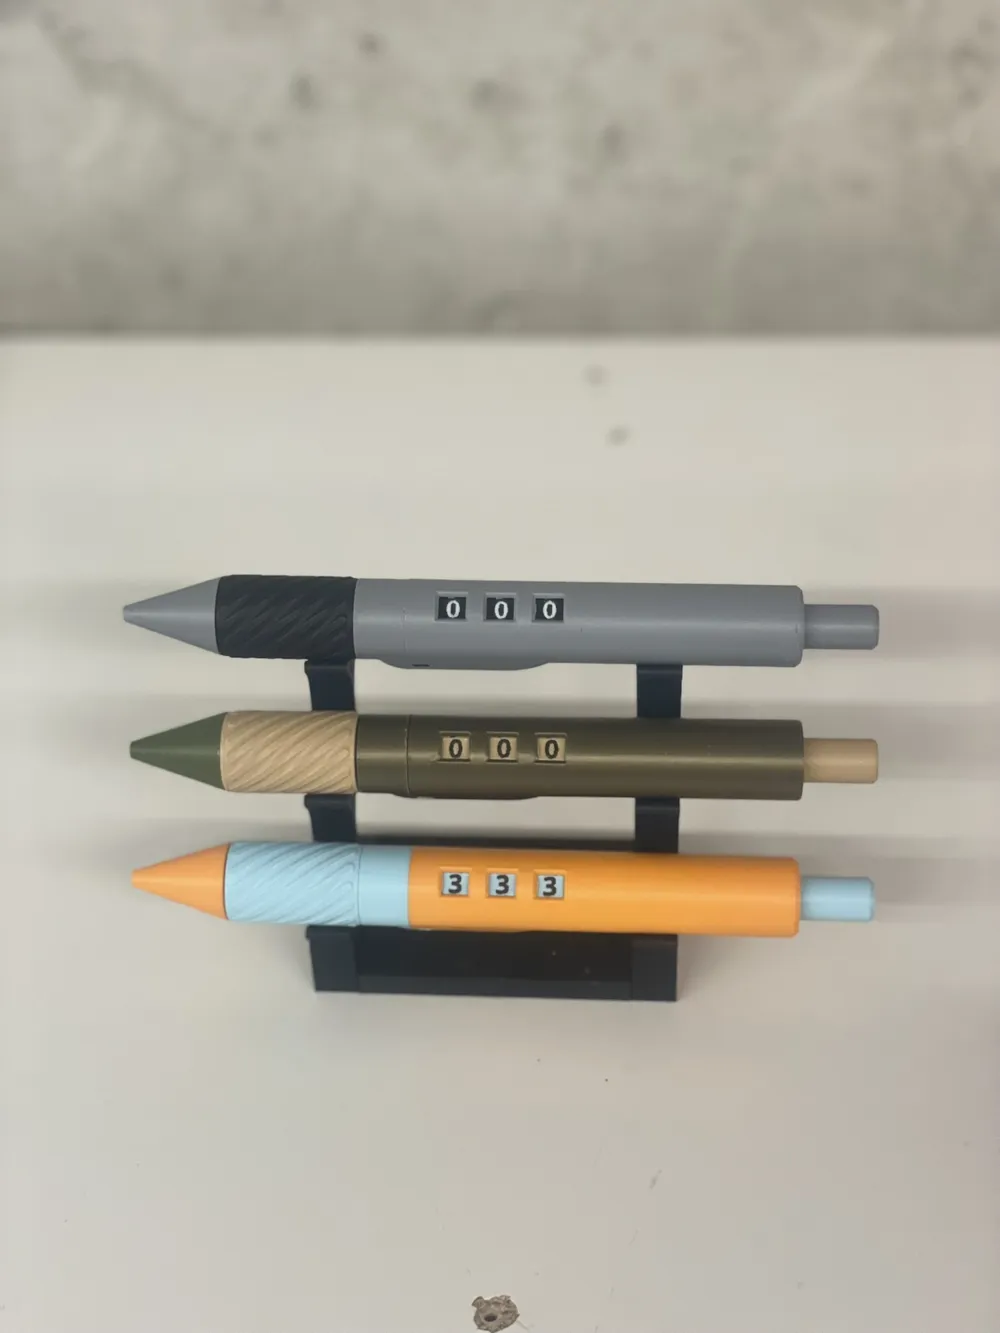
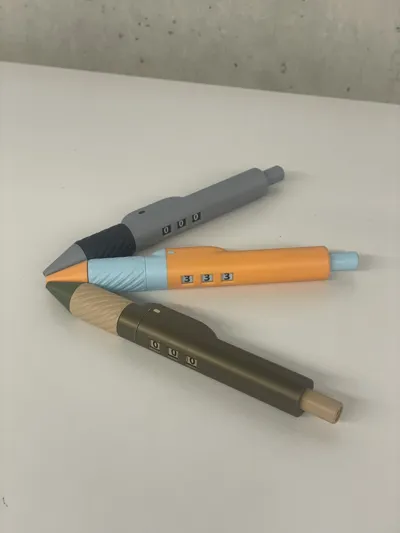
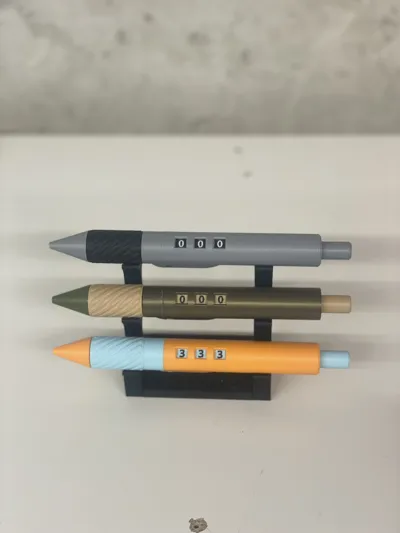
The Count-a-Click Pen
The only pen that tracks your productivity… or lack thereof.
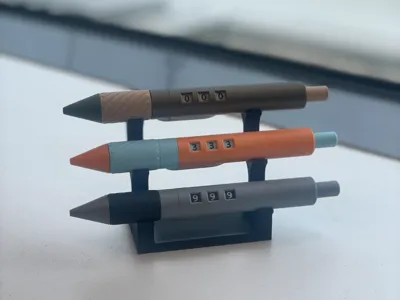
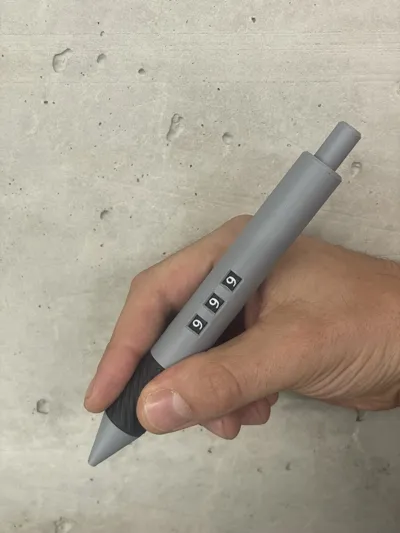
Why settle for a boring old ballpoint when you could wield The Count-a-Click Pen, a mighty writing instrument fused with a built-in 3-digit counter. It counts up to 999, because someone finally asked, “How many times can I click my pen before Steve from Accounting flips the table?”
Perfect for:
• Counting sheep when sleep won’t come (up to 999 insomniac fluffballs!)
• Tracking how many annoying clicks it takes to get passive-aggressive Slack messages
• Logging every time you almost do work
• Playing office games like “Who cracked first?”
Whether you’re battling boredom, annoying coworkers, or just trying to stay awake in meetings, this pen has you covered.
Warning: May result in meetings about “professionalism” or shared office etiquette.
Key Features:
- Twist-slide mechanism: For smooth pen retraction.
- Click pen mechanism: Allows counting up to 999.
- Two-color combination design: Adds a stylish touch.
- Reset Option: insert screwdriver through the opening in the button to rotate faster and reset to zero
Disclaimers:
- Not an easy print: This project requires precision and patience.
- Clean plate: Ensure your build plate is spotless for good adhesion. Using a supertack plate can help.
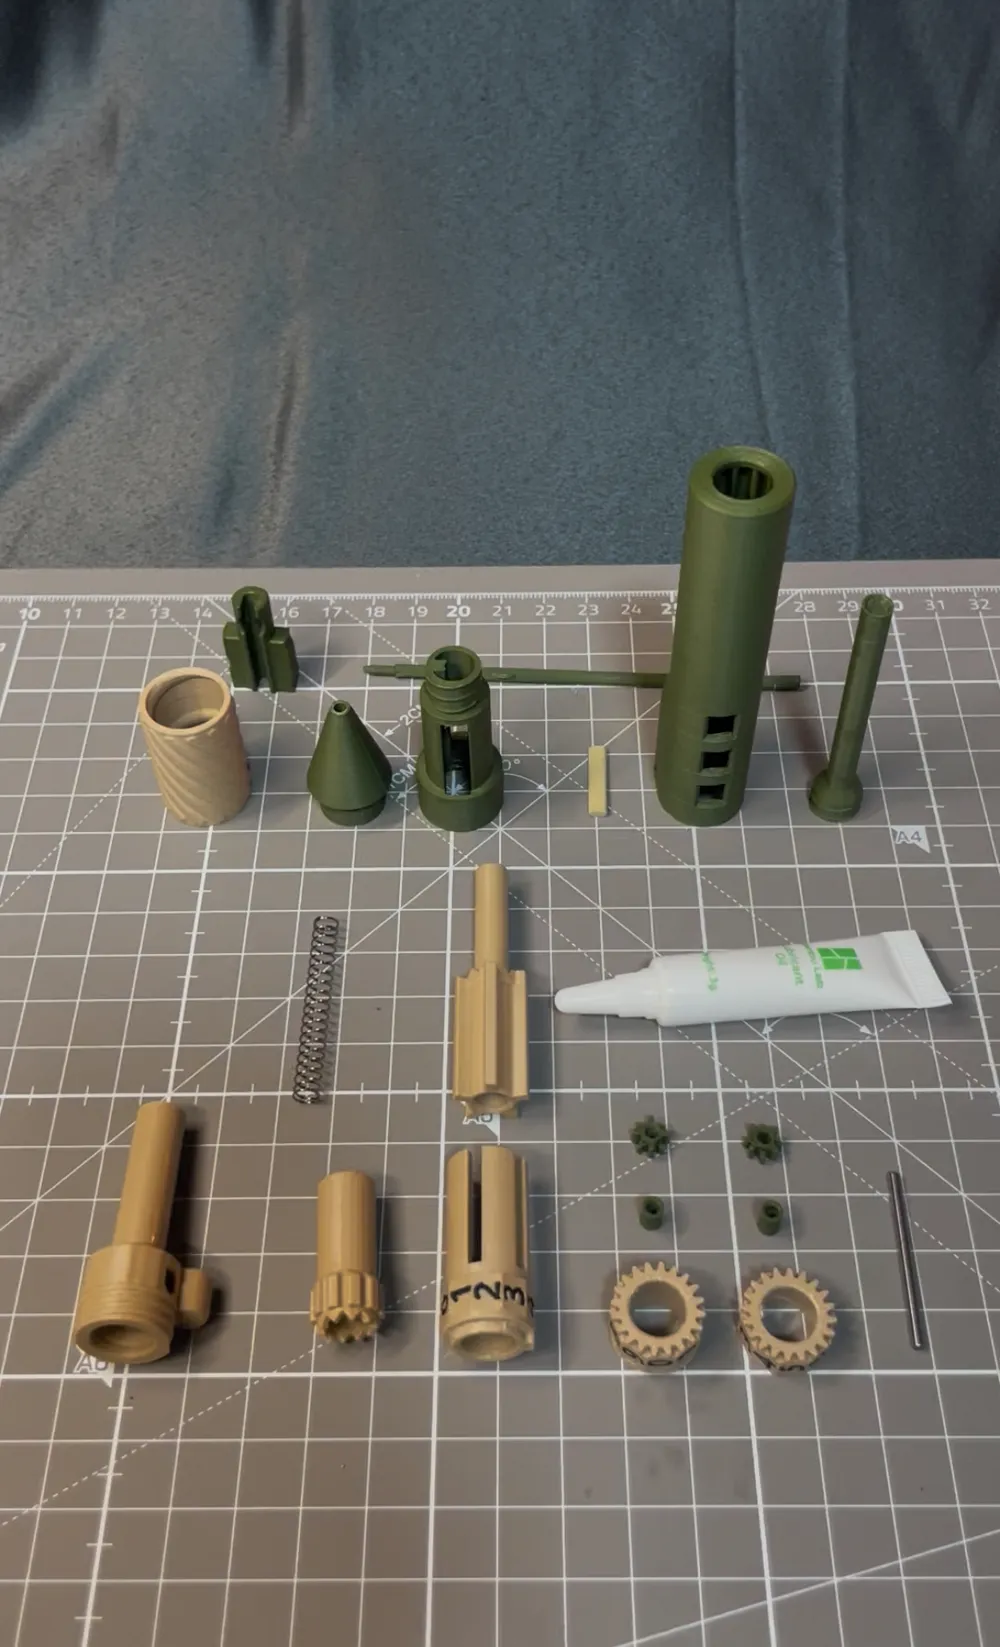
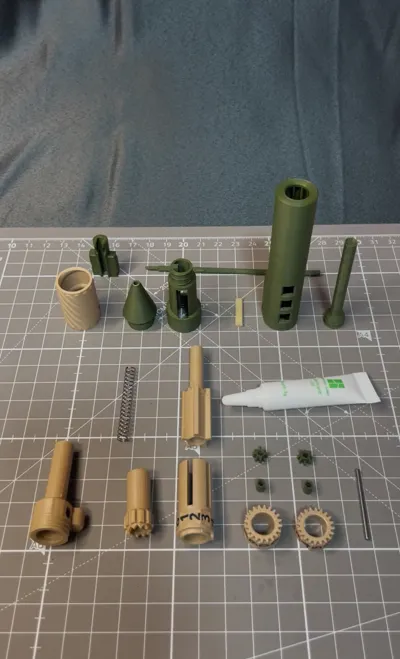
- Small parts: These are very small, pushing the limits of a 0.4 mm nozzle.
- Support residue: It's crucial to remove all support residue to ensure proper assembly.
- Challenging assembly: Due to the small parts, putting everything together can be tricky.
- Tolerances: Depending on the filament and your printer, tolerances might vary.
- Material: The pen prints in PLA, with some parts using "support for PLA" filament as an interface.
- Lubrication: Moving parts should be lubed (e.g., Bambu lubricant oil).
Hardware needed:
- 98 mm ball pen insert: A template is printed with the model.
- Spring: Bambu 0.4x5x40 mm.
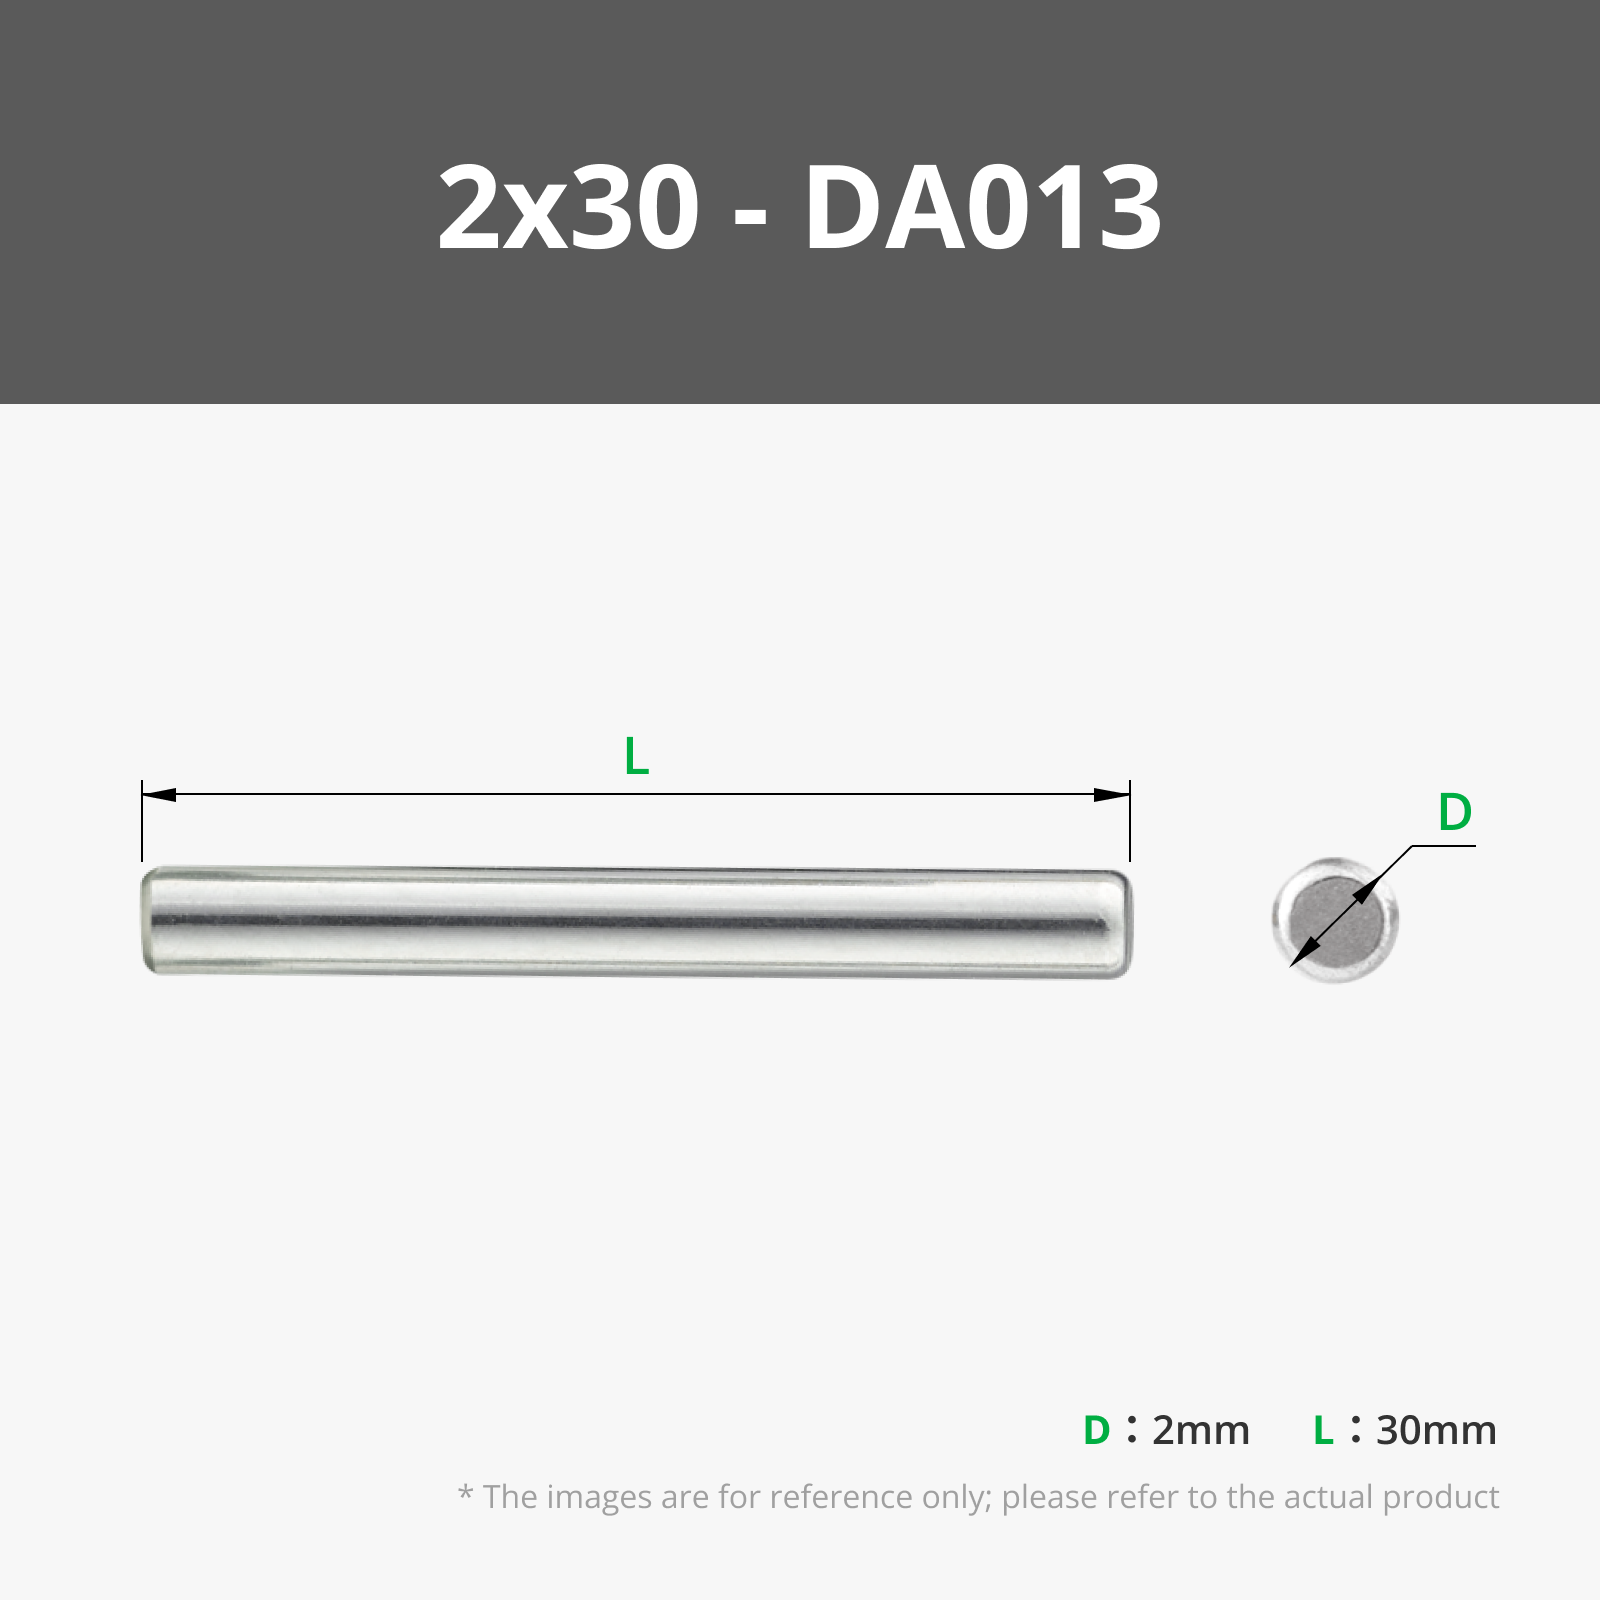
- Metal dowel pin: Bambu 30x2 mm (a test version is printed with the model).
Assembly Guide
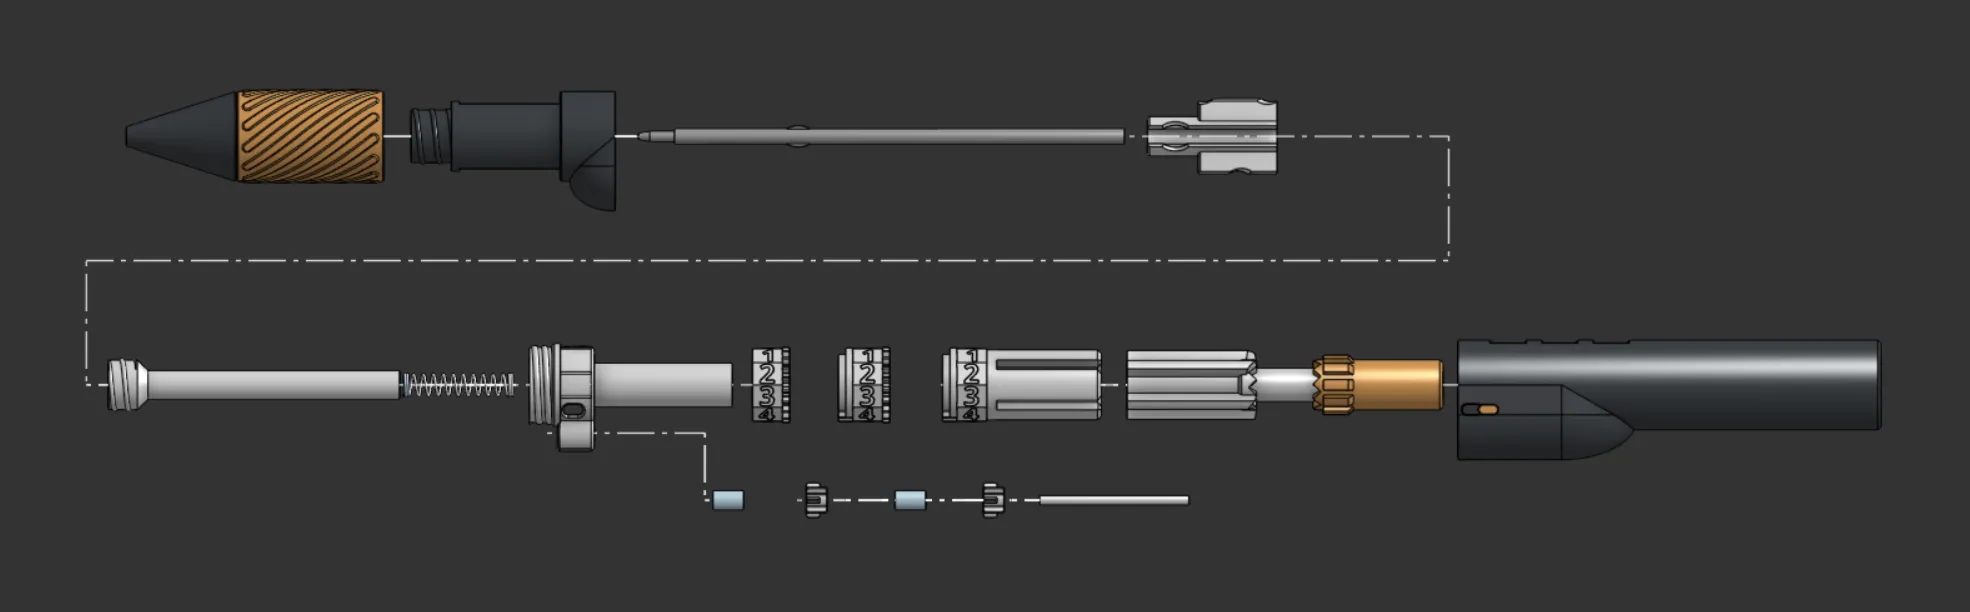
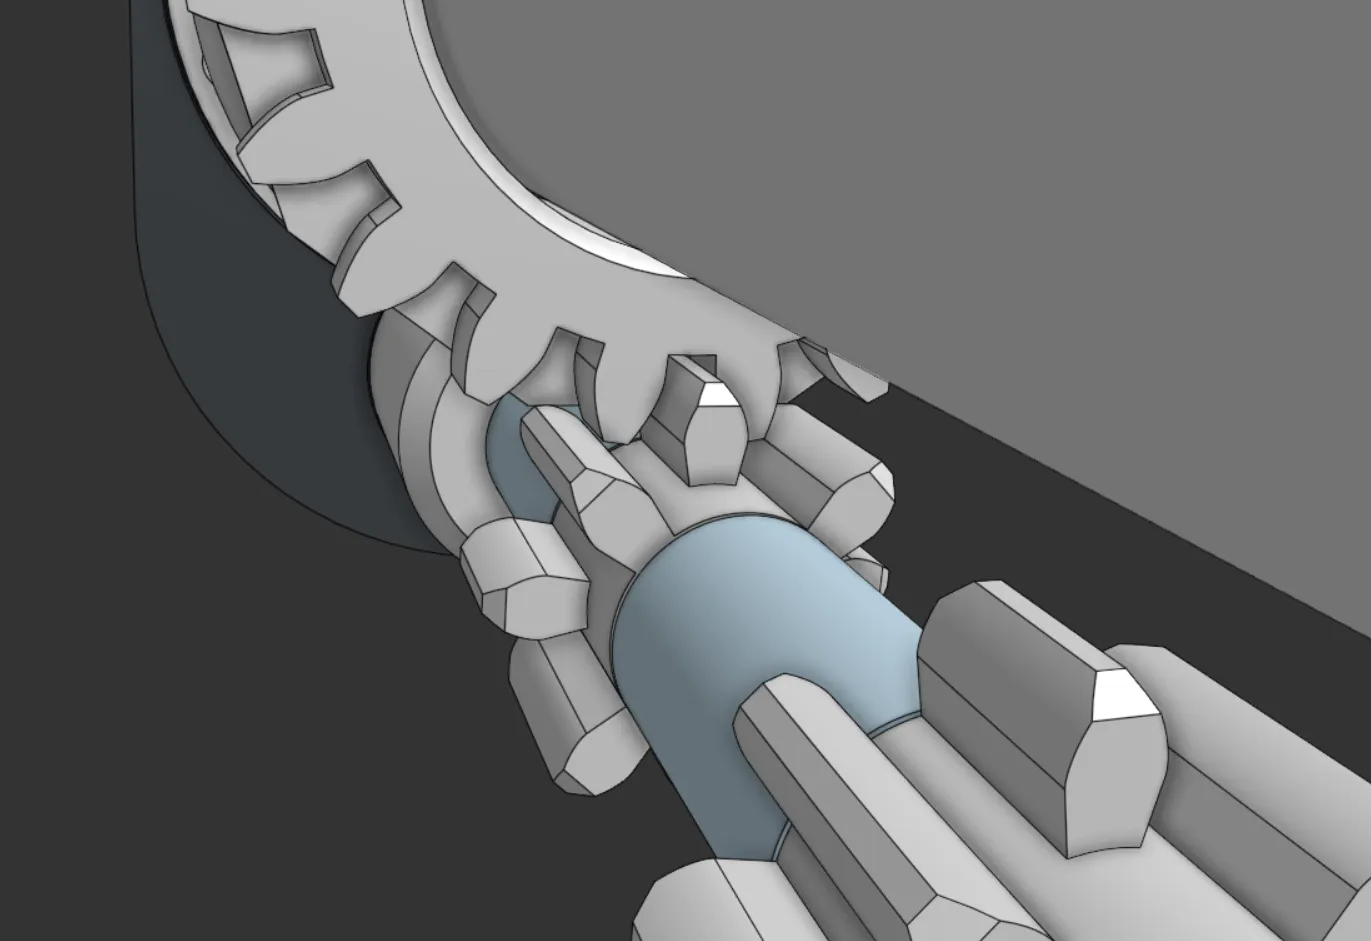
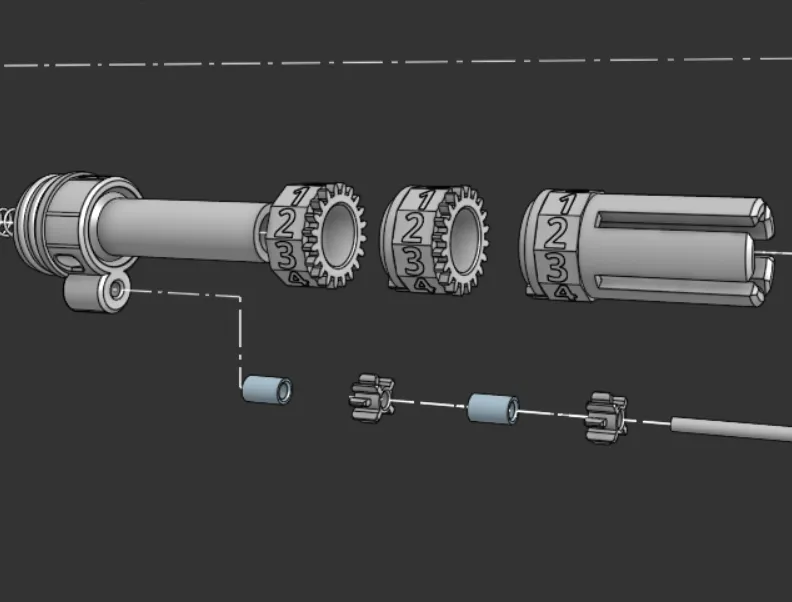
Gear Positioning & Assembly Notes
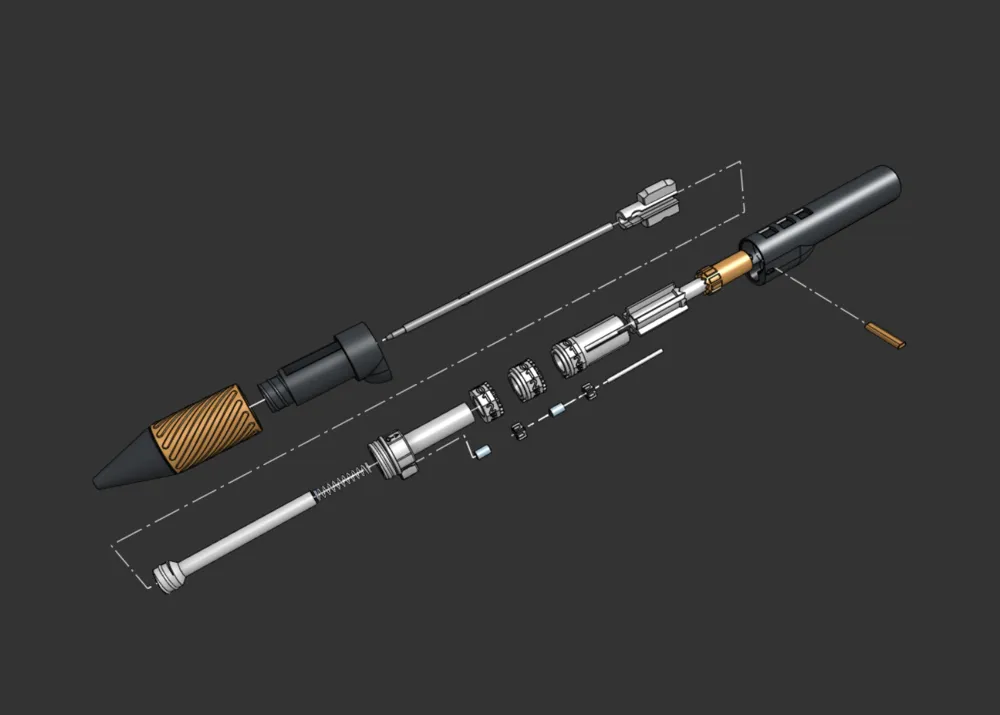
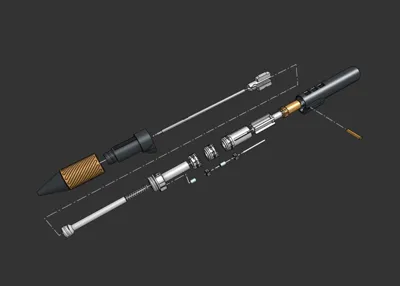
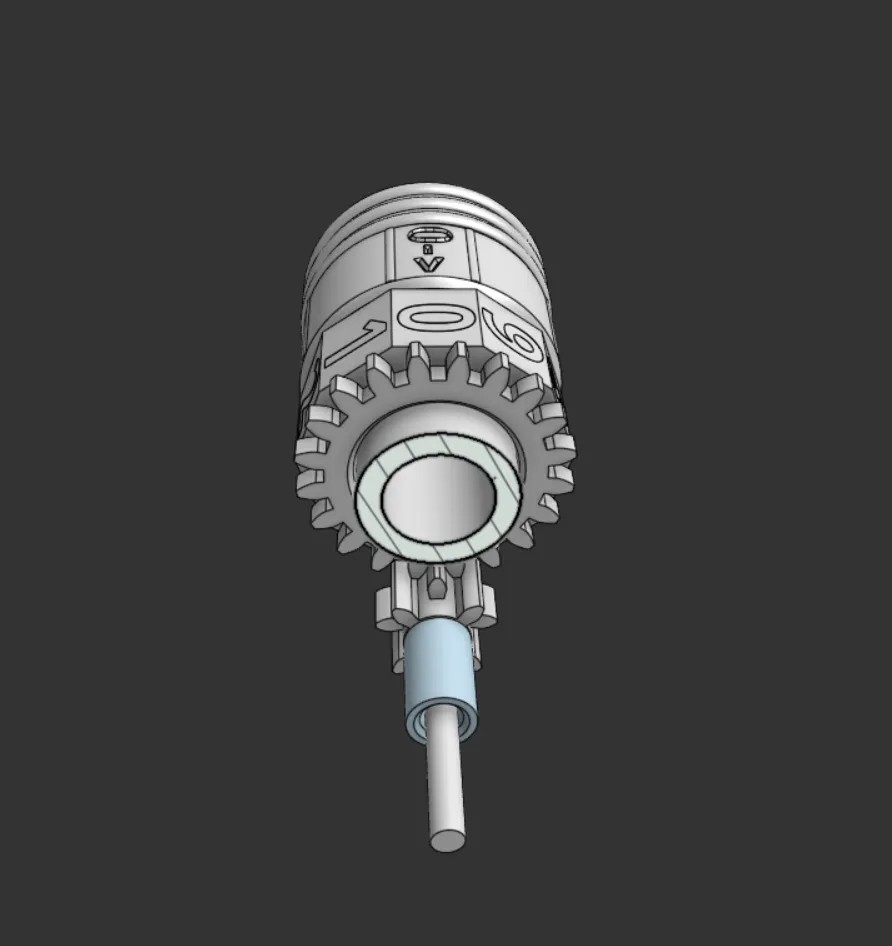
The positioning and orientation of the internal gears is crucial for the mechanism to work smoothly.
Refer to the exploded view below to see the exact placement of each part.
Important: The spin-to-slide sleeve uses a counter-clockwise thread.
Make sure to align and rotate it accordingly during assembly.
For full guidance, check the assembly video—it shows the entire process step-by-step.
Assembly Video
Boost Me (for free)
Enjoyed this model? Give it a little BOOST boost! Your support helps more makers find my designs—and keeps the ideas flowing (and the filament melting)! Thanks for helping this project shine.
Membership
If you plan to sell prints made from this model, please make sure you have an active Commercial Membership.
License

You shall not share, sub-license, sell, rent, host, transfer, or distribute in any way the digital or 3D printed versions of this object, nor any other derivative work of this object in its digital or physical format (including - but not limited to - remixes of this object, and hosting on other digital platforms). The objects may not be used without permission in any way whatsoever in which you charge money, or collect fees.


Comment & Rating (154)