Sphere loudspeaker for 3"-drivers - Space Age design


Print Profile(1)

Description
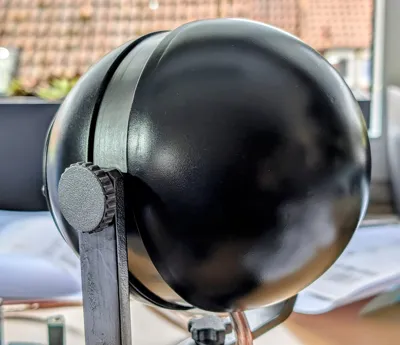
JoGi's Spherical Loudspeaker for 3″ Chassis
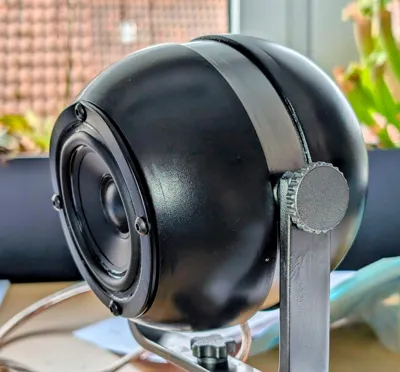
Long ago, I 3D-printed spherical loudspeakers for my home cinema. The design was rather rudimentary. The parts were glued and filled, and it looked accordingly.
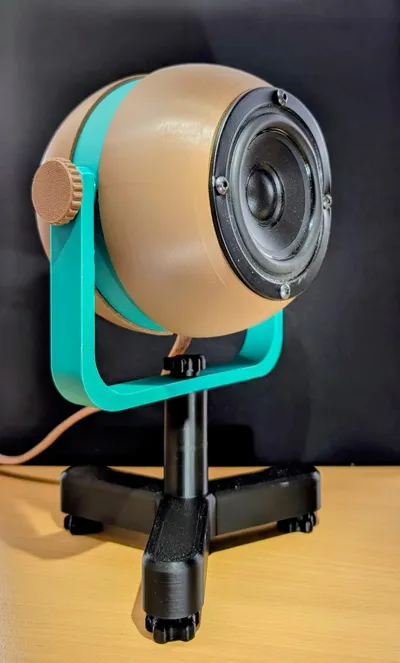
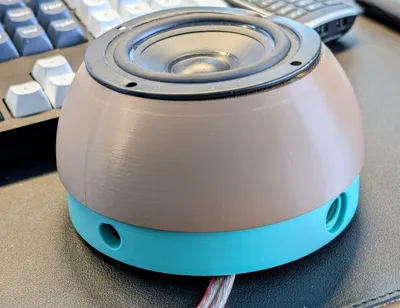
I have now redesigned the spherical loudspeakers!
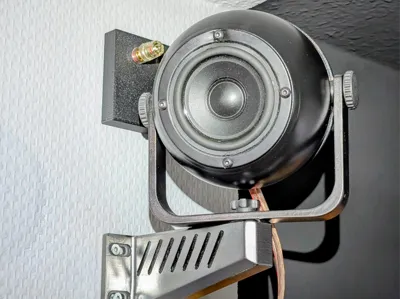
No visible screws, except for the four for the front chassis. Simple print; only the rear part requires light support, already indicated – manual support, no automatic support!
Suitable for 3″ tweeters or full-range speakers. I used a Monacor SPX-30M full-range speaker. Outer diameter at the front: 93mm. Depth: 55mm. Diameter of the mounting opening: 71mm. Radius of the fastening circle for the screws: 42mm.
Other speakers with these dimensions should also fit.
Print the front sphere, the rear sphere, and the center part with your filament of choice. PLA or PETG is ideal.
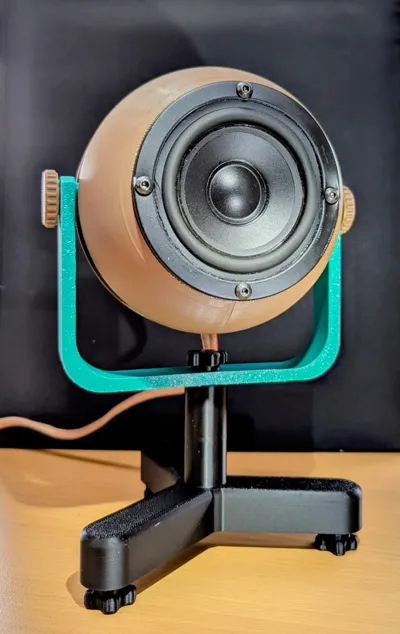
Print two of the bracket spacers, one of the inner screw, and two of the bracket screws. Print the bracket once.
Print the base once as needed, along with the small support and one screw.
Use three of these screws or three of the bracket screws as screw-in feet – the threads are identical.
Alternatively, other feet and clamps are available in my spotlight projects. The parts are compatible and interchangeable!
Assembly:
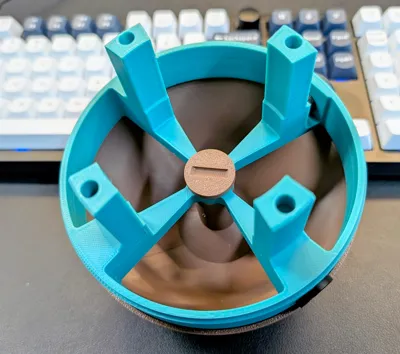
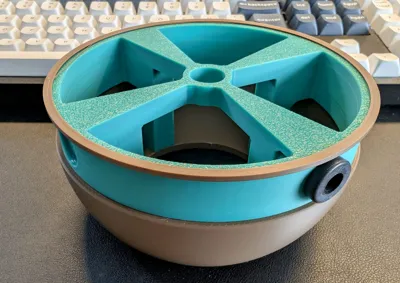
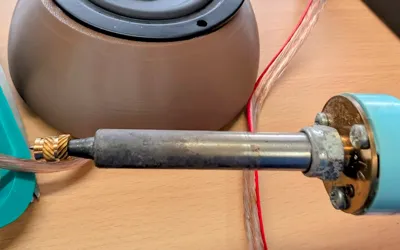
Four M4 threaded inserts are required for fastening. I simply placed them on a soldering iron and carefully melted them into the four holes of the center part – it holds perfectly and is better than glue!
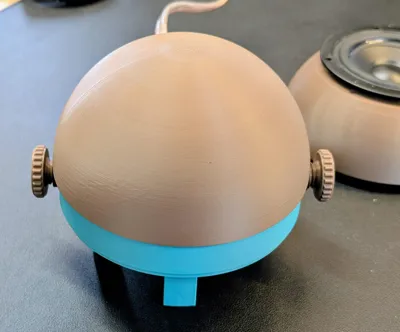
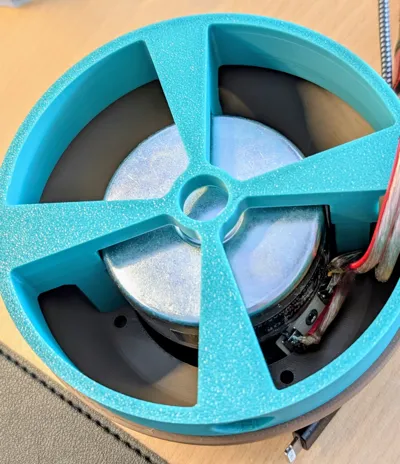
Screw the center part onto the rear sphere using the printed screw – ensure centering and do not overtighten! Place the chassis on the front sphere, feed the cables through the center part and out through the side hole (2 x 2.5mm² fits comfortably).
Screw the chassis to the center part via the four M4x12mm screws through the front sphere into the threaded inserts. This completes the speaker sphere.
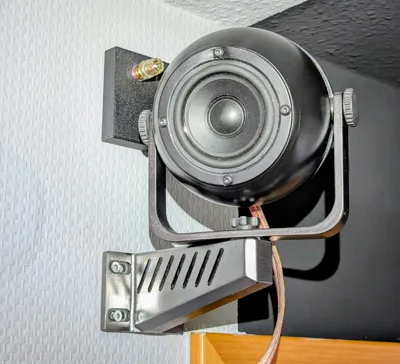
Insert the two spacers into the side openings. Screw the bracket onto the base (if you attach the bracket to the sphere first, the screw at the bottom will no longer fit later). Screw the two bracket screws through the bracket and spacers into the sphere (do not overtighten!). Align the sphere, connect the cables, and enjoy the sound!
Boost Me (for free)
Do you like my spherical loudspeaker? I would appreciate a boost! Thank you!
Support, brim, and infill are already set in the profile. Please consider this when making changes (manual support for the rear hemisphere is already indicated; automatic support will result in a failed print!).
Print the housing with low infill and the screws with high infill density.
The wall mount is available in another project of mine. It is optional and universal, also suitable for my spotlights and other items. Therefore, it has been uploaded as a separate project:
https://makerworld.com/en/models/1494806-wandhalter-130mm-stabil-mit-m14-aufnahme-vorne#profileId-1562952
License
You shall not share, sub-license, sell, rent, host, transfer, or distribute in any way the digital or 3D printed versions of this object, nor any other derivative work of this object in its digital or physical format (including - but not limited to - remixes of this object, and hosting on other digital platforms). The objects may not be used without permission in any way whatsoever in which you charge money, or collect fees.
Comment & Rating (1)