
Trent 900 Turbofan Jet Engine Model
Print Profile(4)





Bill of Materials















- Bearing 6704 x 4: 2x Fan, 1x IPC, 1x HPC
- Bearing MR126 x 4: Fan Planetary Gears (required)
- Bearing 6805 x 1: Fan (required)
- Bearing 6700 x 2: 1x IPC, 1x Turbine
- Bearing MR85 x 4: Turbine Planetary Gears (required)
- Bearing 6807 x 1: Turbine Motor
- Bearing 6702 x 1: Combustion
- Bearing 6705 x 1: Turbine Inlet
- Screw M1 x 6mm x 70: Casing
- Screw M1 x 4mm x 34: Casing
- Screw 2.5 x 10mm x 41: SPAX / Wood screws (recommended)
- Screw M3 x4mm x 2: Motor
- Screw M6 x 15mm x 1: DIN7985, Fan
- Screw M4 x 55mm x 4: DIN965, IPC Blades (recommended)
- Screw M3 x 20mm x 2: Stand
- Screw M3 x 16mm x 14: Stand
- Nut M1 x 54:
- Nut M3 x 16:
- Nut M4 x 4: IPC Blades, (recommended)
- 12V DC Motor 25mm, 100RPM x 1:
- DC Motor speed controller x 1:
- Wire x 1: <2mm diameter
- DC Power Jack, 5.5 x 2.1mm x 1: to fit into housing
- 12V DC to Type C Adaptor x 1: Optional for easy plug-in
- 2-Pin Head, Male and Female x 1: for easy removal of engine from stand
- Superglue (Oily glue) x 1: or other adhesives (recommended)
- Silicon Grease x 1: or other lubricants
- Screwdriver #0000 x 1: Highly recommended for m1 screws
Description
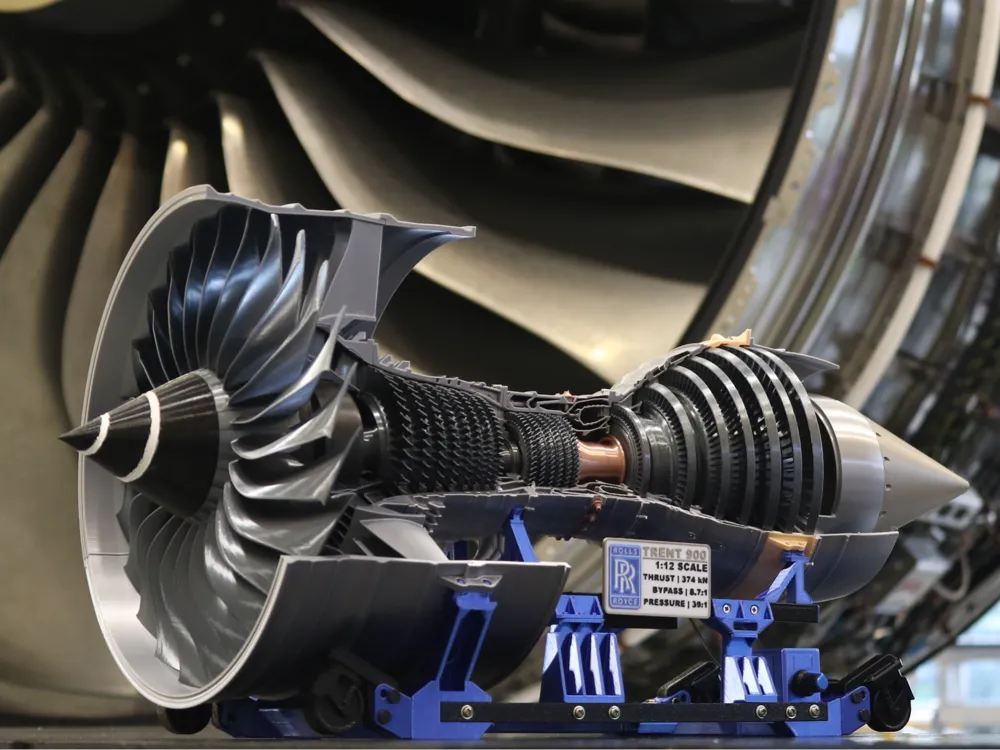
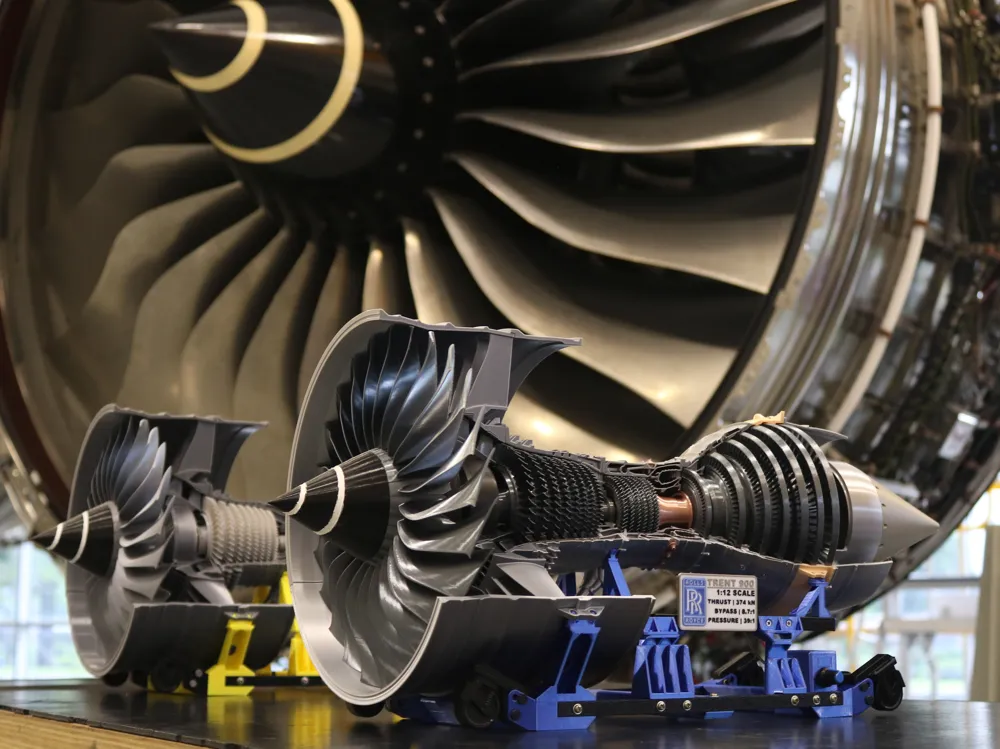
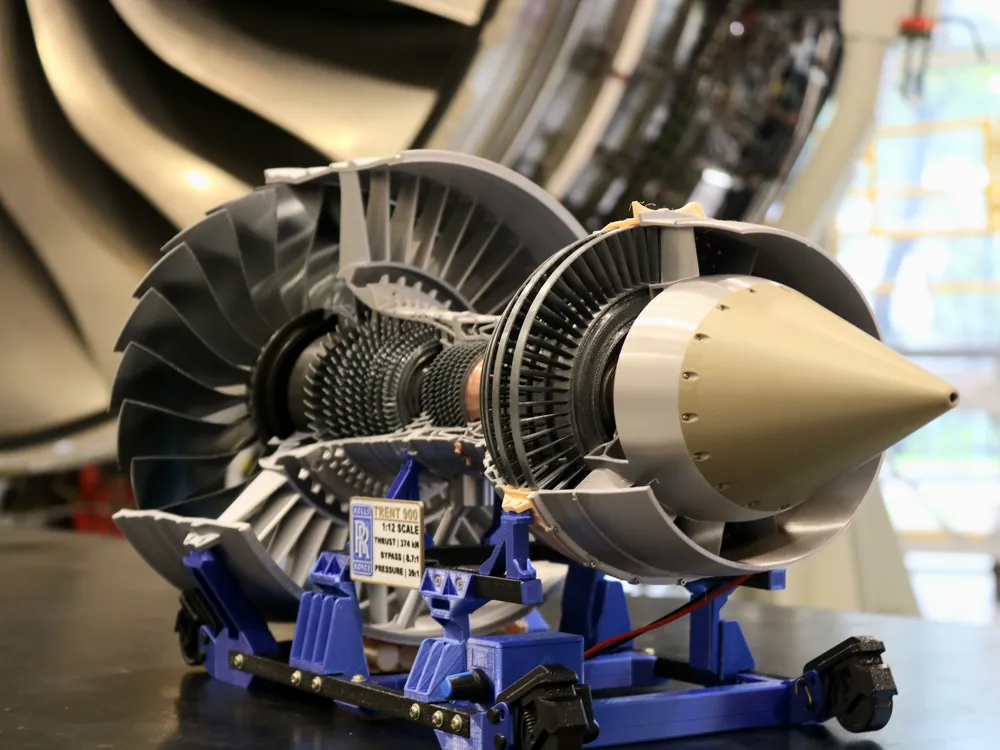
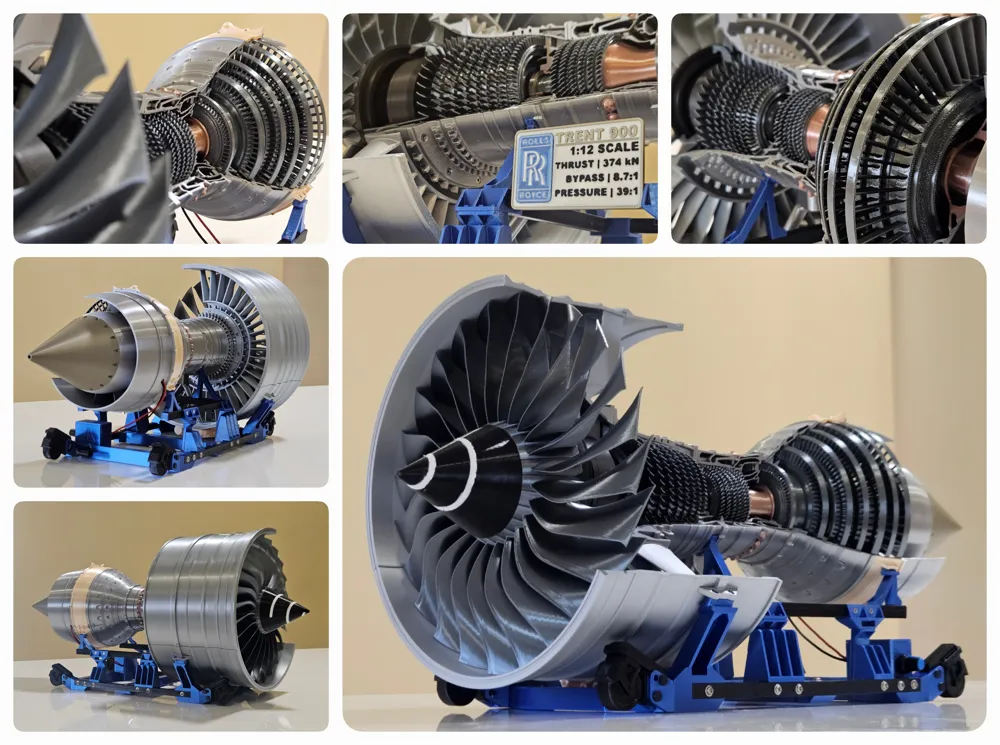

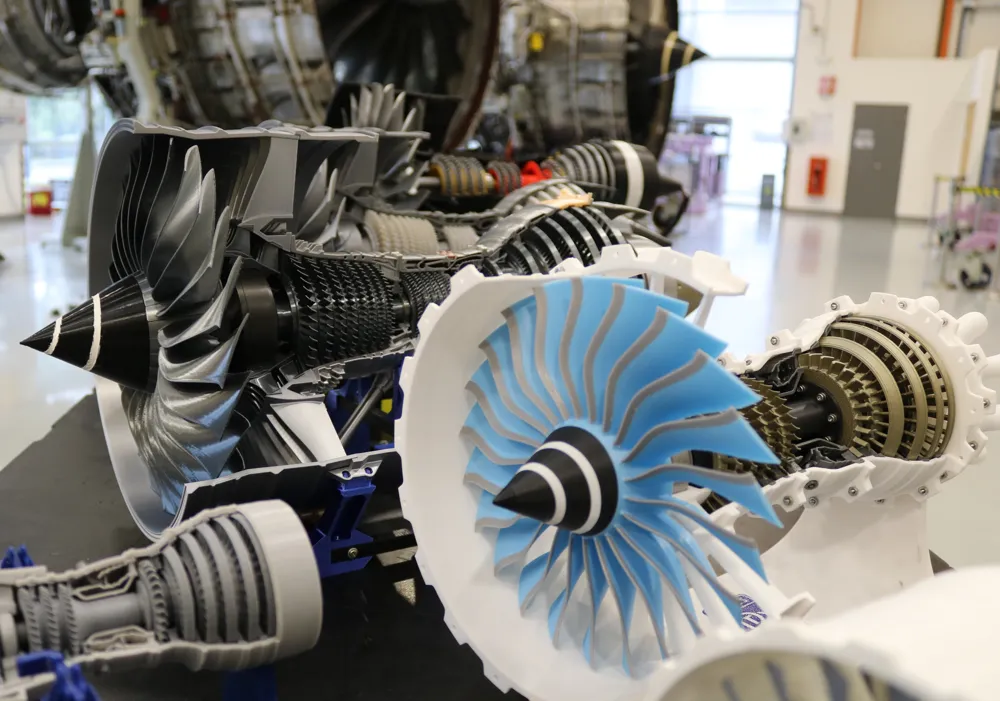
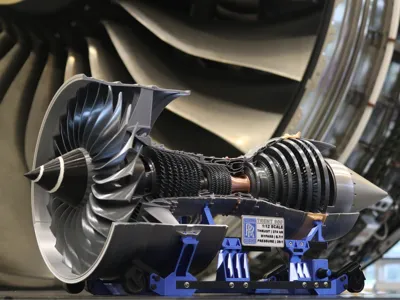
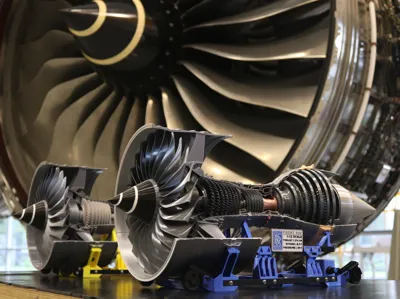
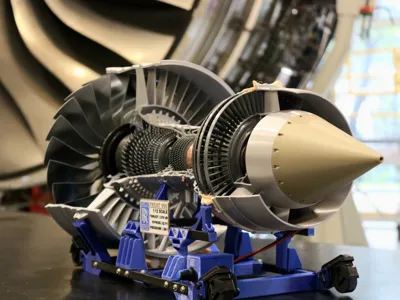
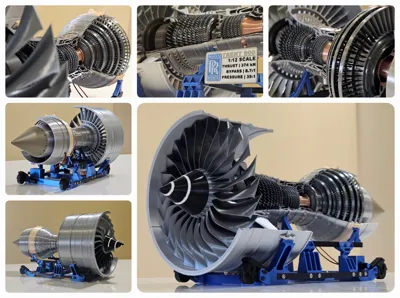
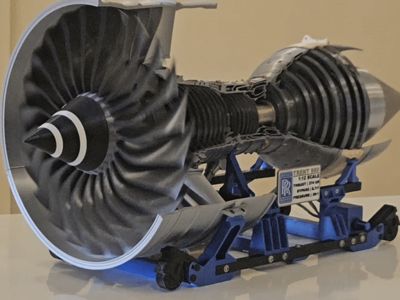
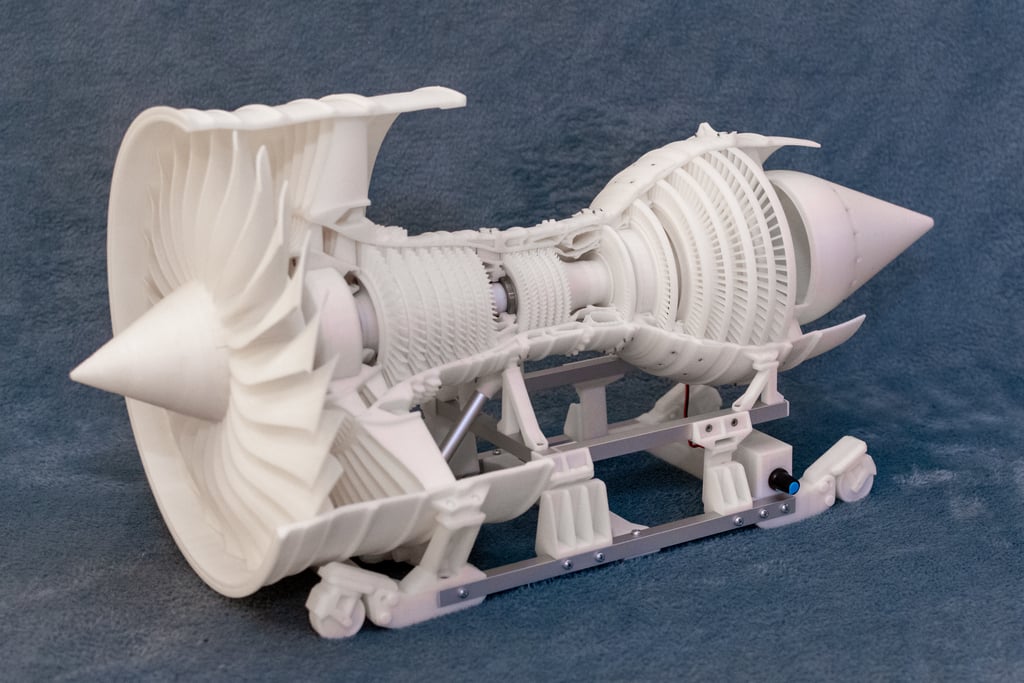
A highly detailed, motorised and geared model of Rolls-Royce Trent 900, the engine that powers the world's largest passenger aircraft — the Airbus A380.
🛠️ This CAD model was first created by Chris Shakal, adpated for 3D printing by Nejc Terbuc, tolerance optimisation and print bed organisation by Matthew Lee. 🛠️
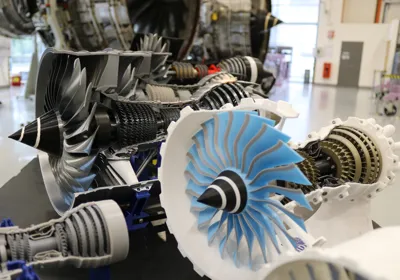
This is an advanced build consisting of over 100 individually printed parts. All components, except for bearings and screws, can be 3D printed. Expect around 1-2 weeks of printing followed by ~8-12 hours of assembly.
A display plaque with key Trent 900 engine specifications is included as a separate .3mf file.
Boost Me (for free)
I hope you enjoy printing and building this complex engine as much as I did!
1. Key Features of the Model✈️
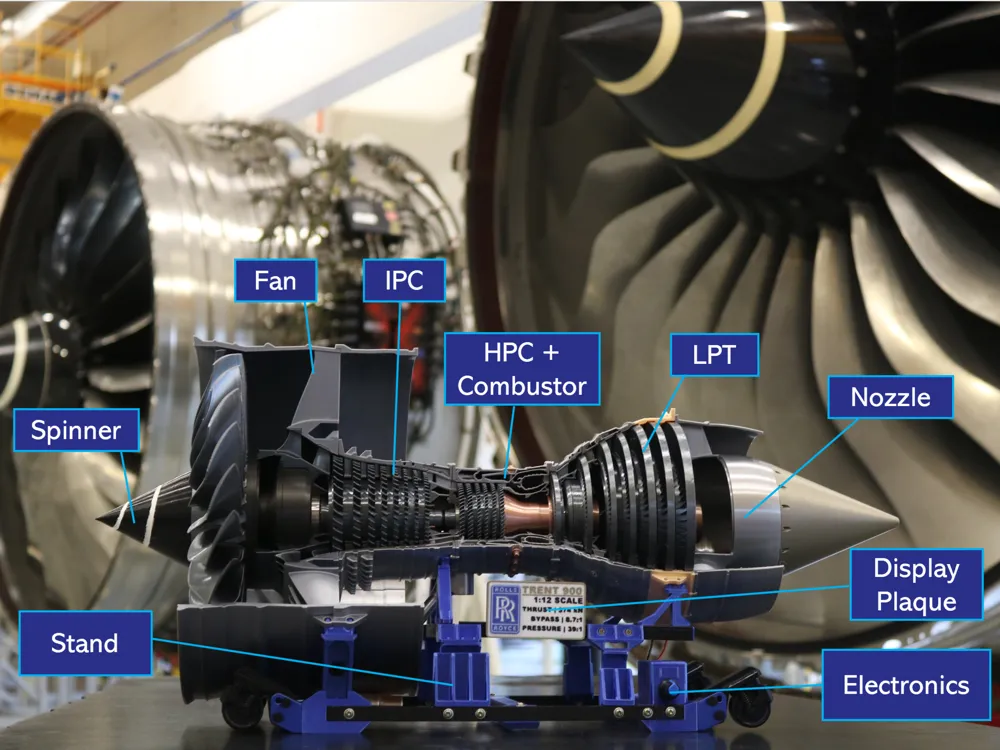
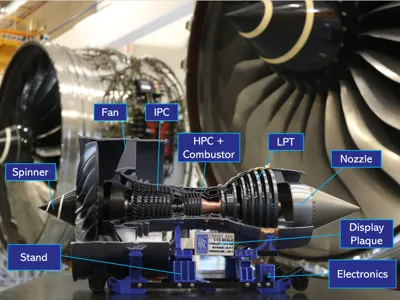
- Accurately represents the Trent 900’s 3-spool architecture:
- 1-stage Fan (LPC)
- 6-stage Intermediate-Pressure Compressor (IPC)
- 8-stage High-Pressure Compressor (HPC)
- Single-stage High-Pressure Turbine (HPT)
- Single-stage Intermediate-Pressure Turbine (IPT)
- 6-stage Low-Pressure Turbine (LPT)
- Fully motorised rotating shafts and gears
- Limitation: unrealistic rotation of spools. (Only HP section rotates counter-clockwise)
- TPU Nose cone
- Simulates the flexible rubber nose cone found on real Rolls-Royce engines to prevent ice formation
2. Terminology & Engine Overview 📘
- Blades – Rotating components
- Vanes – Stationary components
- Casing – The outer shell of the engine
- 3-Spool Jet Engine Sequence (Front to Back): Fan / LPC → IPC → HPC → Combustor → HPT → IPT → LPT
3. Print Organization and Material Guide 🎨
Parts have been grouped by assembly order and function/color for intuitive building.
Component Material (Recommended) Fan Blades PLA Silk+ Titan Grey Fan Blade Body PLA Metal Iron Grey Vanes PLA Grey Casing PLA Silk+ Silver High-Temp Region PLA Silk+ Rose Gold Nozzle PLA Metal Iridium Gold Spinner PLA Black & White Nose Cone TPU Black Stand PLA Silk+ Blue Inner Gears & Shaft PETG Black - Gears and shafts have increased wall count for strength.
- Colored and gear components are consolidated for faster batch printing.
4. Print Settings⚙️
- Use 3MF file settings to retain all print optimizations (do not export to STL)
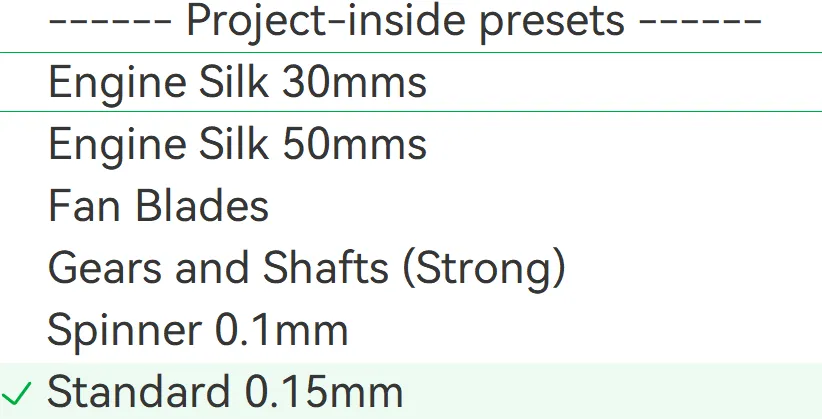
XY Hole and Contour Compensation have been pre-applied.
- Titan Grey Silk+: Prints look similar at 30mm/s and 50mm/s. Prefer faster speeds where possible.
- Fan Blades: Slowed print speed to reduce wobble.
- Spinner: Print with finer layer height for better finish.
- All Other Parts: Standard 0.15 mm layer height (0.2 mm works fine as well).
5. Assembly Guide 🔧
- Assembly requires time, patience, and proper tools. Refer to the PDF guide by Nejc Terbuc, which is included in the files (modified slightly by myself).
- Tools Recommended:
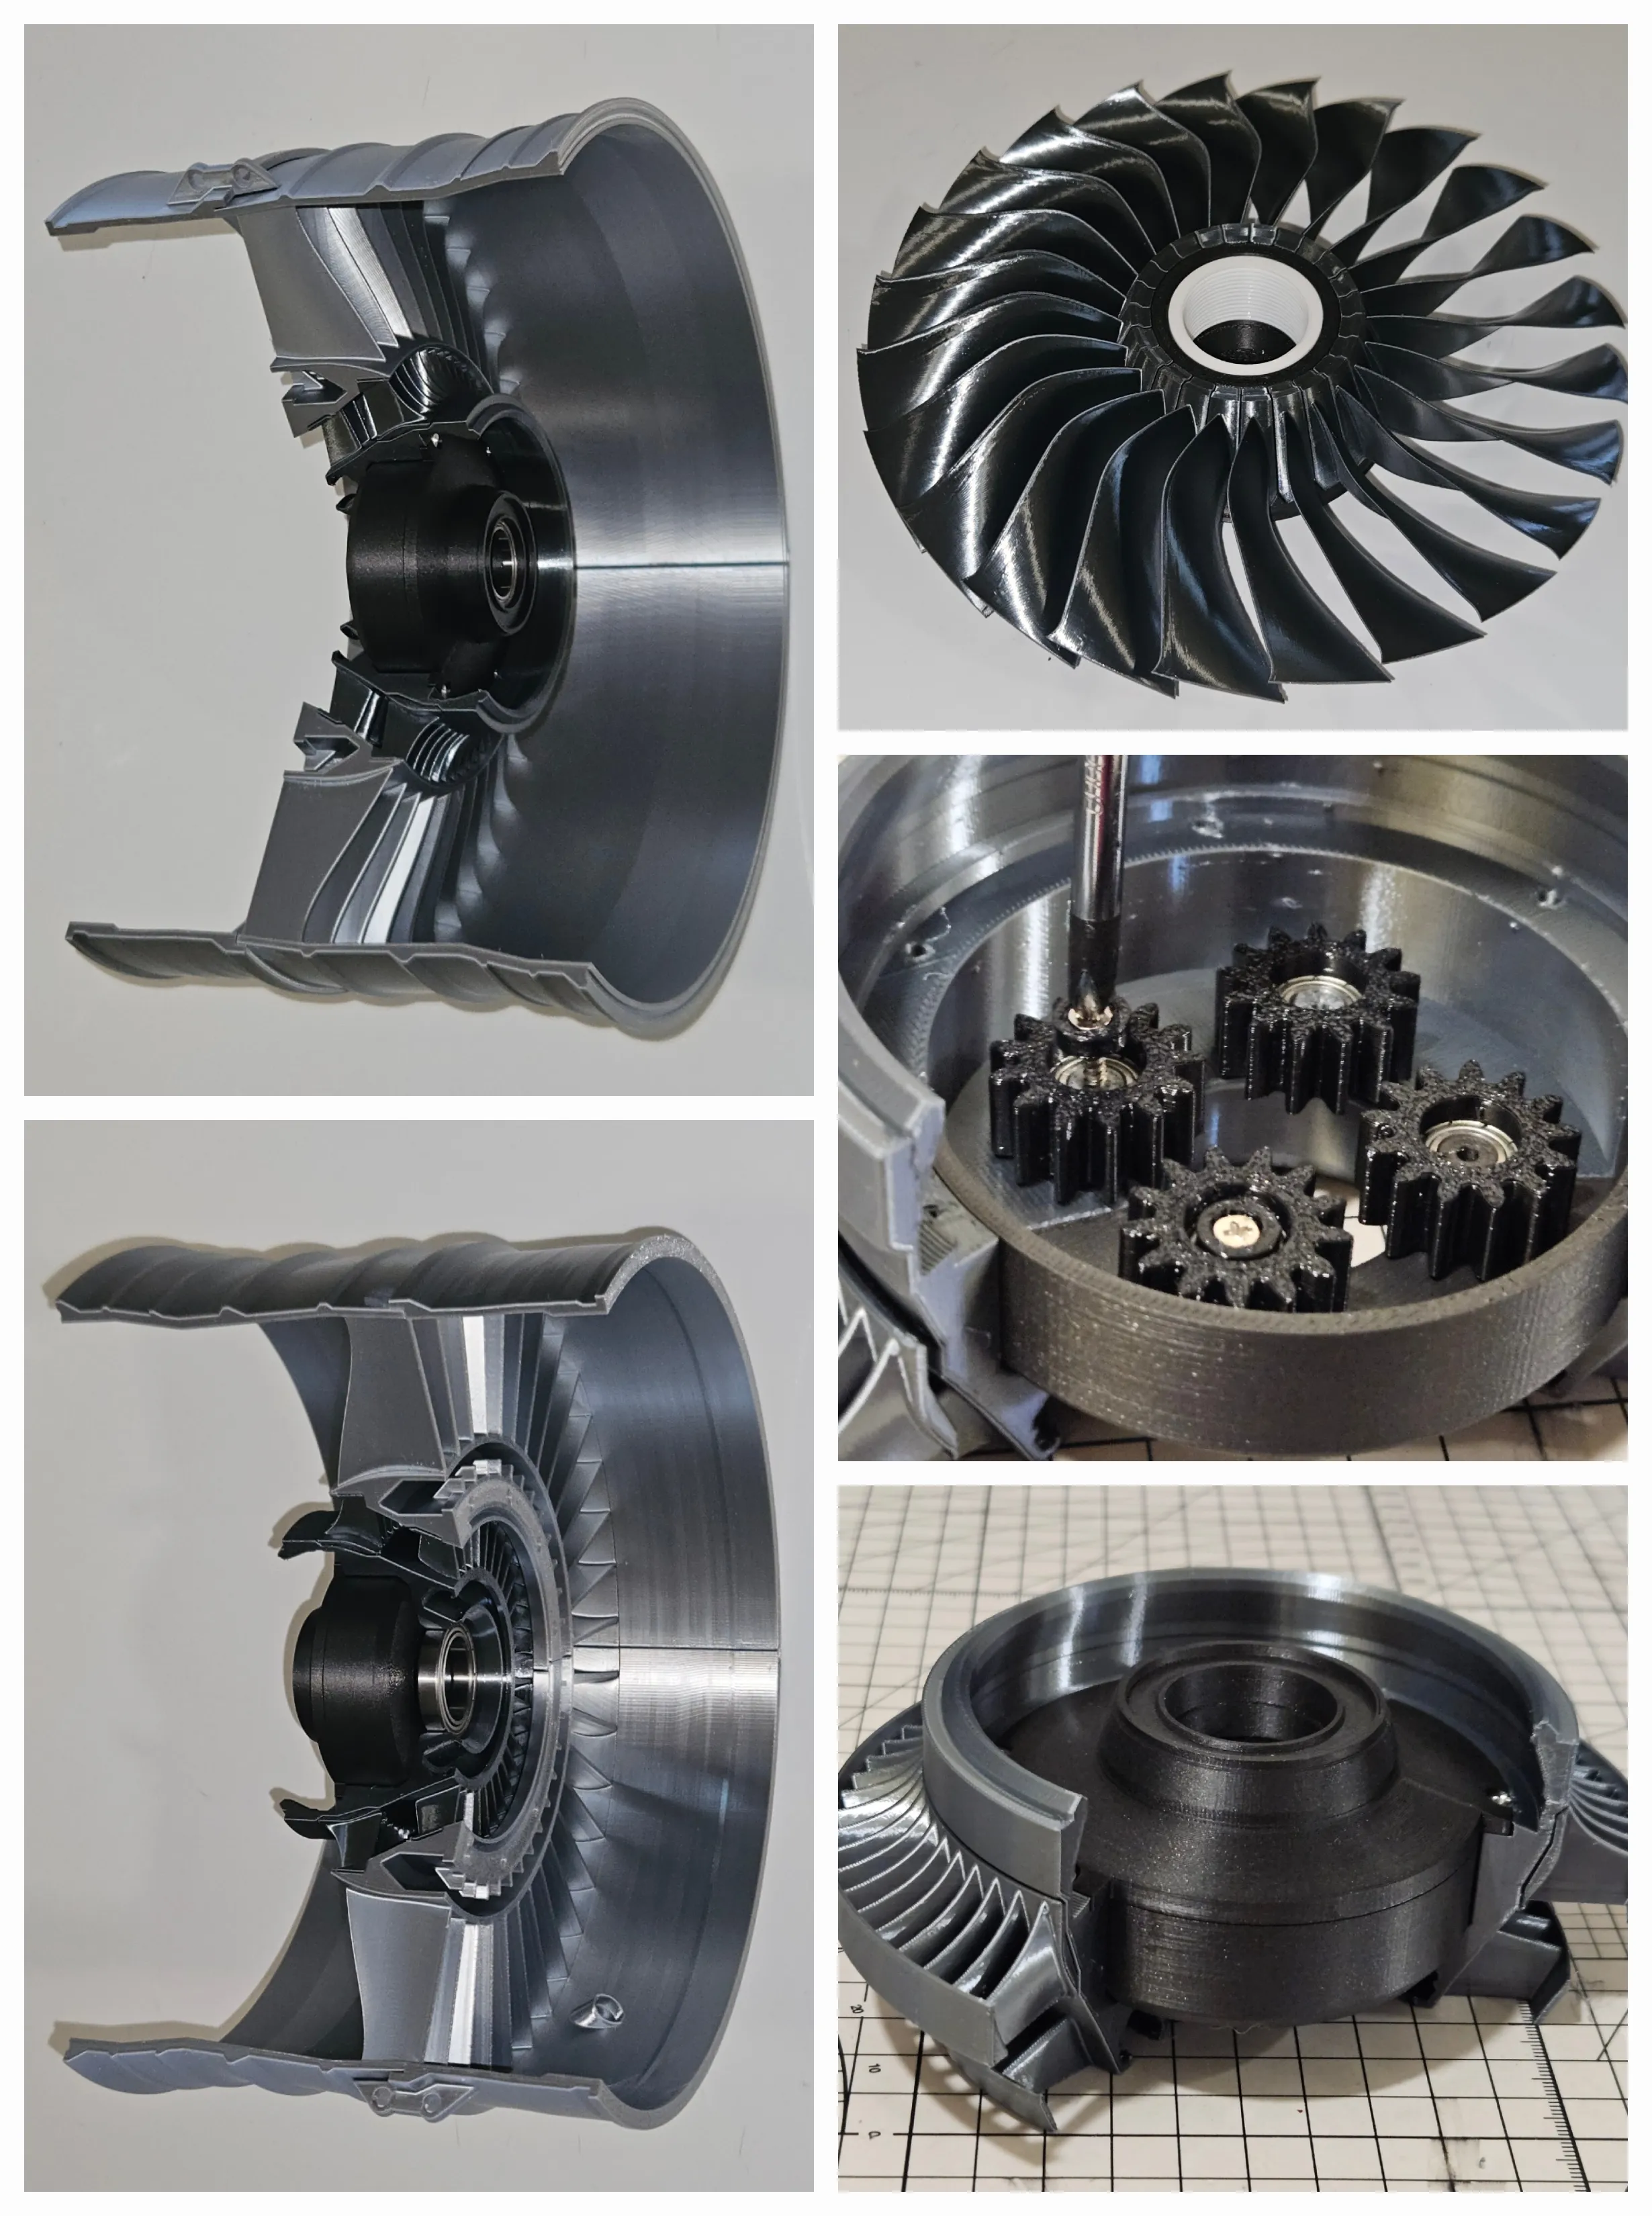
Screwdrivers, super glue, needle-nose pliers, pliers (support removal), blowtorch (for loose stringing), 0.8 mm drill bit (for hole cleaning), Hairdryer (for spinner fitting) - Refer closely to the following images to build the following five parts individually, before final assembly:
- Fan / LPC
- IPC
- HPC + Combustor + HPT
- Turbine (IPT + LPT)
- Stand
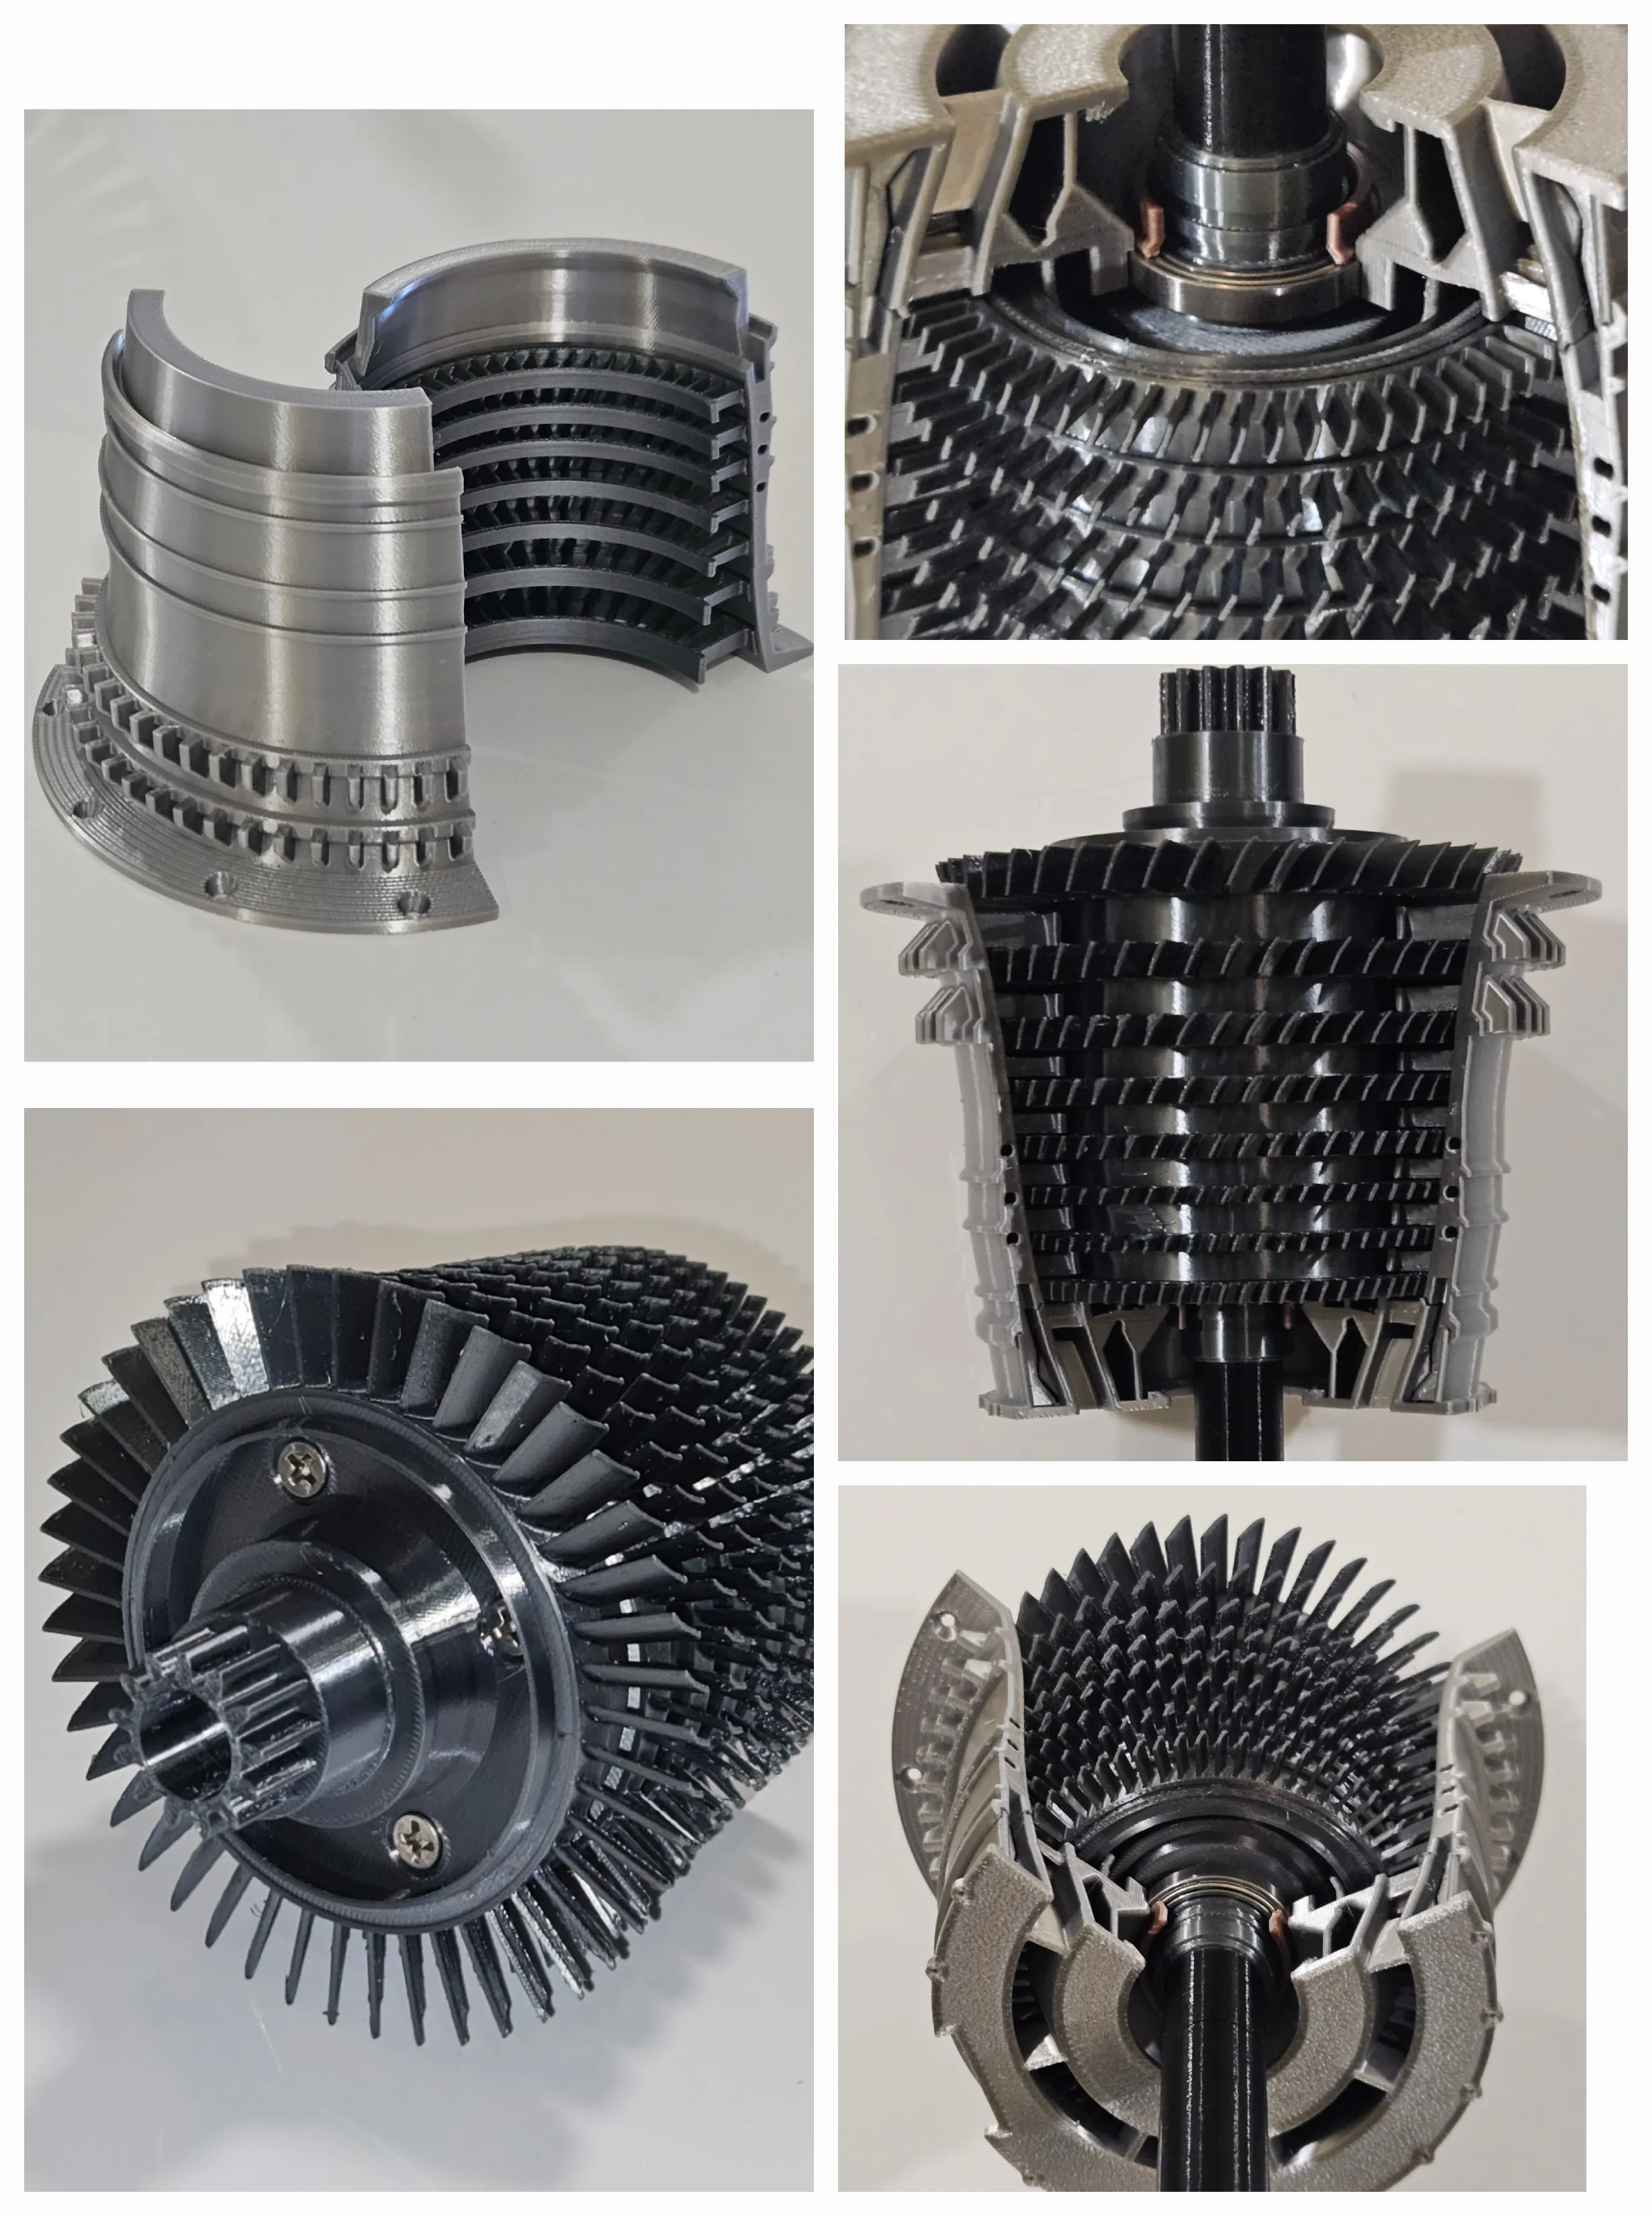
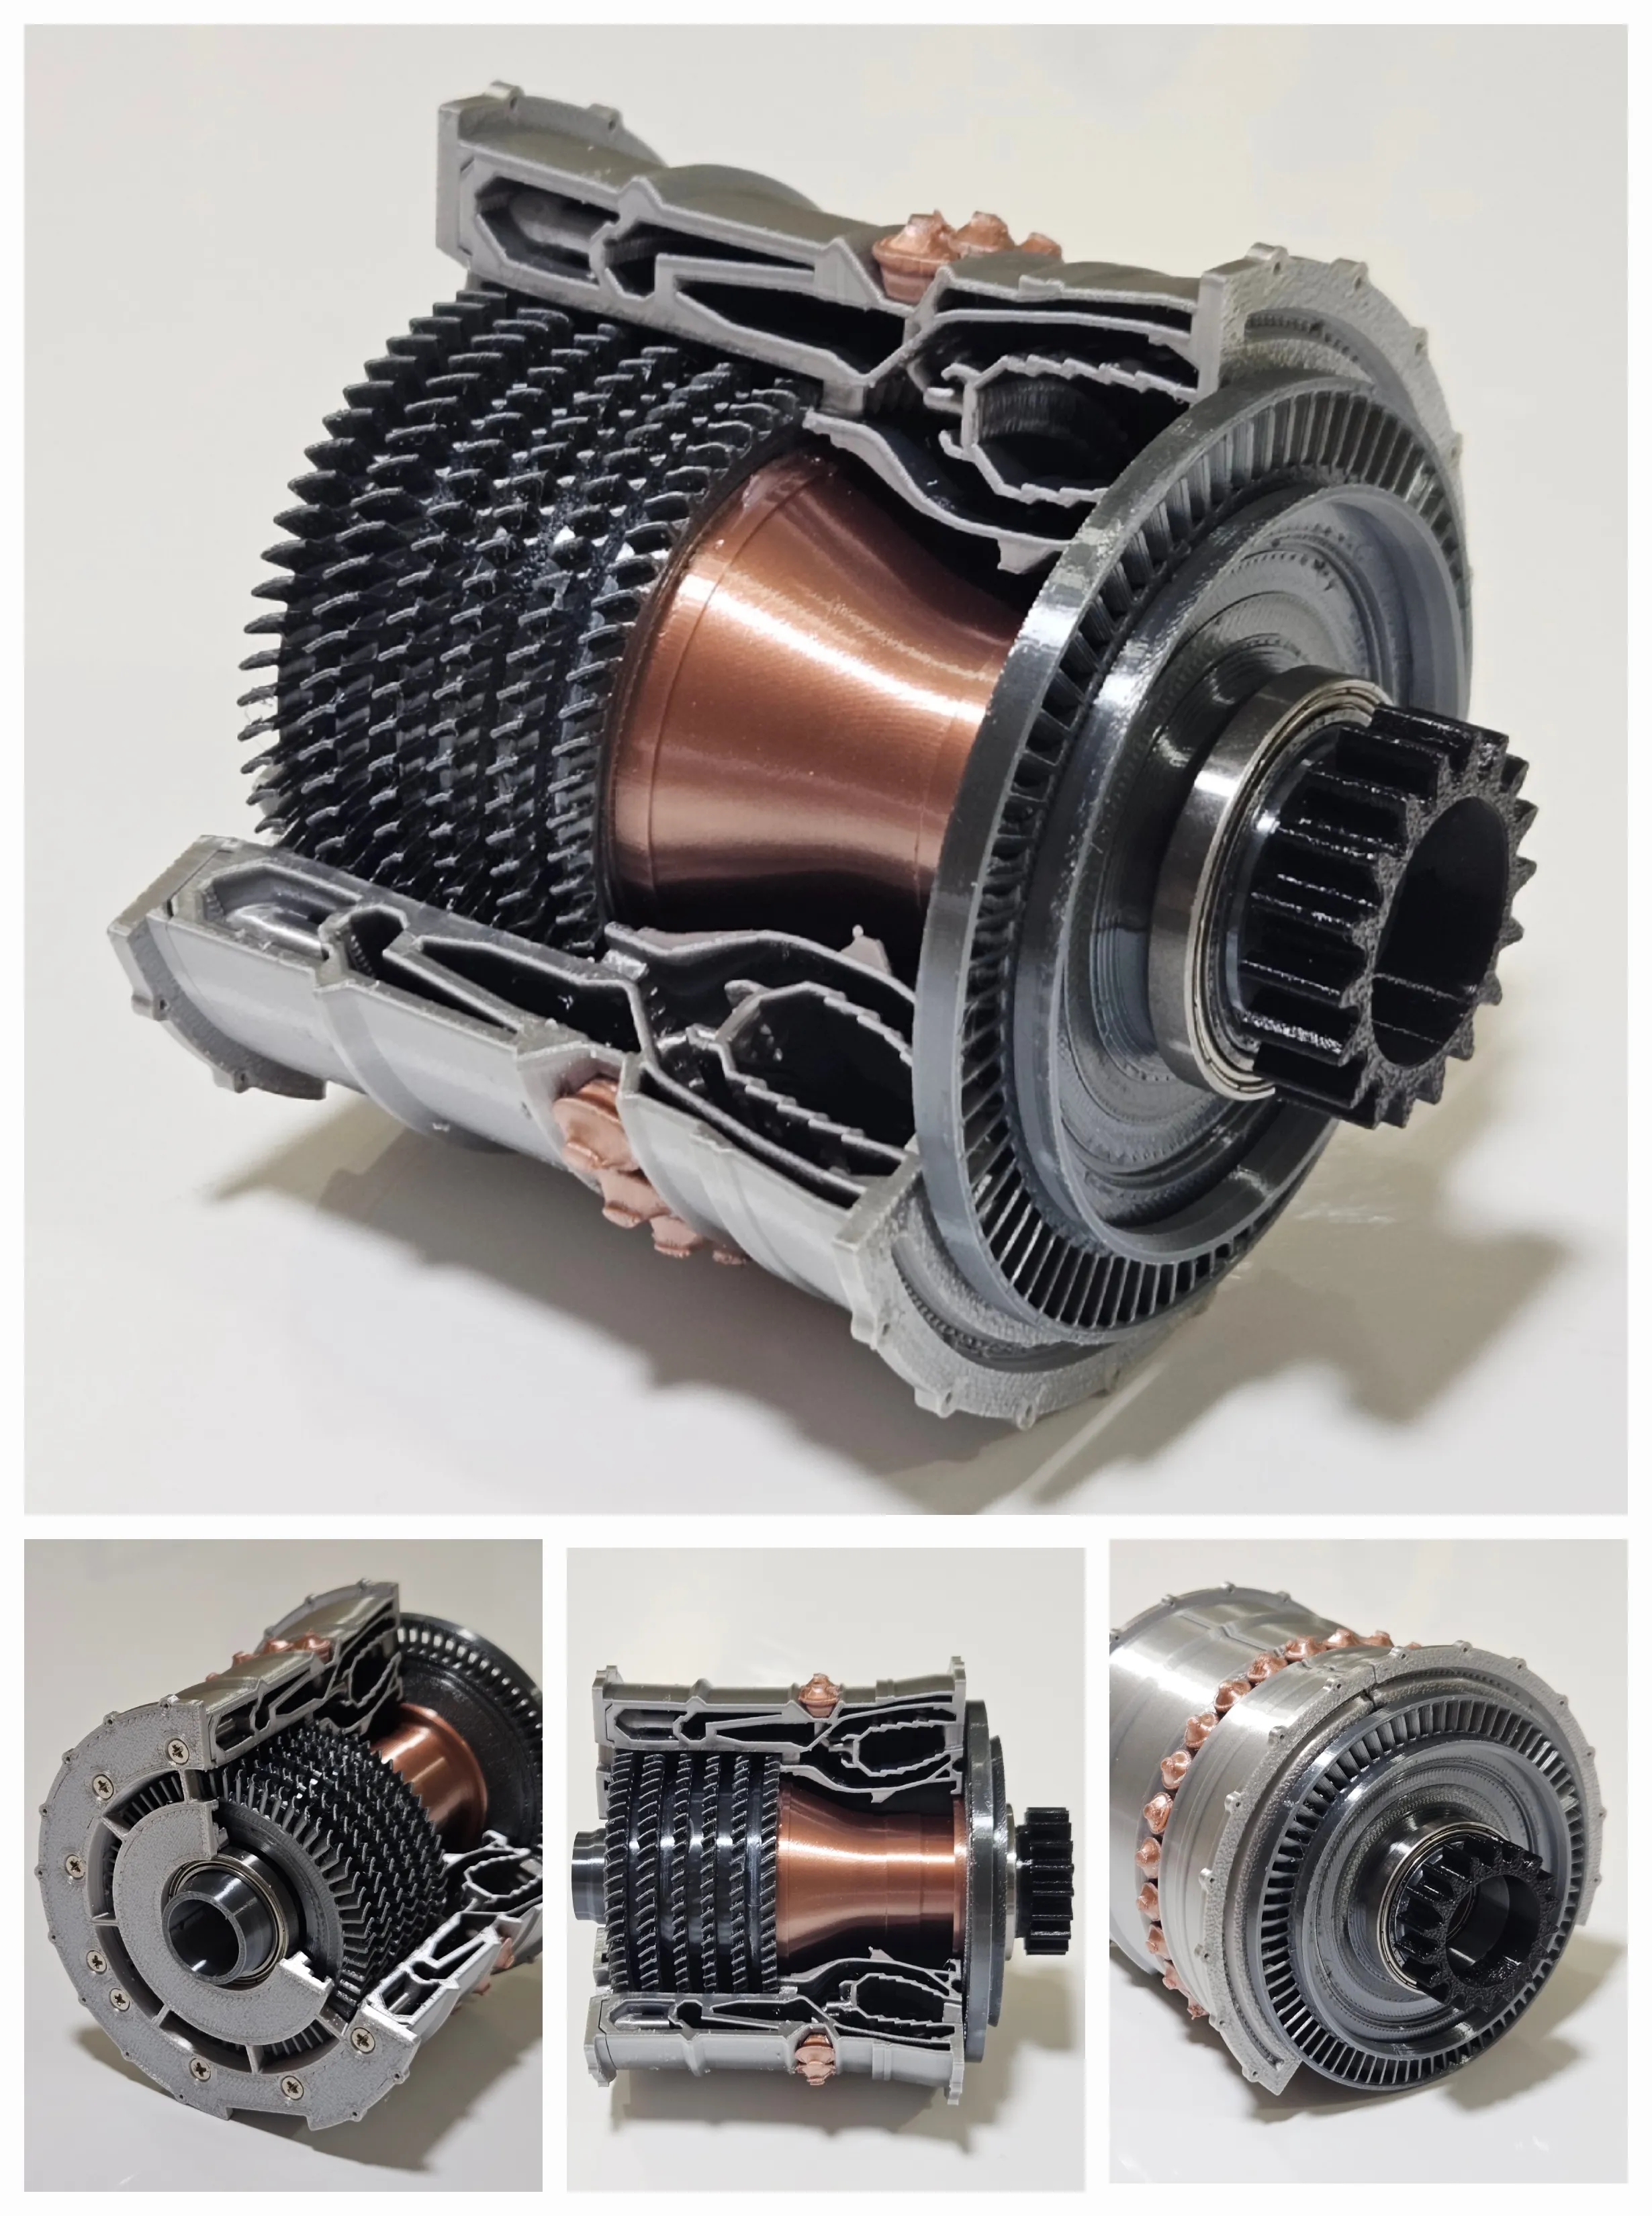
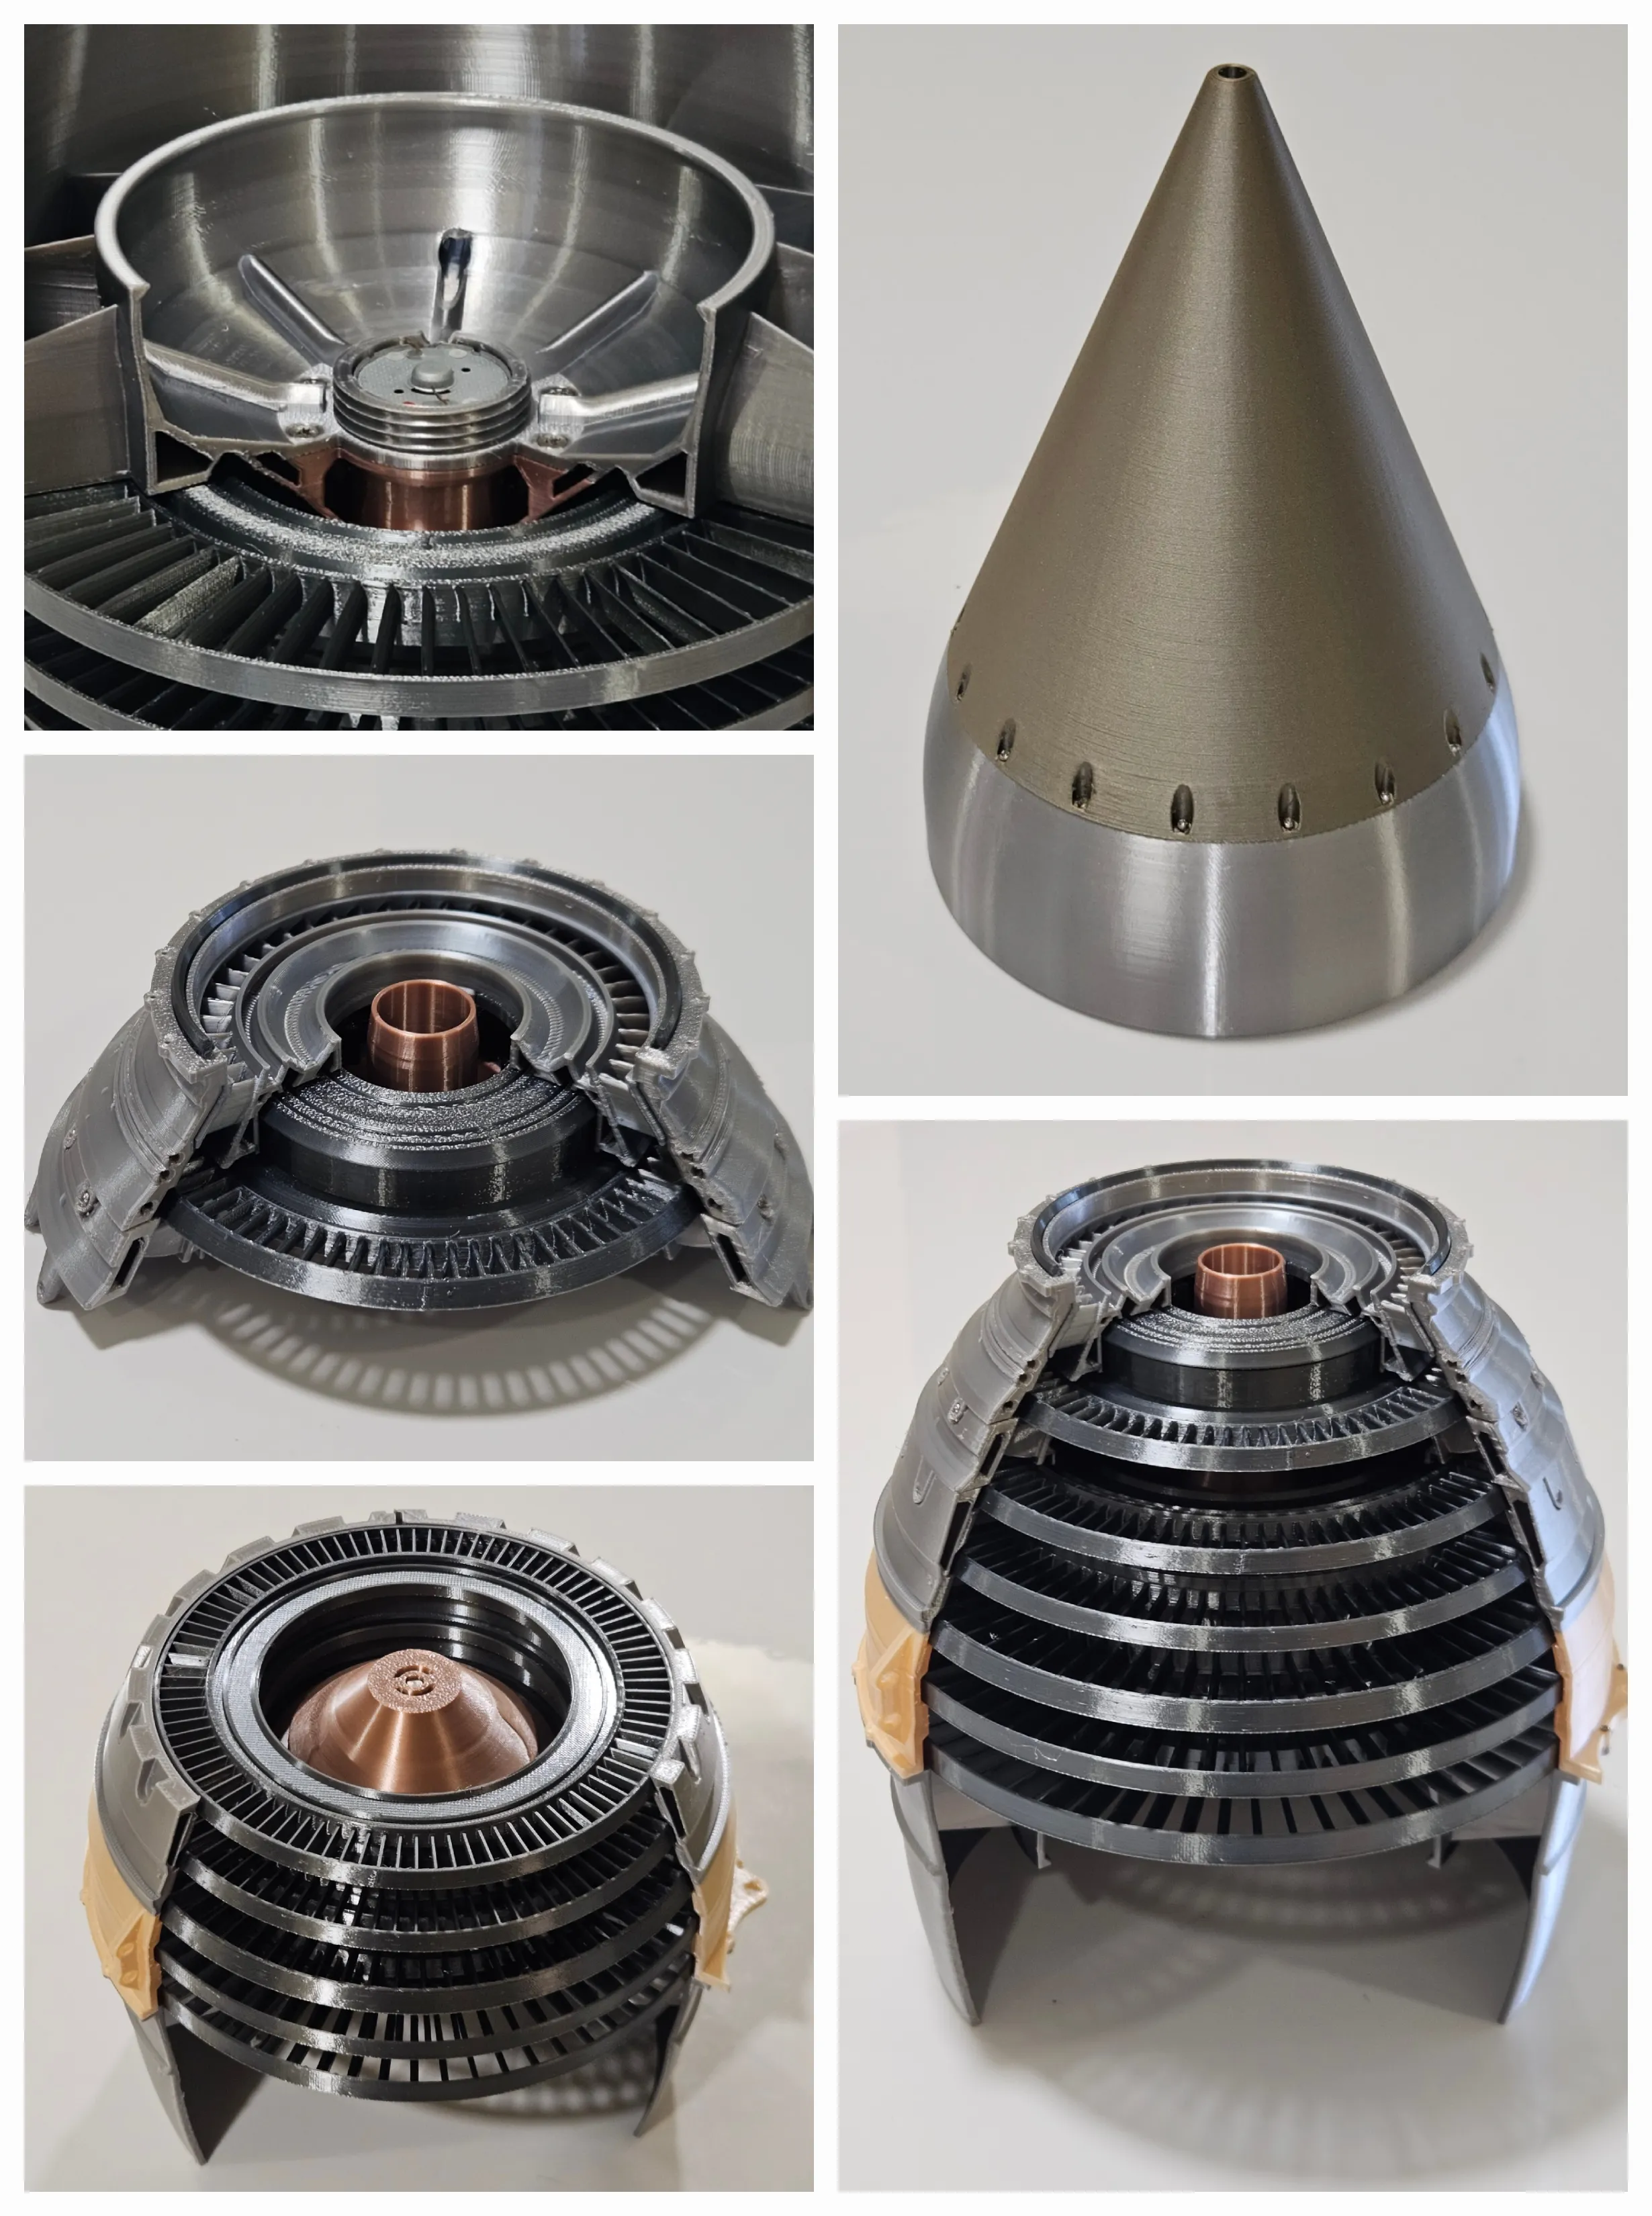
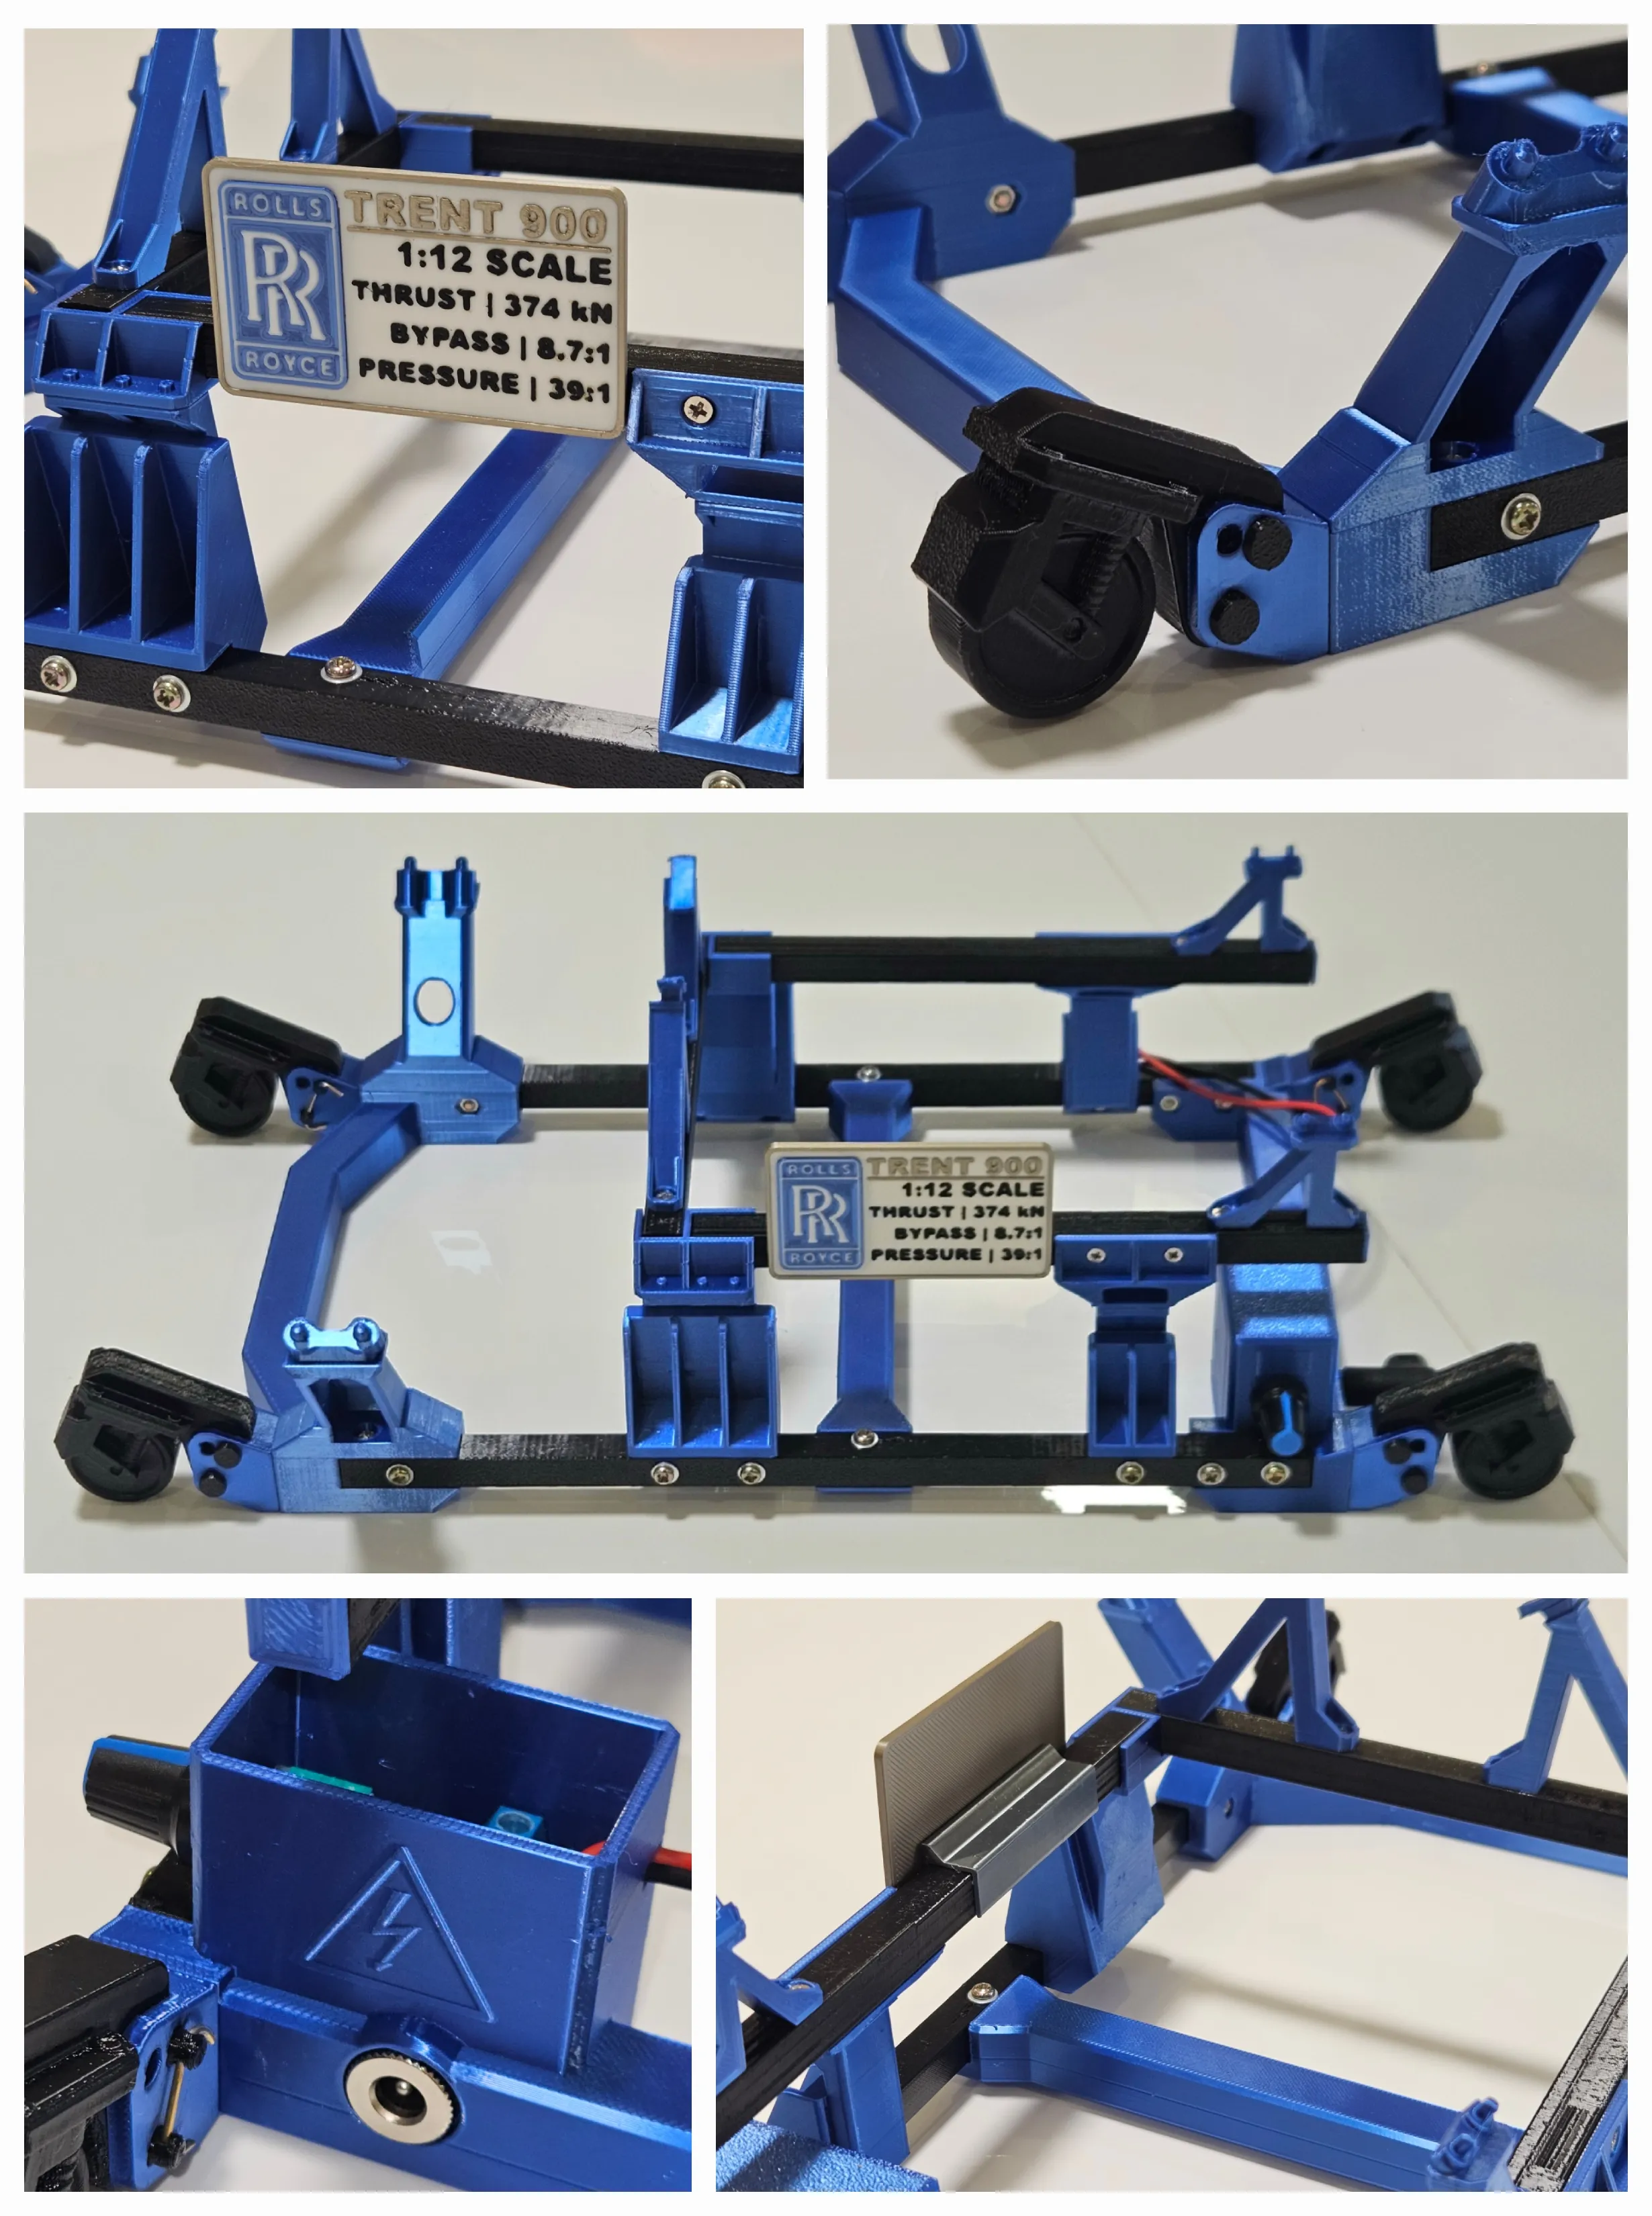
6. Additional Tips:
- Warping – The Fan casing and blades can experience warping that will affect tolerances. Print with mouse-ears or full brim (pre-applied), increase if necessary.
- Assembly with M1 screws – Assemble the components in a way that allows the screwdriver to sit perpendicular to the screw axis. Do not use excessive force, as this may strip the screw.
- IPC and HPC sections can be joined with blue-tac — strong enough for torque transfer, while allowing disassembly.
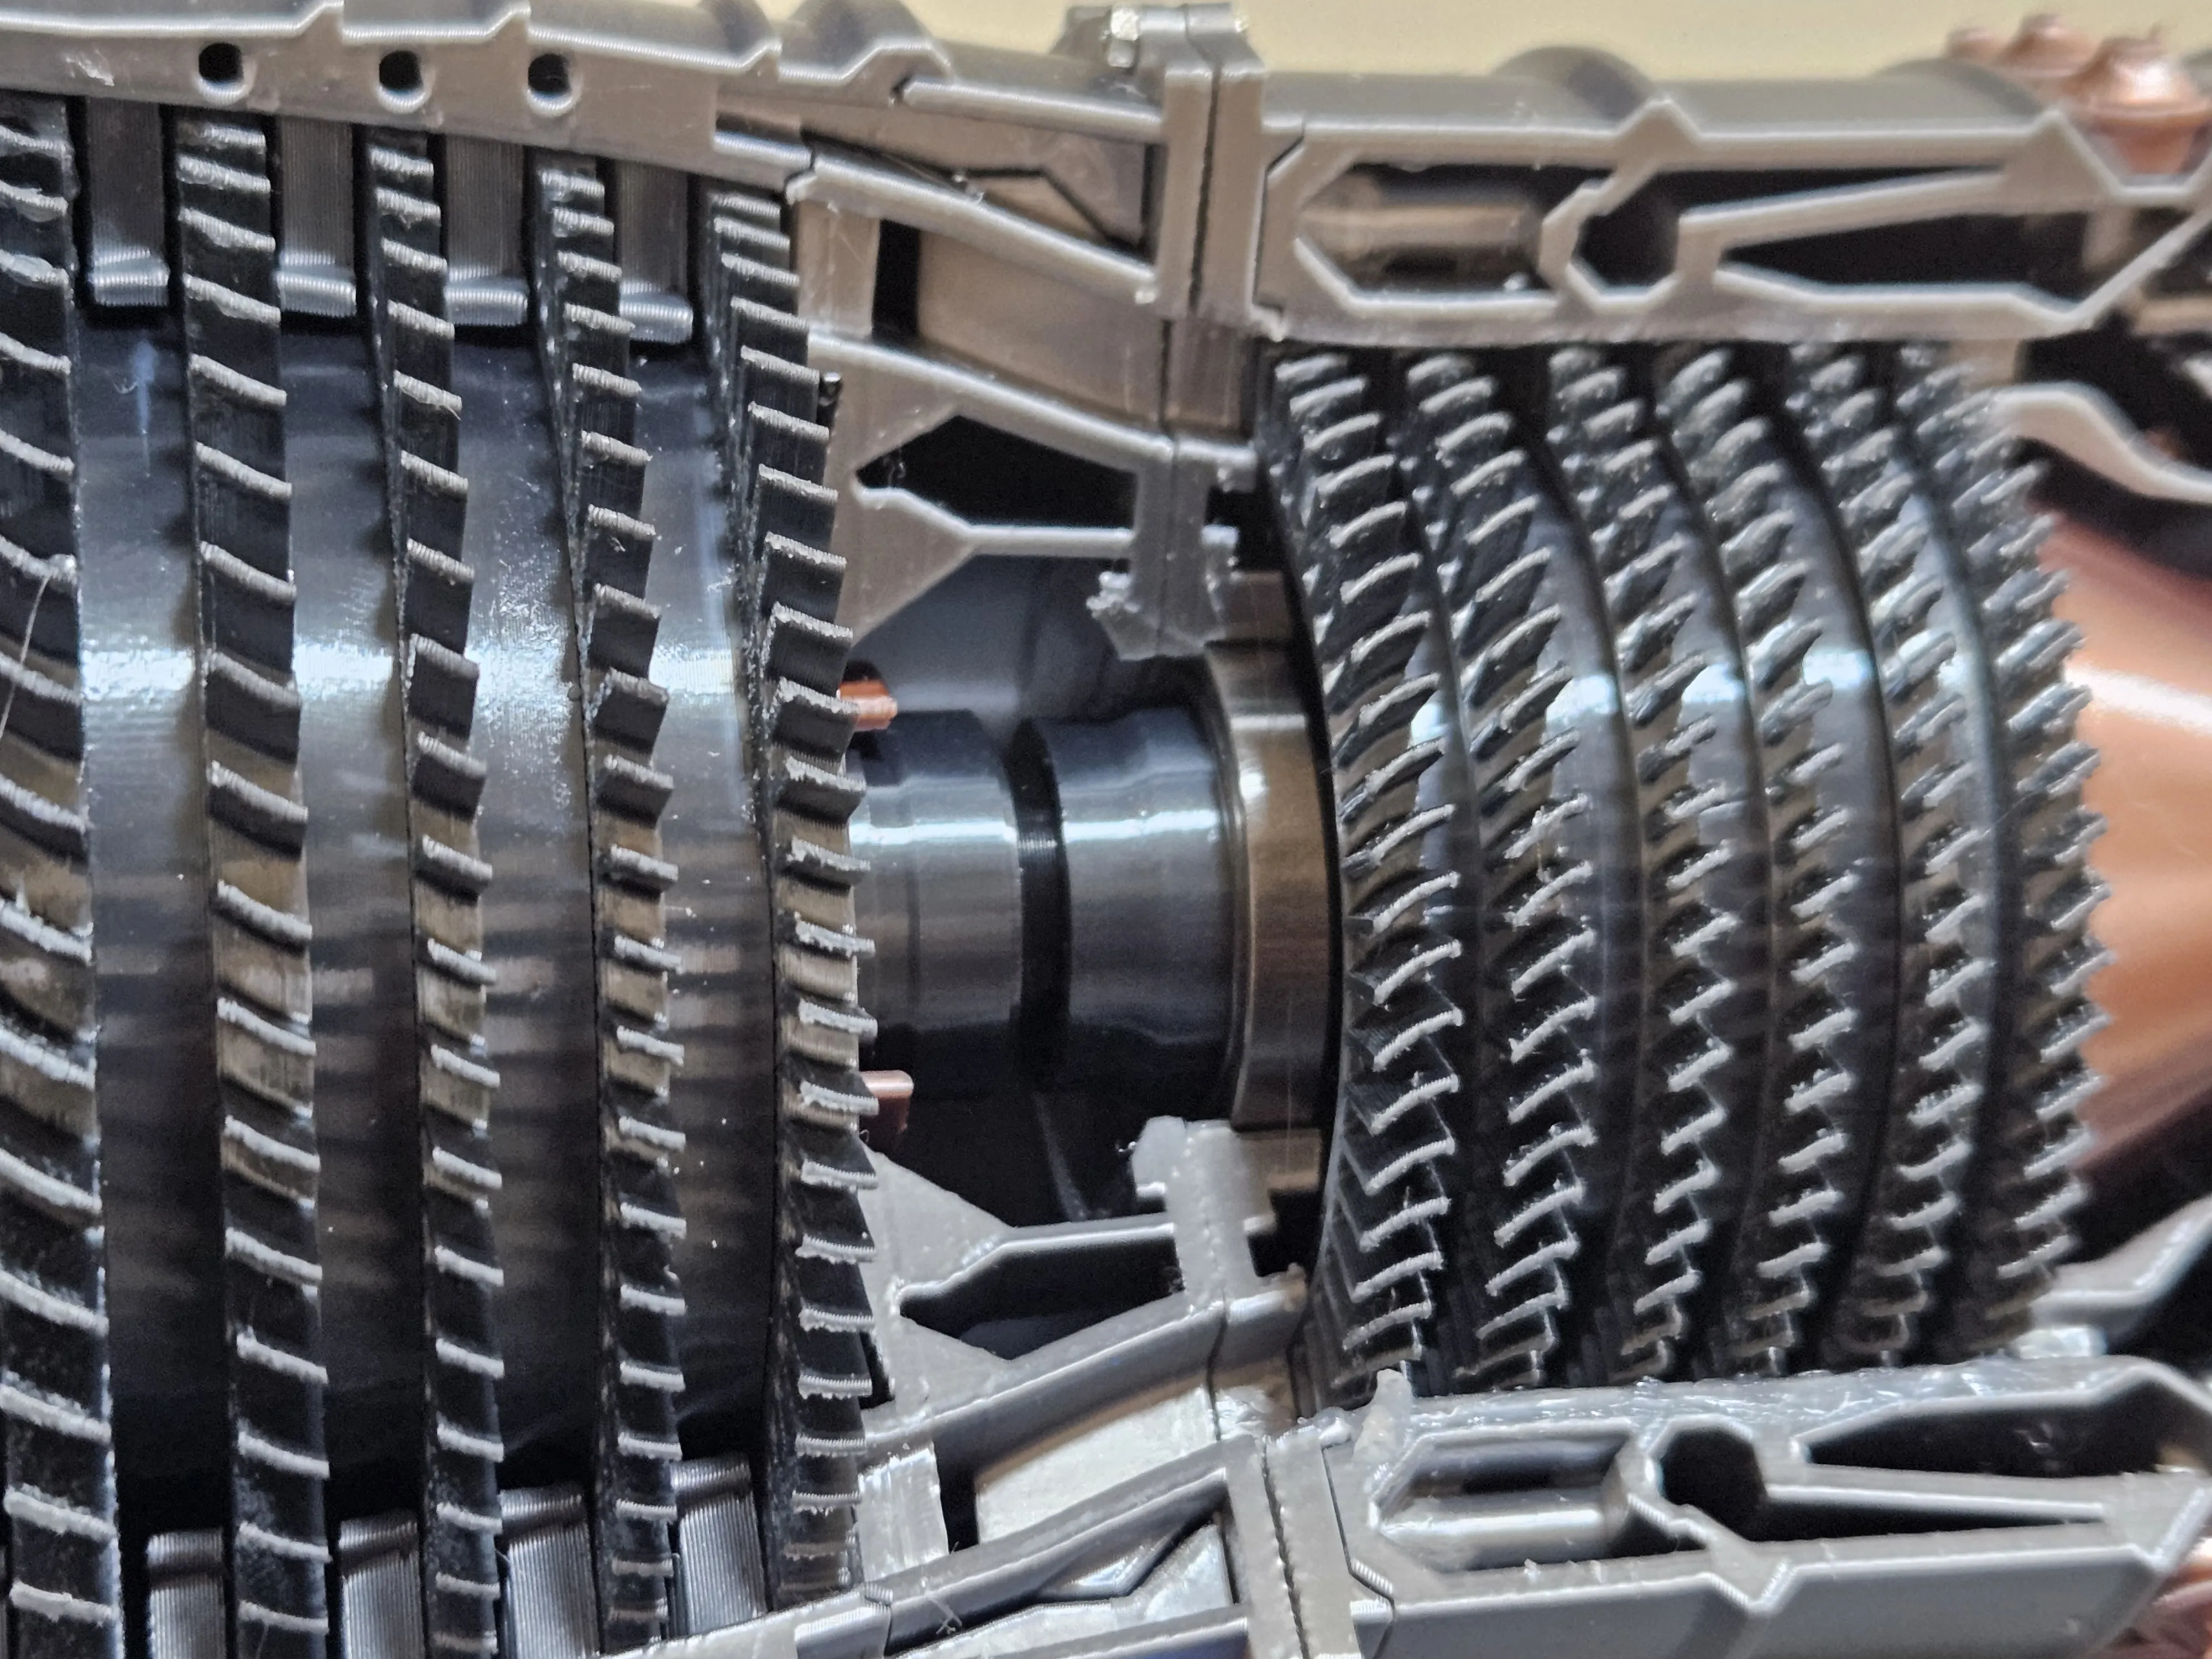
- Spinner – Fit heated stripe using hairdryer, then glue into place (similar to 2-spool jet engine model by Chris Shakal)
- Lubricants – Apply silicon grease to surfaces in contact with moving parts.
- Power – Use 45W laptop chargers / fast chargers to power the model to greater effect.
- Bearings – Some bearings (marked in the PDF) can be excluded to save cost, especially for static display models.
- Bill of Materials – External materials can be purchased via Aliexpress or Amazon (thanks @austinseamons). Keep in mind not all bearings are absolutely necessary, and screws can always be replaced with glue (although I highly recommend using M2.5x10 wood screws).
Final Notes🚀
This model was refined during my internship at Rolls-Royce, and its the most faithful representation of an actual jet engine that I have found. With an accurate 3-spool stage structure, rotating shafts, and detailed internals with low tolerances, it’s an excellent tool for STEM outreach and education. It also serves as a formidable display piece in any engineering or maker space. Hope you have as much with it as I did!
— Matthew Lee
Documentation (2)
This remix is based on
License



Comment & Rating (355)