
Bulldozer - CyberBrick RC
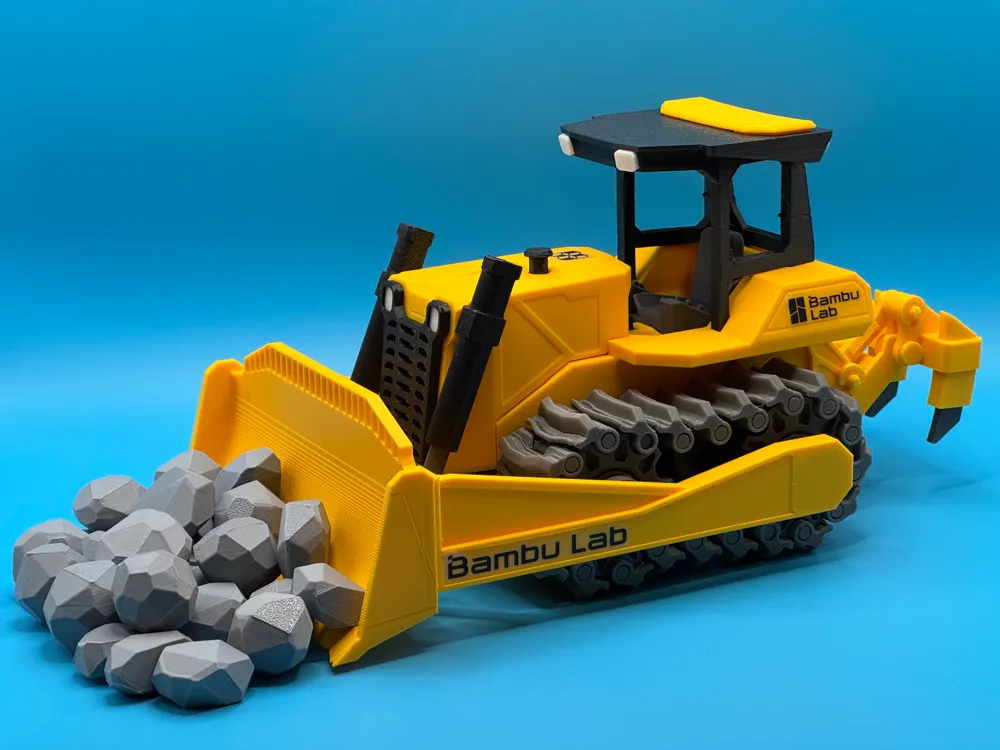
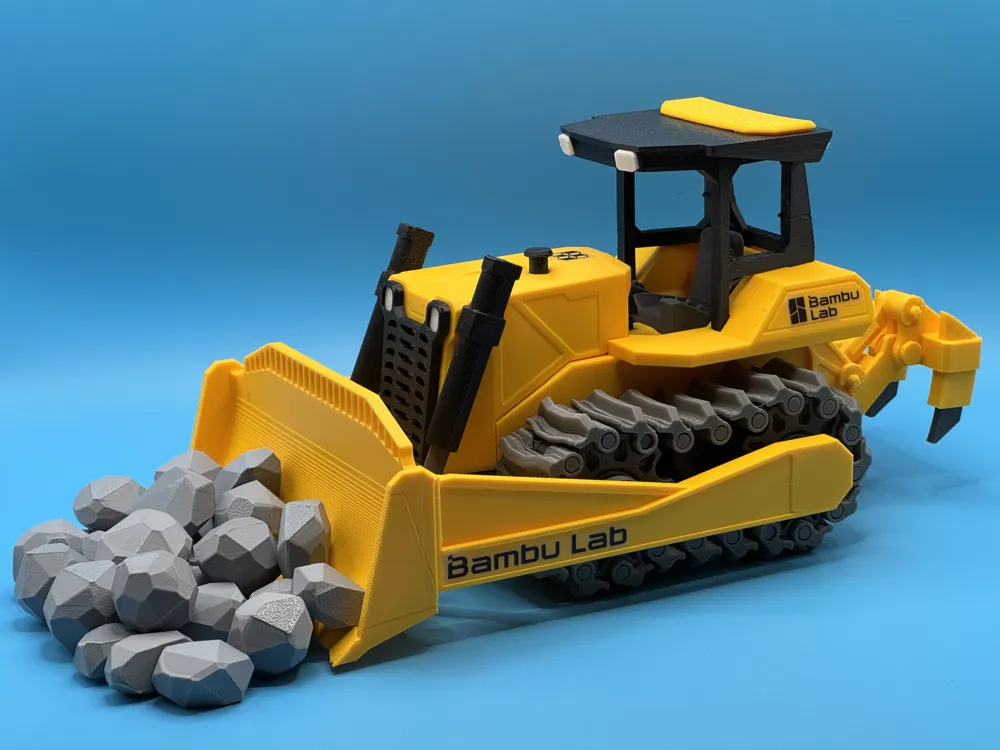
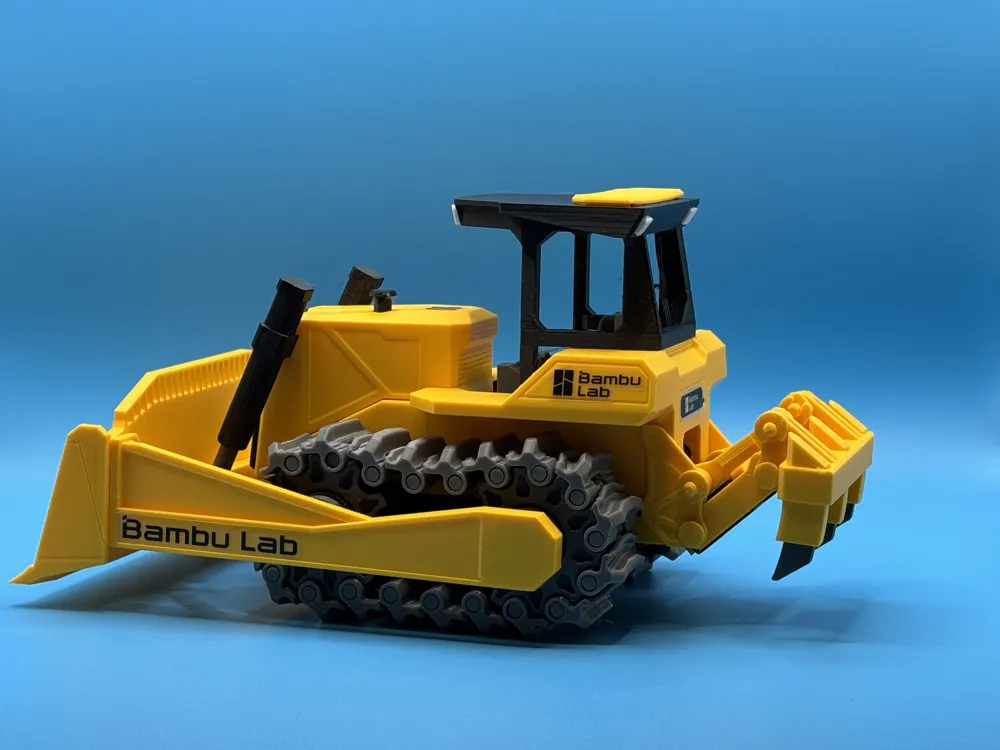
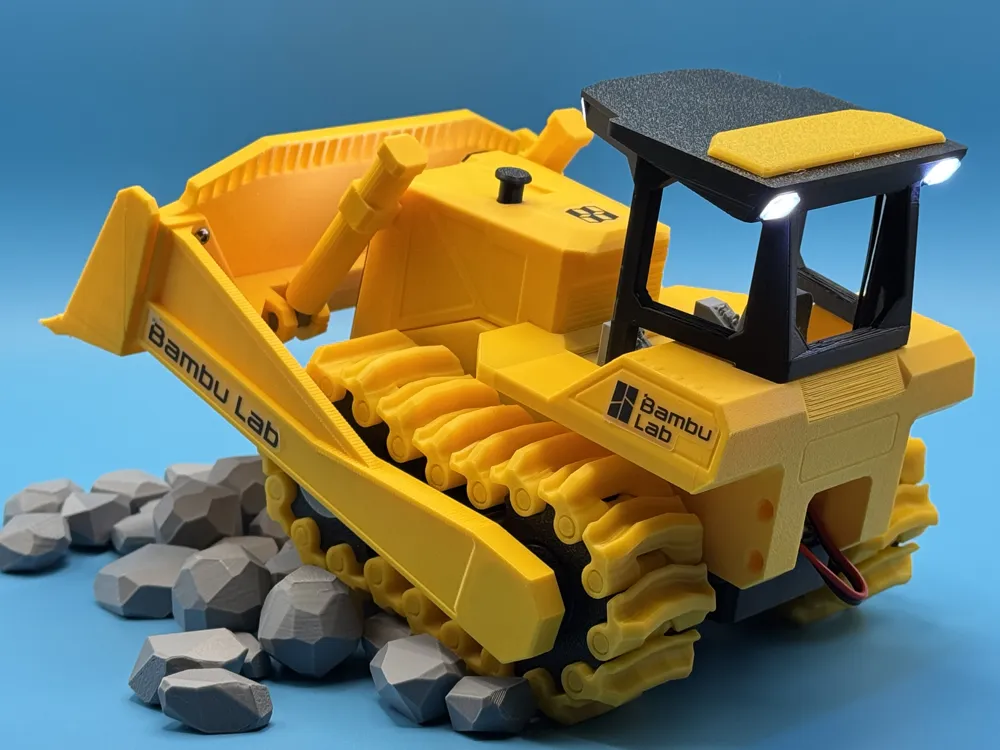

Print Profile(5)



Bill of Materials







Description
2025|09|27 update:
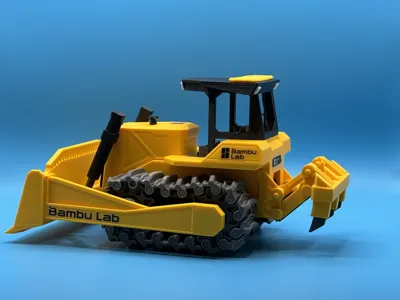
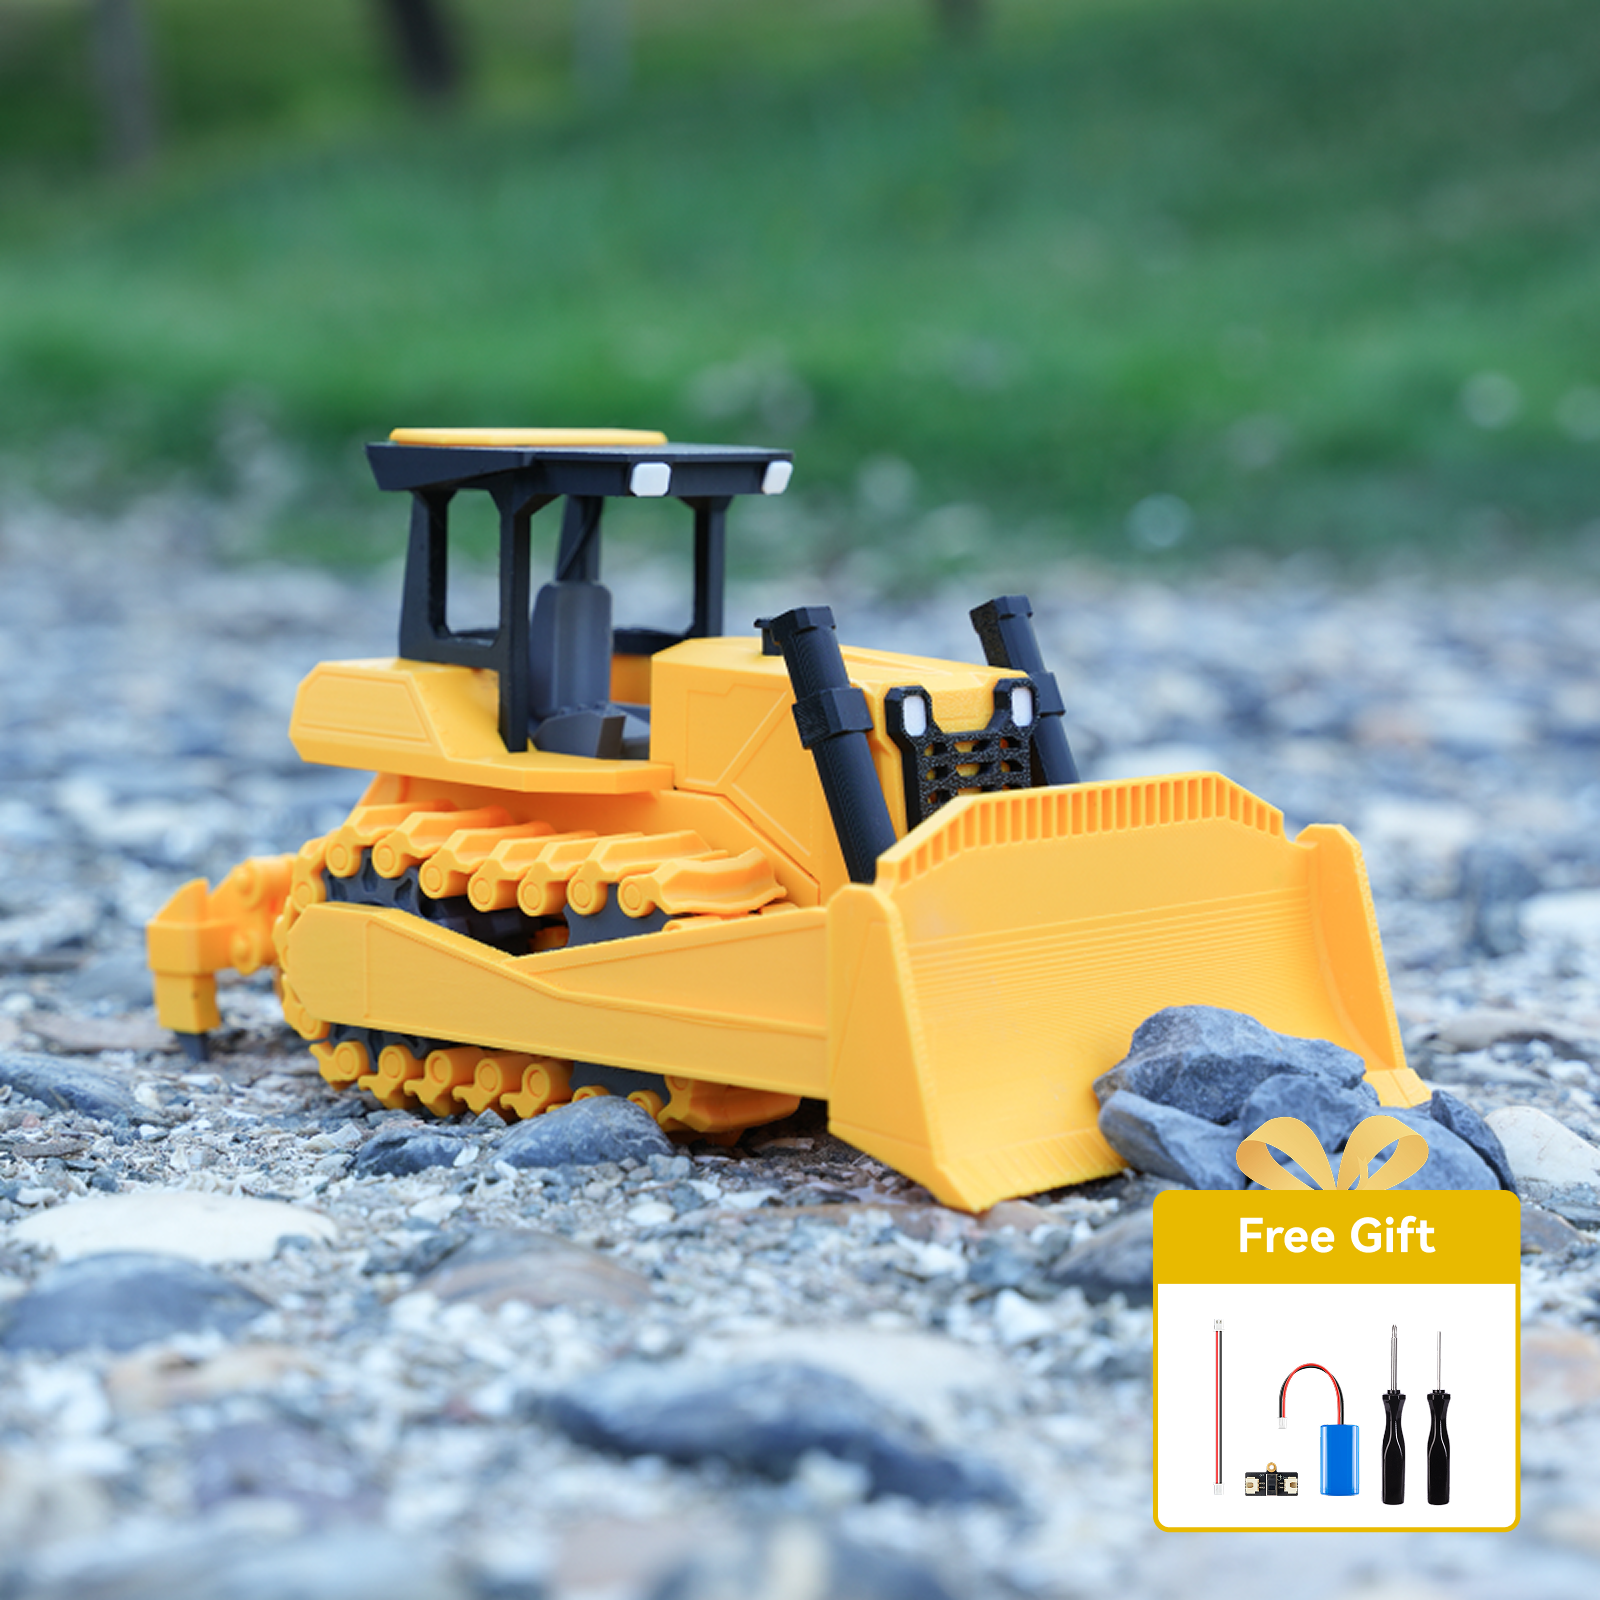

- The ripper attachment is complete! It's parts are under a separate print profile and separate set of instructions.
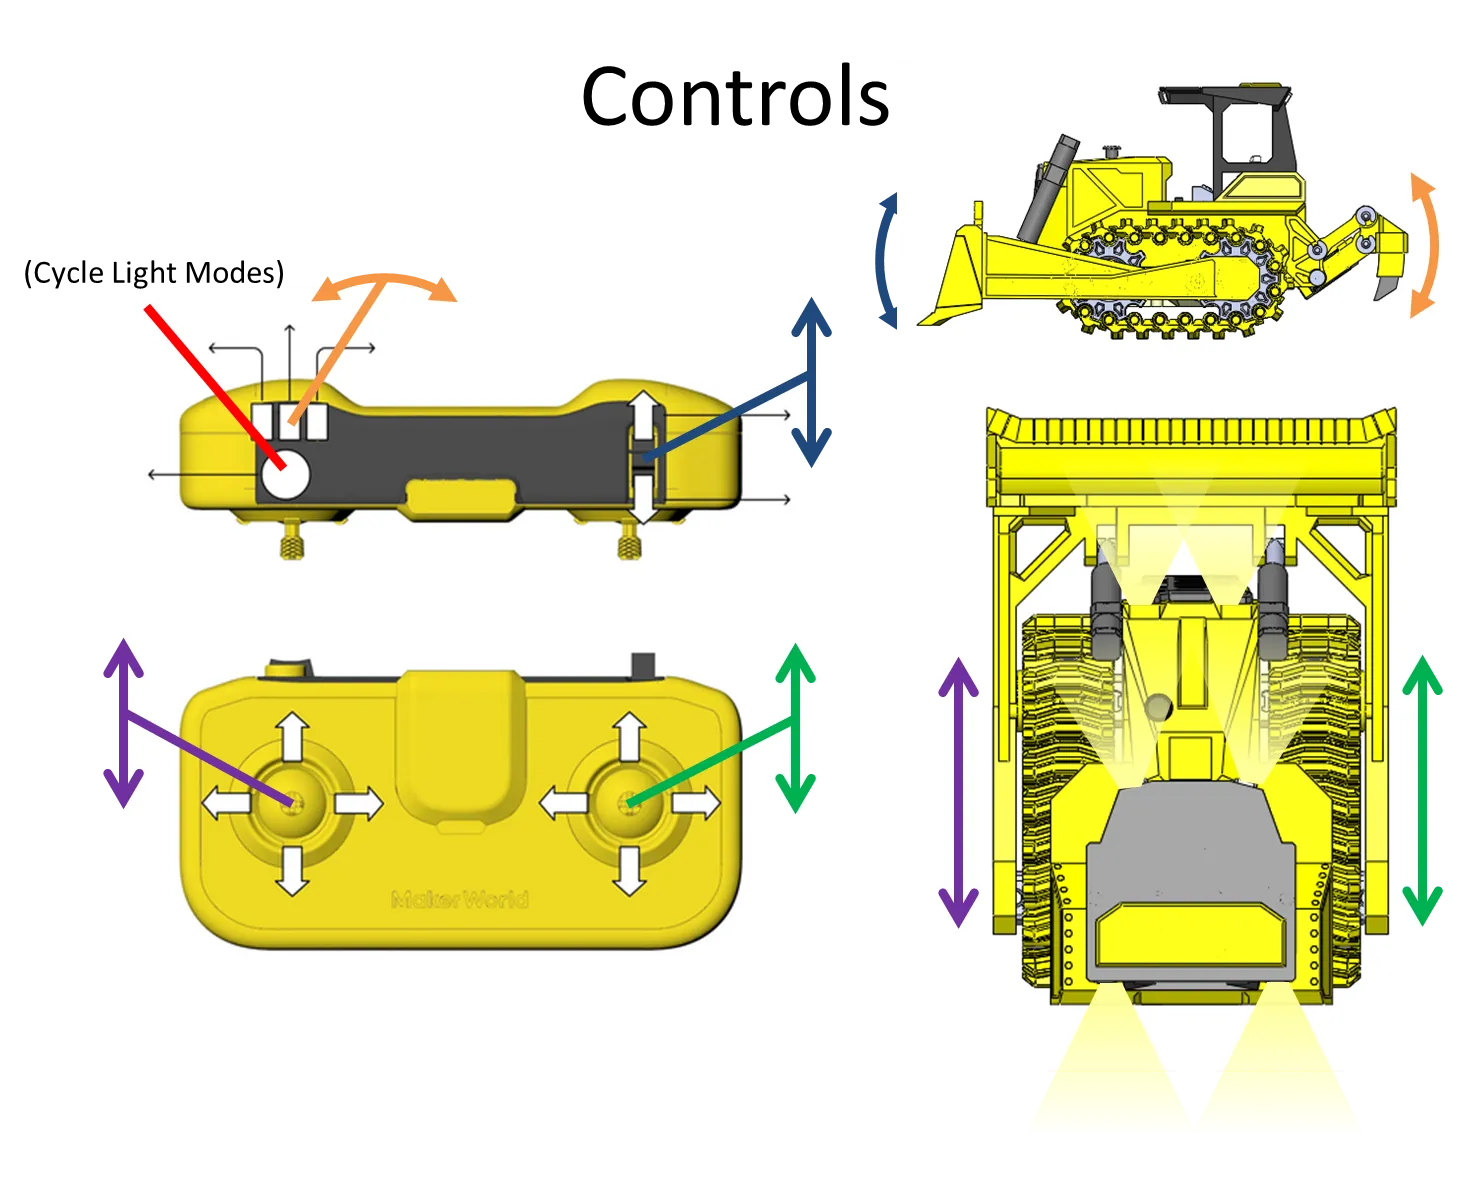
- uses a 180° servo and the rocker switch on the controller
- Added notes in main instructions and different .json config files for version with 4 lights vs 6 lights
- Changed light modes slightly
- long hold turns off lights
- added blinking yellow light mode for top cab lights
- Minor update to the bulldozer body to allow for an access hole to the control board from under the seat (this makes it easier to do attachments like the ripper that requires an additional servo connected - less disassembly needed)
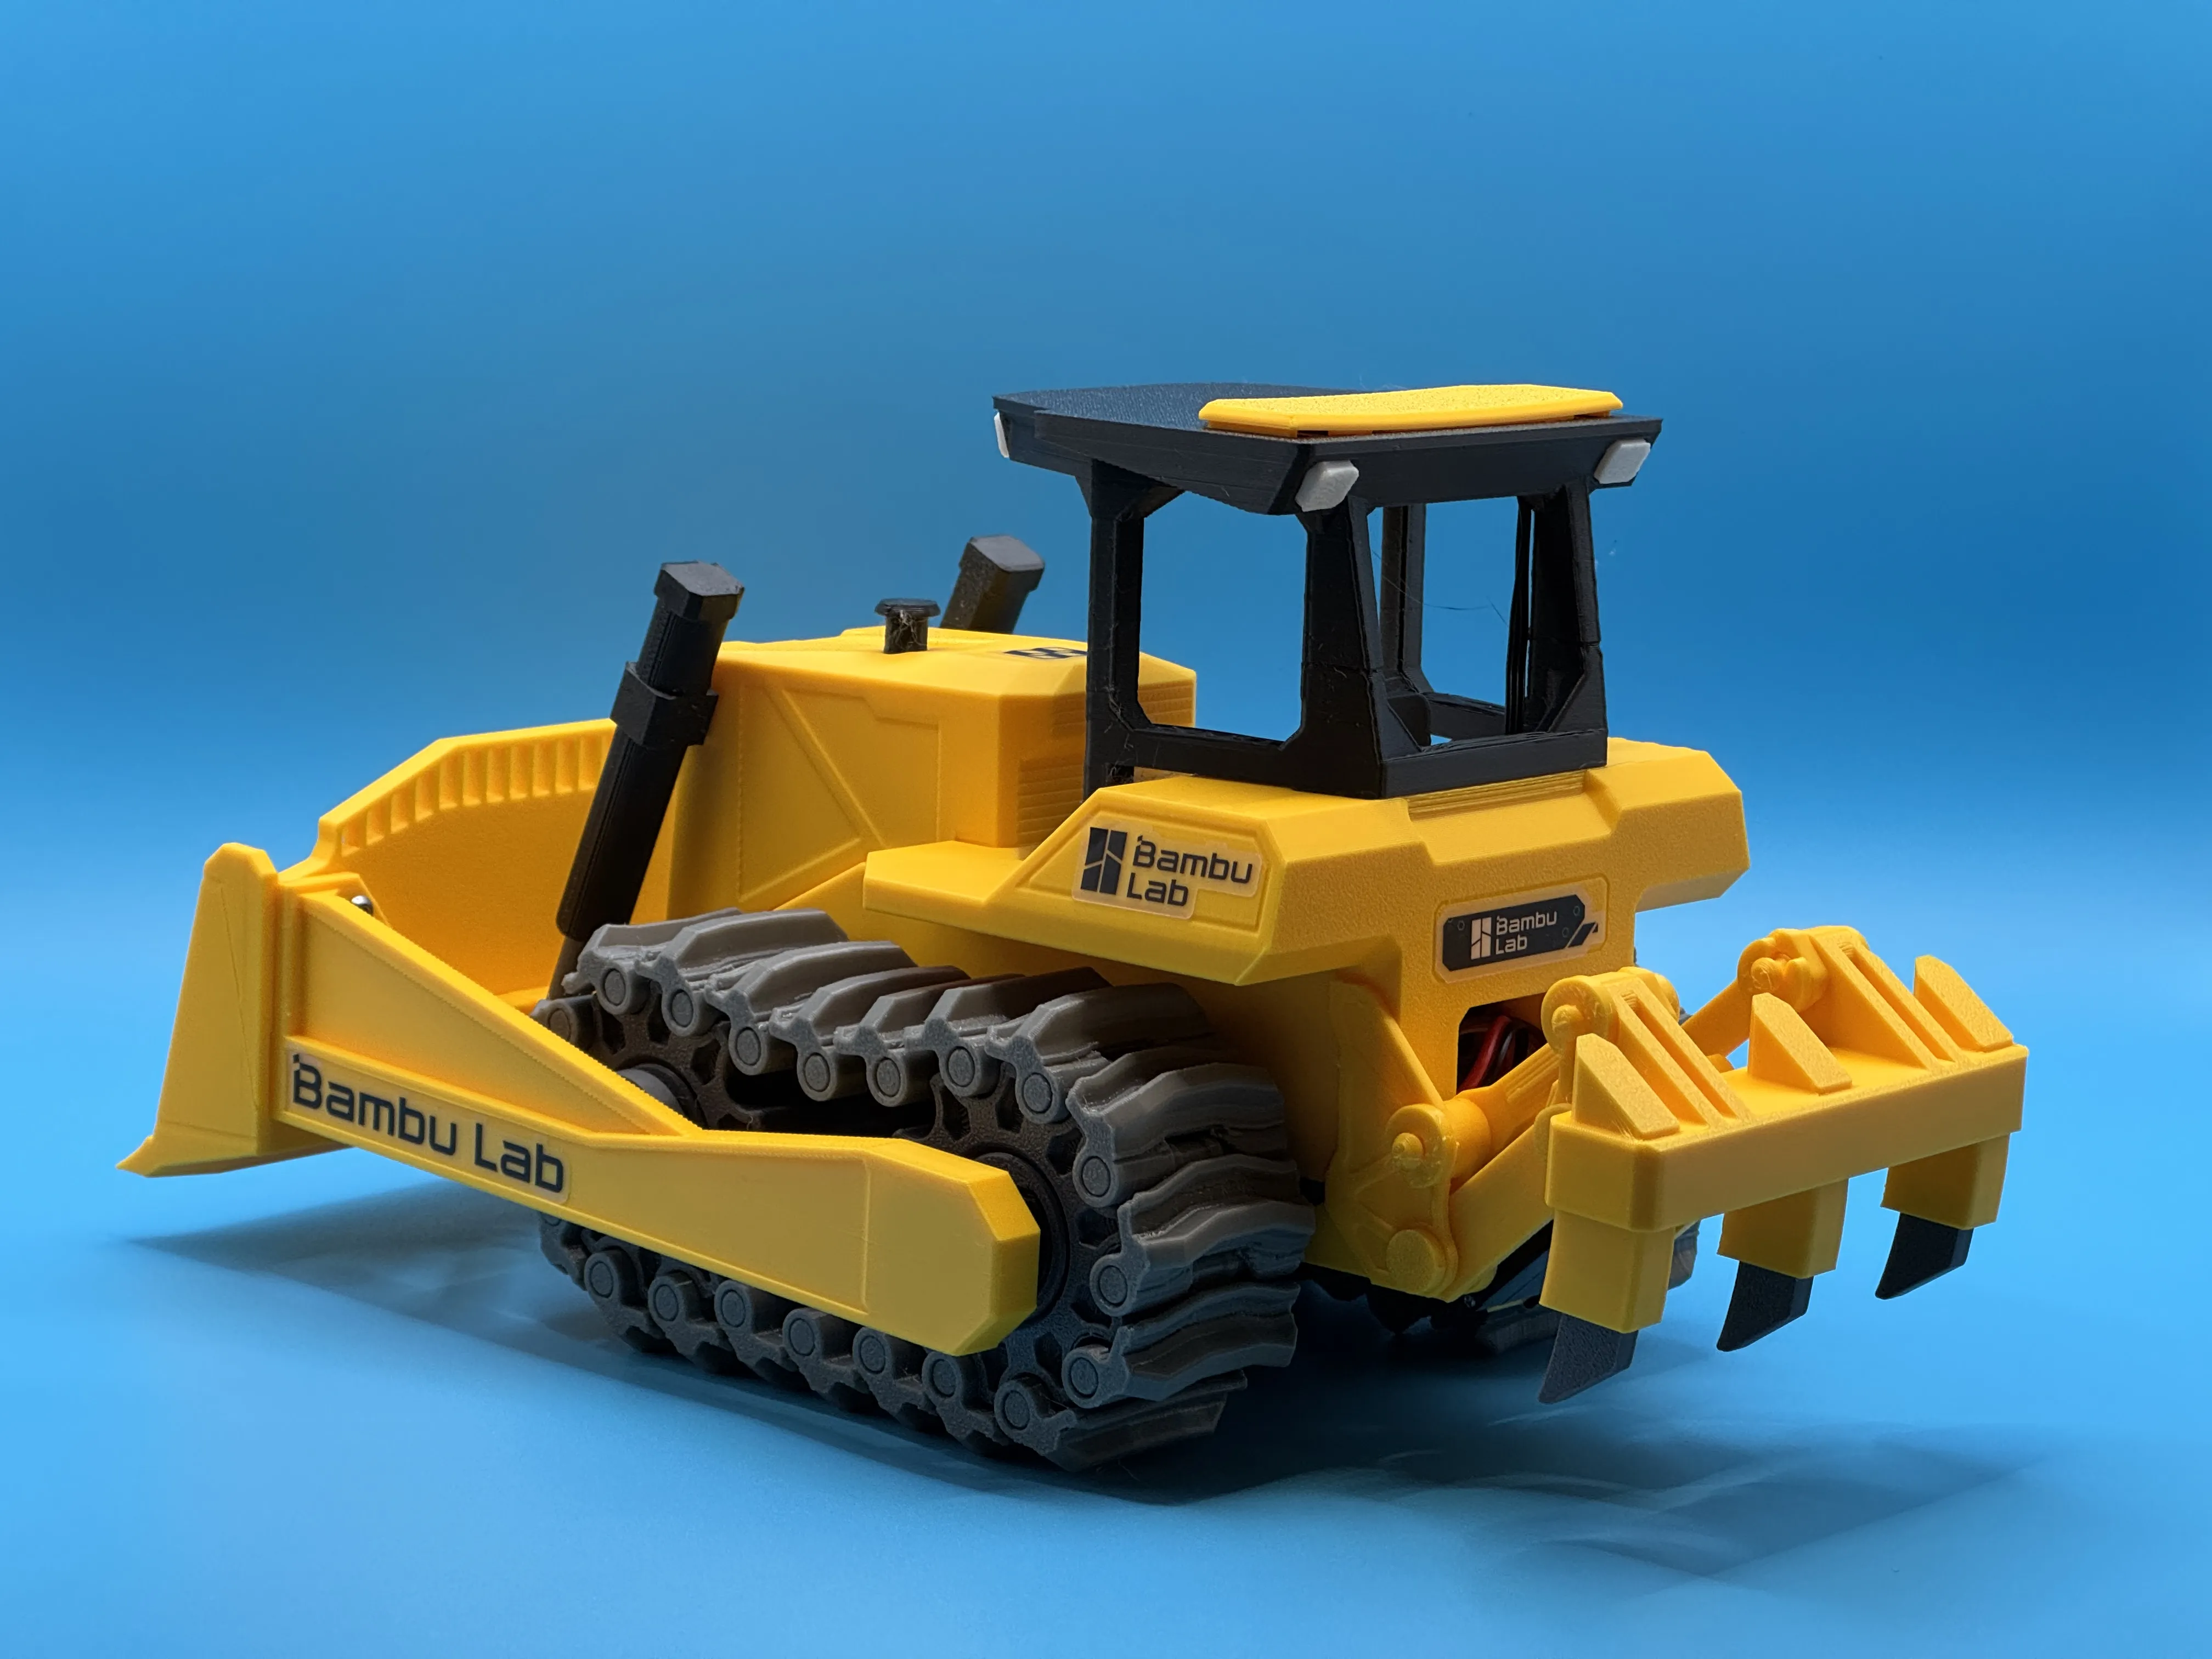
(see the end of the description for the complete update list)
Introduction
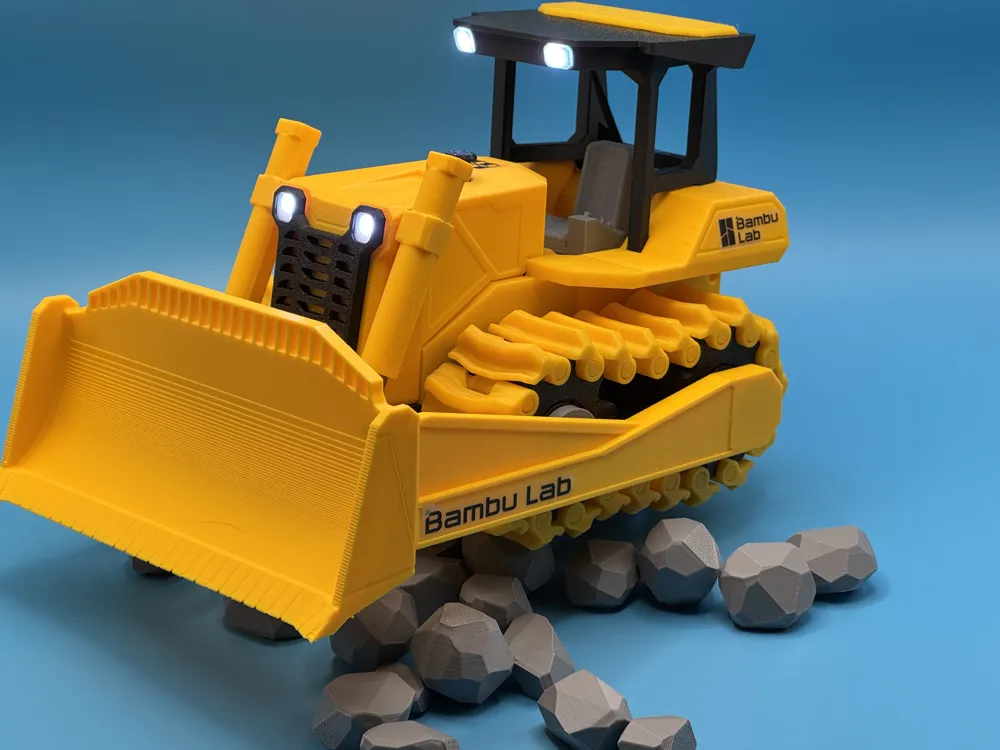
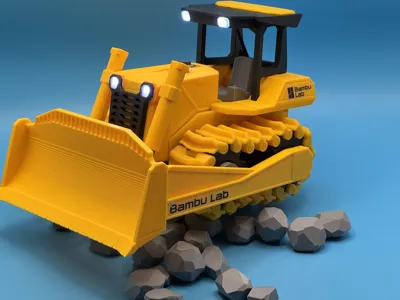

This is a Remote Controlled Bulldozer that uses the CyberBrick system. Its an easy print, a fun build, and very satisfying to play with! I think the CyberBrick System works fantastically, and this is a great project.
This model can be built with the Cyberbrick beginner kit, just choose the 4 LED configuration (in the app). There are an additional 2 front lights that are optional, with a different config file for that build.
No AMS required for this one.
For filaments, I recommend a good deep yellow filament such as Bambu's “Sunflower Yellow”. I also use black, grey, and a little bit of white filament, though you can really print in whatever colors you wish.
Approximate size is 200mm long x 140 mm wide x 130mm tall.
All parts fit on the A1 Mini!
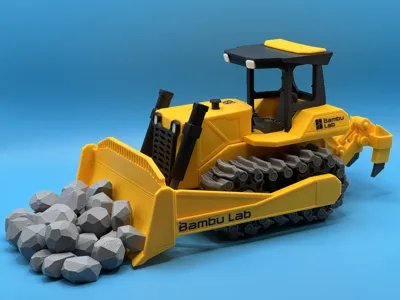
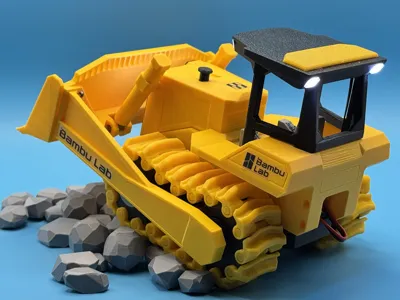
The bulldozer features a blade that can be controlled up and down, individual track control, and 4 (or optionally 6) controllable LED lights! And now also a ripper attachment that can be actuated up and down!!
 |  |  |
Read on for detailed information on the exact parts you will use, printing, assembly, and a few other topics.
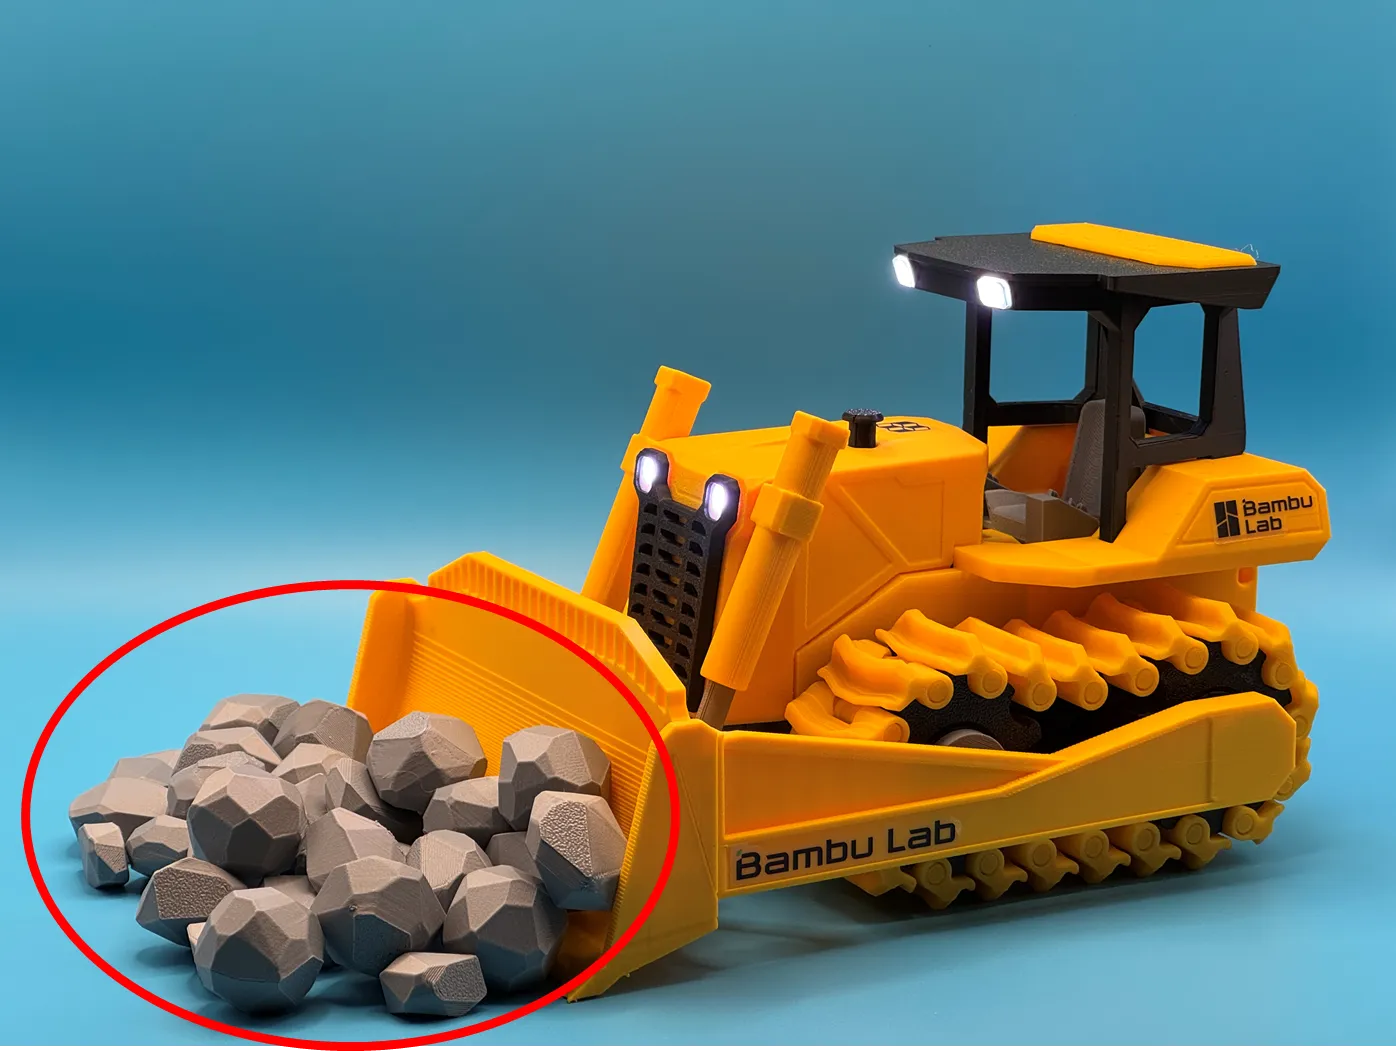
Also, I made some low poly rocks to push around and drive over with the bulldozer - check them out here if you want to print that too.
Details
When you are ready, you can find and load the control setup from the CyberBrick app.
This is compatible with the Official Cyberbrick Standard Remote.
The control scheme is as follows:
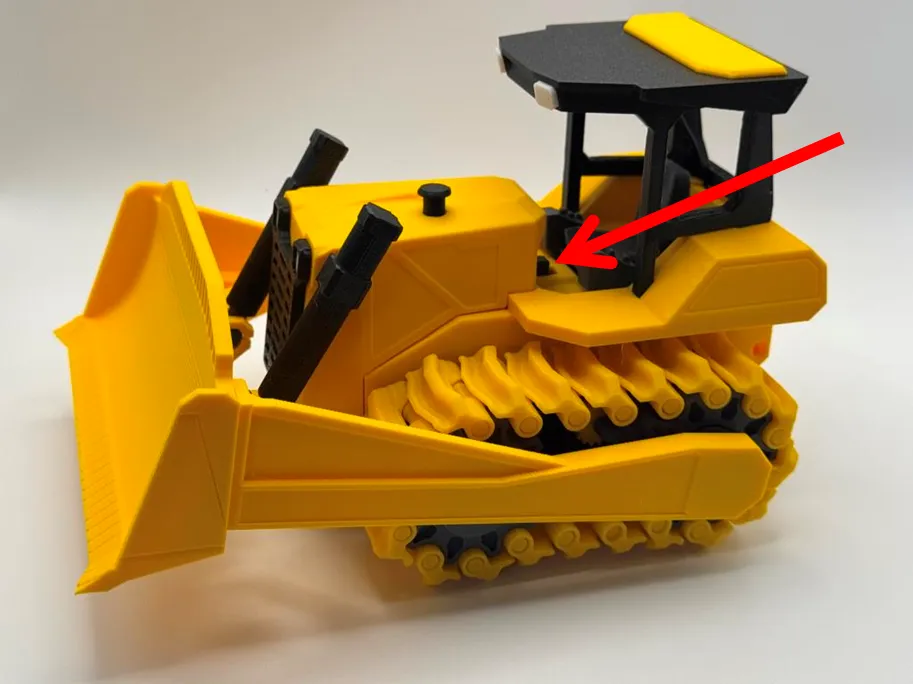
The bulldozer uses the switch here to turn on/off.
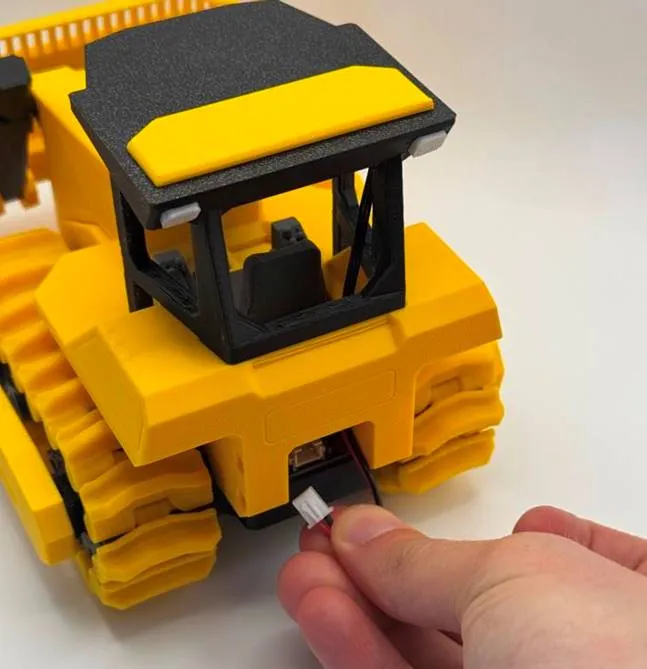
To charge, unplug the cable from the back and plug it into the charger. (The switch needs to be in the on position to charge the battery)
CyberBrick Parts
Cyberbrick parts required are listed below. I've copied the table from the CyberBrick hardware kit page with item numbers and quantities, and I've deleted out components not used.
| Item Number | Item Name | Bulldozer Requires | Ultimate Kit / Beginner Kit |
|---|---|---|---|
| 2 | Remote Control Receiver Shield | 1 | 2 pcs / 1 pcs |
| 4 | WS2812 LED Hub with 3Pin SH1.0 Connector | 1 (2) ++ | 2 pcs / 1 pcs |
| 5 | Power Switch Module with 2Pin XH2.54 Connector | 1 | 2 pcs / 1 pcs |
| 11 | 14500 7.4V 800mAh Li-ion Battery | 1 | 2 pcs / 1 pcs |
| 13 | 100mm Wire with 2Pin XH2.54 Connectors | 1 | 2 pcs / 1 pcs |
| 14 | 100mm Wire with 3Pin SH1.0 Connectors | 2 (1) | 14 pcs / 7 pcs |
| 16 | WS2812 RGB LED with IDC0.8 4PIN | 4 (6)++ | 6 pcs / 4 pcs |
| 19 | 030 Micro DC Motor with SH1.0 | 2 | 4 pcs / 2 pcs |
| 26 | 360° 9g Servo Motor with Clutch Protection | 1 | 2 pcs / 1 pcs |
| 27 | M2.5x6 BHCS Machine Screw** | 15 | 100 pcs / 100 pcs |
**If you have trouble with the M2.5 screws begin too loose, BT3x6 (AA107) will work great as a direct replacement. In general self tapping screws are more forgiving to variances in holes based on shrinkage, different printer tolerances, etc.
++LEDs
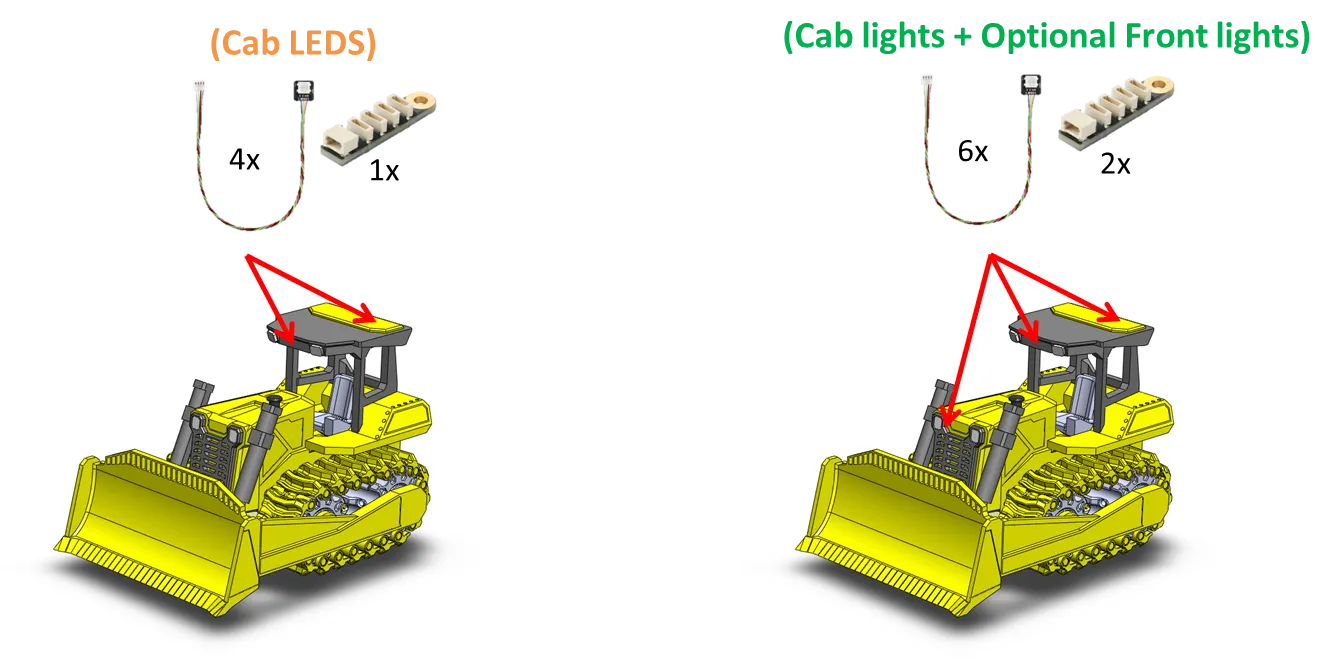
There are 2 different configurations for the bulldozer to allow it to be built with 4 or 6 LEDs. This allows you to complete the entire build with only Cyberbrick beginner kit!! (which only includes 4 LEDS)
This is noted in several places in in the assembly instructions. Assemble as desired.
You will also need to choose the correct config when loading the program onto the Cyberbrick hardware.
Printing
This should be a pretty easy print, with most of the parts not requiring supports. Please make sure your buildplate is clean before beginning!
- Use my print profile for settings, orientations of parts
- The profile is setup to work on
- No AMS required.
- The profile uses yellow, black, white, and grey.
- It was pretty hard to find a good yellow for this that matches a construction yellow color. I like Bambu's sunflower yellow which has a bit of an orange tint.
- The treads can be difficult to print, but these are scaled up and a little more forgiving.
- I don't recommend silk filament for the tracks. It won't be as strong.
- I recommend printing one at a time, or if you want to put two on a plate, print by object.
- If you have trouble printing:
- clean your buildplate really well with soap and water
- flow calibration can help
- slow down print speeds a little bit
Assembly
Please follow the included assembly instructions document to build this one.
Assembly should be on the easier end of the spectrum for CyberBrick Projects. Most of the parts snap together as I tend to avoid screws where possible. There are some friction fits that should fit together nicely without glue, but you might need to glue if the fit is super loose.
You will need the following:
- Small Philips screwdriver
- 1.5mm hex key
- light oil/grease/penetration oil (such as wd40)
- small tweezers (optional)
super glue (optional)
Before you begin assembly, check to make sure the parts fit nicely together and that parts designed to move do so freely.
In particular:
- Make sure the print in place cogs spin freely. I recommend you apply a light oil or grease via the holes in the outer wheel. Even if they seem to move well, this will help reduce friction.
The tracks should move very easily. You may need to lightly break each individual joint free after printing.
Future Updates
I have few specifics things that I'd like to incorporate into this one at some point.
- I'd like to update the blade control scheme so it uses a 180° servo. Currently a 180° servo always returns to its center point with joystick, but I'm told this capability will be updated in the future. As is, the 360° servo controls the blade in a cycle, resulting in sometimes the shoulder control being opposite of actual motion.
- THE RIPPER DESIGN IS COMPLETE!!! Download its print profile now and instructions to add it to your bulldozer!
If you have any ideas or suggestions, please let me know in the comments. Also if you liked this project and want to see more like it in the future, please let me know as well!
Troubleshooting
I'll add more to this section as needed. To begin with a few tips.
If motion seems slow and that the motors are struggling:
Make sure you grease the cogs as instructed. This helps a lot!
If one track moves slightly faster than the other, it probably means there is slightly more friction on one side than the other. Probably within the gearbox, cogs, or tracks. You can try and isolate components to try and figure out where the friction is coming from
It is very hard to get them exactly identical, but there should not be a large difference.
You can swap tracks and cogs from one side to the other. Also, you can remove the gear box from the assembly, remove the motor, and then spin the drive gear by hand to feel how much resistance there is. I noticed that one set of the provided gear reduction kits had a lot more friction that the others with the components I received, swapping to different gears fixed the issue for me. There also could be excessive friction on the drive axle if it is a tight fit with the housing.
If the parts don't move well to begin with you might need to do some calibrations and reprint (possibly with a different filament).
If parts don't fit together:
Depending on the issue, you might need to calibrate your flow and pressure advance or perhaps dry your filament.
If an individual part is giving you trouble, you might be able to just scale it up or down a touch.
Friction fits can be tricky to get right; I've printed a number of these parts, and the settings and clearances work well for me, but that are many variations between different printers, filament, calibrations, etc.
If the screws are too loose or to tight, see note above about using BT3x6 self tapping screws instead of the M2.5 machine screws that come with the cyberbrick kits.
If you are having trouble with these or other issues, reach out and I'm happy to help.
Complete update list:
2025|09|27 update:
- The ripper attachment is complete! It's parts are under a separate print profile and separate set of instructions.
- uses a 180° servo and the rocker switch on the controller
- Added notes in main instructions and different .json config files for versions with 2 lights and 4 lights.
- Changed light modes slightly
- long hold turns off lights
- added blinking yellow light mode for top cab lights
- Minor update to the bulldozer body to allow for an access hole to the control board from under the seat (this makes it easier to do attachments like the ripper that requires an additional servo connected - less disassembly needed)
2025|09|18 update:
- Re-wrote instructions to be much more detailed, and changed the assembly order somewhat.
- many model tweaks
- Added wire routing clips to gearbox assemblies
- modified gearbox clip so its easier to remove
- changed orientation of blade actuation servo and changed it's drive gear to be larger and connection method
- added slot in engine part of body to for easier front led assembly
- other various tweaks to part clearances
2025|07|31 update:
- Added notes about using BT3x6 self tapping screws as an option instead of machine screws if the fit is too loose or to tight.
- Updated print profiles so that cab LED top cover clips in instead of just being a loose friction fit. This should be more reliable and stay attached better.
Documentation (2)

License

You shall not share, sub-license, sell, rent, host, transfer, or distribute in any way the digital or 3D printed versions of this object, nor any other derivative work of this object in its digital or physical format (including - but not limited to - remixes of this object, and hosting on other digital platforms). The objects may not be used without permission in any way whatsoever in which you charge money, or collect fees.


Comment & Rating (477)