
Nuka Cola Thirst Zapper Squirt Gun (from Fallout)
Print Profile(1)

Description
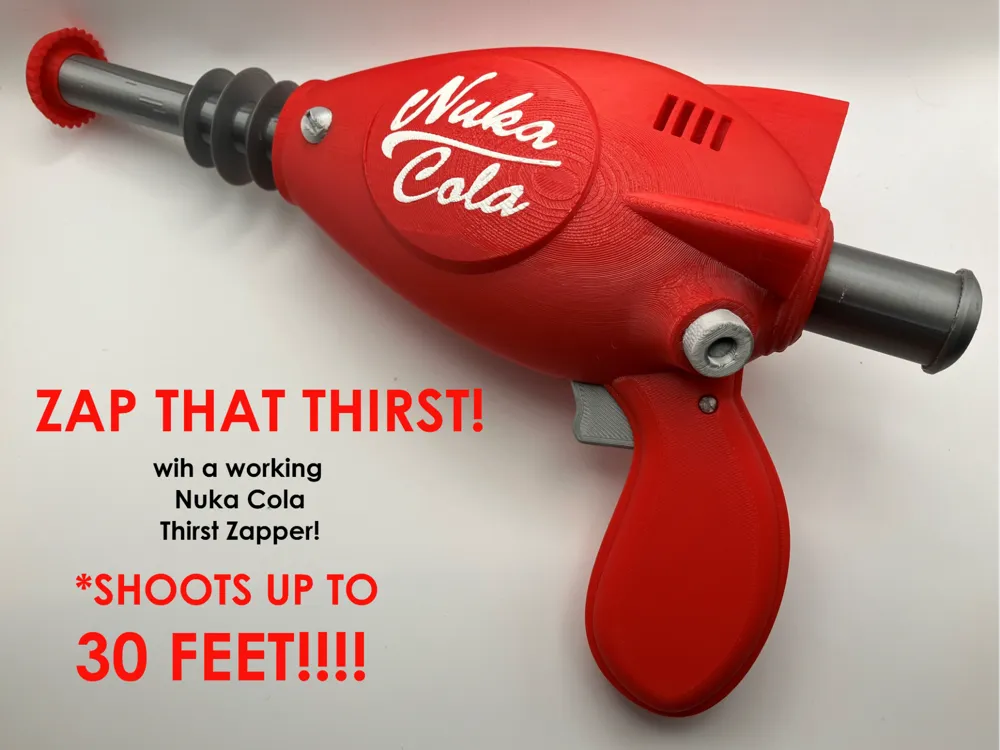
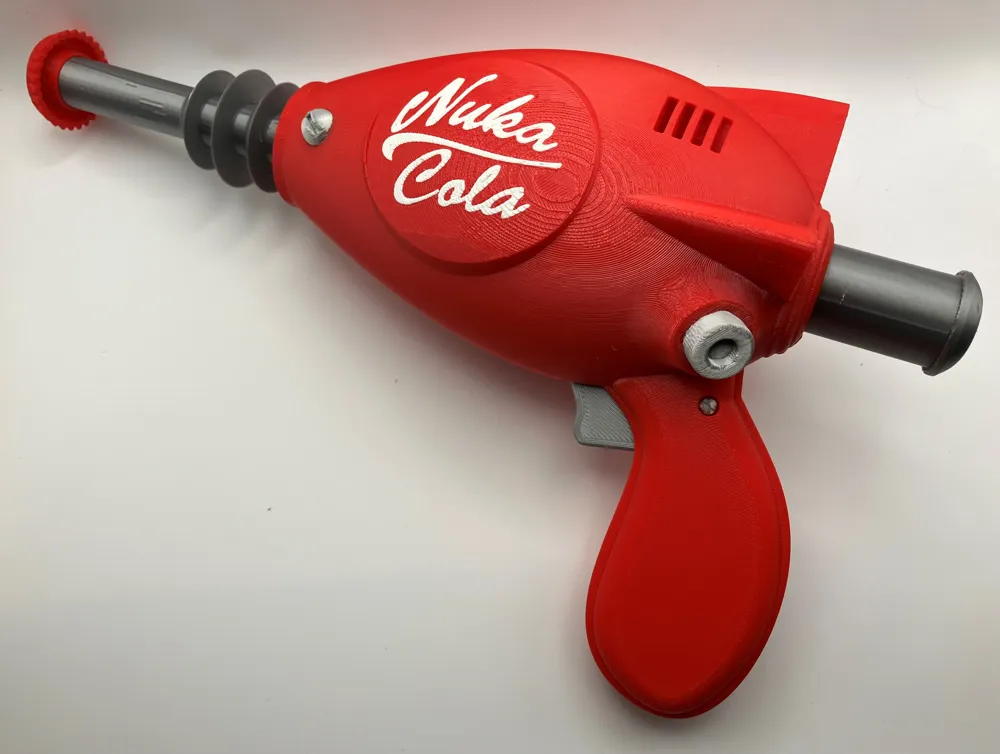
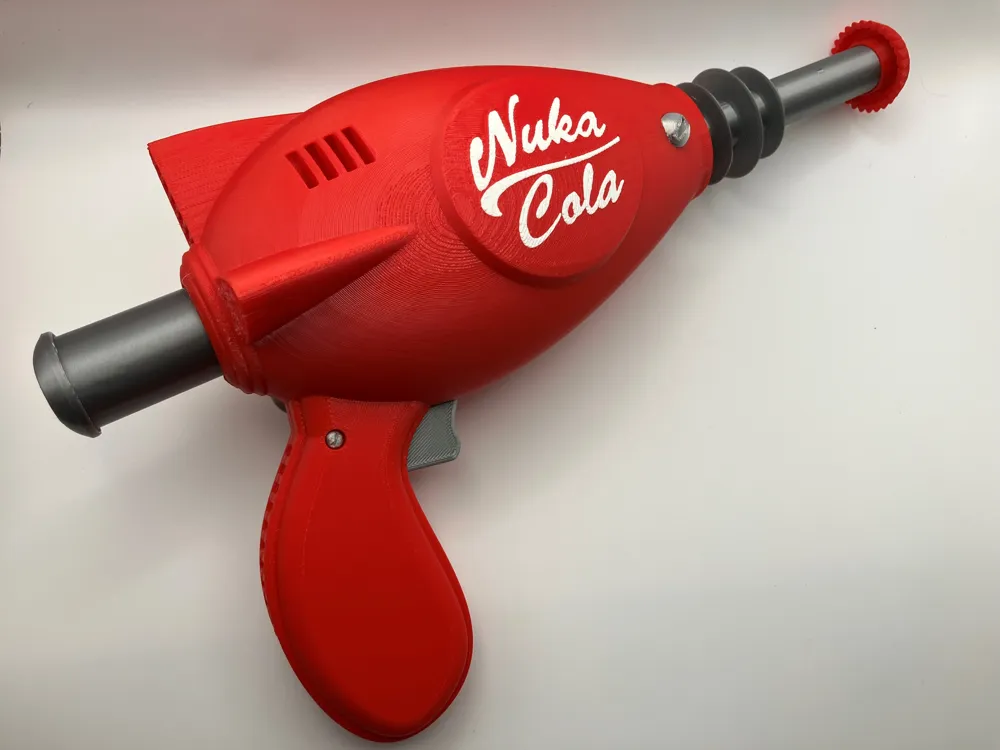
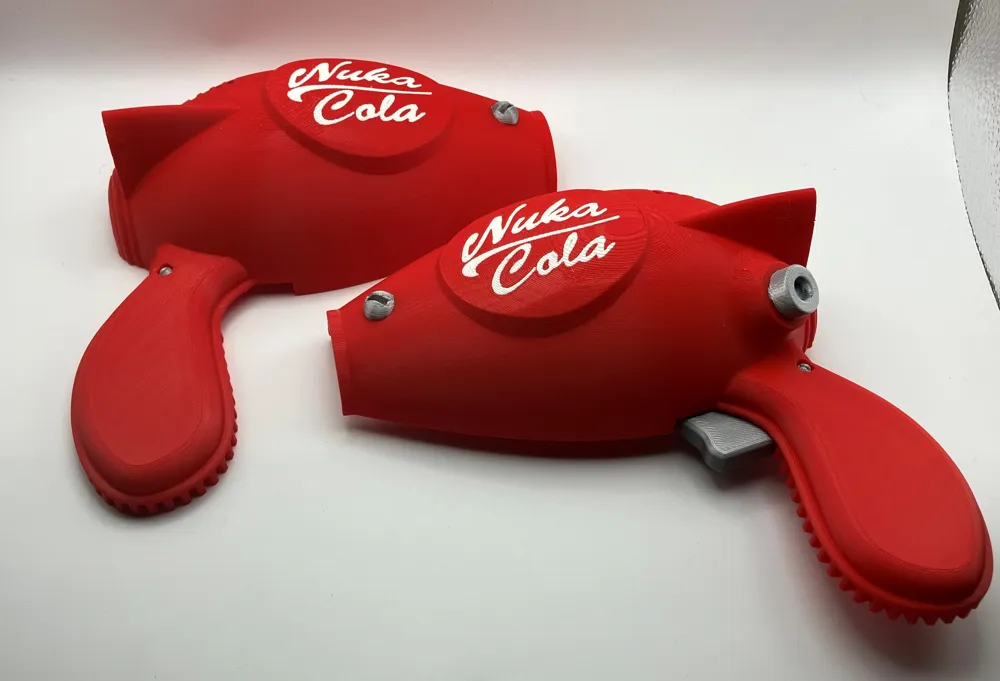
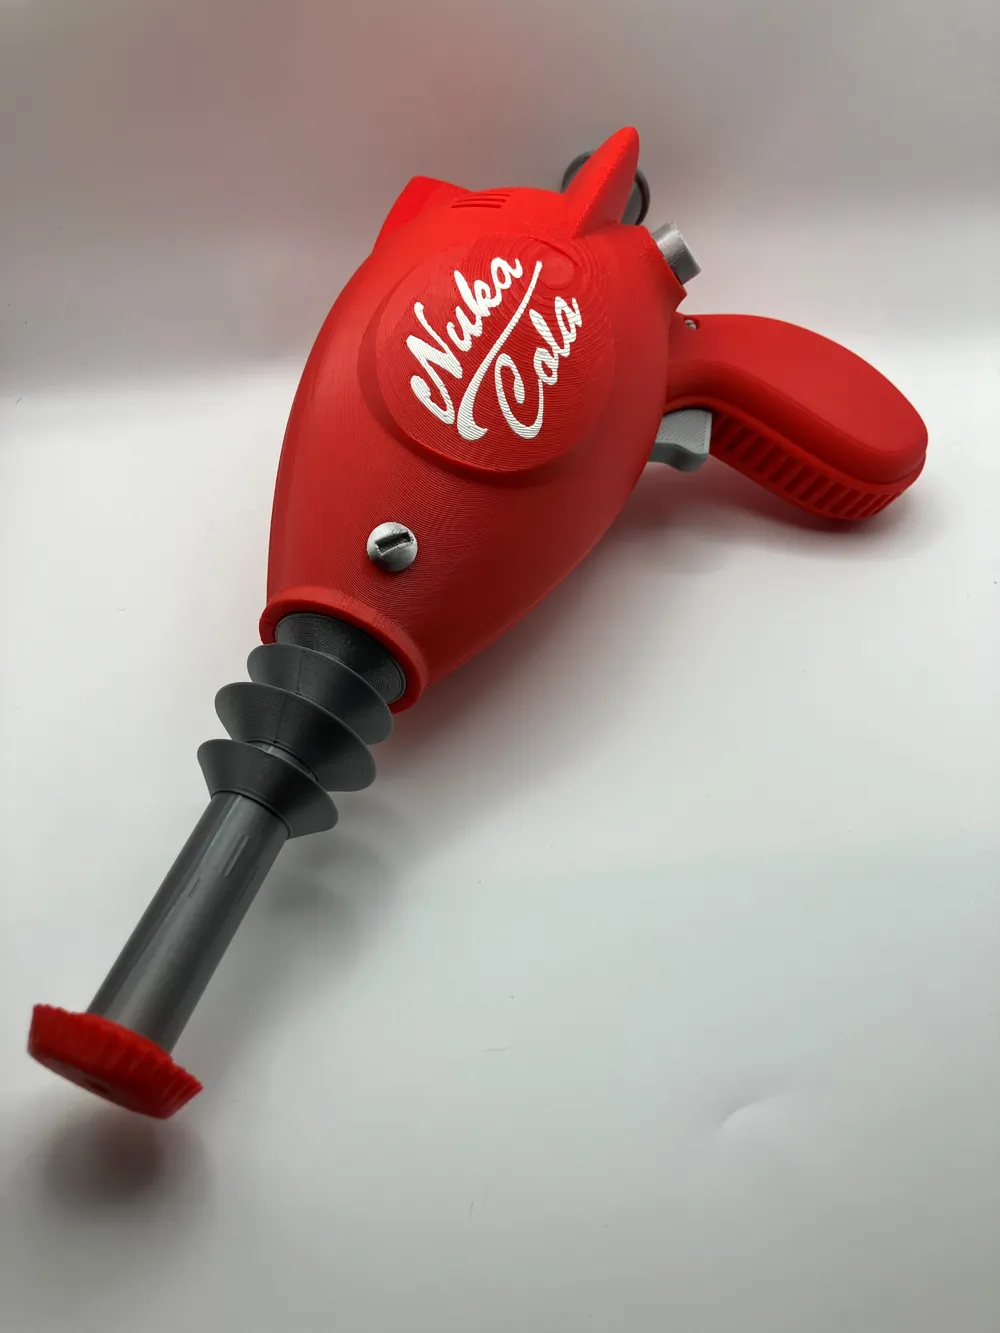
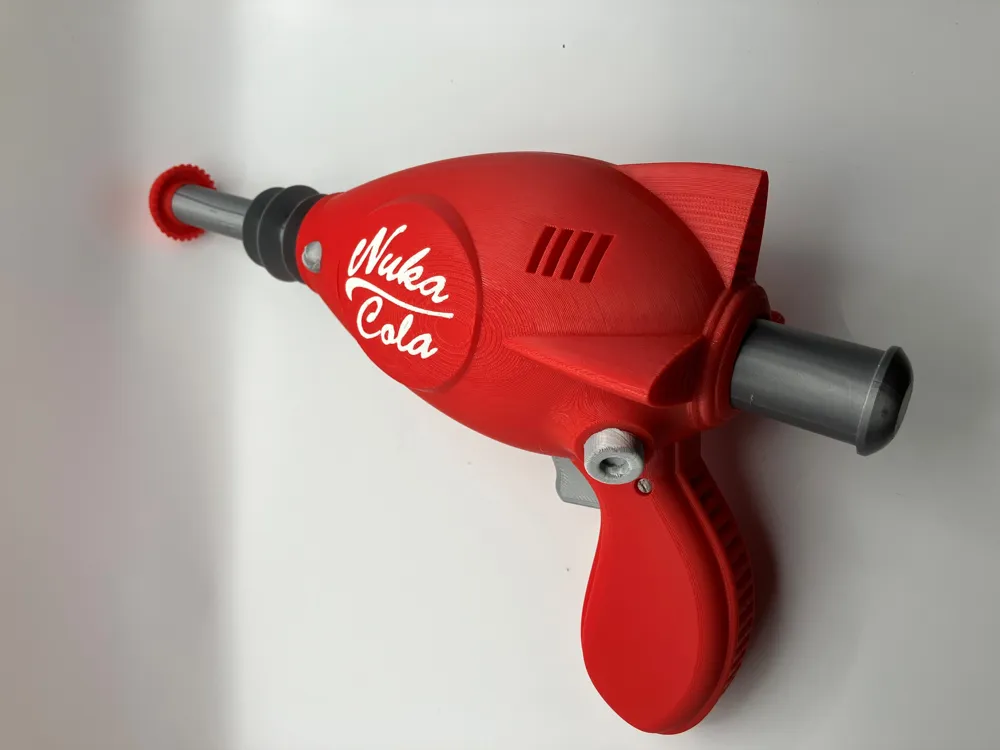
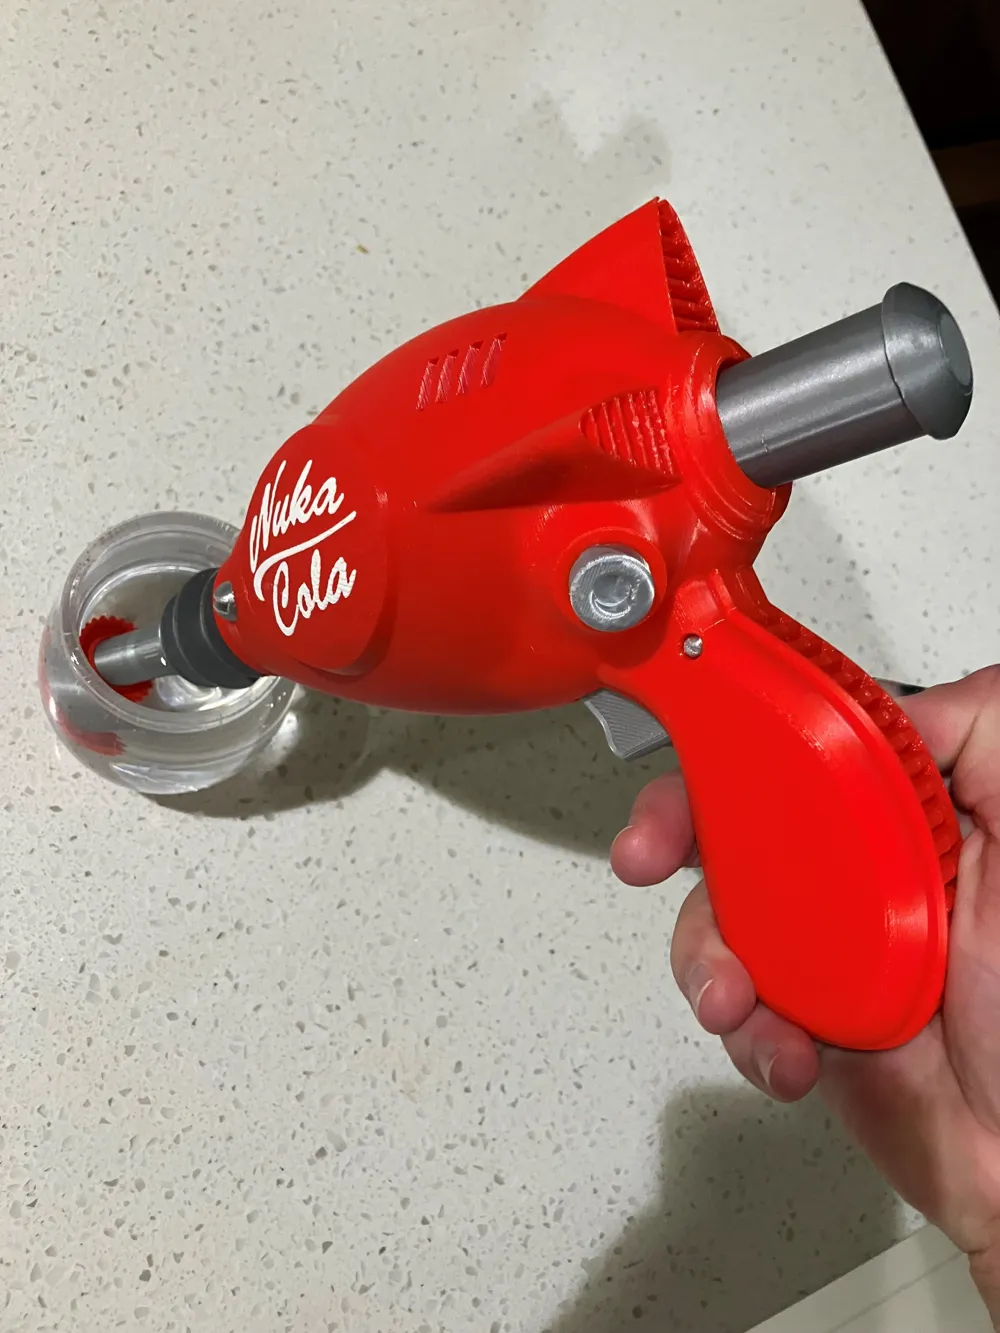
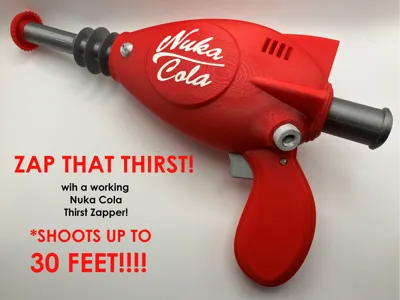
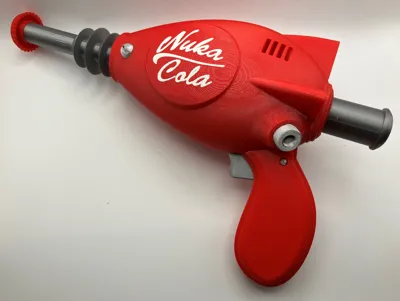
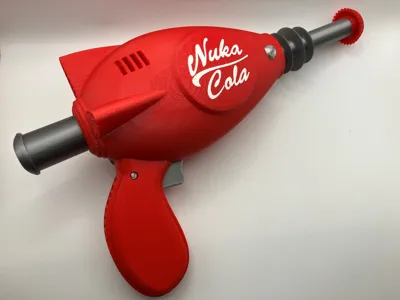
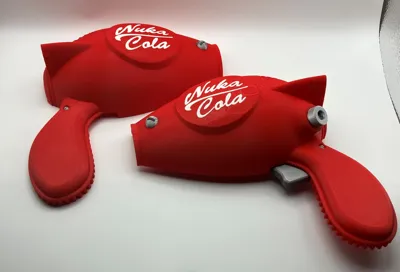
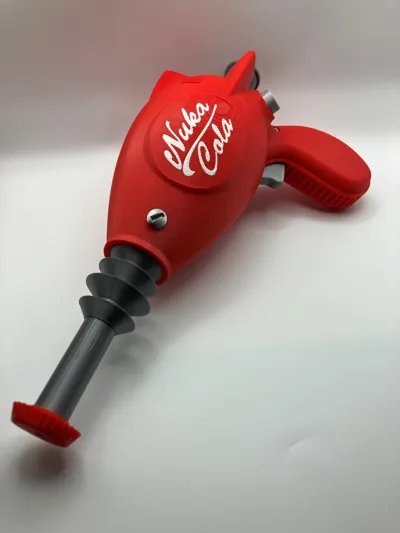
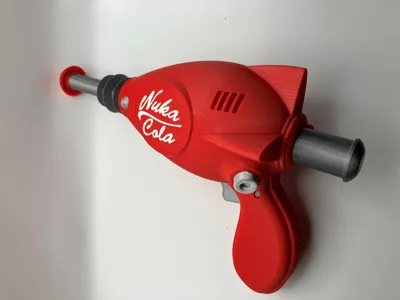
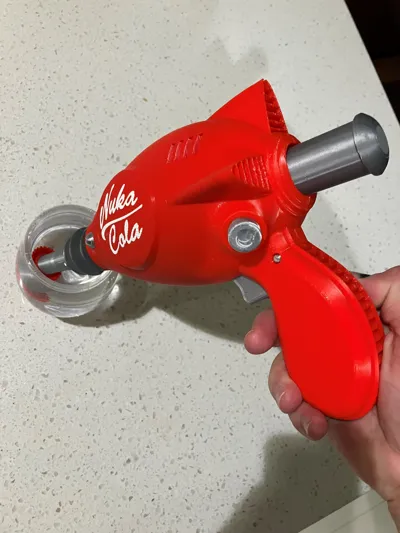
Working Nuka Cola Thirst Zapper squirt gun from the Fallout video game series
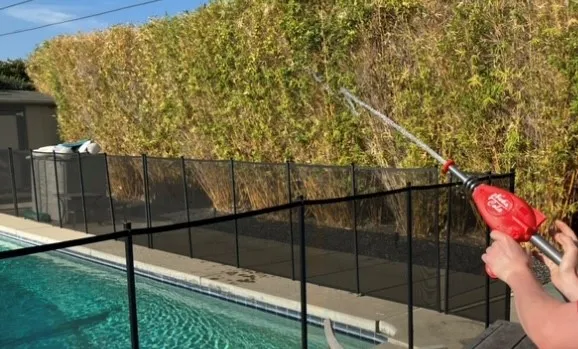
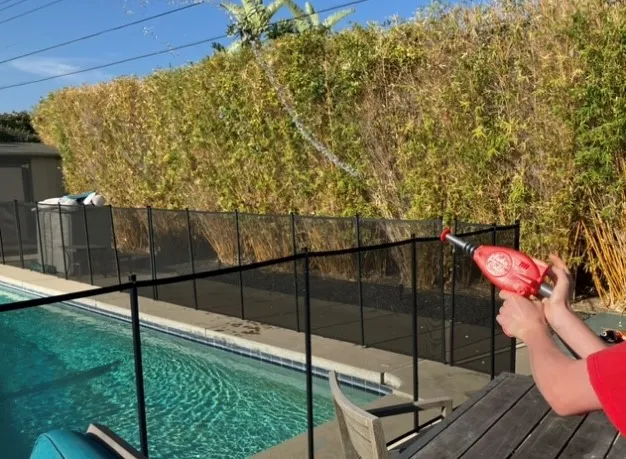
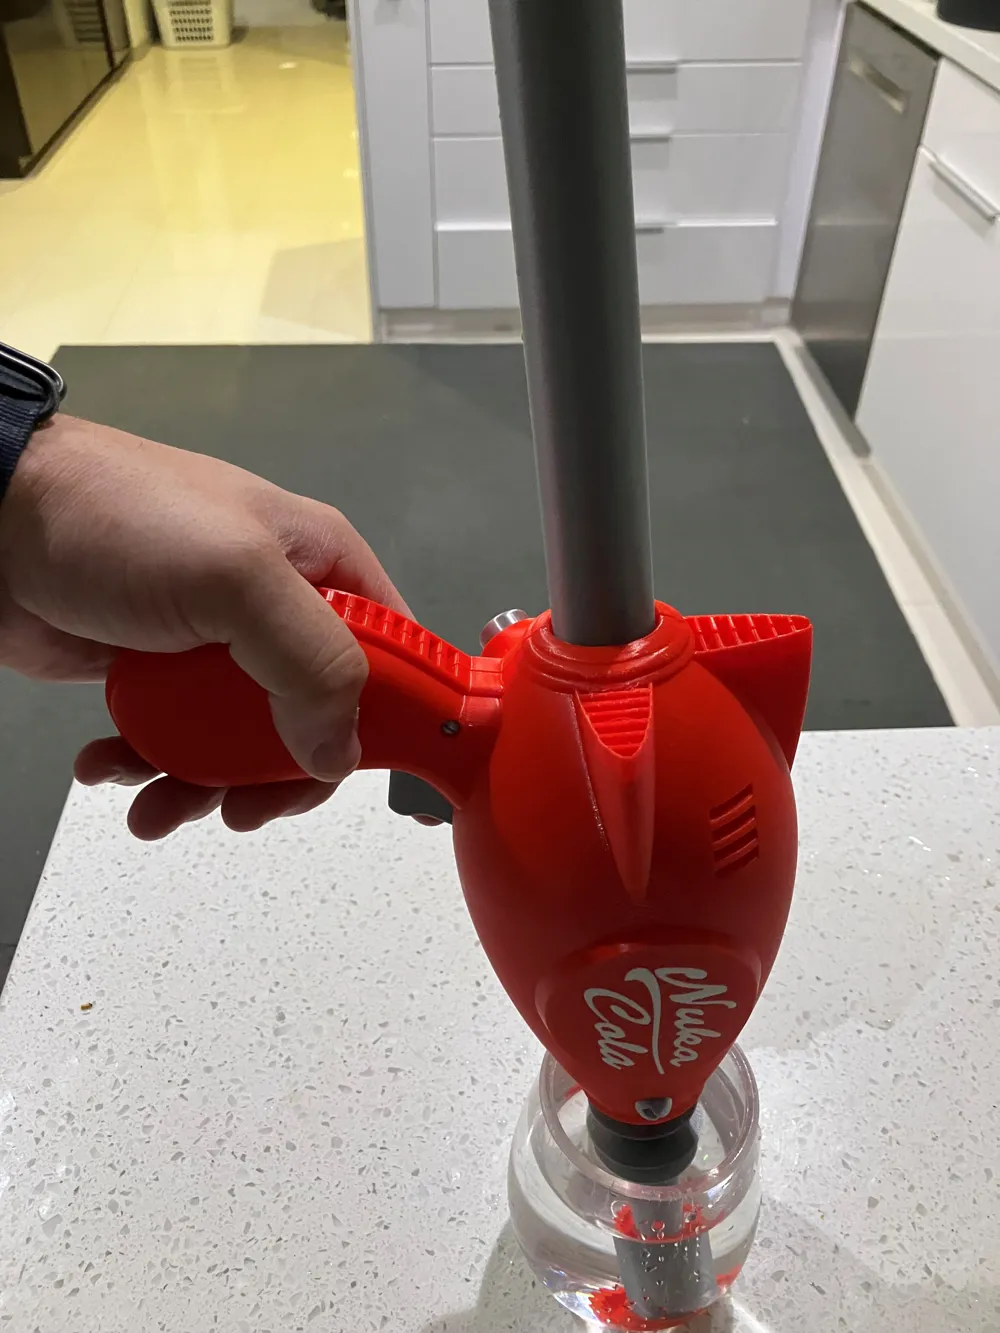

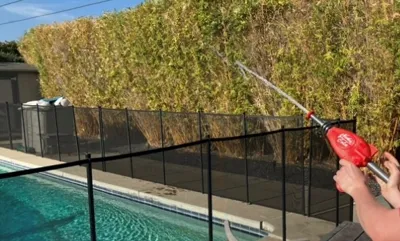
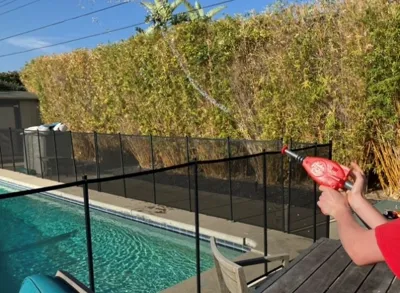
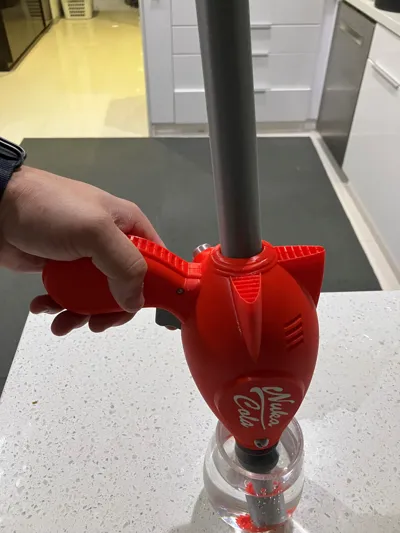
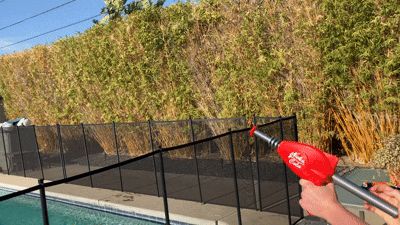
Gun works with hand pump action. Just submerge the tip of the barrel into water and pull back the plunger from the rear of the gun to load the tank. Then aim and press the plunger to spray the water at your desired target. Gun shoots 20 to 30 feet!
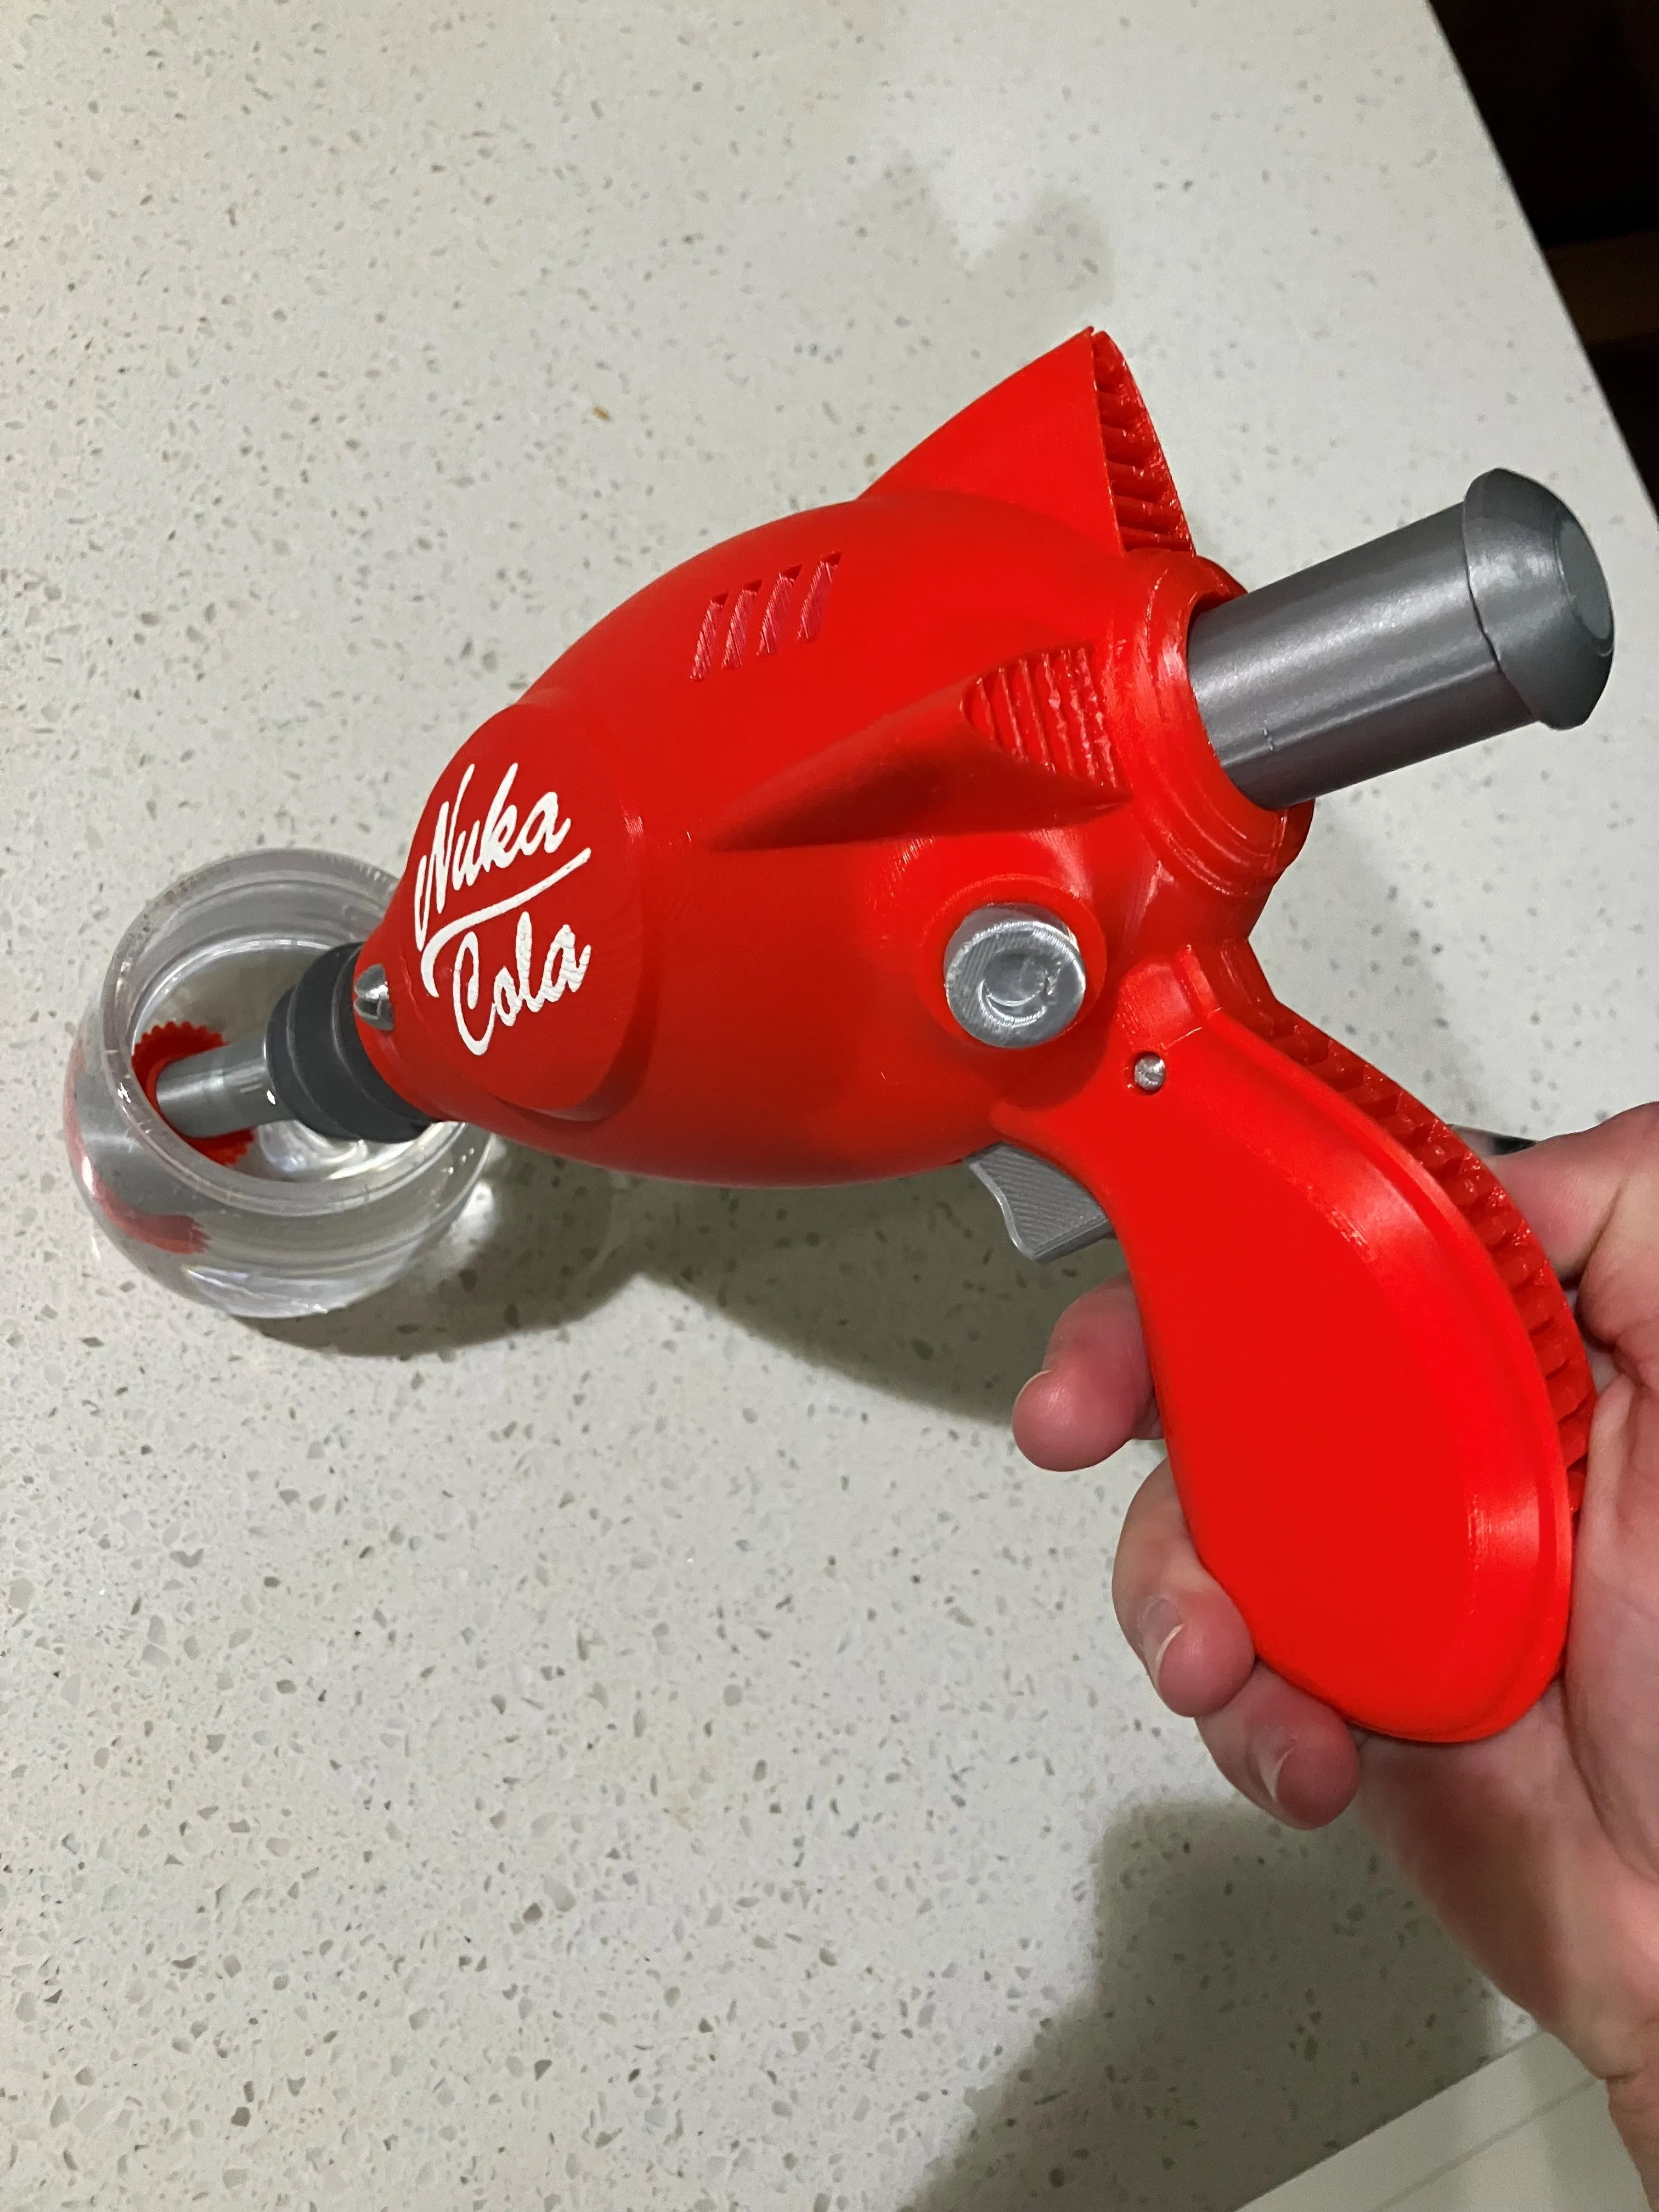
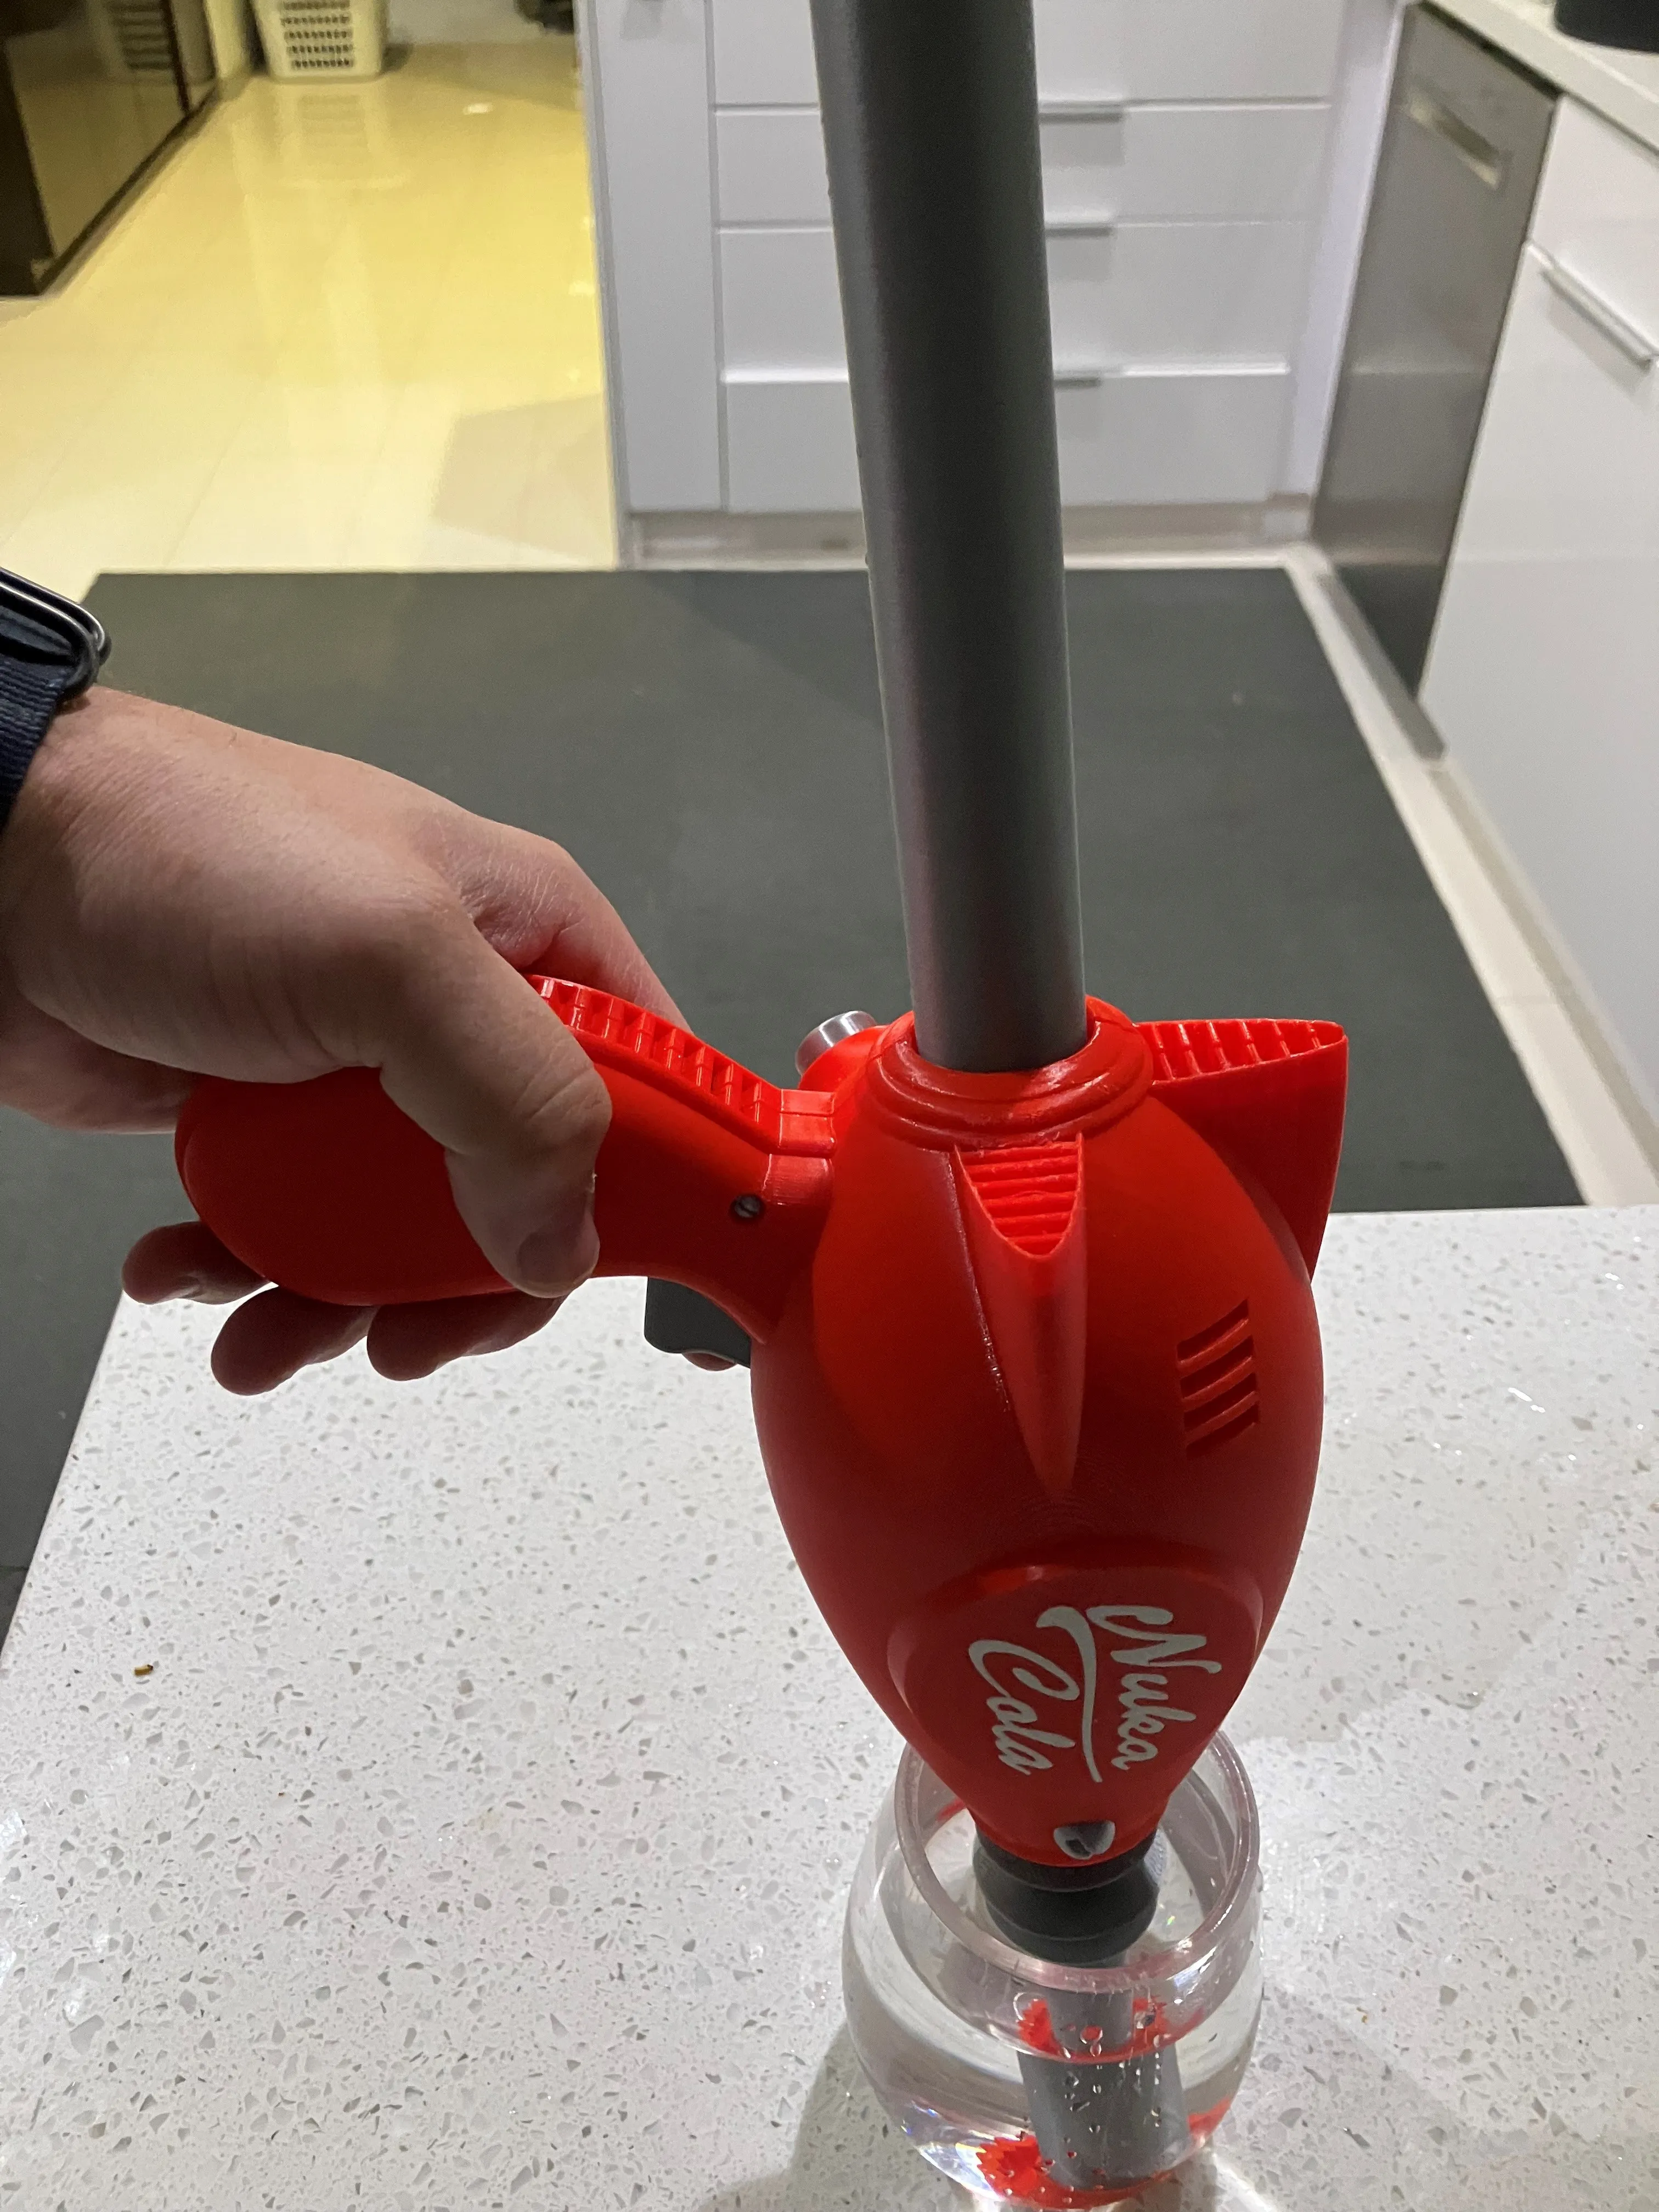
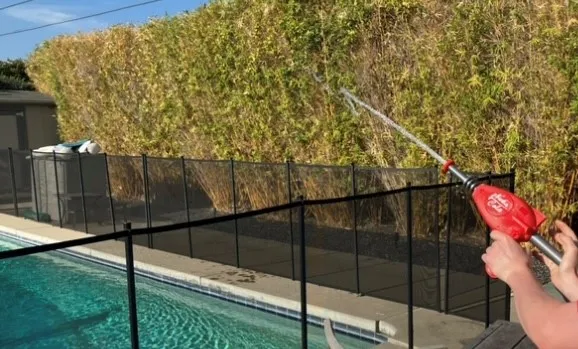
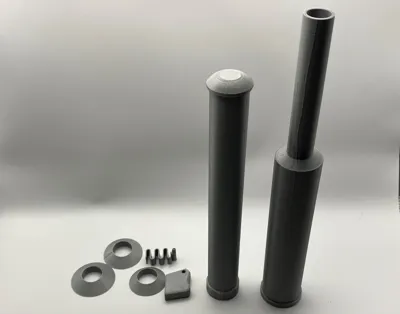
You can print the entire model in PLA - no TPU needed. I recommend using supports for both sides of the gun body (plates 1 and 2) and for the plunger (plate 4). You can safely print all other parts without supports. Model parts split on to five plates for easy reference of parts and to minimize the waste from color changes.
Assembly
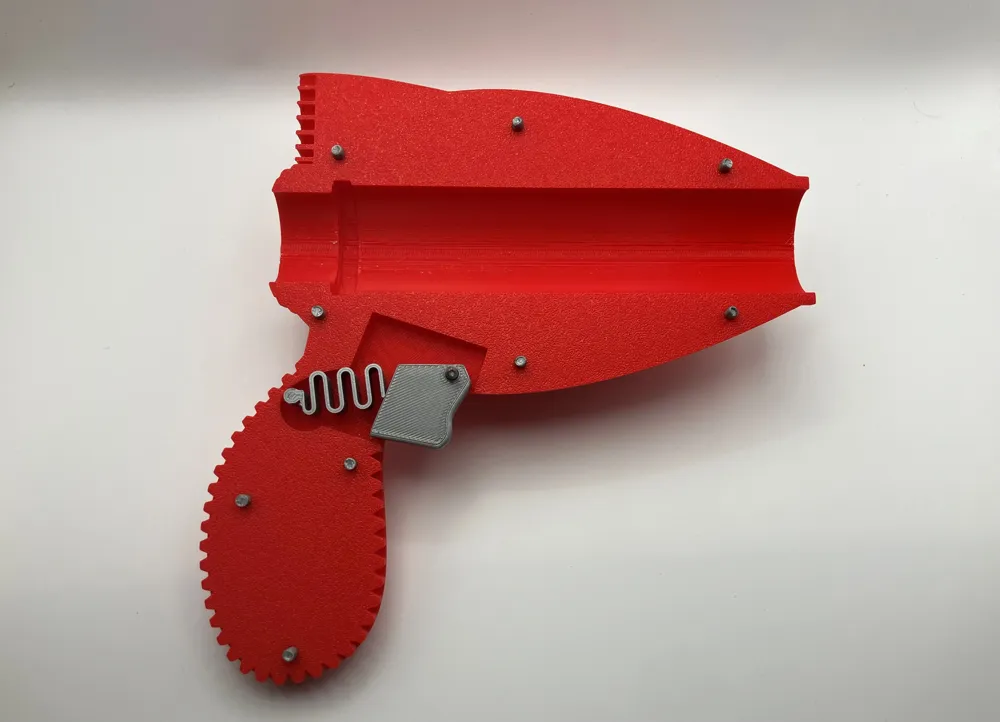
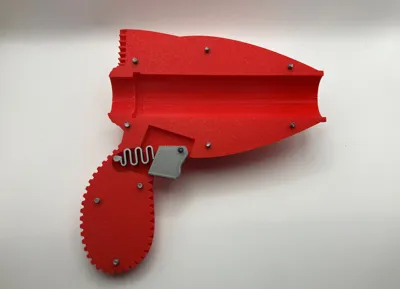
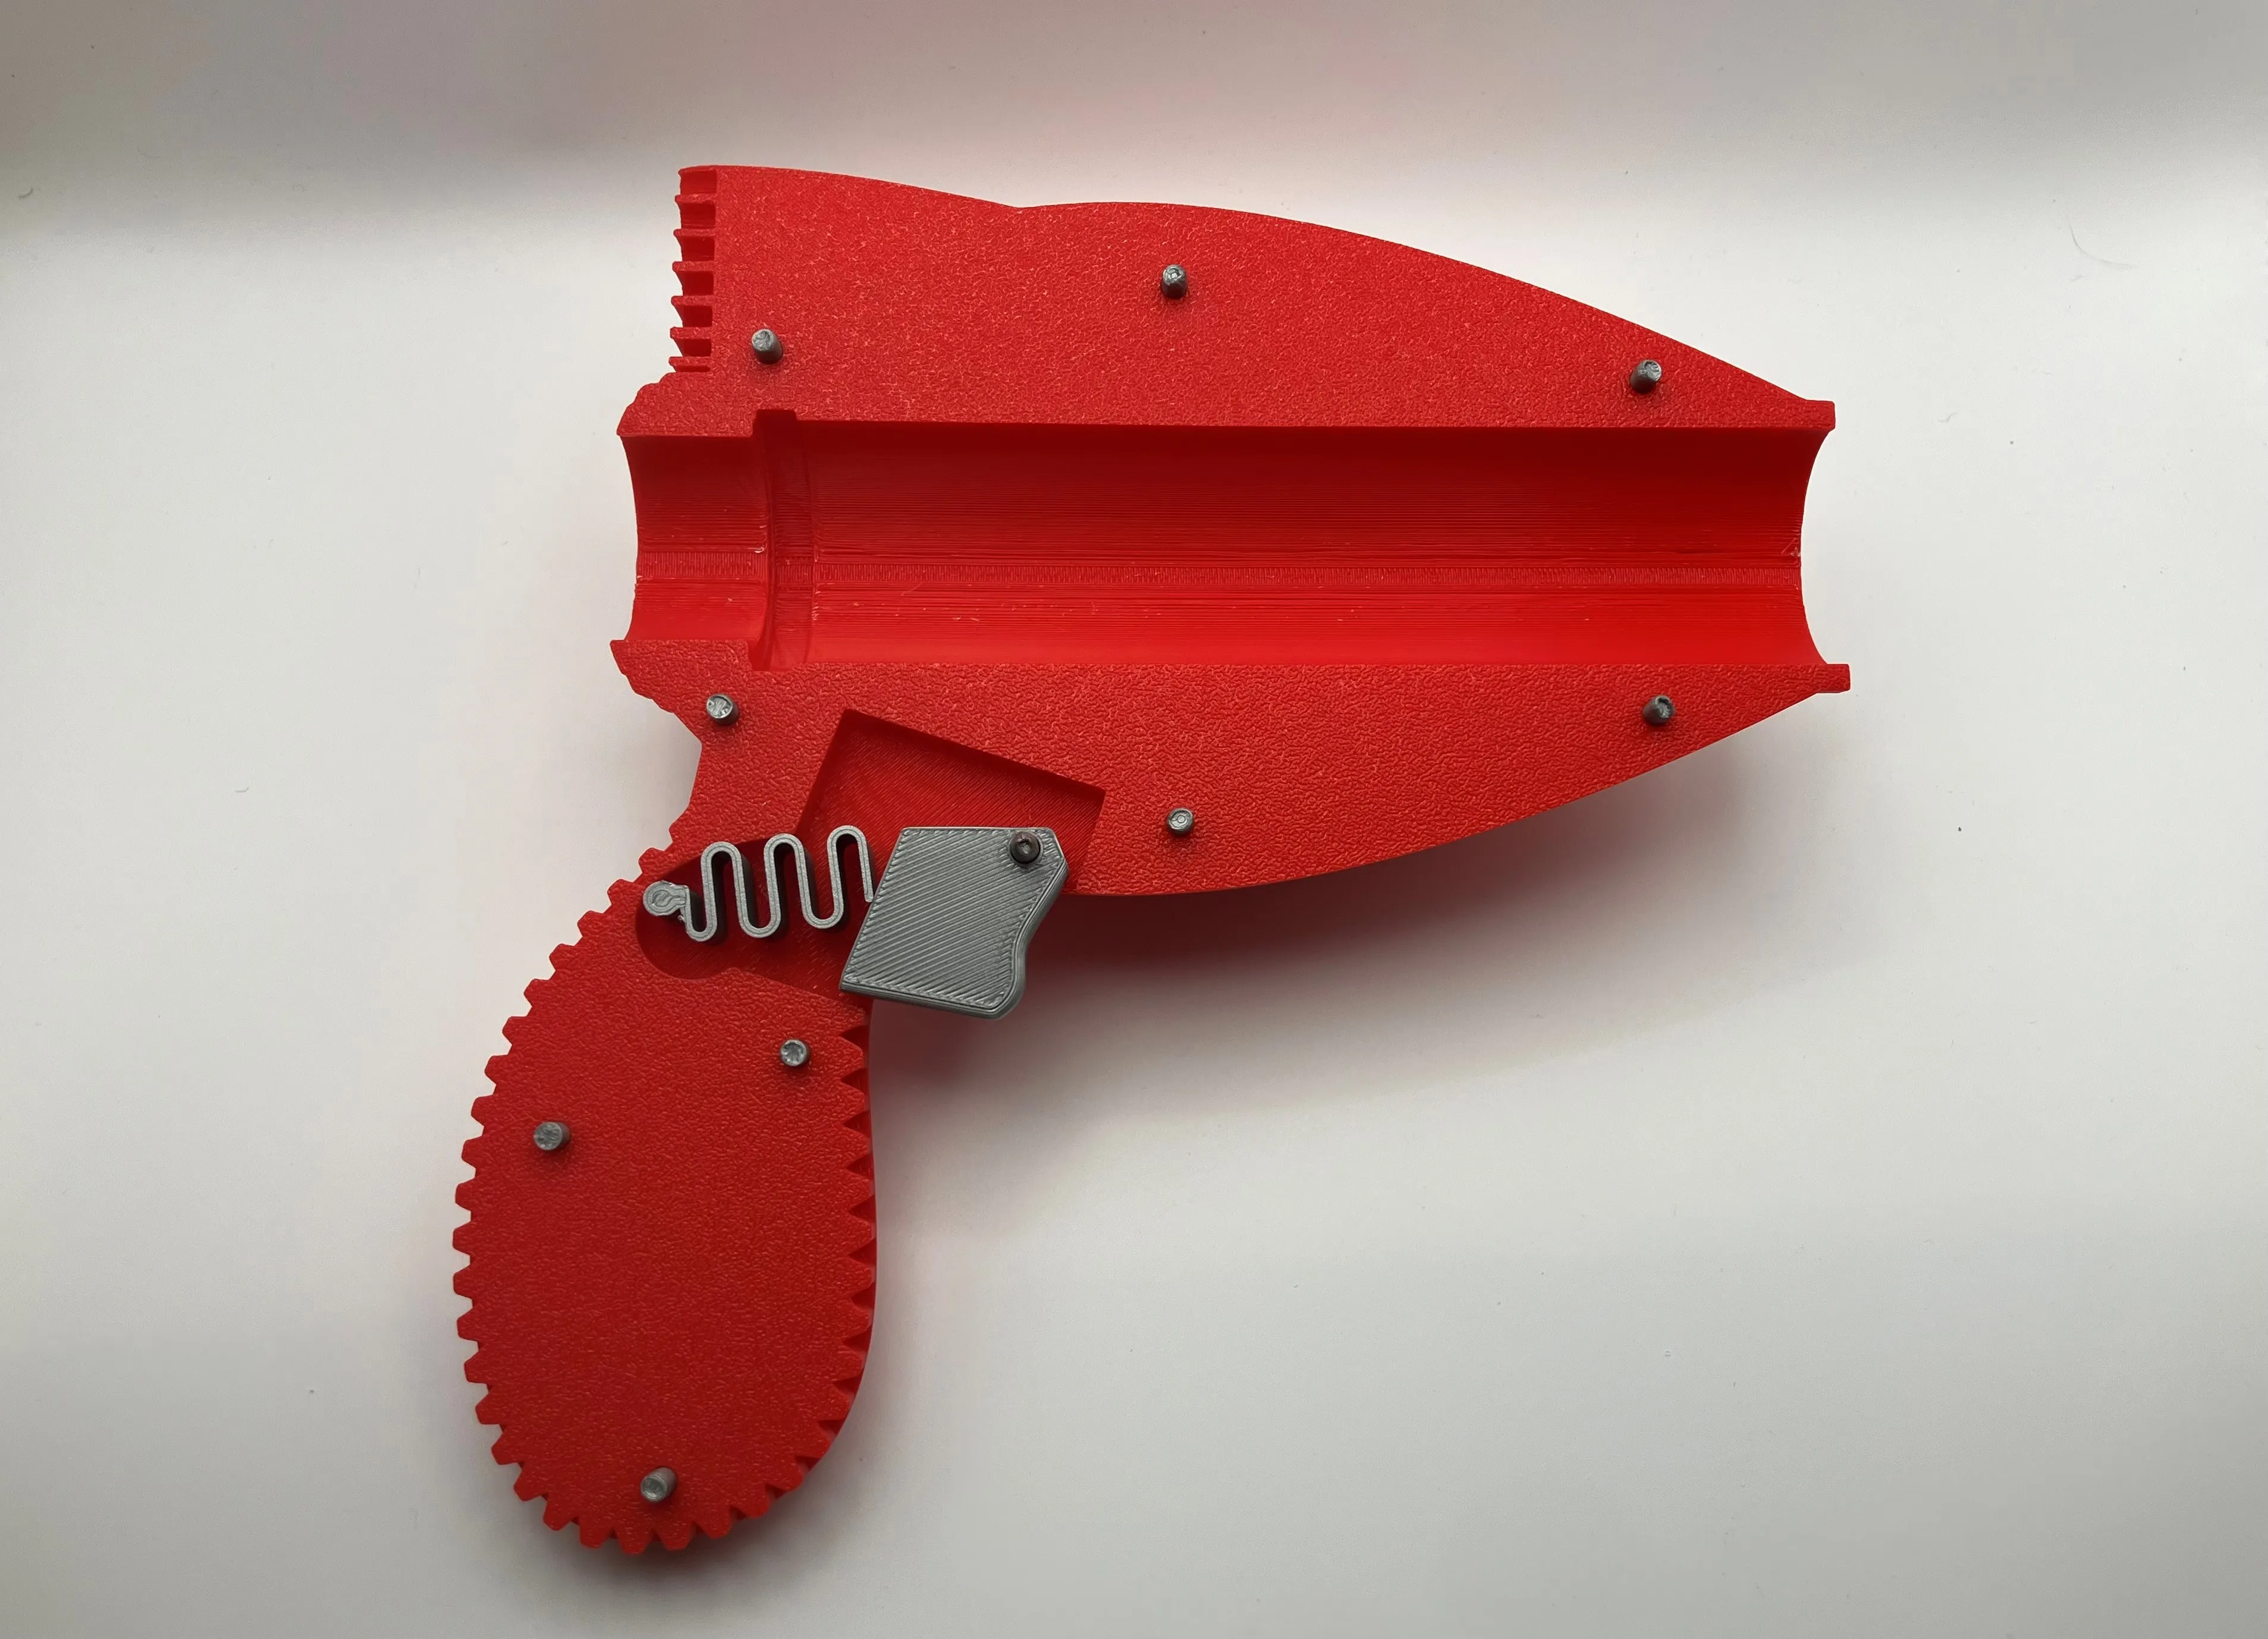
Assembly is pretty simple. After removing supports, start with the left half of the gun body. Place the post of the trigger spring into the hole on the far left of the trigger recess. Then take the trigger post and feed it through the hole on the trigger and attach that trigger post to the hole on the top right of the trigger recess. That should give you a realistic feeling (even if non-functioning) trigger. Then attach the 9 connector posts to the holes in the left side of the gun. It should look like this:
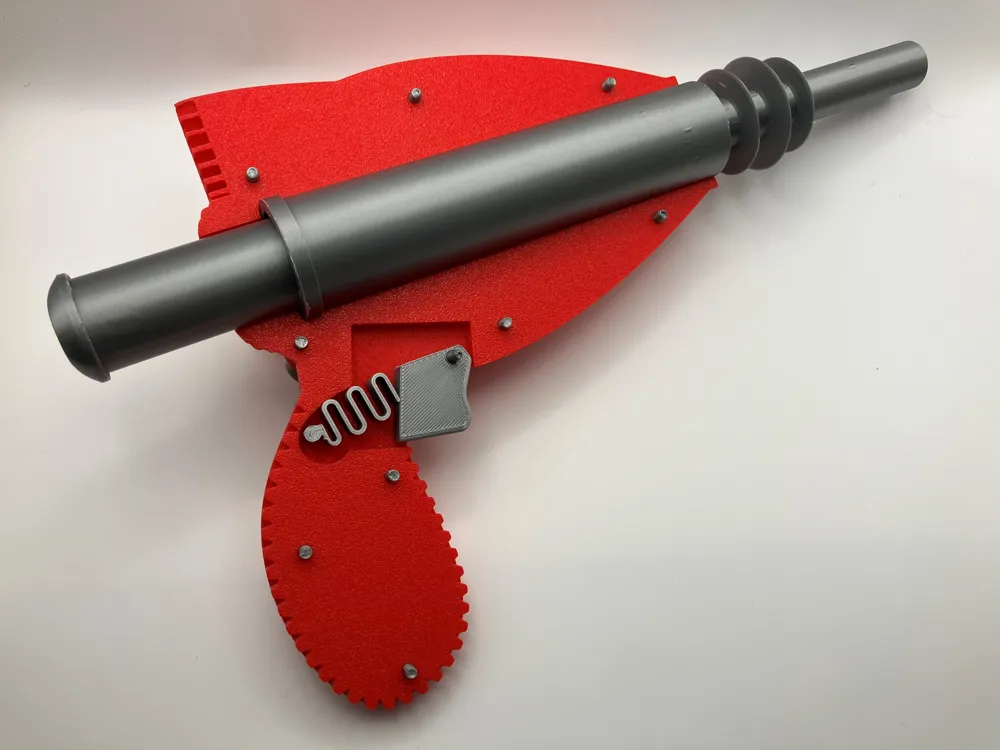
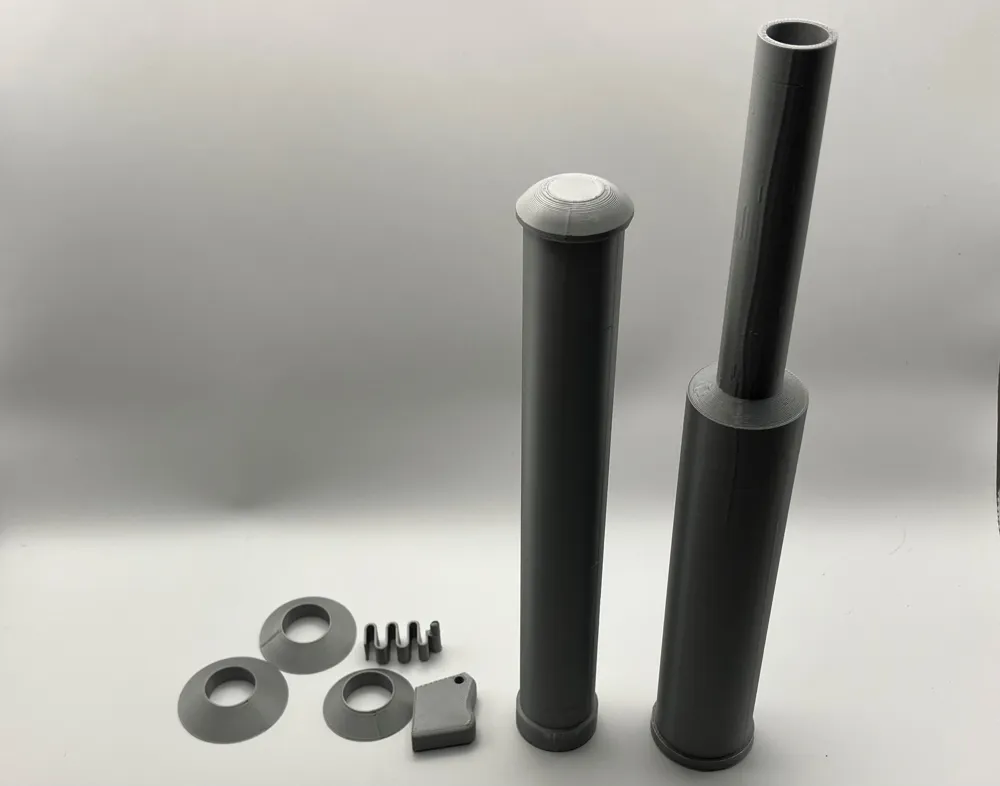
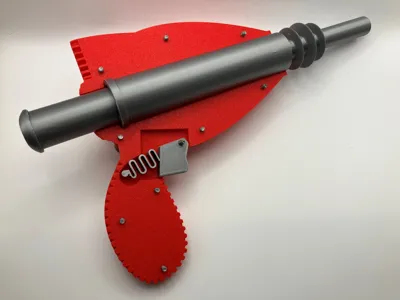
Next, place the plunger into the tank/barrel. It is a tight fit in order to create the vacuum suction needed to load the tank, so you may need to lightly sand the end of the plunger to get it to fit. But once it goes in, you should be able to plunge it back and forth. Then take the three barrel shields and slide them on to the barrel, number 3 (the middle sized one) first, then 2 (the largest) then 1 (the smallest). They should fiction fit on the barrel, but you can use glue to permanently attach if desired. Then place this joined plunger and tank assembly into the recess of the left half of the gun body like this:
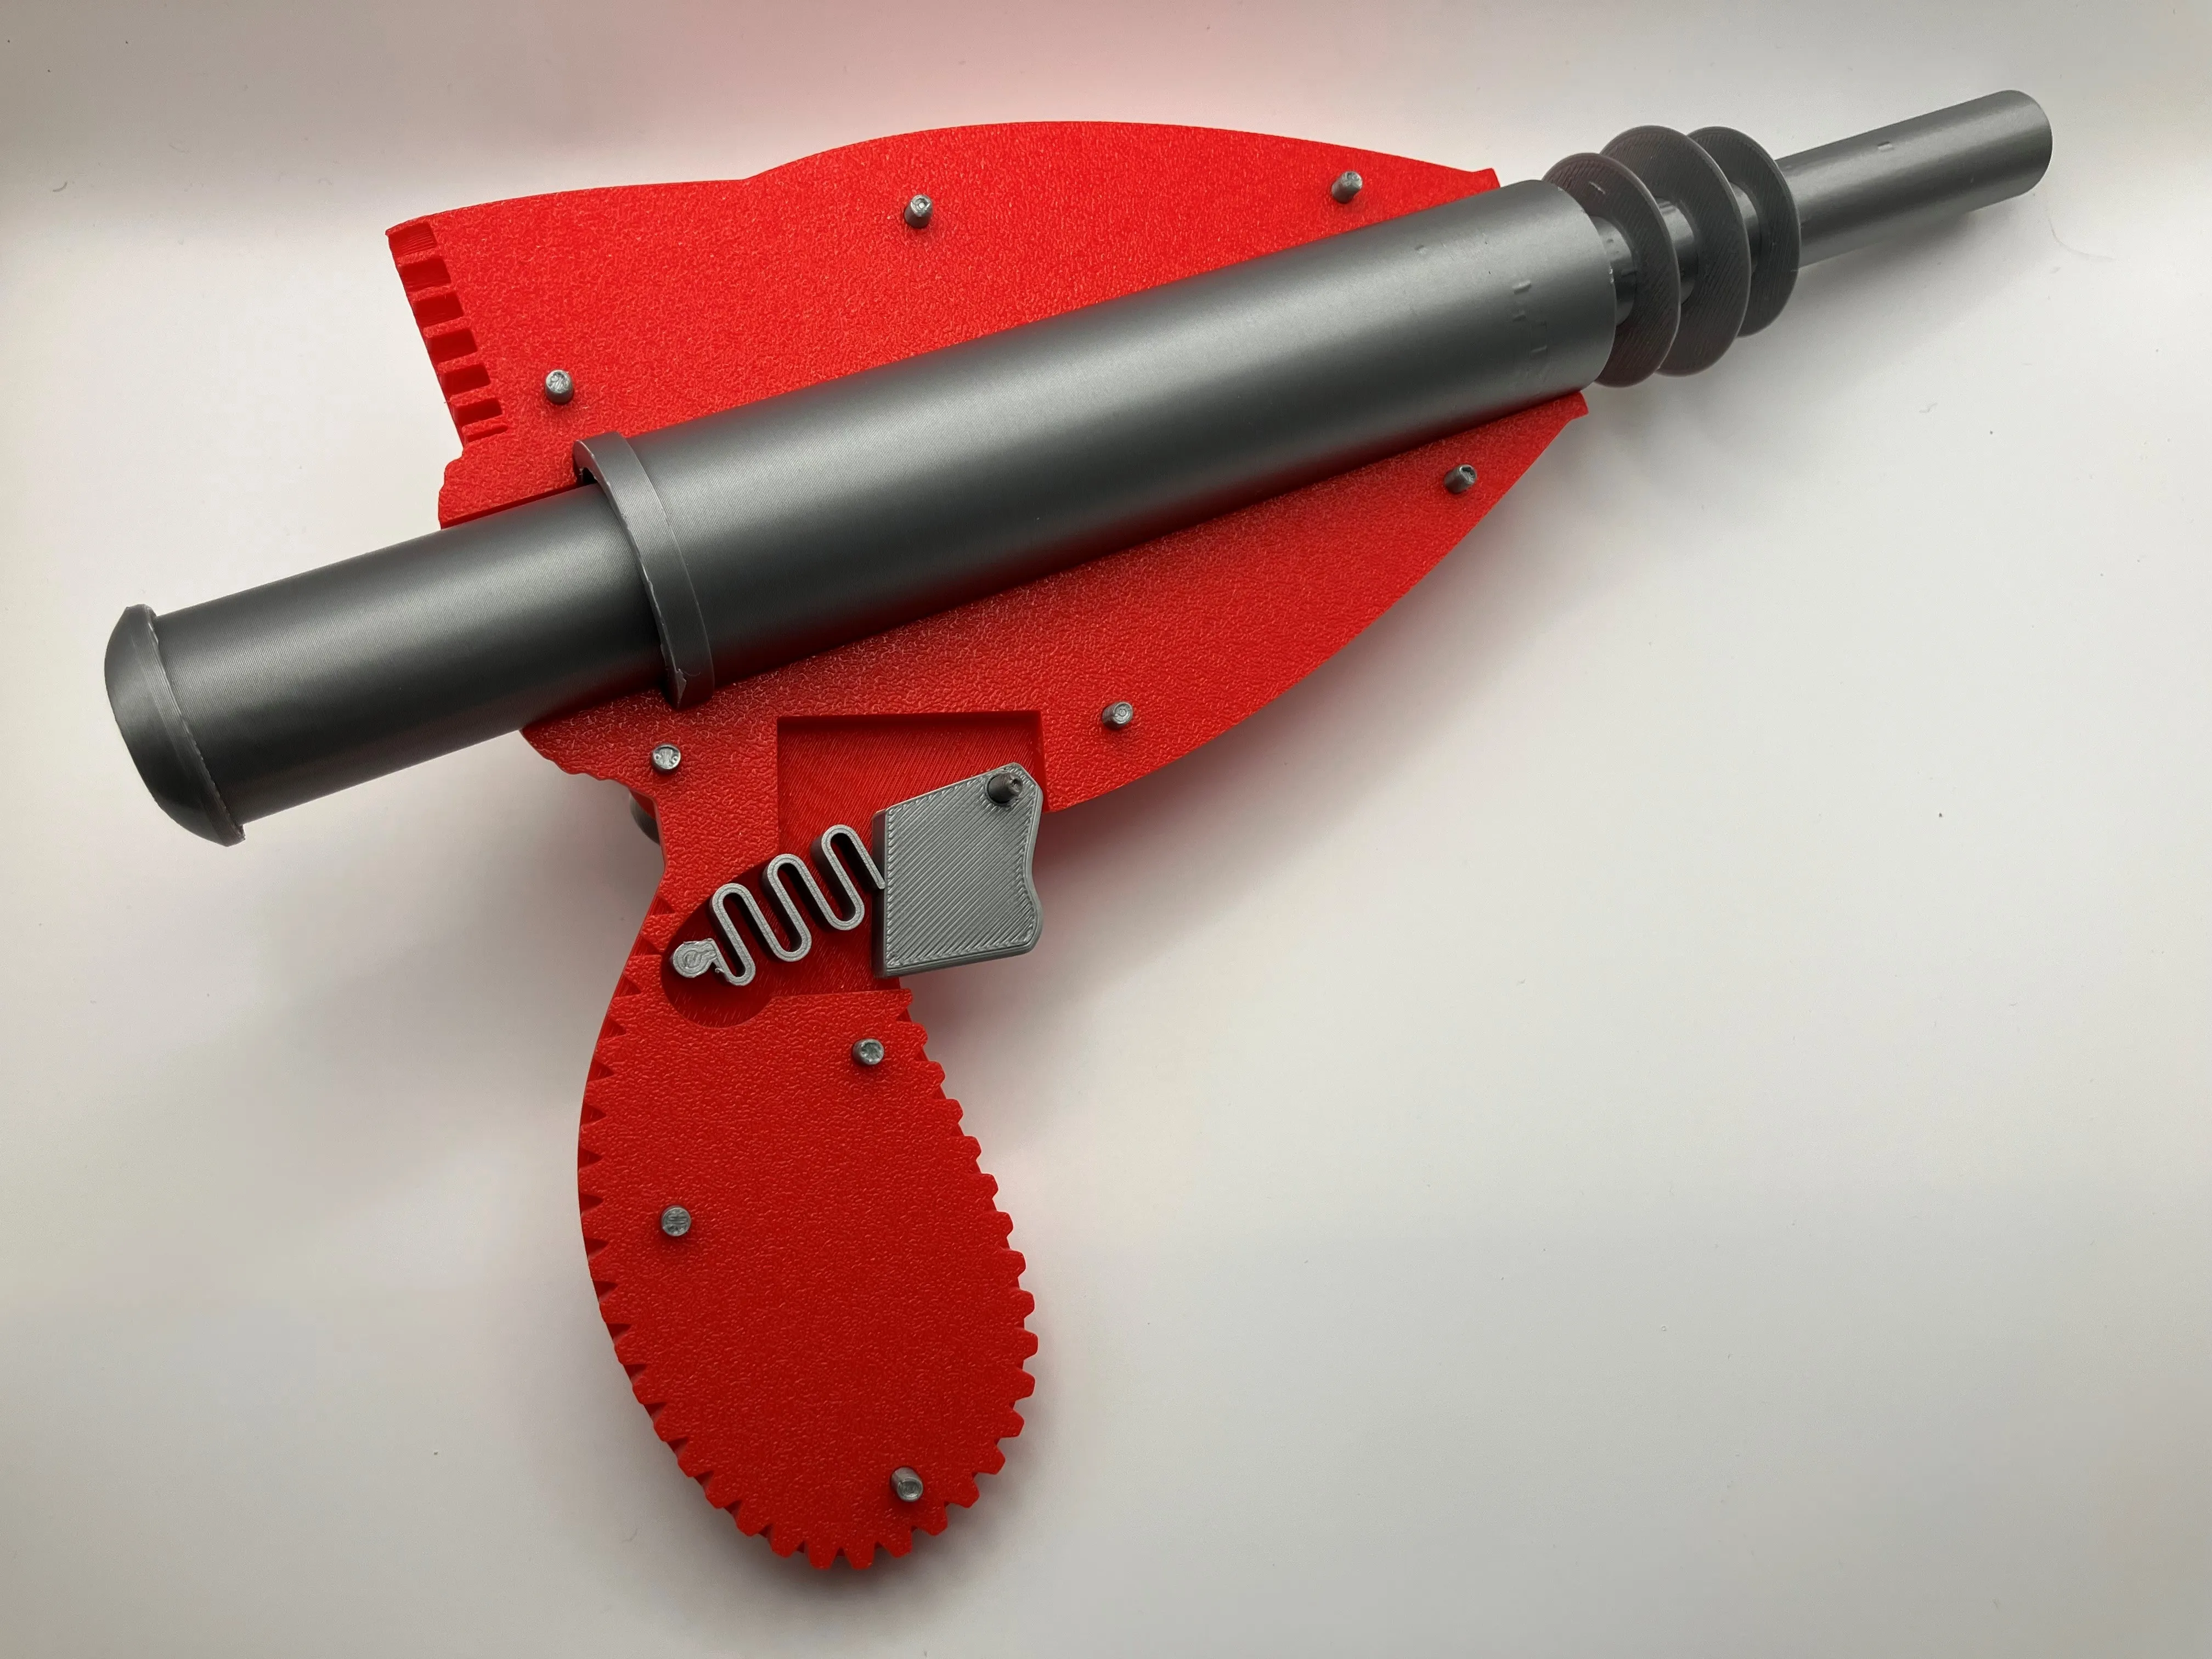
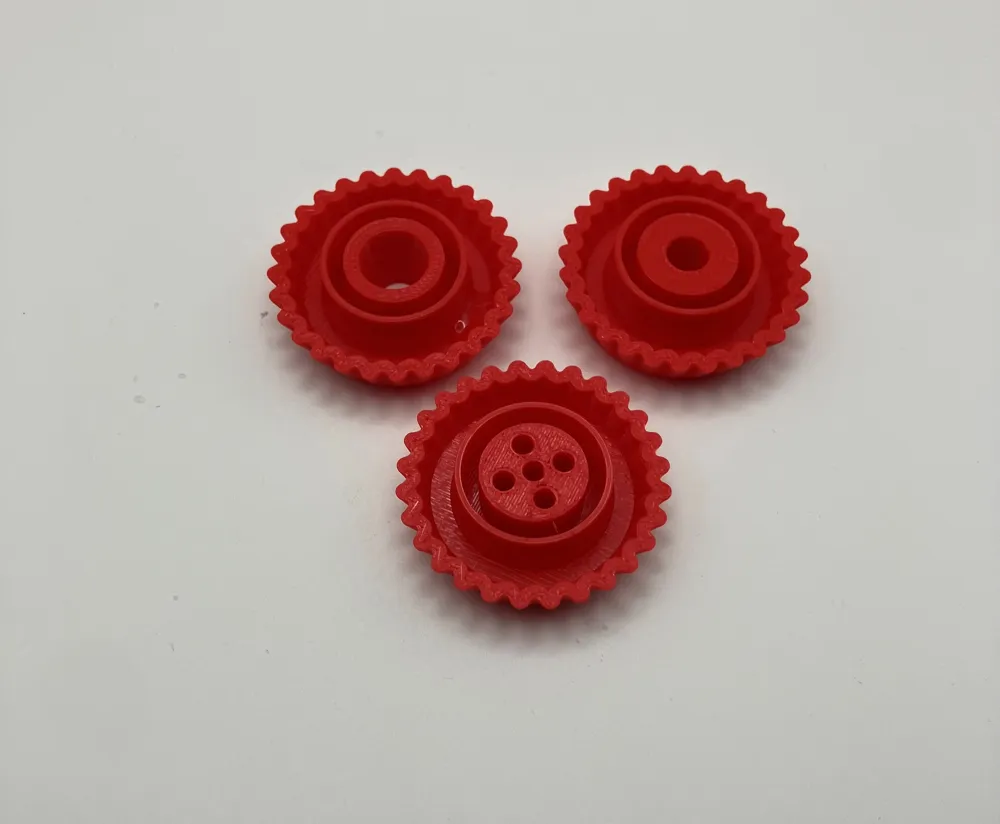
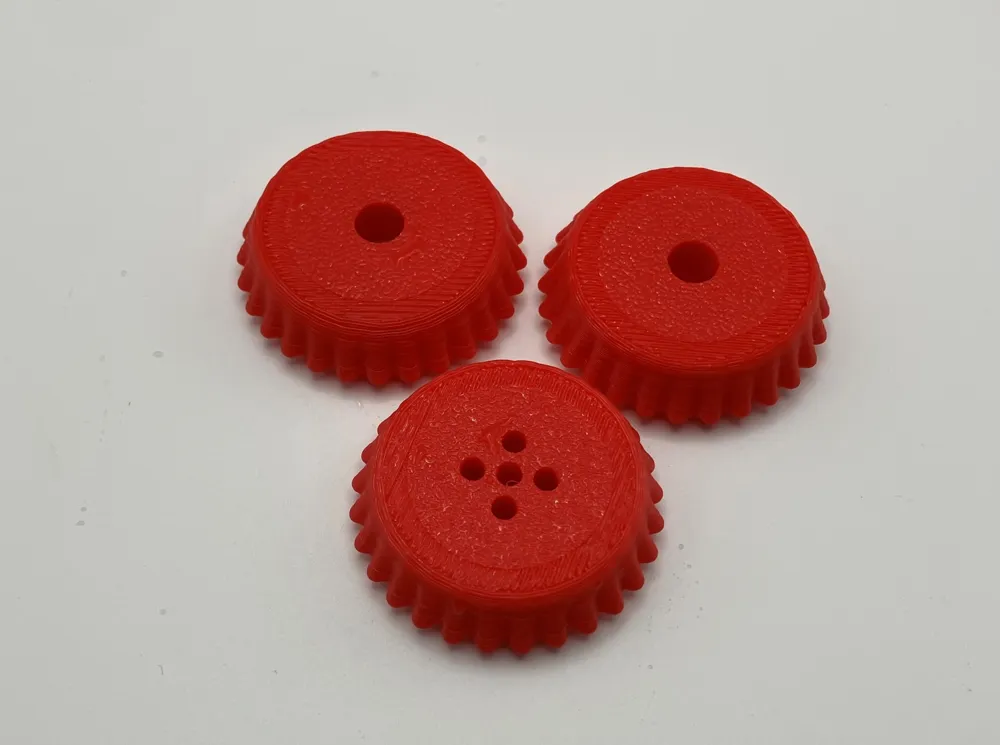
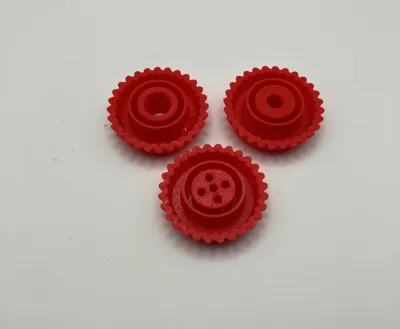
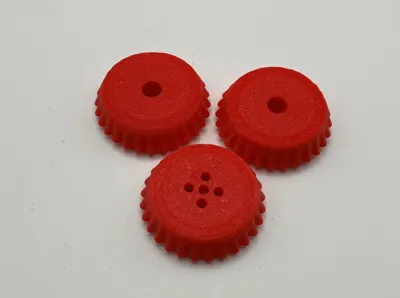
Then you can place the right half of the gun body on top and snap it into place. Choose one of the caps and attach it to the end of the barrel:
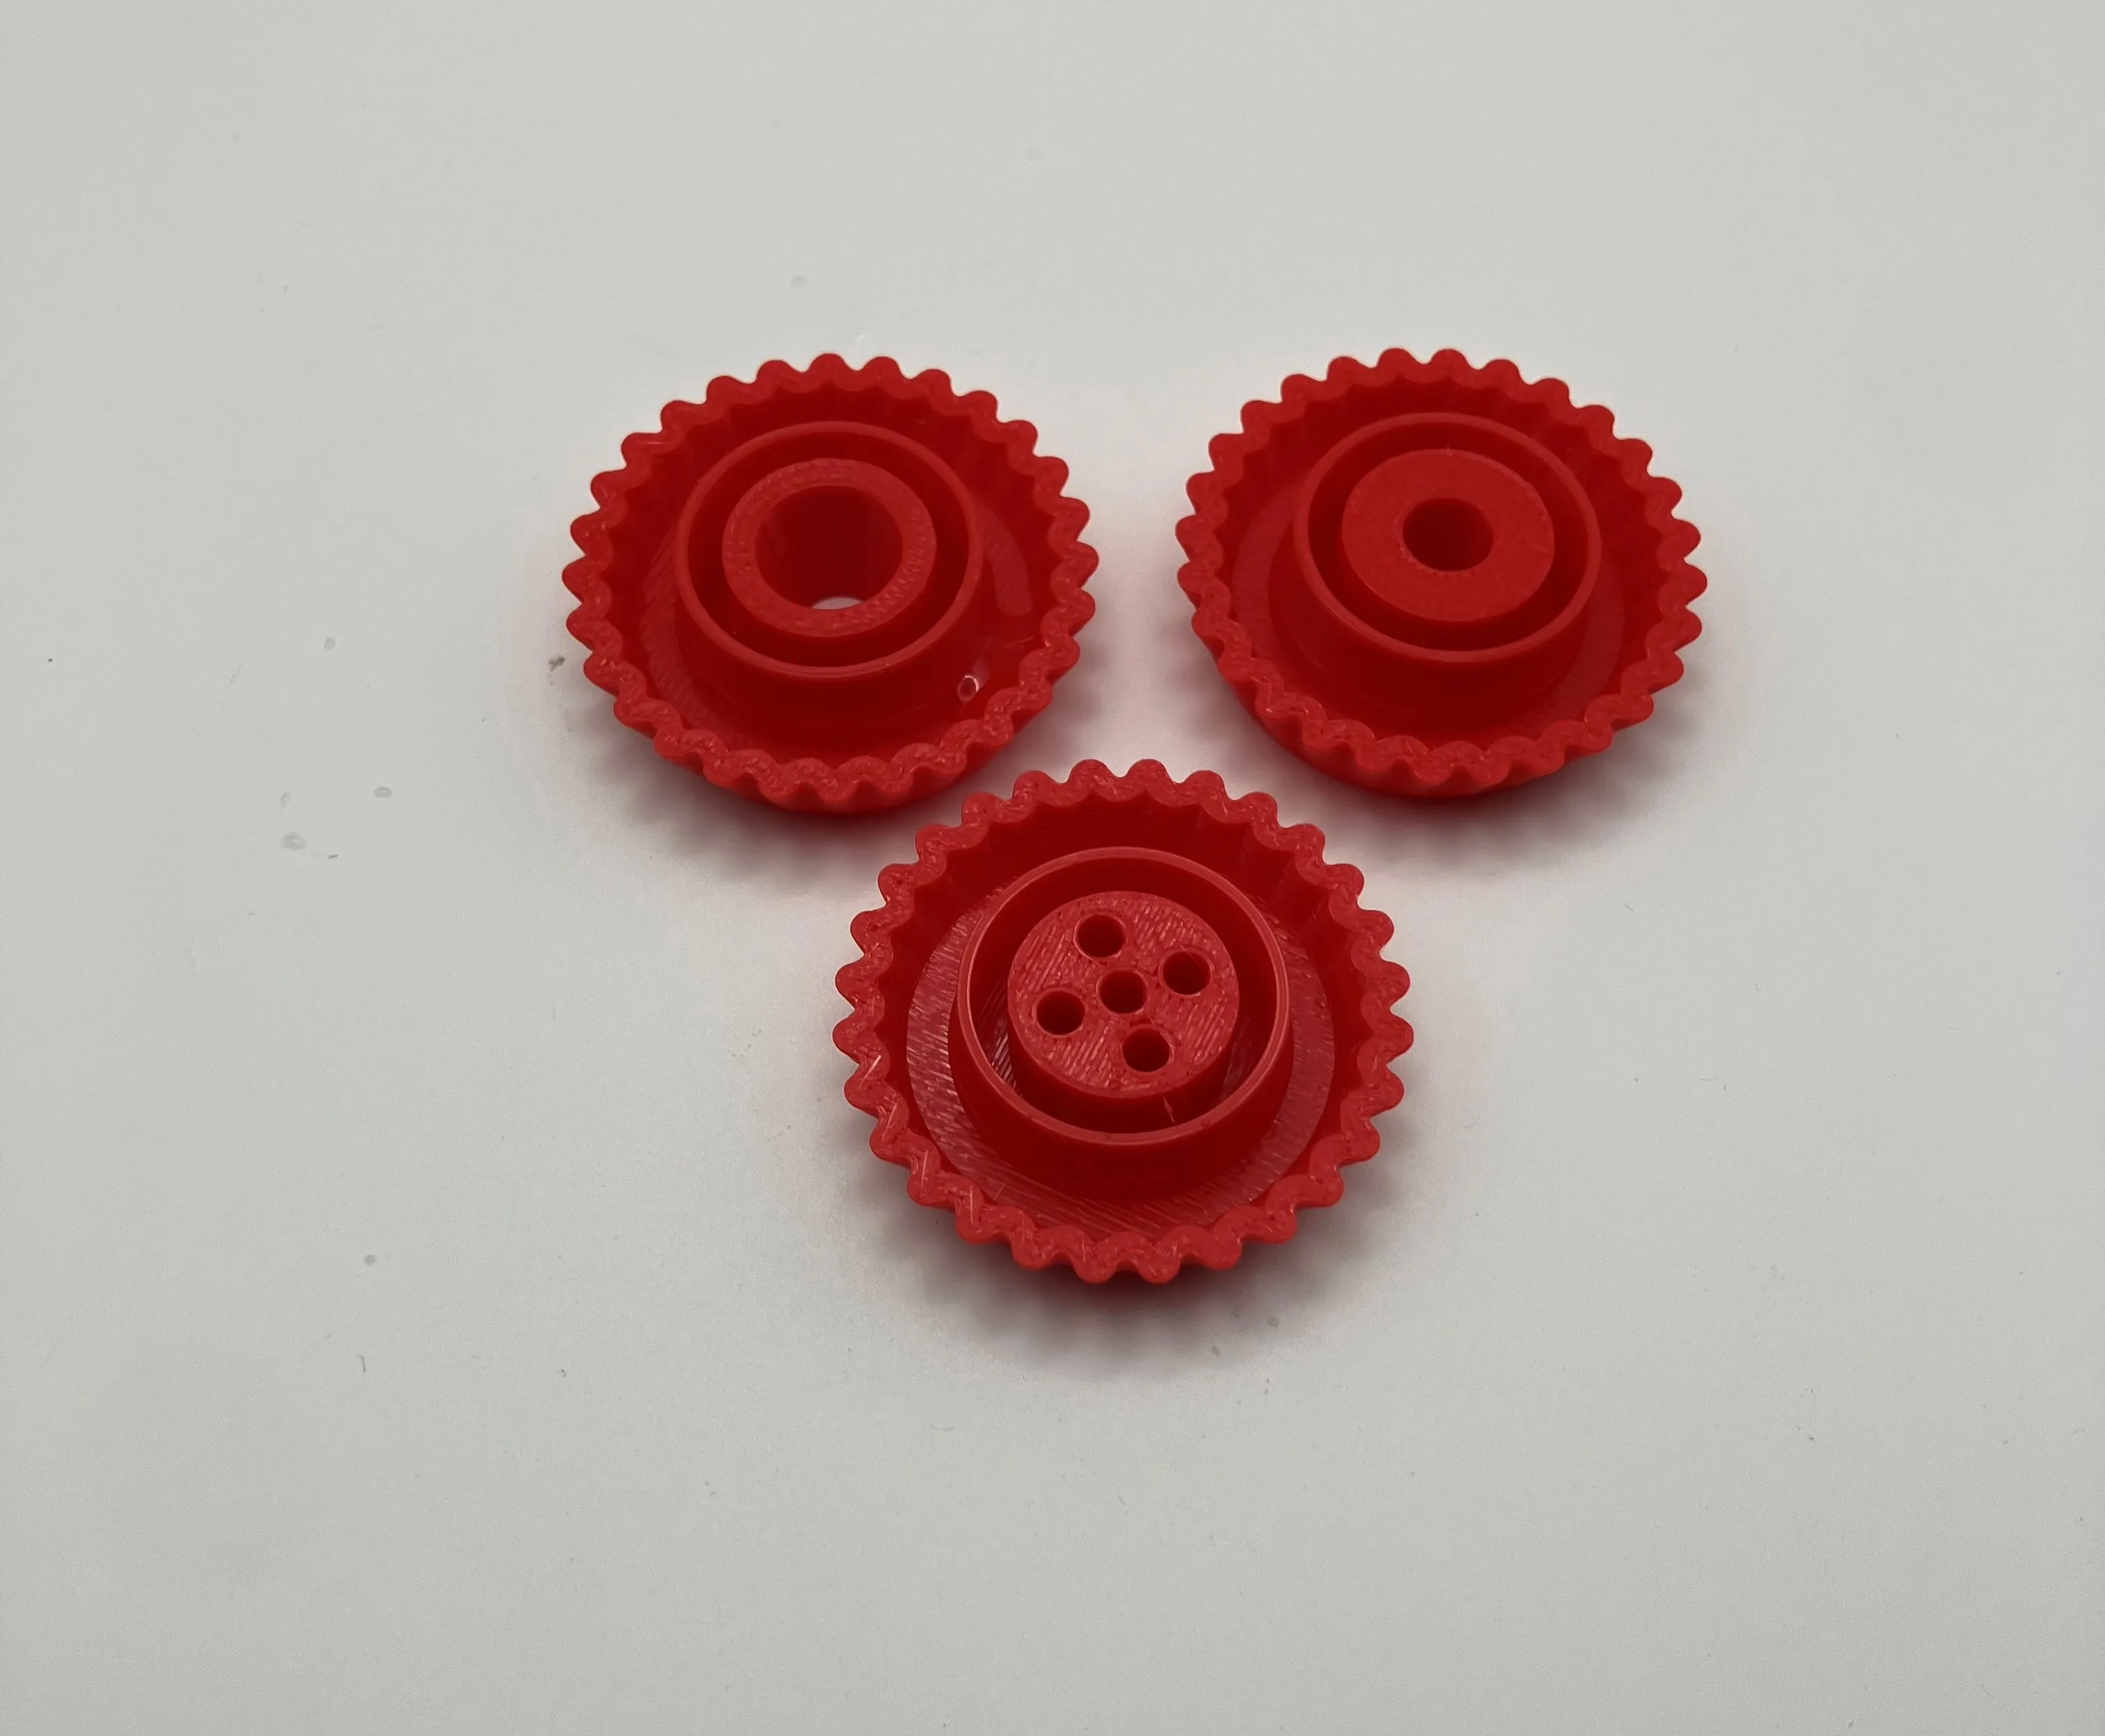
Caps should also friction fit, enabling you to switch caps as desired, but you can use glue if you want a more permanent attachment.
Now you are ready to load the gun's tank and start shooting!
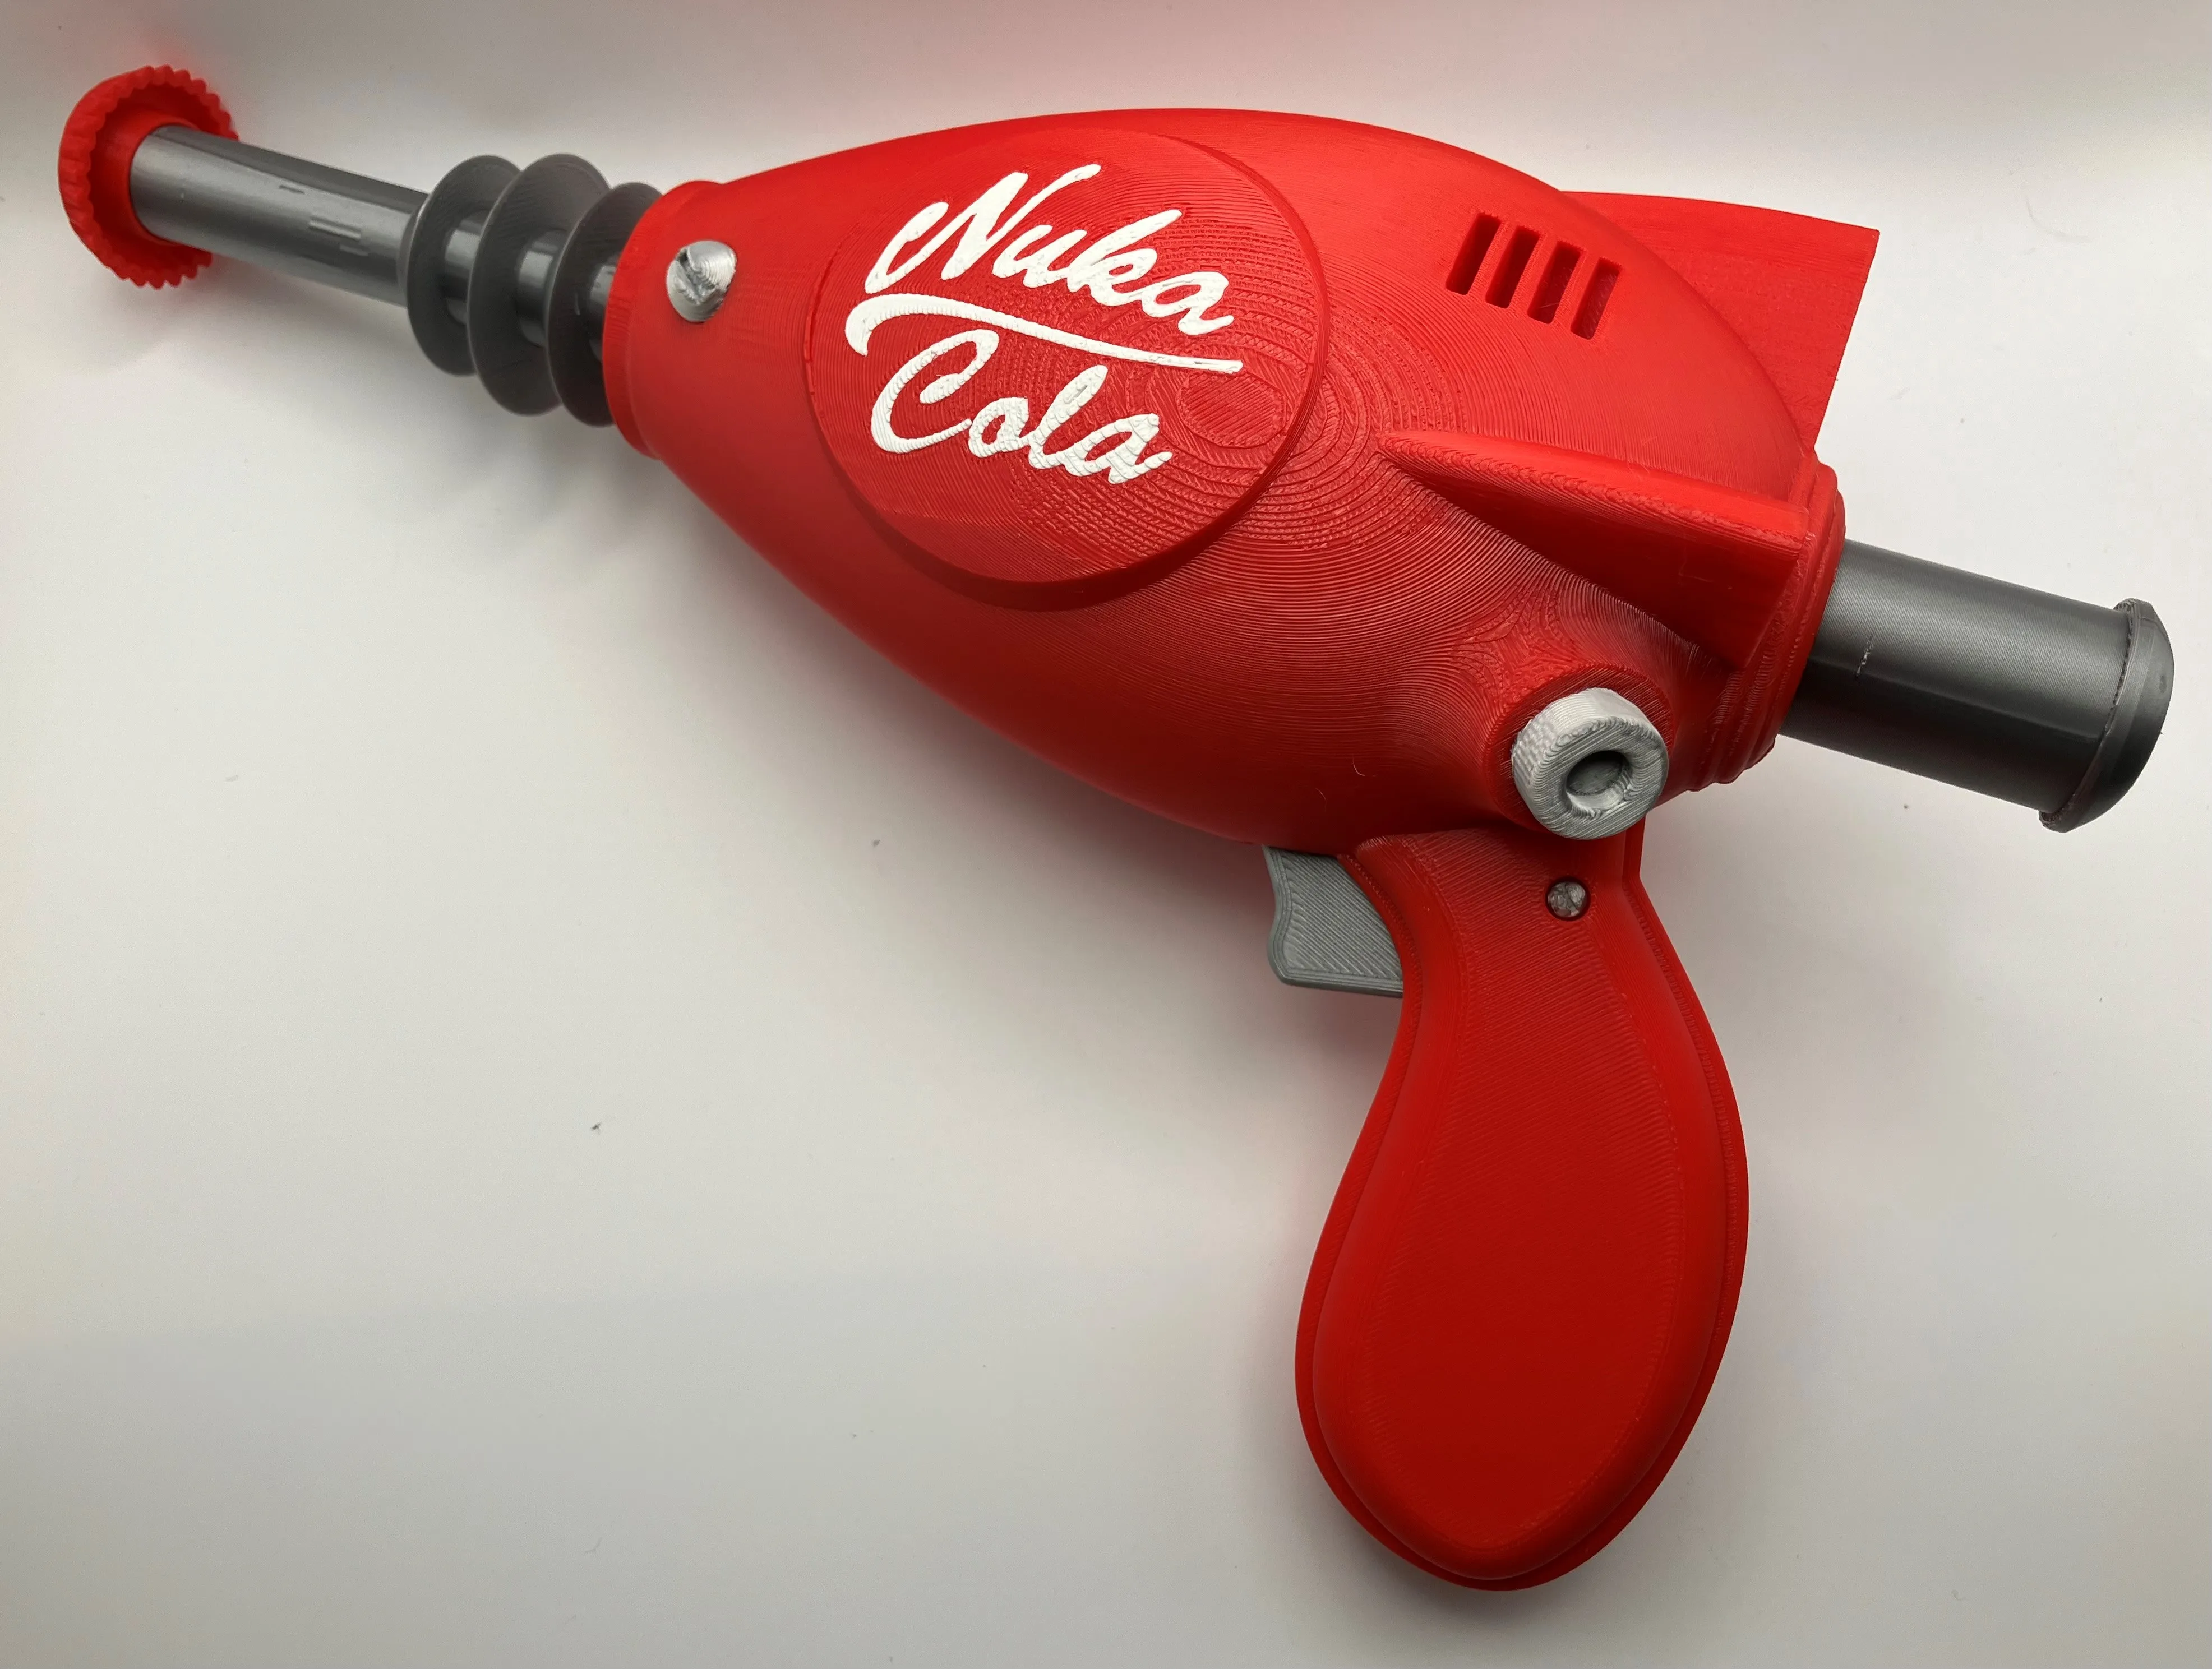
Enjoy!
Lettering Powered by MakerWorld-Image to Keychain (https://makerworld.com/makerlab/imageToKeychain)
License



Comment & Rating (90)