
Print Profile(7)


Description
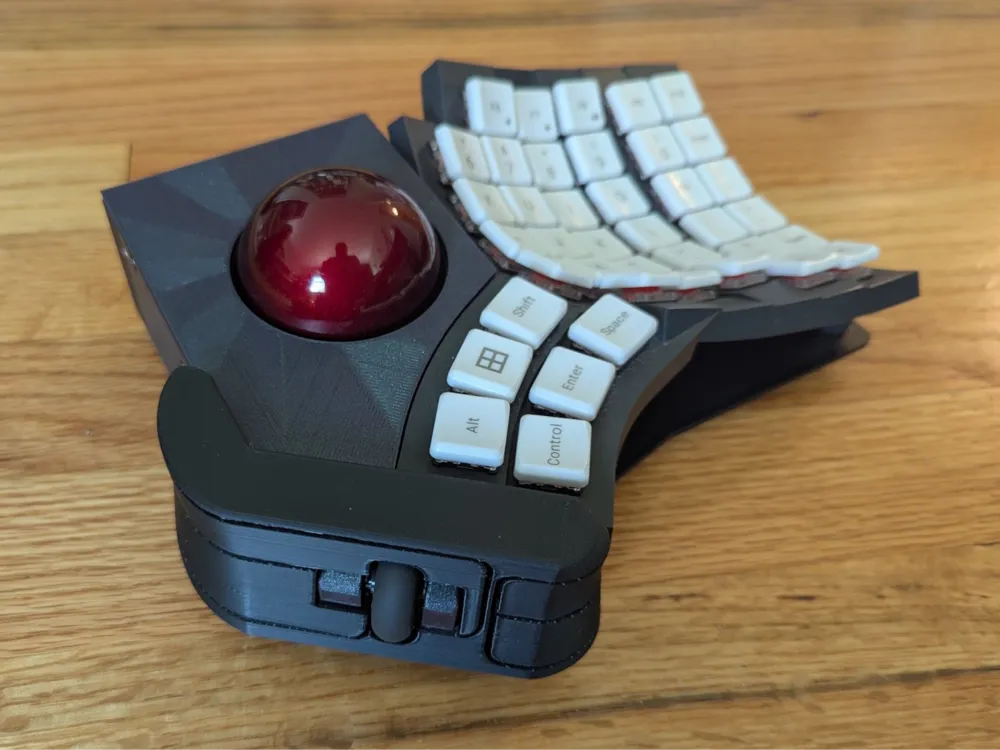
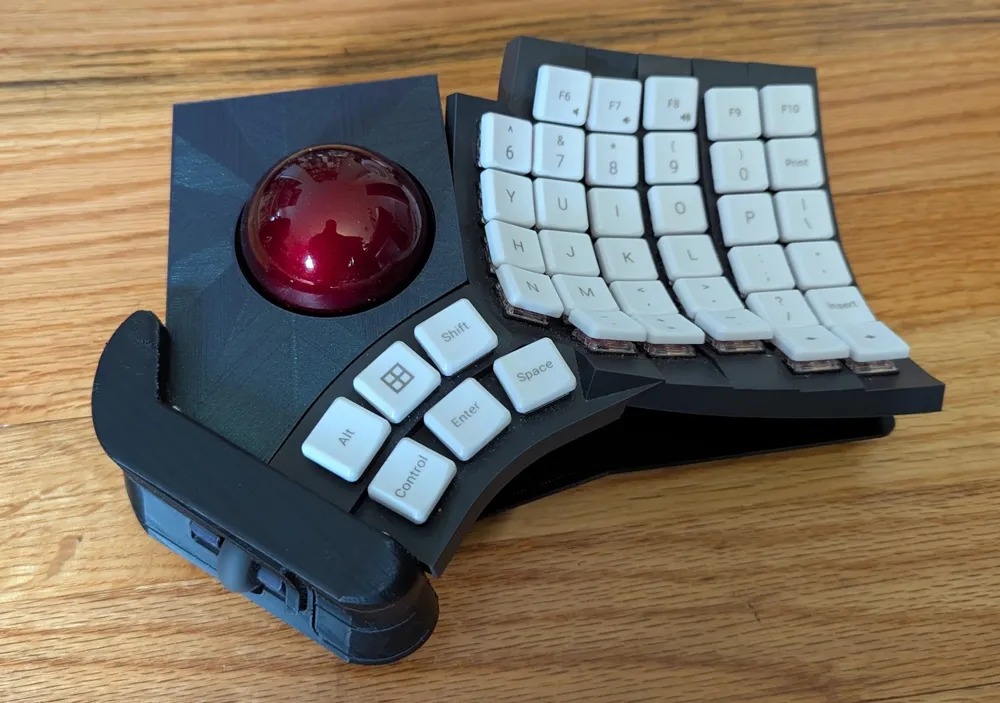
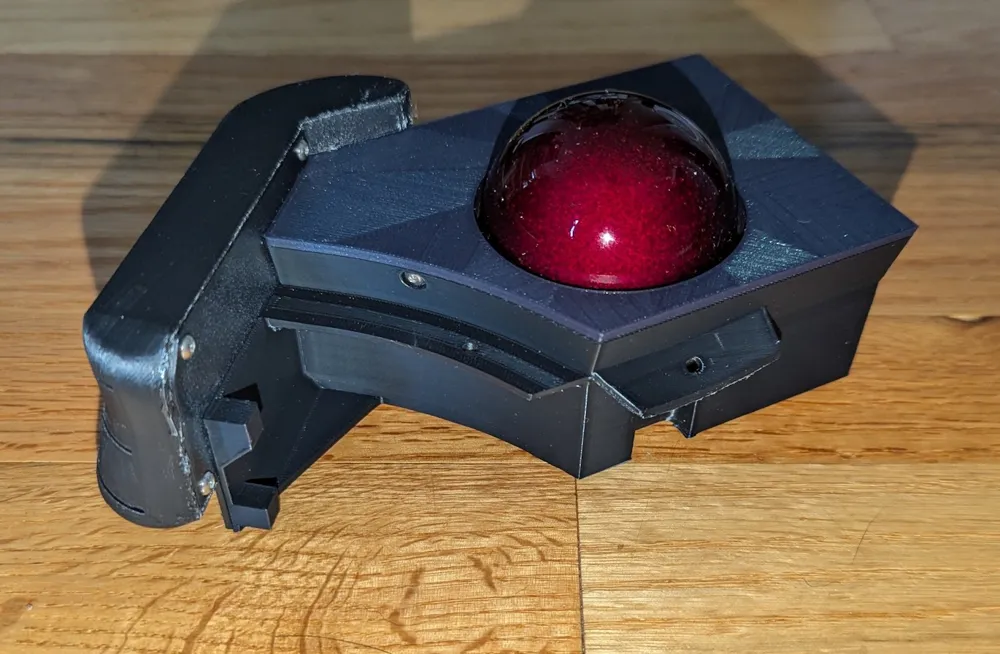
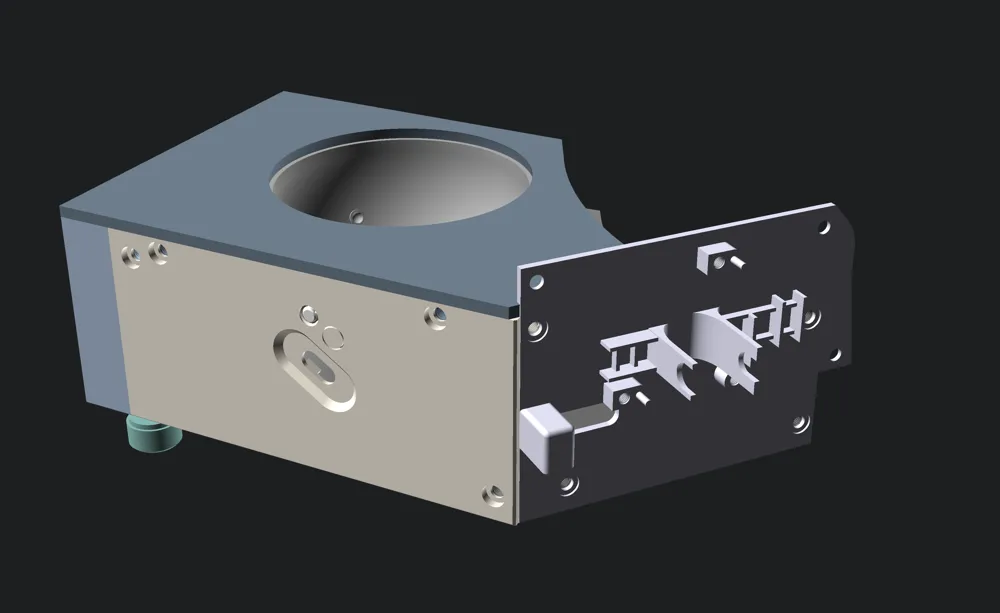
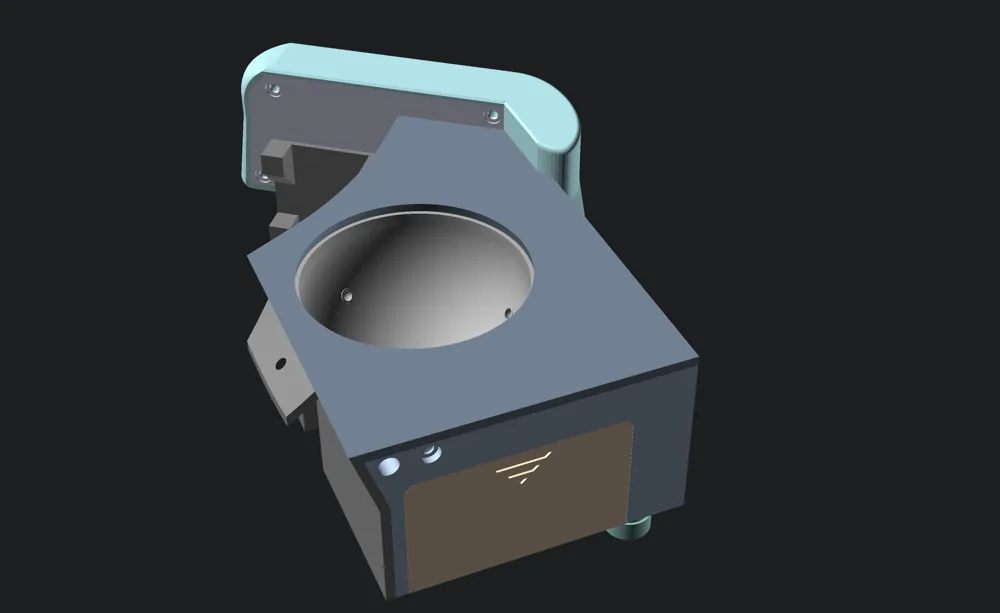
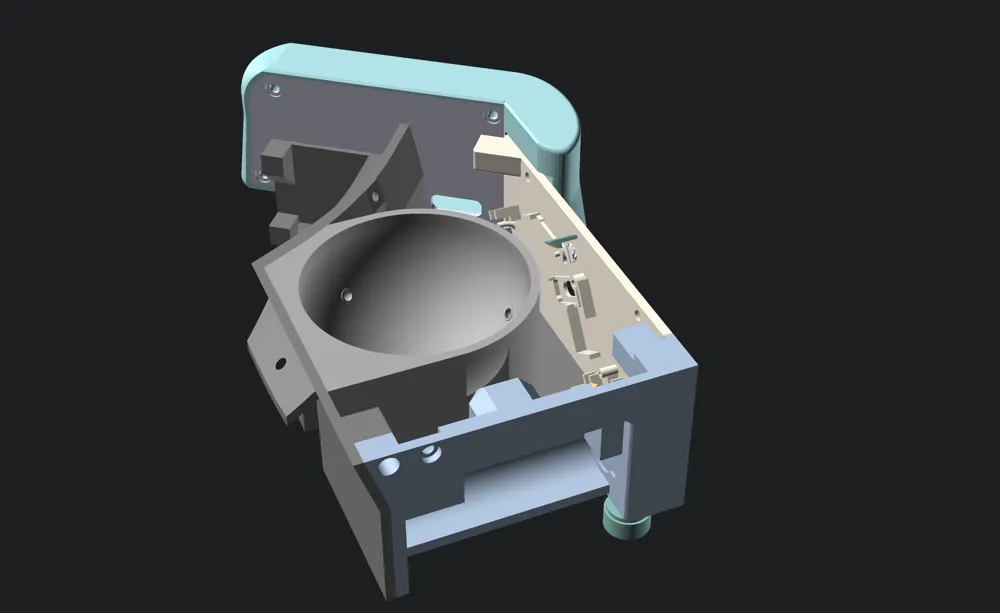
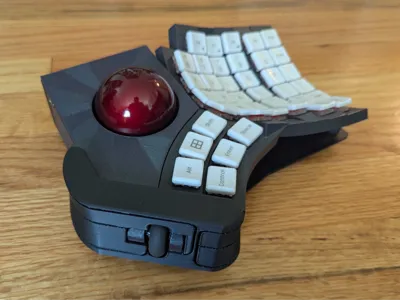
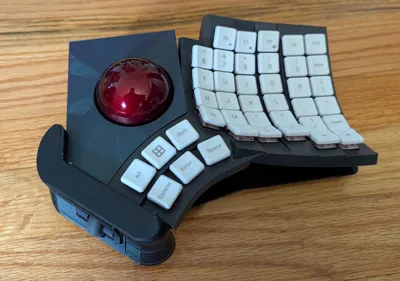
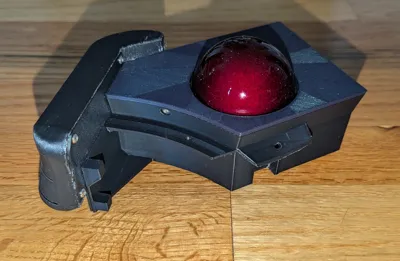
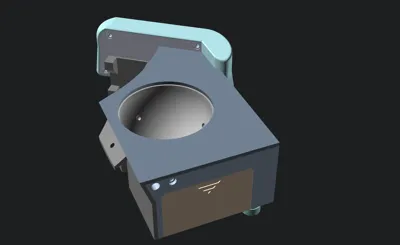
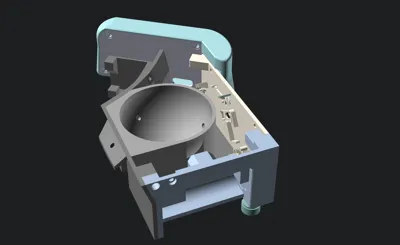
A 3D printed trackball designed to fit into the sidecar module of the MoErgo Glove80 keyboard. The trackball uses the internals of a Logitech Ergo M575 and can fit any size trackball from 34 mm, which is what the M575 uses, up to 55 mm. (Note that I'm not affiliated with MoErgo or Logitech in any way.) You can find assembly instructions, as well as the OpenSCAD source code, at GitHub.
Update - June 22, 2025
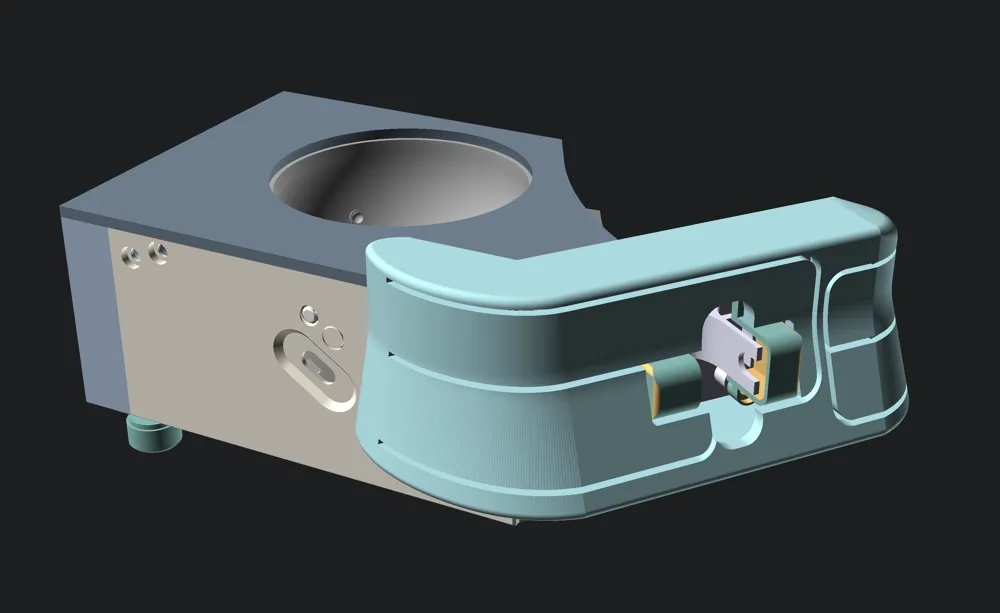
I've now posted version 1.1, which has a handful of changes, all of which are aimed at making the mouse buttons more comfortable to use:
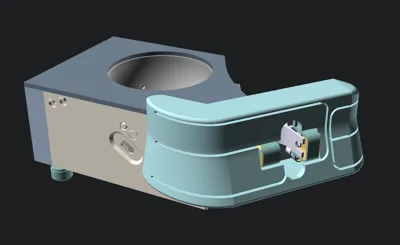
- The left mouse button is extended over the top edge of the mouse button shell
- The right mouse button is extended forward
- There's now a printable mouse wheel that's a little smaller than the M575's wheel. This isn't included in the main 3MF file, as it's best printed with a 0.2 mm nozzle. There are two options for printing: as a single piece print that uses fuzzy skin to add some texture to the mouse wheel for grip, or as a two part print that uses TPE for the outside of the mouse wheel. I've tested both, and I have a very slight preference for the two piece print using eSun TPE 83A, but the fuzzy skin version is quite nice as well. I wouldn't recommend using harder (90A or 95A) TPU for this; it'll likely be slipperier than the fuzzy skin version, so just use that instead.
If you don't have a 0.2 mm nozzle, you can probably get by with a 0.4 mm nozzle and some very gentle/careful sanding of the thin hex-shaped end of the mouse wheel. Sand it down (make sure to keep it hex shaped as best you can) until it fits into the encoder.
If you've already printed version 1, you can upgrade to this version by printing the mouse wheel plus the Upgrade from version 1 to version 1.1 print profile, which contains the new mouse button shell and mouse button back wall. All other parts are identical to version 1. Assembly instructions for the upgrade are available at https://github.com/KevKeating/glove80_sidecar_trackball/releases/tag/v1.1.
Features
- All of the M575's buttons and the mouse wheel are fully functional. They're placed outside outside of the Glove80's thumb cluster and are intended to be operated by your right thumb. If you don't want to use them, the Glove80 allows you to configure keyboard keypresses to act as mouse clicks.
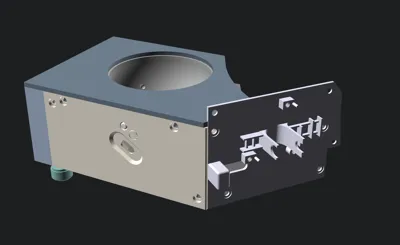
- The connection button is accessible on the side of the trackball, which allows you to toggle between a Bluetooth connection and the USB receiver. The connection light is also visible next to the button: blue for Bluetooth, white for USB.
- The trackball has an adjustable foot for tenting.
Notes
There are six plates in the 3MF file, but don't print all of them! Print the first plate ("Main body") in whatever color you want for the body. Print the second plate, which contains the cover for the connection light, in a translucent filament. (It's only about 0.1 g of filament, so it's a very, very fast print.) Then print one of the remaining plates, depending on what size trackball you're planning on using.
I printed most of the parts in PLA or PLA+, so that's what the tolerances are set for. I printed the connection light cover in PETG, but you could use translucent PLA instead if desired. For the foot, I used TPU for the bottom few layers (to give it more grip) and PETG for the rest, but PLA/PLA+ will work fine there as well. The entire trackball could be likely printed in PETG if you wanted, although you'd probably need some minor tweaks: You'll likely need to increase the number of walls when printing the mouse button shell to give it more rigidity, and the screw holes may be a bit snug as well.
Assembly instructions are below. The assembly will require a bit of soldering to attach new battery terminals. You'll also need to remove the existing battery terminals, but that can be accomplished with some tin snips or something similar if you don't want to worry about desoldering.
This design mounts the mouse wheel upside-down, which was necessary to arrange the mouse buttons comfortably since they're on the same PCB. Your OS should have an option for inverting the mouse wheel if you want it to work normally.
When removing the supports from the mouse button shell, be careful not to damage the buttons. The tip of the left mouse button can be a bit fragile.
You can get some cool patterns around the trackball if you adjust the bottom surface pattern when printing the top shell. Archimedean Chords and Octogram Sprial both give nice results.
License



Comment & Rating (1)