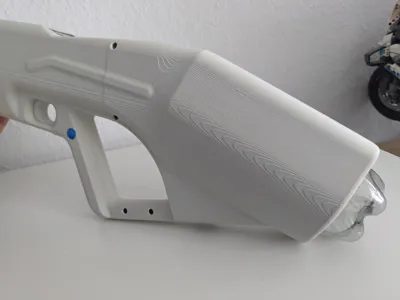
AquaPhaser 3000 Water Pistol


Print Profile(1)

Bill of Materials


- Silikon transparent x 1: Handelsübliches Sanitärsilikon Transparent
- Siebe x 1: https://www.amazon.de/dp/B0DLBBGXL4
- Ladeplatine USB-C 2S LiPo x 1: https://www.amazon.de/dp/B0CJY51RTG
- Akkuanzeige 2S LiPo x 1: https://www.amazon.de/dp/B07ZCRFL87
- 0.5 L PET Bottle x 1:
Description
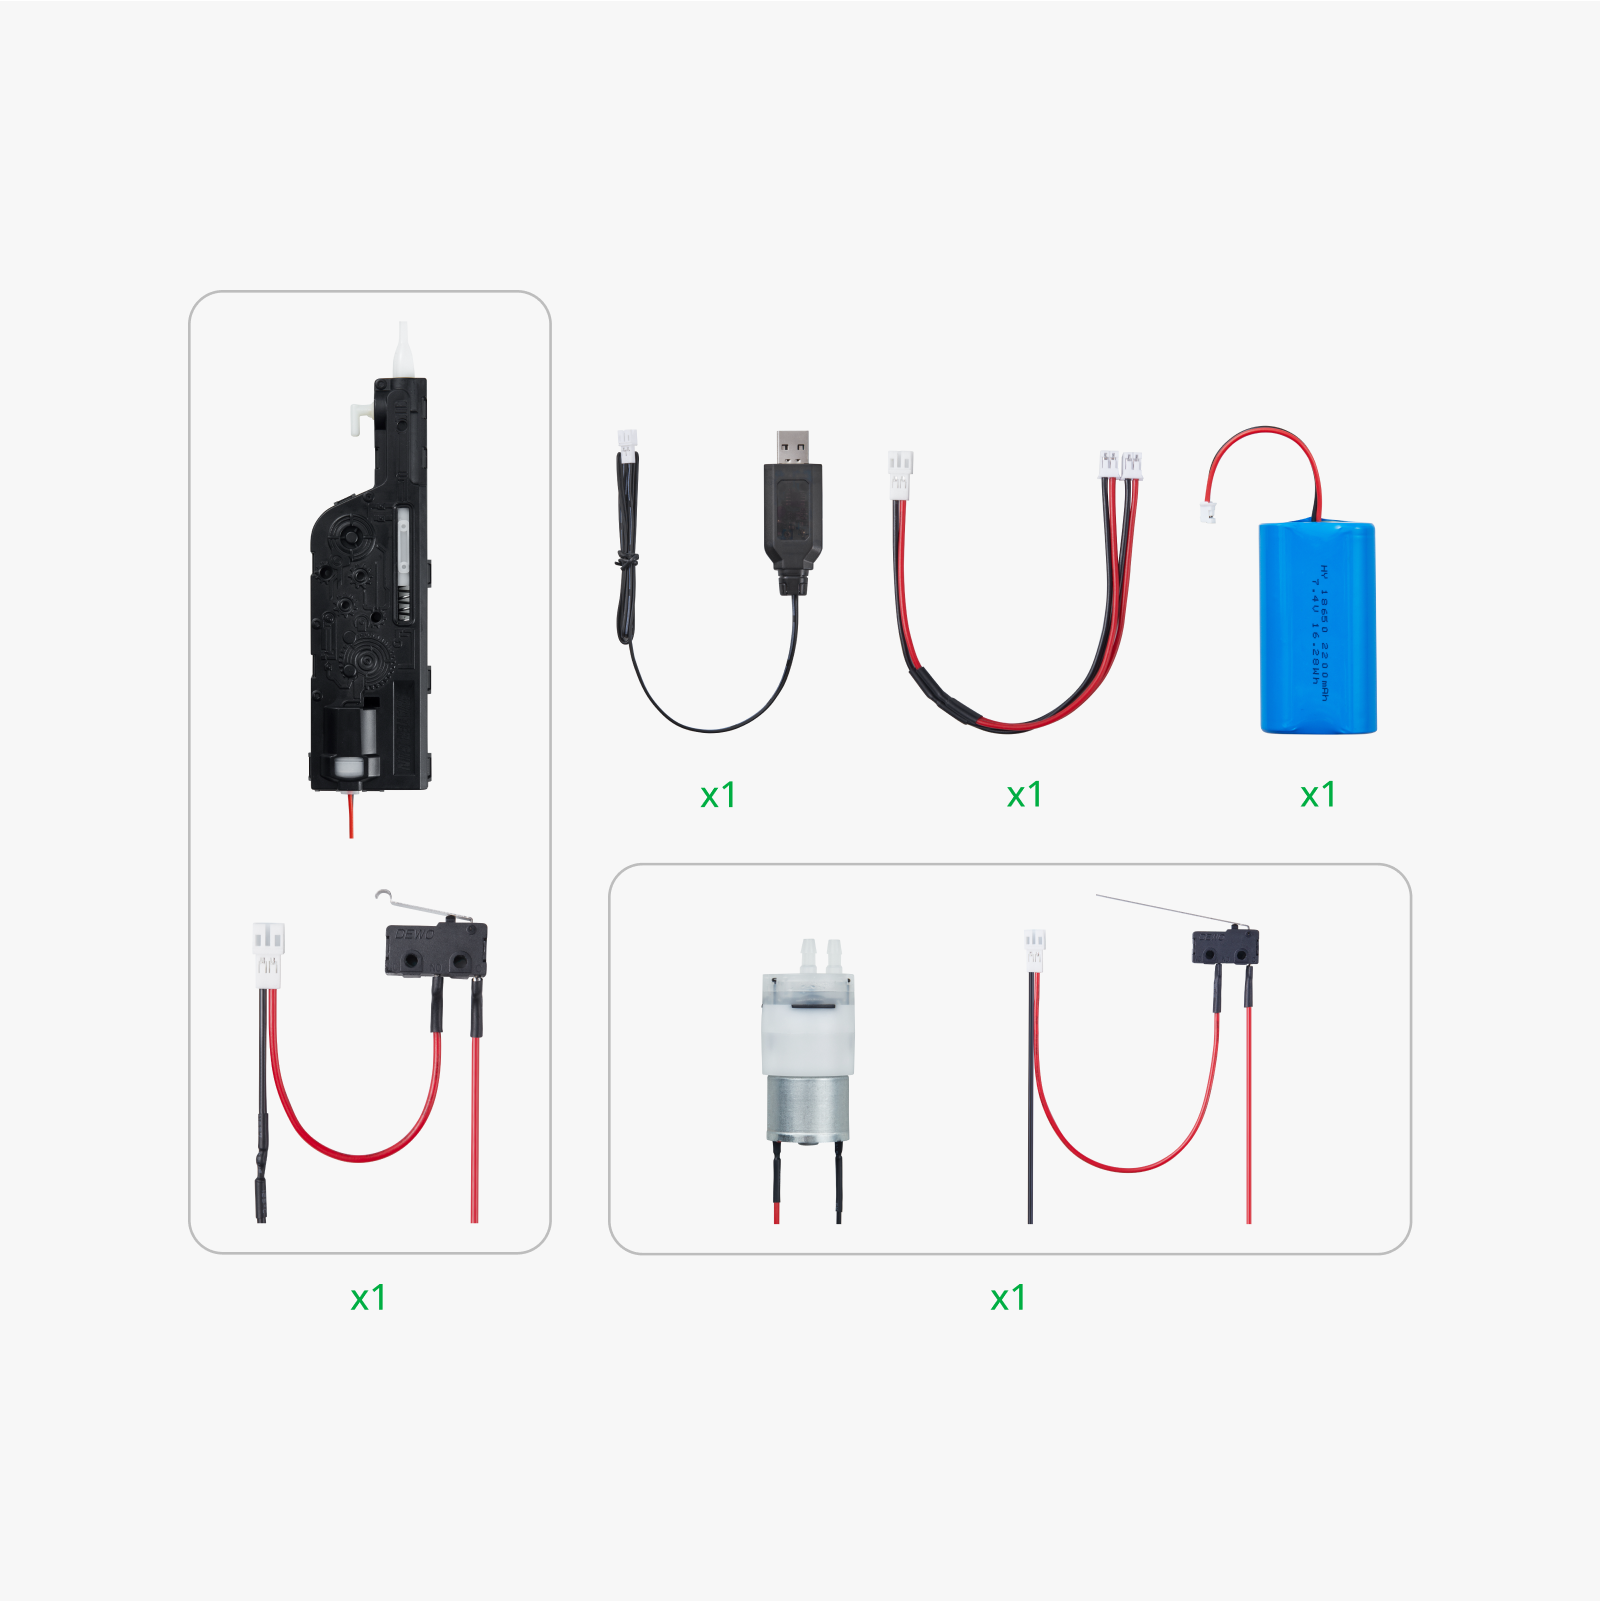
The AquaPhaser 3000 utilizes the Bambulab “Electric Water Spray Kit 01”
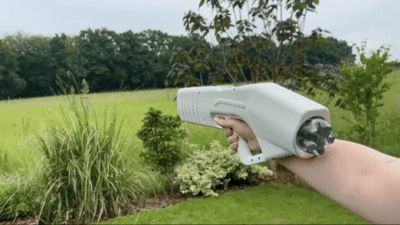
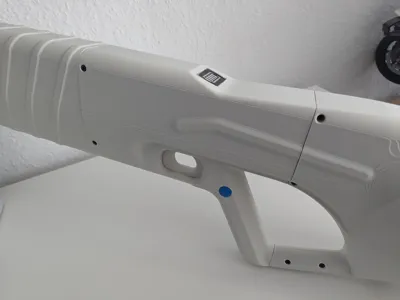
I intentionally designed this with a futuristic aesthetic, while distancing it from the appearance of real weaponry to emphasize its playful nature. A 0.5-liter PET bottle (e.g., from a well-known soft drink brand) serves as the water tank. It is inserted via a large opening at the rear, secured with a matching thread and a TPU seal.

Two tubes are located within the tank, as the AquaPhaser 3000 incorporates an integrated pump function for refilling. A mesh filter is fitted to the front of the intake tube to prevent the ingress of debris.

The trigger performs two functions:
– Pulling it back with your finger fires a powerful jet of water—a quintessential kit feature.
– Pushing the trigger forward activates the pump, allowing the water tank to be replenished.
Refill:


The AquaPhaser 3000 features integrated charging electronics, allowing external battery charging via USB-C. An additional cable must be soldered to the wiring for this.
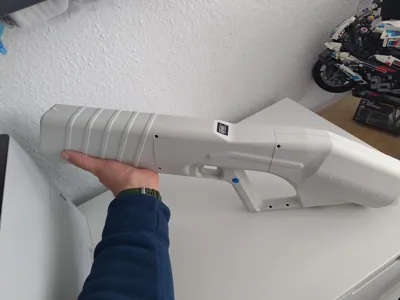
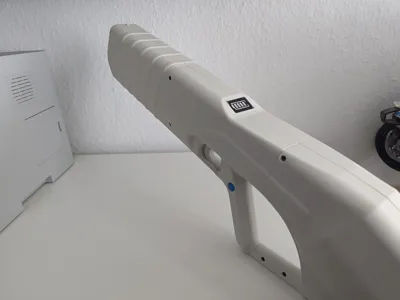
The device also includes a battery indicator. This can be activated by pressing the side-mounted button, displaying the battery level for the duration of the button press.

Here’s an image showing the open state:

A fully illustrated assembly guide is not currently available, as this first version is a design and feasibility prototype. The materials used are listed below. Assembly is intended for experienced and skilled makers.


Printing Notes:
The model requires three different materials for printing: PLA, PETG, and TPU.
Most of the shells and small parts are printed in PLA. The seal and the charging port cover are printed in TPU.
The two central shells are also printed from PLA but with a boundary layer of PETG to create the smoothest possible surface for the trigger. The settings are already configured in the project file.
Have fun with the futuristic AquaPhaser 3000!
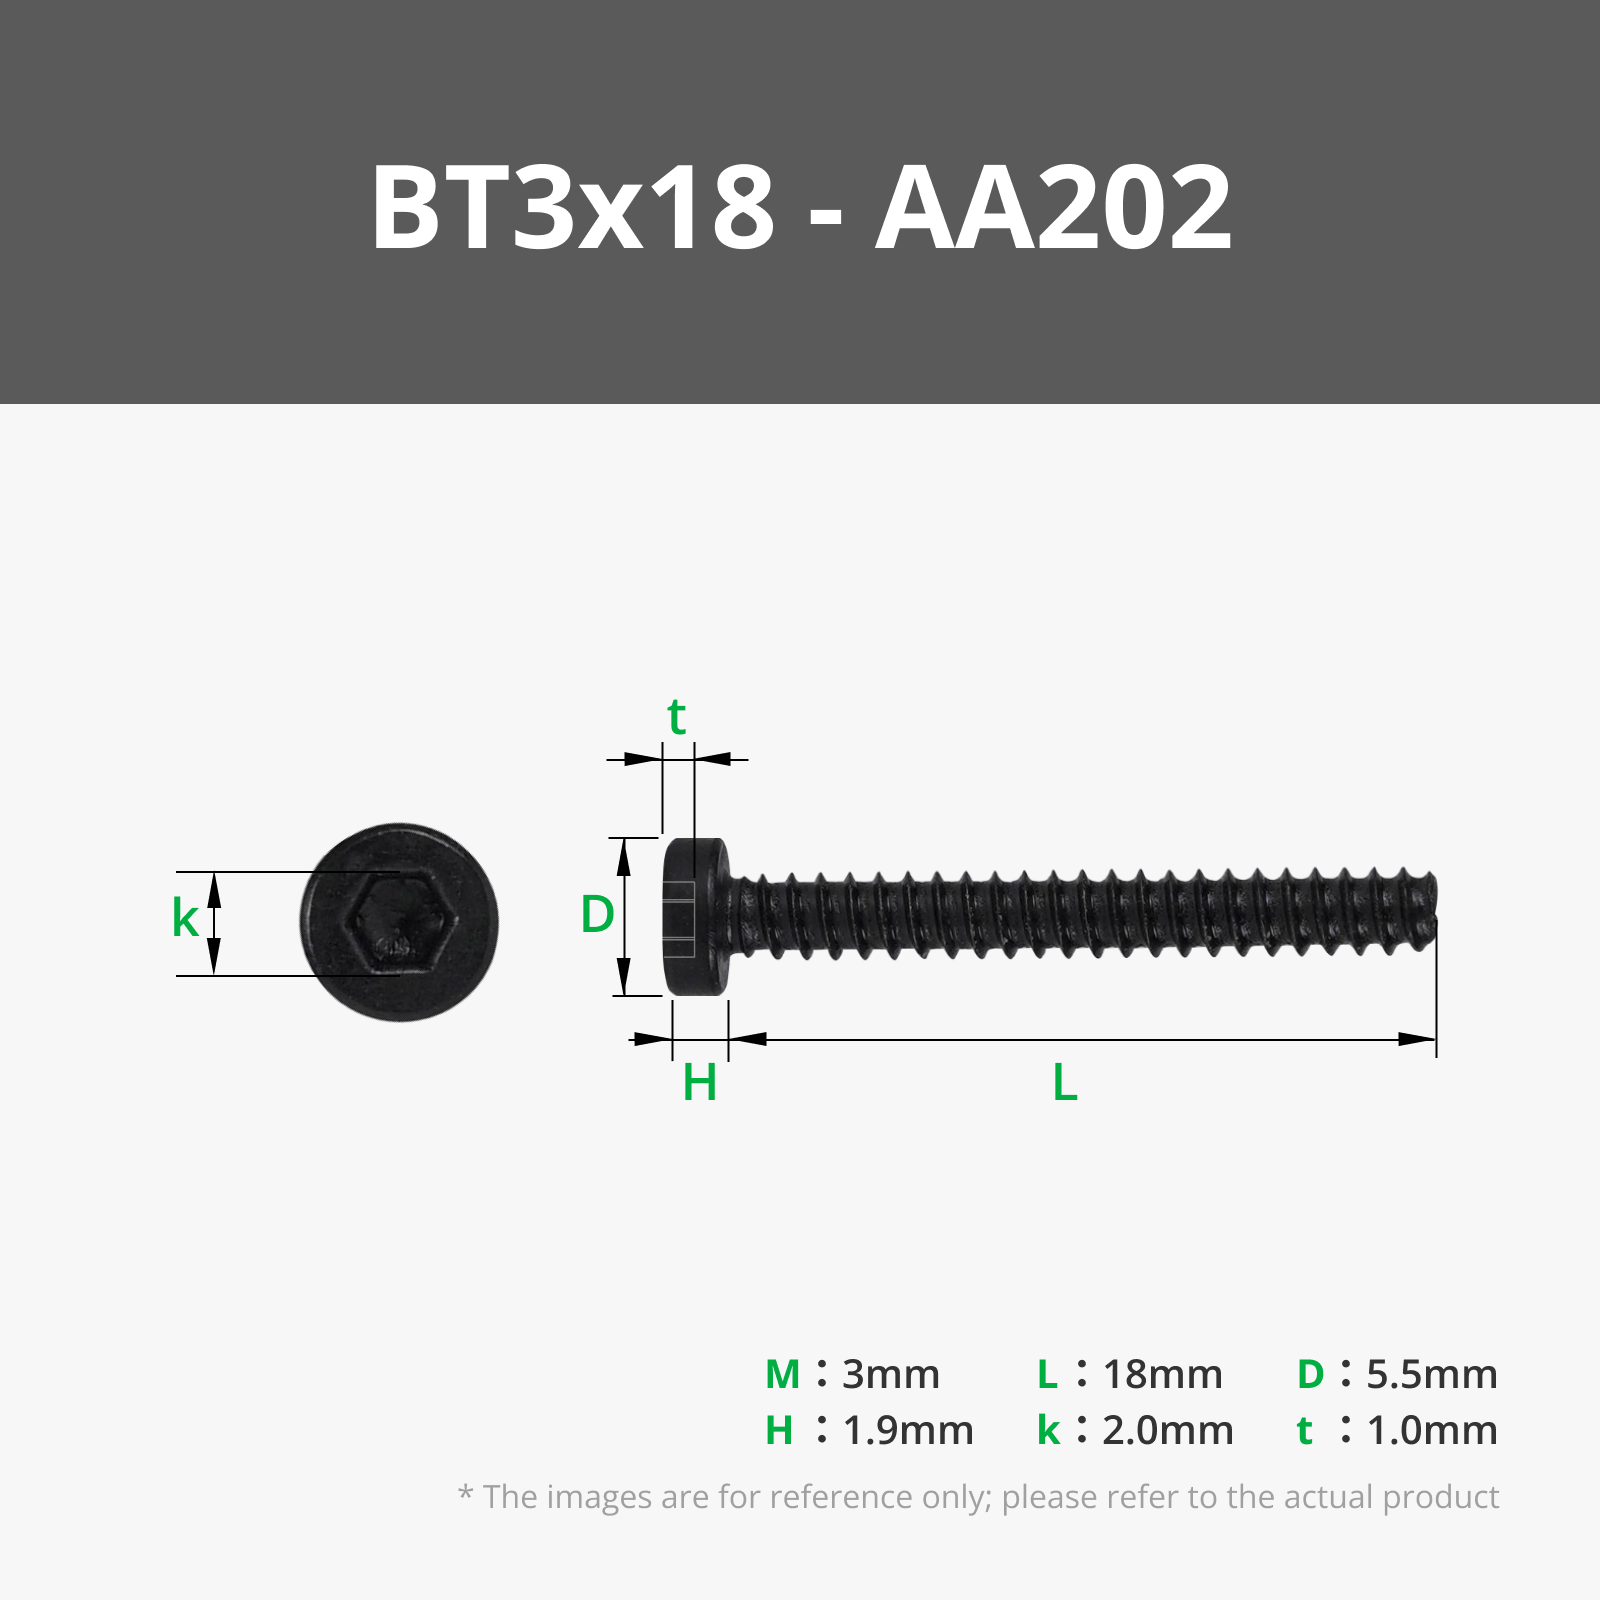
This initial version utilizes a relatively high number of screws. An AquaPhaser 3000 PRO is already planned for the future, featuring fewer screws and significantly simpler assembly.
License
You shall not share, sub-license, sell, rent, host, transfer, or distribute in any way the digital or 3D printed versions of this object, nor any other derivative work of this object in its digital or physical format (including - but not limited to - remixes of this object, and hosting on other digital platforms). The objects may not be used without permission in any way whatsoever in which you charge money, or collect fees.
Comment & Rating (16)