
Print Profile(1)

Bill of Materials


Description
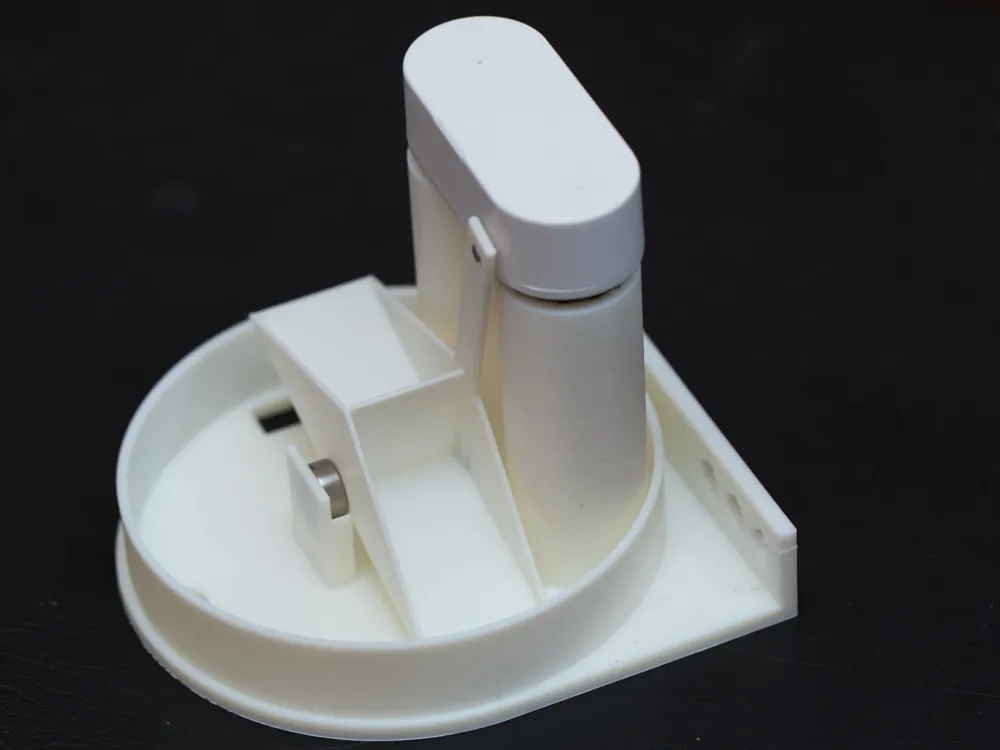
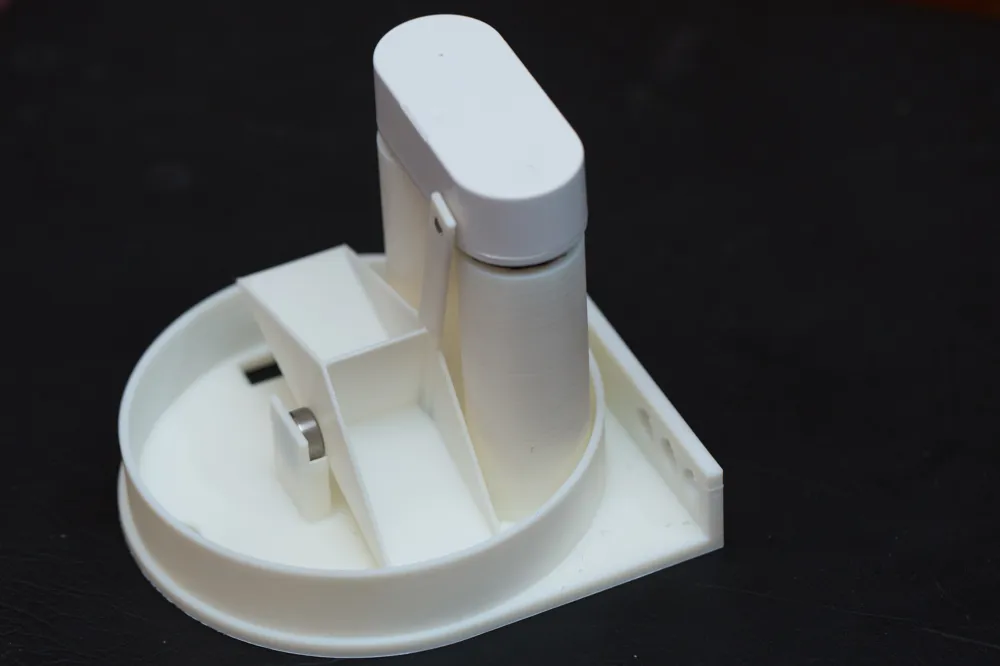
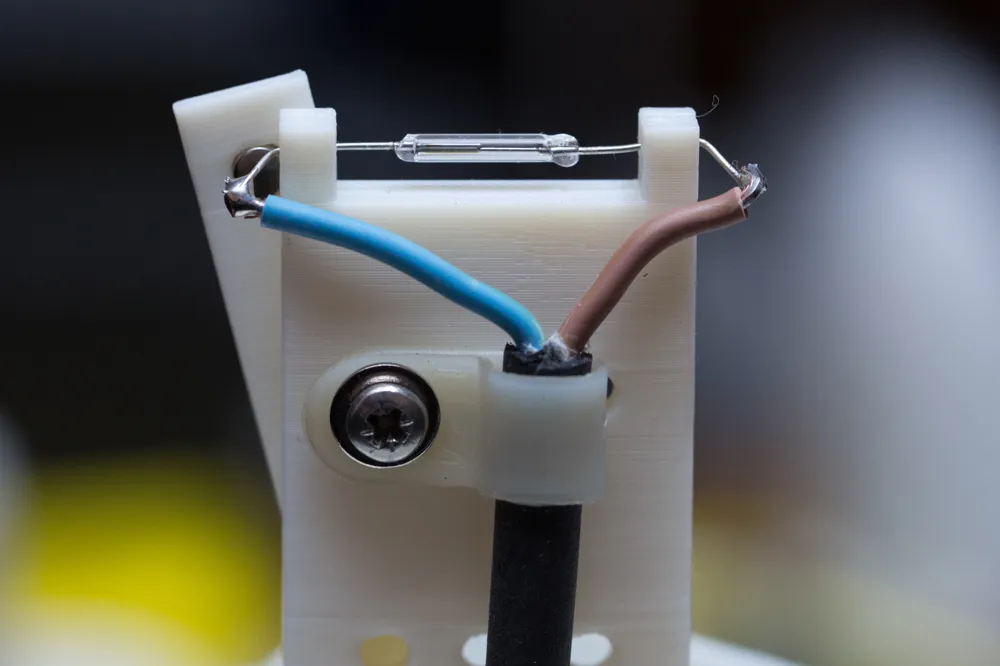
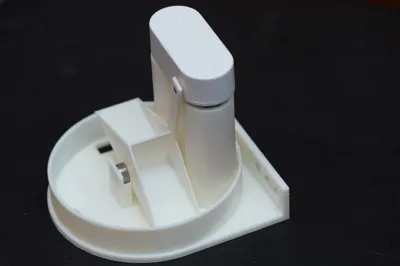
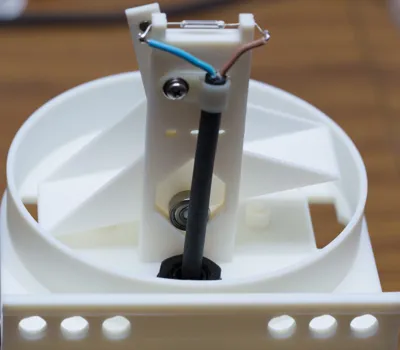
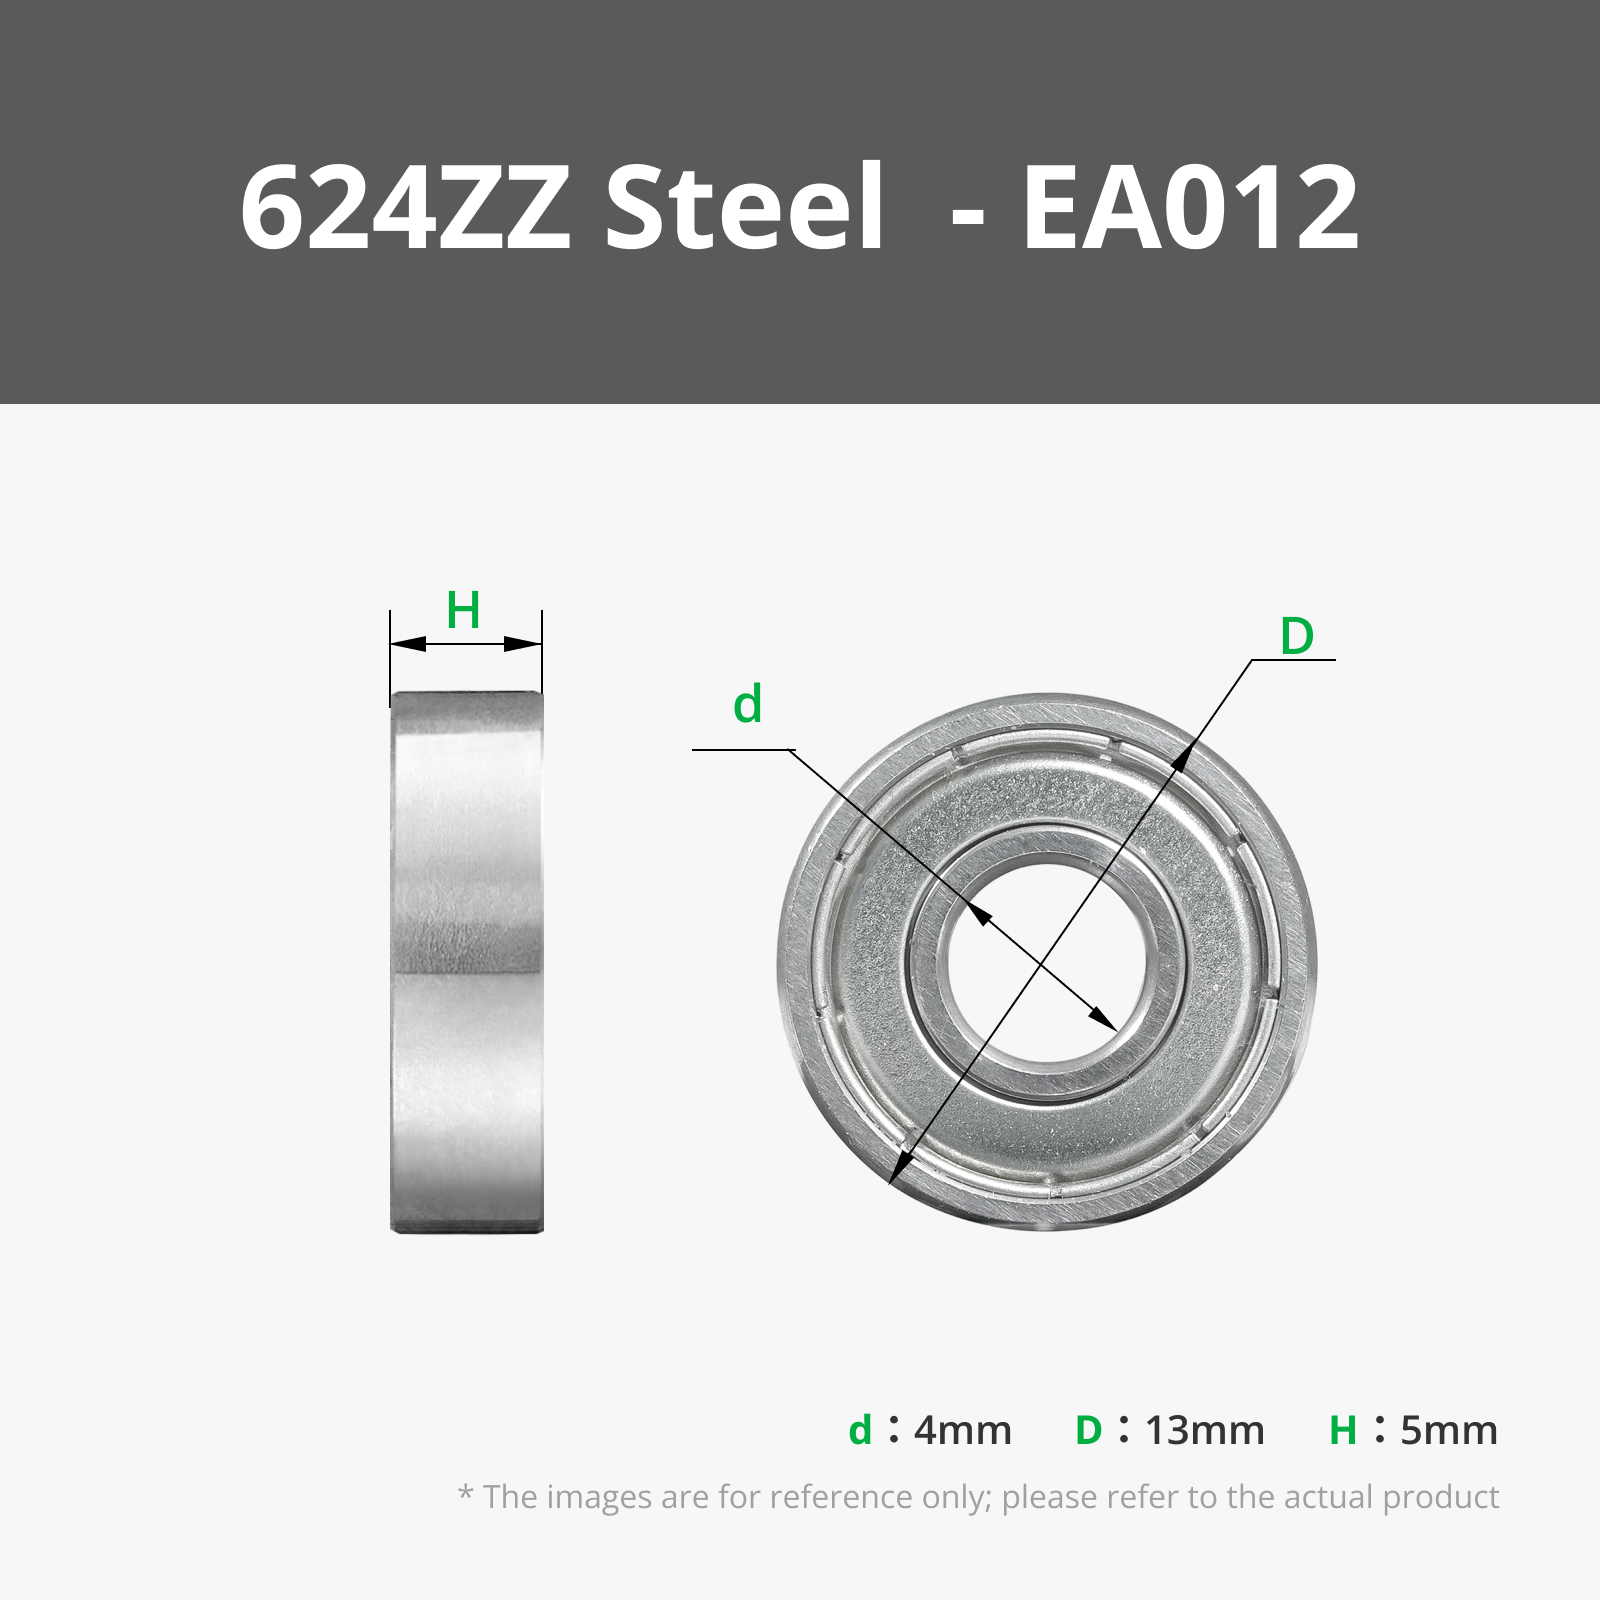
This is a tipping bucket rain gauge with two variants, one to suit a LDS02 door sensor and another to suit a reed switch that you can use with any device with a pulse counter input. In the parts list I've included the magnet and bearings that both variants require. For the LDS02 the only additional item required is some Velcro to hold the device while allowing removal for battery replacement, Bambu part NC003 would be ideal, but a square piece can also be used. For the reed switch variant depending on your mounting arrangement you will need the following instead:
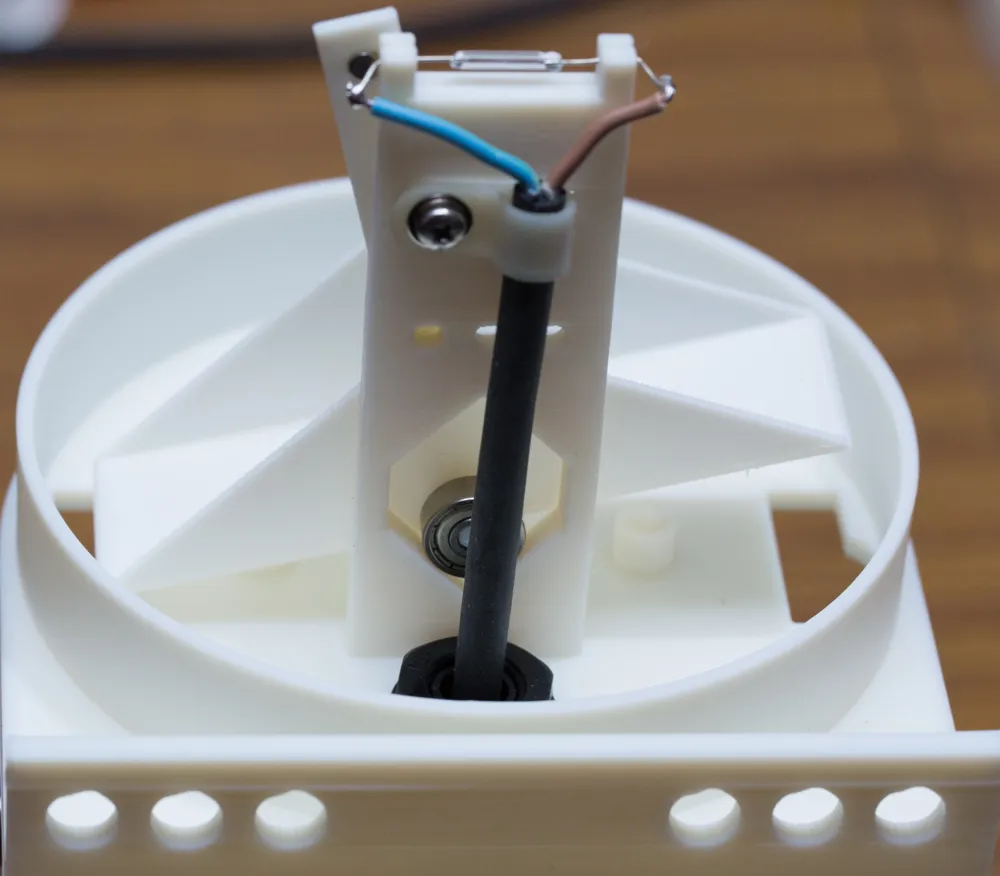
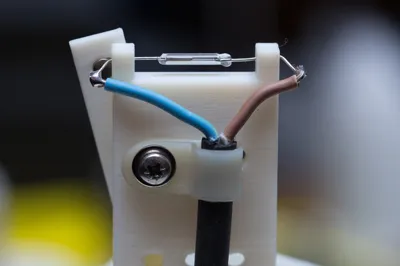
14mm or similar reed switch
M12 cable gland
M3 x 10 screw and nut
Cable clamp with M3 hole
M3 washers to make sure cable clamp screw doesn't protrude out the back
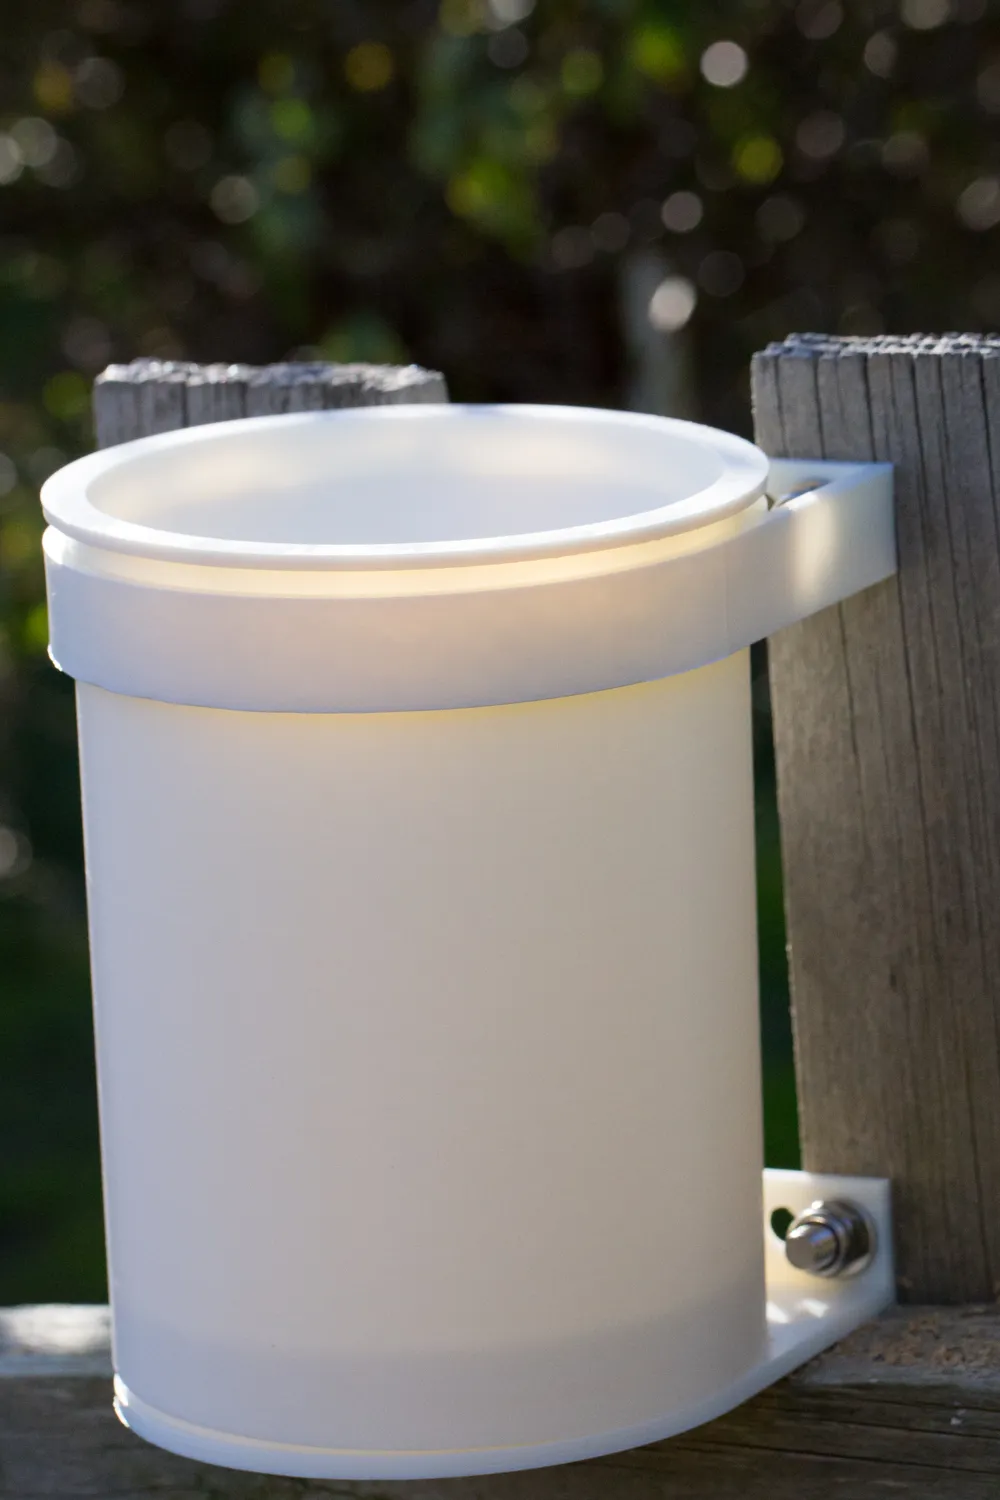
The mounting holes are to suit M8 fasteners, so you will also need 4 x M4 nuts and bolts suitable for your installation. Use the included drilling template and a marker to mark the hole positions before drilling 8.5mm holes.
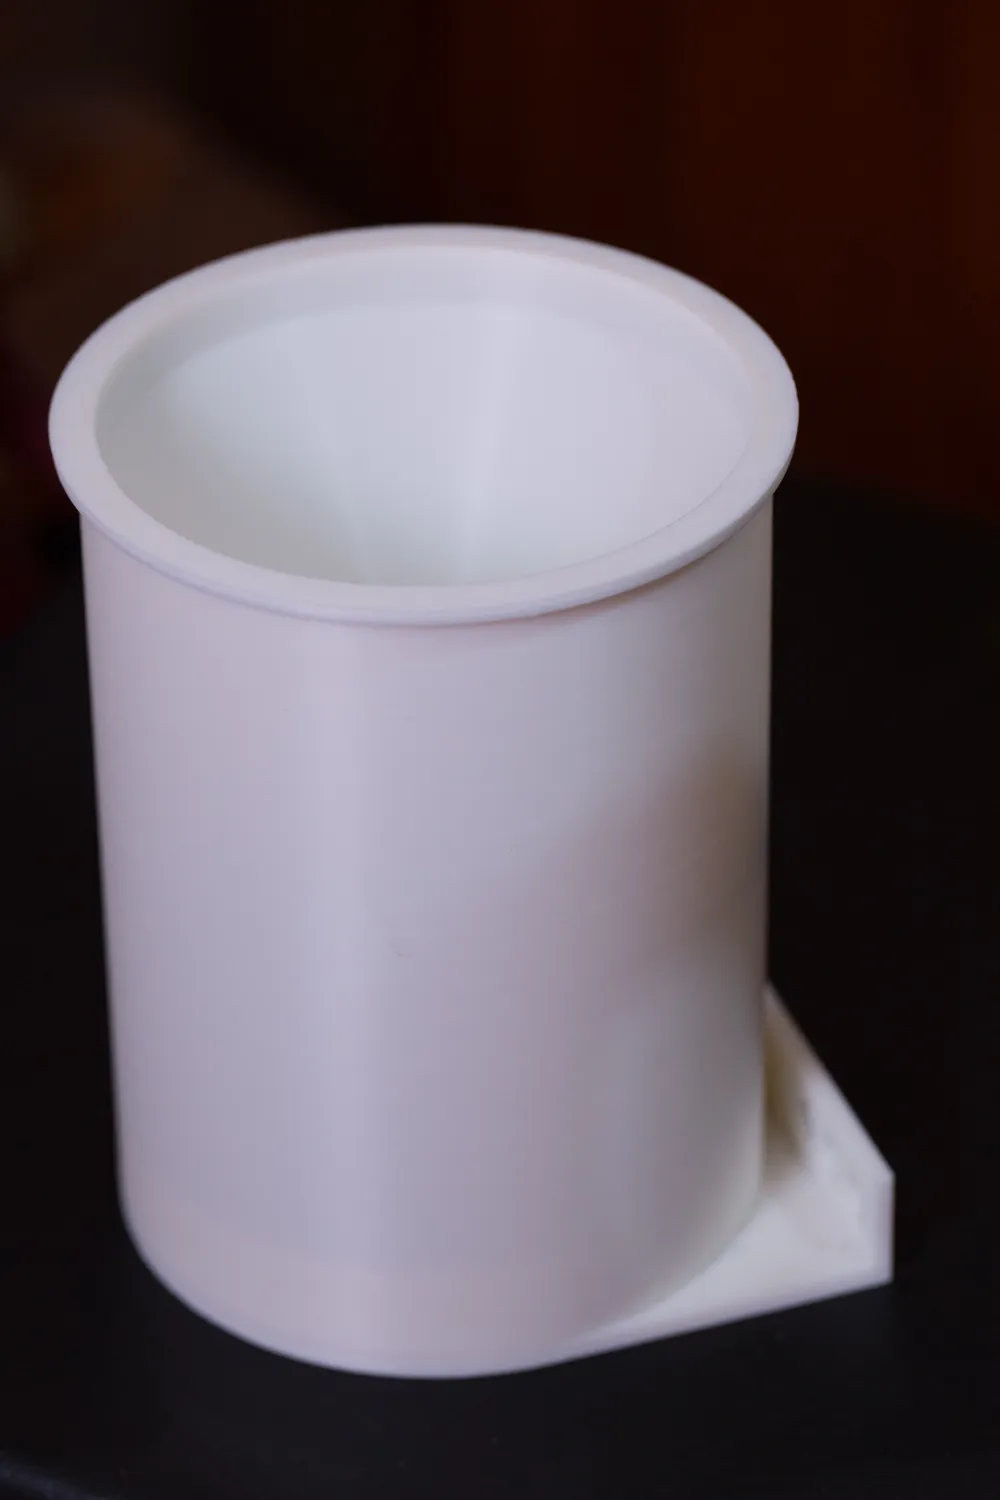
I recommend printing in ASA for UV and weather resistance for everything apart from the drilling template which is a throwaway and can be printed in PLA. I printed prototypes in PLA and it does work OK and might be OK for a couple of years depending on your climate. The bucket has ironing applied so water drains off much more evenly that without ironing. The ironing parameters in the profile seemed to give the best results with ASA but you might get a small amount of over-extrusion that can be scraped off with a plastic scraper. ASA can have a tendency to warp which is why I have placed the larger items on separate plates.
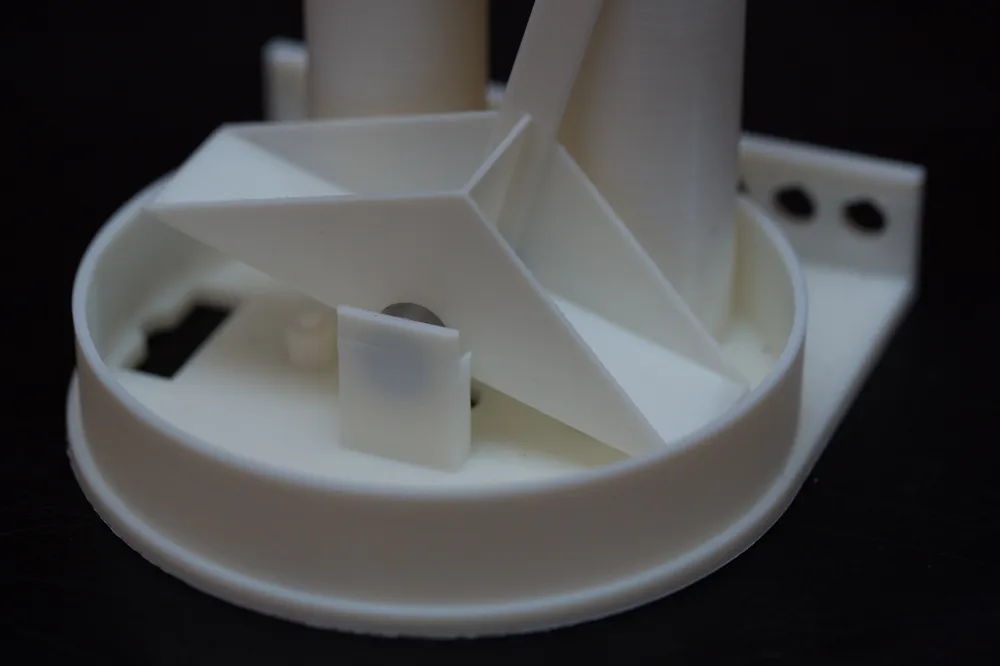
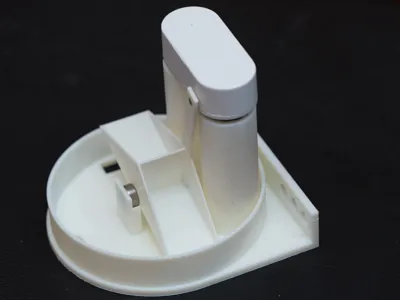
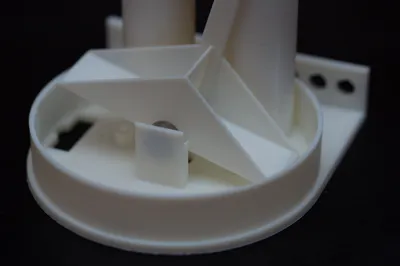
The bearings are an interference fit onto the prongs protruding from the bucket, get it started using your fingers but press it into place either using a vice or quick clamp, being careful to keep things well aligned so the mounting pins don't break. The bearing needs to be push right in to avoid friction with outer parts of the mount.
Likewise the magnet is an interference fit into the top of the bucket, I found it easiest to install by placing the magnet on a flat surface and carefully pressing the bucket arm down on it. I didn't find it necessary but you could also add a small drop of superglue.
Two small calibration pins are provided that allow the height of the bucket to be altered to adjust the sensitivity. The 8mm height included in the design will be close to one tip for every 0.5mm of rain but it can also be calibrated further in software. The pins are inserted into the holes below where the bucket sits.
The rest of the assembly should be straightforward by referring to the photos. For setting up a plug & play solutions there are some notes at 3D Printed Rain Gauge LoRaWAN, NB-IoT & LTE on achieving that using off the shelf devices. If you're running the cable over some distance to a device with logic level inputs, such as an Arduino or Raspberry Pi, it's worth considering adding a series current limit resistor and TVS to give some protection against static and lightning discharge. You can find an example circuit on the Stack Exchange
site Electrical Engineering.
The bucket opening has an area of 100 sq. cm so 10 ml of water is equivalent to 1 mm of rain, so for each 10 ml of water slowly poured into the bucket you should get two bucket tips. I calibrated by adjusting the pin height until 100 ml of water resulted in 20 bucket tips. Without any further software calibration after a recent downpour I got a reading of 39 mm versus 37 mm from an official weather station located 6 km away so it seems accurate enough for most purposes.
License

You shall not share, sub-license, sell, rent, host, transfer, or distribute in any way the digital or 3D printed versions of this object, nor any other derivative work of this object in its digital or physical format (including - but not limited to - remixes of this object, and hosting on other digital platforms). The objects may not be used without permission in any way whatsoever in which you charge money, or collect fees.


Comment & Rating (5)