


Print Profile(1)
Bill of Materials

- Adhesivo 3M doble cara x 1:
Description
NOTE: I want to preface this by saying there may be errors in this design's publication. Please comment if you find any so I can rectify them
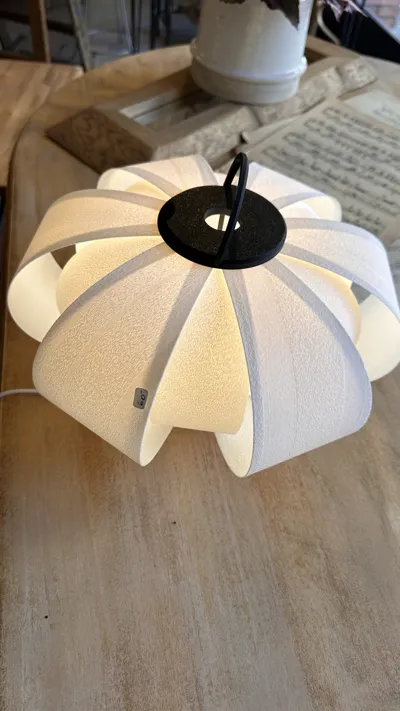
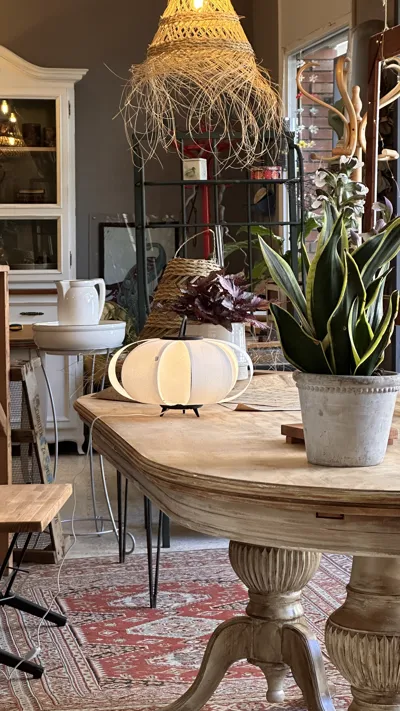
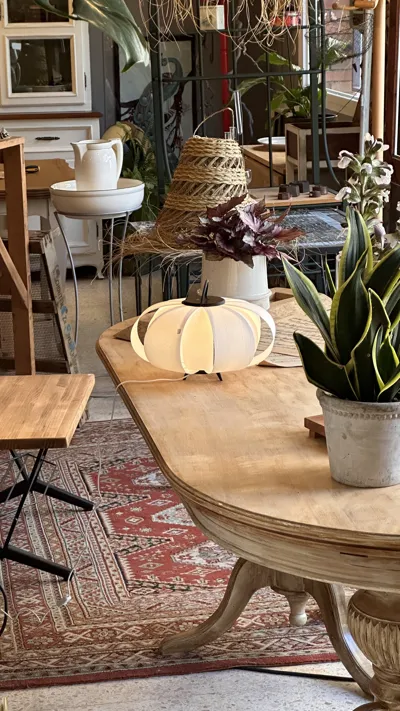
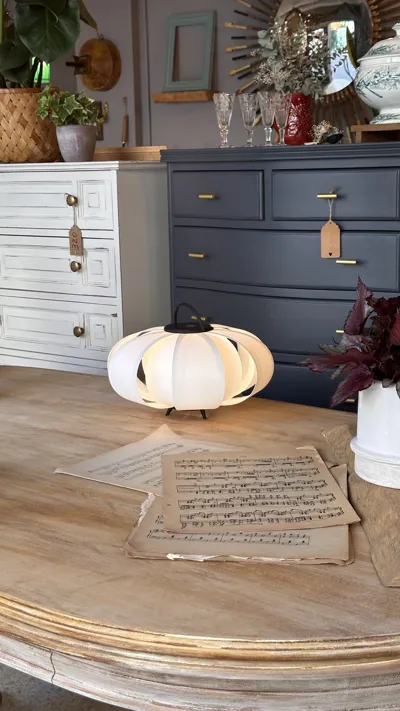
This lamp's design draws inspiration from Pilma's DISA lamp, conceived by José Antonio Coderch in 1954
That said, I will guide you step-by-step through the printing process, as I am unsure how to assign print profiles to each part. I'm not even certain if my print profiles will be visible when you open the file
Critically, the only two parts requiring supports are the “Bottom” and “Short Diffuser”. Avoid supports on any others; they will cause issues
The following image shows three printing options
- Bed 1 uses a wireless bulb (https://amzn.to/4muC9a4) I don't recommend this due to low light output
- Bed 2 is the lamp without a handle for free-standing use
- Bed 3 (my recommendation) is the pictured design with a handle for easy portability

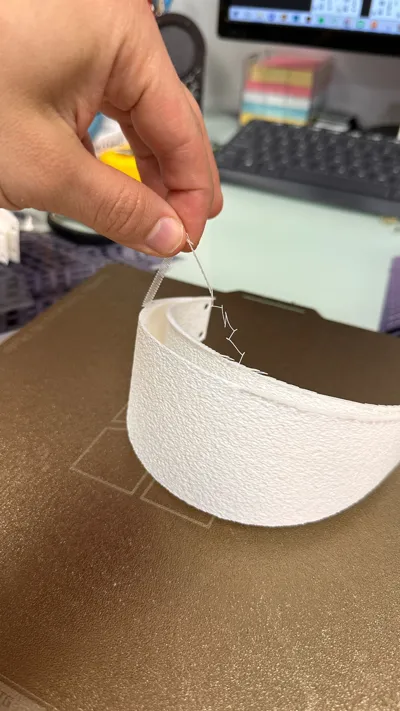
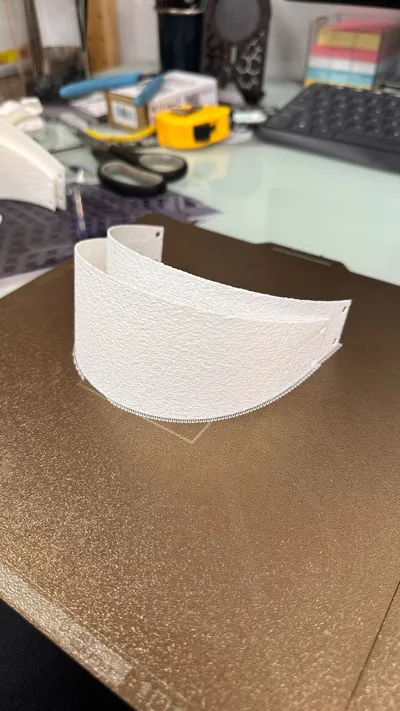
EXTREMELY IMPORTANT: To print the shades, given their thinness, add a raft line under the Supports settings. I prefer the shades with "Diffuse Skin" across the entire body, using 0.8 and 0.25 settings. Experiment with what you like best
Assembly will be shown in a video, as it's easier to demonstrate. In short, first fit the pillars into the top and bottom. Next, place all the large shades onto the bottom disc. Position the small shades, then move to the top section, first placing two large shades and the small shade in between. Continue with another large shade and place the remaining small shade in between. Watch the video; it's intuitive once seen
If any shade doesn't fit snugly on the pins, it's because the diffuse skin may enlarge the hole, causing it to loosen. Gently heat the shade with a lighter and adjust as shown in the video. I acknowledge this is time-consuming, but patience will yield results
Attempting to publish a print profile optimized for multiple shades per bed resulted in an error. I had to publish one shade per bed. With patience, you might optimize the shade positions to fit like this:

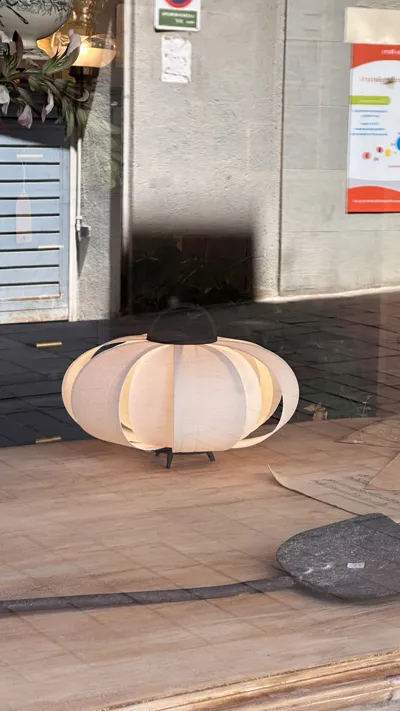
FEET:
The feet are an optional extra. I recommend attaching them with 3M double-sided adhesive. Personally, I prefer them with the feet, but understand some may not, so it's a choice
Assembly video:
Boost Me (for free)
License
You shall not share, sub-license, sell, rent, host, transfer, or distribute in any way the digital or 3D printed versions of this object, nor any other derivative work of this object in its digital or physical format (including - but not limited to - remixes of this object, and hosting on other digital platforms). The objects may not be used without permission in any way whatsoever in which you charge money, or collect fees.
Comment & Rating (15)