Iris Lens Cap for Olympus OM-D E-M10III


Print Profile(1)

Description
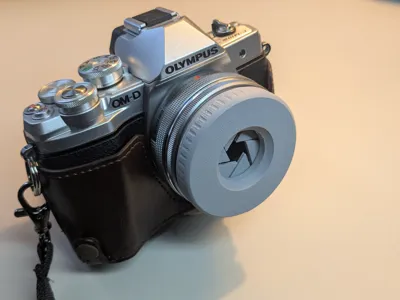
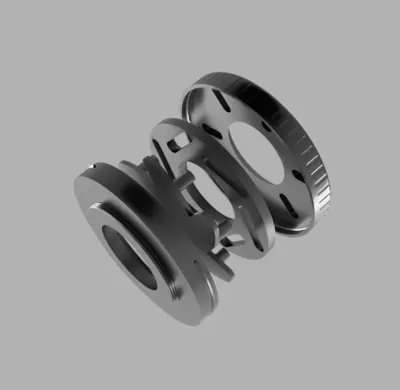
Iris Lens Cap for Olympus OM-D (and Compatible Lenses)
A unique, tool-free, experimental solution for everyday lens protection.
Overview
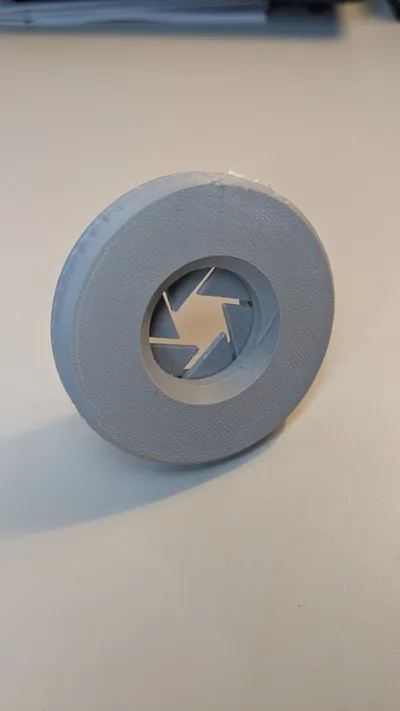
Tired of misplacing, dropping, or fumbling with traditional lens caps? Meet the Iris Lens Cap—a fresh take on lens protection, designed for the Olympus OM-D series (and compatible lenses). This cap uses a mechanical iris mechanism to cover your lens, offering a hands-on, always-attached alternative to the classic snap-on cap. While it’s a bit bulkier than standard options, it has a distinct, experimental look, it’s a practical solution for photographers who want to keep their lens protected at all times—no more lost caps or forgotten covers.
Key Features
- No Tools, No Hardware:
The entire cap is designed for assembly without screws, glue, or any additional hardware. All parts snap or slot together securely, making it easy to print and assemble straight from your 3D printer. This makes the build process both satisfying and accessible to makers of all skill levels. - Always-On Protection:
The iris mechanism closes over your lens when not in use, so you never have to worry about where you left your cap—or whether you remembered to put it back on. - Experimental Engineering:
This is not your average lens cover! The design is unconventional and experimental, bringing a touch of mechanical curiosity to your gear. It’s a one-of-a-kind solution in the world of lens caps. - Functional and Practical:
The cap’s real strength is its practicality: it saves time, reduces the risk of losing your lens cap, and keeps your lens protected from dust and accidental touches. - Print-Friendly & Adaptable:
All components are optimized for 3D printing, with tolerances for smooth assembly. The design can also be adapted to fit other lens sizes with minor tweaks.
Assembly & Usage
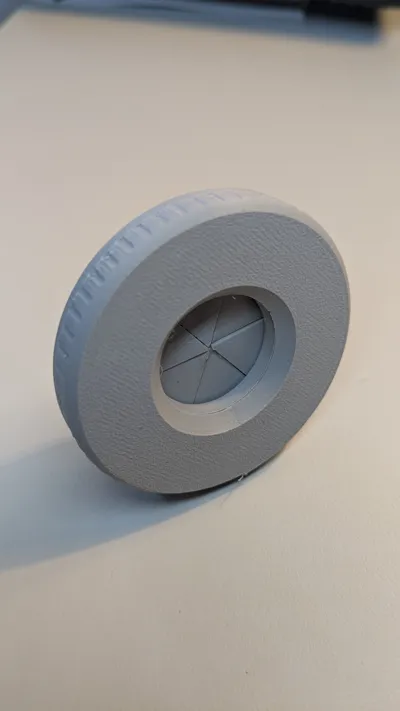
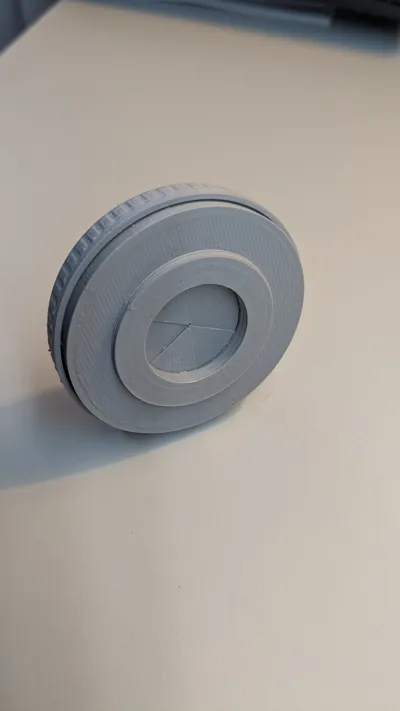
Assembly is straightforward and satisfying: simply print the parts, insert the blades into their slots, and snap the cap together—no tools or fasteners required.
Note: At first, the mechanism may feel a bit stiff or rough. This is normal! Just operate the iris several times in succession: the parts will settle and wear in naturally, and after a short break-in period the mechanism will become smooth and easy to use.
Once assembled, the cap stays on your lens; just twist the front ring to open or close the iris as needed.
Notes
- This iris cap is intended solely as a lens protector and is not suitable as a functional aperture or shutter.
- The design is slightly more bulky than standard caps and is best suited for those who value convenience and experimentation over minimalism.
Disclaimer
Although this iris cap has been designed with care to avoid damaging your lens, please remember that camera lenses are precision instruments and should always be handled with caution.
The designer of this model assumes no responsibility for any damage resulting from improper use or assembly of this cap. Use at your own risk.
License
You shall not share, sub-license, sell, rent, host, transfer, or distribute in any way the digital or 3D printed versions of this object, nor any other derivative work of this object in its digital or physical format (including - but not limited to - remixes of this object, and hosting on other digital platforms). The objects may not be used without permission in any way whatsoever in which you charge money, or collect fees.
Comment & Rating (4)