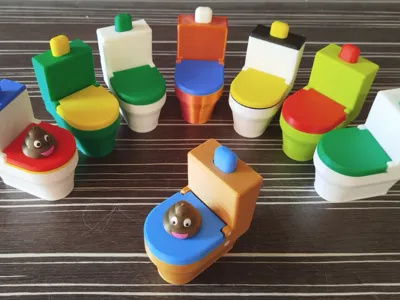
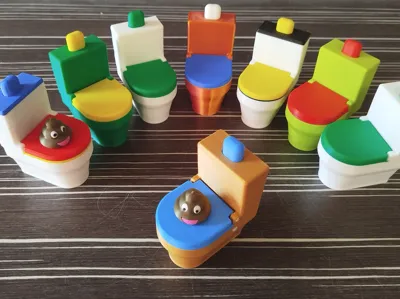
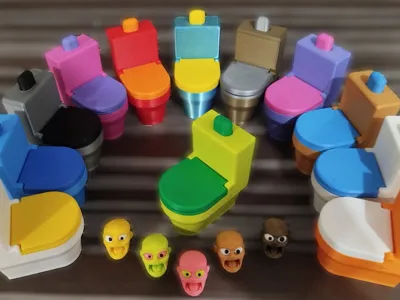
Funny Peeking Toy


Print Profile(5)


Bill of Materials


Description
🚽 Hello Printers™️
THE KEY TO A SUCCESFUL PRINT IS:
! Read the description to the end !
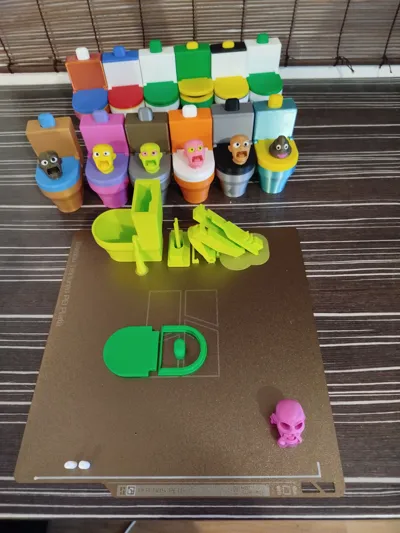
! Clean the components of excess material (collars and supports) !
! Well washed and degreased print surface !
! The use of 3Dlack !
! Use of the original Bambulab PLA Basic filament !
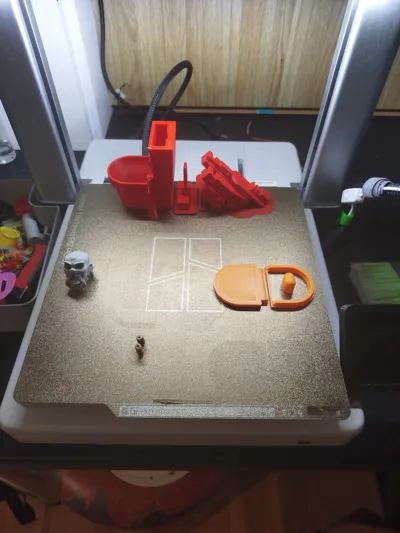
! Textured PEI (gold) print pad !
! Do not change print profile !
! No printing SILK filaments !
! Printing on P1S with open door and top hatch !
! Follow the procedure and direction for inserting components !
Before assembling the toilet, thoroughly clean the individual parts of the material residues, you can gently sand the axes with a file or emery board. Prepare the holes for the axes on the toilet in this way. Otherwise it may be more difficult to put the parts together. ( even with uncleaned parts, it takes more force and broke the toilet)
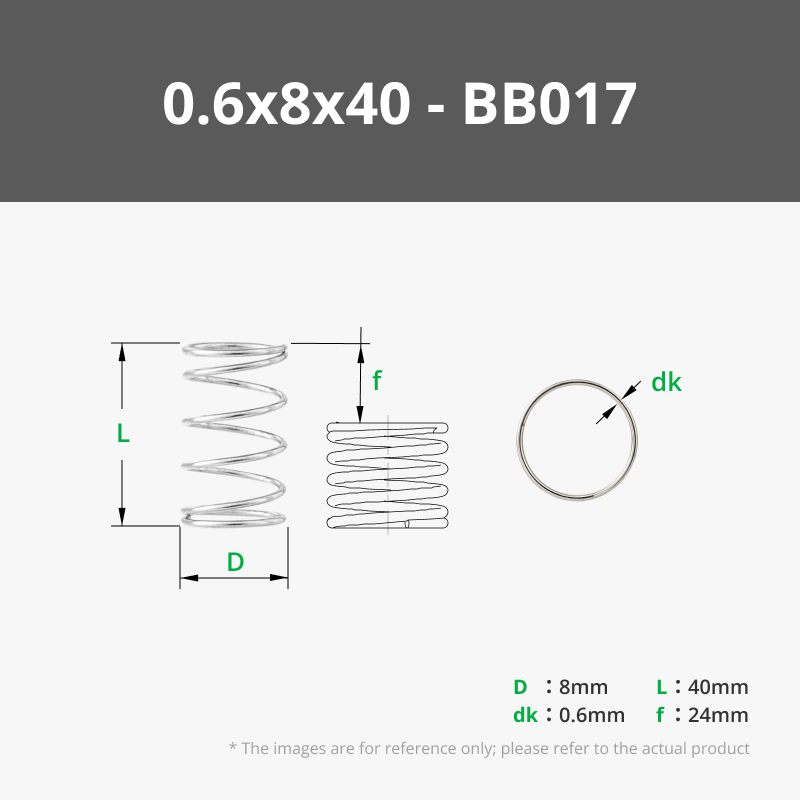
NEED COMPRESSION SPRINGS
dk: 0.6mm D: 8mm L: 40mm
dk: 0.6mm D: 8mm L: 40mm
NEED COMPRESSION SPRINGS
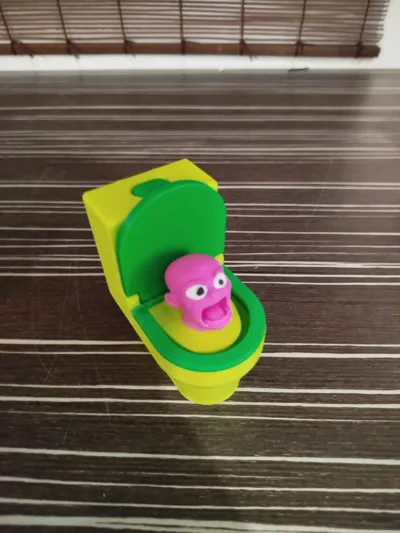
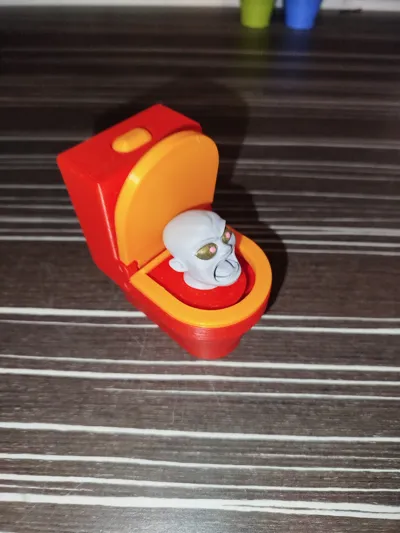
🚽👶🏼💩 INSTRUCTIONS FOR ASSEMBLING THE TOILET WITH POOP & HEAD 💩👶🏼🚽
TIKTOK: Composition of Toilet with Poop or Breakdown of Toilet with Poop
INSTRUCTIONS FOR ASSEMBLING FOR STEP BY STEP
Place the seat cover and insert the axis with the thinner side into the top hole of the toilet on the right side ( front view ). Insert only from this side with the thinner side of the axis, otherwise damage may occur when printing from materials other than Bambulab PLA Basic, especially with SILK material (if you decide to print from them).

Insert the pivot ramp and repeat the previous procedure. (Here you can push the Poop straight into the prepared hole or at the end of the procedure, head install in here step at rotary ramp!
((( Now you need to install the head on the swivel ramp and turn the head 180° so that it faces the toilet tank. After folding and inserting the auxiliary rail with the ramp, turn the head back 180°. This step is important if you are folding the Poop. You can do this step just before putting the seat back on; you do not need to rotate it )))

Place the button on the rail.

Place the 7-9mm diameter spring and 40mm long into the hole at the bottom of the rail.

Insert the prepared rail into the travel of the rail.

Press the button and secure with the stop. To disassemble, squeeze the button and slide the rail guide together and the stop will release.

Hang the swing ramp over the edge of the toilet and insert the entire mechanism inside the toilet.

Release the swivel ramp to a horizontal position with the edge of the seat. Gently wiggle and push the swivel ramp inwards to release the button. The swivel ramp should snap into the rail and swivel to the vertical position.

Press the button to hold the pivot ramp and push the bob with the mandrel into the hole on the pivot ramp in a circular motion.

10-Fit the seat and toilet tank lid. ( If it was loose, you can glue it on, If you use glue on the seat, you will no longer be able to remove the guide rail)

You are done and just need to push.

Problem with seat cover not closing properly resolved, now closes nicely, no need heatin back bar at toalet seat👍🏼
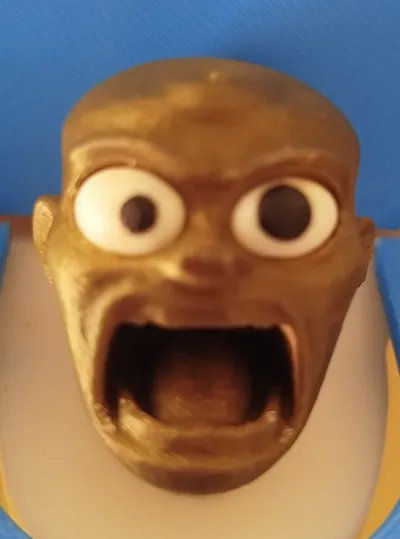
👶🏼💩 INSTRUCTIONS FOR ASSEMBLING THE POOP & HEAD 💩👶🏼
Remove the excess material. Grasp a piece of black filament in the pliers, cut the end to 45° and push into the eyeball in a circular motion. Either glue or heat and press this entire piece into the Poo, insert the Poop/Head mouth as well, I recommend gluing so it doesn't fall out when you make it for smaller children. Trim the excess filament from the eyes, leave at least 0.5mm peeking lighter or solder the ends of the pupil and smooth against a straight pore with pressure ( or your finger, beware of burns) Insert the mandrel from the bottom into the Poop/Head and press against a hard surface, then it is ready to be fitted into the toilet.
🫡 If you have any problem, please contact me as soon as possible, I will try my best to help or advise you 🫡
🤜 Any comments or suggestions are welcome 🤛
🍀 Happy lucky printing and assembling Skibidi Toilet 🍀
Boost Me (for free)
Smaller support is welcome for other interesting projects & usefull models, but better than a boost is to follow me 😅
((( EDIT + ADD PROFILES & FILES 2025-6-7 )))
If you like this model, don't forget for you comments, rating or follow & happy print! 😉
License
You shall not share, sub-license, sell, rent, host, transfer, or distribute in any way the digital or 3D printed versions of this object, nor any other derivative work of this object in its digital or physical format (including - but not limited to - remixes of this object, and hosting on other digital platforms). The objects may not be used without permission in any way whatsoever in which you charge money, or collect fees.
Comment & Rating (14)