
Expandable Build/Cutting/Laser Plate Holder H2
Print Profile(4)



Description
Boost Me (for free)
Like it? Give it a boost! Your click means a lot!
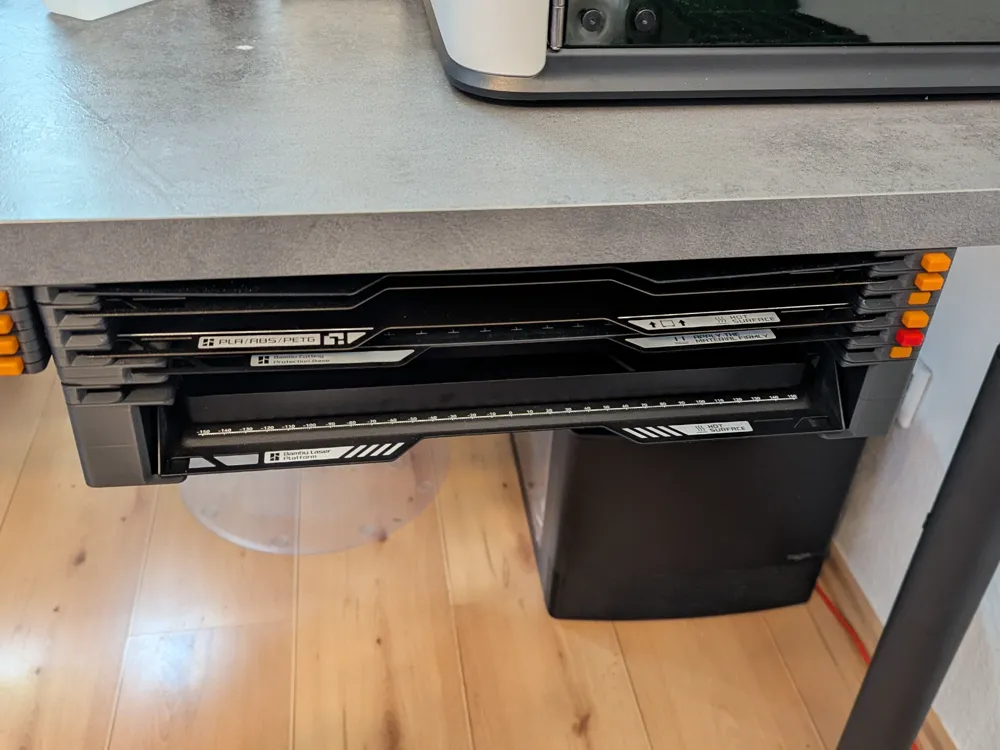
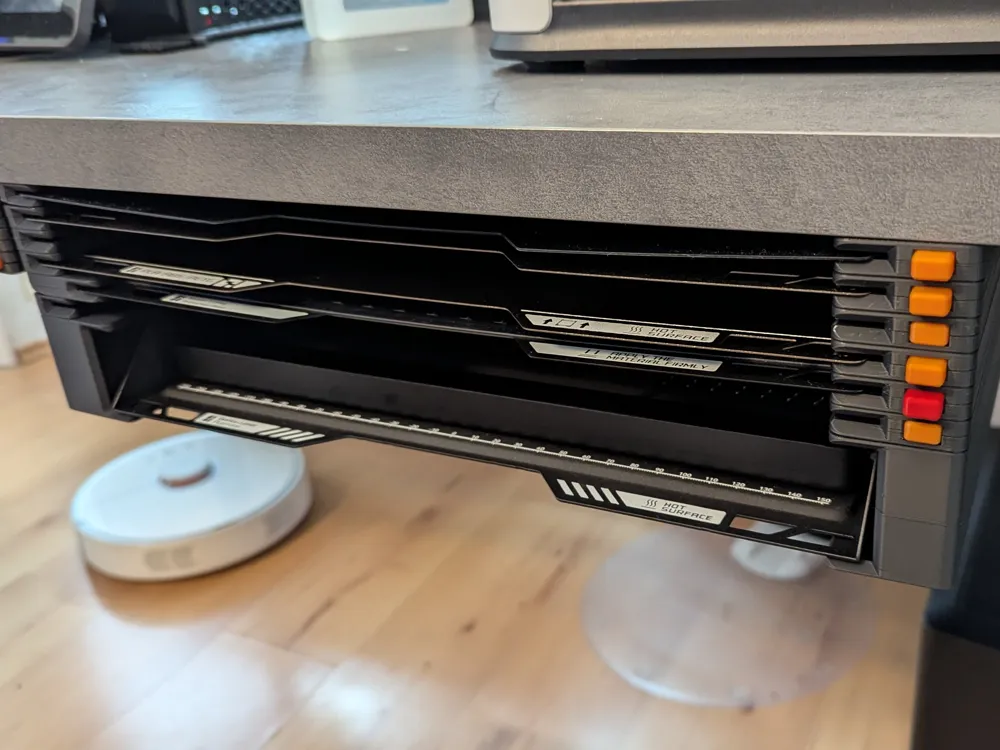
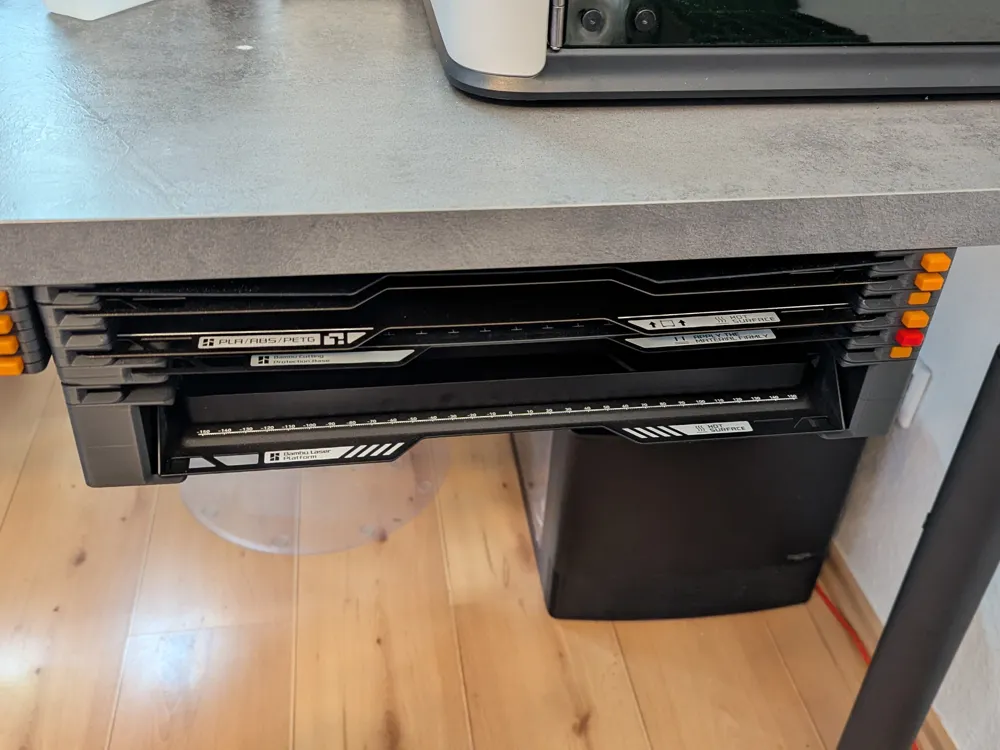
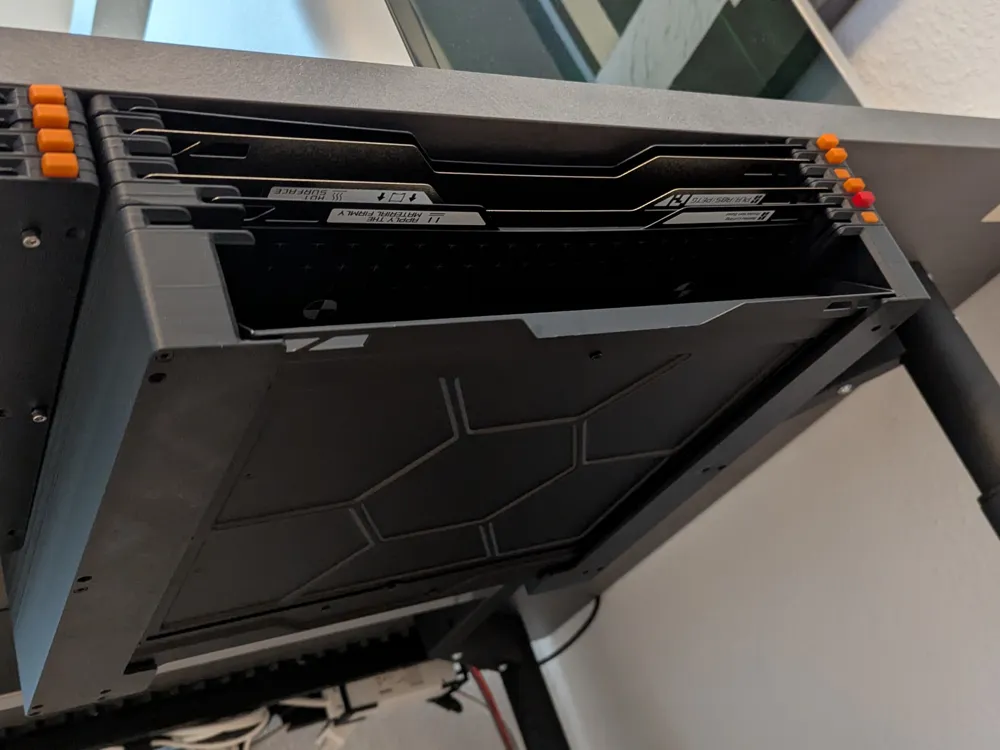
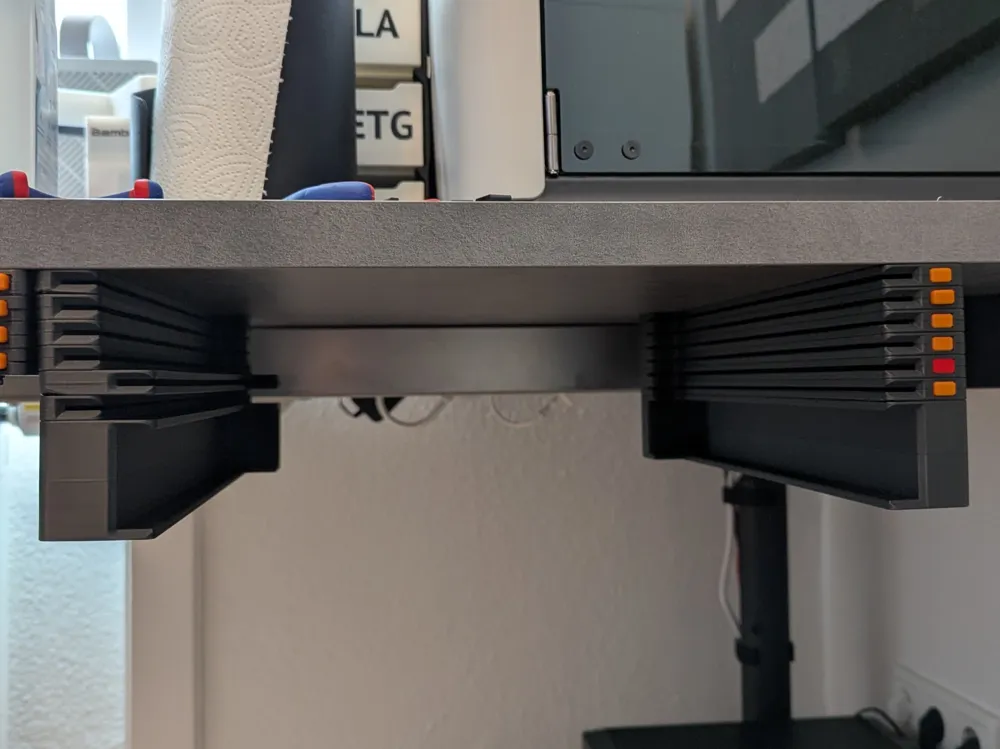
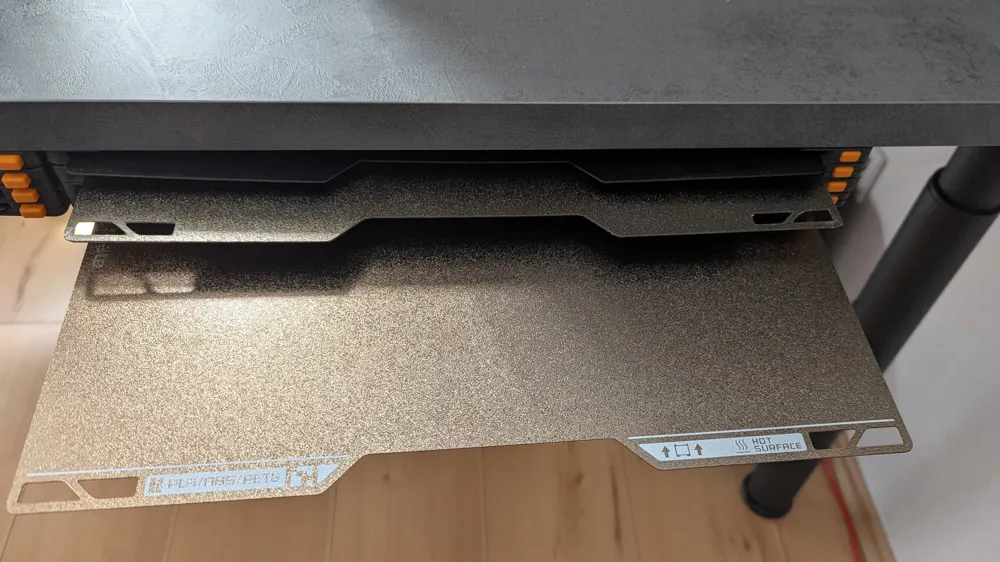
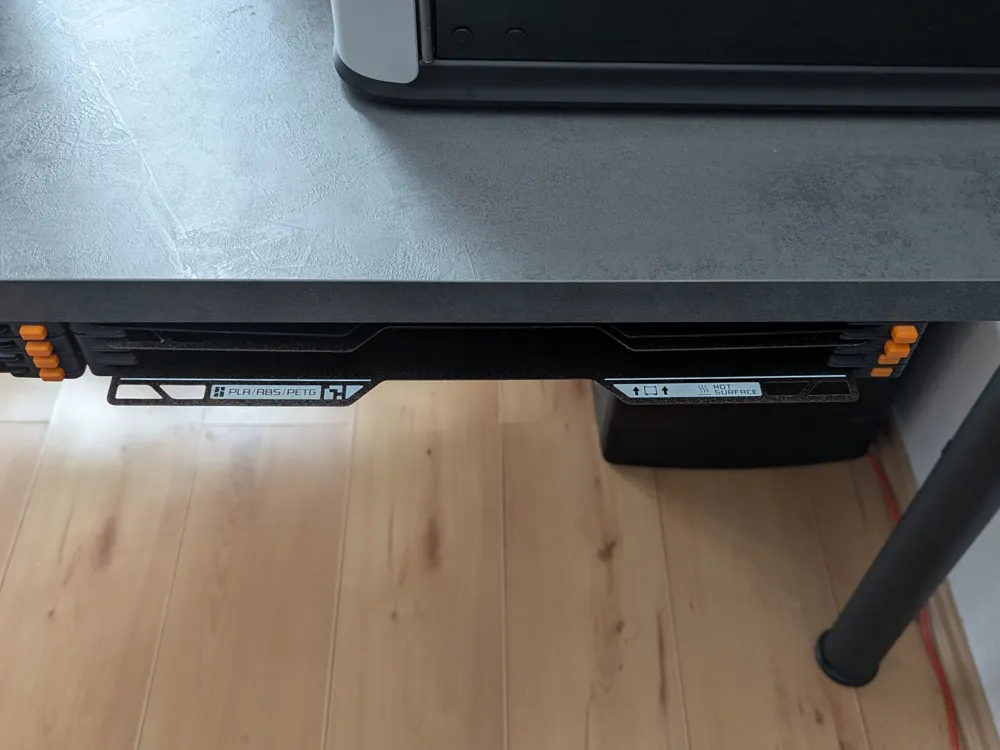
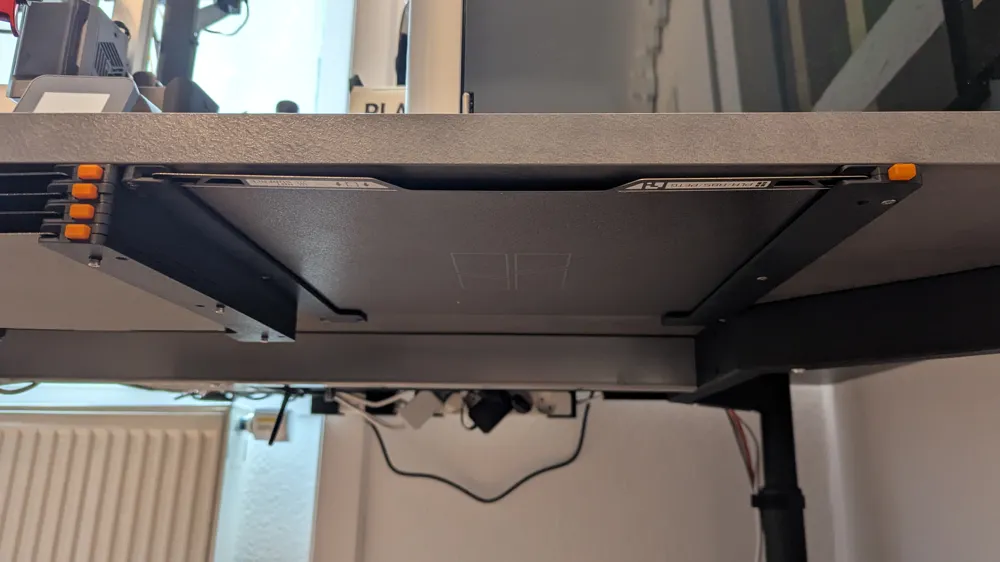
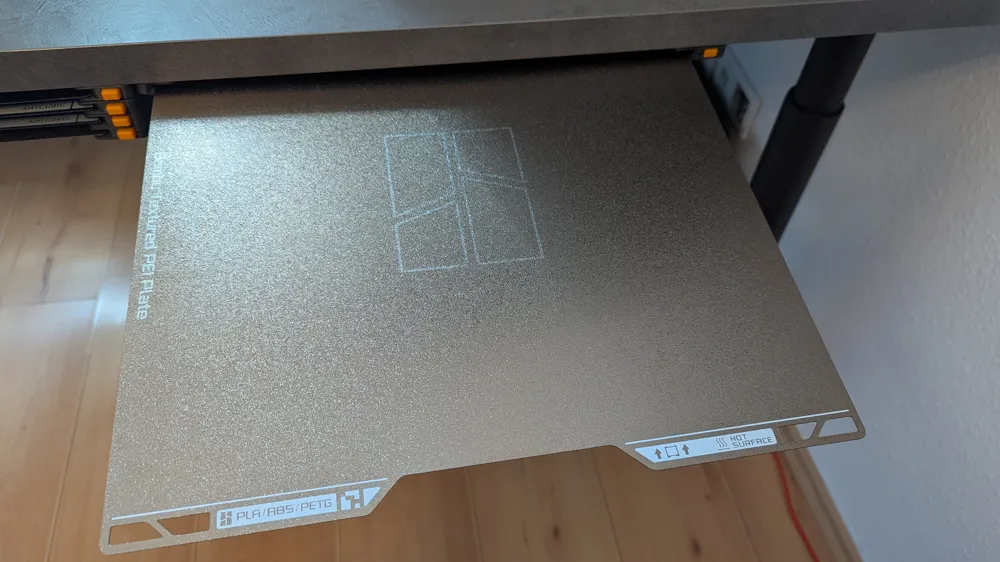
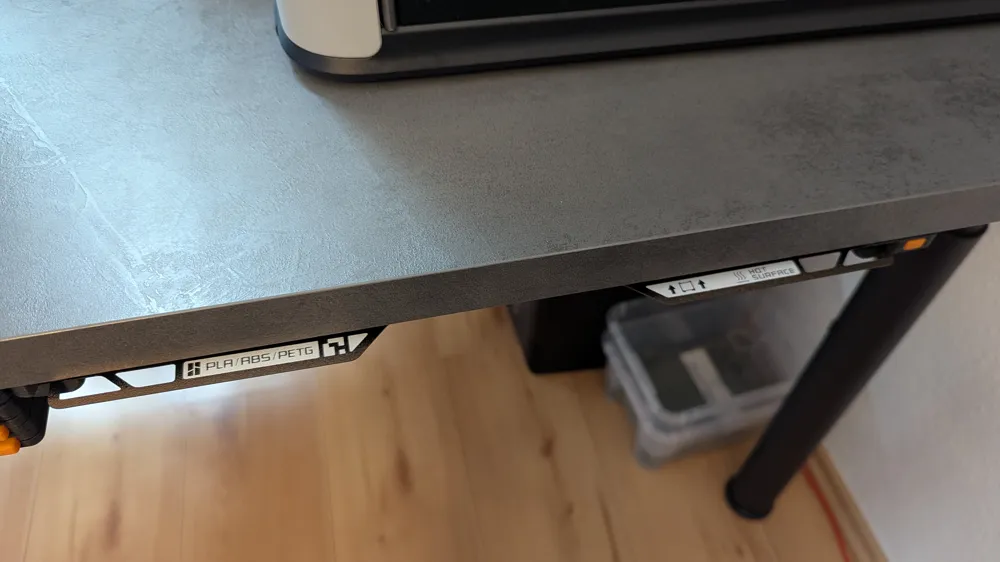
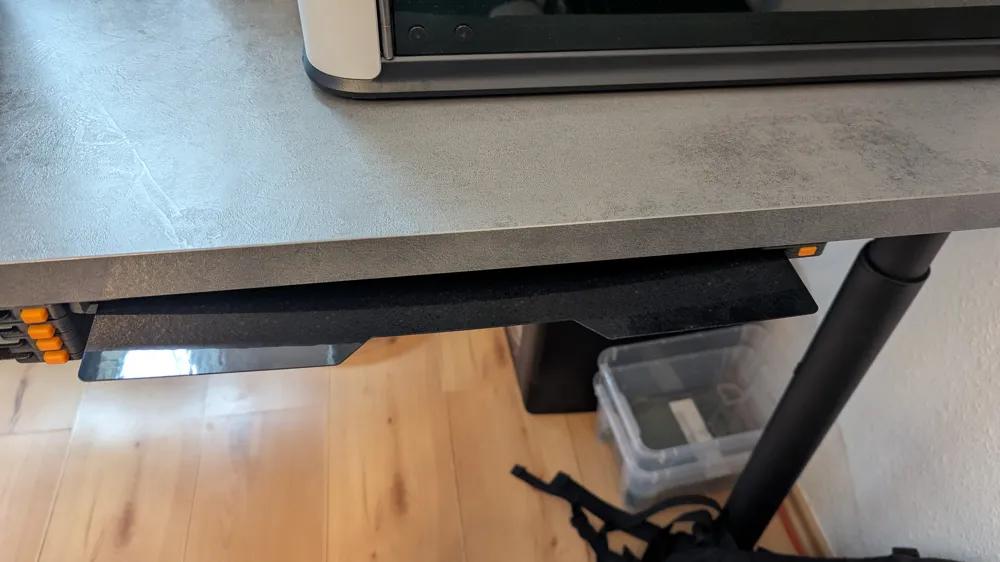
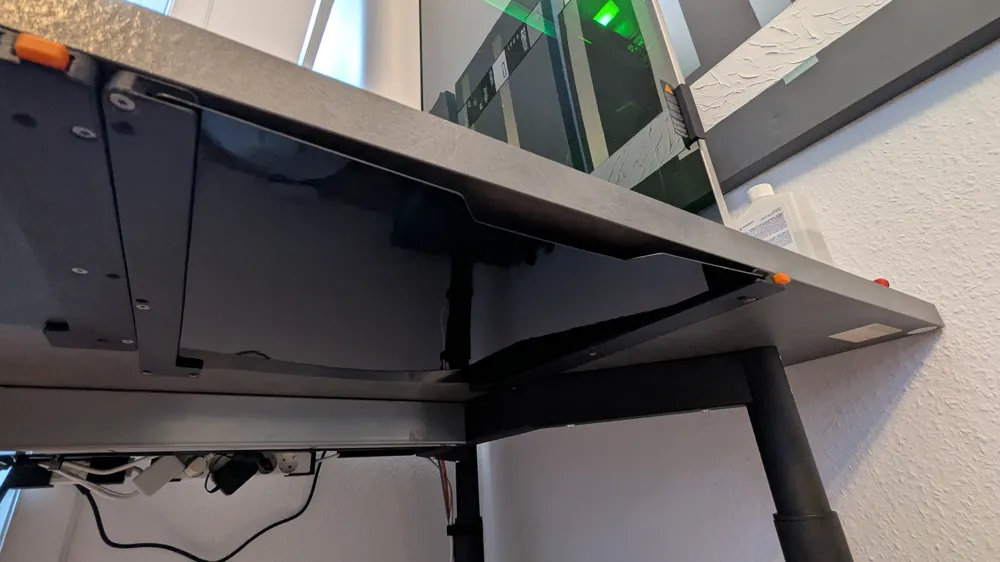
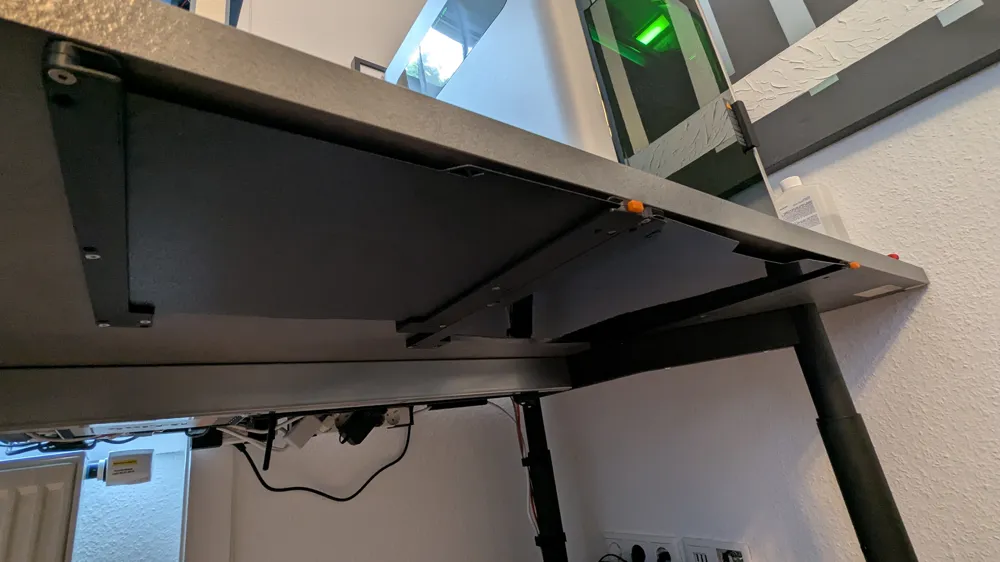
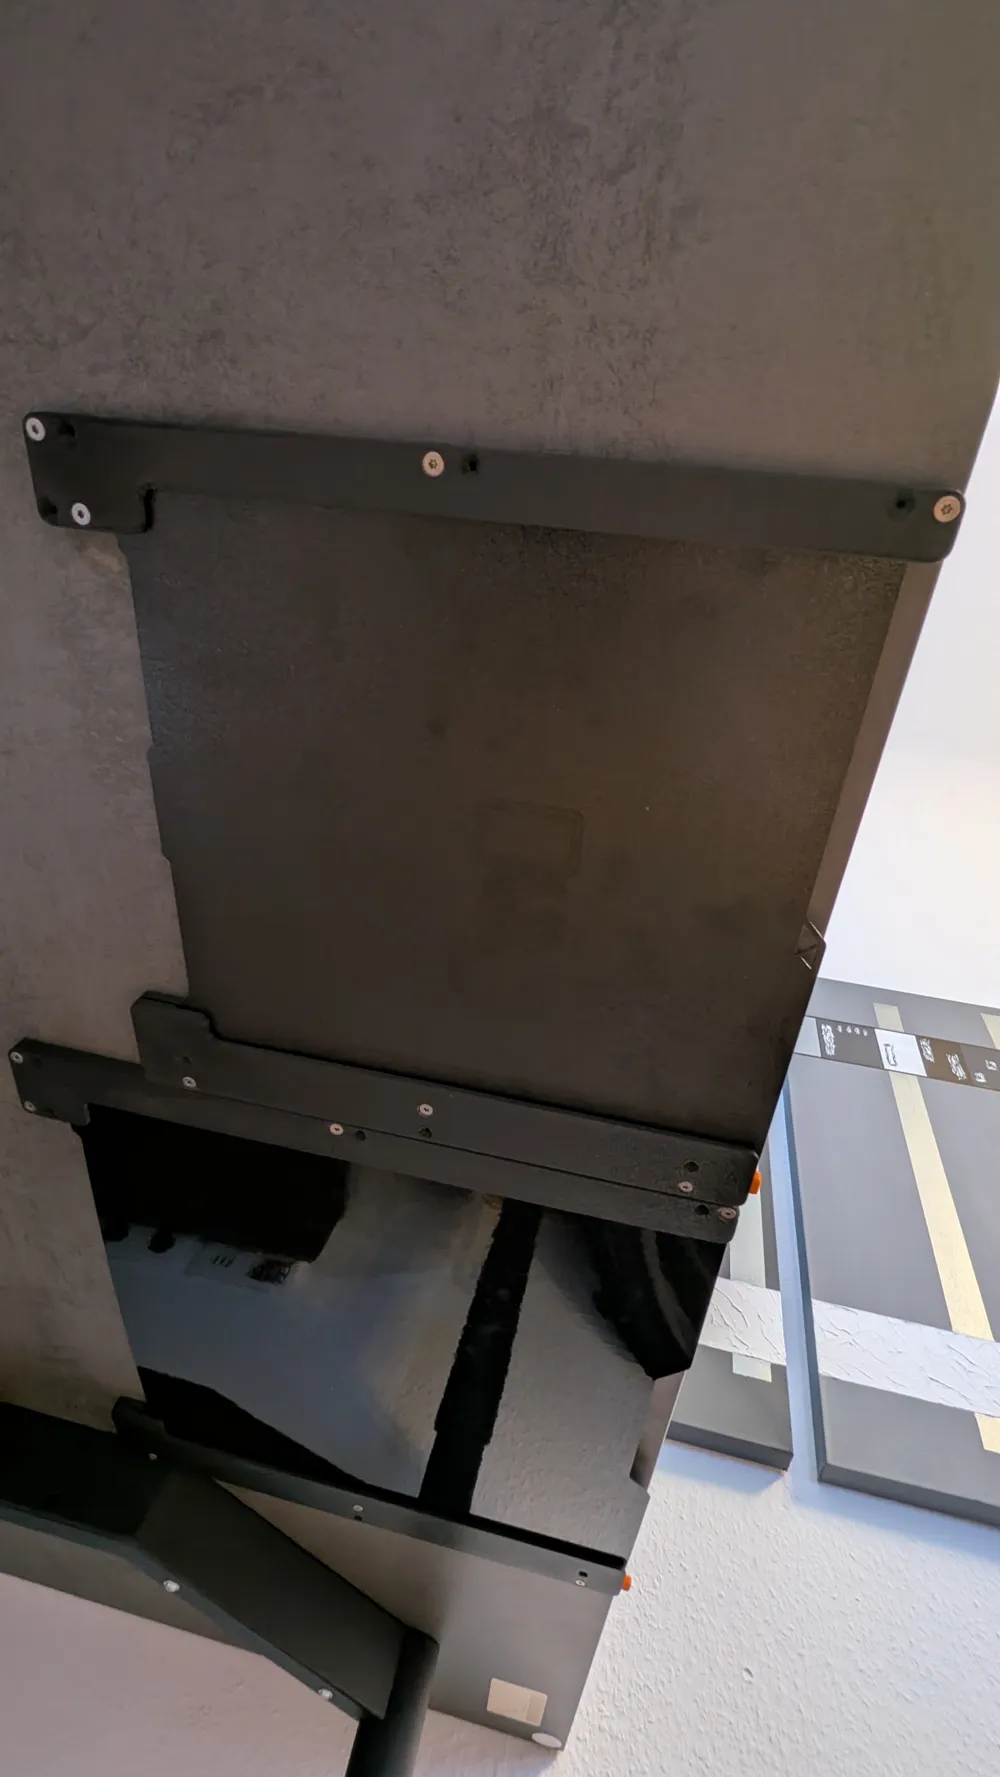
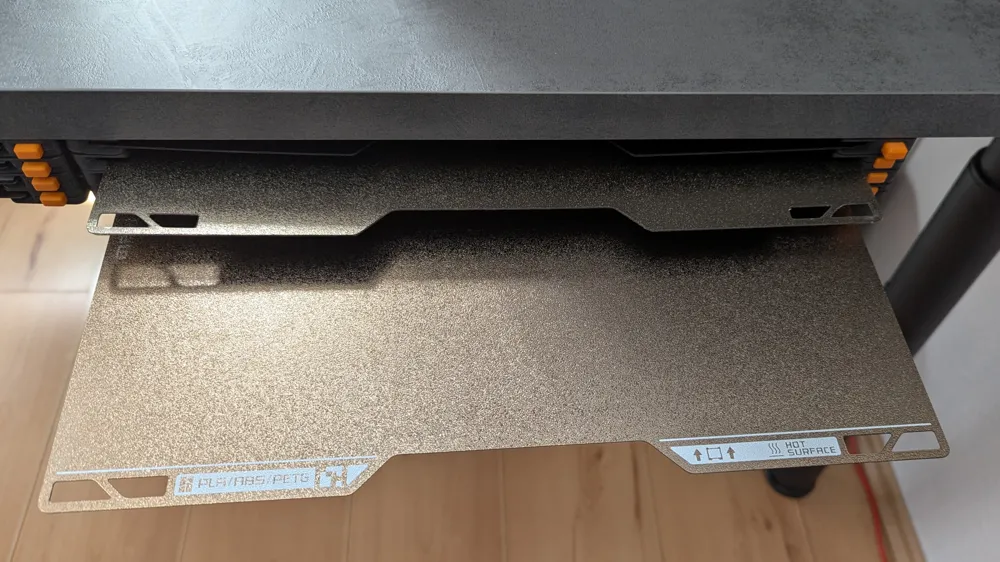
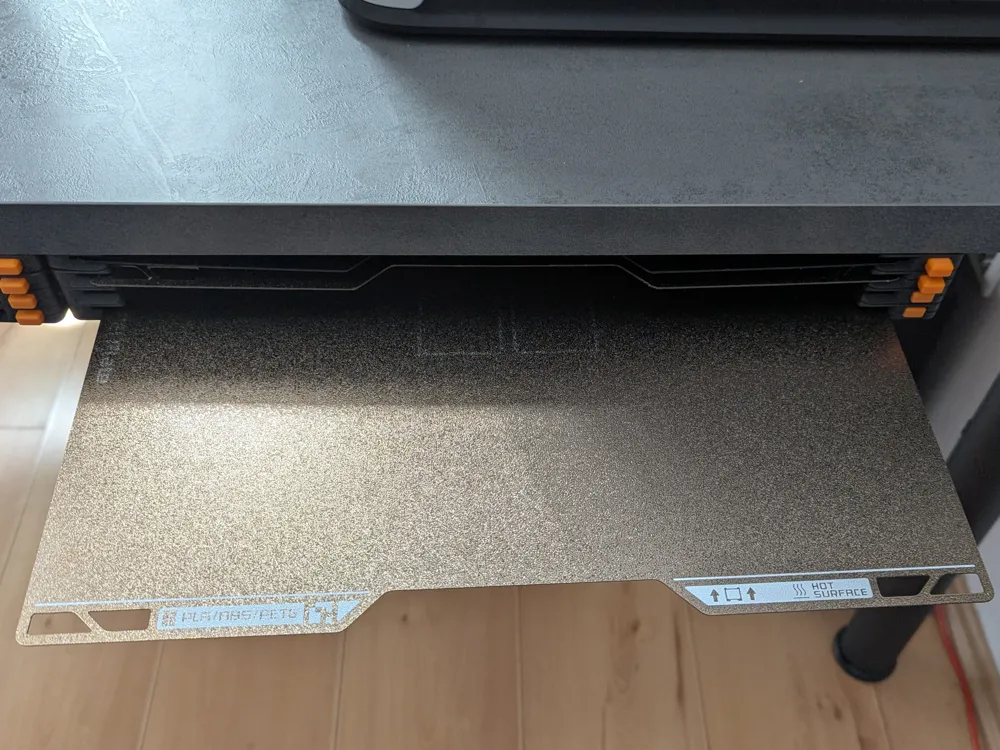
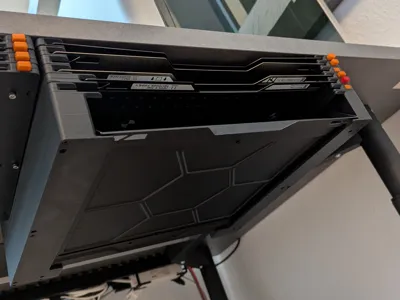
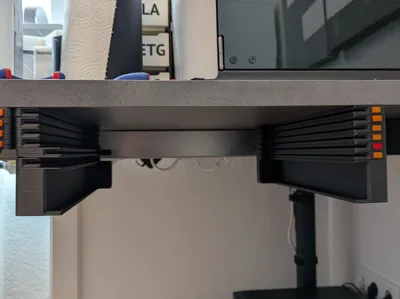
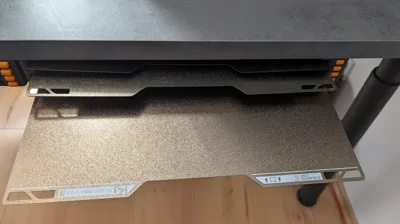
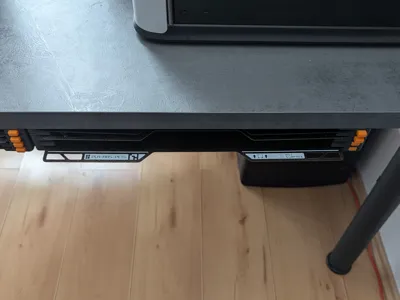
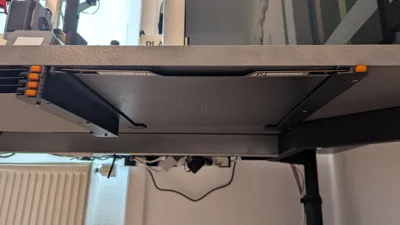
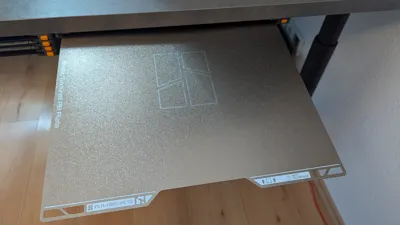
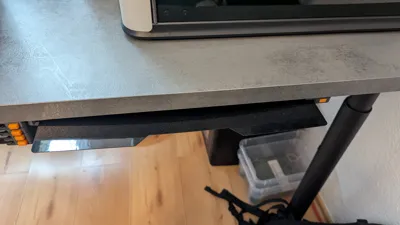
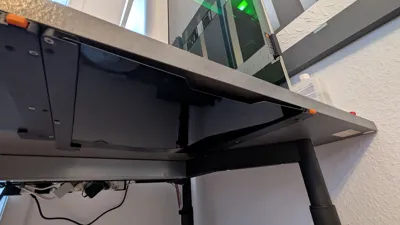
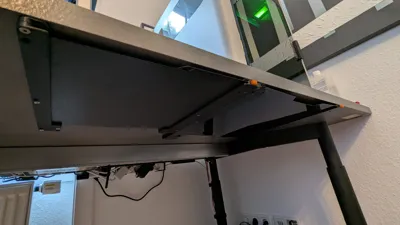
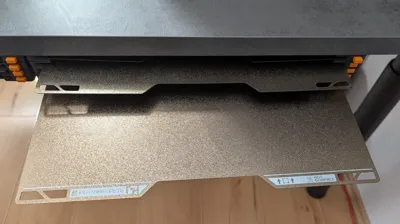
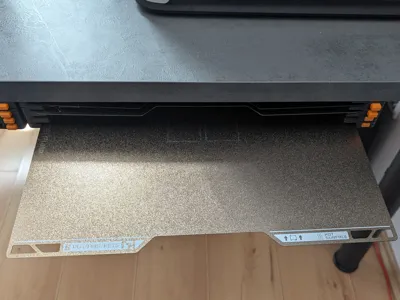
This is a remix of @Whity’s modular build plate holder—originally designed for the Prusa XL—adapted specifically for the Bambu Lab H2D. It retains the same rugged, overengineered structure, now customized to securely store Bambu Lab H2D build plates.
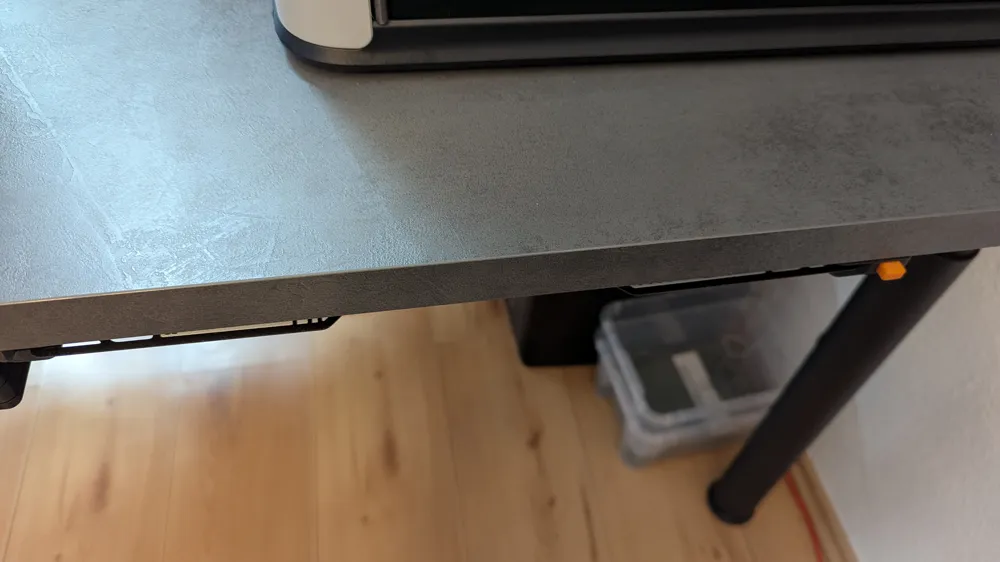
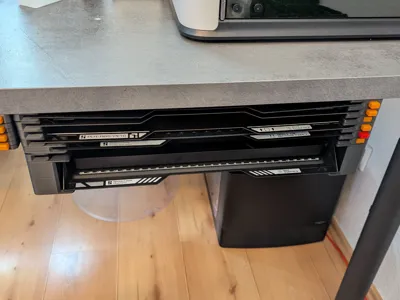
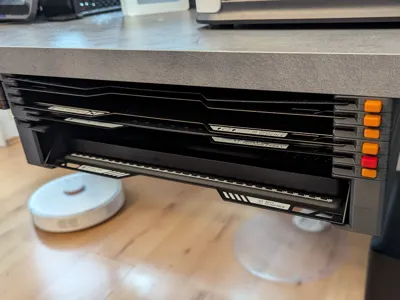
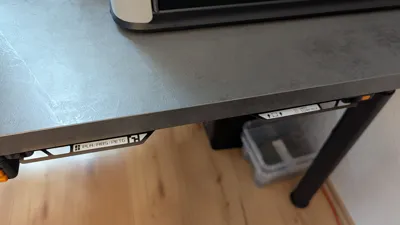
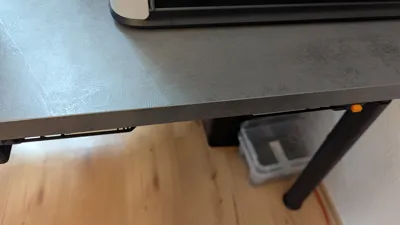
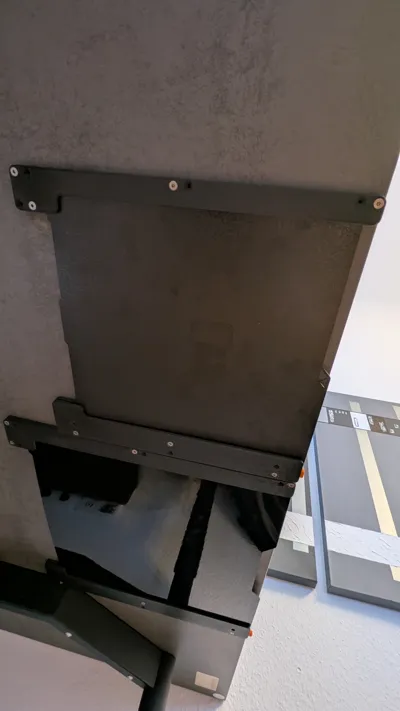
Designed for under desk mounting, this holder keeps your build plates organized and easily accessible. Its modular format lets you extend the system to hold as many plates as you need, making it a practical addition to any maker setup.
Key Features
- Custom fit for Bambu Lab H2D build plates
- Modular and expandable design
- Strong and stable construction
- mountable using standard hardware
- No supports required for printing
- Fully 3D-printable with common tools
Assembly Instructions
(I took the pictures from Bambu Studio because I didn't want to disassemble my already attached holders just to take the pictures for this guide. Of course you first need to print it and then assembly it like this.)
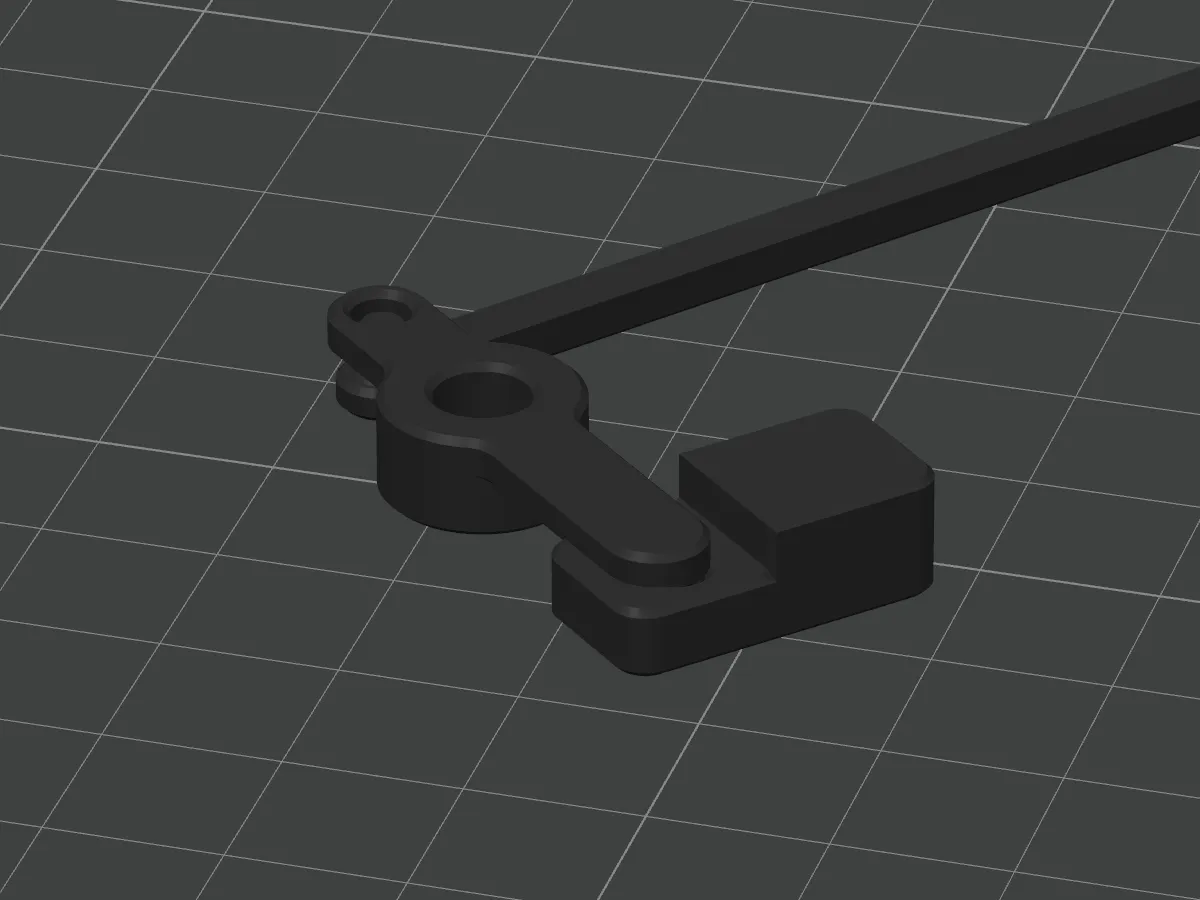
Attach the long strut to the knob component like this:
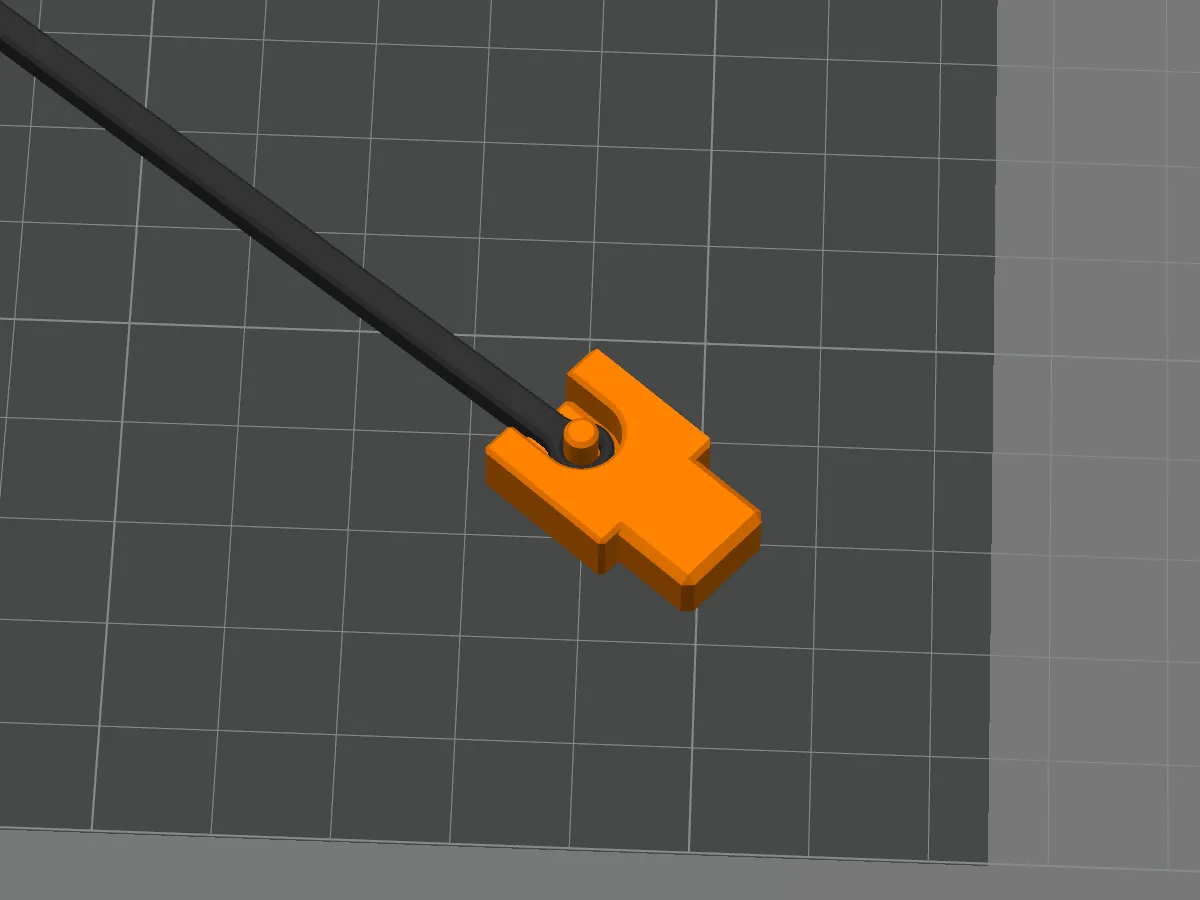
Assemble the strut to the arm and the slider like this:
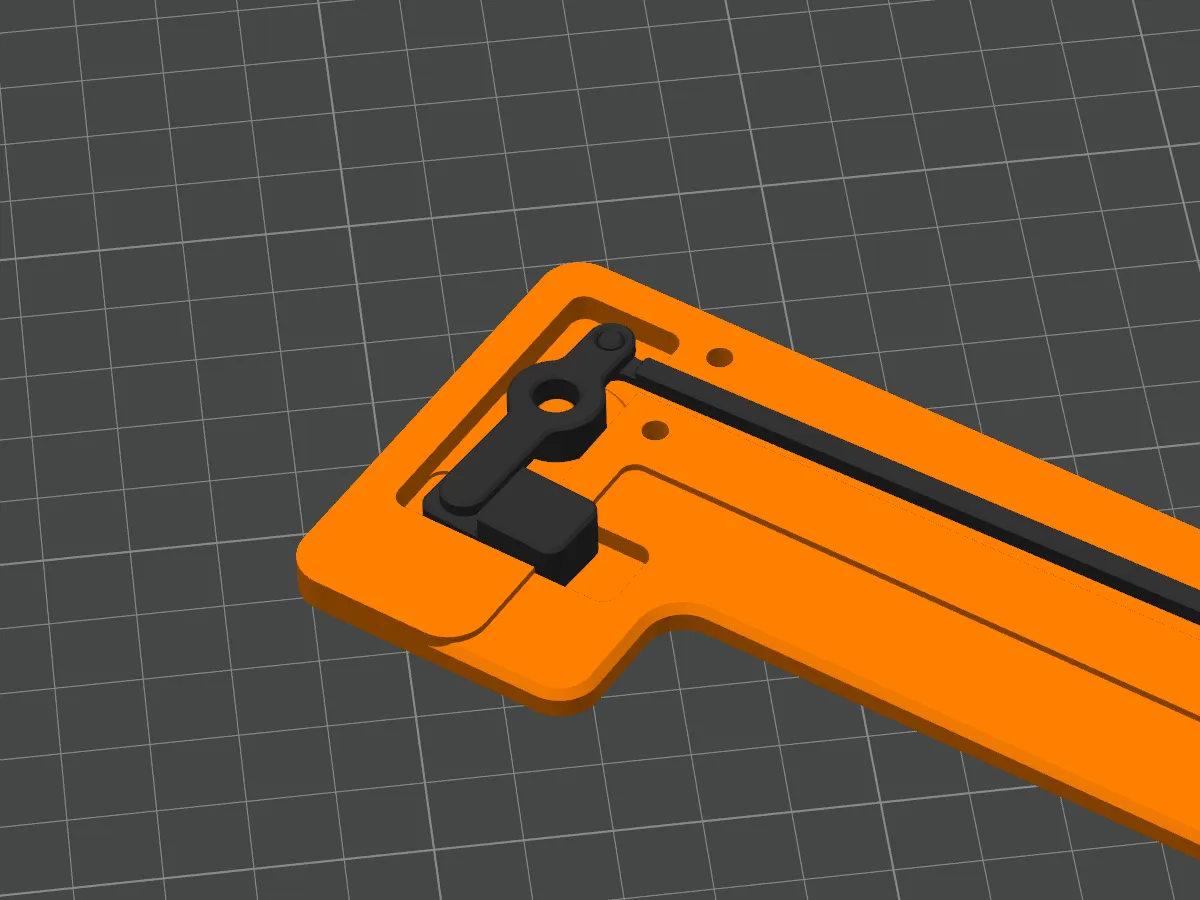
- Place the assembled components into the bottom part:
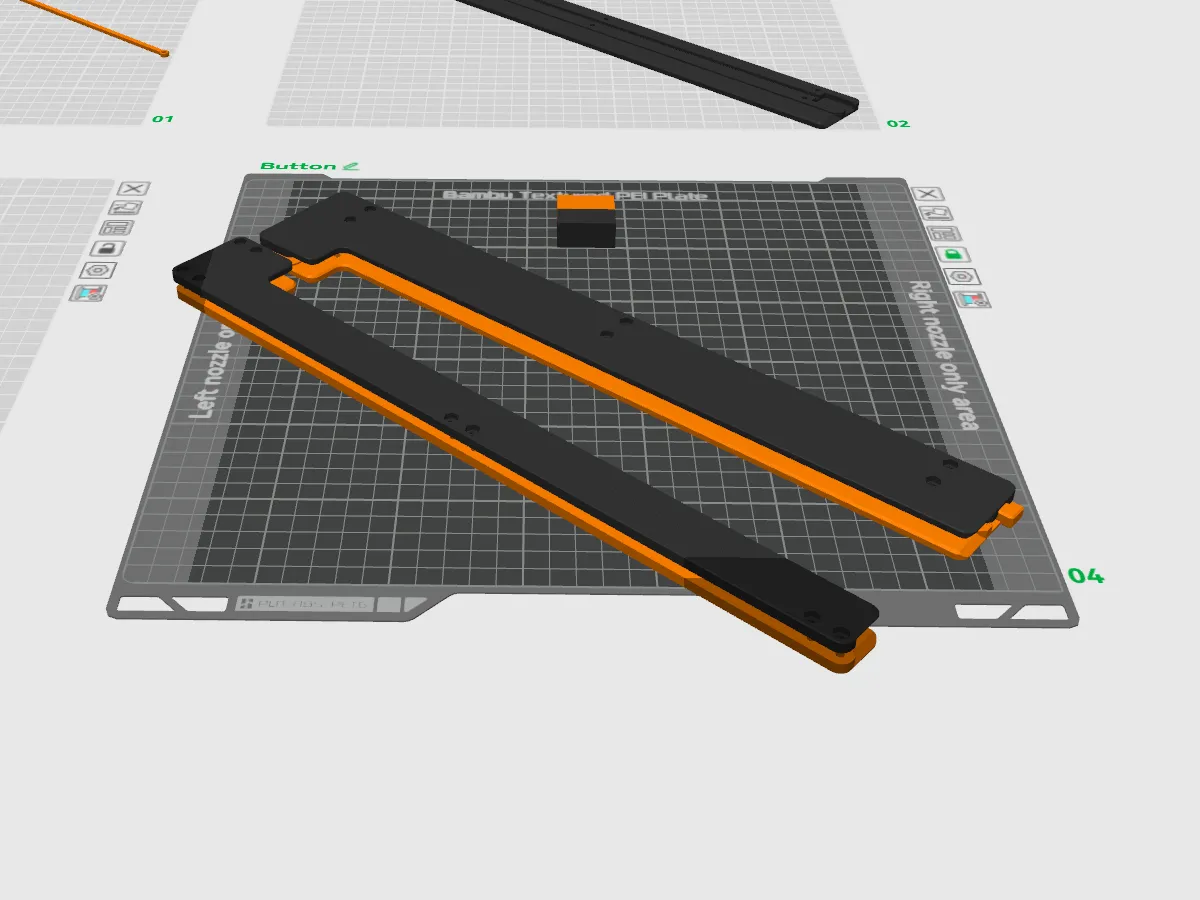
- Place the top parts onto the bottom parts:
- For the first plate holder that you attach to your desk or cupboard, insert M3 nuts into half of the mounting holes. These are used to attach additional holders later. For Example you can use this arrangement:
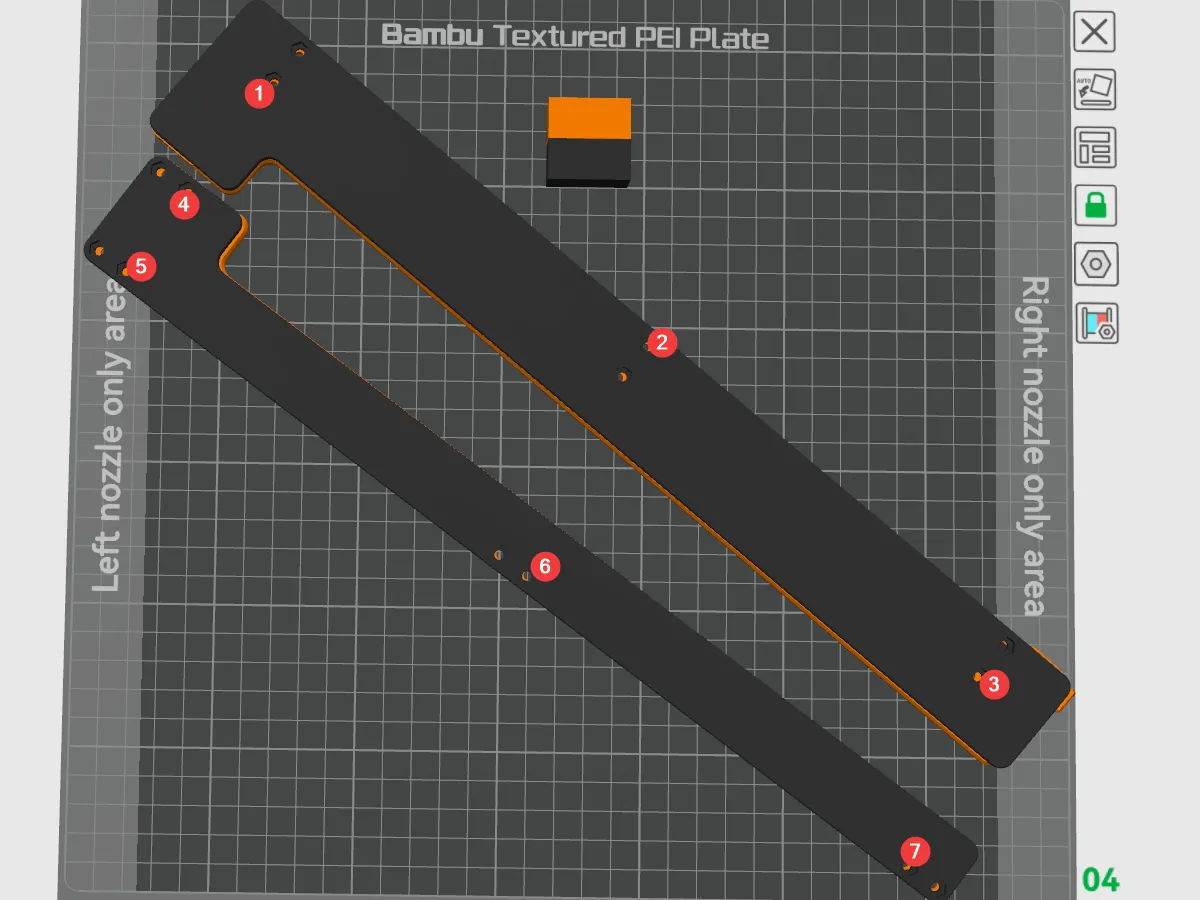
Mount the holder using 3mm wood screws to your desk or cupboard. For correct spacing during installation, use one of your build plates between the left and right parts. To prevent shifting, you can already screw in M3 Screws from the bottom into the Nuts that were placed in the step before to attach bottom and top to one another. It will look something like this now:
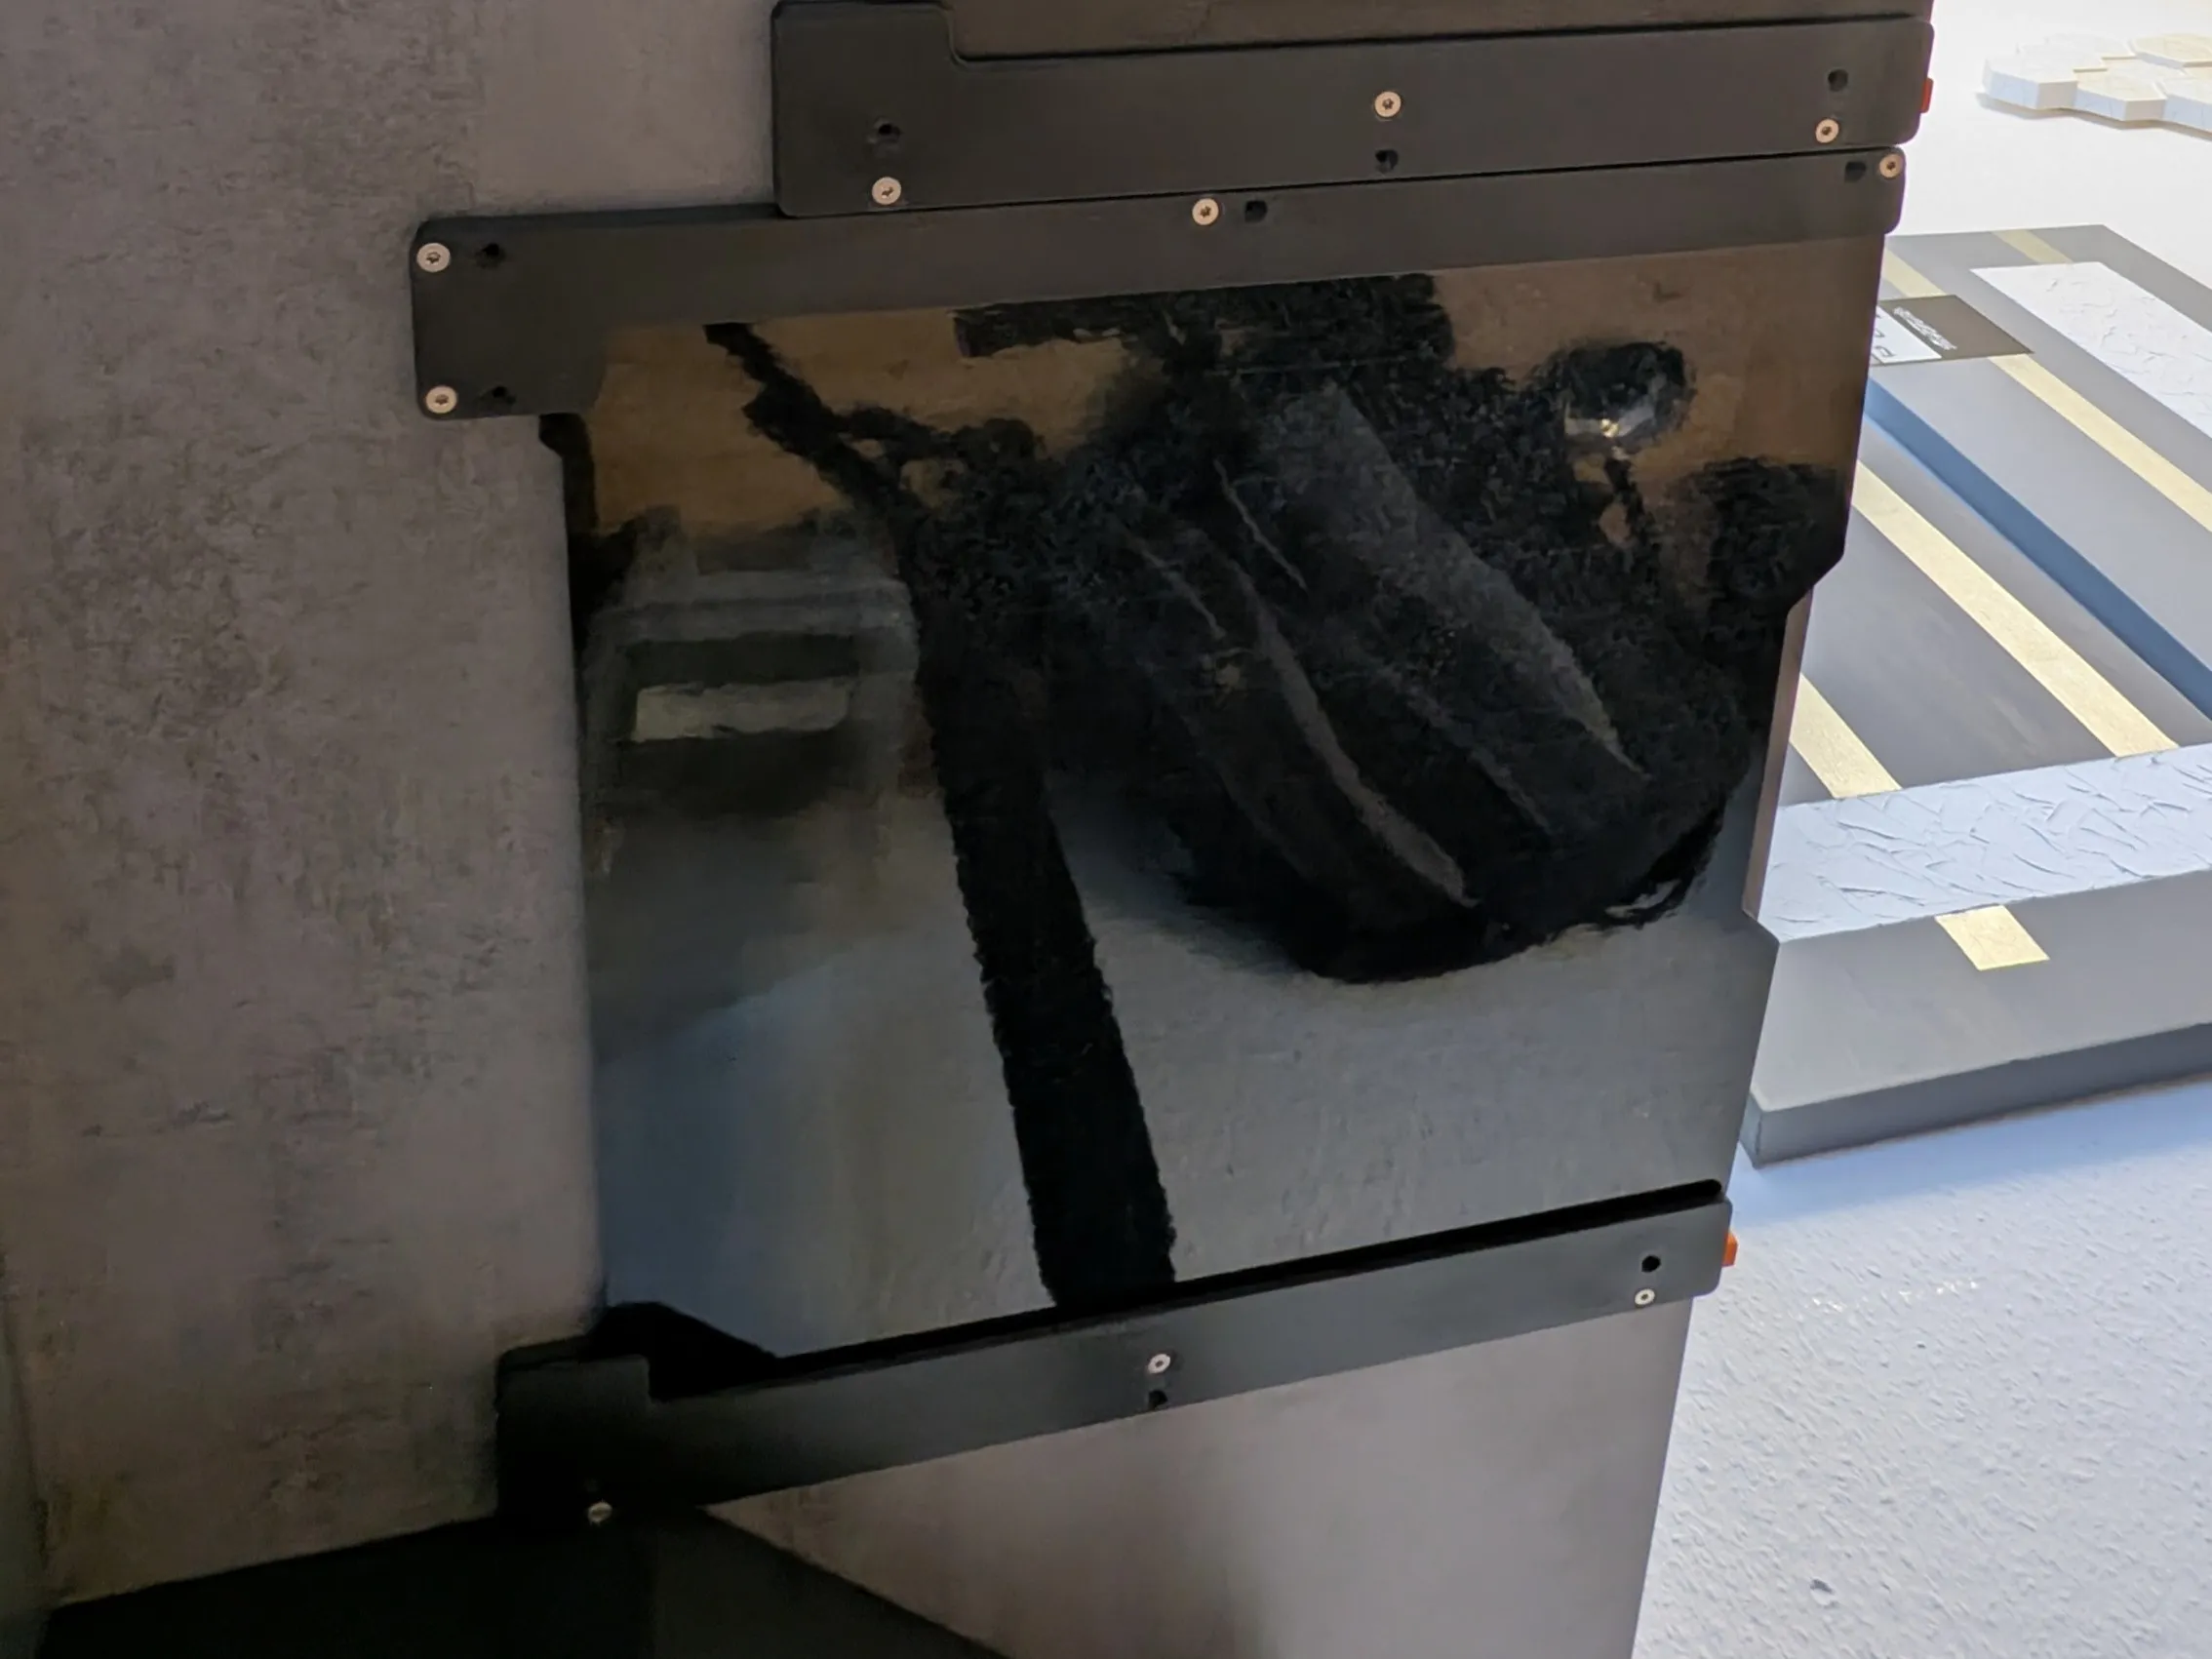
To add more holders, first assemble each holder. Then use M3 screws that are long enough to penetrate all the holders including the one already screwed to your desk and screw the holders together. Don't screw it all the way in yet.
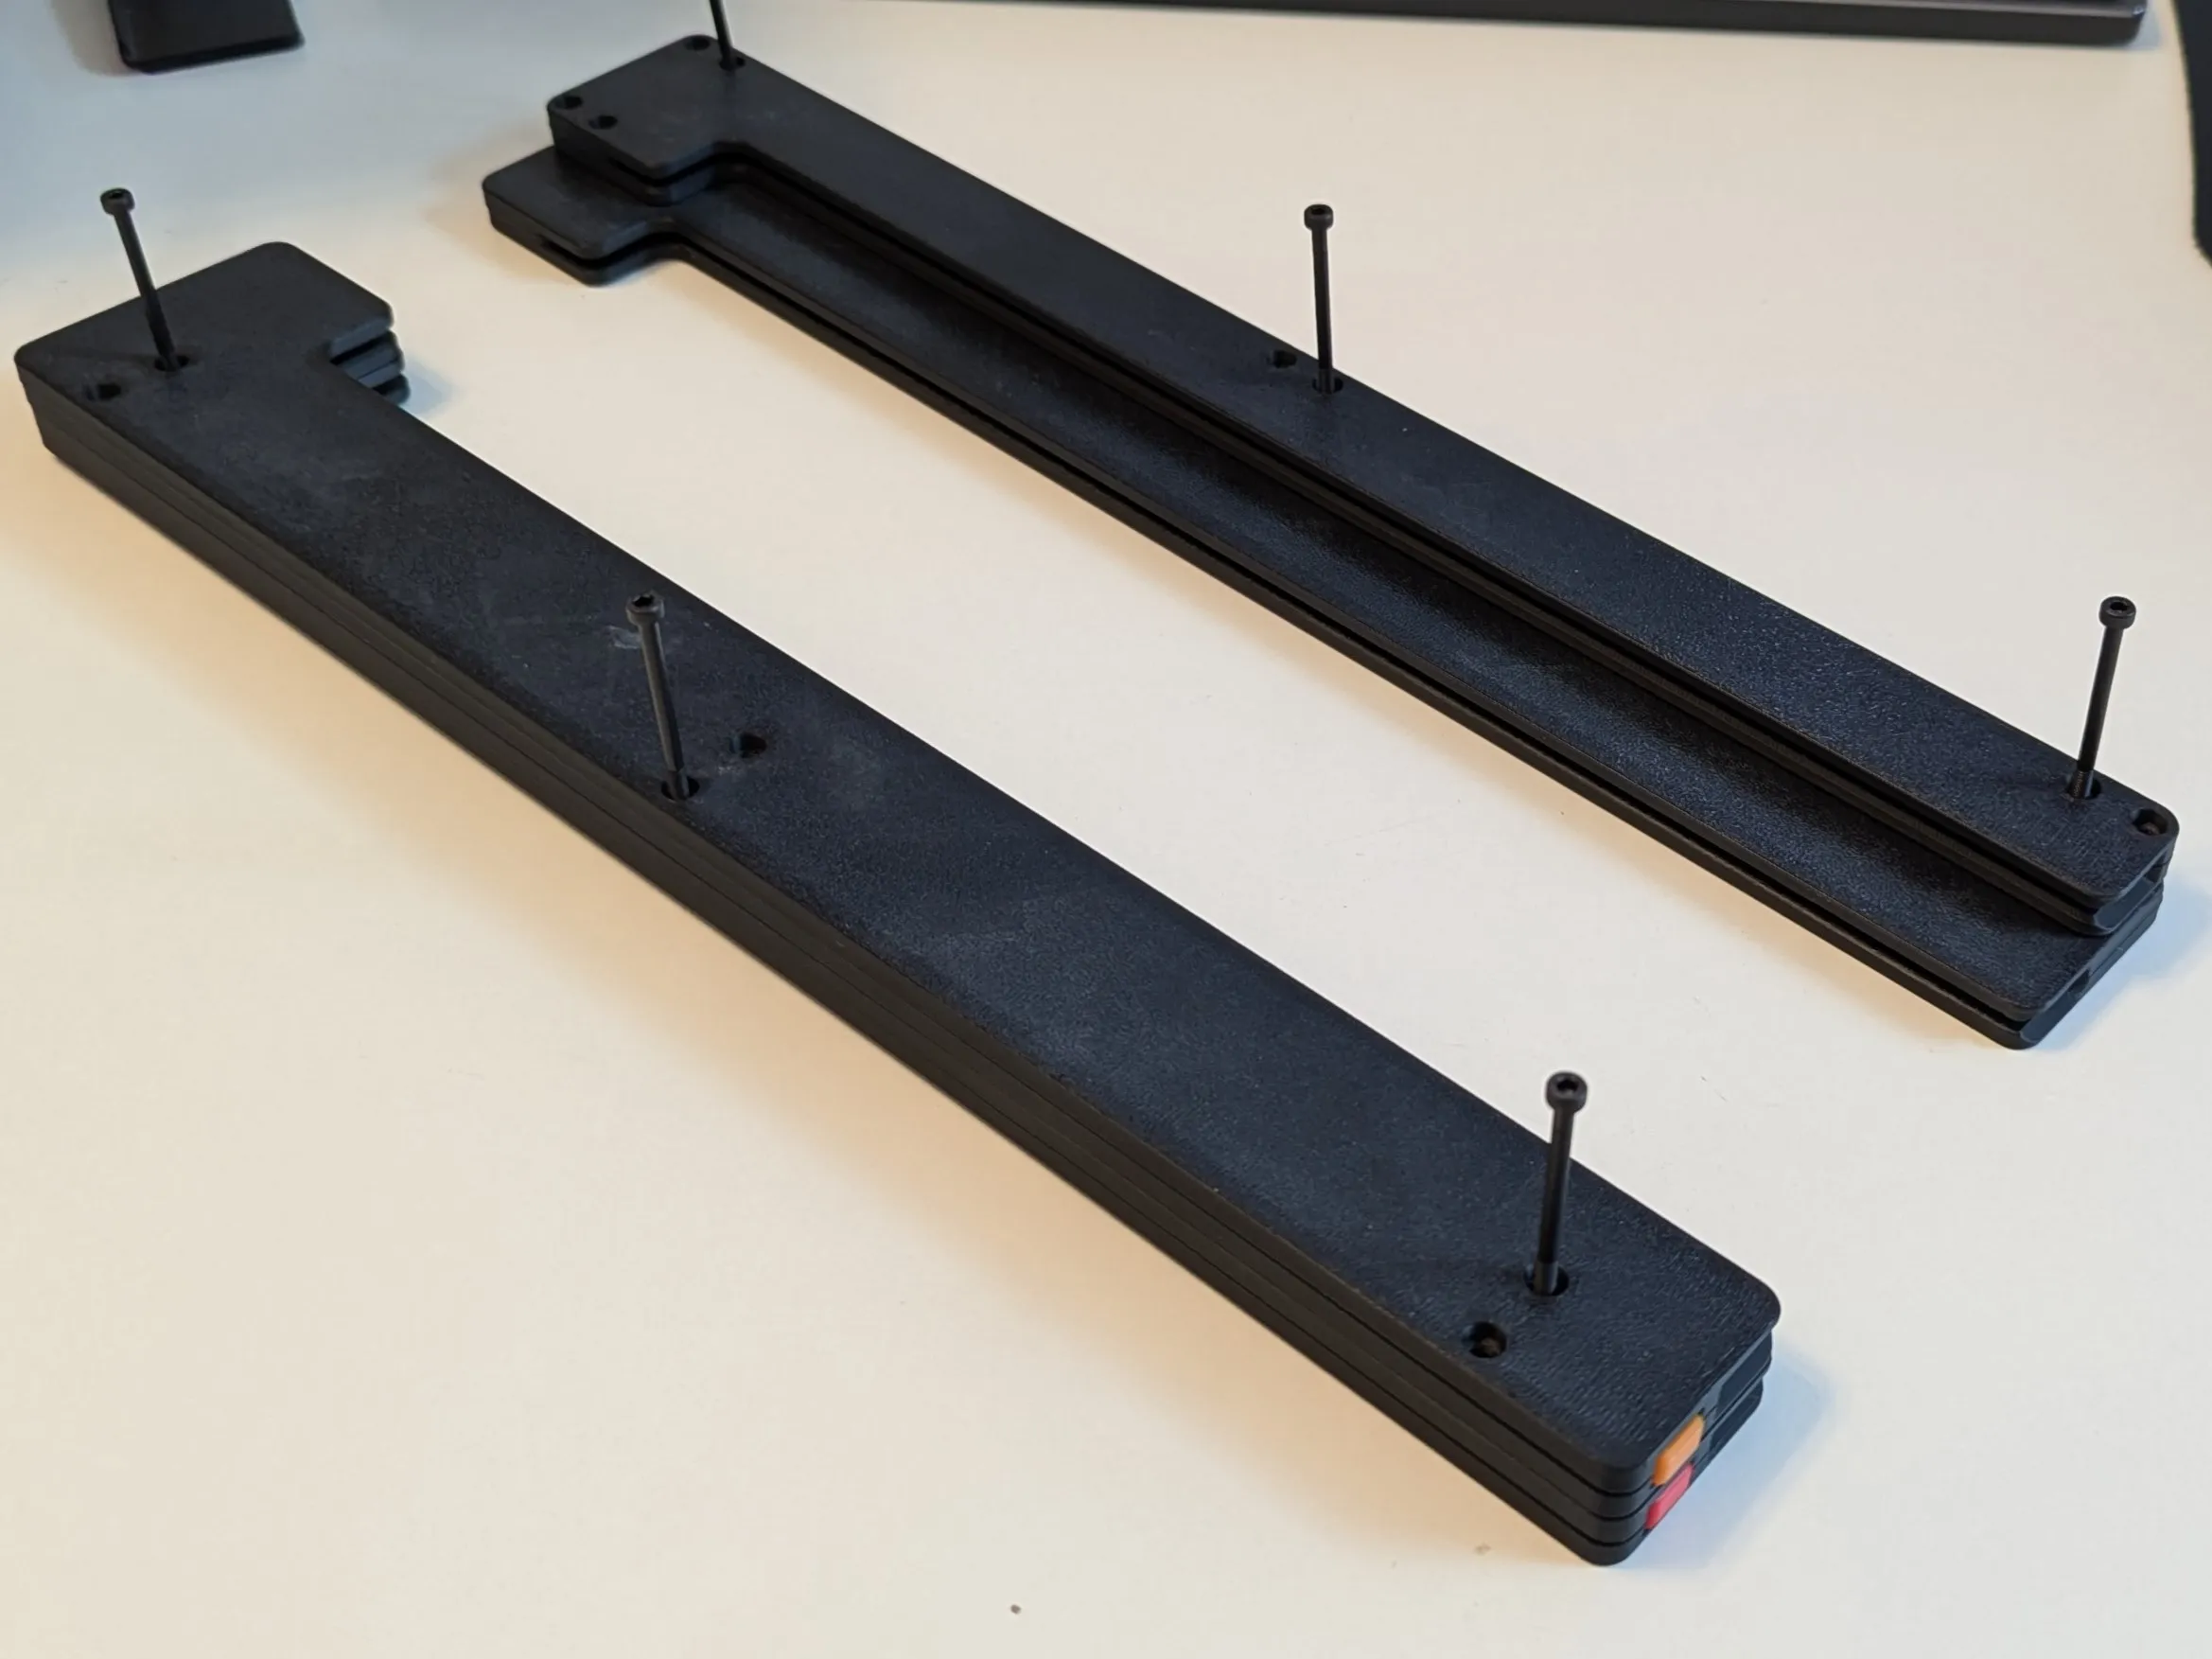
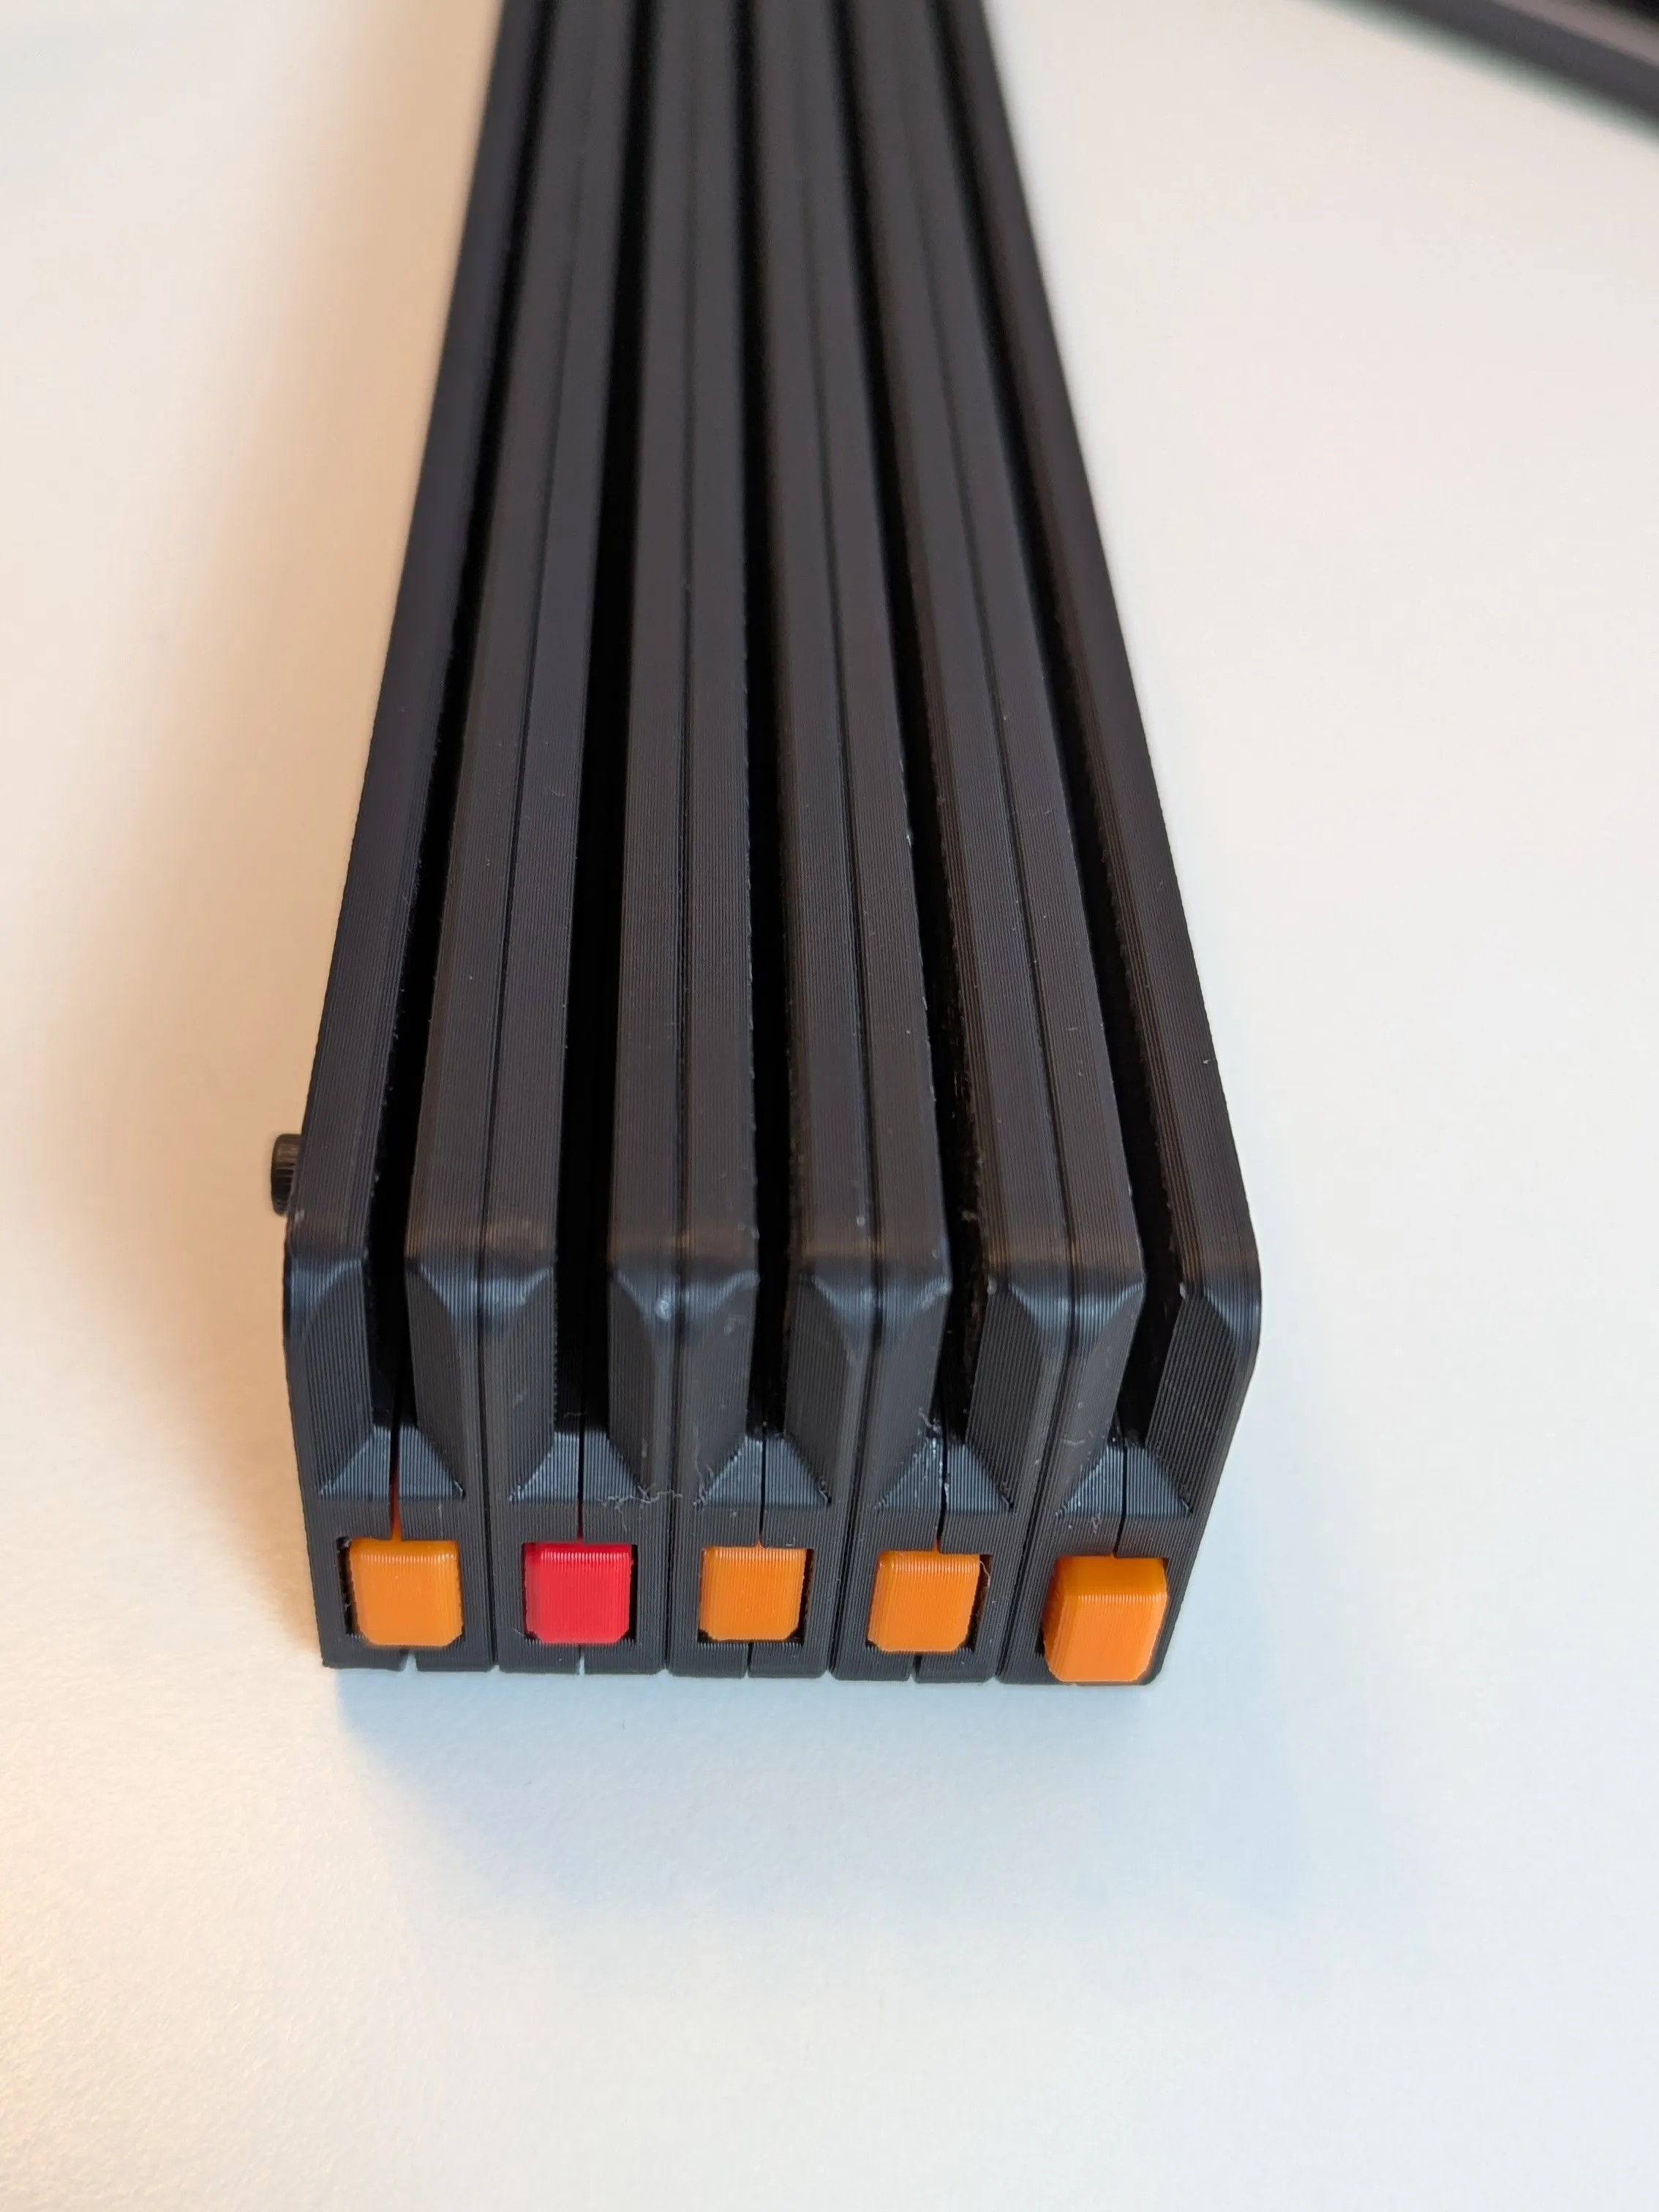
- Attach the assembly to the holder already screwed to the desk and screw them in all the way.
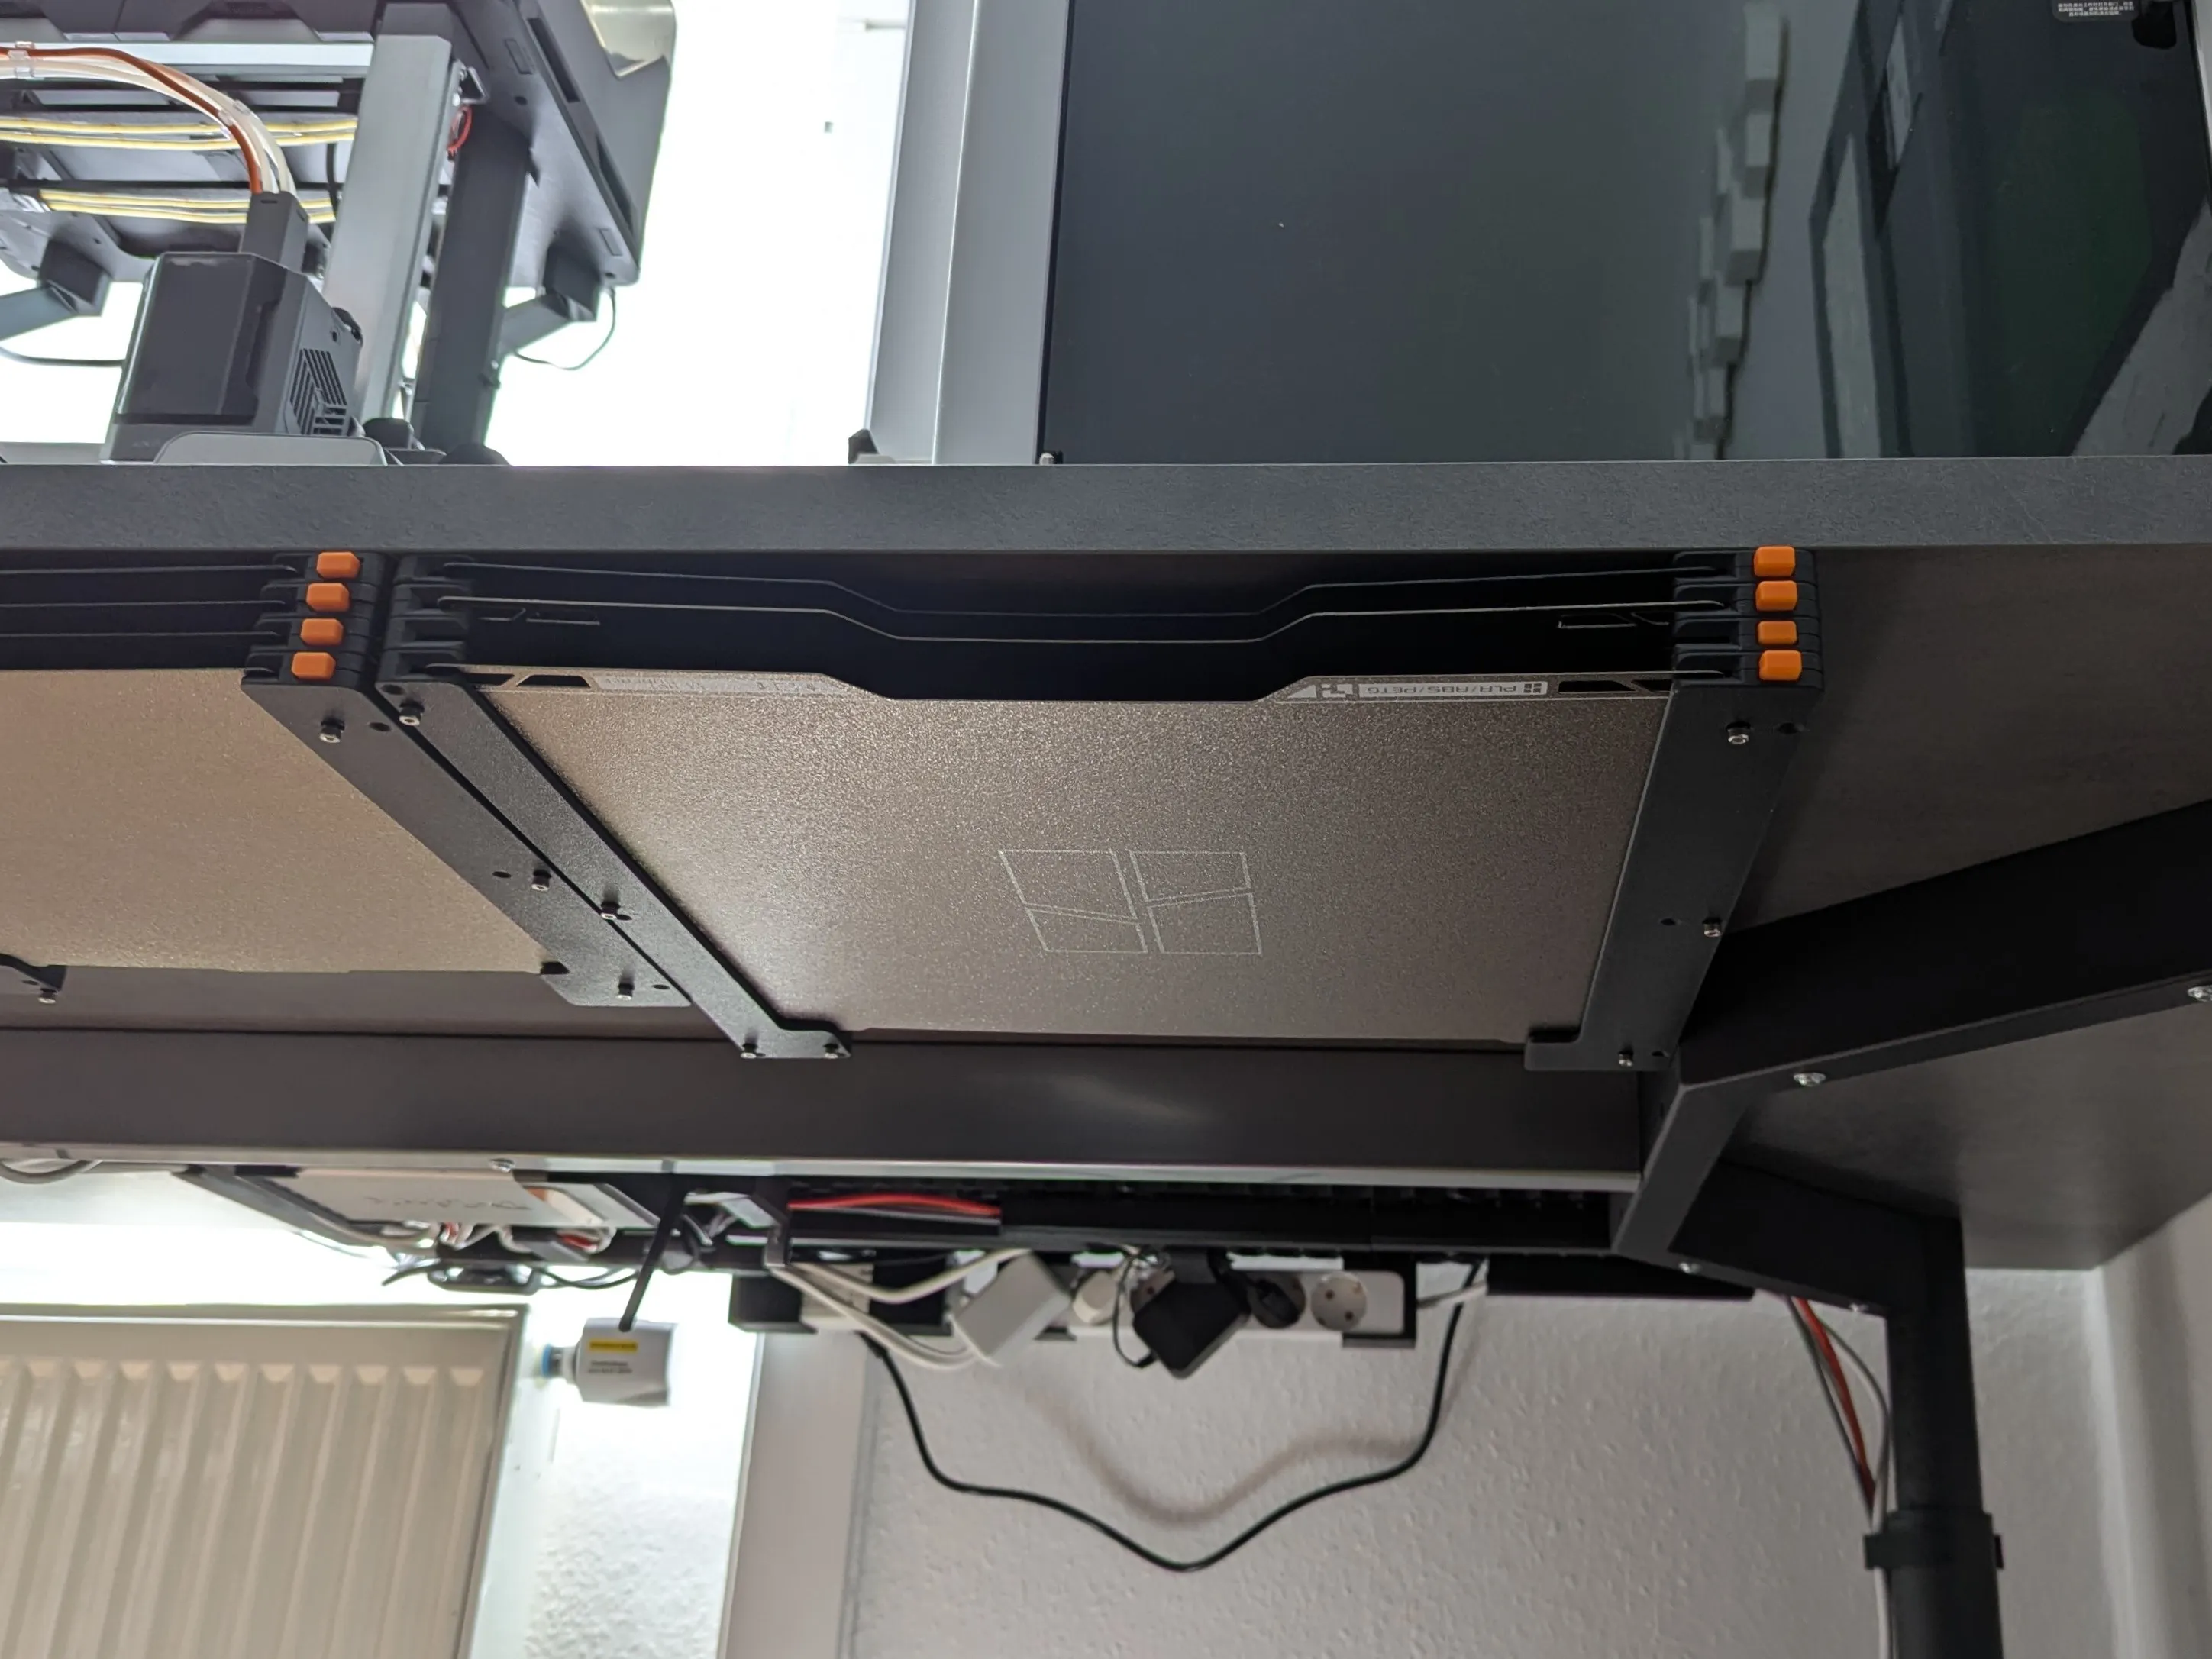
If you don't have long enough screws to penetrate all holders at once you can also add nuts again and articulate the screw holes every few holders or even every holder. You need 20mm M3 screws to attach one holder. For double extensions, 40mm M3 screws work well. If you plan to expand the setup, make sure to pre-insert M3 nuts. I also added a version for round head screws with a 3mm thick head to countersunk them, when using these you need 3-4mm shorter screws.
Print Settings
- Layer height: 0.2 mm
- No supports needed
Credits
Original design by @Whity on Printables. This remix adapts the model specifically for the Bambu Lab H2D build plate dimensions. There is also a version for X1, P1, A1 here: https://www.printables.com/model/703822-expandable-steel-sheet-holder-bambu-lab-x1p1a1
Update 2025-08-02:
- Fixed the hole placement on the cutting plate bottoms. (The stl files were already correct but the print profile bottom models were misaligned)
Update 2025-06-05:
- Increased Arm Component to 105% x and y scale for easier movement of the expand mechanism.
- Fixed round head screw bottom components (It was not printing correctly)
- Added Cutting Plate Model and print profile. The cutout of this model is higher and narrower as the cutting plate is narrower and a bit thicker. The screw holes align with the other models and it can therefore be screwed in with the other models.
- Added Laser Plate Model and print profile. The cutout of this model is higher and narrower as the laser plate is narrower and a lot thicker. Removed the expand mechanism for this plate type. The screw holes align with the other models and it can therefore be screwed in with the other models.
This remix is based on

License



Comment & Rating (238)