
Halloween Tea Light Display



Print Profile(19)


Bill of Materials


Description
** Get an early start! Get the Christmas version now! **
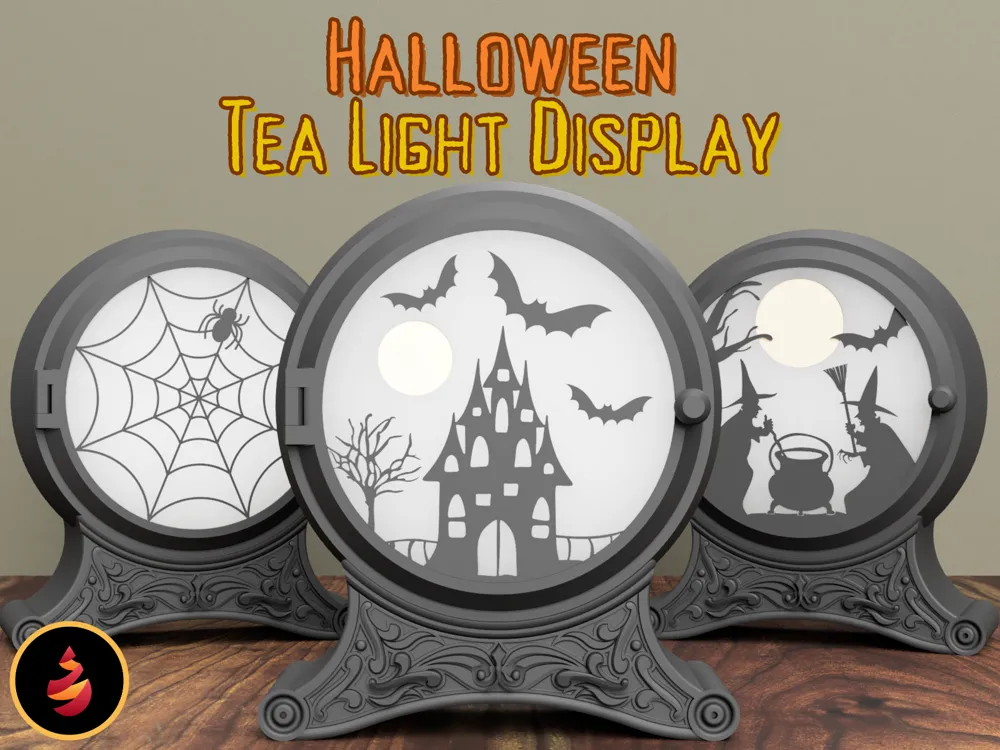
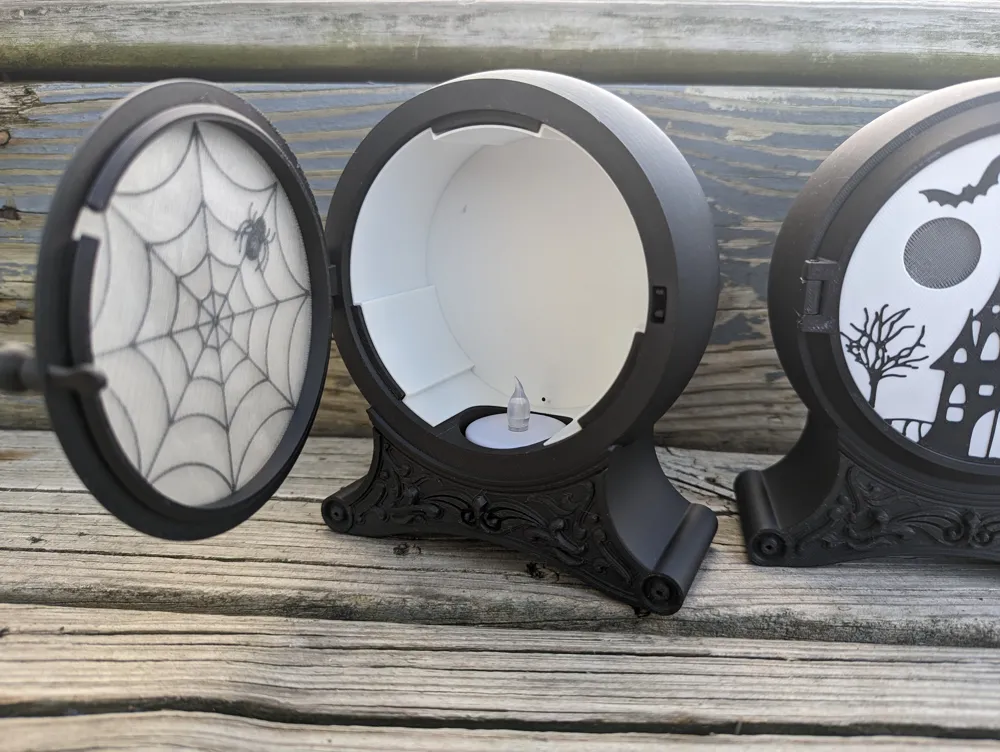
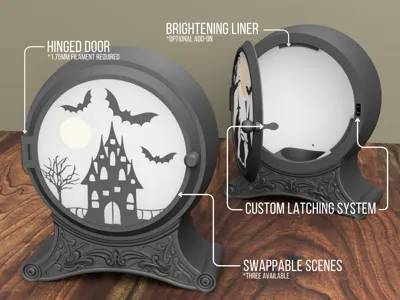
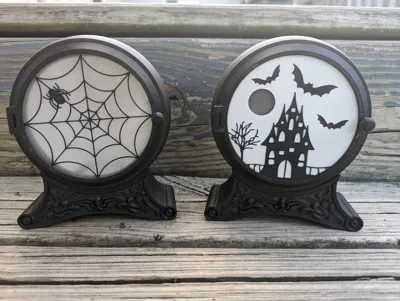
Light up different Halloween scenes in this display. A tea light candle is required.
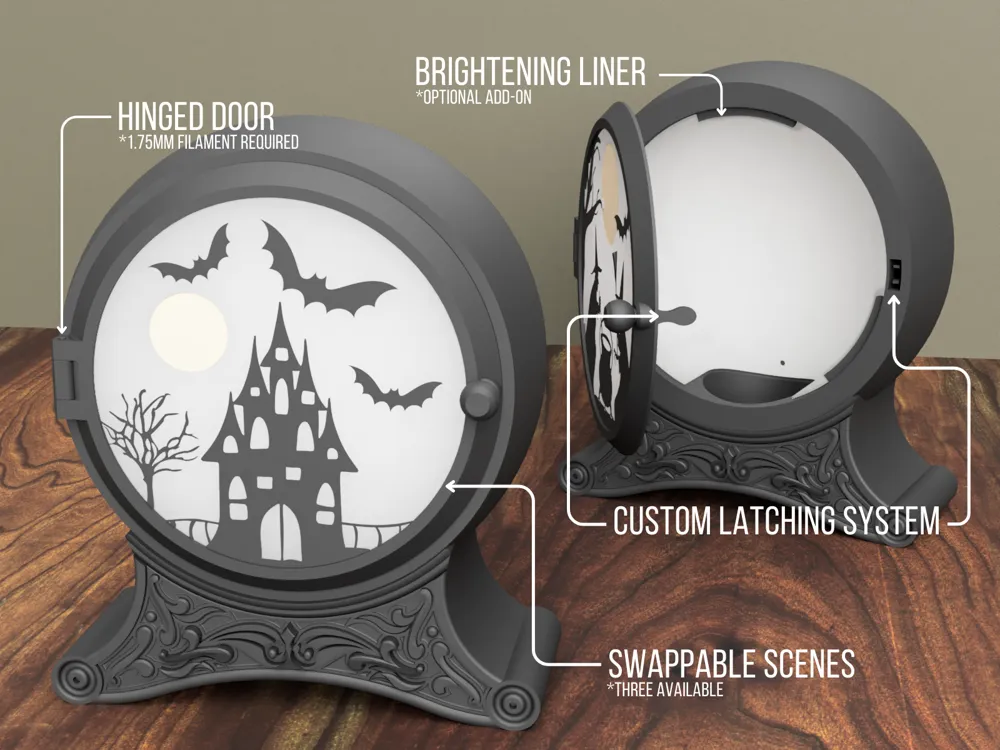
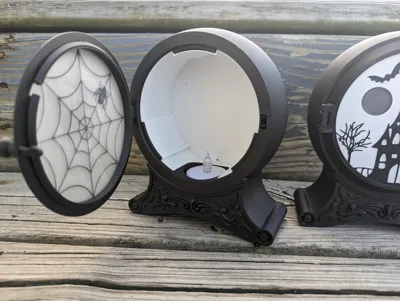
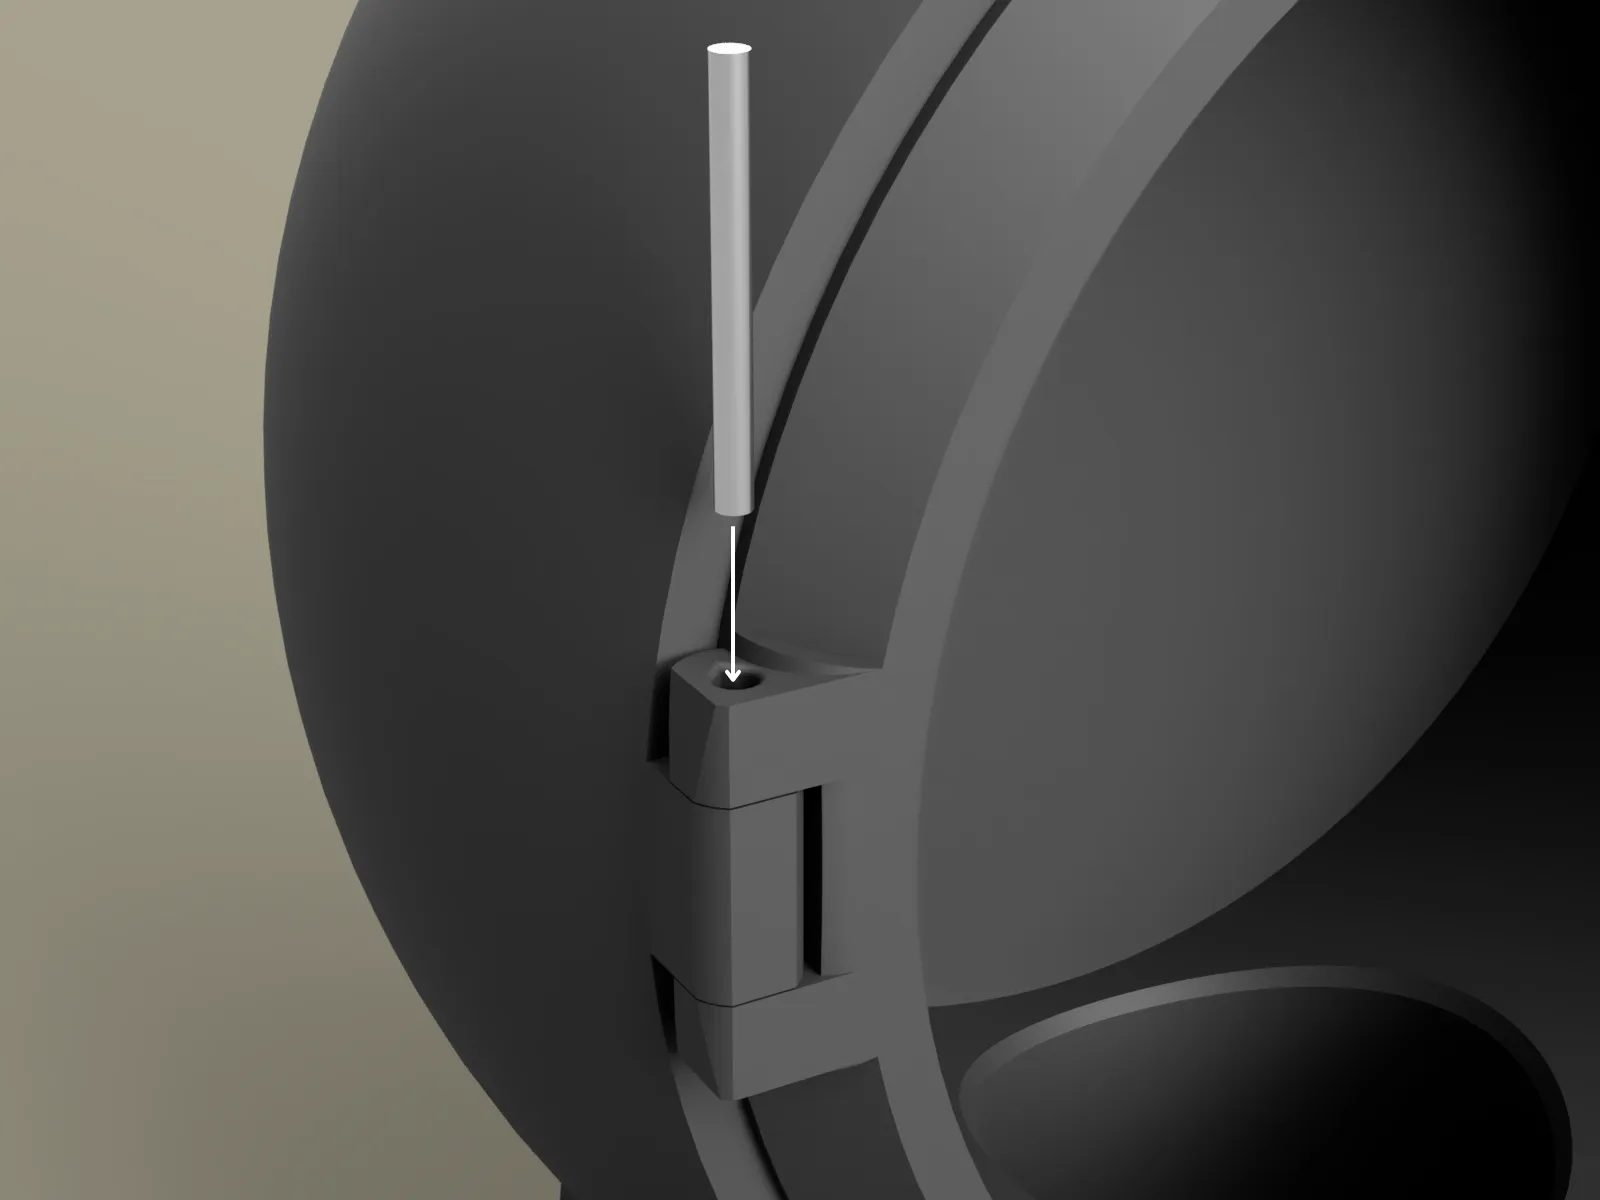
The display features a door that opens to allow access to the tea light. Use a section of 1.75mm filament inside the hinge to connect the door to the case. Depending on your printer/setup, this hole may be on the tight side or a bit loose. If tight, drilling out the hole may help. If it is slightly oversized, I suggest melting the end of the filament piece with a soldering iron or lighter.
I have included a separate liner. This allows you to print the case in a dark color, but line the inside with a lighter color to allow for more reflection of light outward, making everything brighter.
For a complete display, you will need:
- 1x Case
- 1x Door
- 1x Knob
- 1x Snap Ring
- 1x Liner - Optional
- 1x (minimum) Scene - You can easily remove the snap ring to swap out scenes as desired
Check out my other holiday models here.
Print Settings
No special setting are needed for the display case, door, knob, snap ring and liner.
Scenes Print Settings
Print the scenes with 100% infill. The scenes also require color changes:
- The top 2 layers should be black
- If there is no moon in the scene, all other layers can be white or clear - both look nice
- If there is a moon in the scene, it will look best if the bottom 2 layers are printed in clear filament
- All other layers should be white
- All non-black layers could be printed in all white or all clear if one isn't available to you
Assembly
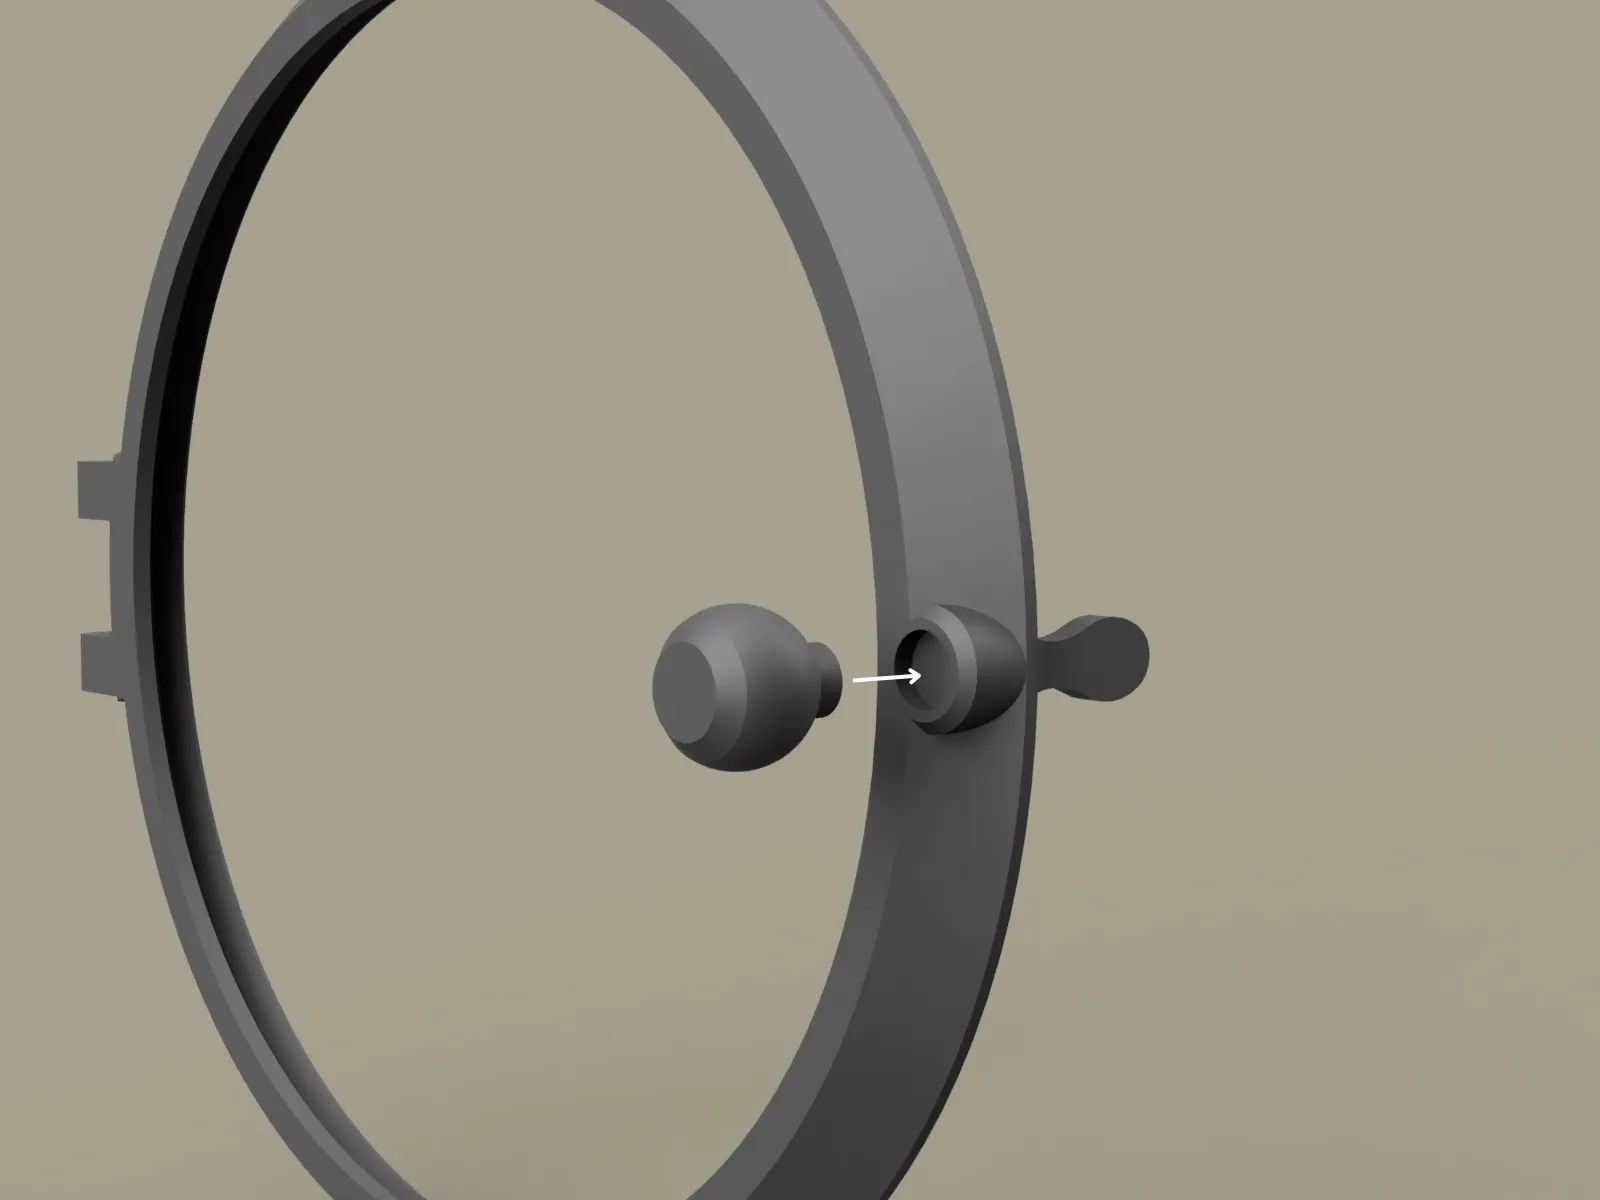
Glue the knob into the door. Only a very small amount is needed.
Put the door in place and latch it. Use a 20mm piece of 1.75mm filament to connect the 3 sections of the hinge. If the filament goes in very easily, it may be a good idea to heat up the top end of the filament ‘pin’ and press it flat. This will prevent the pin from falling through later on.
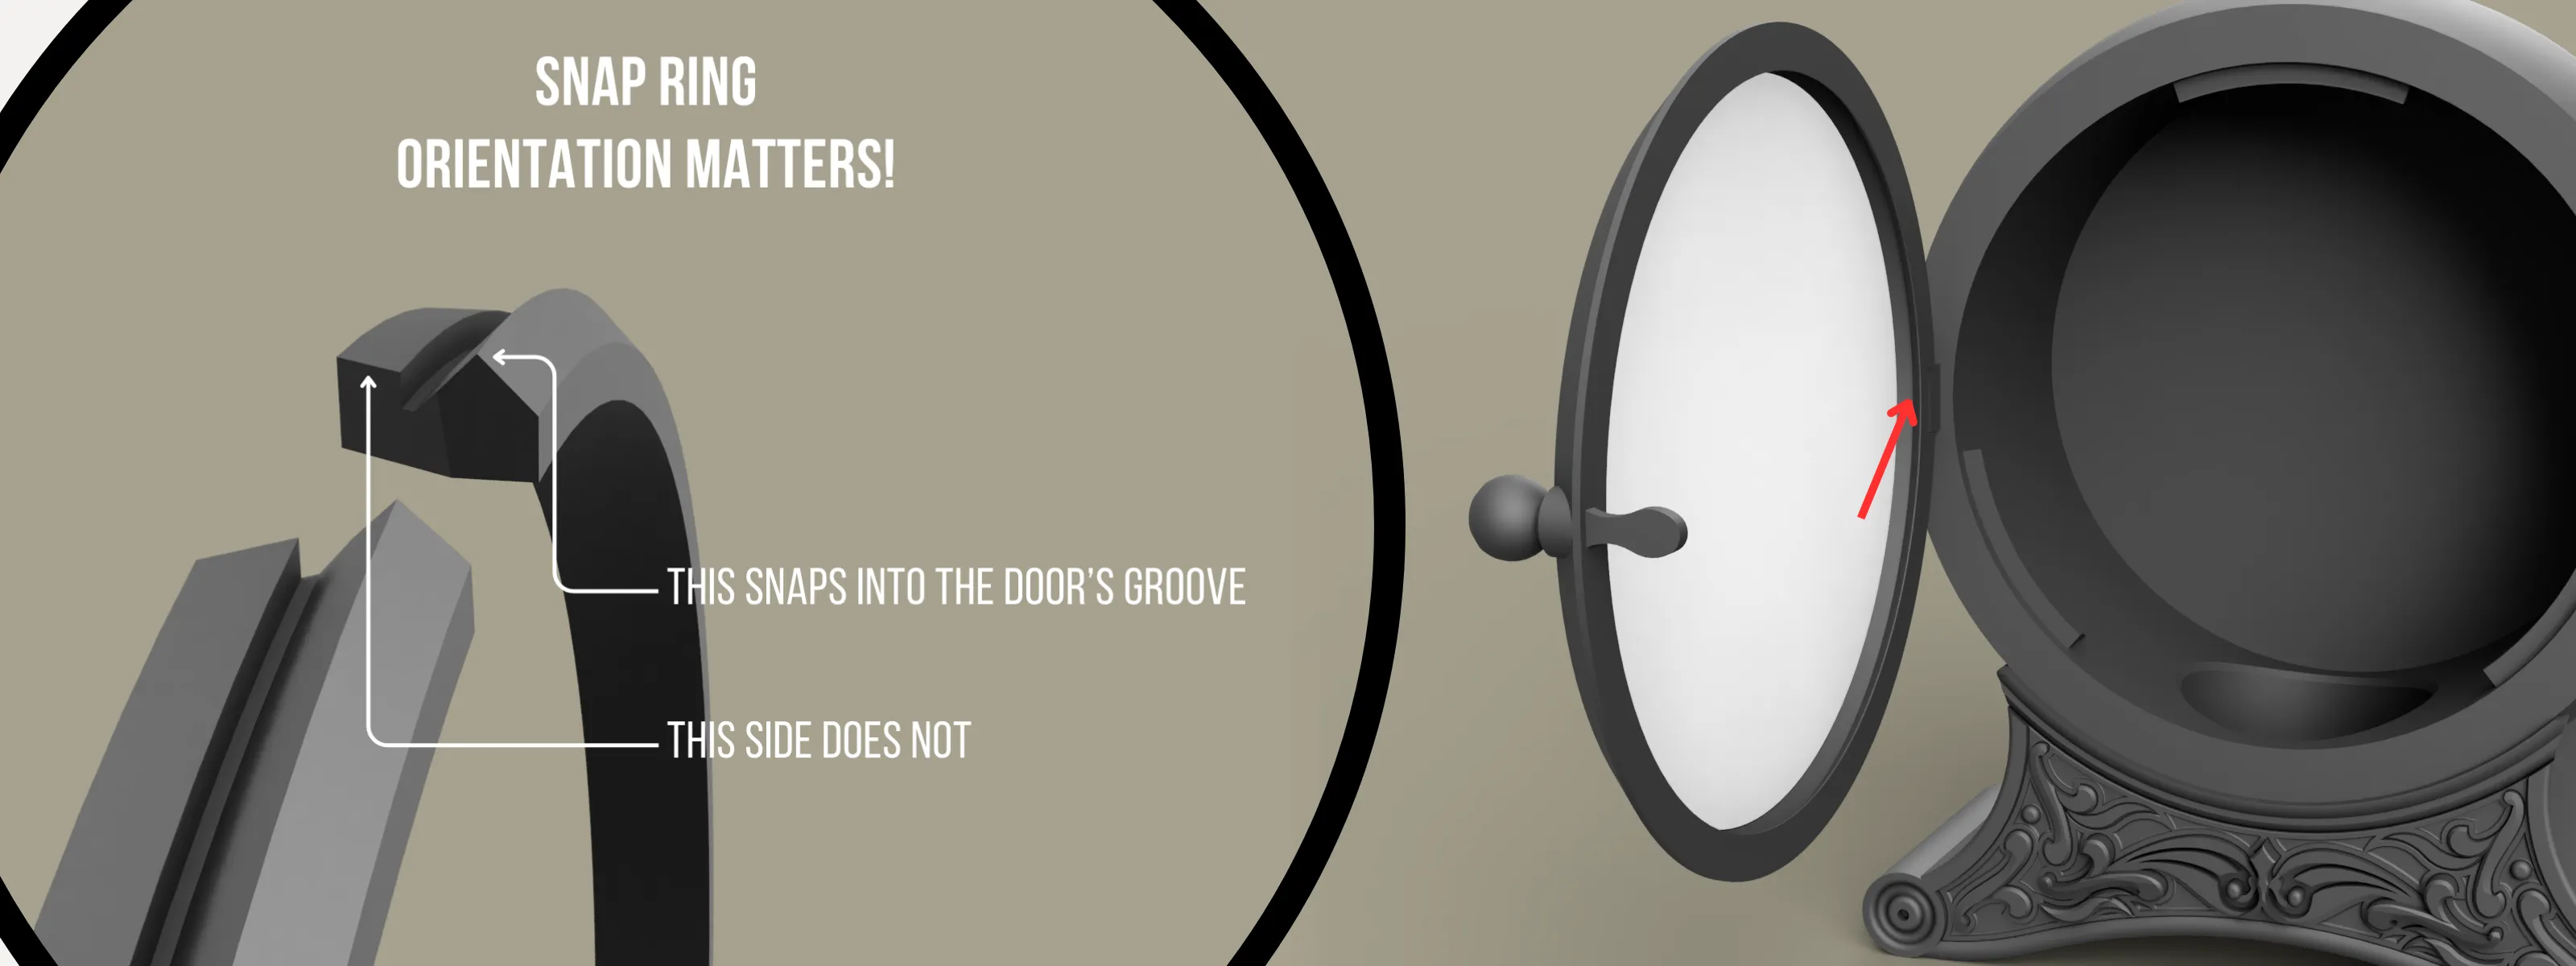
Open the door. Insert a scene into the opening (image facing outward). Insert the snap ring behind the scene by gently squeezing and placing it into the groove (see red arrow below).
If you are using a liner, slide it inside the case. This may be a tight fit. Go slowly and be sure to slide it in evenly on all sides.
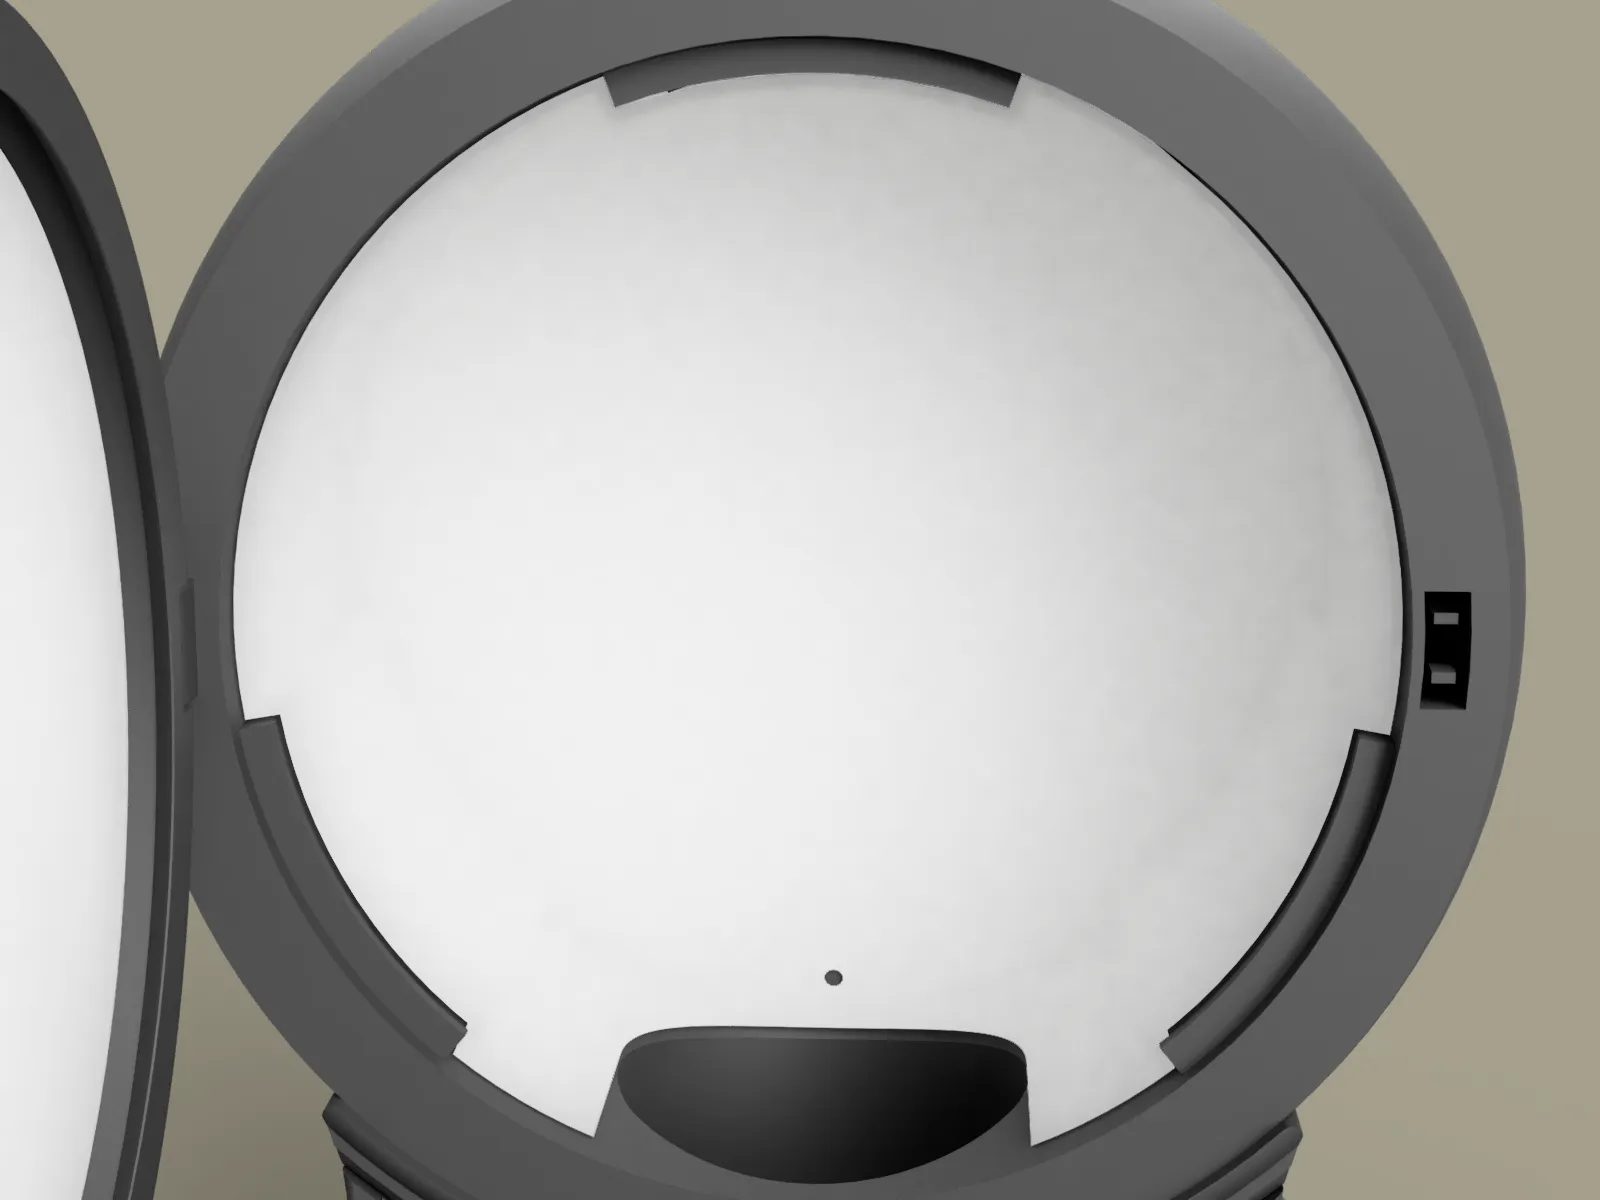
Turn on your tea light and close the door.
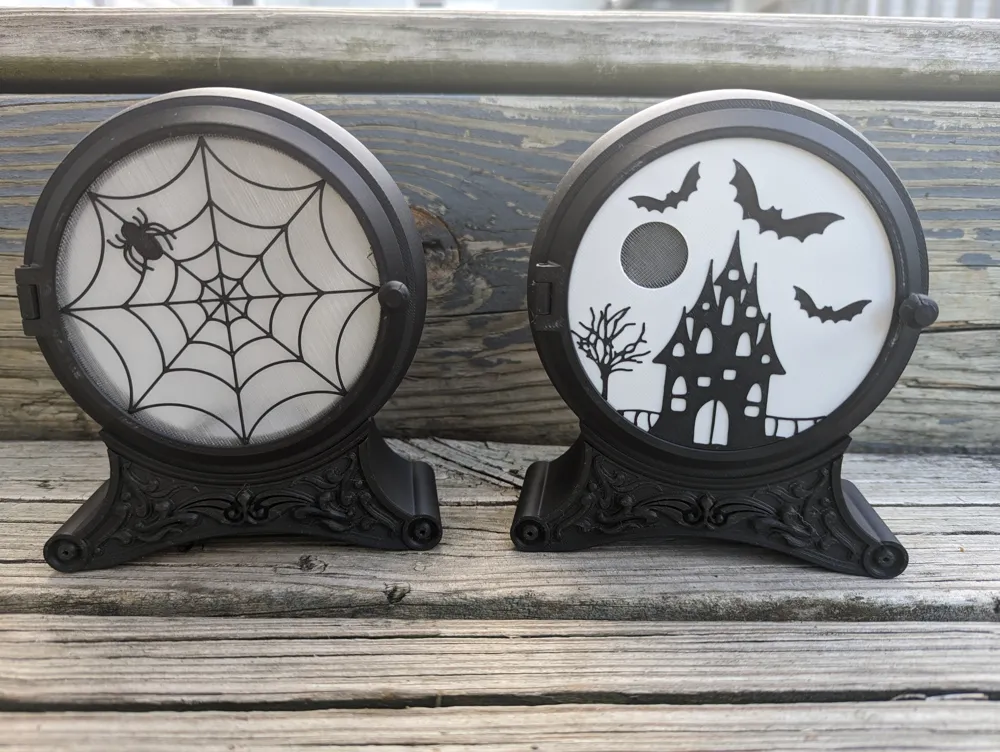
The following filaments were used in the pictures above:
- Bambu Lab Matte Charcoal PLA
- Bambu Lab Matte Ivory White PLA
- GIANTARM Transparent Clear PLA
Membership
Are you looking for a Commercial License for all JamesThePrinter models?
License

You shall not share, sub-license, sell, rent, host, transfer, or distribute in any way the digital or 3D printed versions of this object, nor any other derivative work of this object in its digital or physical format (including - but not limited to - remixes of this object, and hosting on other digital platforms). The objects may not be used without permission in any way whatsoever in which you charge money, or collect fees.


Comment & Rating (1054)