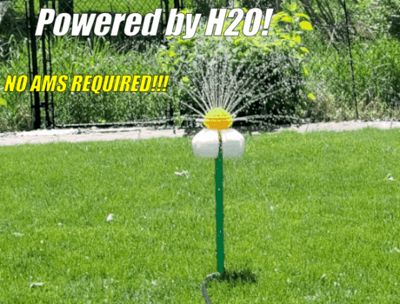
Droopy Daisy Spinning Sprinkler


Print Profile(2)


Description
This is a fun spinning sprinkler for small children and pets to enjoy. Height is adjustable, simply print more vertical pipes (each pipe is approximately 6 inches tall).
NO AMS NEEDED!

|  | |
| 2. Start attaching vertical pipes until you have it at the height that you want. |  | |
| 3. Attach the sprinkler manifold to the top vertical pipe. | 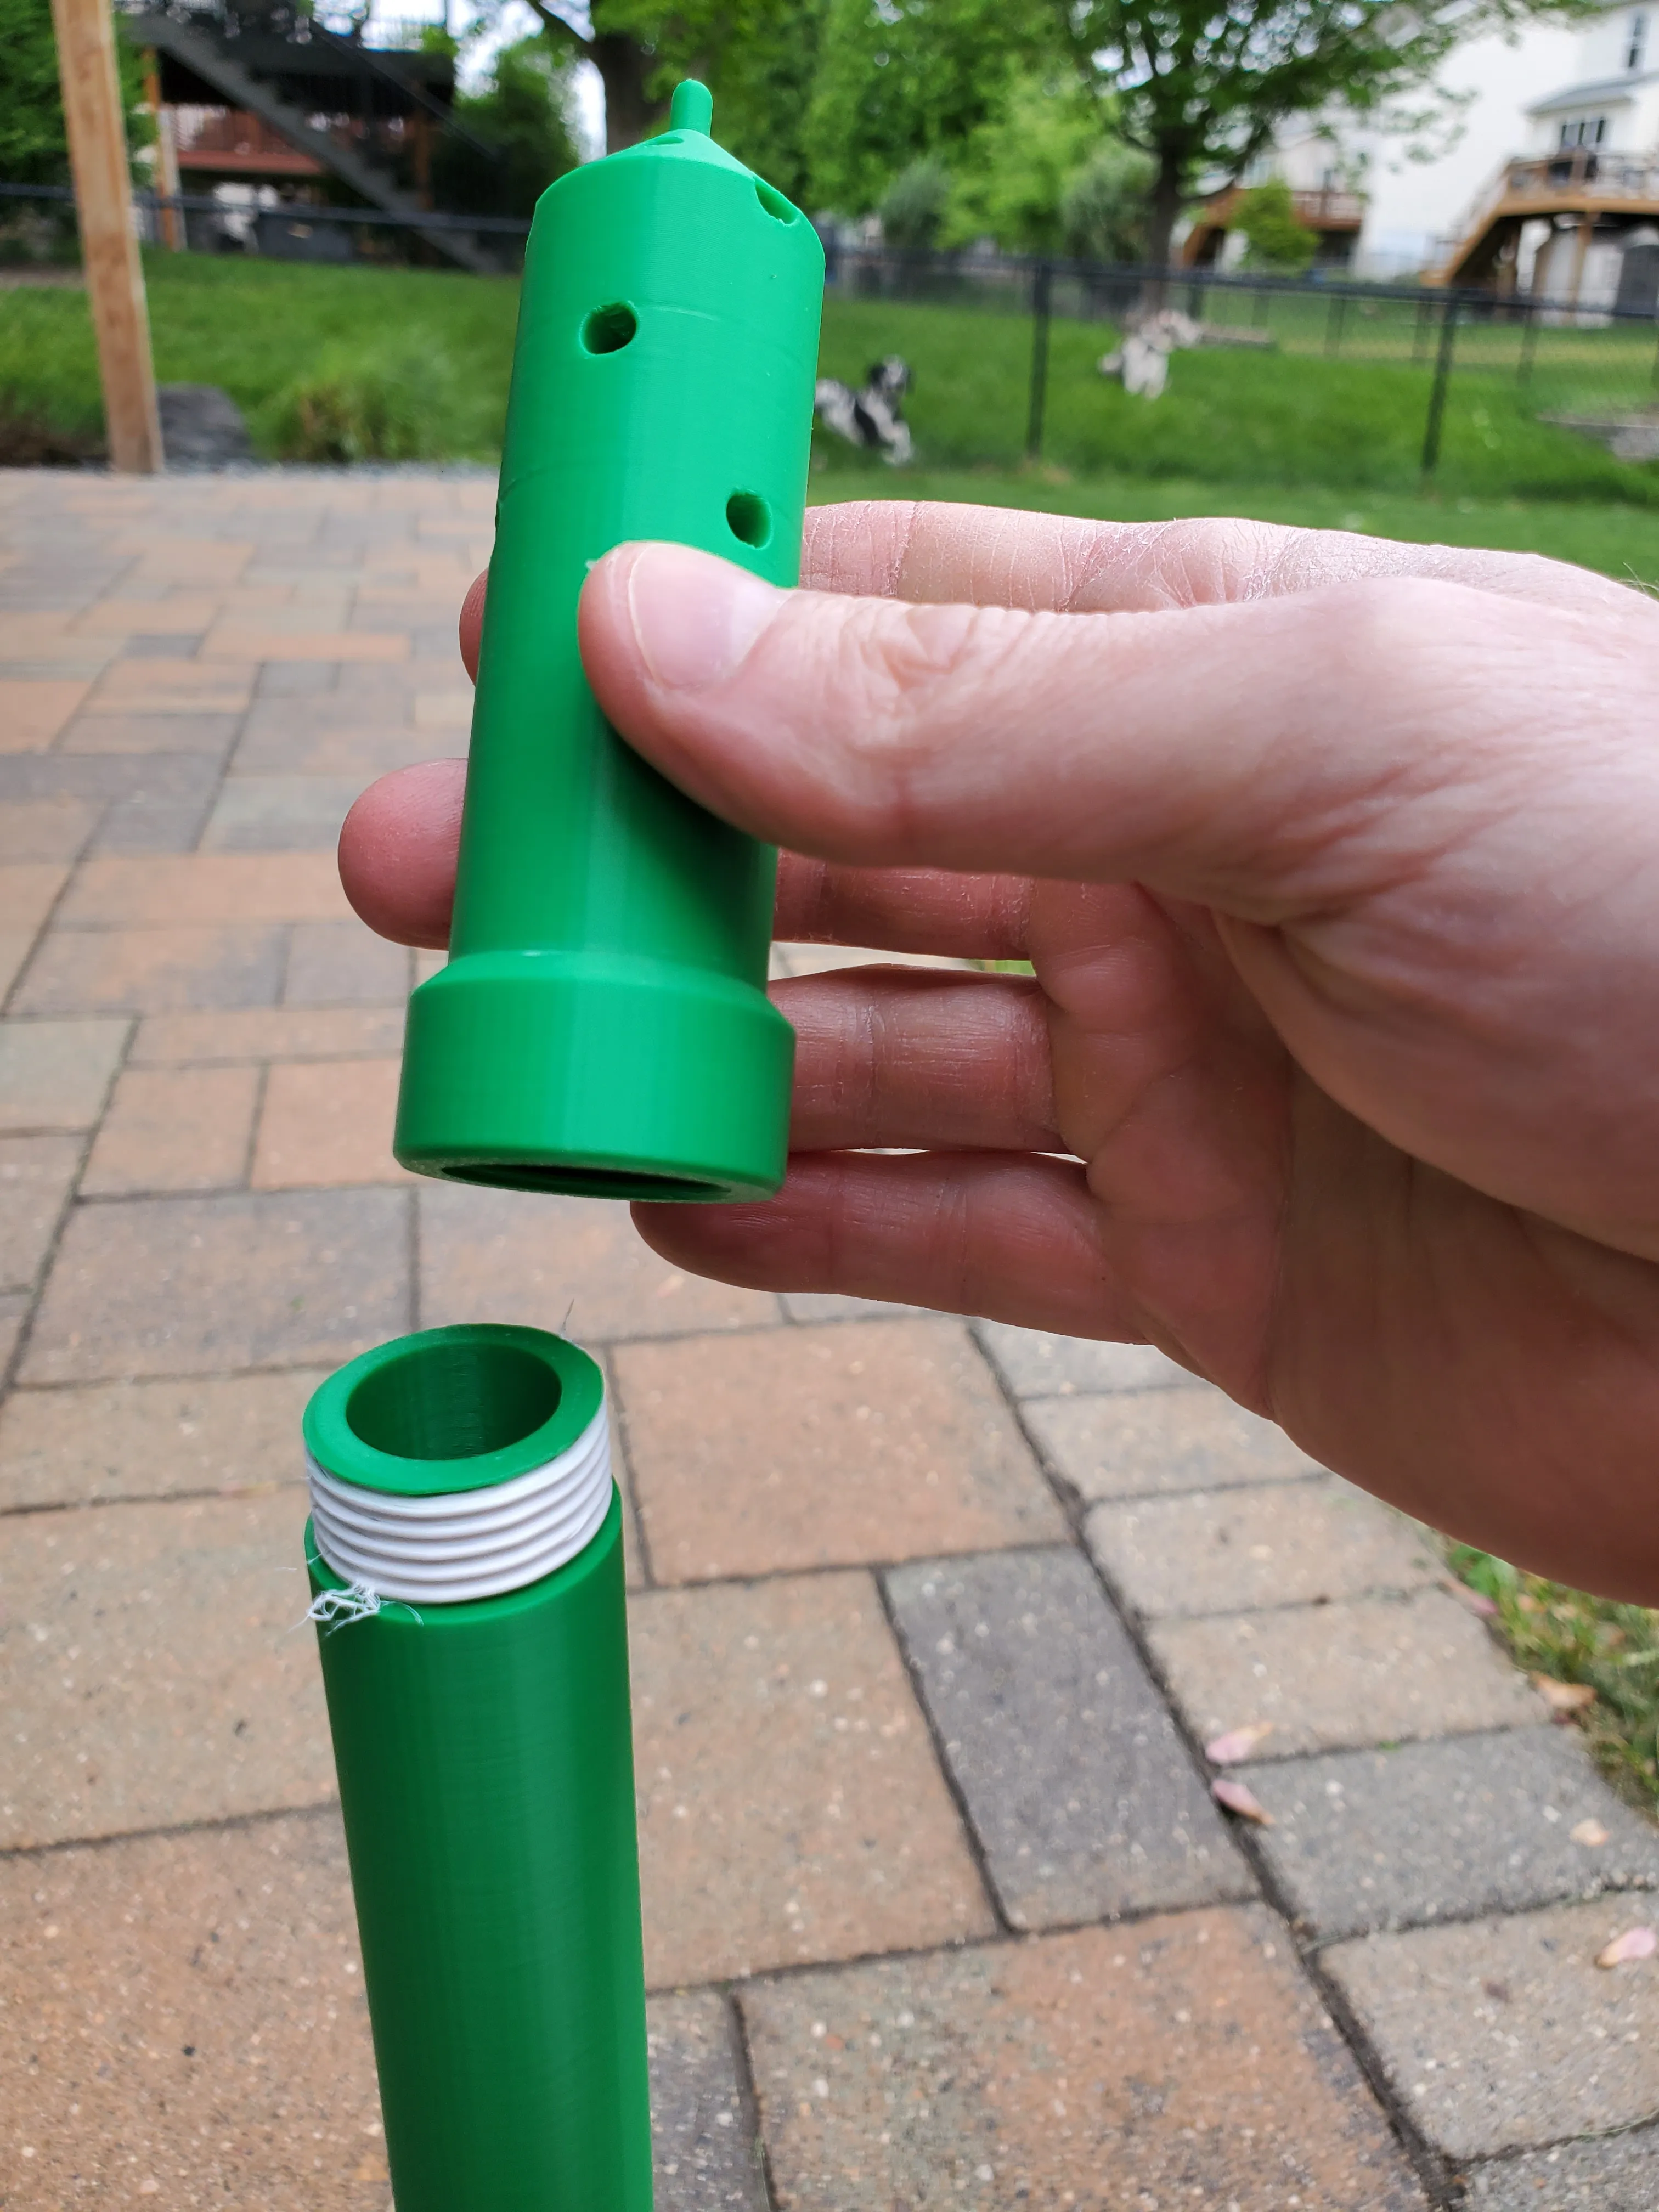 | |
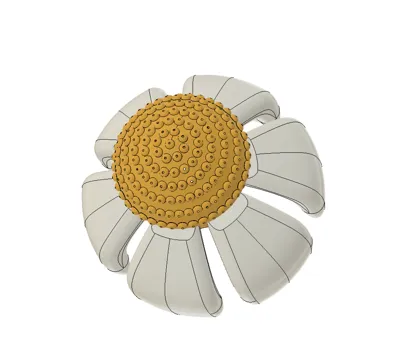
| 4. Attach 6 petals to the sprinkler head using the parallel tabs. The petals will fit both ways so make sure they droop down. |  |  |
| 5. Balance the sprinkler head on top of the manifold. | 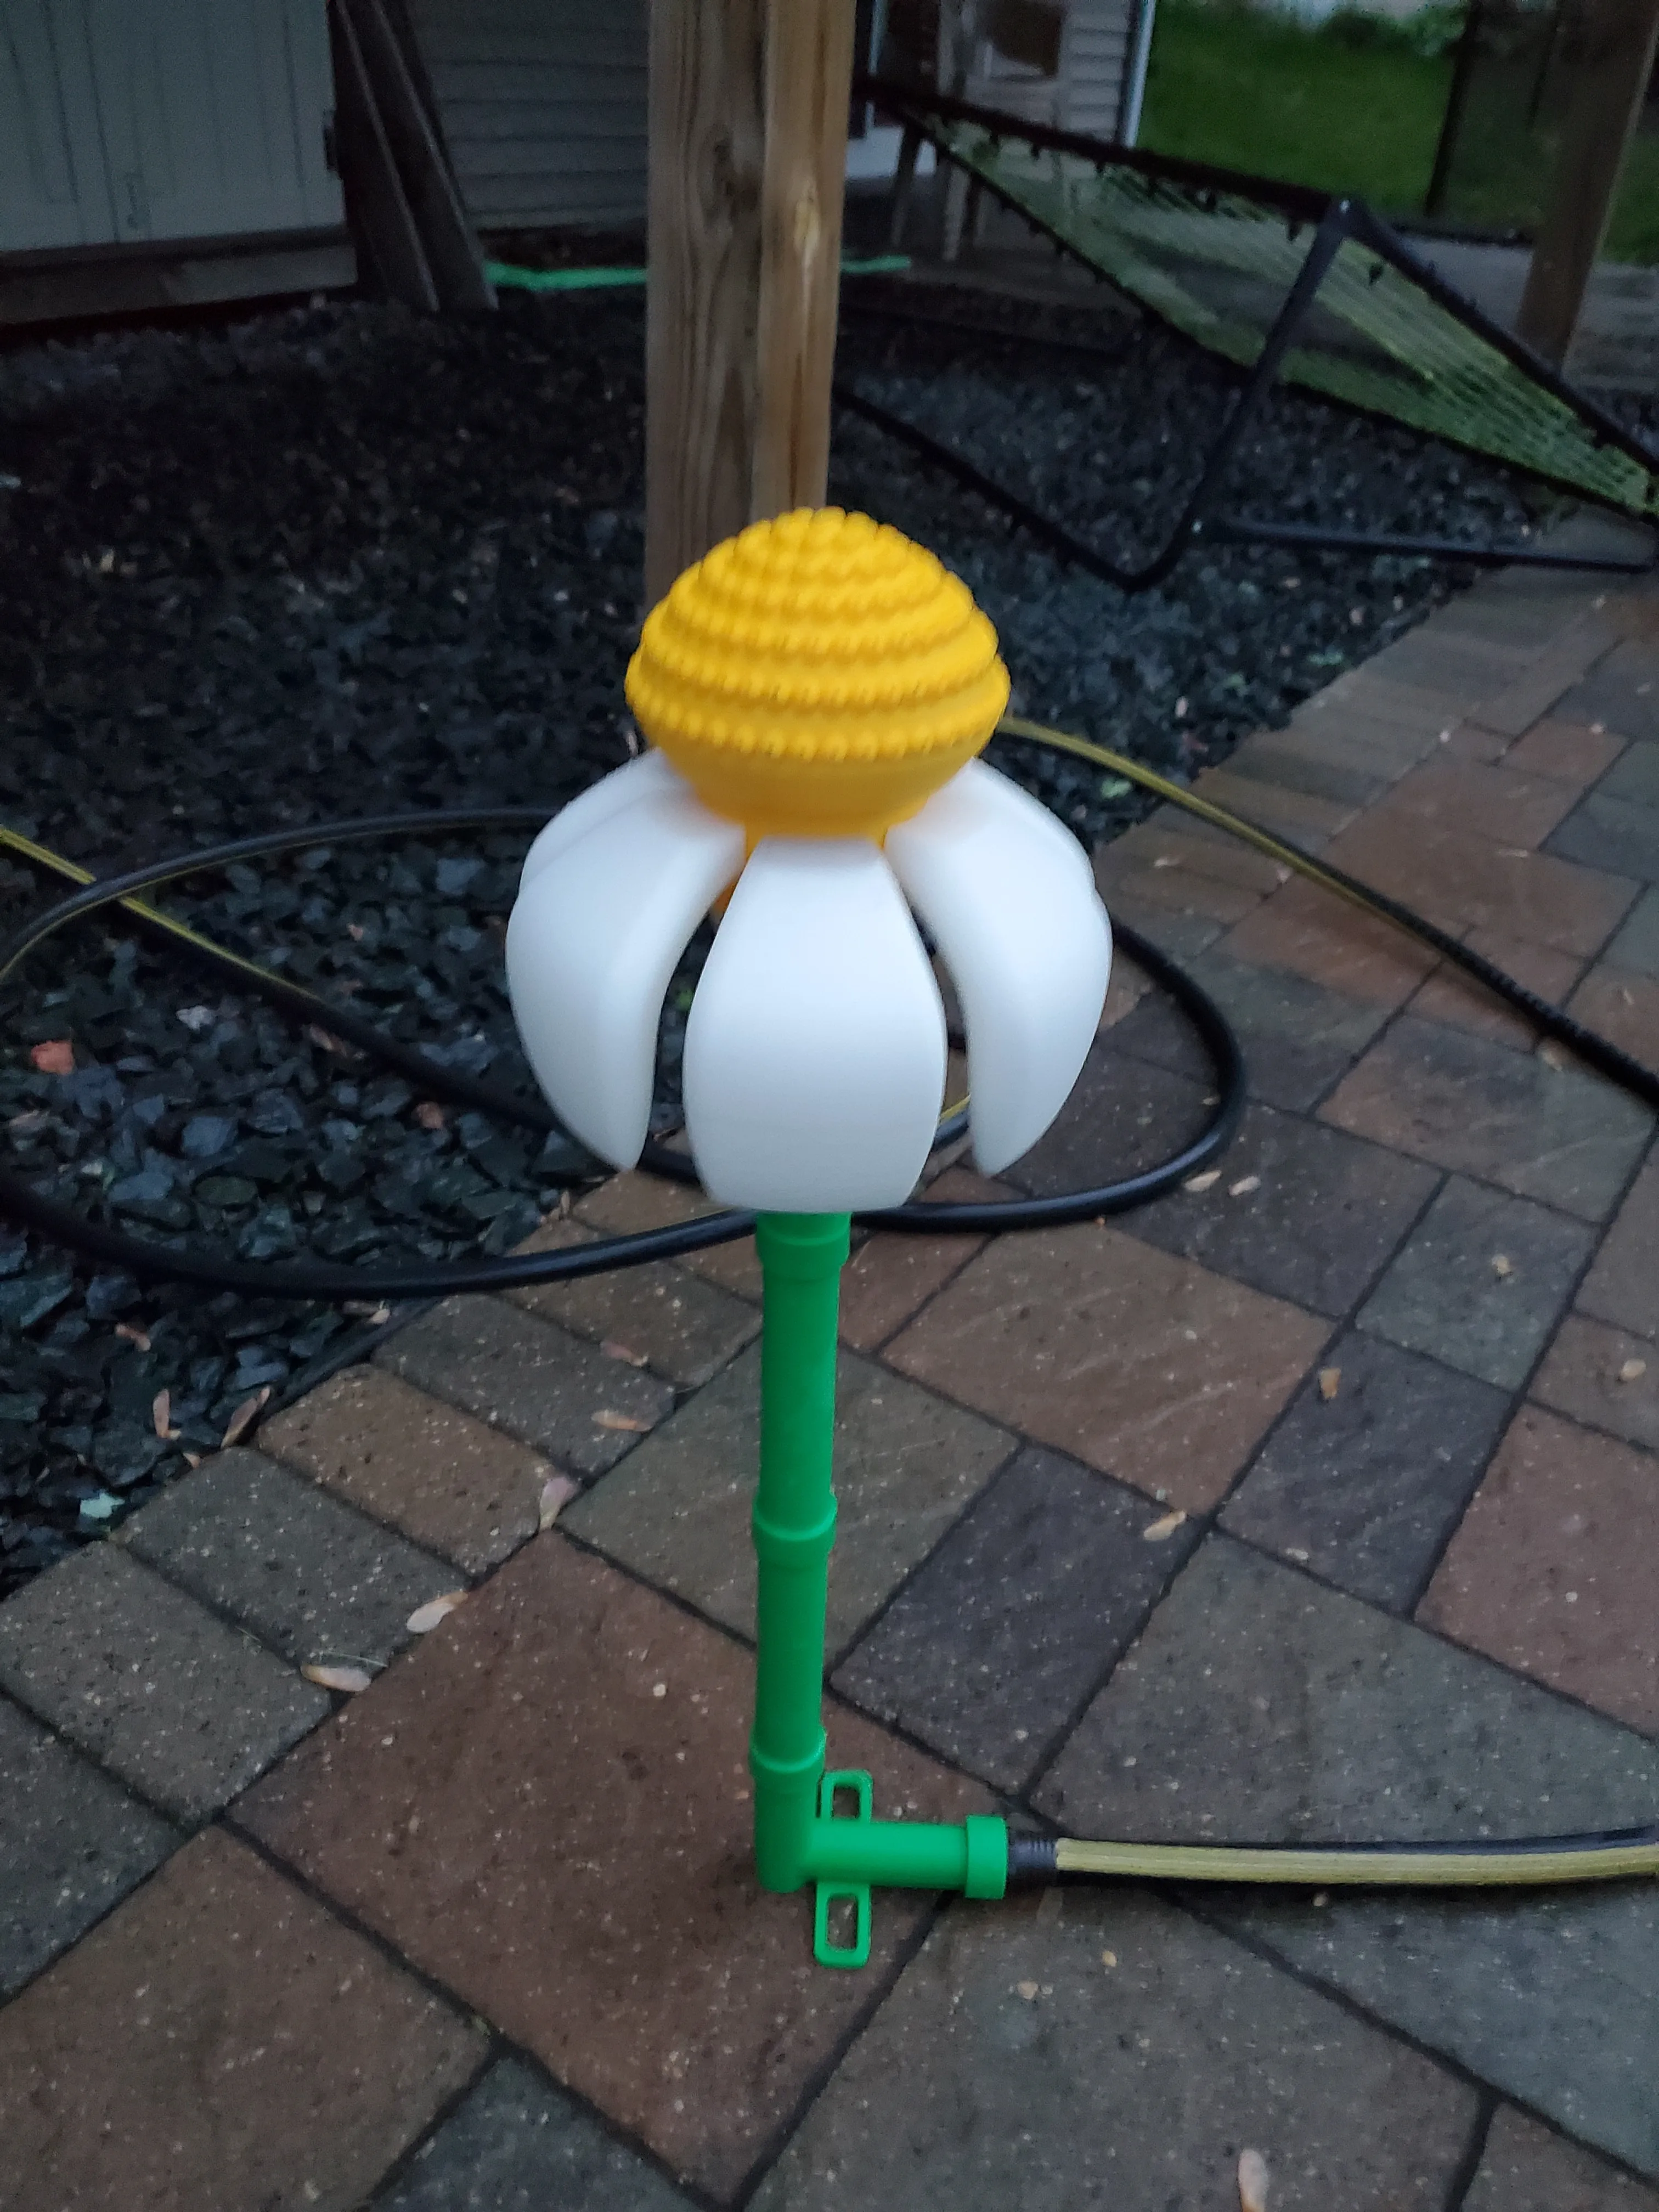 | |
6. Turn on your water slowly until the daisy starts spinning. Adjust the flow as you see fit.
If your water pressure is too high then the daisy may lift up and stop spinning. Simply lower the flow rate until it drops back down and starts spinning again. |  | |
| 7. Increase the height by adding more vertical pipes! |  | |
| 8. If you decide to make your sprinkler taller then you may have to use the included large support base and stakes. |  | |
Things to keep in mind:
- I've added a tolerance test. Print it to make sure your petals will fit onto the tabs on the sprinkler head. It should be a snug fit.
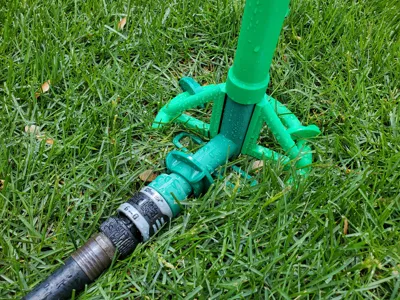
- Teflon tape is your friend. Wrap a bit around the threads of each pipe to prevent any leaking. You can see I've used it in all of my fittings in the pictures.
- Turn off your AUXILLIARY fan when printing these parts. It's well known that the aux fan can cause layer shifting in taller prints.
Boost Me (for free)
This took quite a bit of time and a few roles of filament to design. While not expected, a boost would definitely be appreciated =)
License
You shall not share, sub-license, sell, rent, host, transfer, or distribute in any way the digital or 3D printed versions of this object, nor any other derivative work of this object in its digital or physical format (including - but not limited to - remixes of this object, and hosting on other digital platforms). The objects may not be used without permission in any way whatsoever in which you charge money, or collect fees.
Comment & Rating (142)