
Print Profile(1)

Bill of Materials
- M3 lens screws x 1:
- M3 nuts x 1:
Description
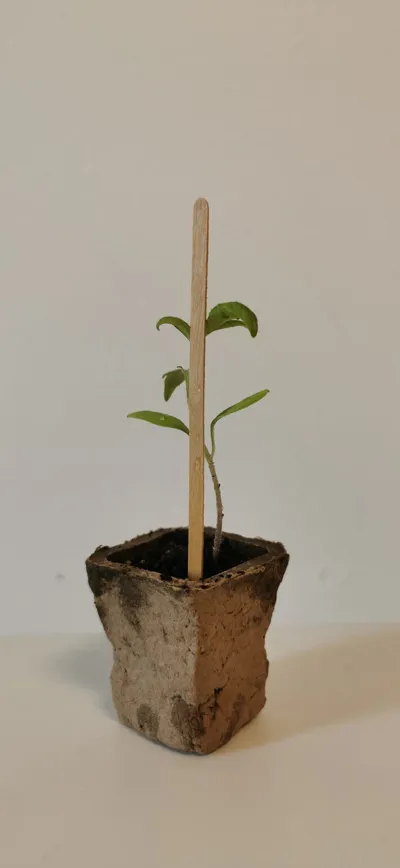
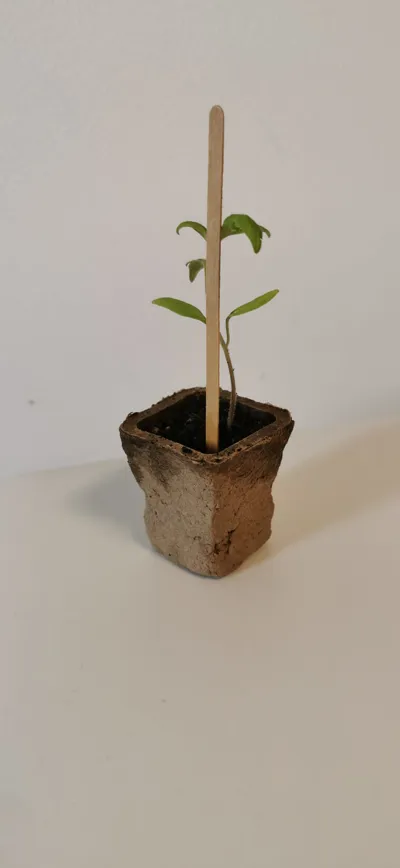
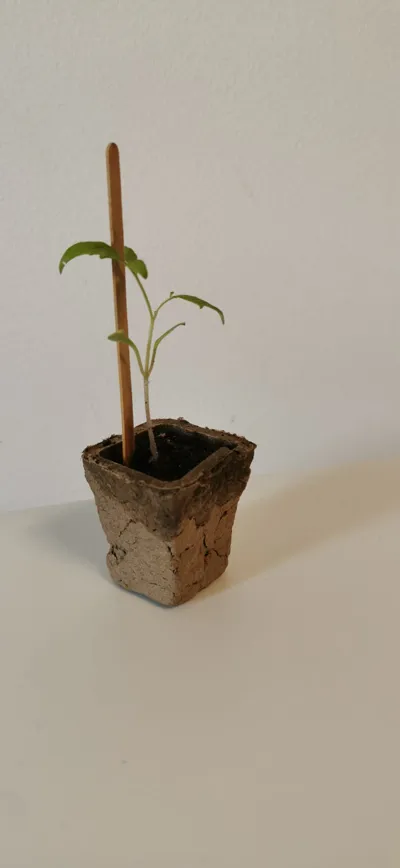
Hay! Many of you expressed interest in a cardboard growing pot, so i truly hope you like this model.
Important: If you plan to transplant these pots directly into the soil, please check the cardboard’s composition first. Some coatings or adhesives might not break down safely, and we all want to keep our gardens and environment healthy.
Follow this tutorial to successfully create your own growing pot .
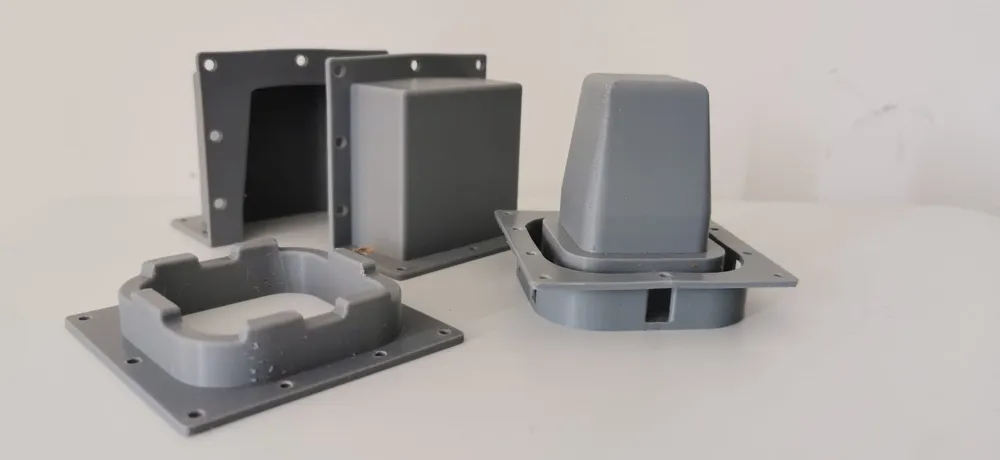
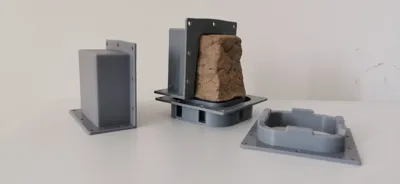
- Step 1: Assemble the Mold
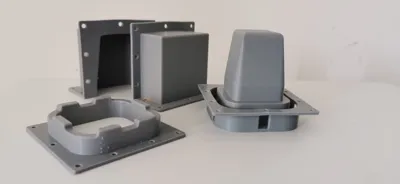
Secure Wall 1 to Wall 2 with M3 screws and matching nuts. Tighten firmly but avoid over-torquing to prevent material damage..
Step 2: Prepare the Cardboard Pulp
- Cut your cardboard into small pieces and place them in a blender (I don’t know the exact chemical composition of the cardboard, so I used an old blender that I no longer use for food preparation. If you’re comfortable using your regular blender, you may do so at your own risk).
- Add water and blend until you achieve a uniform pulp.
Step 3: Make Rice Paste (Natural Glue)
- Cook rice until very soft—this will act as a binding agent.
- Add the cooked rice to the blender and mix again until a smooth, watery paste forms, if need add more water.
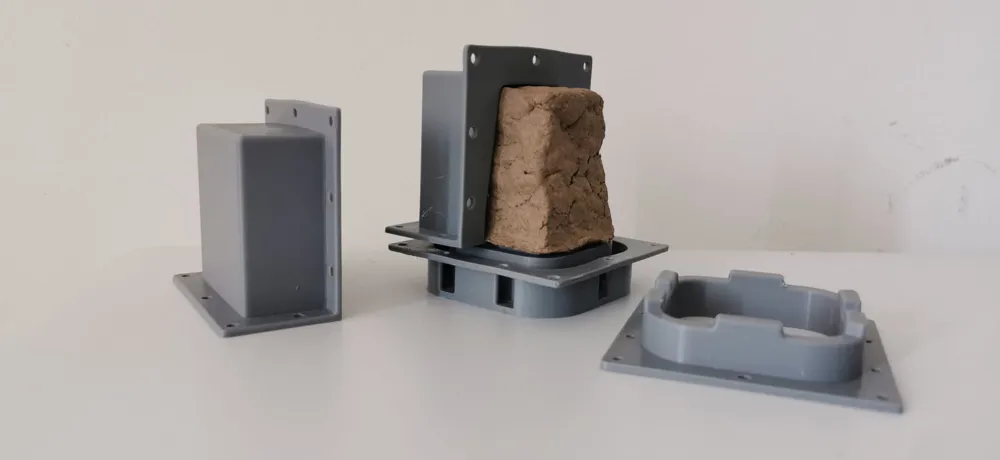
Step 5: Fill the Mold
- Place the linear guide onto the pre-assembled walls, ensuring proper alignment.
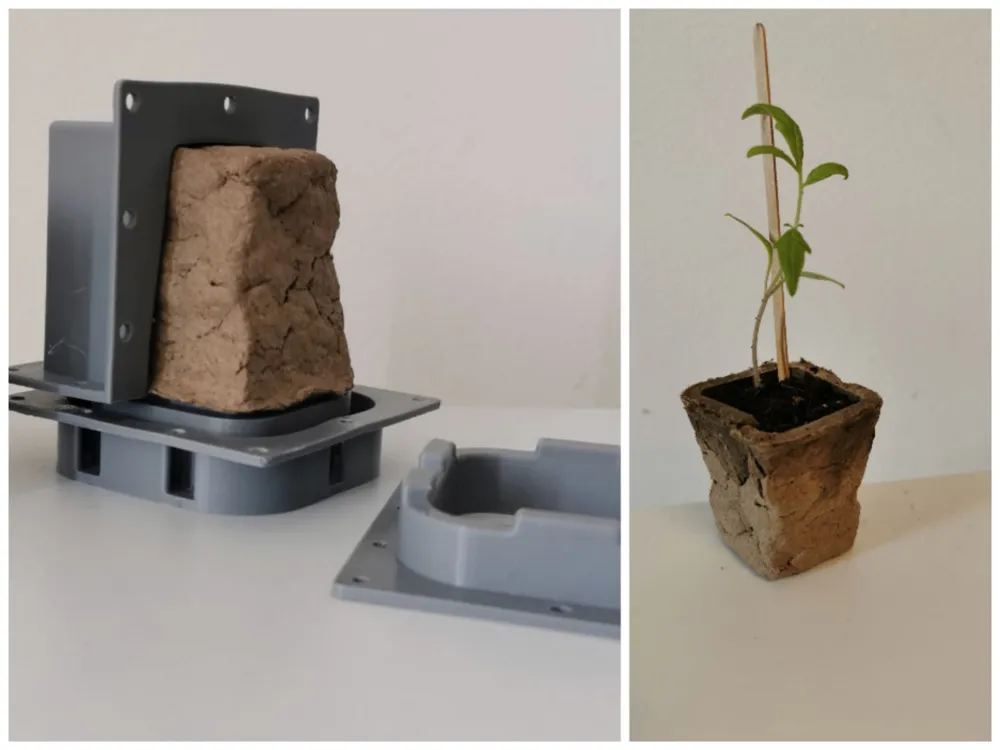
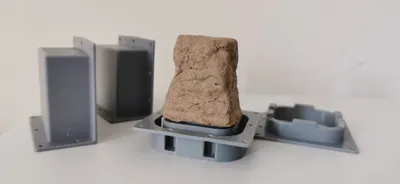
- Press the pulp into the mold, layer by layer, compacting it tightly each time. Repeat until the mold is completely filled.
- added wall strength by manually pre-compressing material onto the walls, as these sections typically experience the lowest compression forces
Step 6: Dry Under Pressure
- During the final pulp refill and pressing stage, tighten the surrounding screws incrementally, one after another, until the mold is fully closed.
- Cure the mold by placing it in direct sunlight or a low-humidity, warm environment for a minimum of 24 hours.
Step 7: Remove and Final Drying
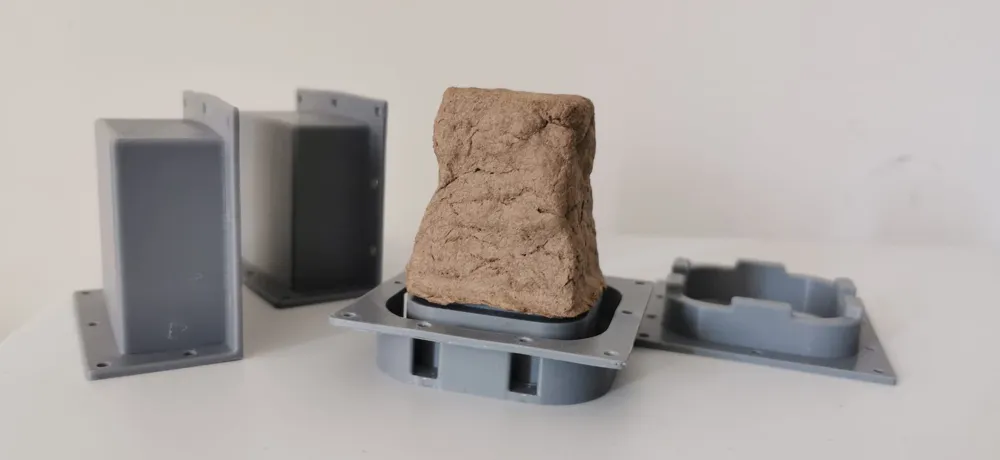
- Carefully unscrew and gently remove the walls.
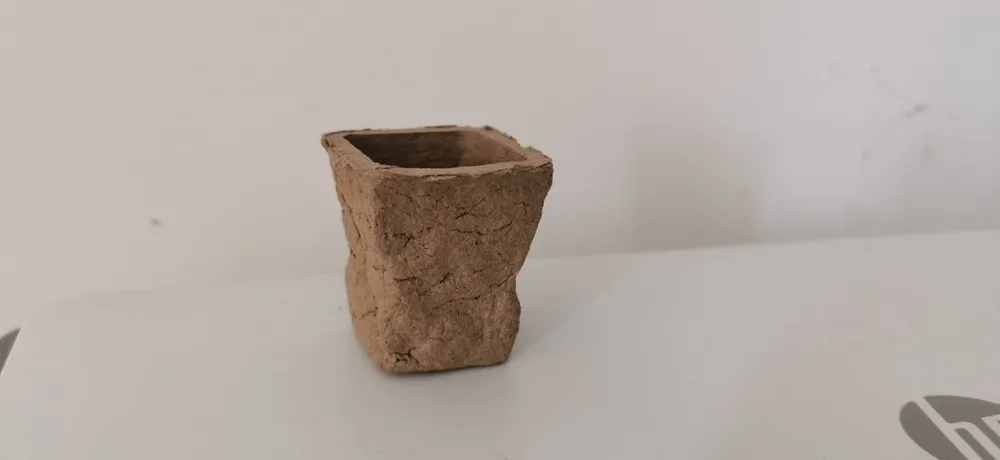
- Let it air-dry in a warm, dry place (sunlight works well).
- For extra durability, allow it to dry for a few more days before use.
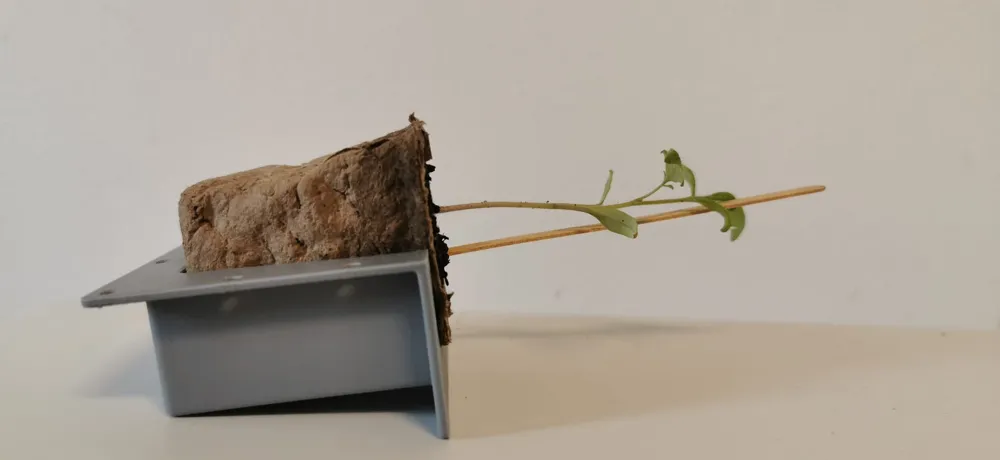
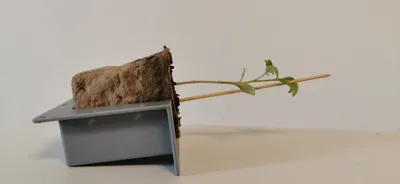
- Now you can simply slide the seedling pot off the lid.
Finished!
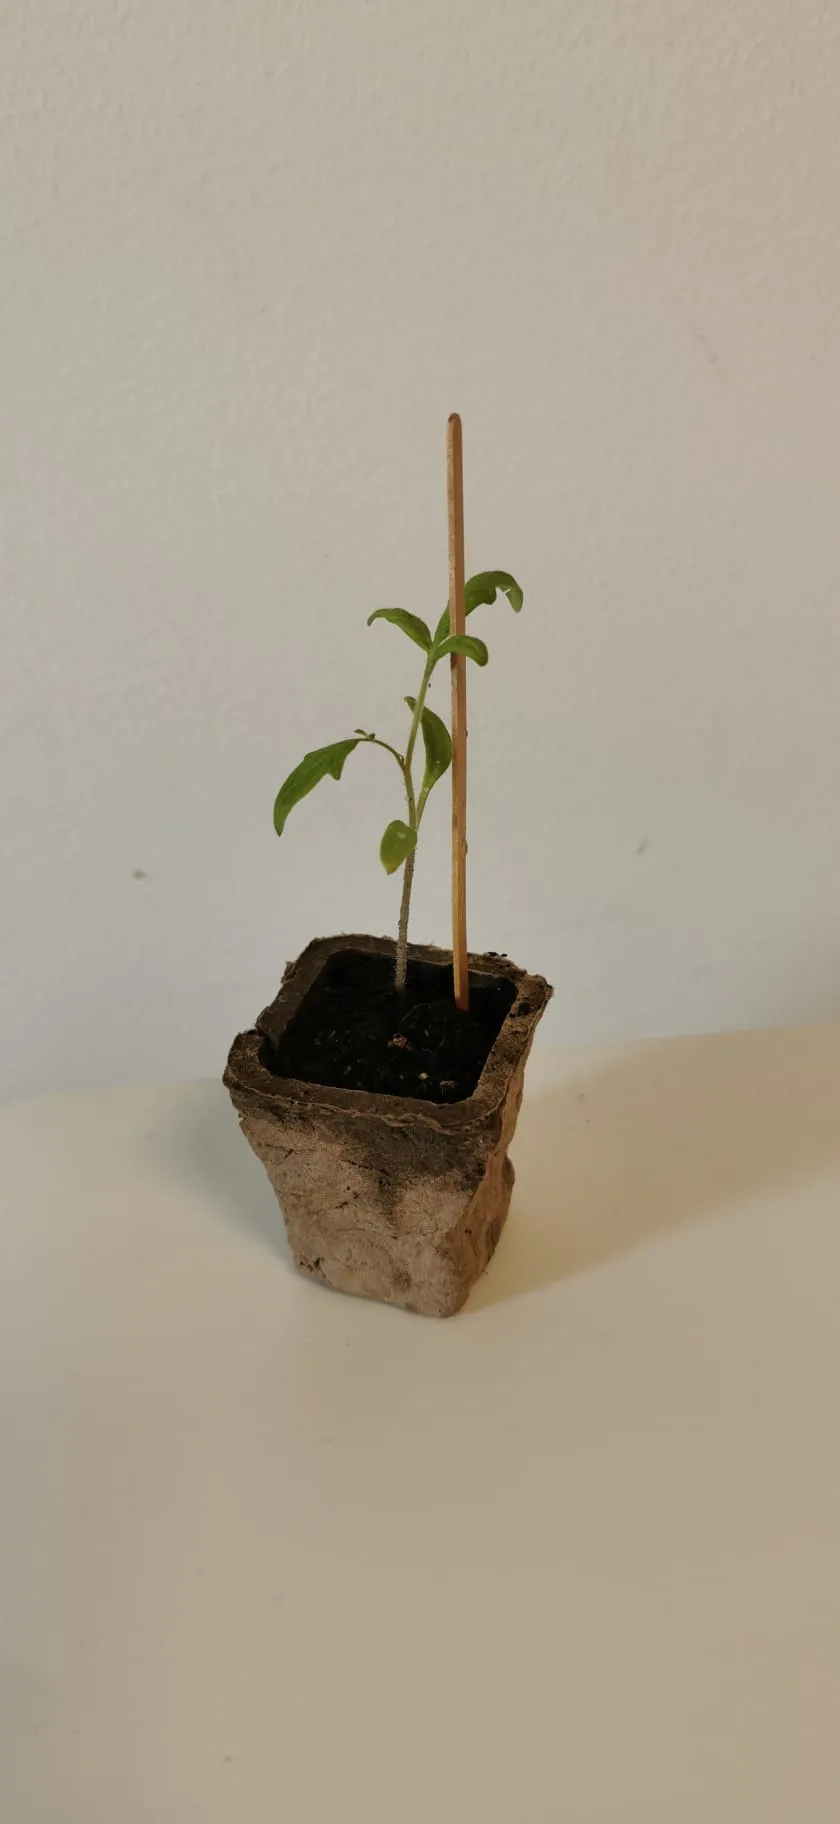
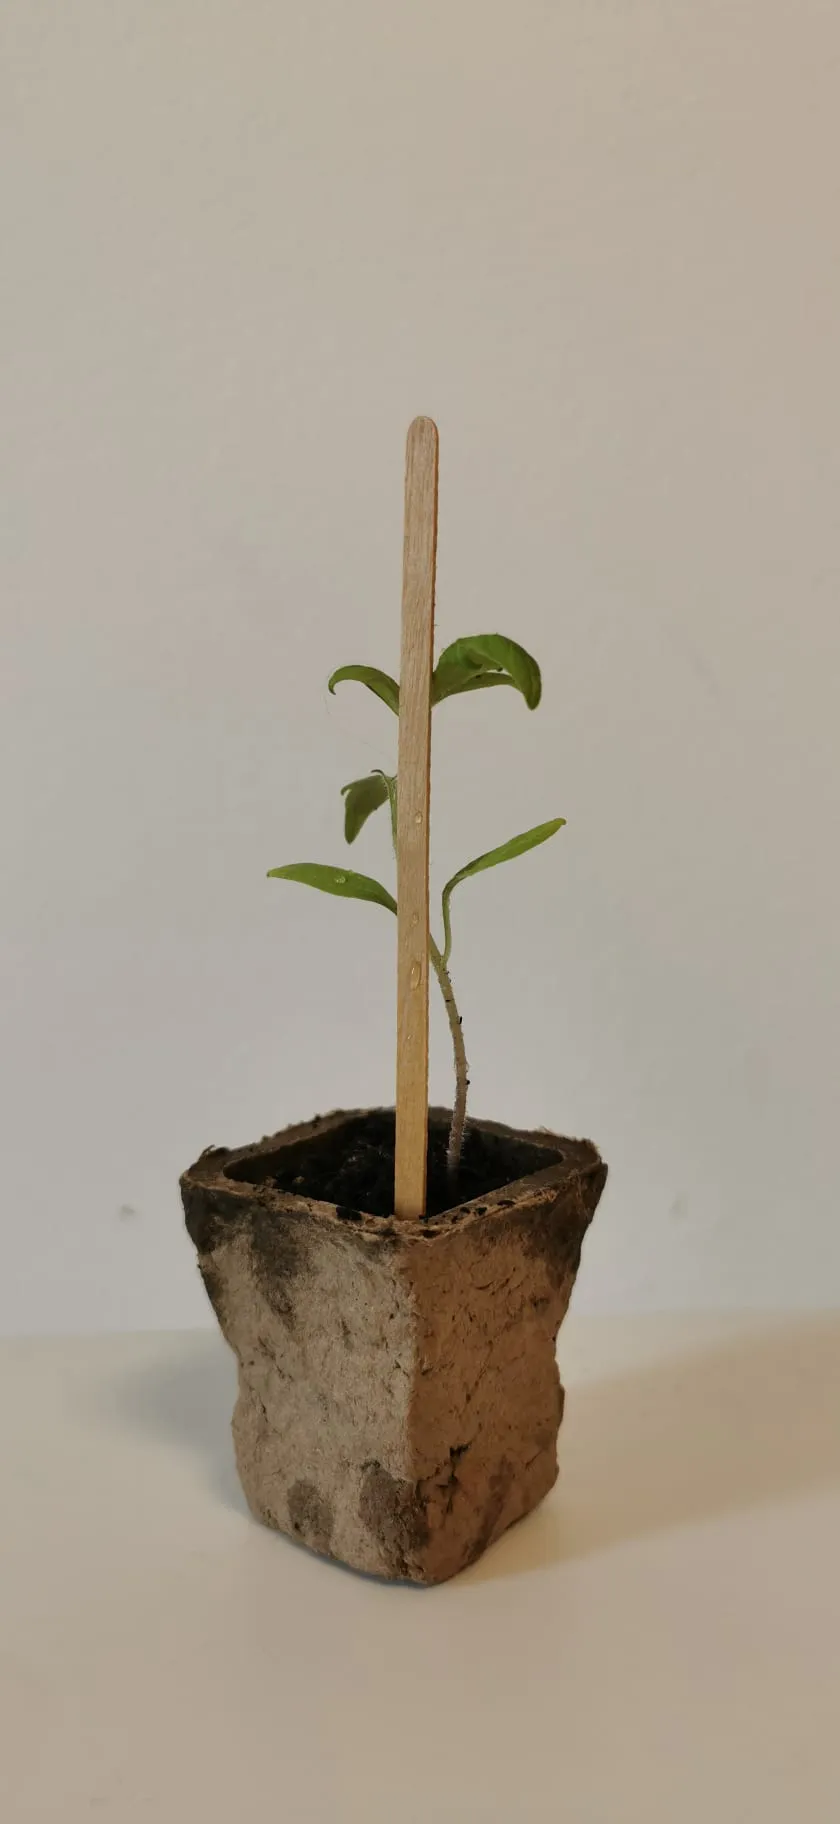
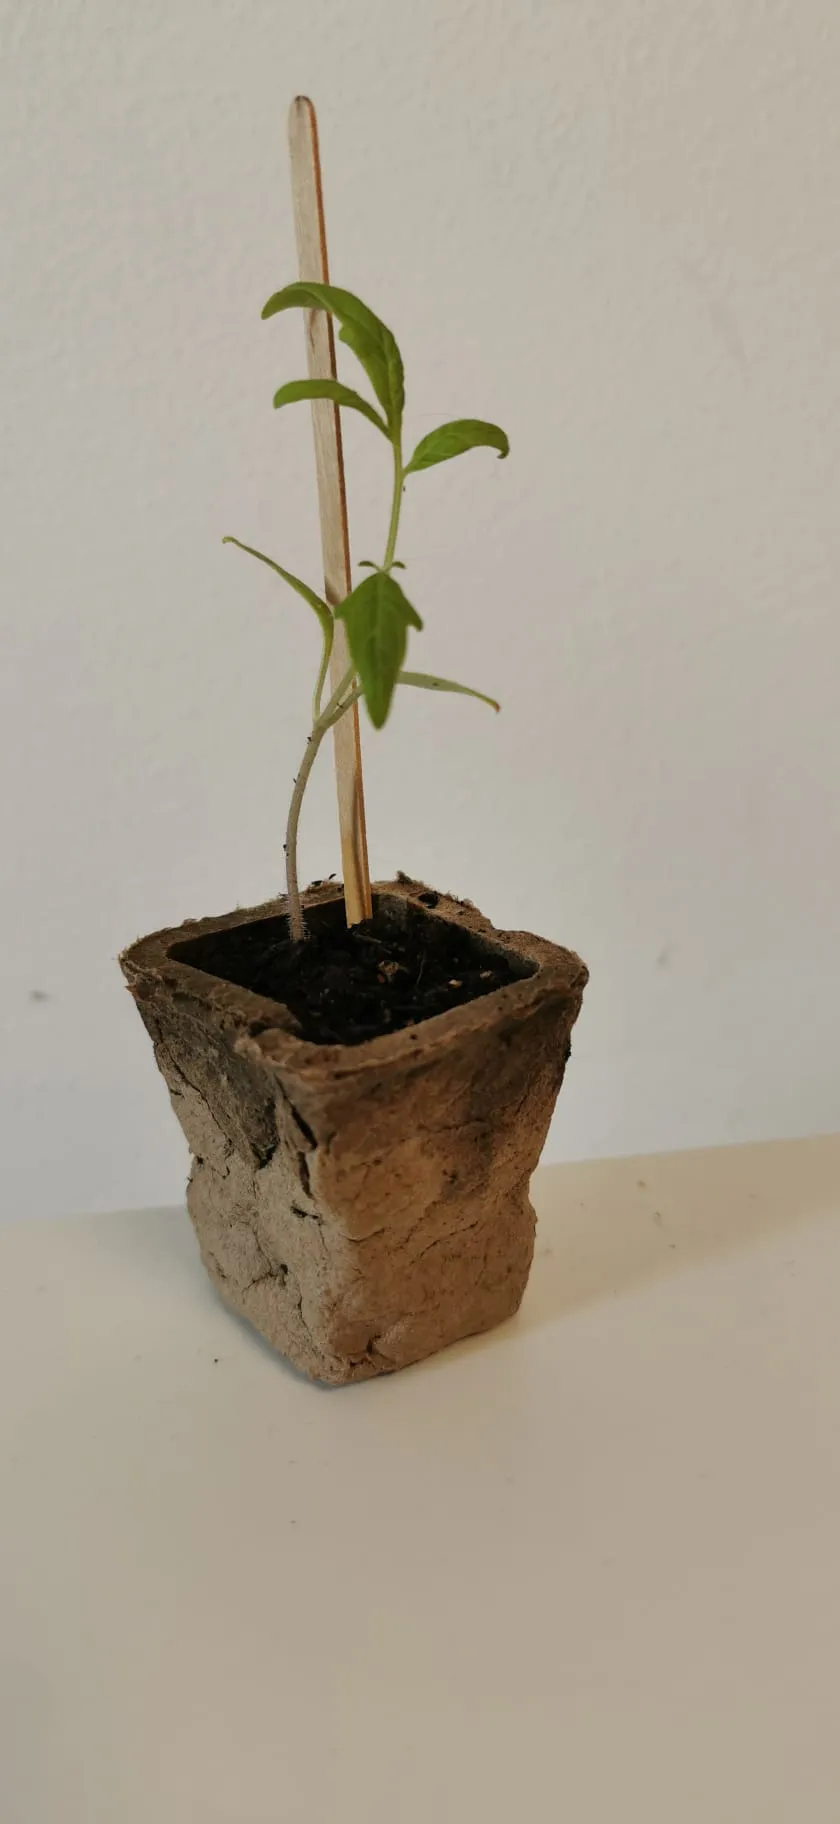
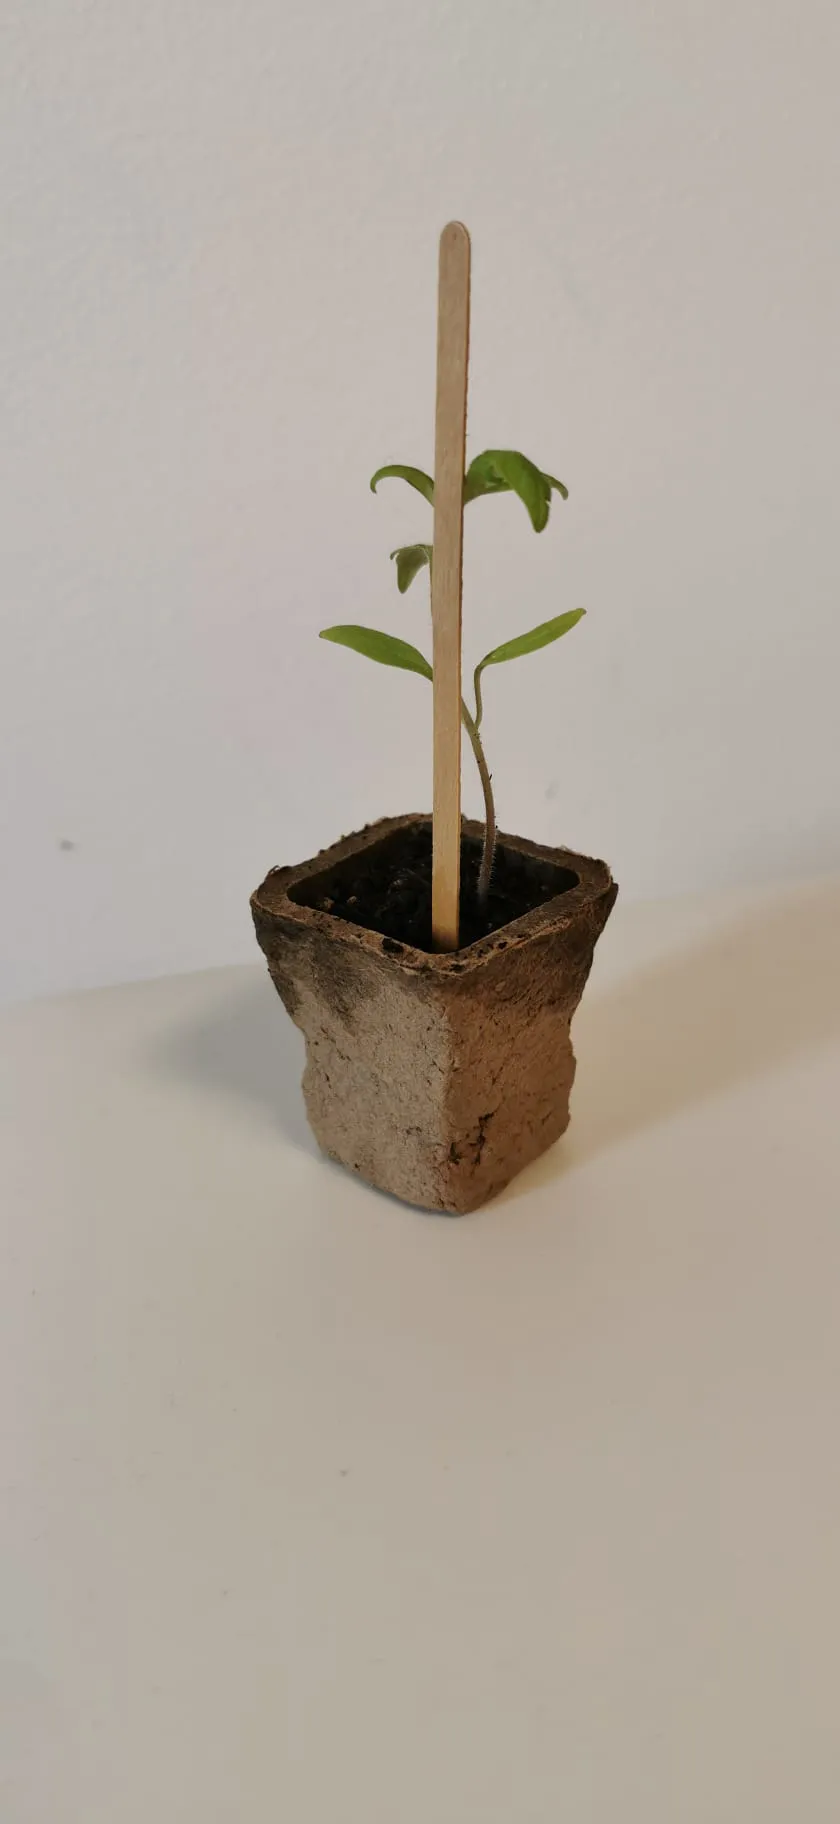
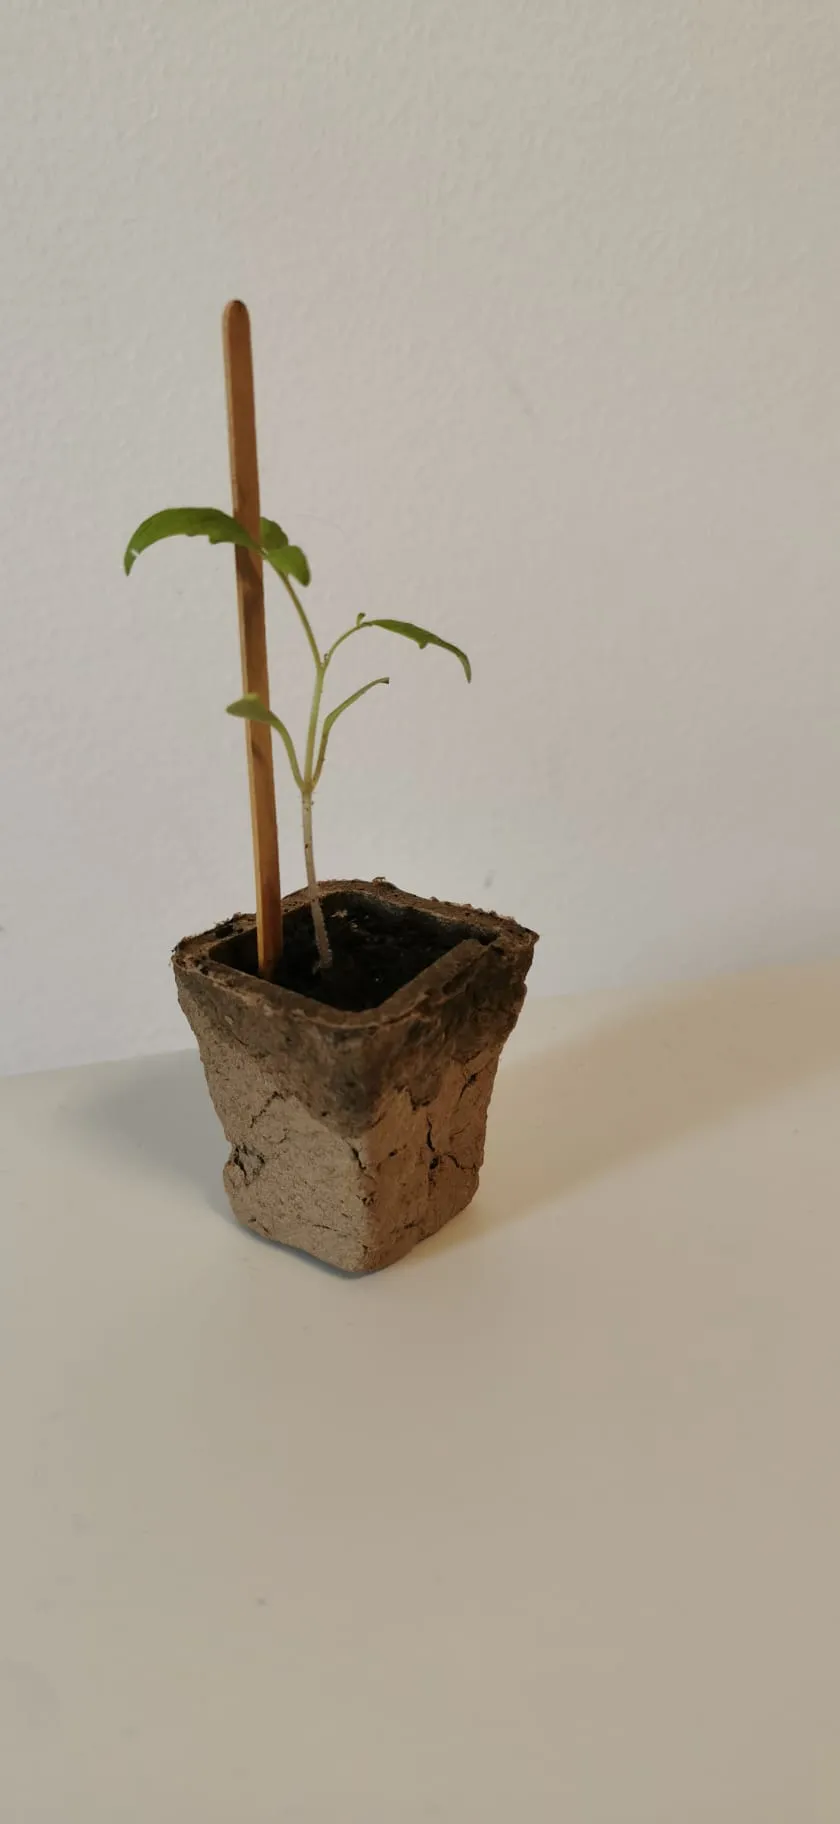
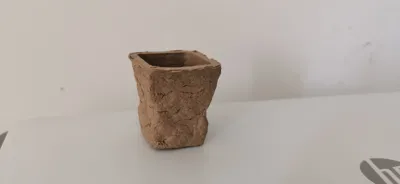
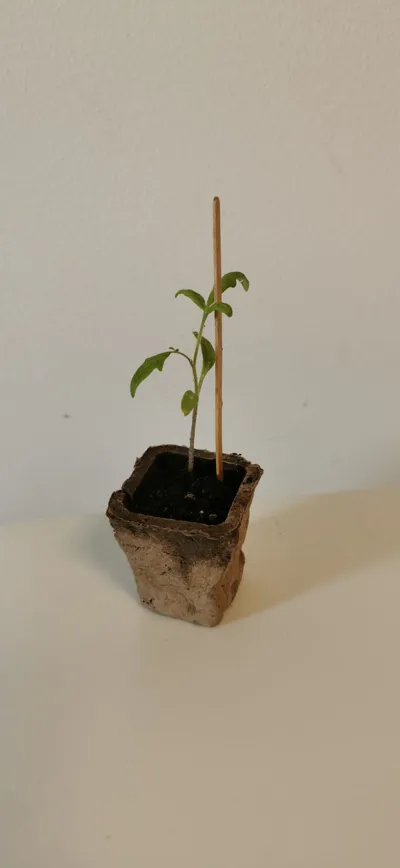
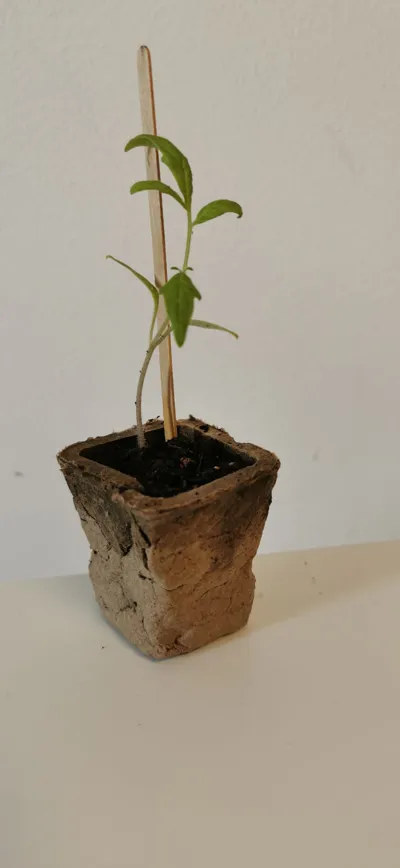
Congratulations—you now have a seedling pot ! If this project was successful (and fun!), let me know in the comments.
Feel free to ask questions—I’m happy to help!
Boost Me (for free)
❤️
License

You shall not share, sub-license, sell, rent, host, transfer, or distribute in any way the digital or 3D printed versions of this object, nor any other derivative work of this object in its digital or physical format (including - but not limited to - remixes of this object, and hosting on other digital platforms). The objects may not be used without permission in any way whatsoever in which you charge money, or collect fees.


Comment & Rating (3)