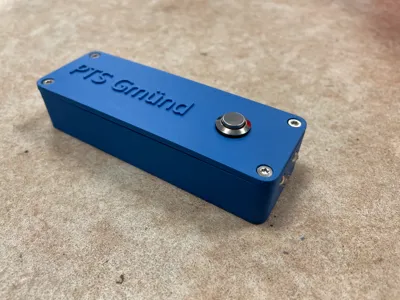
DIY Flashlight - PTS Gmünd


Print Profile(1)

Description
Simple DIY Project for Education
This project is ideally suited for workshops, technology, or physics classes and can be implemented quickly with minimal components.
The following components are required to operate the flashlight:
- A standard 9V battery (available at any supermarket)
https://www.amazon.de/dp/B00149O6ZQ?ref=fed_asin_title&th=1 A battery clip for 9V blocks
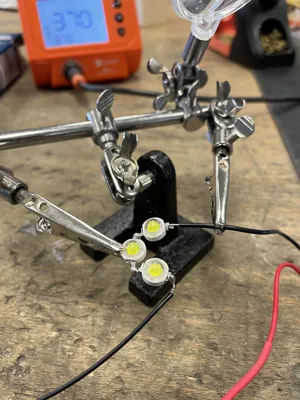
- 3 high-performance lens LEDs (3V each) connected in series = 9V
https://www.amazon.de/dp/B08P46P1BR?ref=fed_asin_title - A push-button switch that can be conveniently installed at the top of the housing
https://www.amazon.de/dp/B0DMFF41JN?ref=fed_asin_title&th=1 Screws for the housing, 6 per flashlight
https://www.amazon.de/dp/B0D7H555D6?ref=fed_asin_title&th=1
The model is not only easy to assemble but also imparts fundamental knowledge of circuits and LED technology
What is needed:
- Soldering iron
- Solder
- Hot glue gun with hot glue
Instructions:
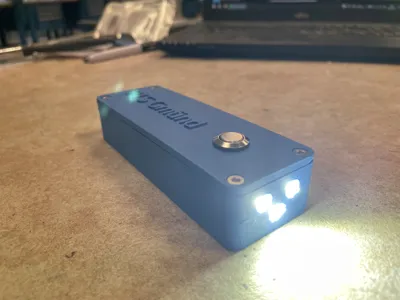
- Solder 3 LEDs in series and insert them into the three designated holes in the housing, then insert the battery with the battery clip into the compartment, and solder the red positive pole to the switch (red to red), then solder the black end of the black cable of the switch to the positive pole of the series connection of the 3 LEDs and connect the negative pole of the battery clip to the end of the circuit. Then glue the LEDs into the designated holes with the hot glue gun - Voila, you have a functioning flashlight
Comment & Rating (1)