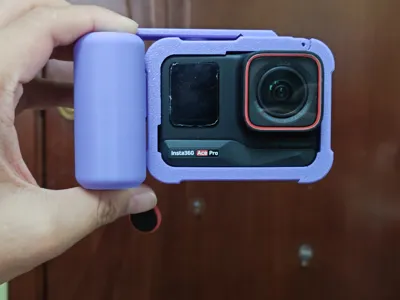
Insta360 Ace Pro Street Photography Kit, Cage, and Handle, Version 2.0


Print Profile(2)


Description
Note: Some areas require sanding. Please read this description thoroughly. Do not attempt if you lack the necessary tools. Negative reviews are deeply unwelcome.
Street Photography Kit Set Upgrade is Here!
Upgrades (minor improvements):
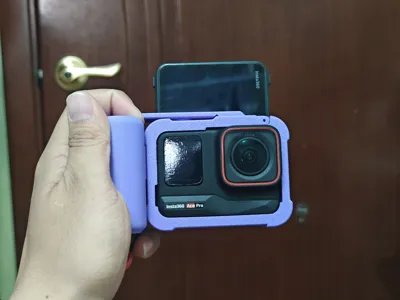
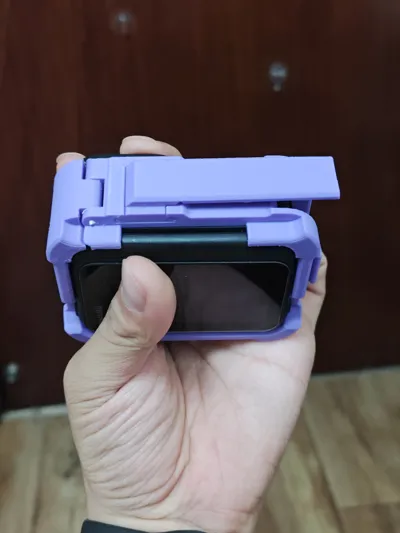
- The screen now supports flipping, offering a more aesthetically pleasing alternative to the abrupt cuts seen in first-generation derivative works.
- Improved thumbstick, reducing required pressure.
- The shutter button uses contactless connection, facilitating button and thumbstick replacement.
- A new thumbstick with an expansion slot has been added, designed to accommodate camera hot shoe dimensions.
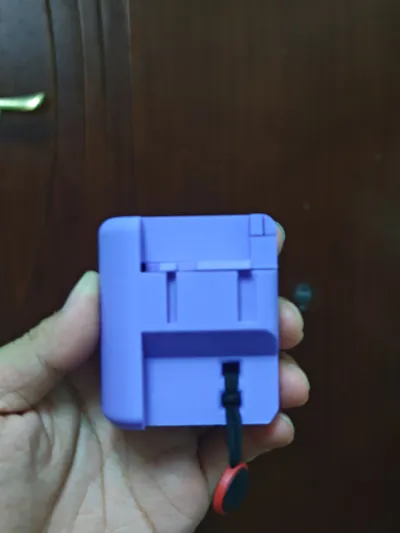
- Lanyard hole added to the handle.
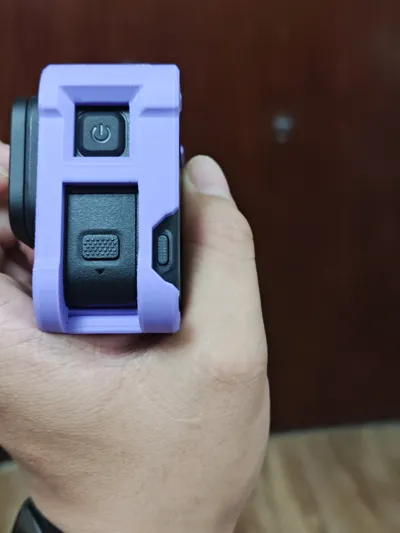
- Increased screen button opening size for easier access with larger fingers.
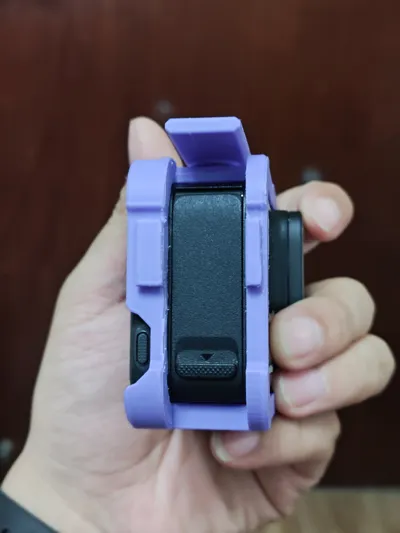
- Added a locking clasp to the handle to prevent the cage from detaching.
Downgrades (in my opinion):
- Due to the current downward-facing cage printing method, the decorative protrusion on the front of the first-generation cage has been removed, resulting in a slight reduction in aesthetic appeal.
- The addition of the clasp requires six 5mm diameter, 2mm thick magnets.
Cage section:
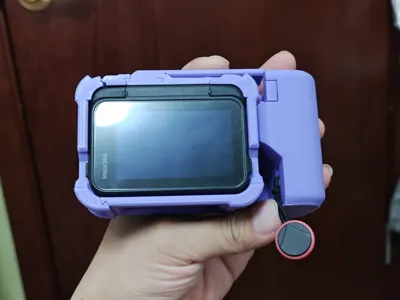
- The cage uses a side-opening mechanism secured by a clasp. It includes openings for the battery and power button, allowing battery changes, charging, and quick-release base connection without cage removal.
- The cage frame and side cover are connected by a 1.75 filament acting as a pivot. Placement affects hole precision, necessitating smaller holes. Therefore, drilling and sanding with a small electric drill are required here.
- The shutter thumbstick and button are printed separately for easier assembly.
- The handle and cage connect via a slide rail, requiring meticulous sanding.
Handle section:
- The handle comprises three parts: the main body, the button, and the top cover.
- Both the top cover and button have magnet mounting holes requiring magnets (springs might also work?).
Assembly order:
- Sand the handle and cage connection point first.
- Assemble the cage frame and openings.
- Place the shutter button into the cage's shutter hole.
- Attach the shutter thumbstick to the shutter cage.
- Install magnets in the handle button and top cover.
- Insert the handle button between the handle body and top cover.
- Assemble the handle and cage.
Important considerations:
- Careful sanding is required at the two locations shown below. The location in the first image is particularly fragile and requires caution.


2. The model has weak points; exercise caution when threading filament.

Creation is not easy, derivative works and unauthorized sales are deeply frustrating.
If you are able, please consider boosting this project to help alleviate the imbalance, thank you.
License
You shall not share, sub-license, sell, rent, host, transfer, or distribute in any way the digital or 3D printed versions of this object, nor any other derivative work of this object in its digital or physical format (including - but not limited to - remixes of this object, and hosting on other digital platforms). The objects may not be used without permission in any way whatsoever in which you charge money, or collect fees.
Comment & Rating (51)