Search models, users, collections, and posts


Print Profile(4)

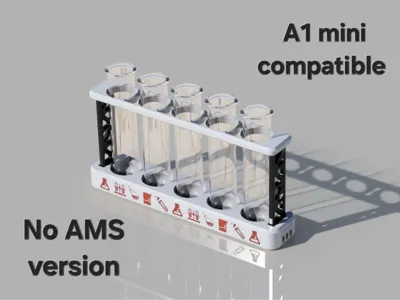
No ams needed vial set print profile
Designer
4.3 h
3 plates

ams coloured logos vial set print profile
Designer
7.2 h
3 plates

A1 mini no ams needed print profile
Designer
4.8 h
4 plates

A1 mini ams coloured logos vial set print profile
Designer
7.8 h
4 plates
Open in Bambu Studio
Boost
12
49
0
0
22
7
Released
Description
Boost Me (for free)
Making these models takes some time so if you like them consider boosting, it means a lot!
I dont recomended using them as shot glasses before giving them some sort of surface treatment, because bacteria can start to grow in the print layer groves and that cant be cleaned well.
Here's a short explanation video on what you have to do if you want to use them as long term shot glasses.
The shot vial volume is around 40 ml which is about 1.35 oz
Assembly steps
Print out all the parts

Add a little bit of glue in the top bracket holes


Insert the side brackets shorter solid end in the hole, make sure it isnt under an angle otherwise it will not go togheter in the end.
Wait a few seconds for the supreglue to set and insert it into the base, i didnt need to use glue in the base connection, but if its loose you can either add glue or resize the side bracket in the slicer.

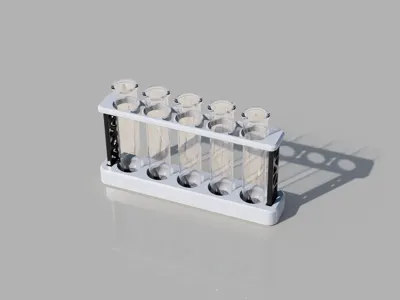
Now that the vial holder is finished all that is left to do is to insert the vials


Hope you like the print!
Some of my other models
Nfc wifi connection plate (magnetic) | Magic traffic light paddle (NO ams needed) |
 |  |
License
This user content is licensed under a
Creative Commons Attribution-Noncommercial-Share Alike
Comment & Rating (0)