
Print Profile(2)


Description
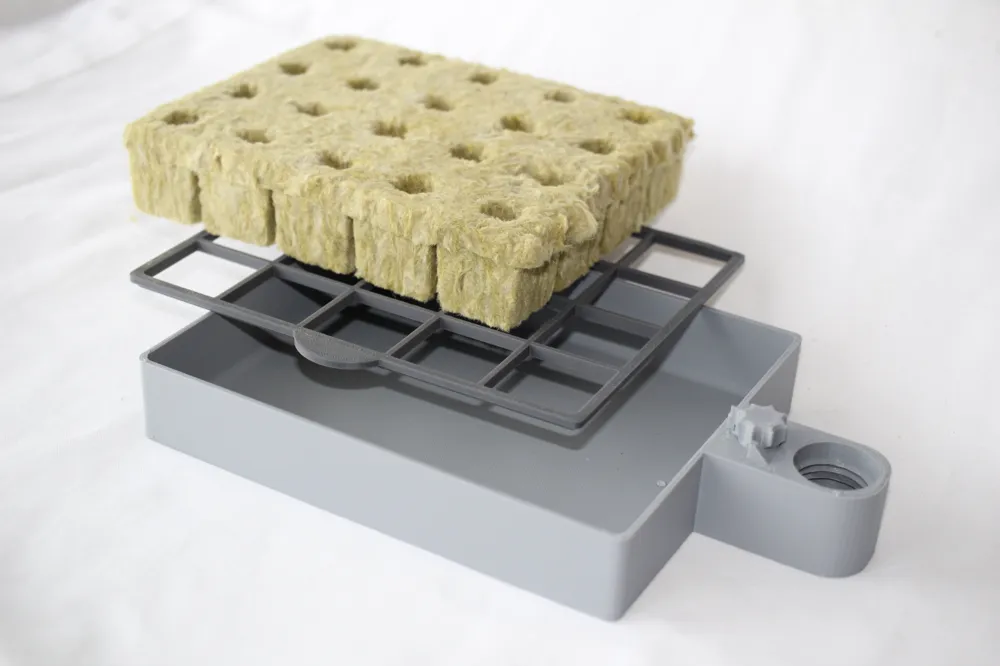
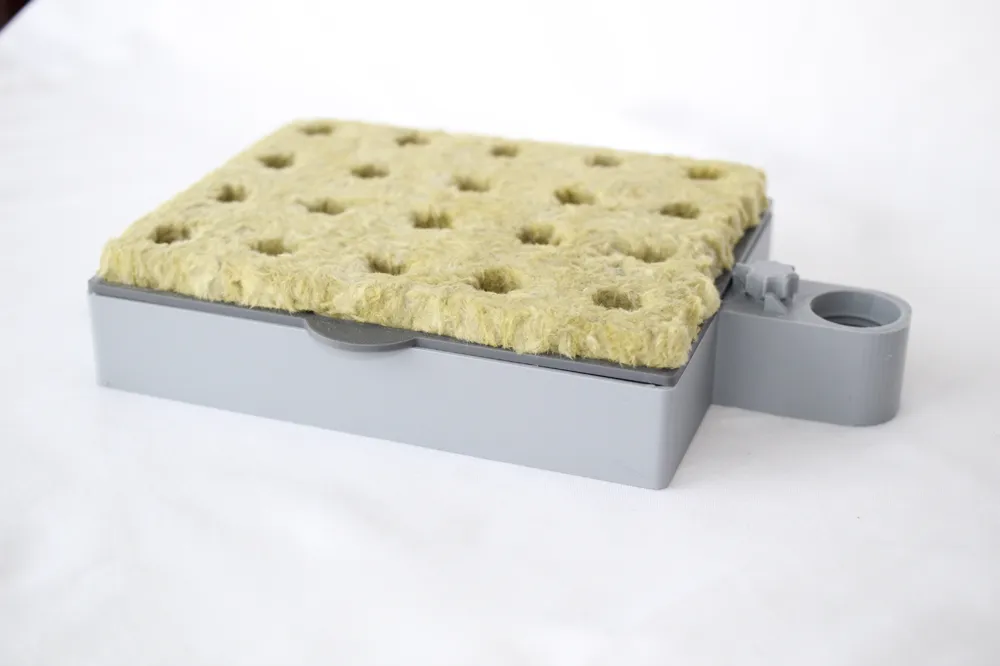
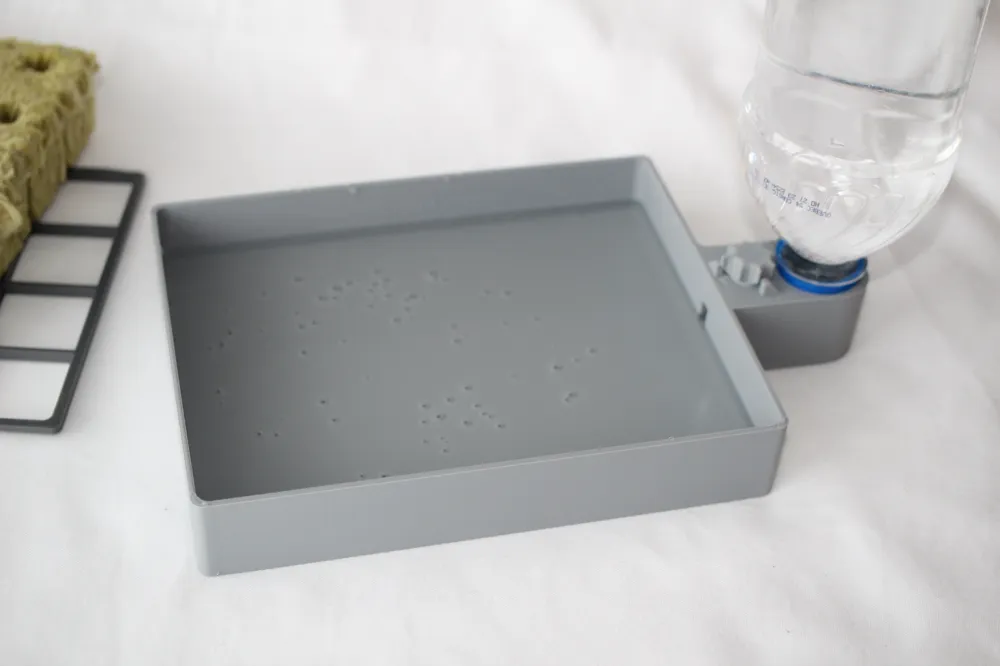
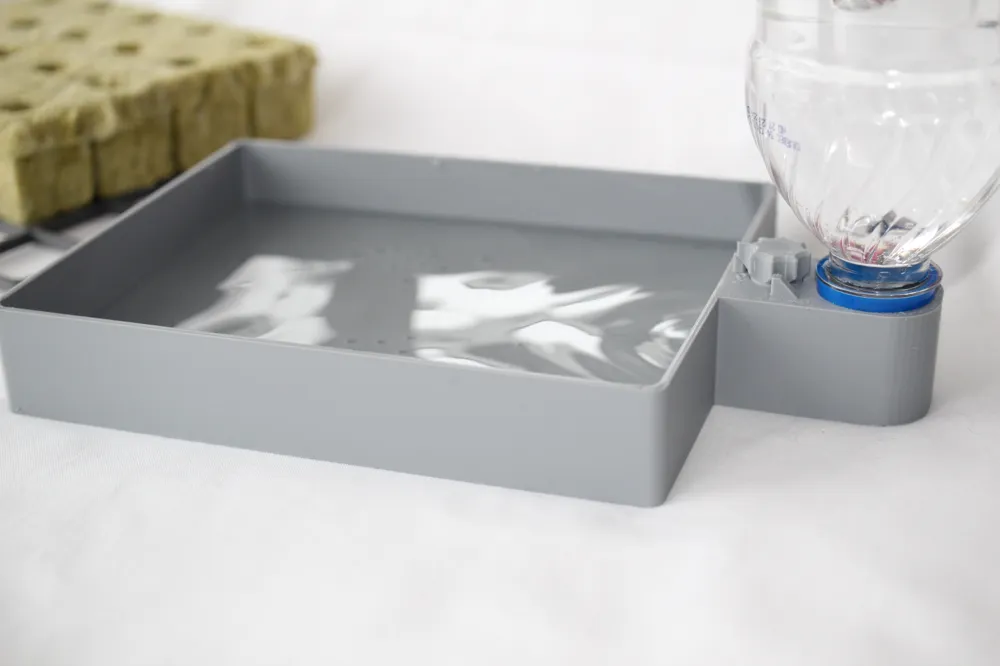
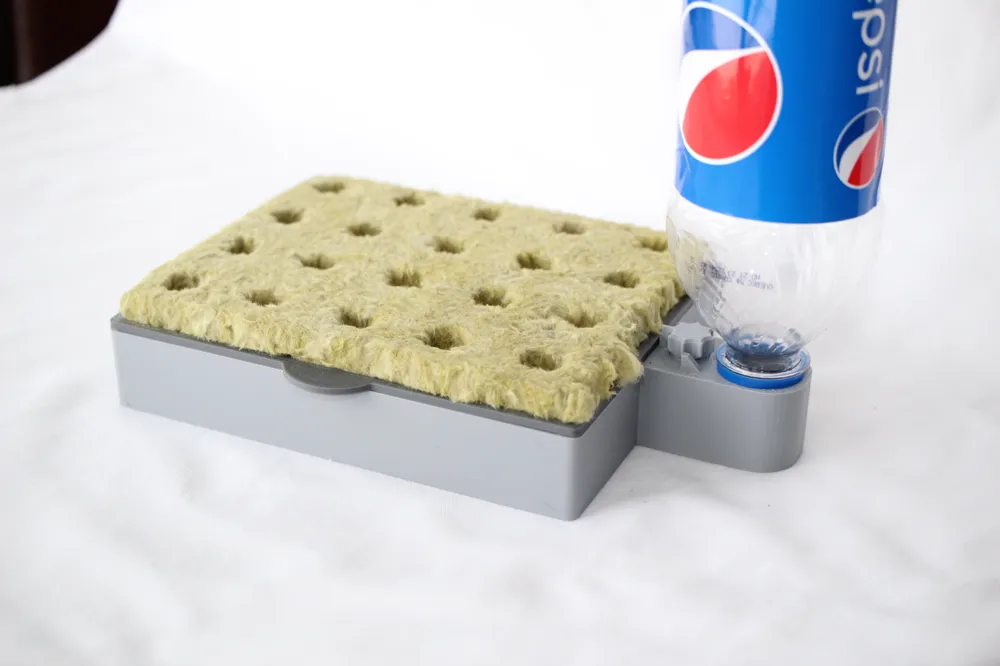
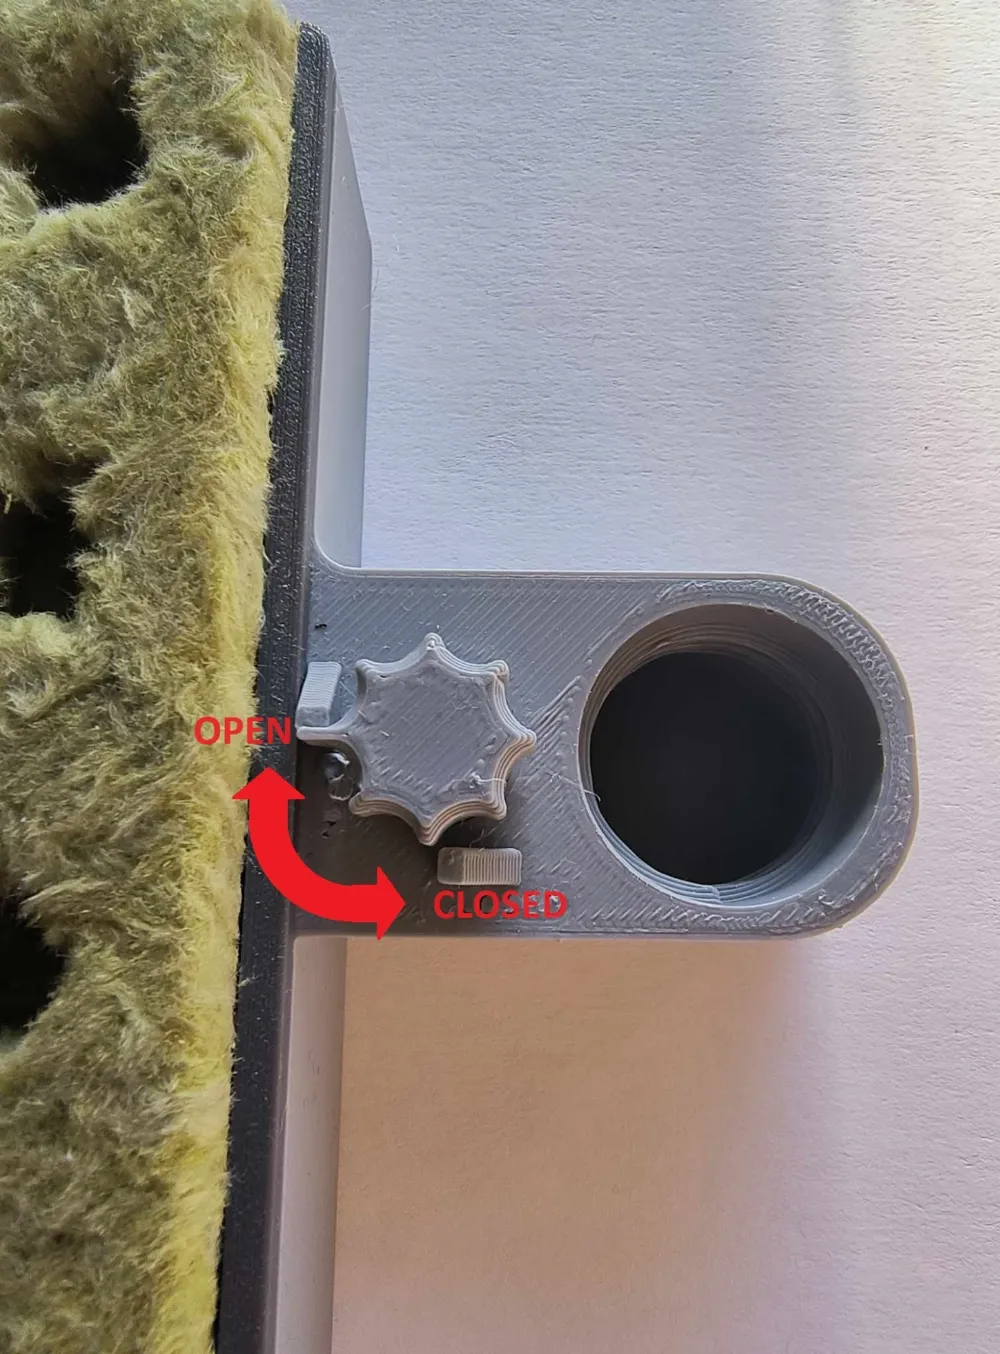
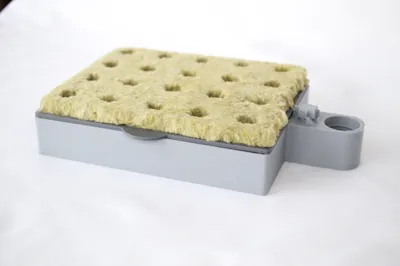
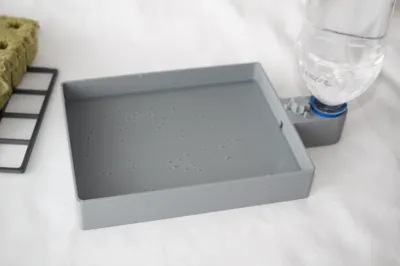
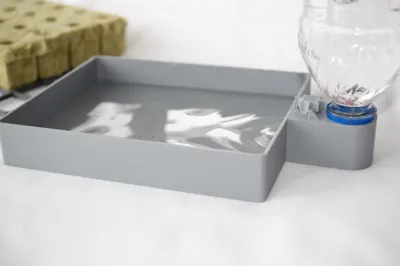
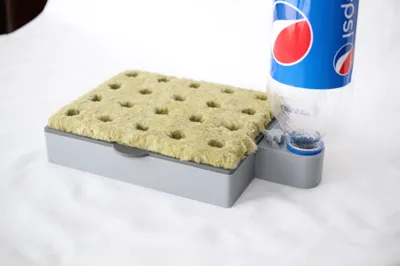
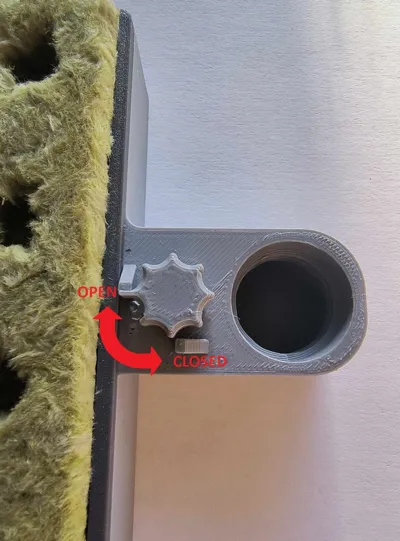
This is a 5x4 square rockwool seed starter. You can add a water bottle on the side and it will automaticaly fill the reservoir. This work with Juice Plus tower garden's rock wool and other similar rock wool blocks. Works with most soda and water bottles (the treads is designed for PCO1881). There is a valve to help with the initial setup (see instructions).
You get 7 models :
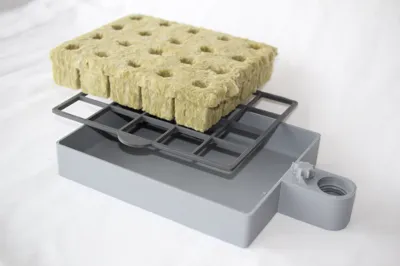
- seed_starter_grid.stl: The grid, that is used to hold the rockwool in place. It has small handles to lift the rockwool blocks off the base if needed.
- seed_starter_base.stl: A base with the reservoir on side A (as shown in photos)
- seed_starter_base_alt.stl: An alternartive version of the base with the reservoir on the side for smaller bed like the ender.
- seed_starter_base_higher_tolerance.stl: Same as seed_starter_base.stl but with more clearance around the valve.
- seed_starter_base_alt_high_tolerance.stl: Same as seed_starter_base_alt.stl but with more clearance around the valve.
- valve_sample.stl: The valve without the reservoir to ajust your tolerance settings before printing the whole thing
- valve_sample_higher_tolerance.stl: same as valve_sample.stl but with more clerance around the valve
Instruction :
1- Close the valve
2- Fill the water bottle
3- While the bottle's neck is toward the ceiling, screw the base on top of the bottle.
4- Flip the base with the bottle to it's normal orientation and place it on a flat surface.
5- Fill the reservoir with 10-15mm of water
6- Open the valve. The water level will ajust if necessary.
7- Place the grid on the reservoir
8- Place the rockwool's cubes on the grid and gently press on it to make sure it's low enough to touch the water.
9- Plant your seeds
10- Enjoy not having to water it until the seed are ready!
The valve is print in place, but you might still initially need to snap it out of place using pliers and turning the valve counter clockwise.
If it's too tight, try using cura's slicing tolerance to Exclusive, change the horizontal hole expansion or/and use the higher tolerances versions
License

You shall not share, sub-license, sell, rent, host, transfer, or distribute in any way the digital or 3D printed versions of this object, nor any other derivative work of this object in its digital or physical format (including - but not limited to - remixes of this object, and hosting on other digital platforms). The objects may not be used without permission in any way whatsoever in which you charge money, or collect fees.


Comment & Rating (20)