
Minecraft Ender Dragon
Print Profile(6)











Description
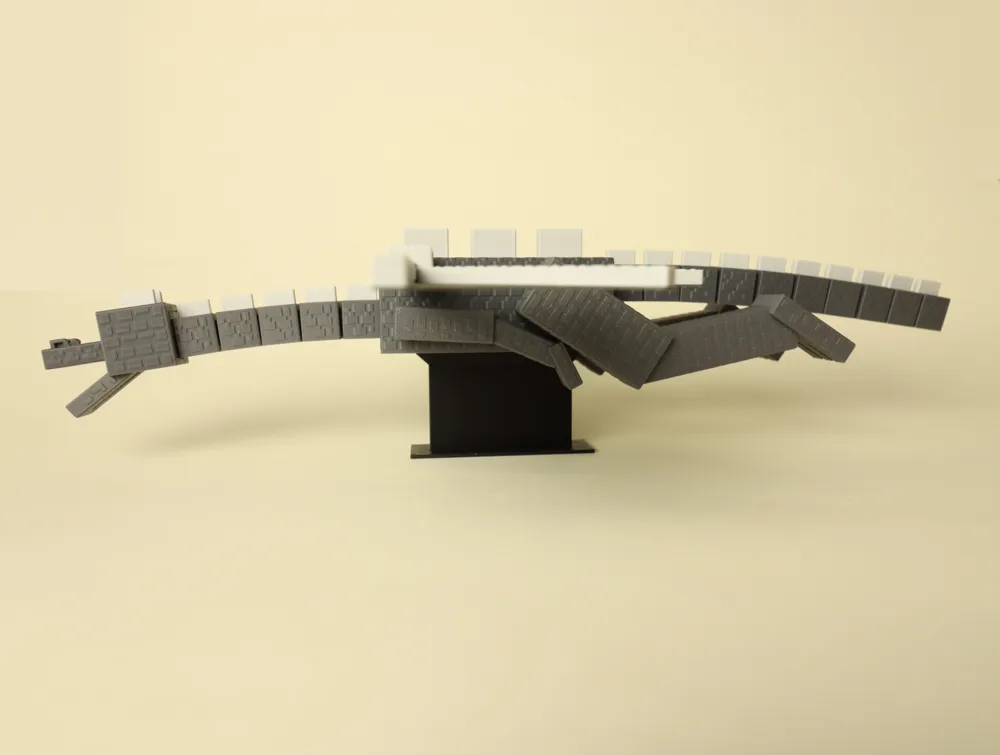
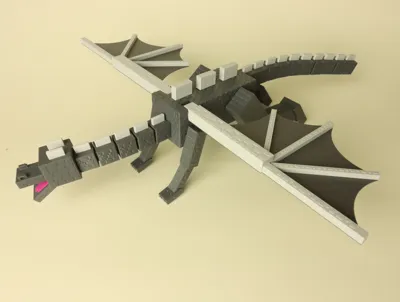
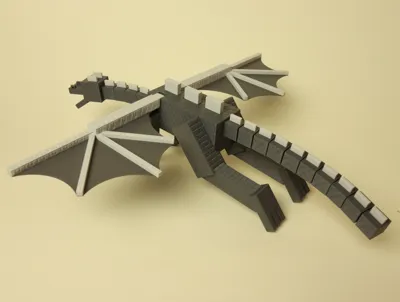
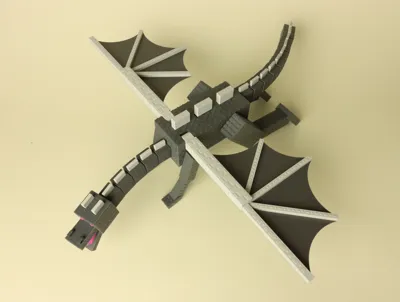
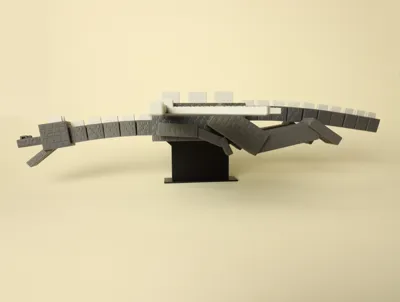
Edit 30/12/2025: Added a nice stand for the dragon, much better then the old one. It holds up the dragon at a nice height, and at a slight angle so it looks like the dragon is flying and making a curve.
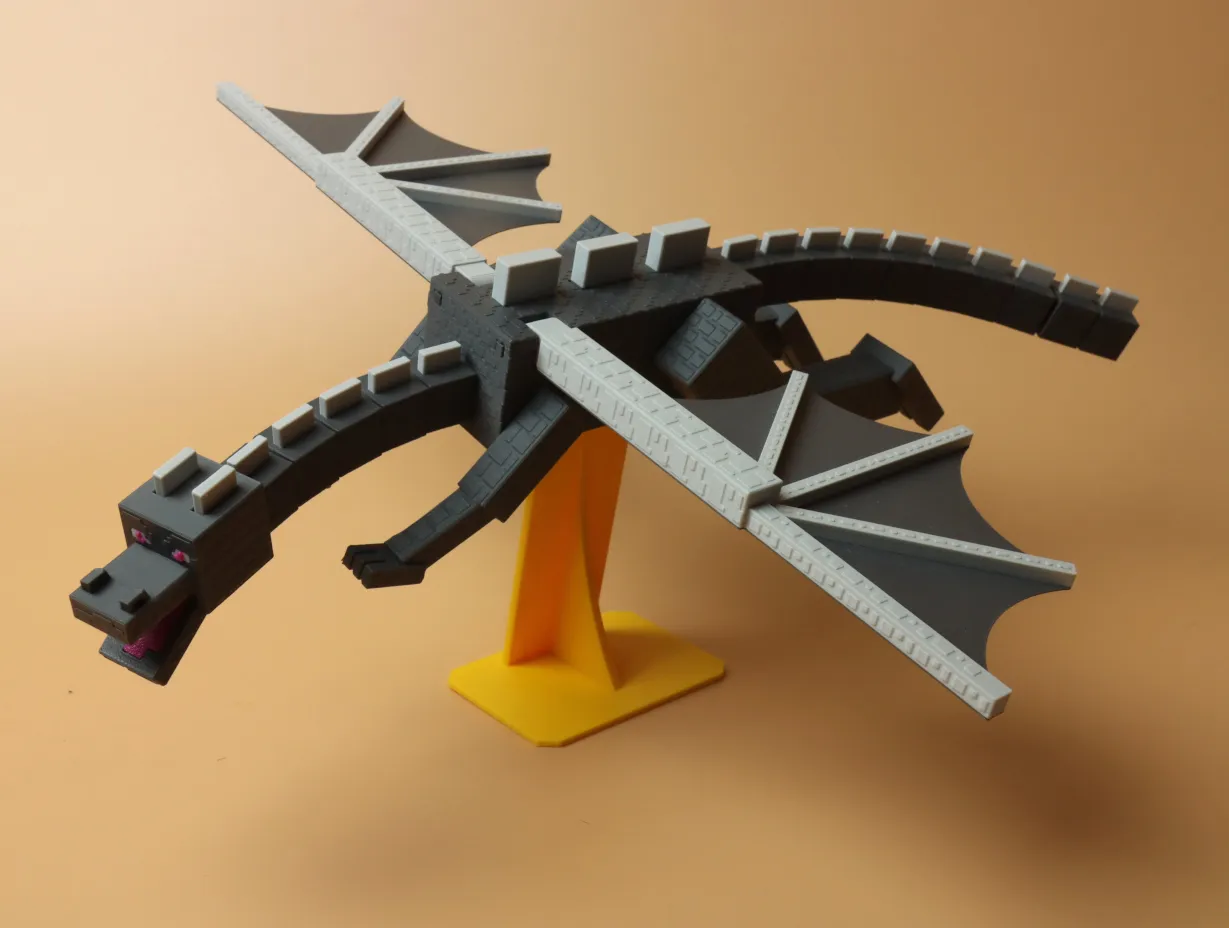



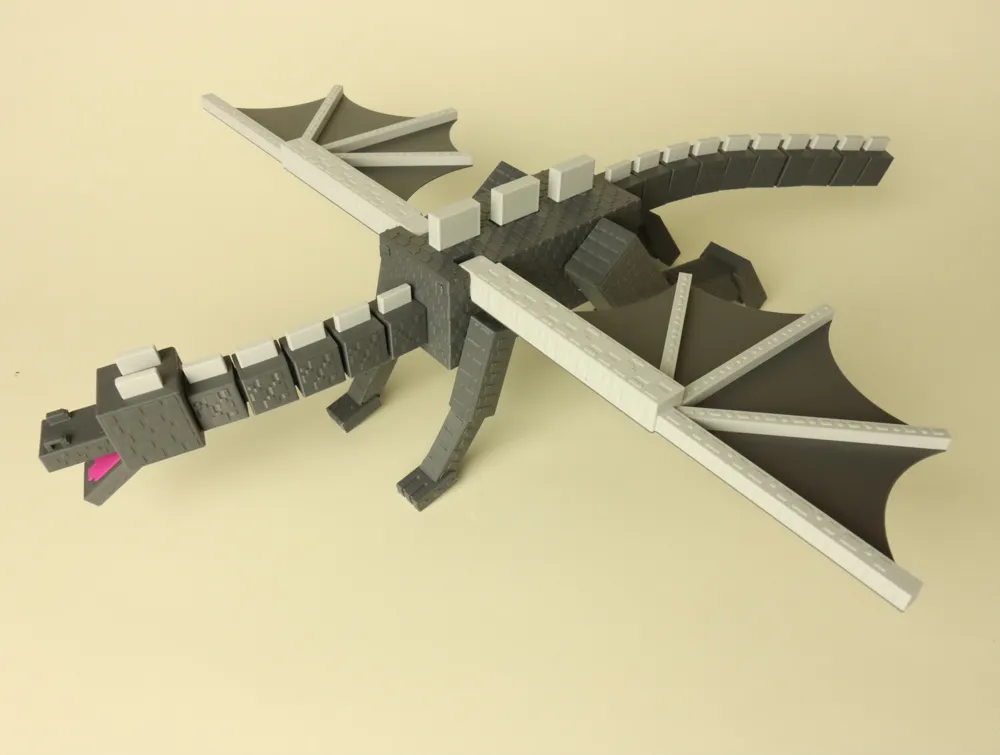
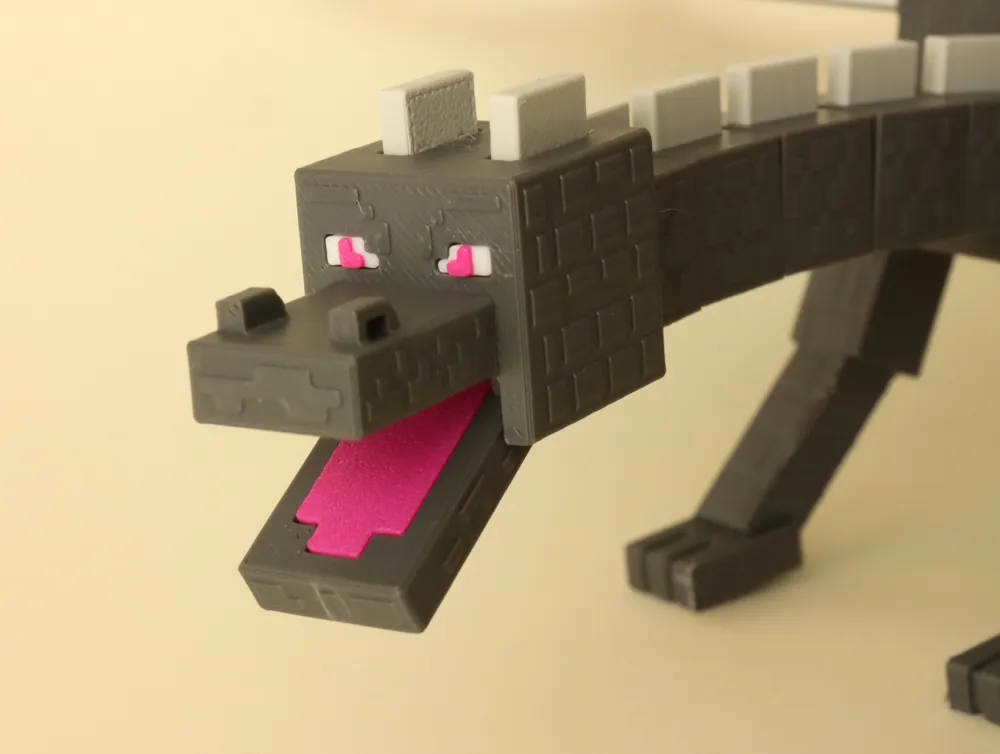
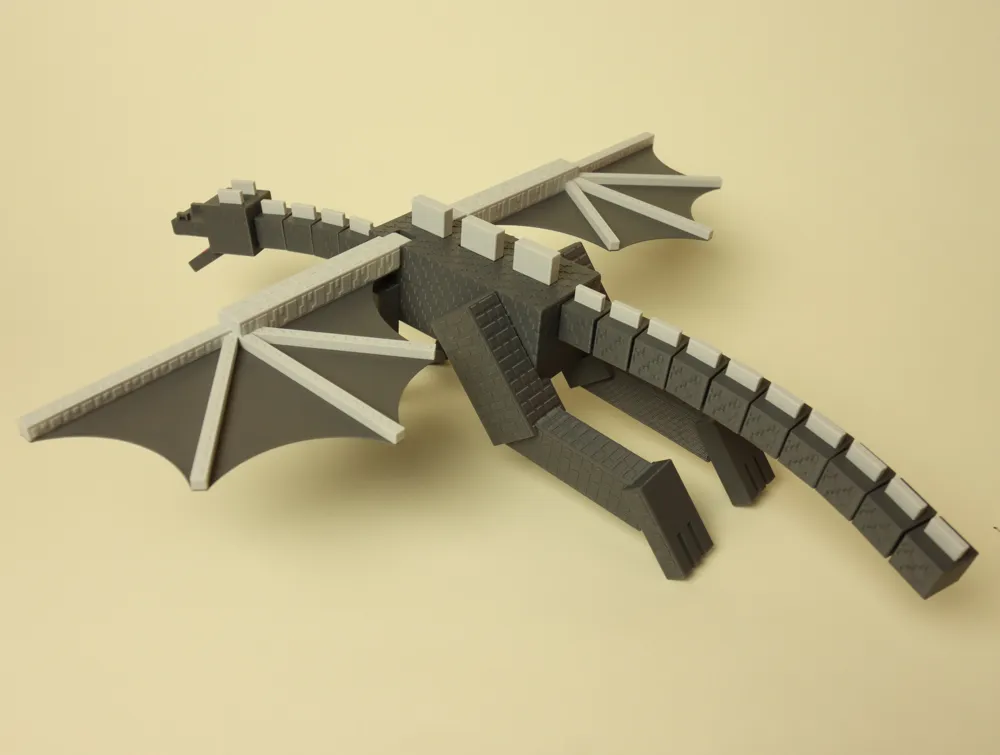
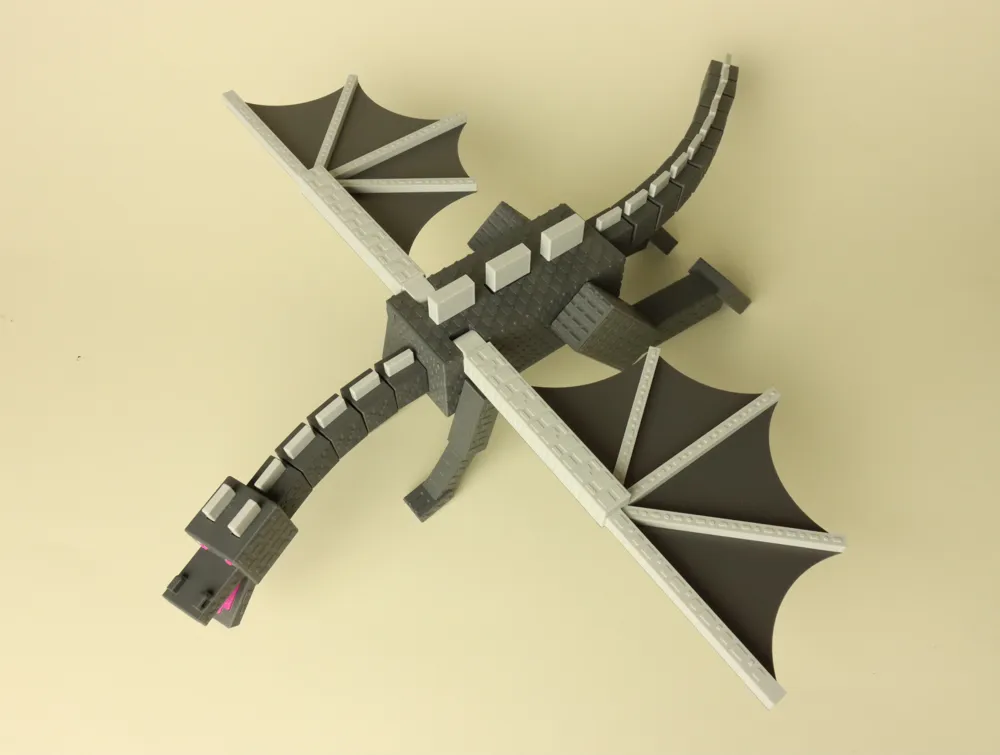
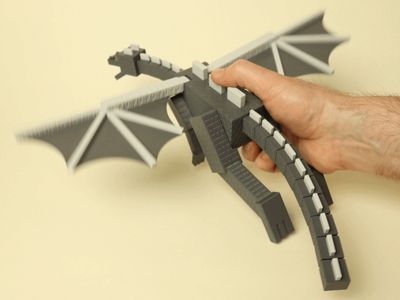
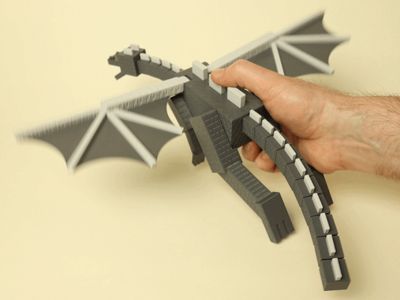
I hope the minecraft fans like this one! I modelled the dragon based on many reference pictures of the game, and tried to respect all the different proportions.
Membership
If you want to sell this model, you will need to subscribe to my basic tier membership. A membership is needed as long as you are selling my model. Thank you
some cool features:
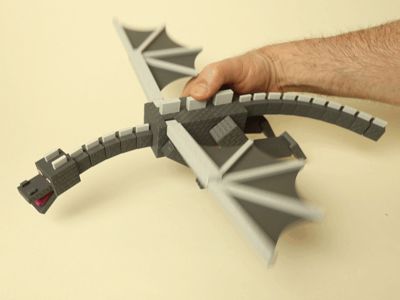
- The neck and tail is flexible
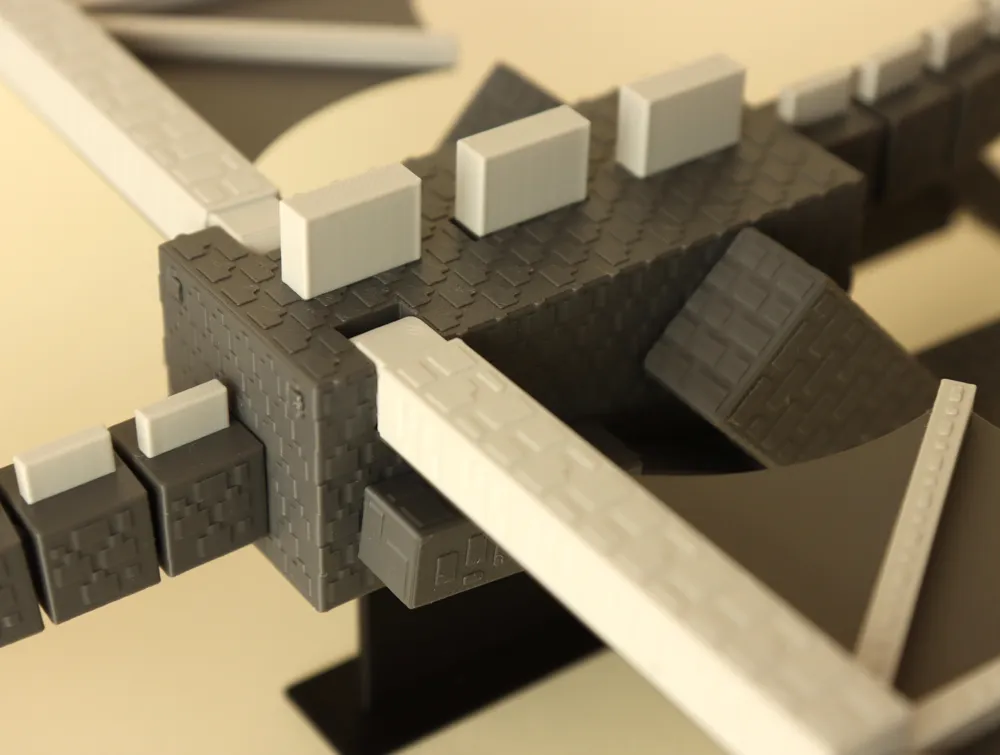
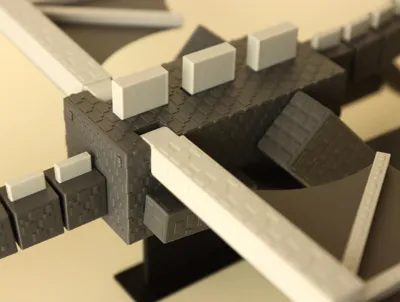
- When you push one of the scales on the back the wings move up and down!
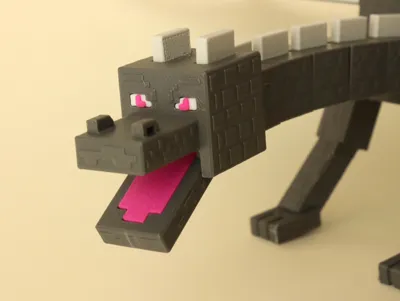
- Jaw and legs are posable
- Lots of surface details
- Everything can be printed with simple color swaps at a certain layer height (so in theory an AMS system is not needed)
- Printable on an A1 mini
It a bit of plates to print, but print time is rather short, and this creates a really nice result! Assembly is also rather easy
and just a small favor to ask, if you like this model and if you want to support me then please consider boosting me!
Boost Me (for free)
thanks so much for boosting me!
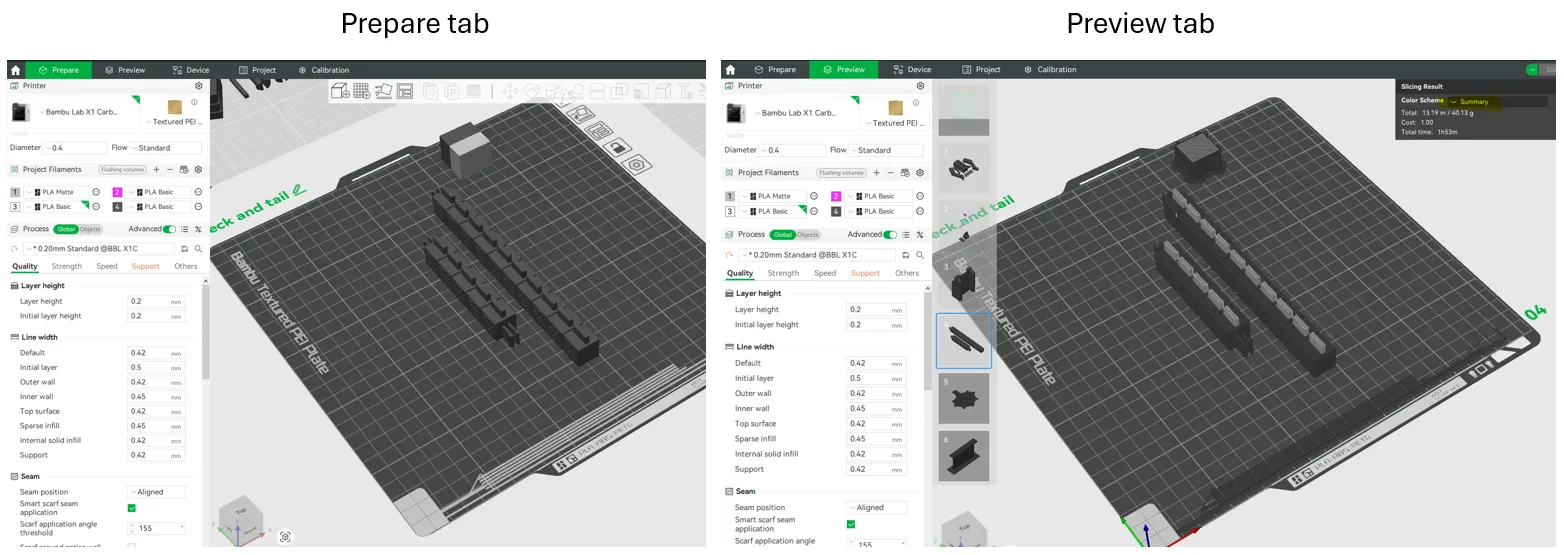
Note: if you open my print profile in bambu studio, it may look as if nothing is painted. But if you look at the preview tab, and set color scheme to “summary”, you should see that everything is in the correct colors.
assembly instructions
----------------------------------------------------
take the body part and remove the support at the bottom:
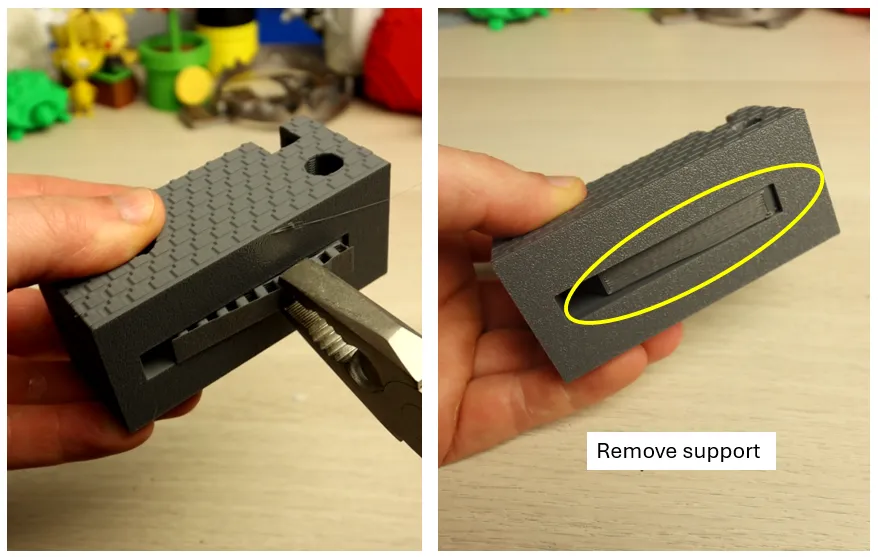
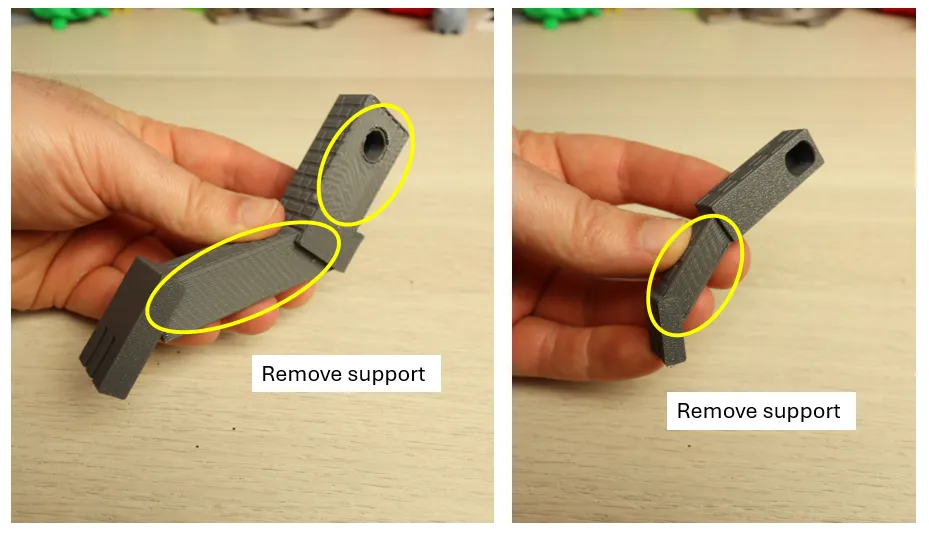
Take the front and back leg and also remove the supports:
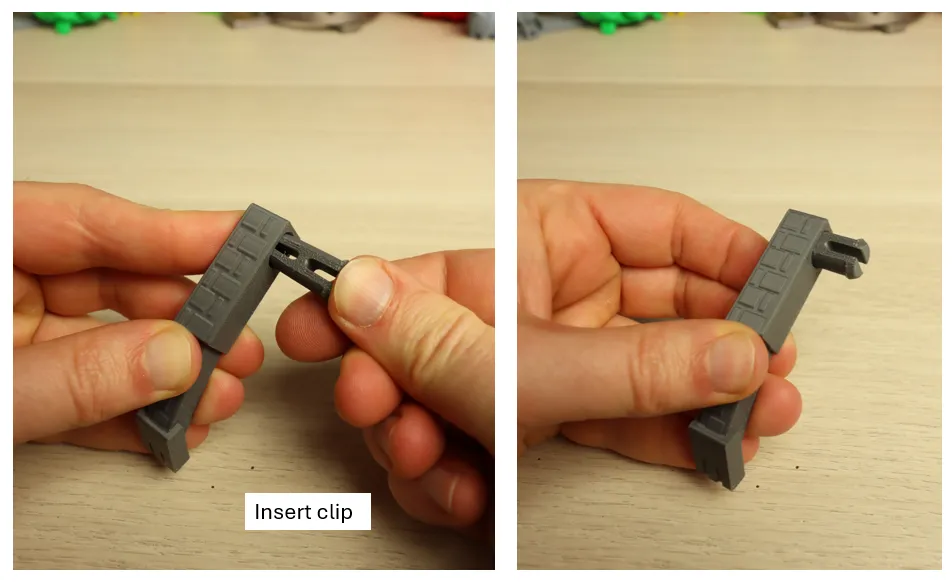
insert the clips in the legs. push hard untill it clicks into place:
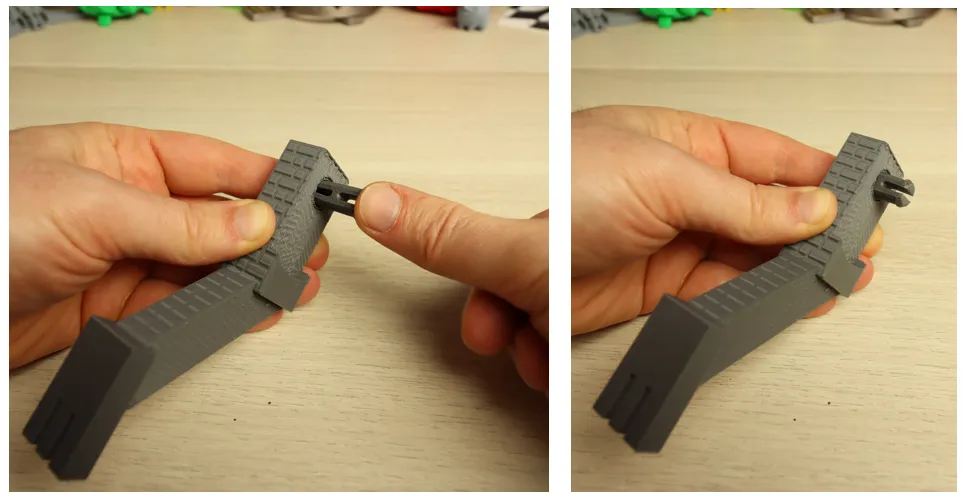
click all the legs into the body. Makes sure that the back leg is inserted in the spot as in the picture below (away from the hole where the wing will be installed) push hard untill it clicks into place:
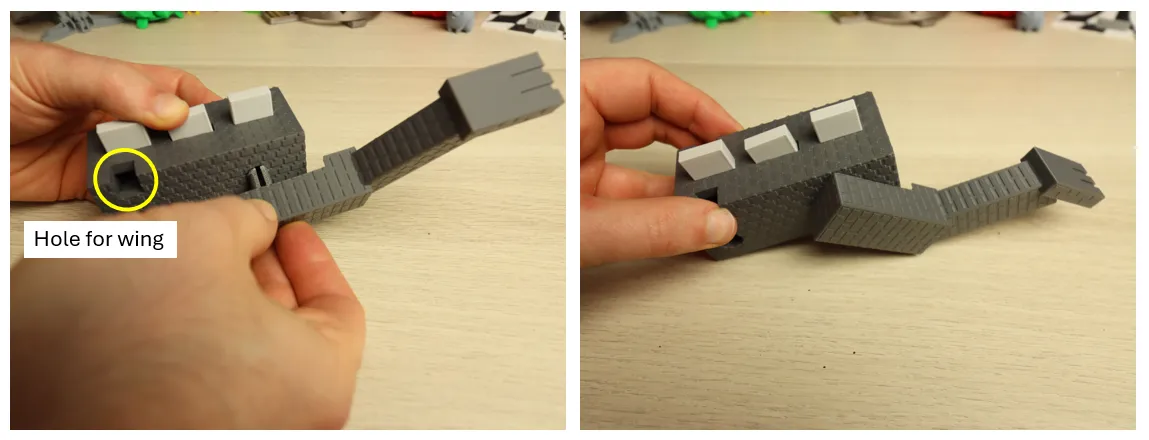
continue untill all the legs are installed:
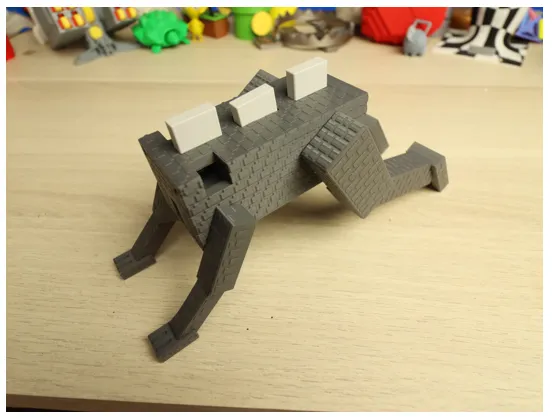
install the neck. just push the 2 snaps into the hole untill it clicks:
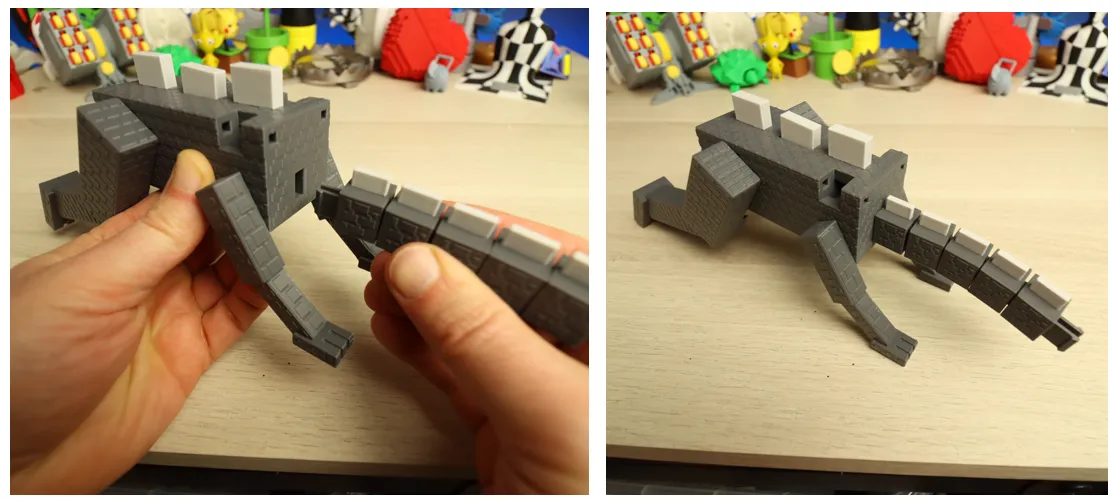
install the tail, same way as the neck:
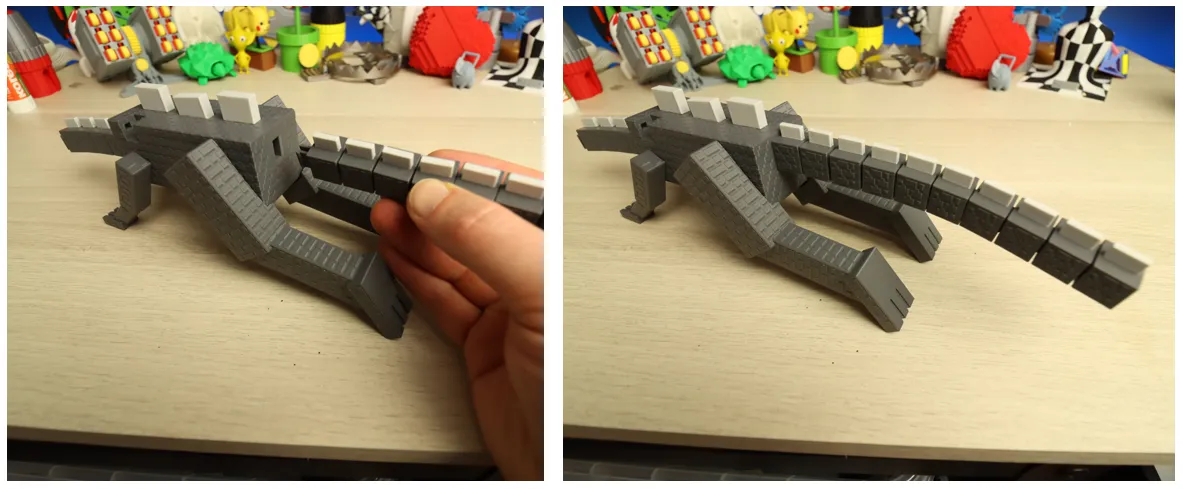
head assembly
---------------------
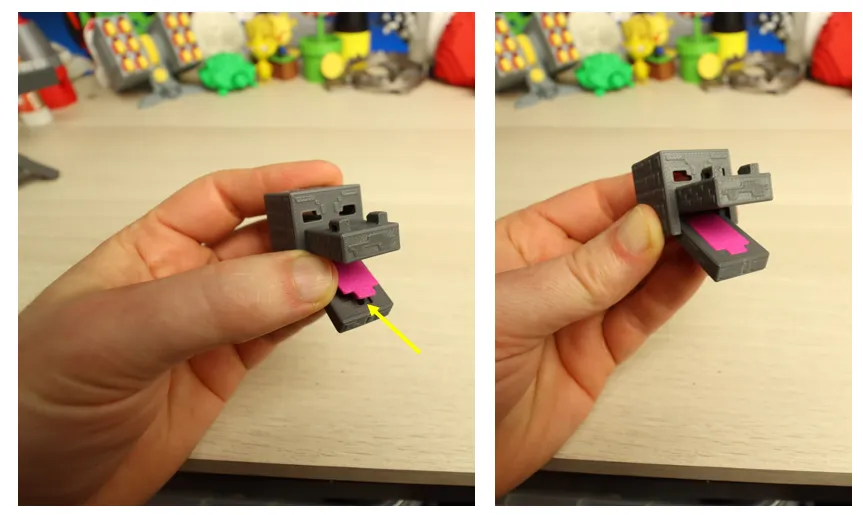
take the jaw, and pinch it between your fingers to place it into the head, see pictures below:
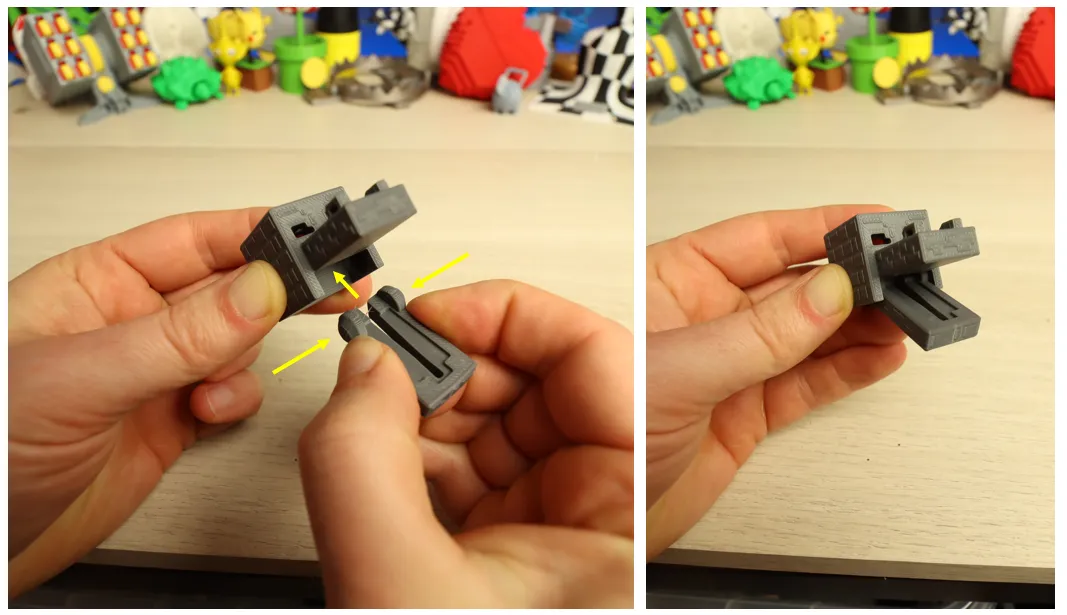
install the tongue. the rib on the tongue will fit inside the jaw. make sure the tongue is correctly oriented (little tab to the front)
install the eye part in the hole in the back of the head:
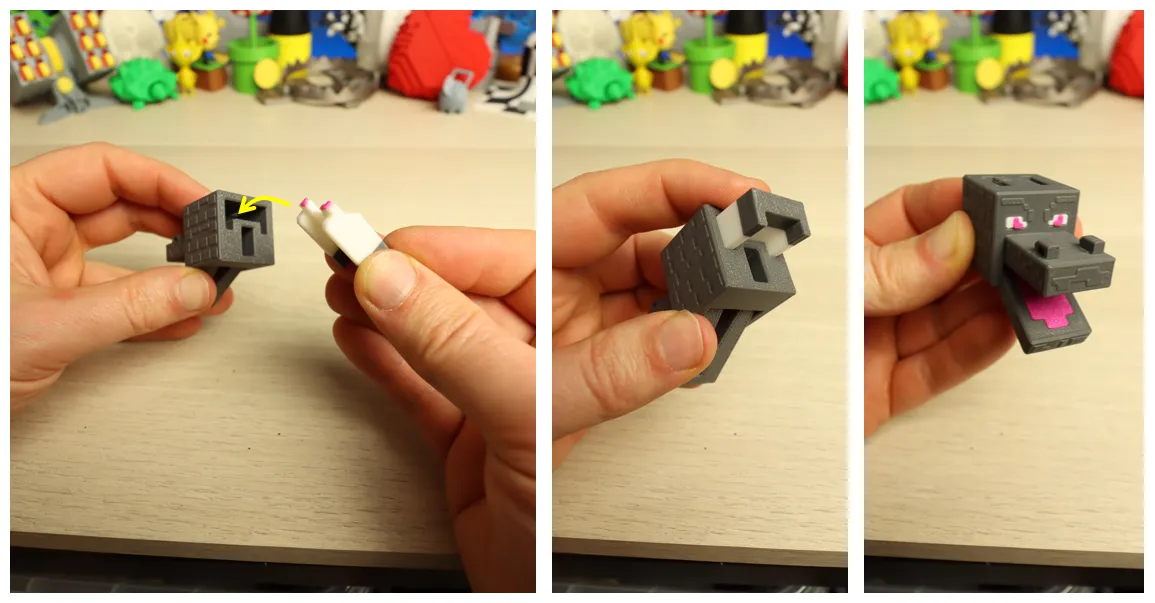
install the horns while the eyes are inserted all the way (by installing the horns the eyes will be locked into place as well)
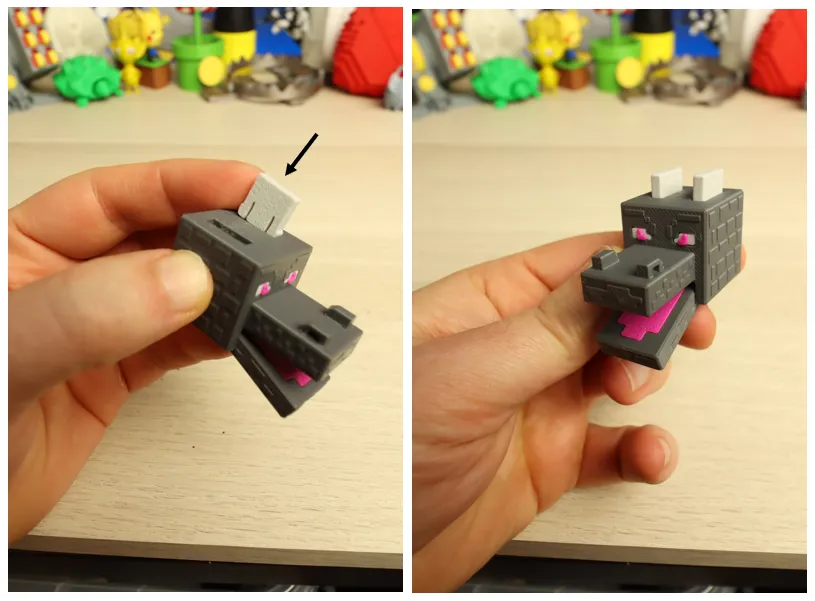
head assembly finished! time to install it on the neck:
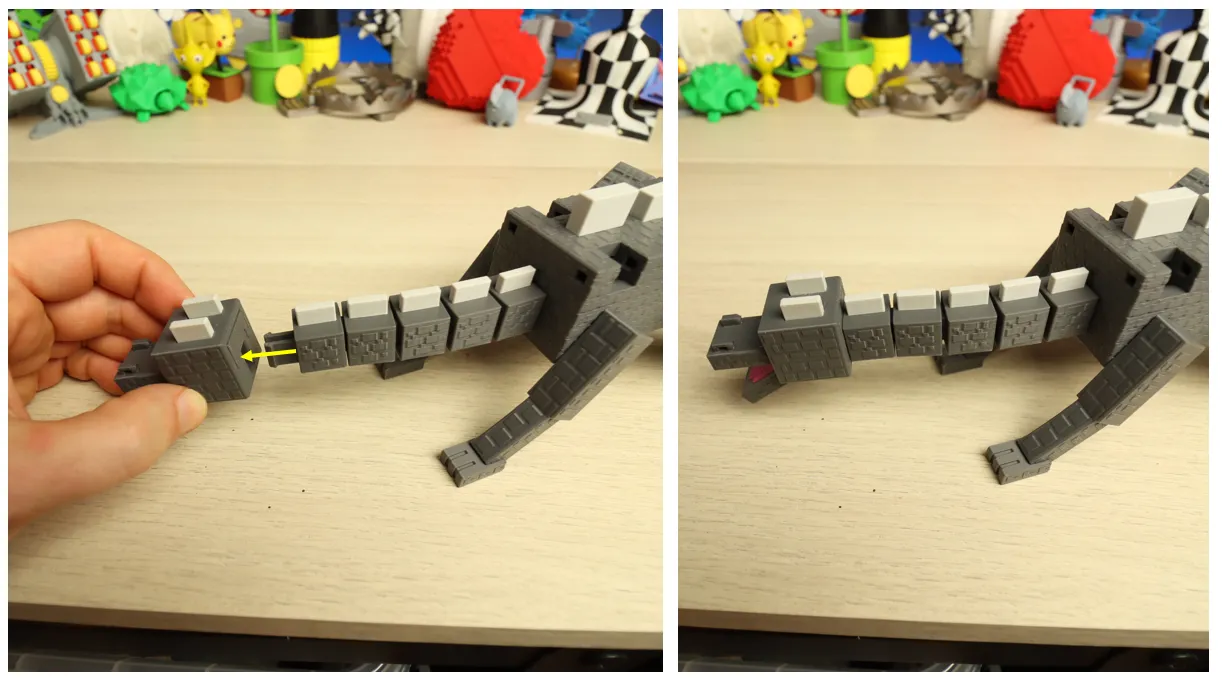
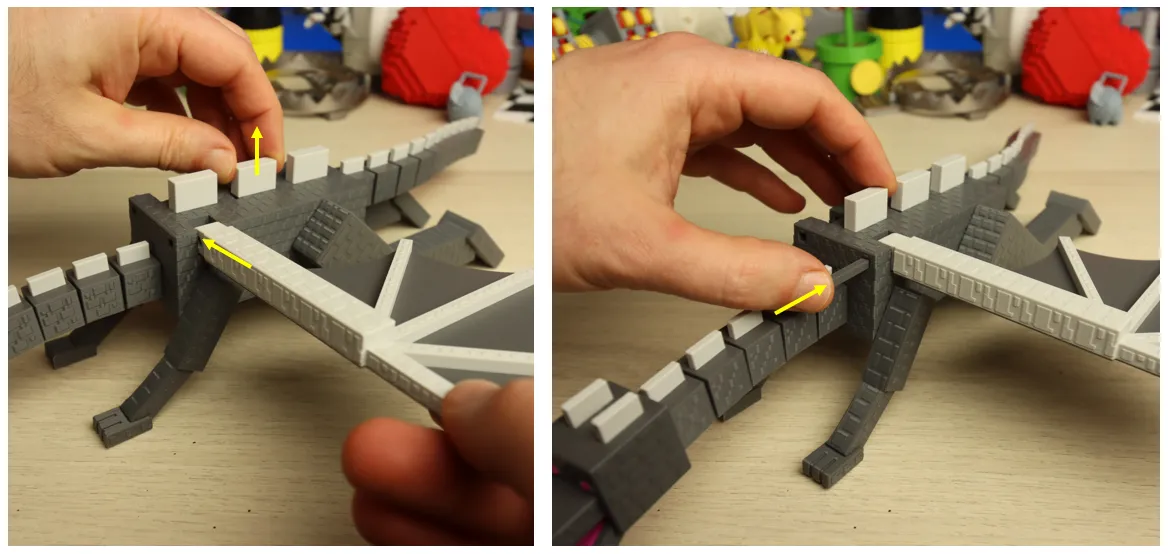
almost there! time to install the wings. Take a wing and insert it into the hole WHILE also pulling the middle plate upward. Then take a small pin and push it inside the hole in the corner. (this is the axle around which the wing will rotate)
same for the other side (no need to pull the middle plate anymore)
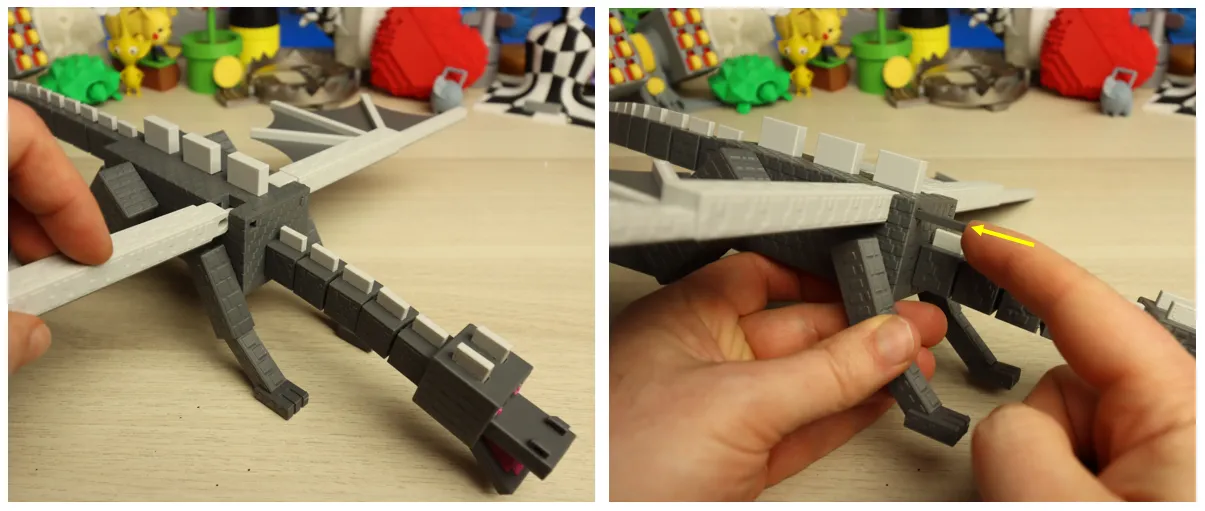
done! time to test it out and have fun!

(if you want to display the dragon I also included a little stand)
License

You shall not share, sub-license, sell, rent, host, transfer, or distribute in any way the digital or 3D printed versions of this object, nor any other derivative work of this object in its digital or physical format (including - but not limited to - remixes of this object, and hosting on other digital platforms). The objects may not be used without permission in any way whatsoever in which you charge money, or collect fees.


Comment & Rating (889)