
Portable USB PC desk Fan blower stand mount 120mm
Print Profile(3)


Bill of Materials






Description
This year promises a lot of sun, time to prepare yourself.
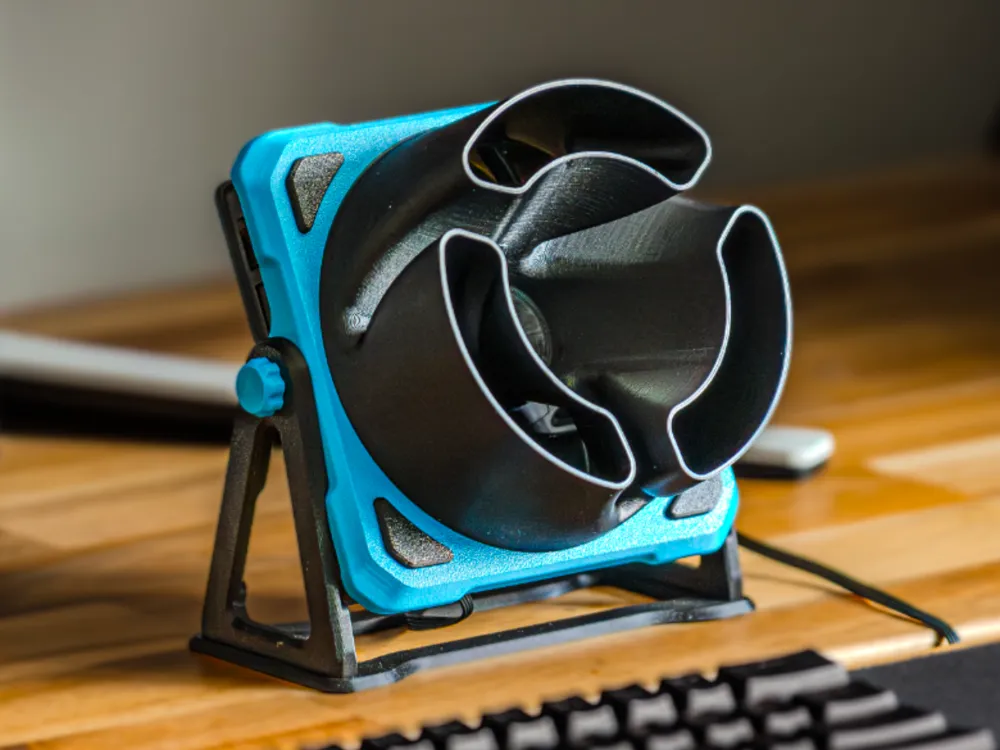
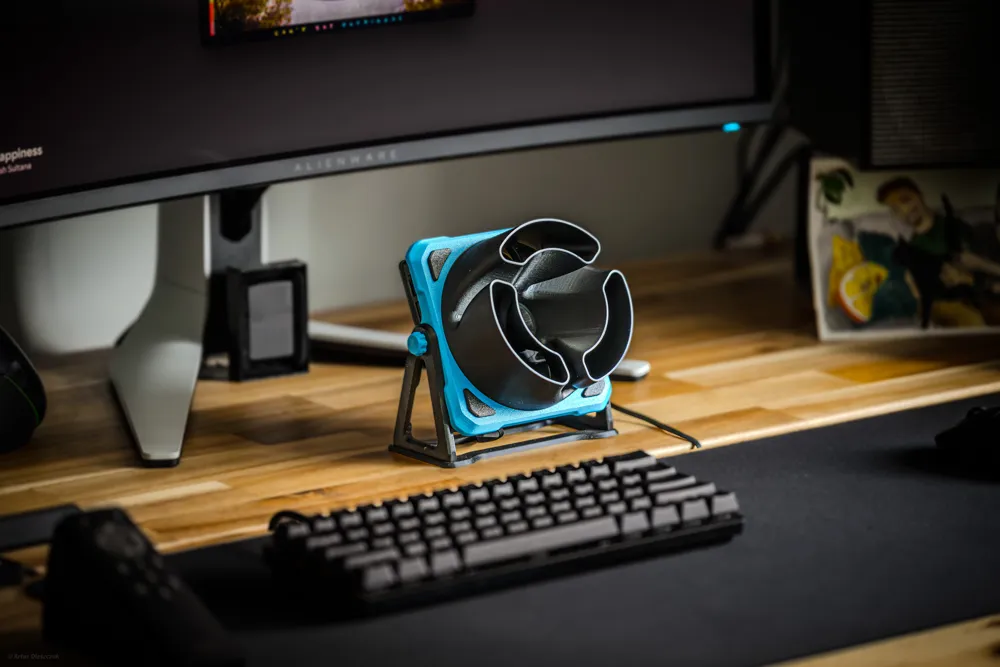
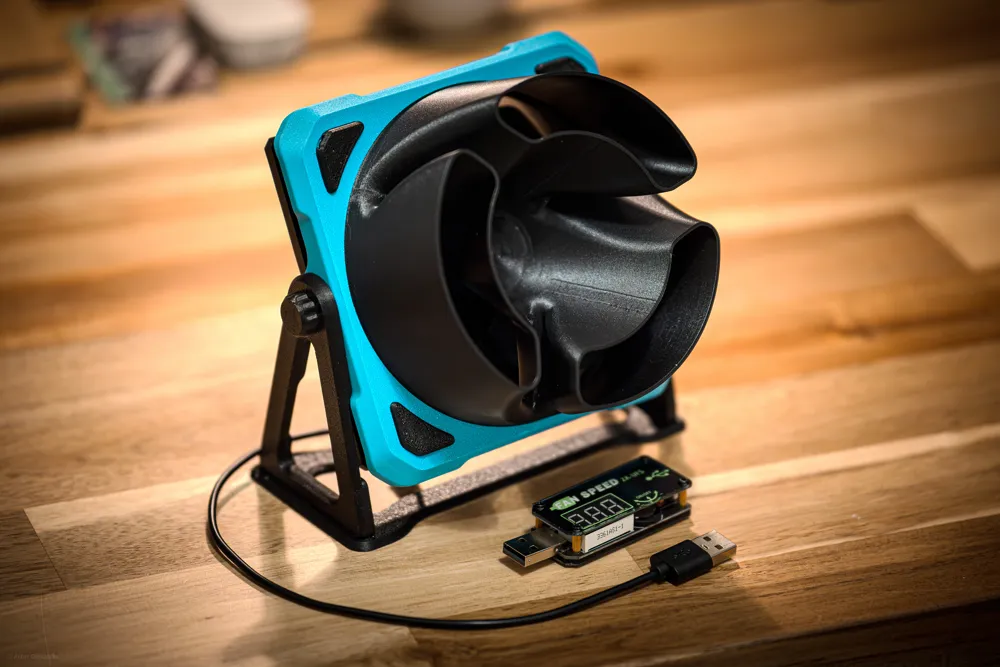
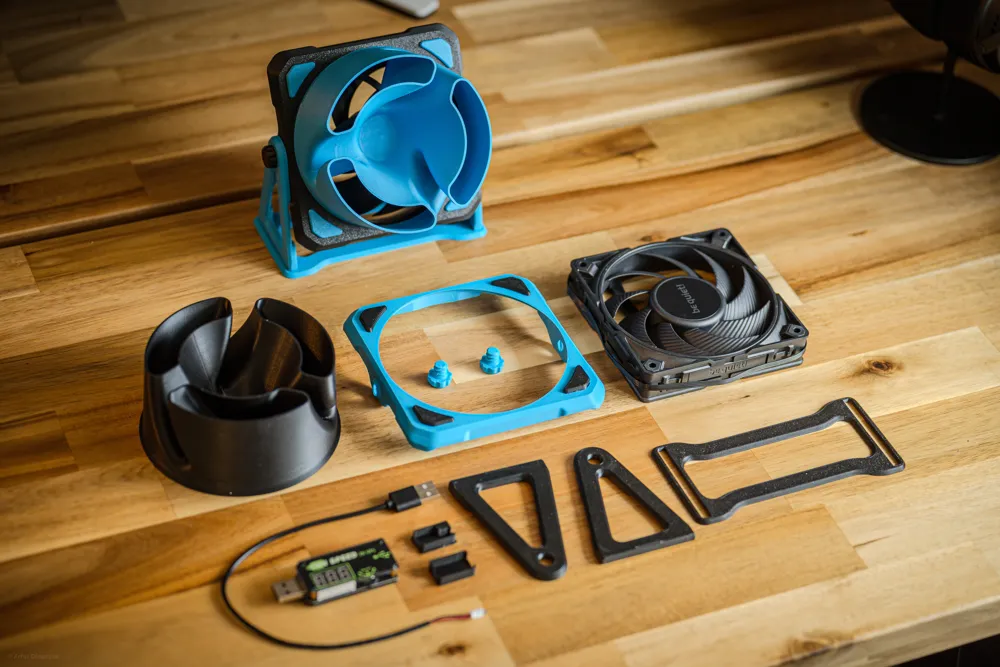
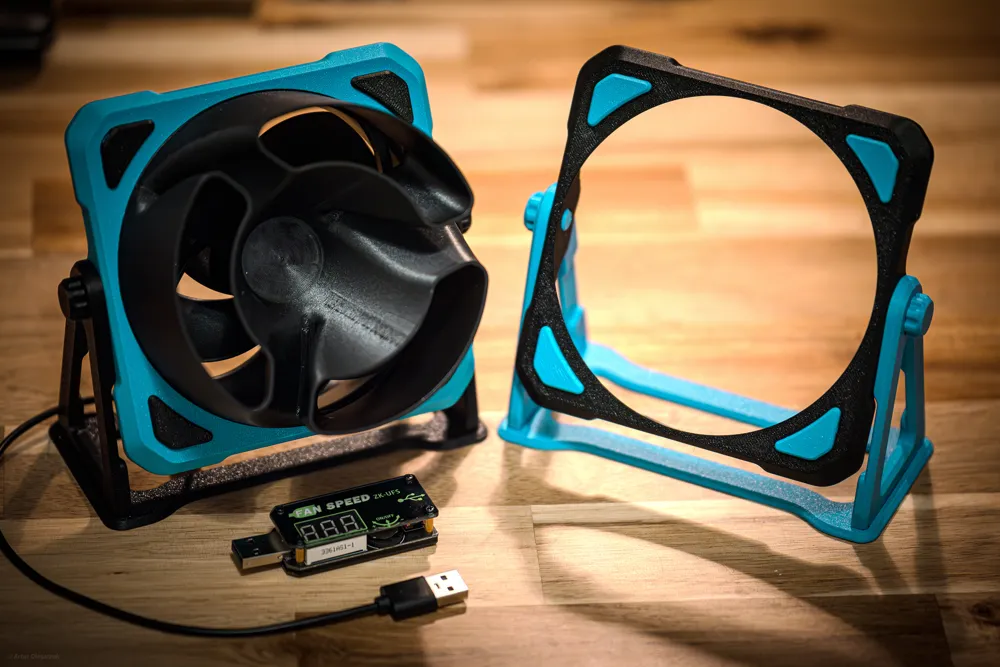
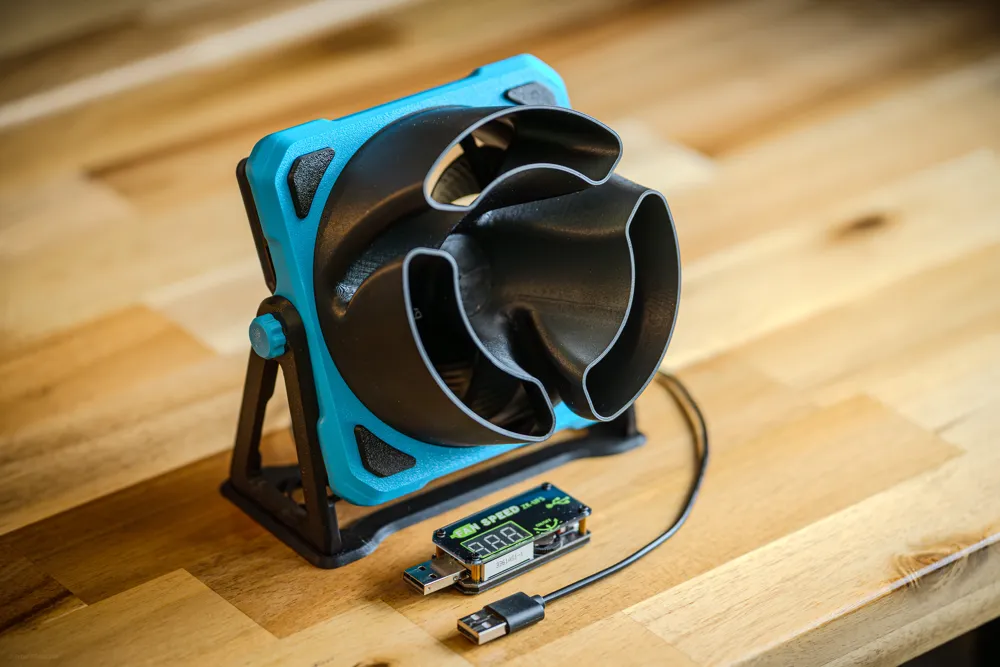
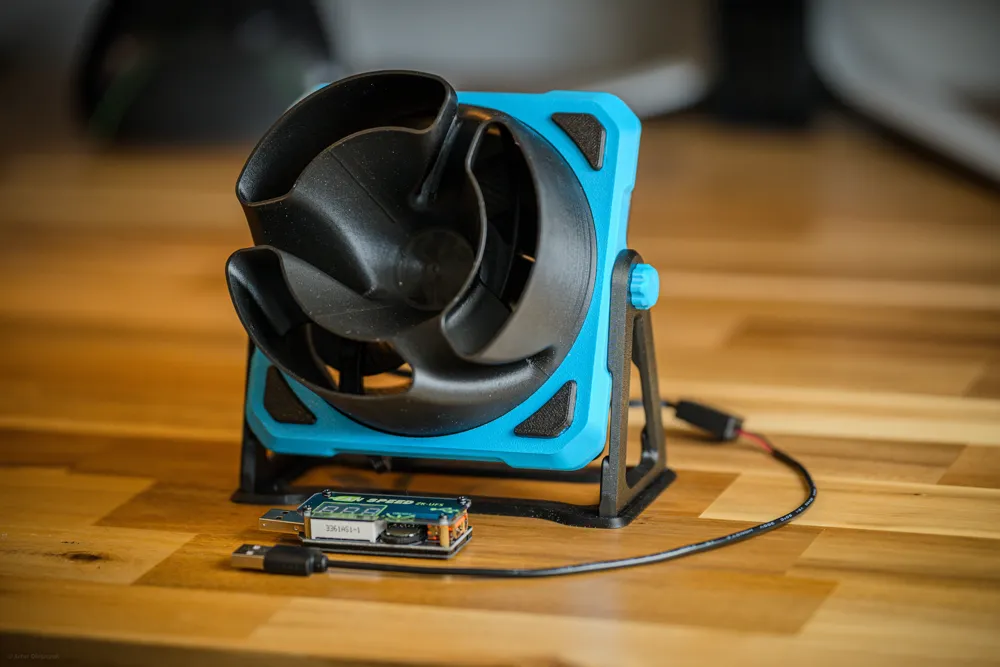
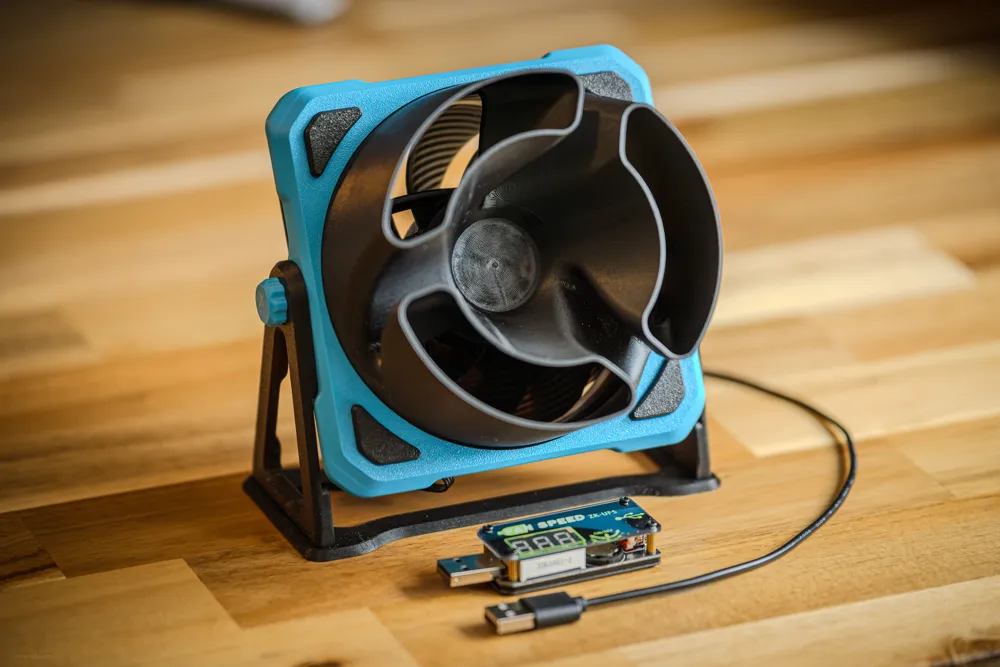
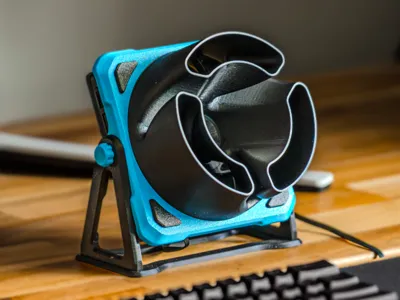
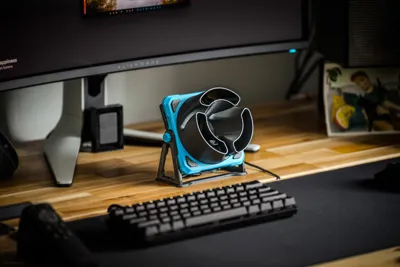
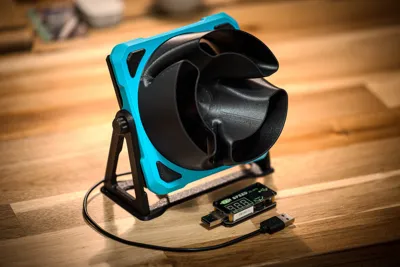
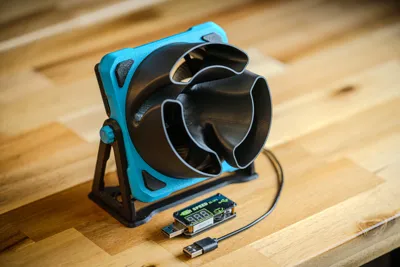
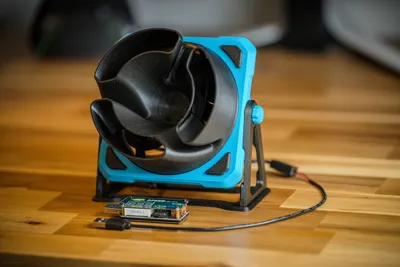
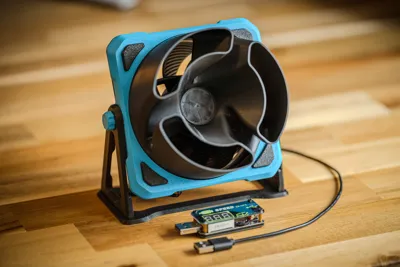
Thanks to USB connection and fan controller, you will be able bring cool wind anywhere you go! Just plug in fan into powerbank and you are good to go. You can use your laptop or PC, anything that provides power through usb connection.
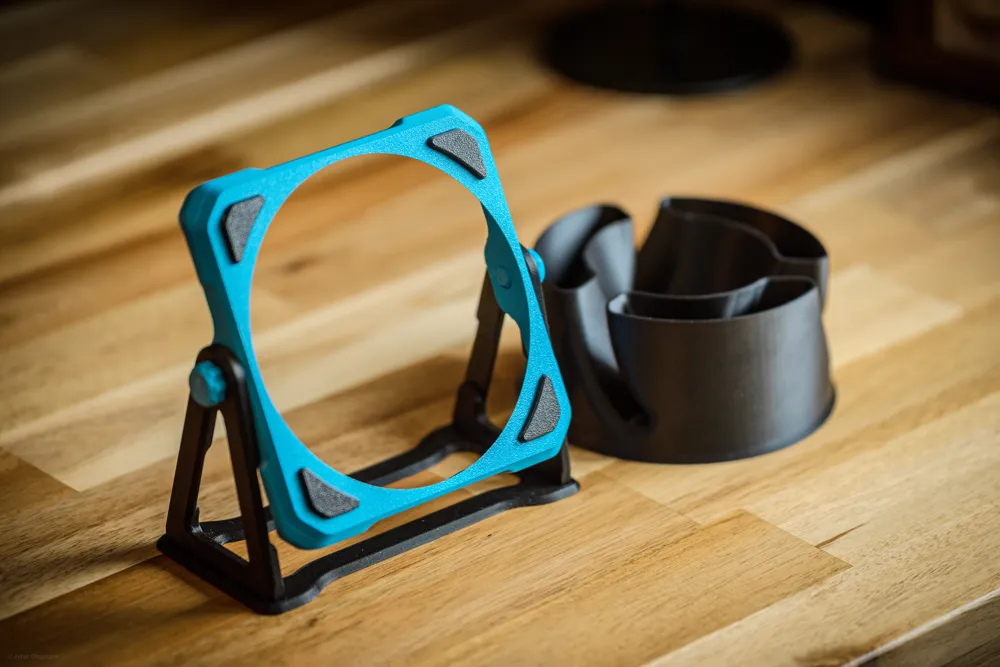
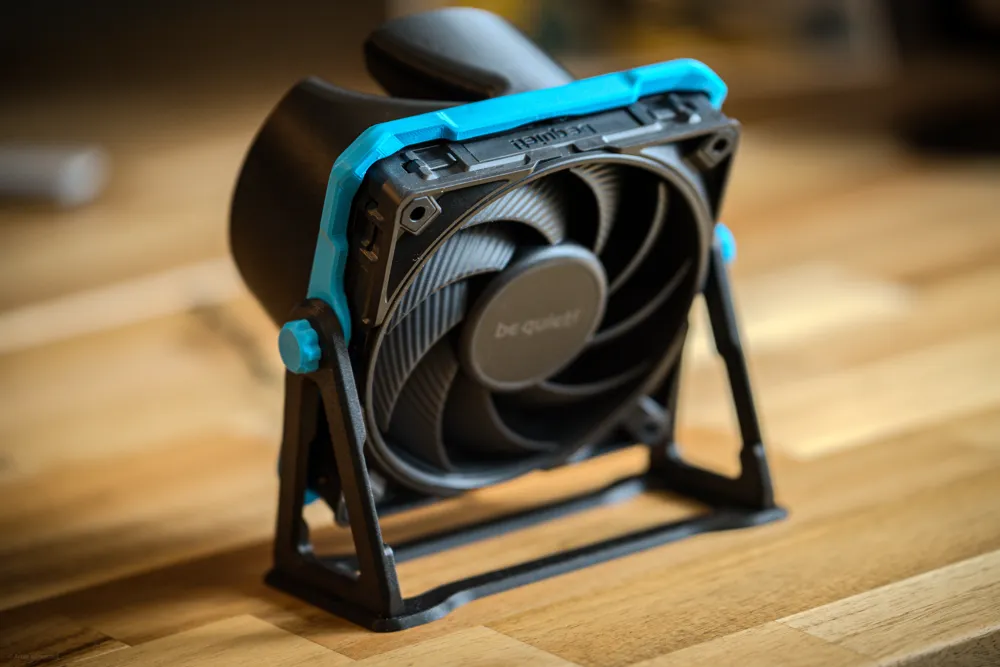
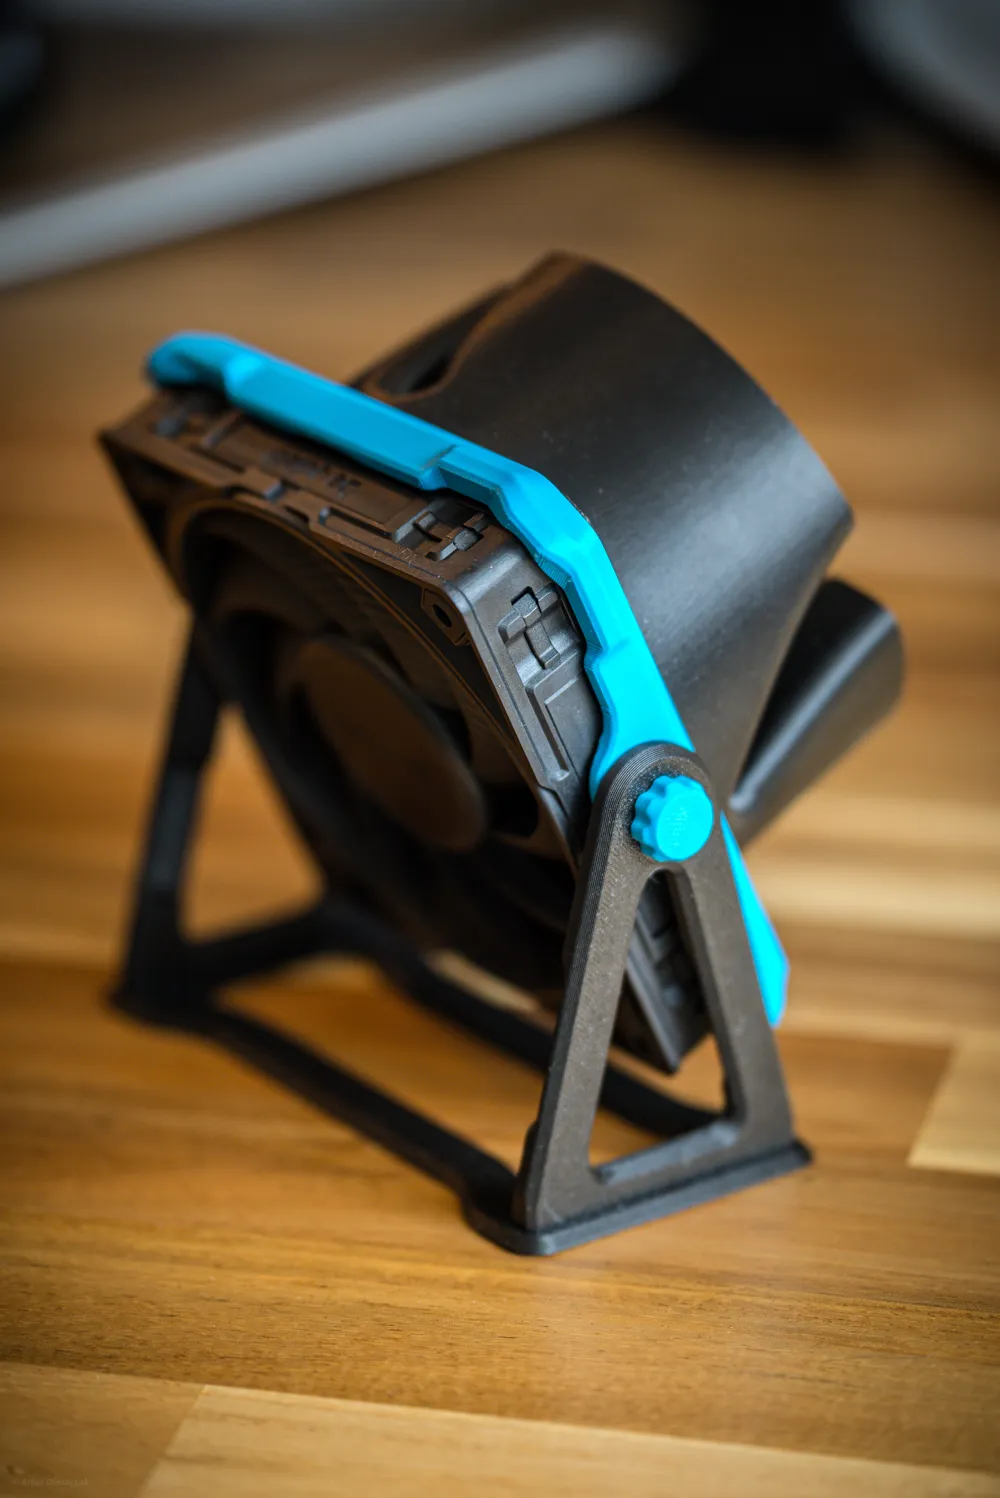
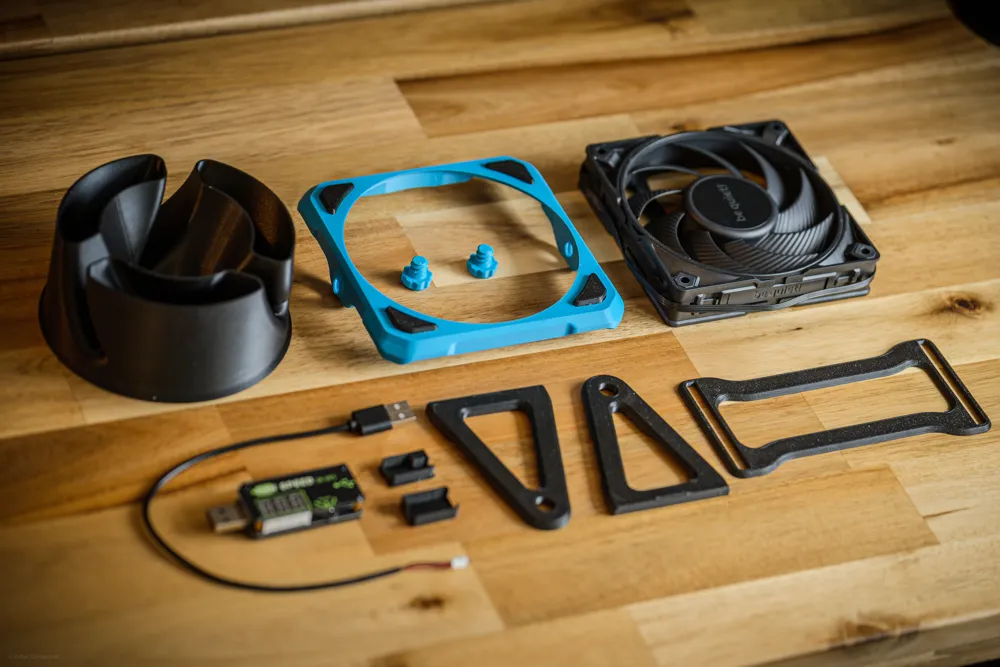
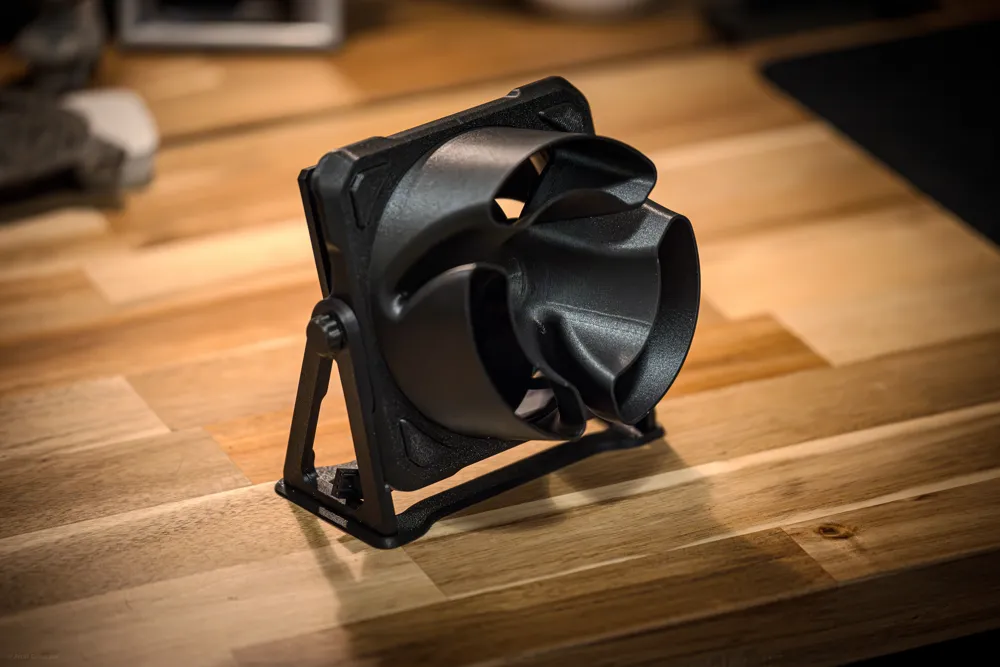
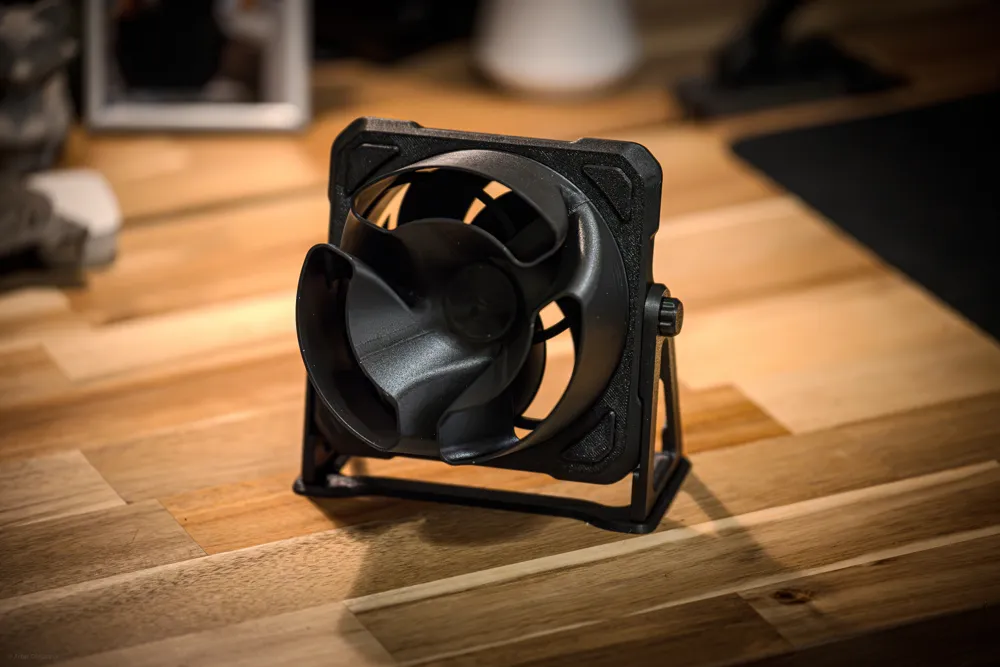
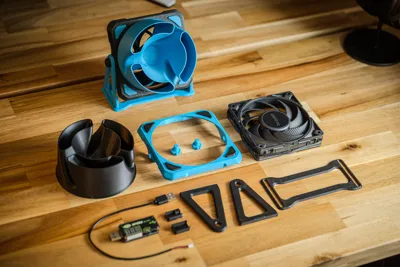
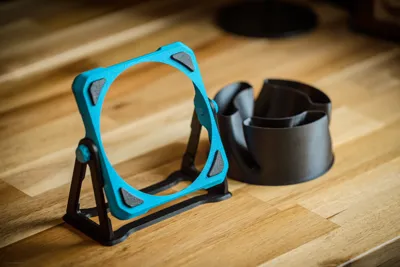
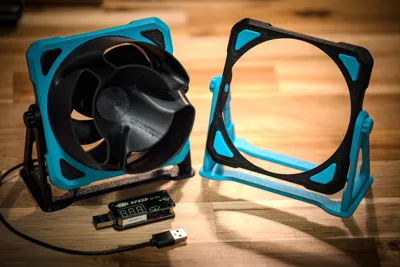
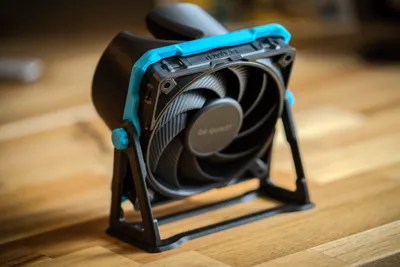
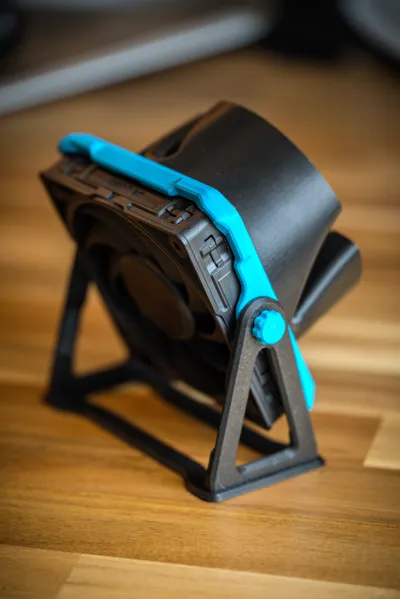
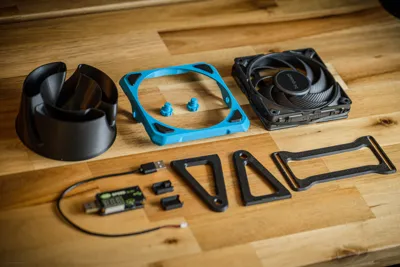
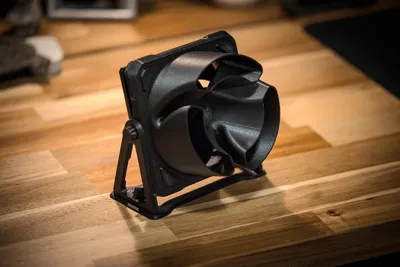
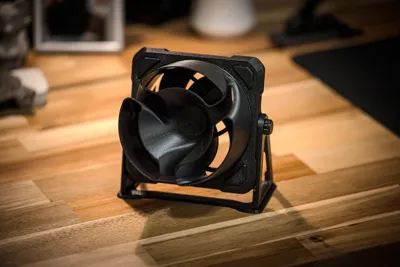
120mm Fan mount, with tilt settings. Use knobs to secure rotation. You can adjust rotation of wind amplifier. It's super effective and design went through many iterations, for best printability and effectiveness. It amplifies wind from fan and directs it making breeze stream fly further and blow stronger. Perfect for portable chill anywhere you go or keeping your sweaty gaming sessions as cool as possible. You can also bring some attention in your workplace, making other jealous, that you are chilling in front of your office computer while others are melting from hot.
Boost Me (for free)
Support me by boosting for free! If you want to see more awesome projects, you can send boost, it costs you nothing but provides motivation for further projects!
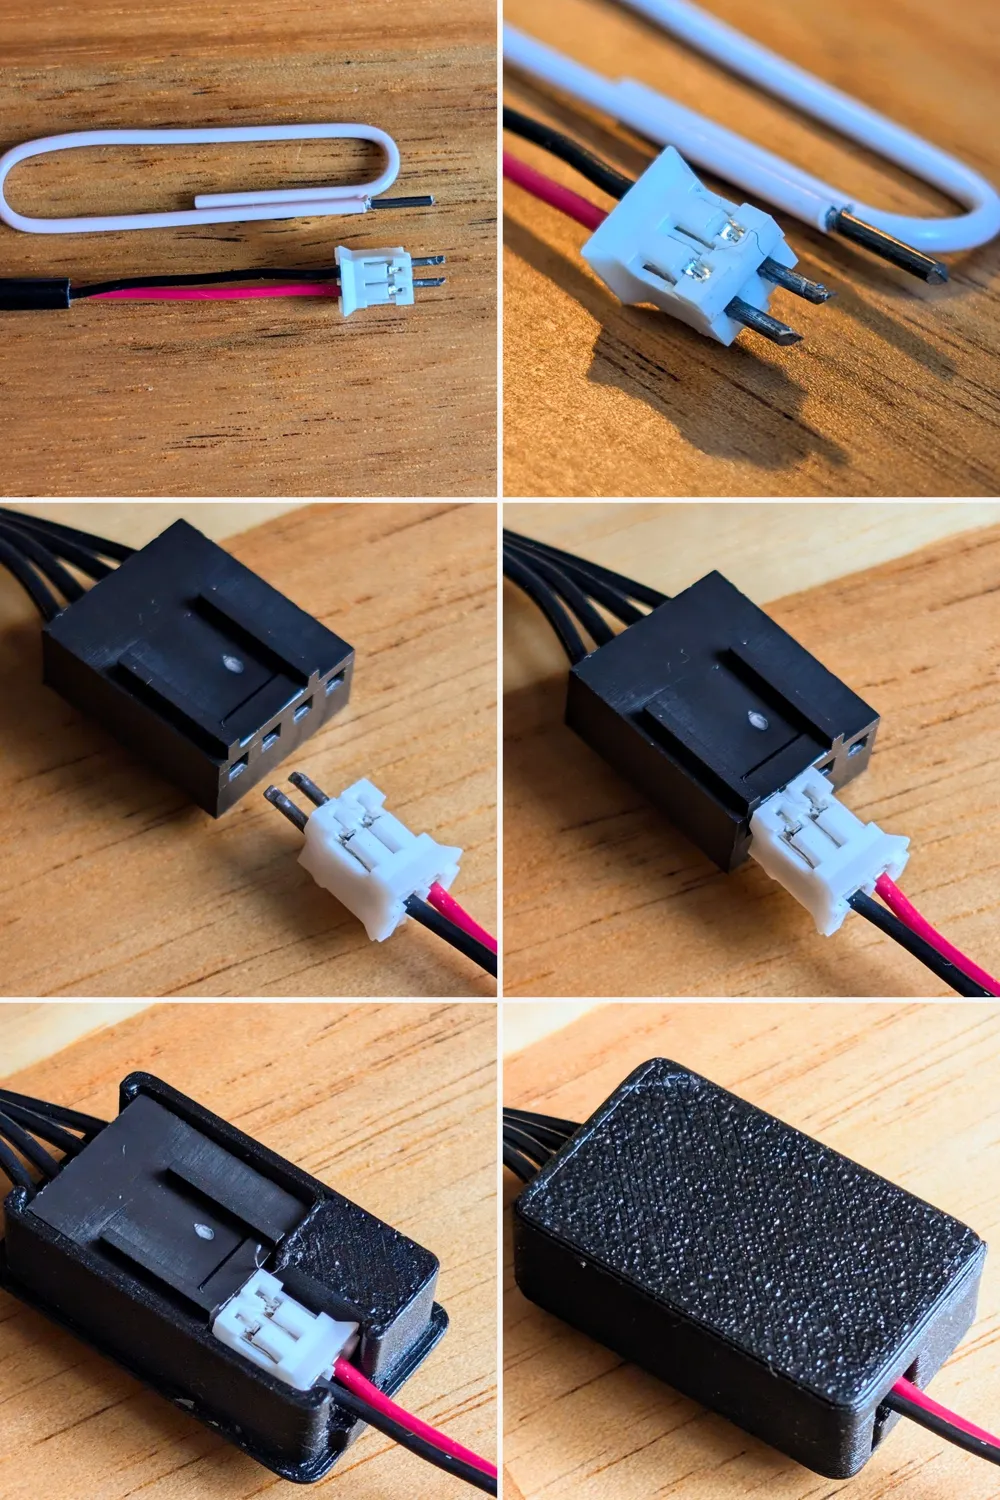
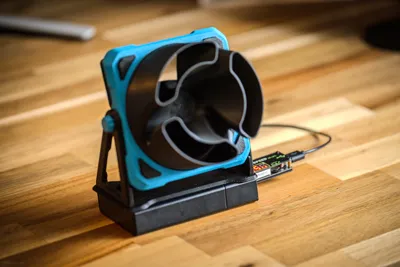
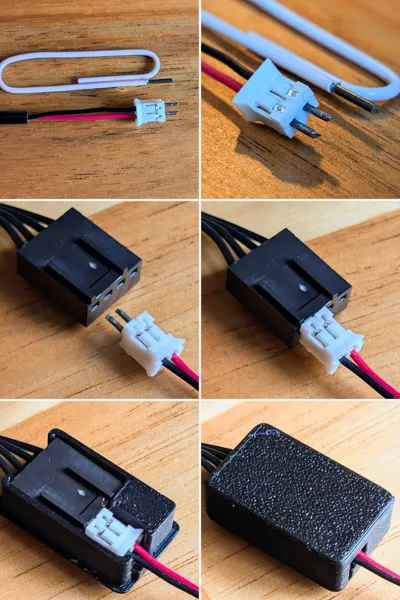
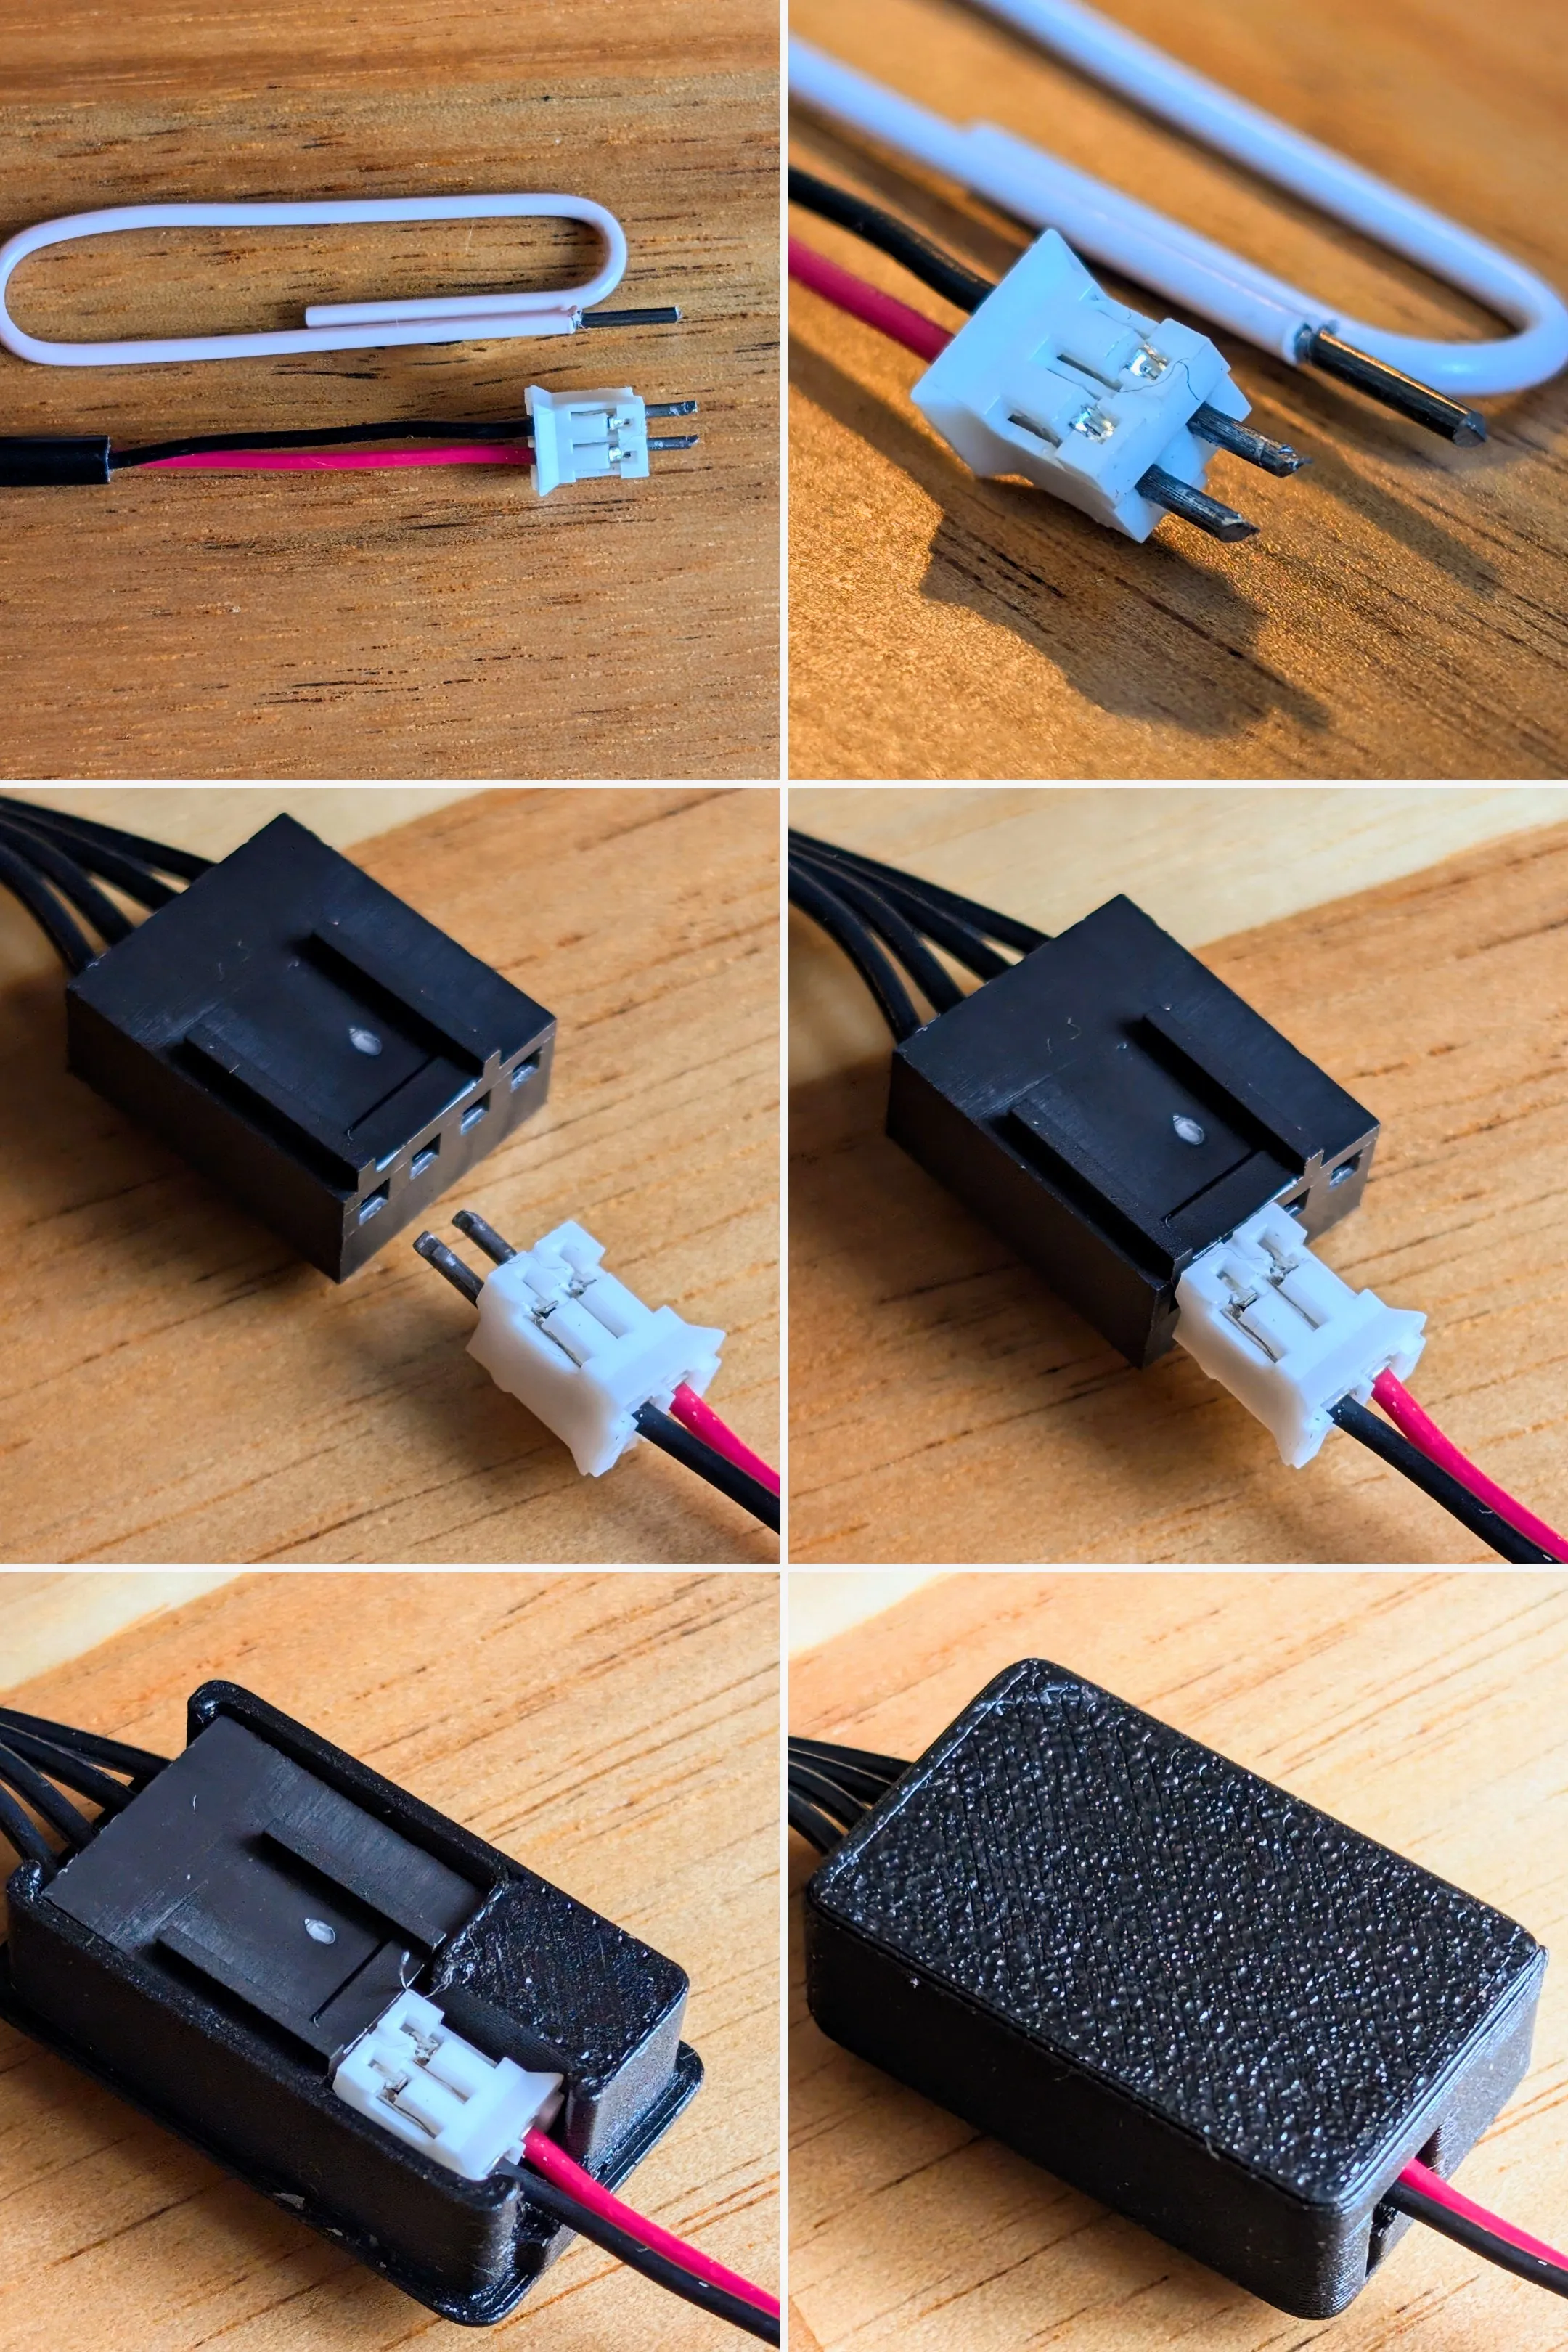
For easy connection with fan header, you can use USB cable from maker's supply (link below description), and paper clip.
Peel off plastic from paper clip (if ther is one), cut about 5-7mm of metal wire and using pliers insert 2 wires into connector. With about 3mm exposed wire for each cables - 5-12V connection(red) and ground(black). Any cable with diameter between 0.8 and 0.9mm will be good for that purpose.
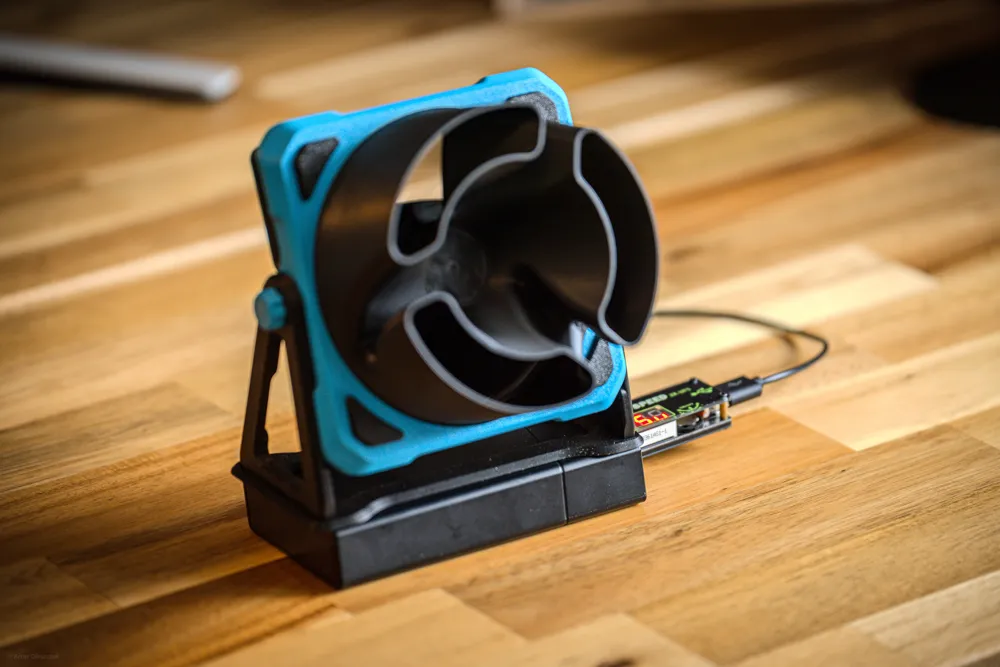
4 and 3 slot fan header have ground on most right side of connector and 12V in second from right connection. It is corresponded with black for ground and red for 12V connections. Insert created male connection into header with black cable to furthest right slot. Prepared connector close inside printed box for safe use and sturdy connection preventing from accidental disconnections.
You can use Fan speed controller to control fan speed from 5 to 8 volts. You can use it with power banks to have portable chill fan!
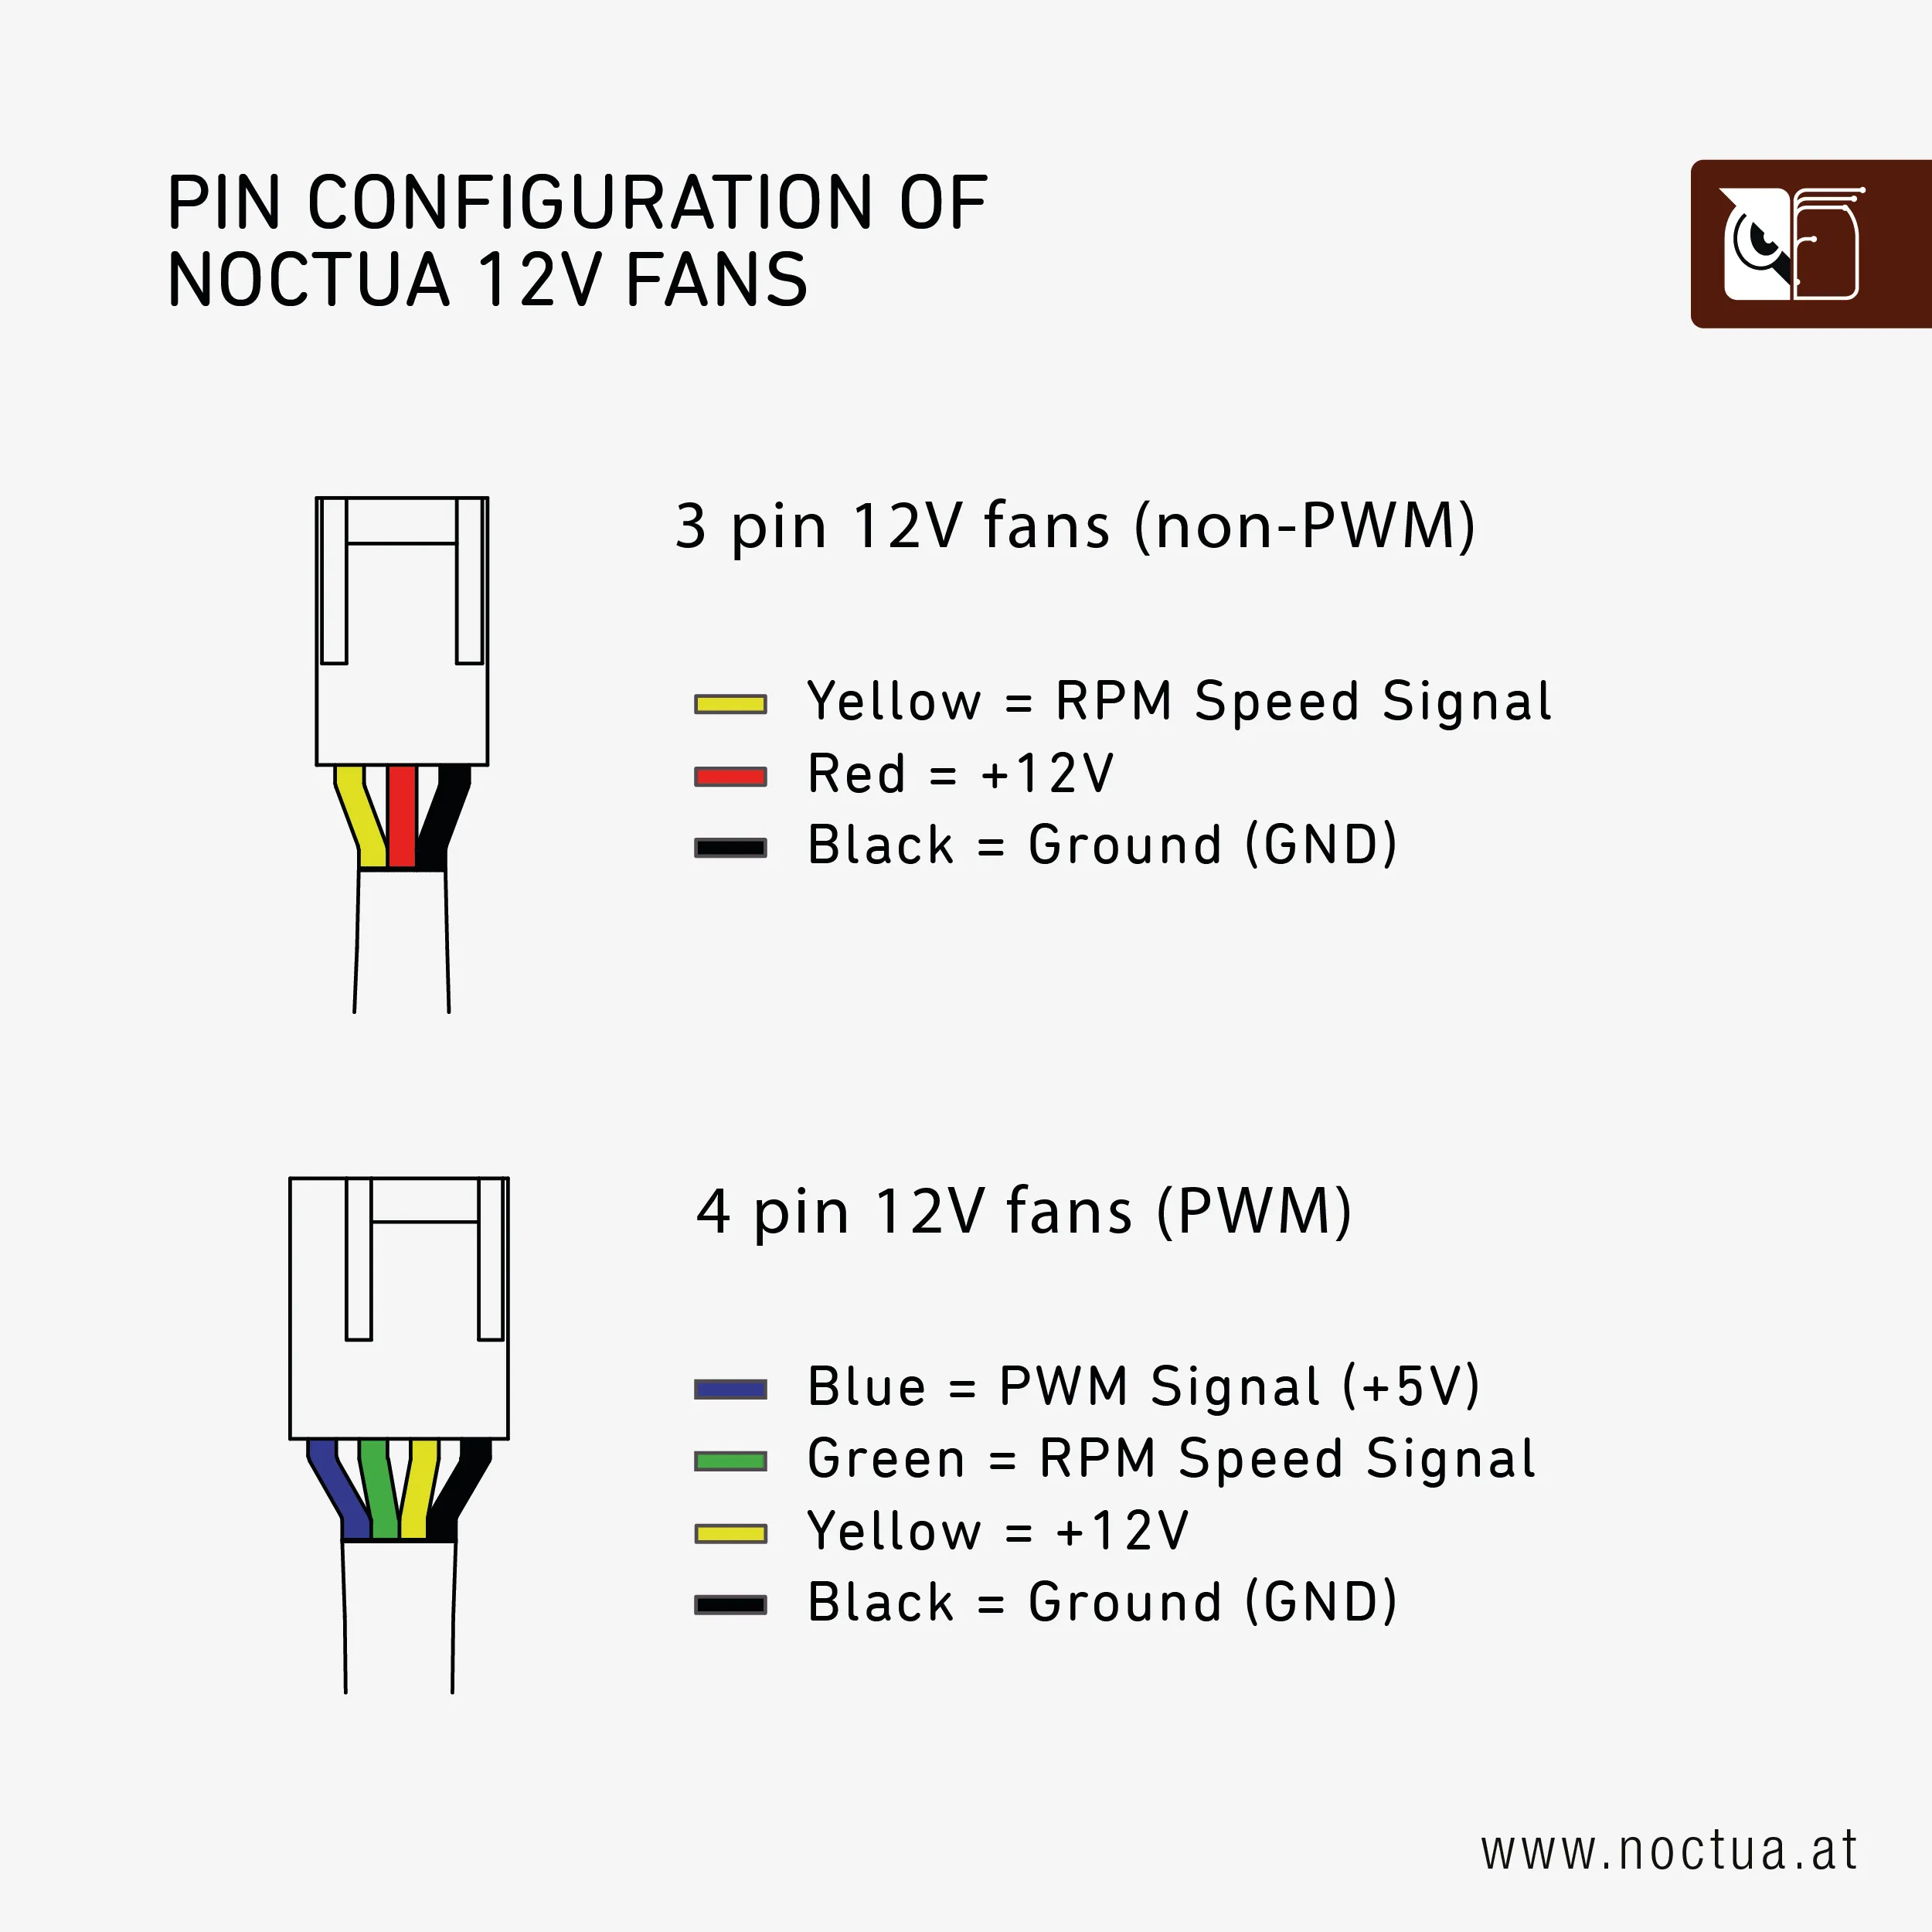
https://faqs.noctua.at/en/support/solutions/articles/101000081757-what-pin-configuration-do-noctua-fans-use-
Prepare your printer before printing!Model contains small parts, make sure you have prepared your printer before printing.
With that, it's impossible to have any printing failures. |
USE WITH CAUTION! I DO NOT TAKE RESPONSIBILITY OF BROKEN ELECTRONICS OR ANY DAMAGE CAUSED BY USING IT. I'm providing fan mount model and print profile, anything else it up to user. Please verify specification of usb connection and fan used. Most fans use less than 0.5A to operate, USB connection mostly provides from 0.5A to 1.5A at 5V It should be completely safe to use. PWM fans mostly have 2 modes - PWM and DC - DC is needed for that project, so ideally you can find high RPM fan with DC connection for most reliable use. PWM fans also work (as tested with Noctua, Arctic, Fractal and Be quiet!). Project is provided “as is”, as fun DIY project. |
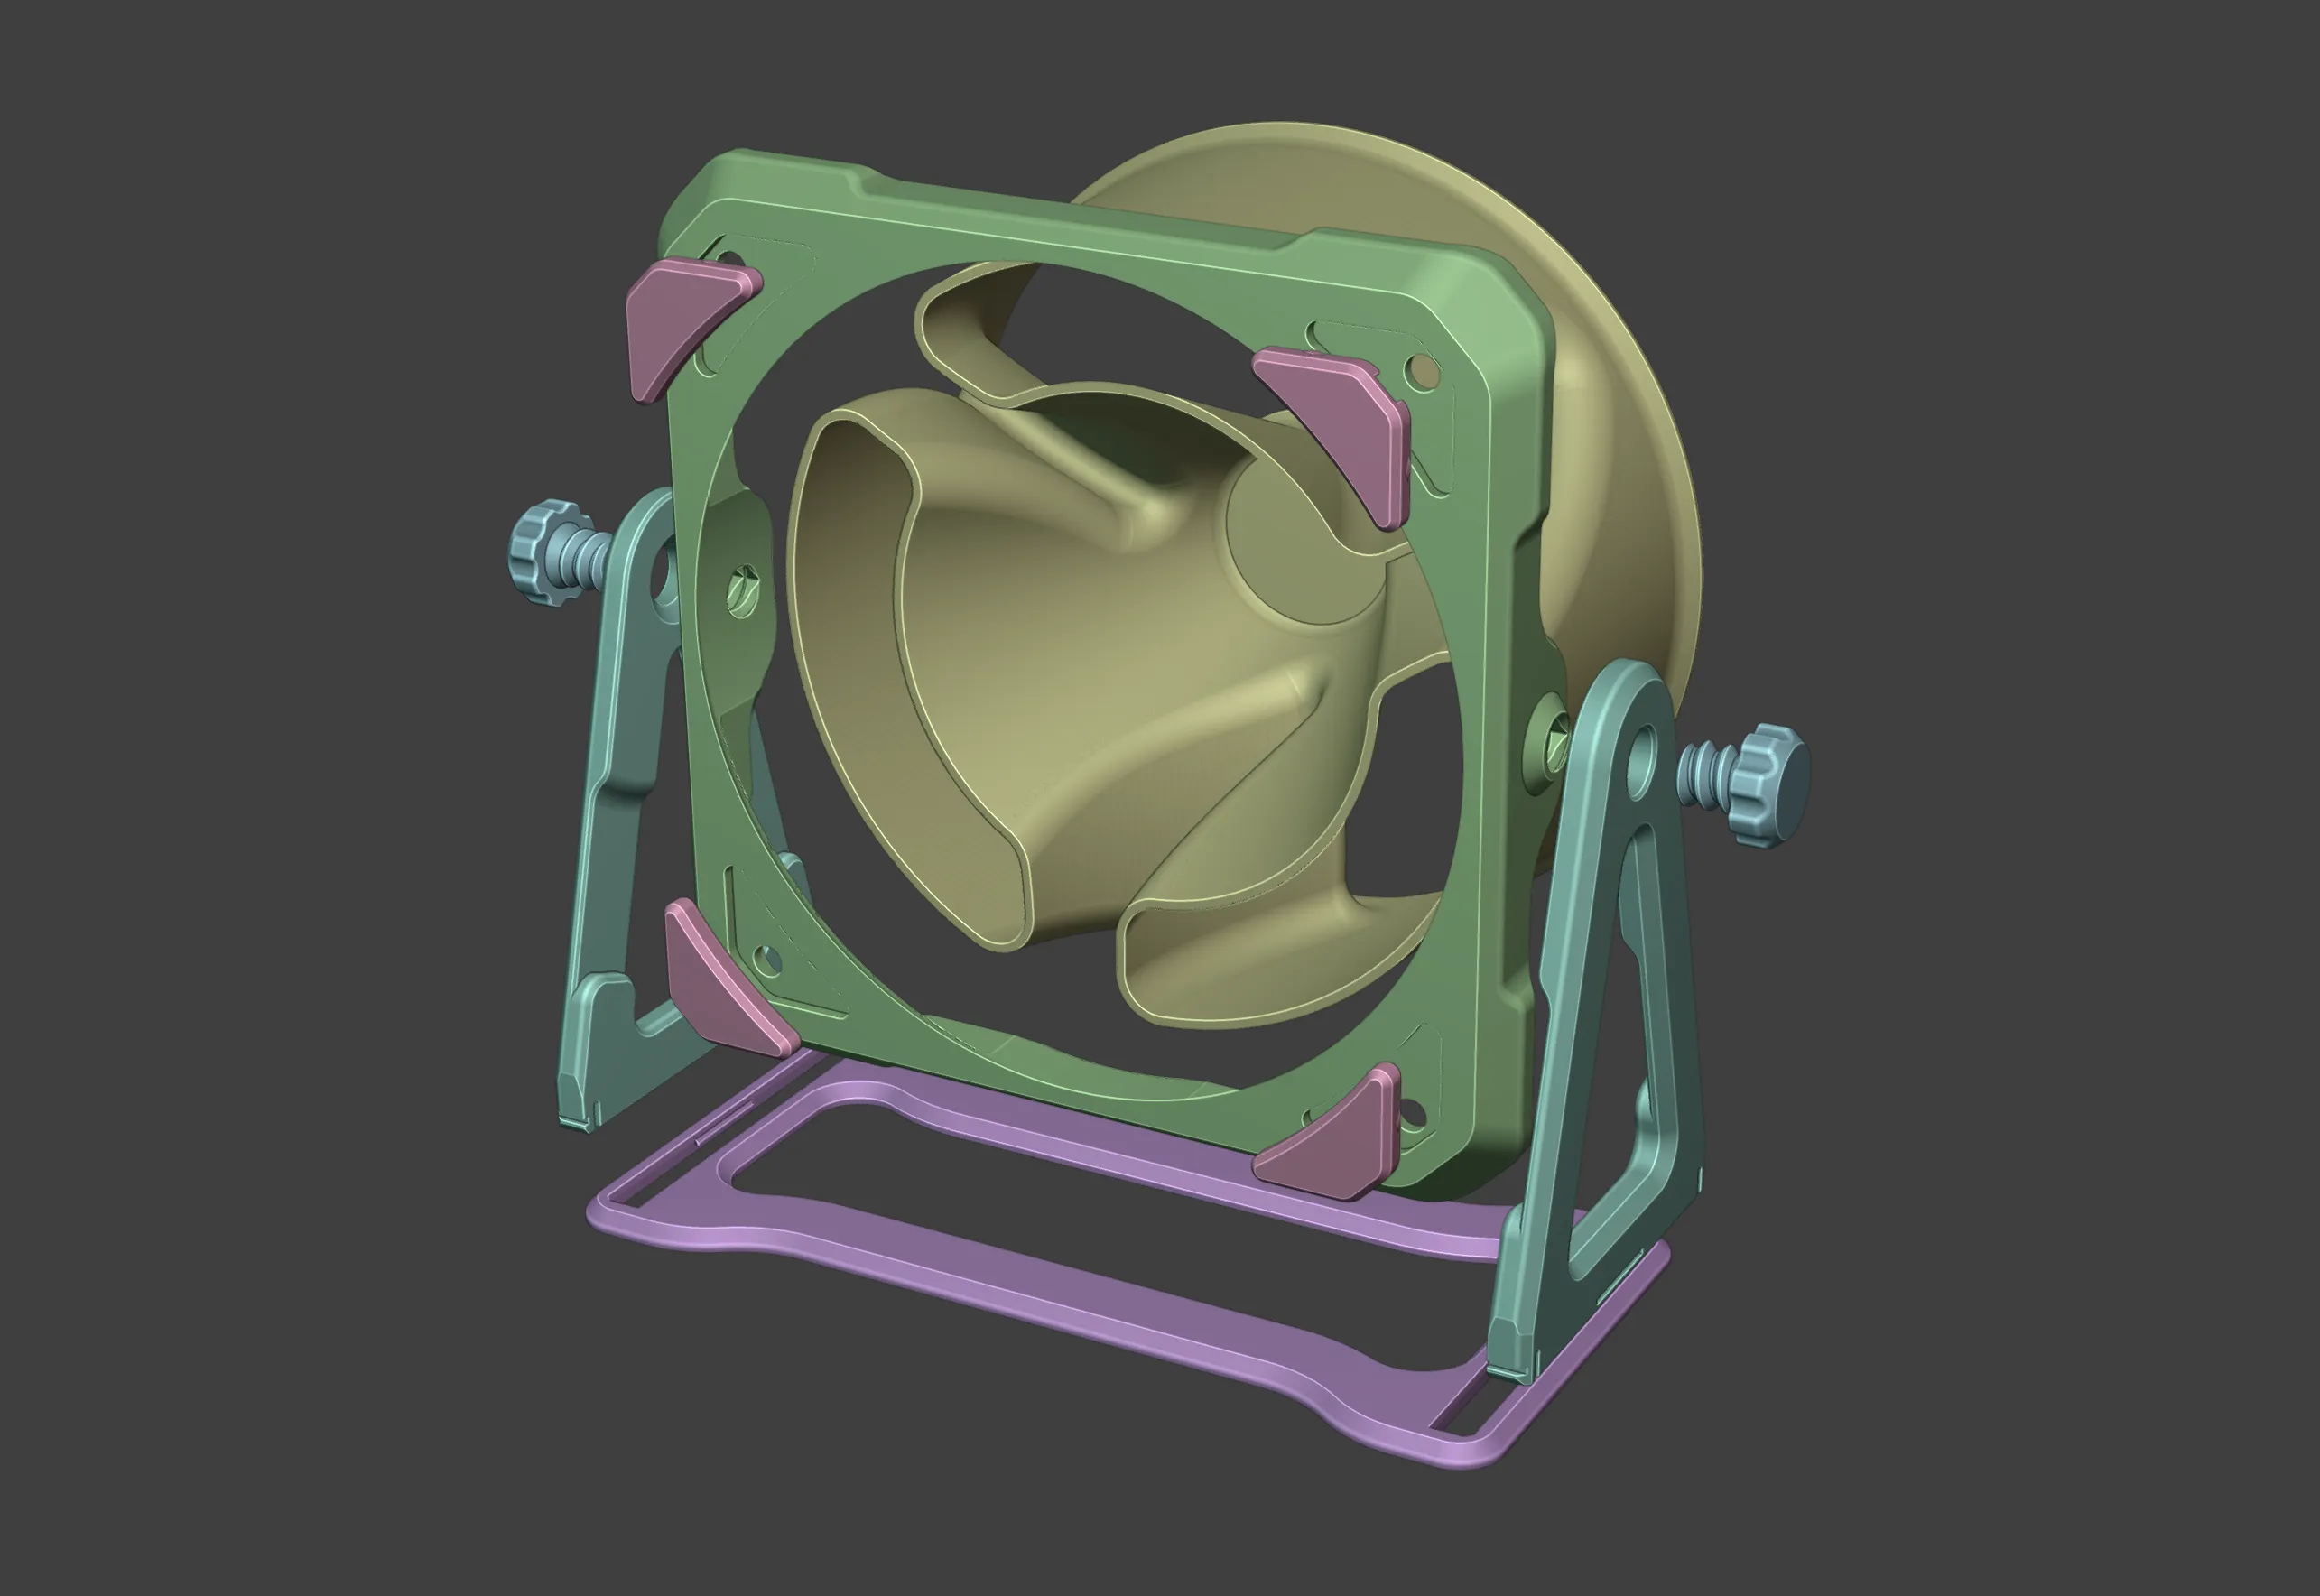 | 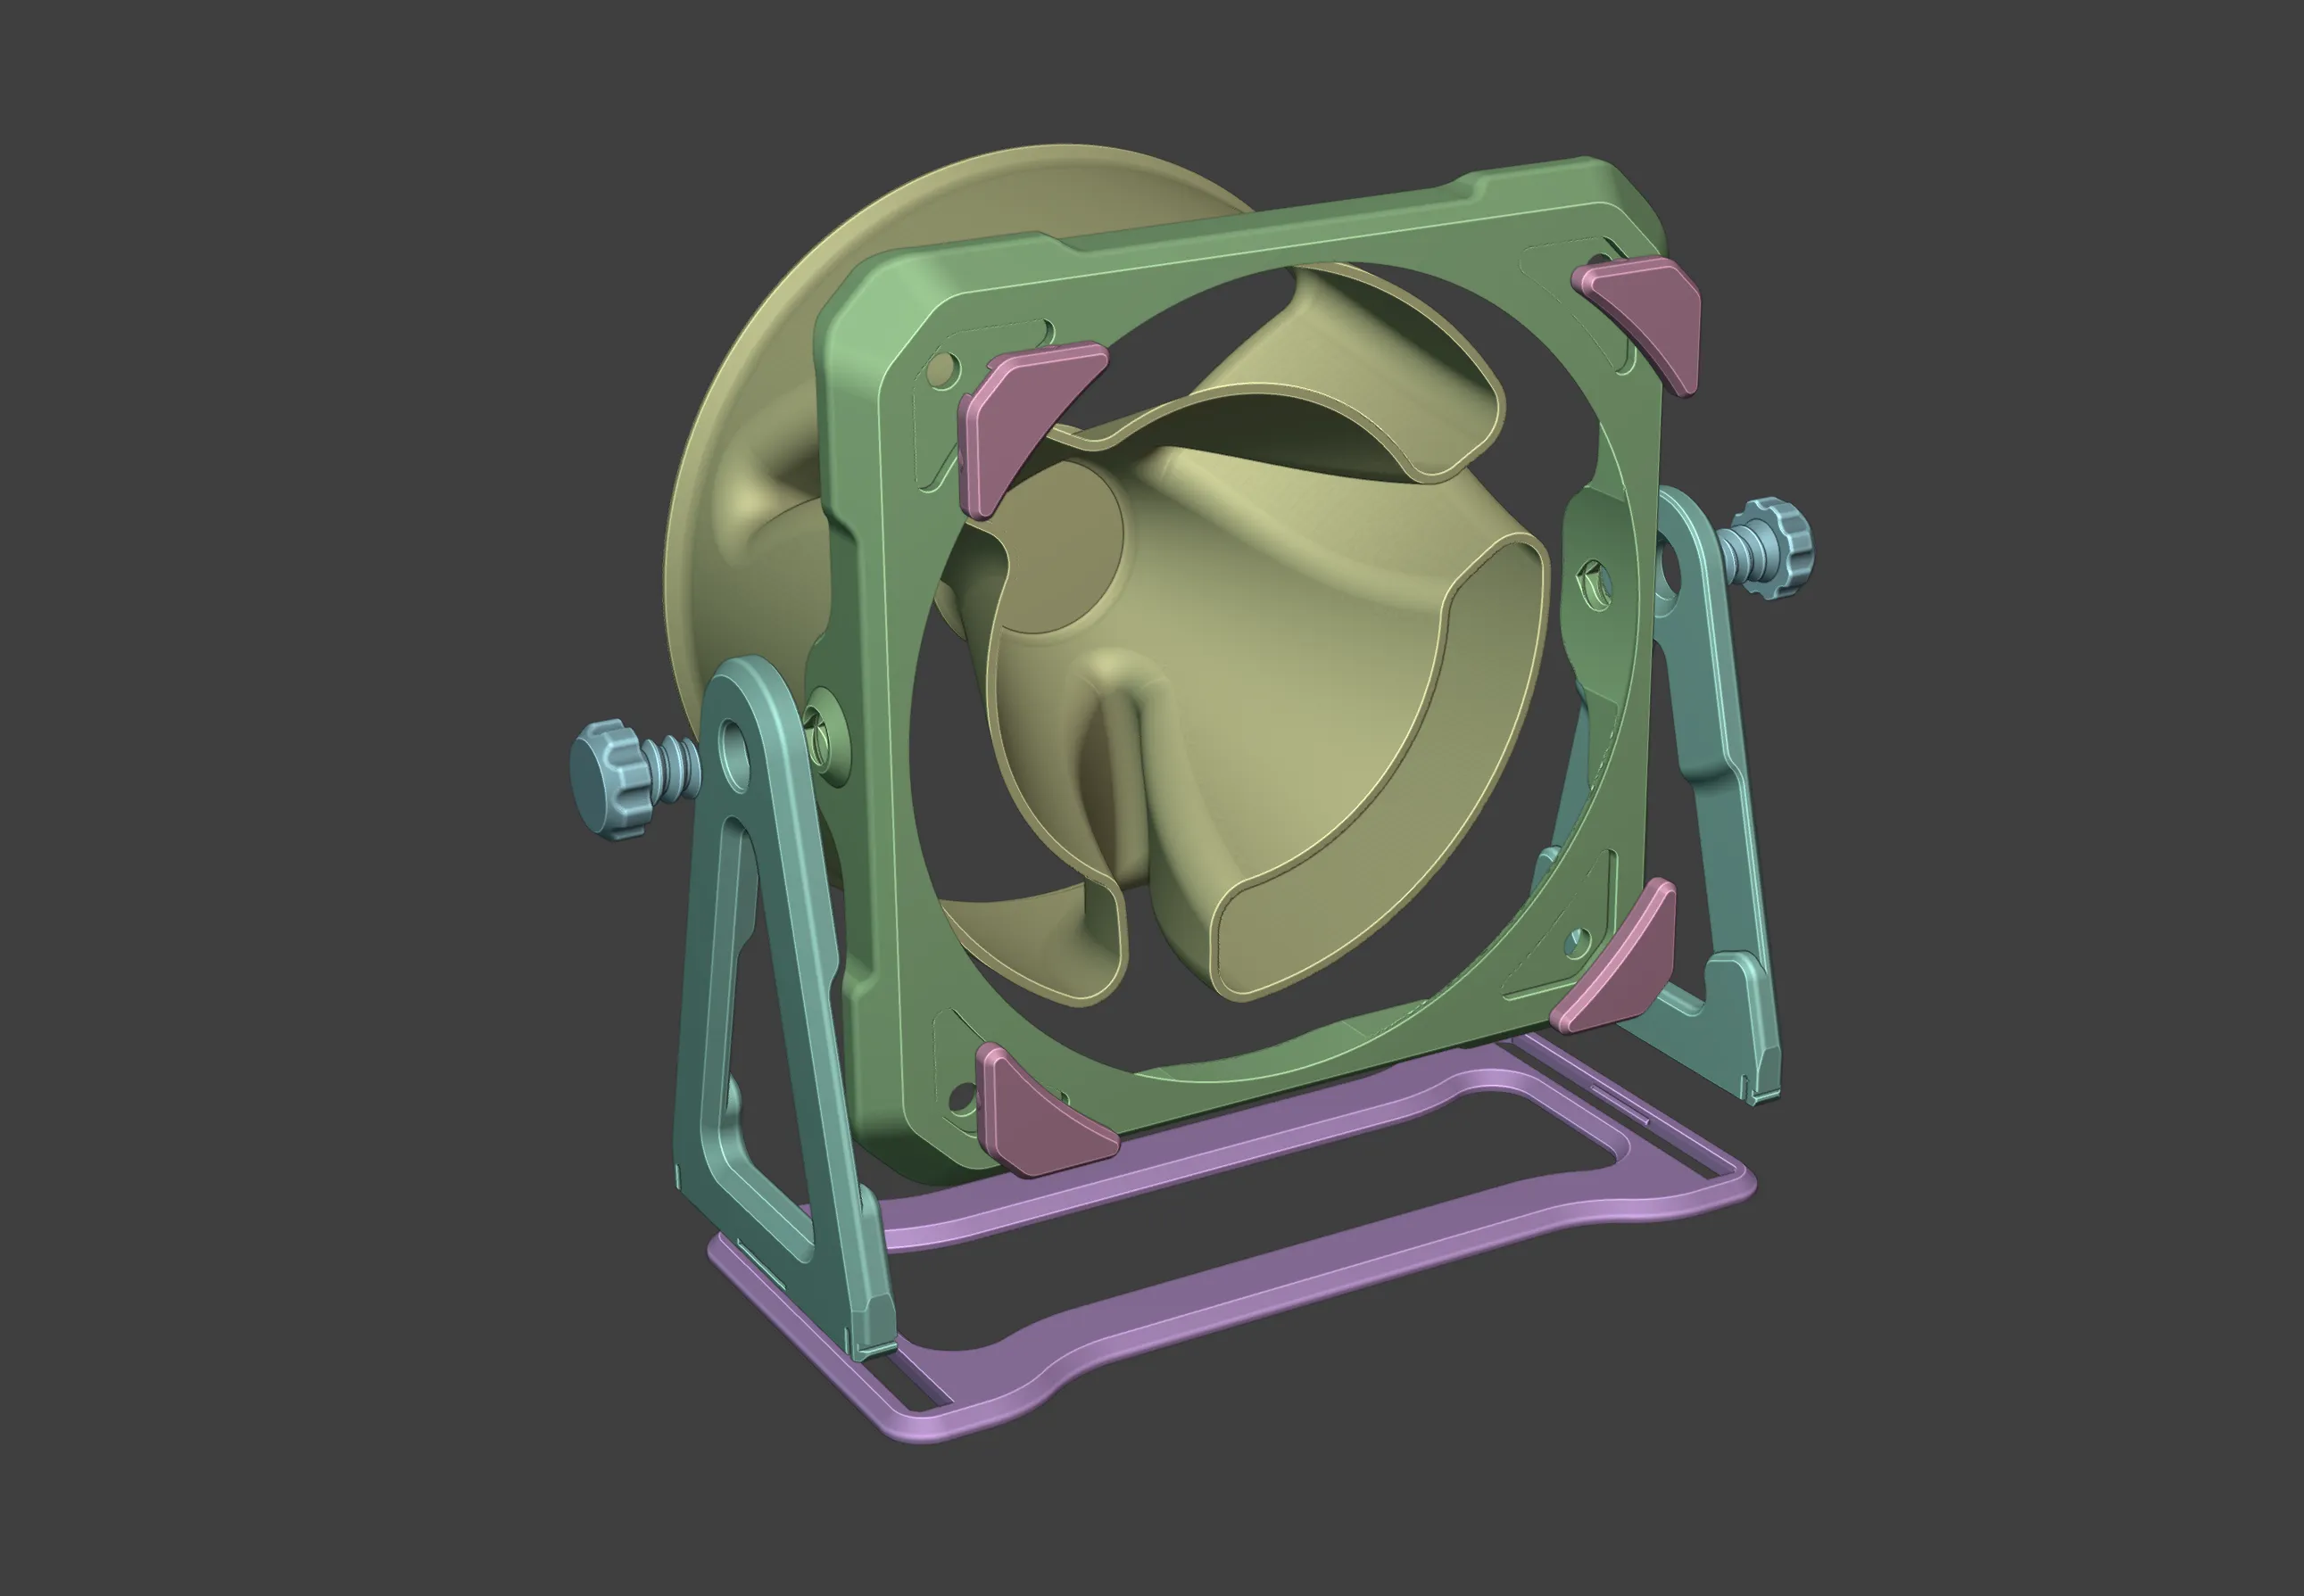 |
Noctua home desk fan was inspiration for this project and proof of concept. Everything was designed from scratch in FreeCAD with 3d printers in mind. It uses design with 3d print guidelines to make it easily printable with minimal supports. Have fun snapping, screwing and twisting parts together :)
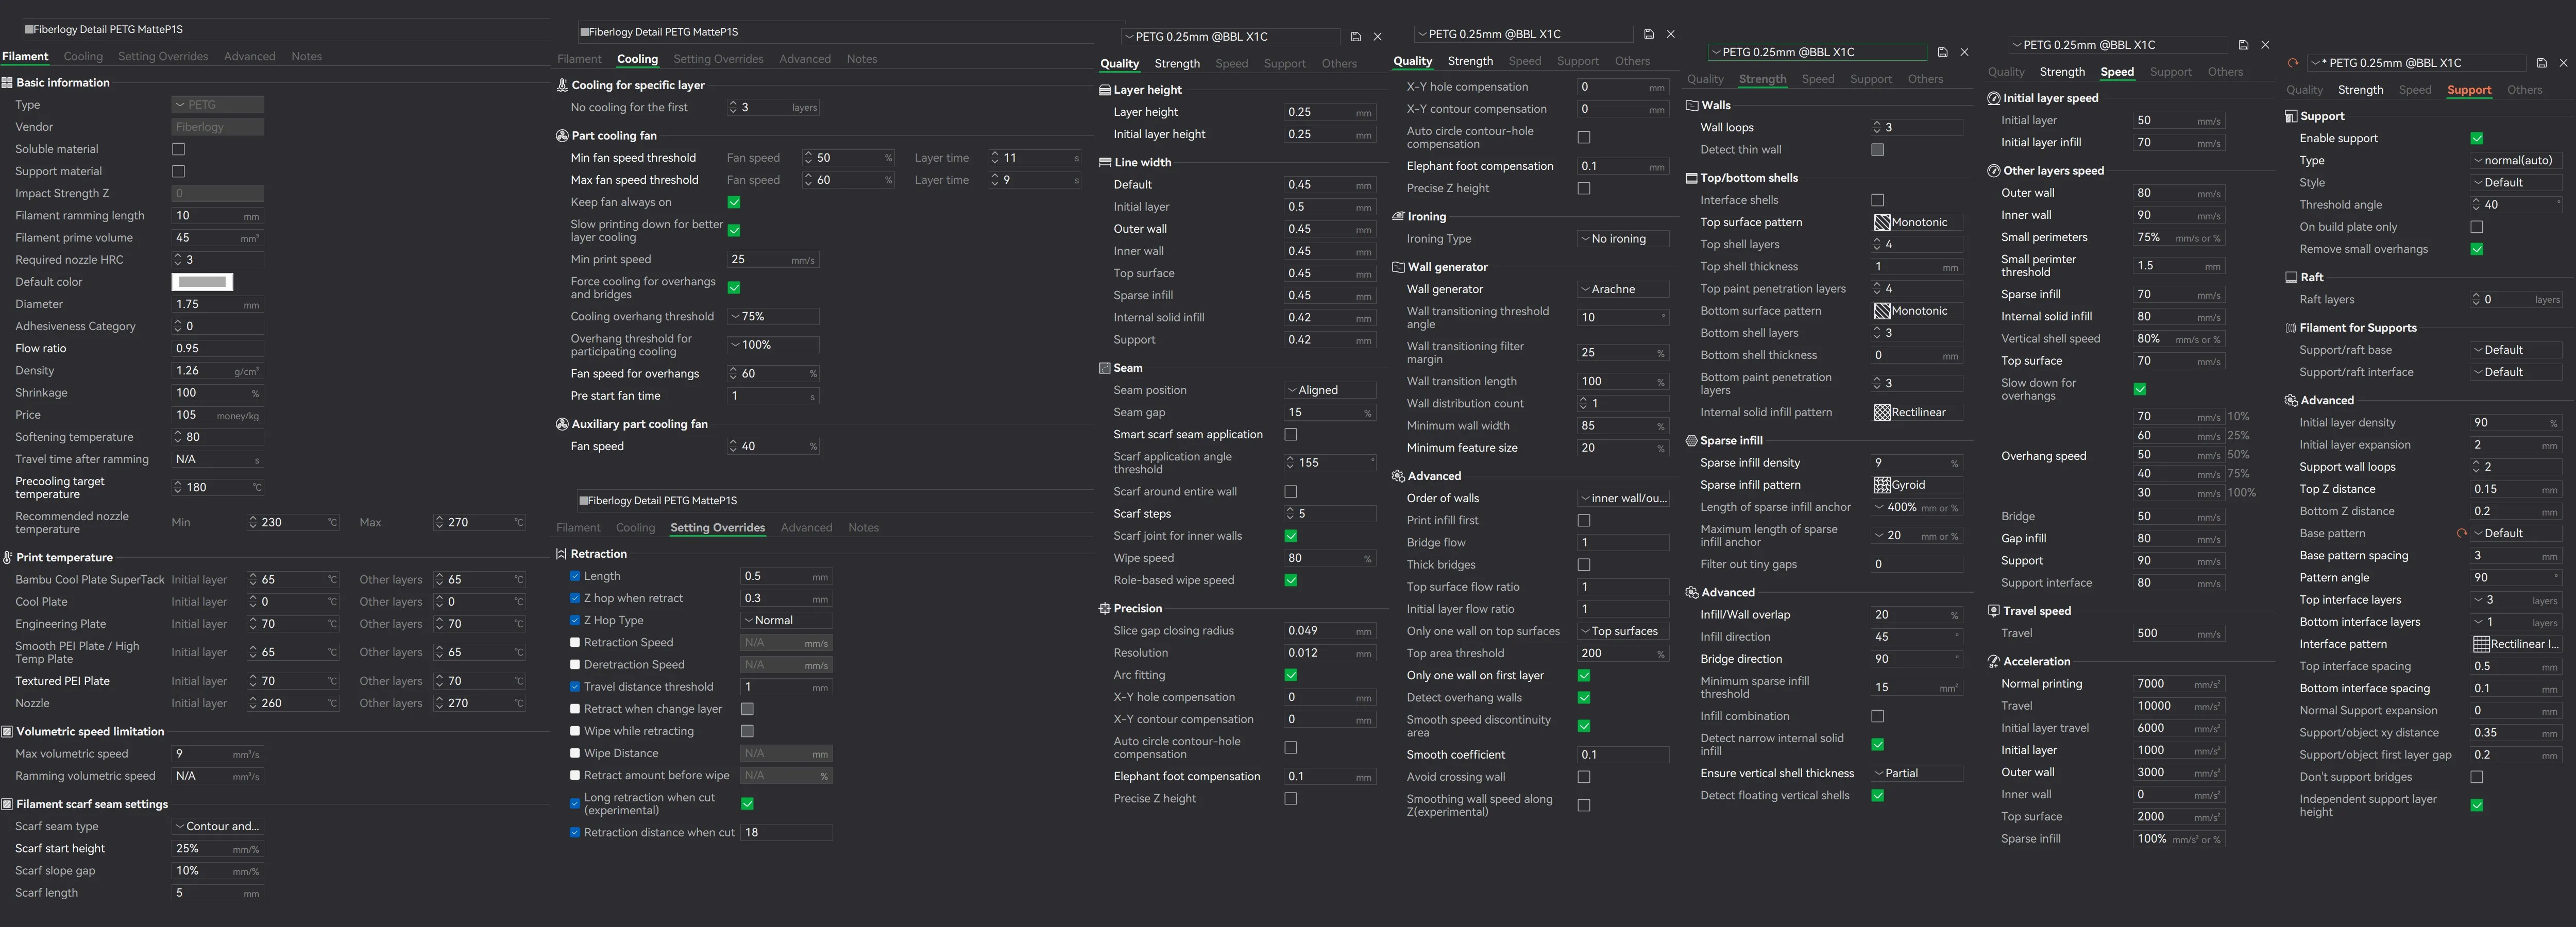
Bonus - universal PETG settings
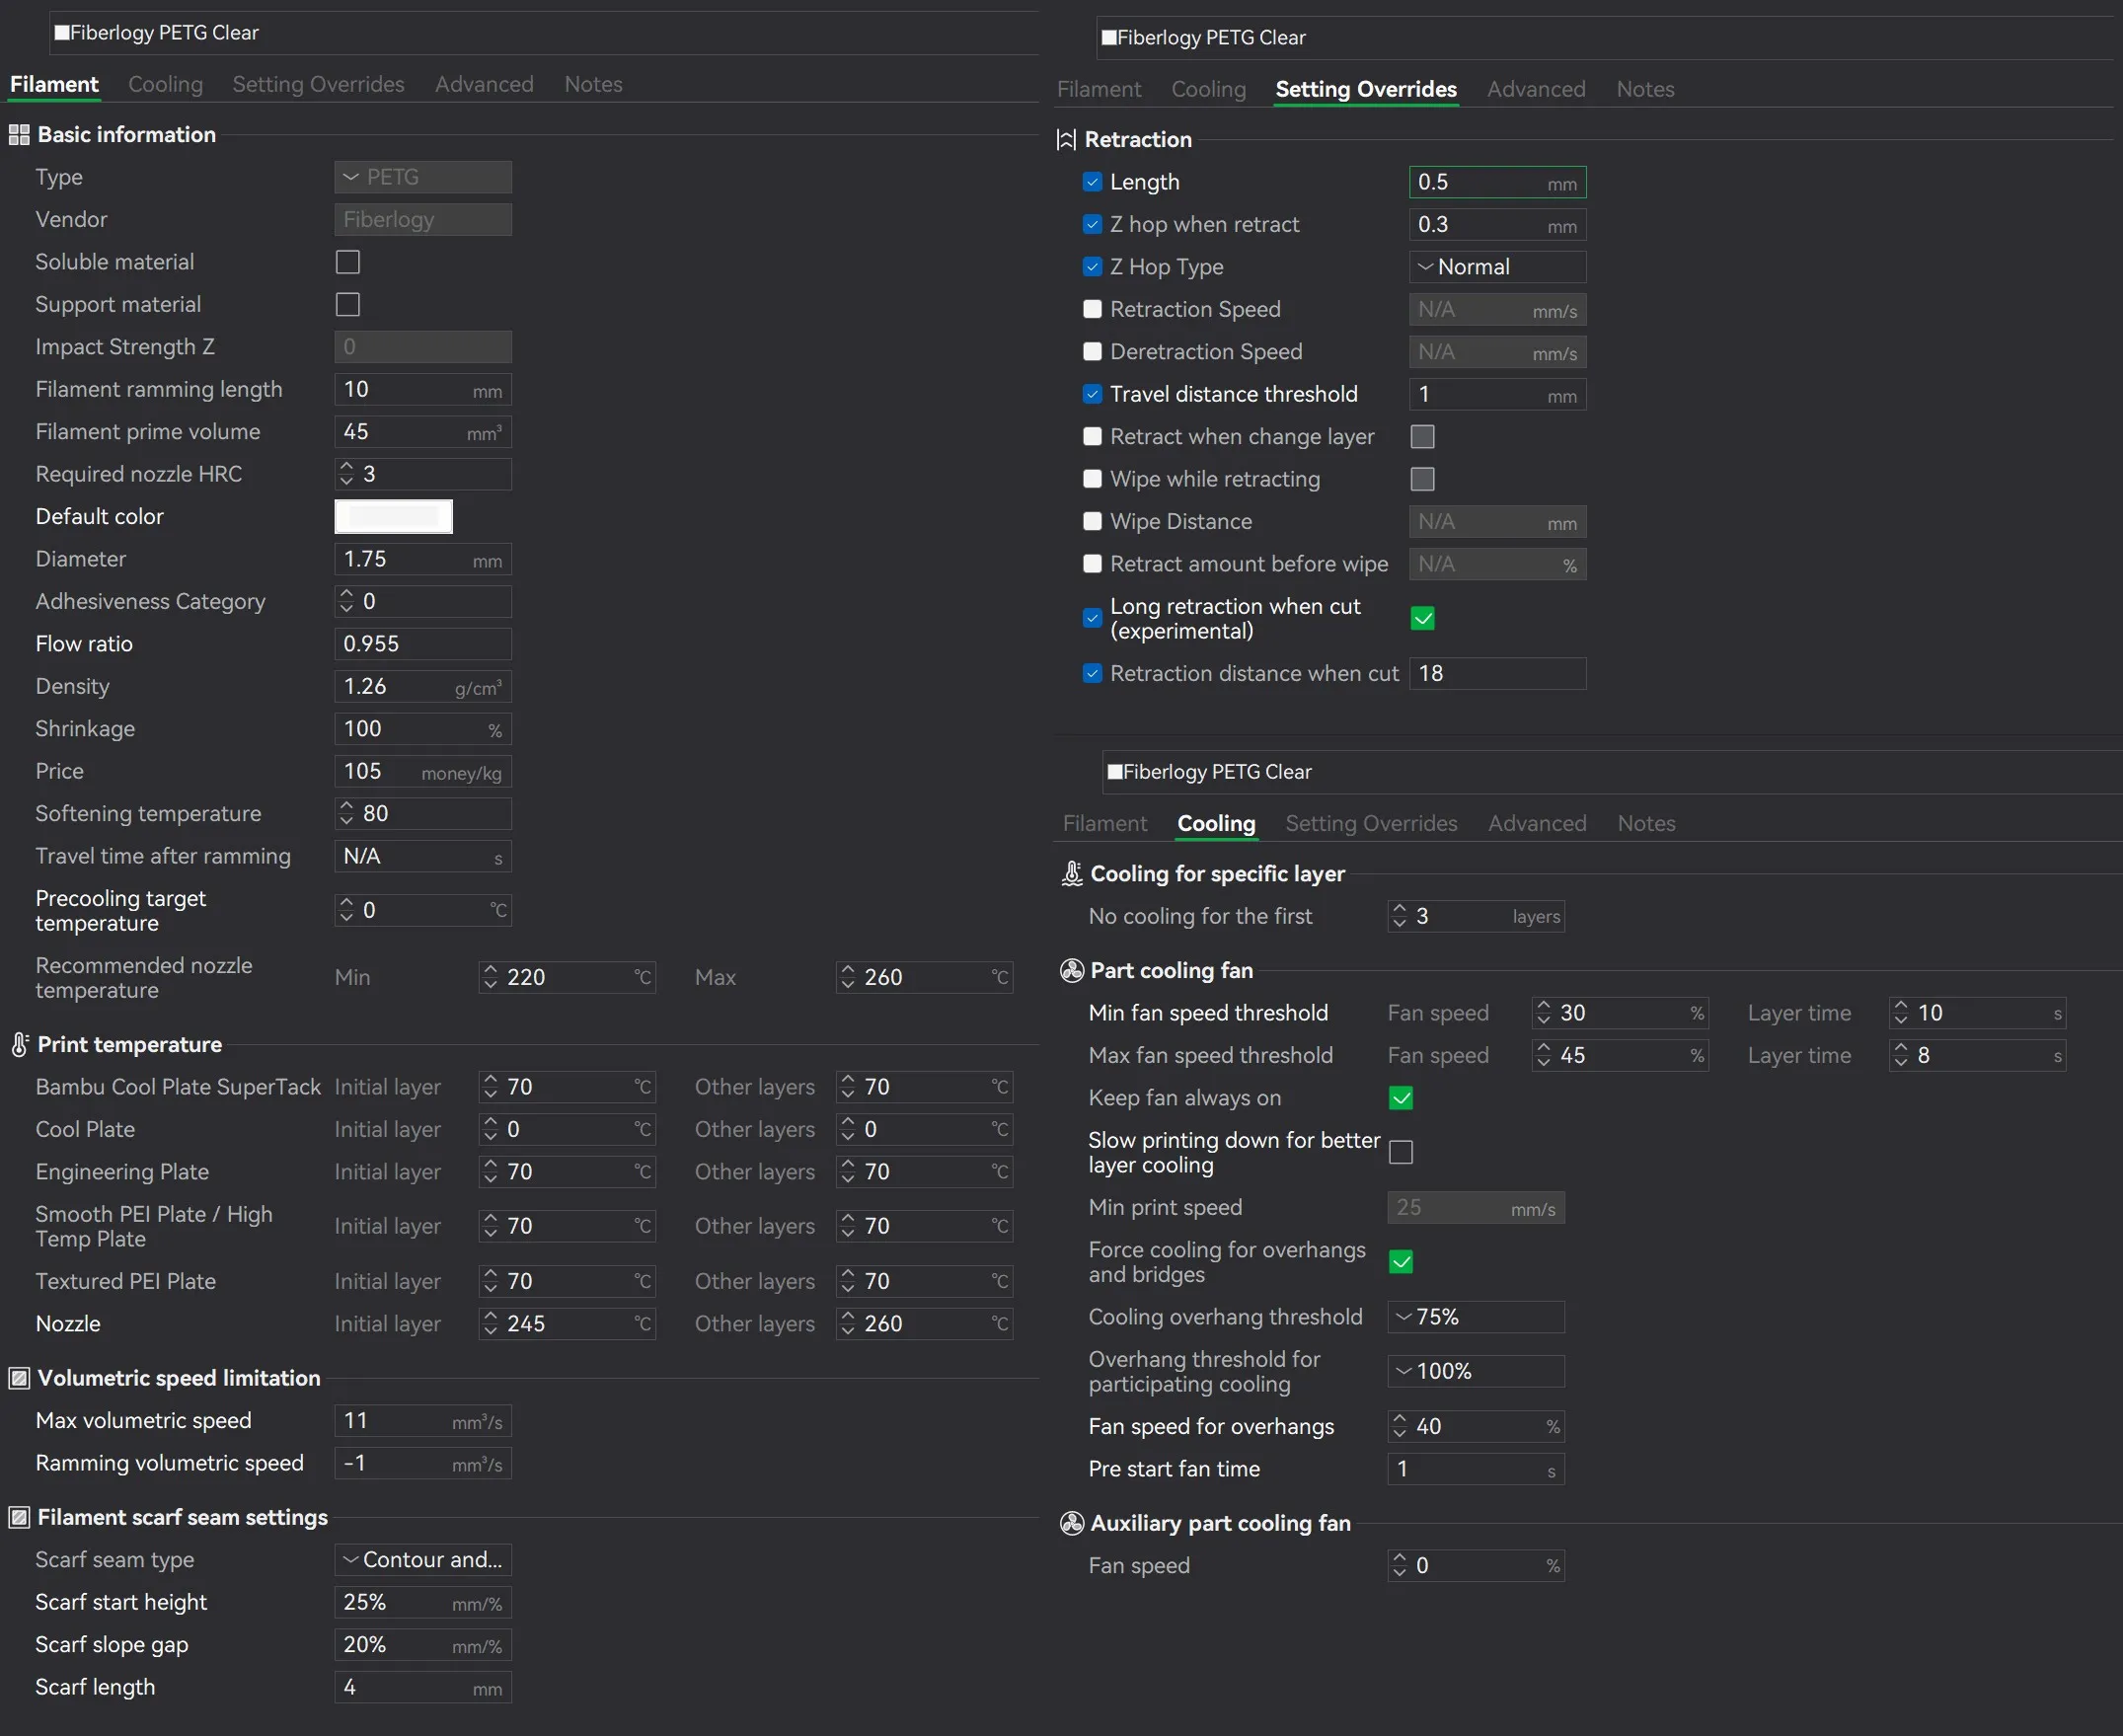
Personal PETG settings used for that project - Fiberlogy Matte PETG
License

You shall not share, sub-license, sell, rent, host, transfer, or distribute in any way the digital or 3D printed versions of this object, nor any other derivative work of this object in its digital or physical format (including - but not limited to - remixes of this object, and hosting on other digital platforms). The objects may not be used without permission in any way whatsoever in which you charge money, or collect fees.


Comment & Rating (218)