
TiNAS - 8x HDD + 1 SSD Enclosure M710Q/M910Q/M920Q
Print Profile(4)


Description
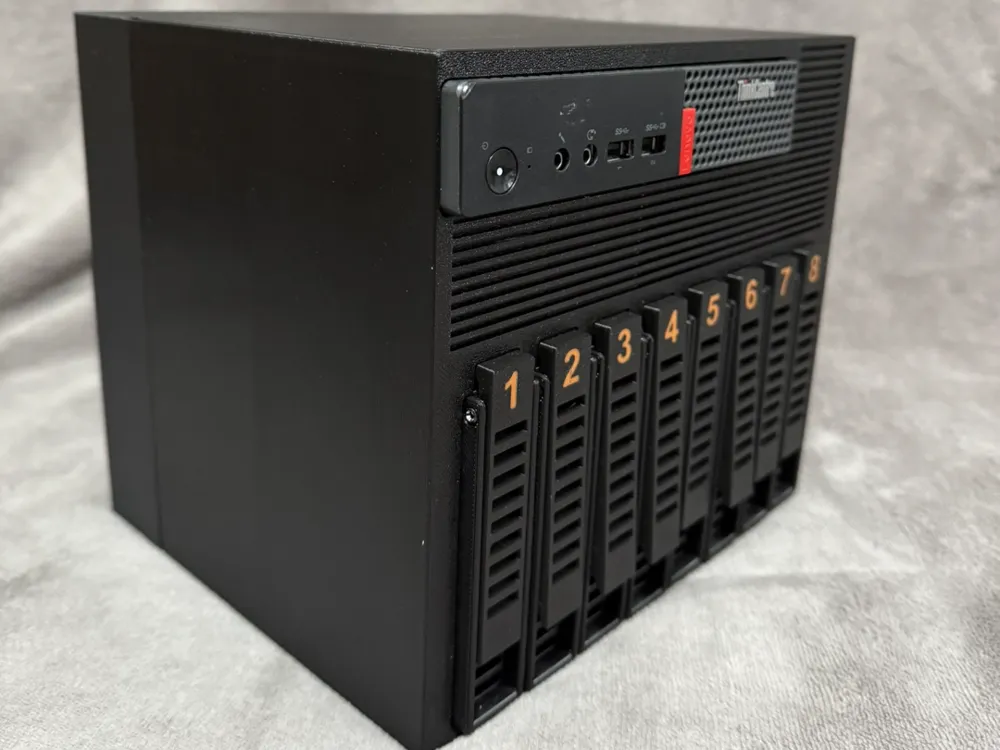
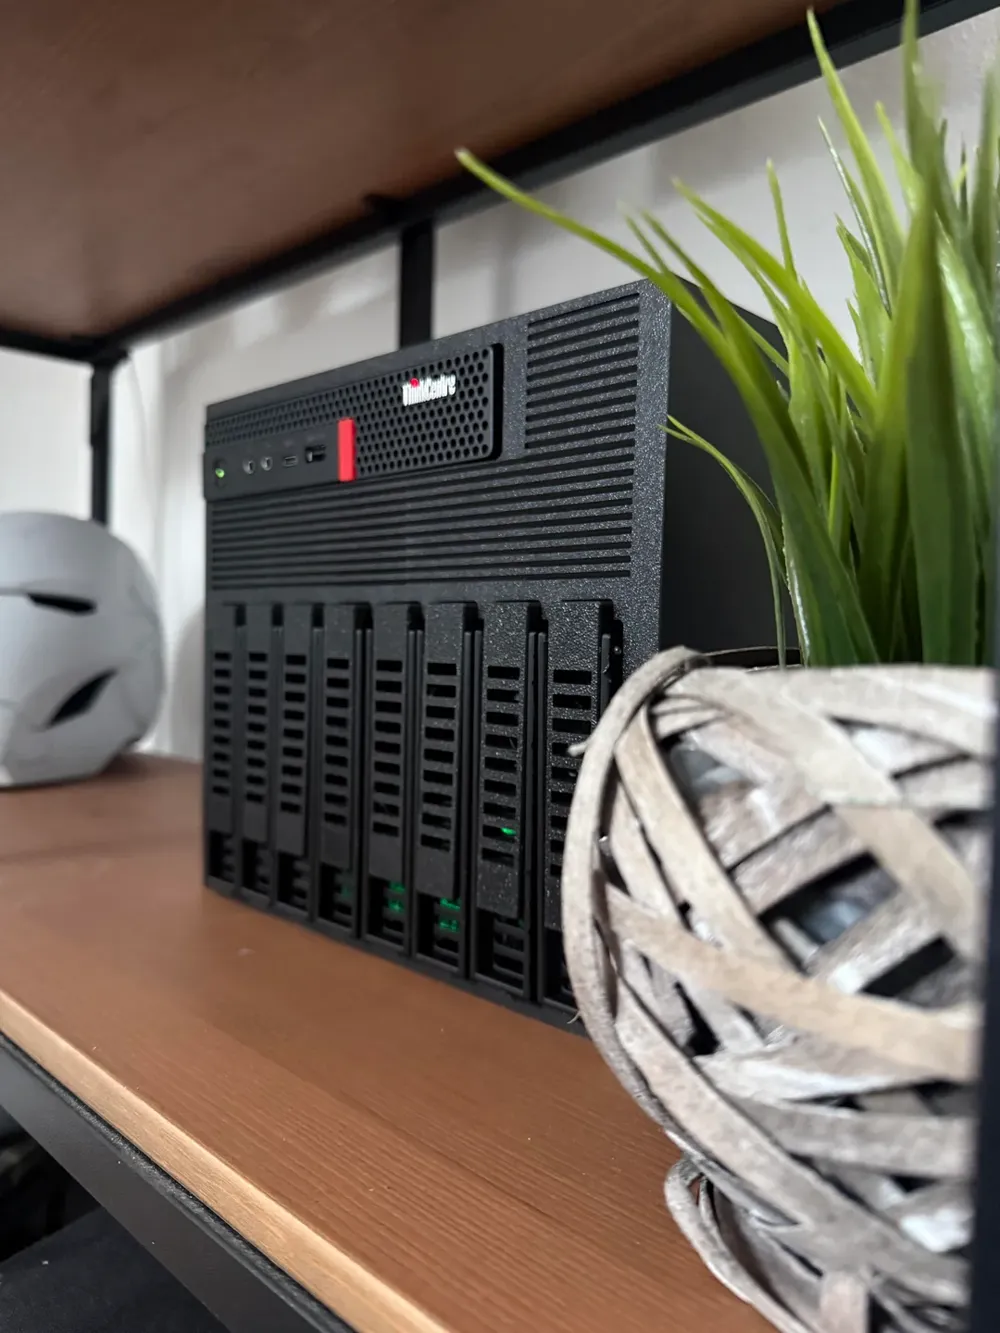
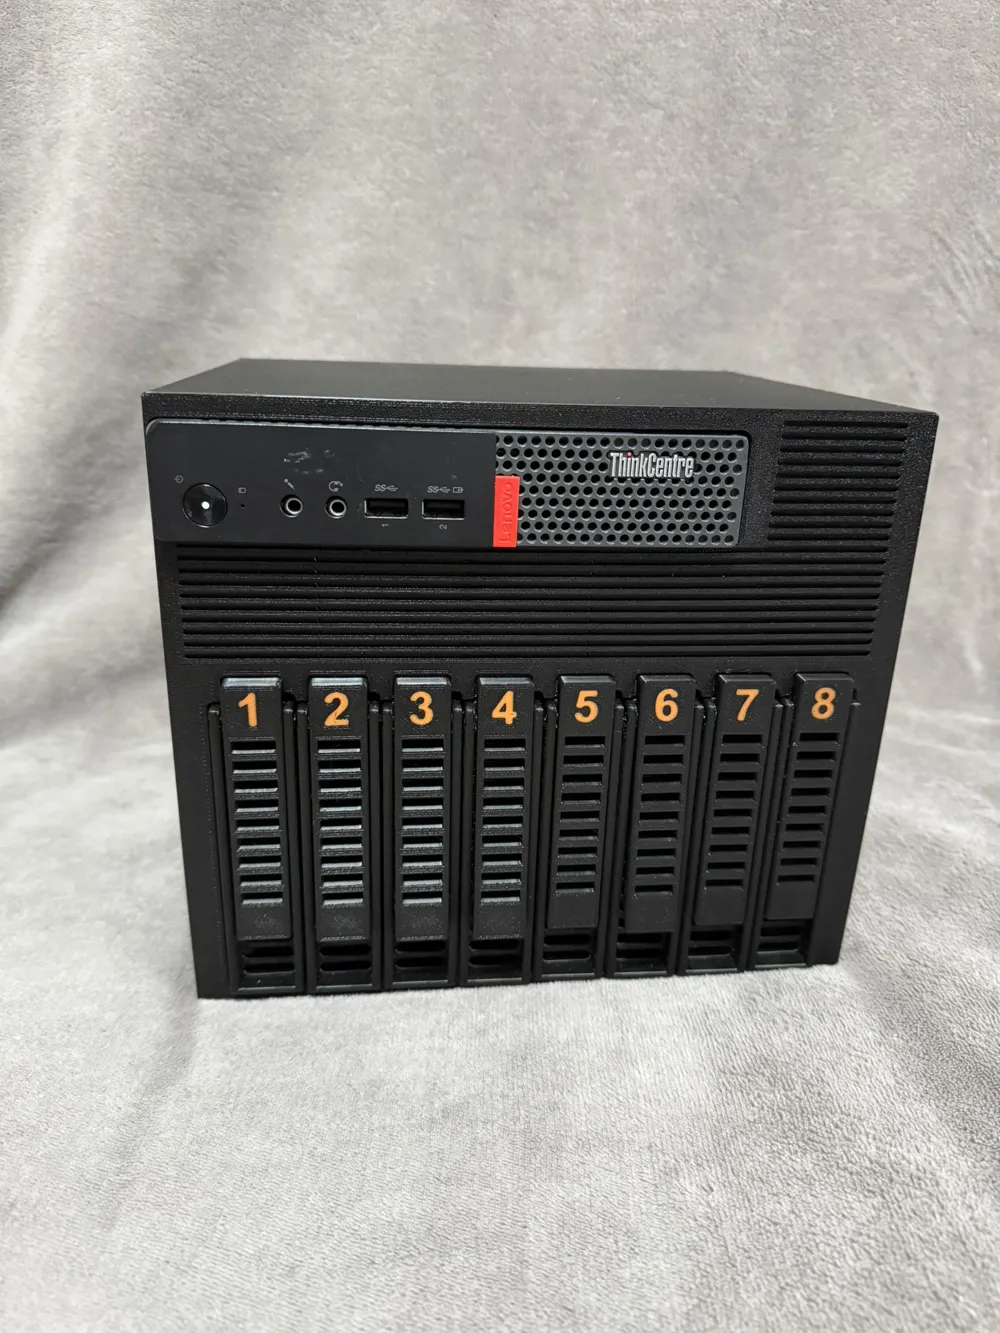
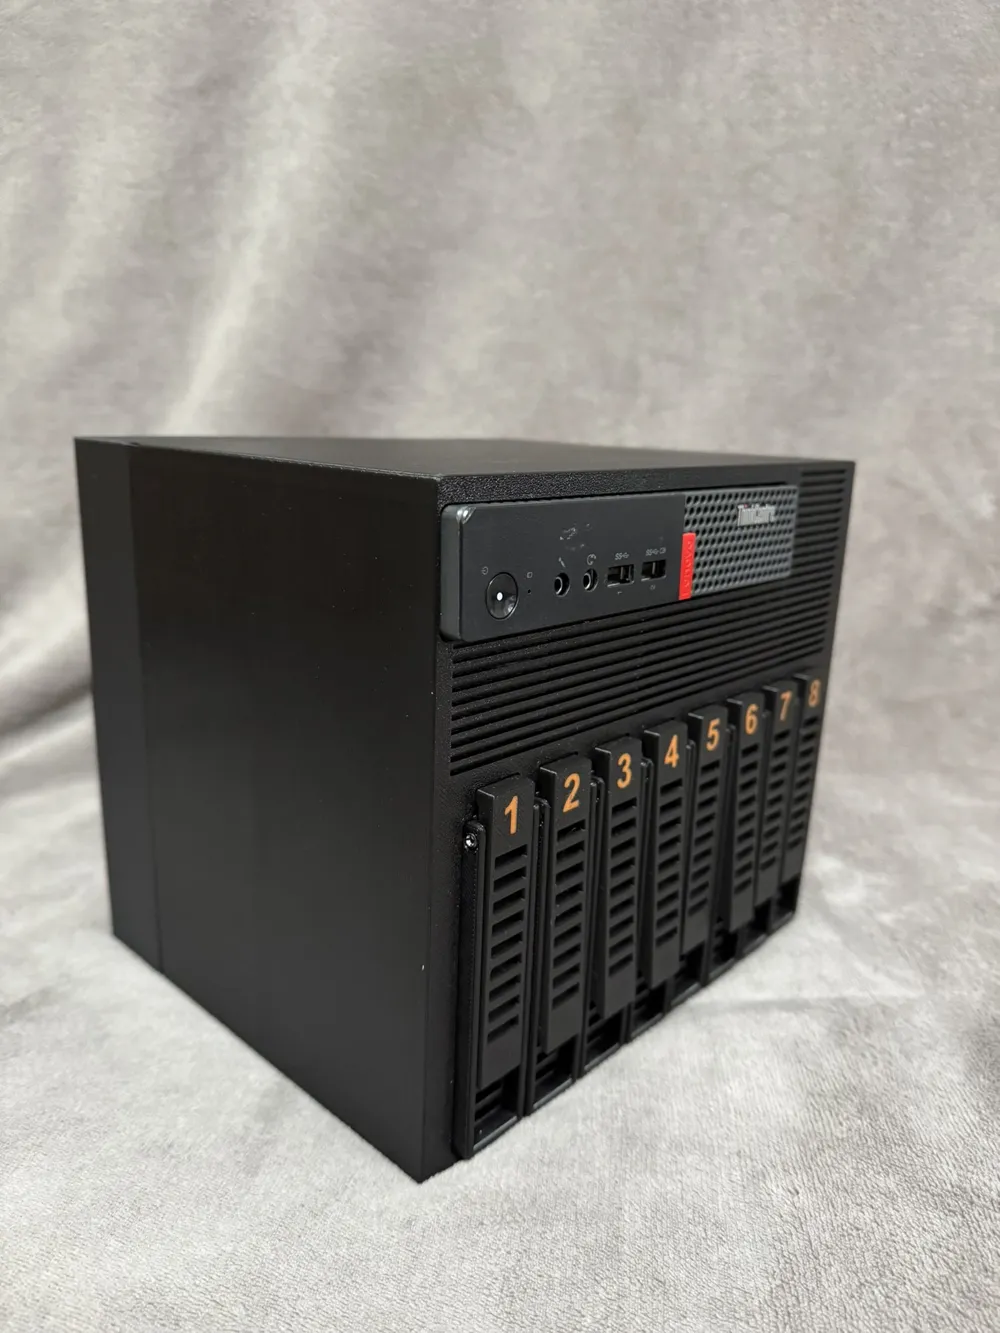
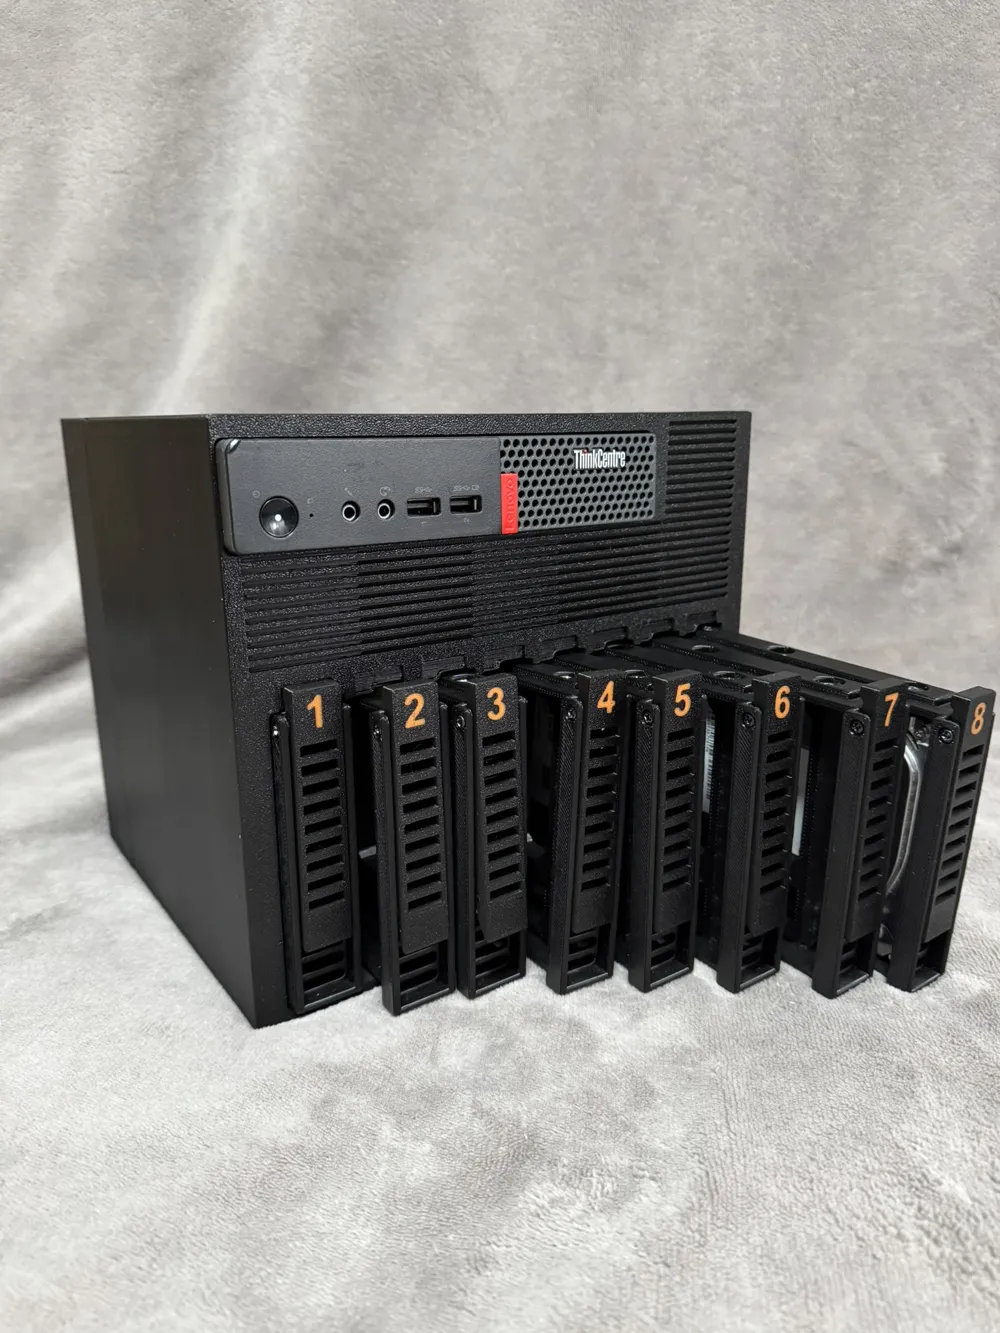
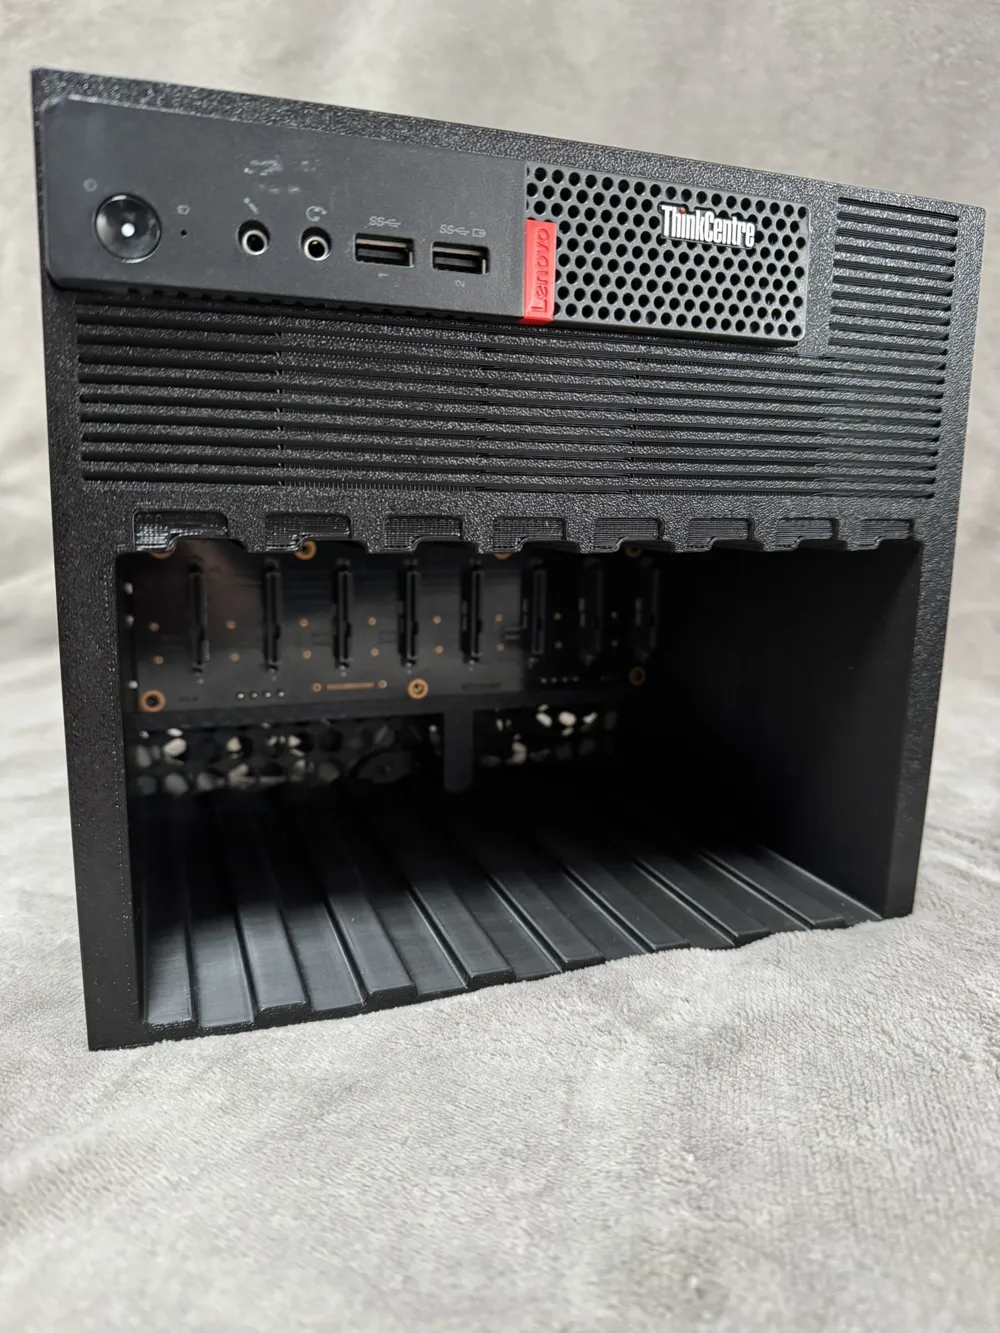
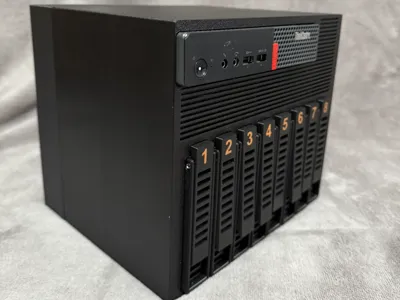
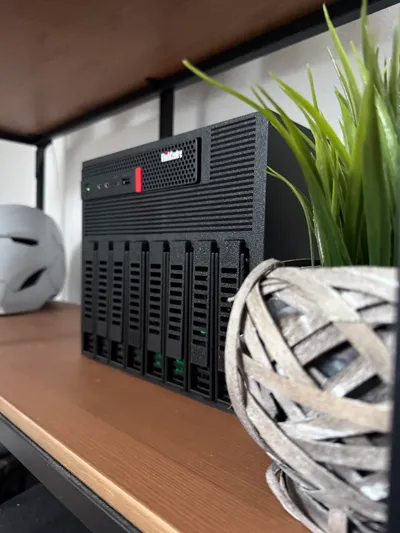
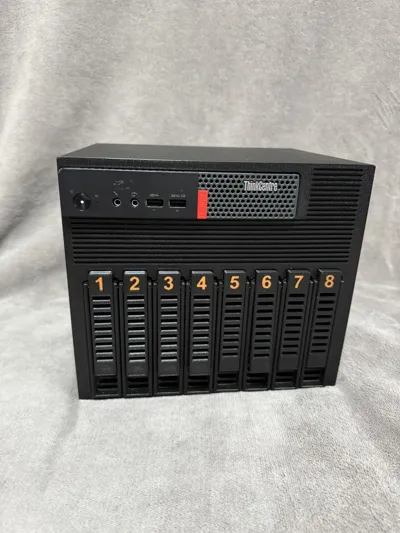
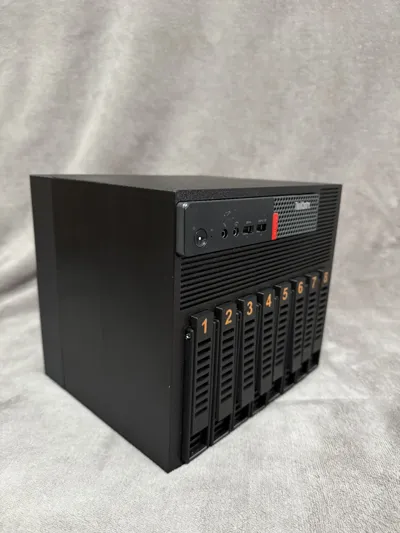
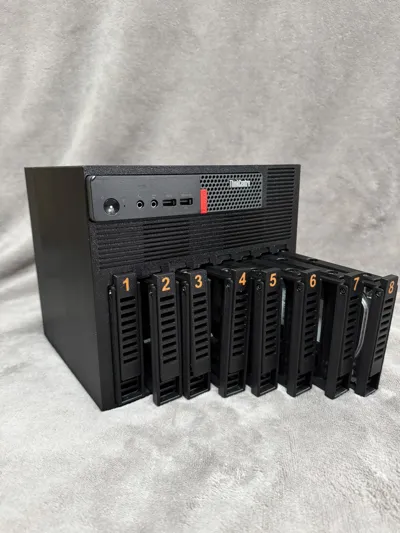
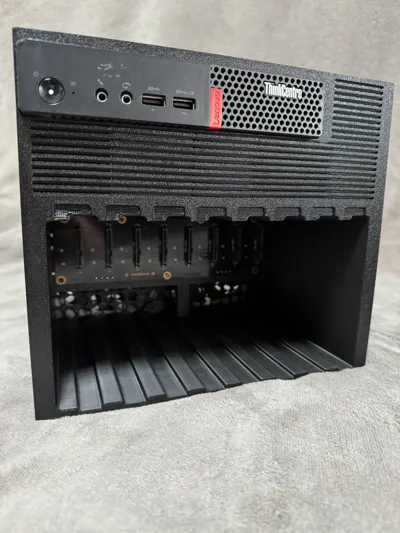
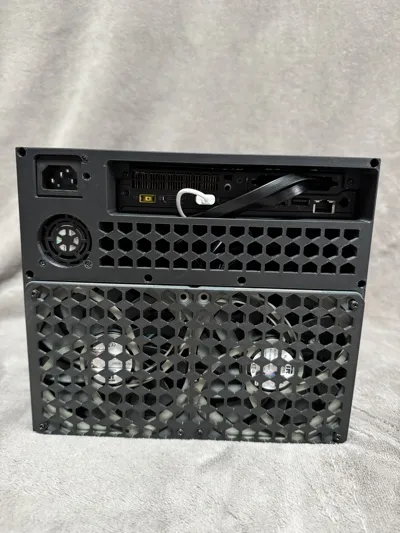
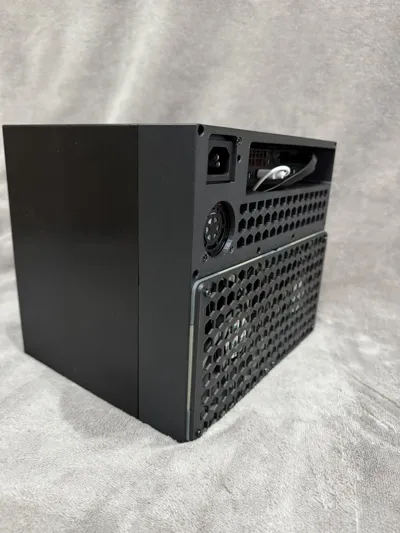
You can always push a tiny system to its limits—and in this case, I set out to build an 8-drive NAS using a compact 1L device.
My main goal was to keep the build as straightforward as possible, using minimal tools.
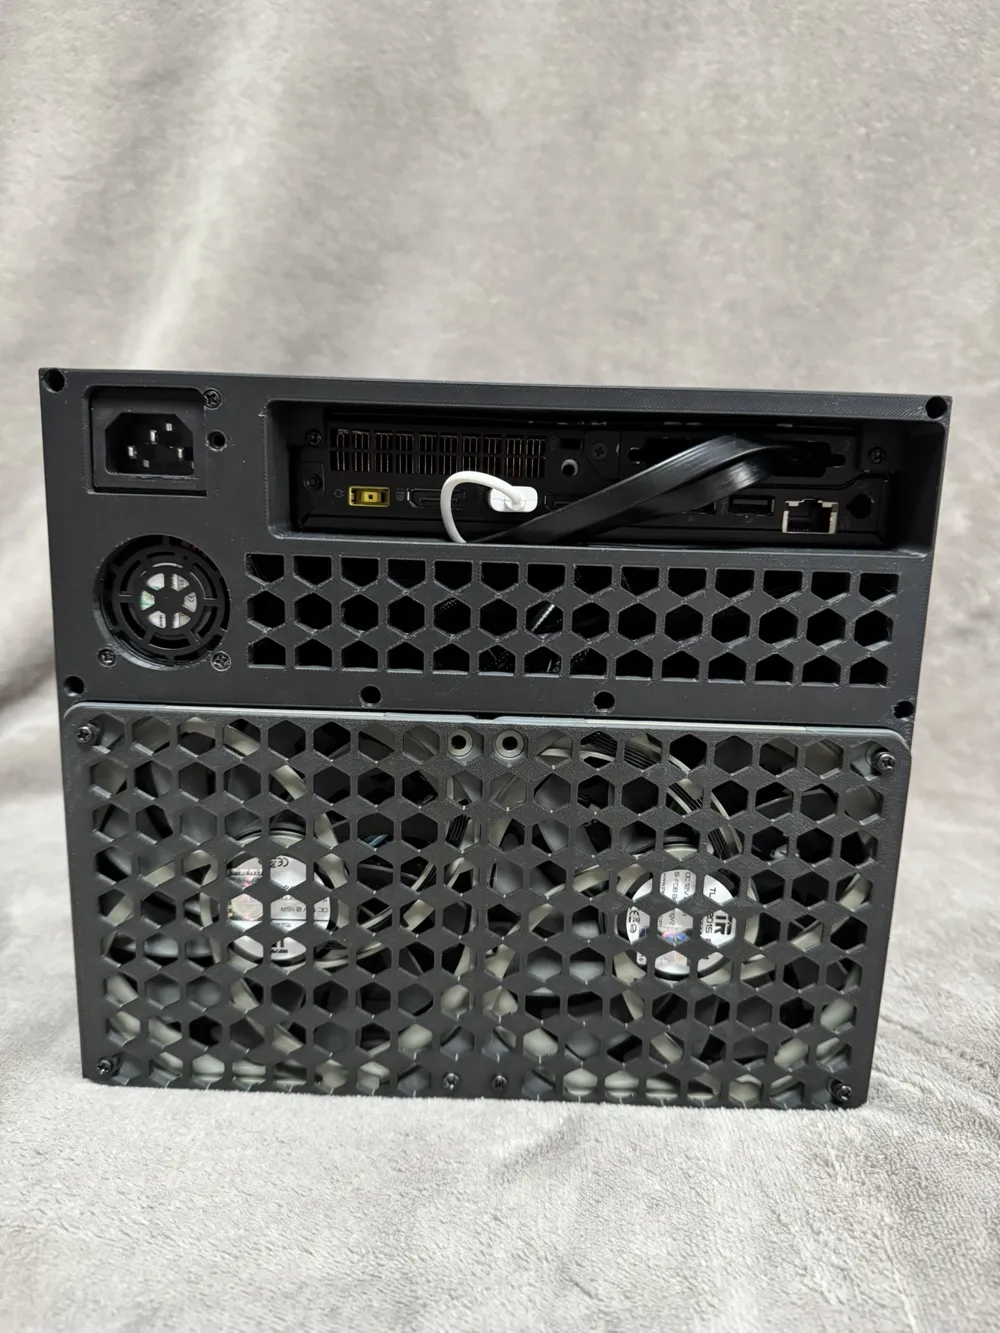
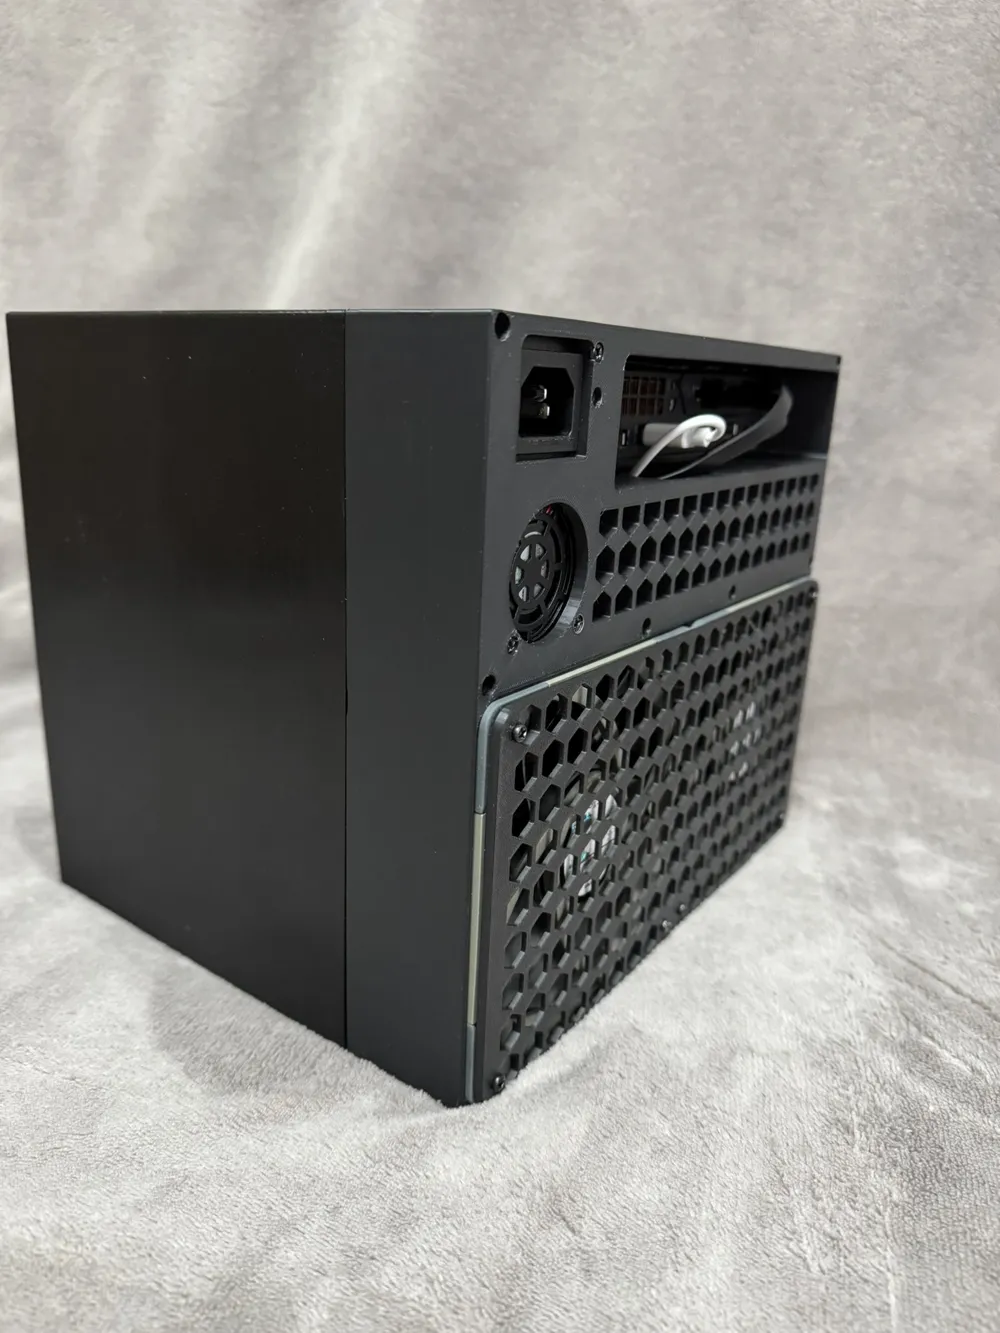
Despite its capabilities, the final setup remains impressively compact, measuring just 22 cm deep × 24.5 cm wide × 21.5 cm high.
In testing, idle power consumption was around 20–30W (with the performance profile set to "maximum"), and it peaked at roughly 70W when all eight drives were running at full load.
To help manage thermals—especially near the M.2 slots—I added two optional 40mm fan mounts beneath the device. If you're concerned about overheating, you can easily install small fans there to improve airflow.
Estimated total cost if starting from scratch: around €250 plus the cost of filament.
Boost Me (for free)
Boost if you like the project. It'll help me build more weird stuff
Thanks ❤️
For now you need to keep the Tiny brick and also power the flex psu.
Tools needed:
- a soldering iron (or a piece of cable)
- some pliers
- a screwdriver.
Parts needed:
- ASM1166 M.2 to 6 SATA Ports Adapter LINK - PHOTO
- JMB582 M.2 A+E to 2 SATA Ports Adapter LINK - PHOTO
- Slim SATA Cables – Get the 6-SATA version for the ASM1166 6sata, 0.5m LINK - PHOTO
- Slim SATA Cable (Left-Left, 40cm) LINK - PHOTO
- HDD Screws – You'll need 4 per drive, so grab two bags of 20LINK - PHOTO
- FLEX PSU (Modular, 500W) – I chose the 500W version since it was just €5 more LINK - PHOTO
- USB Cable – Any spare one will do
- 1 Relay LINK - PHOTO
- ATX PSU Jumper/Bridge Cable – Or just use wires if you know the pinout – LINK - PHOTO
- 2 × TL-C12015 Slim 120mm Fans LINK - PHOTO
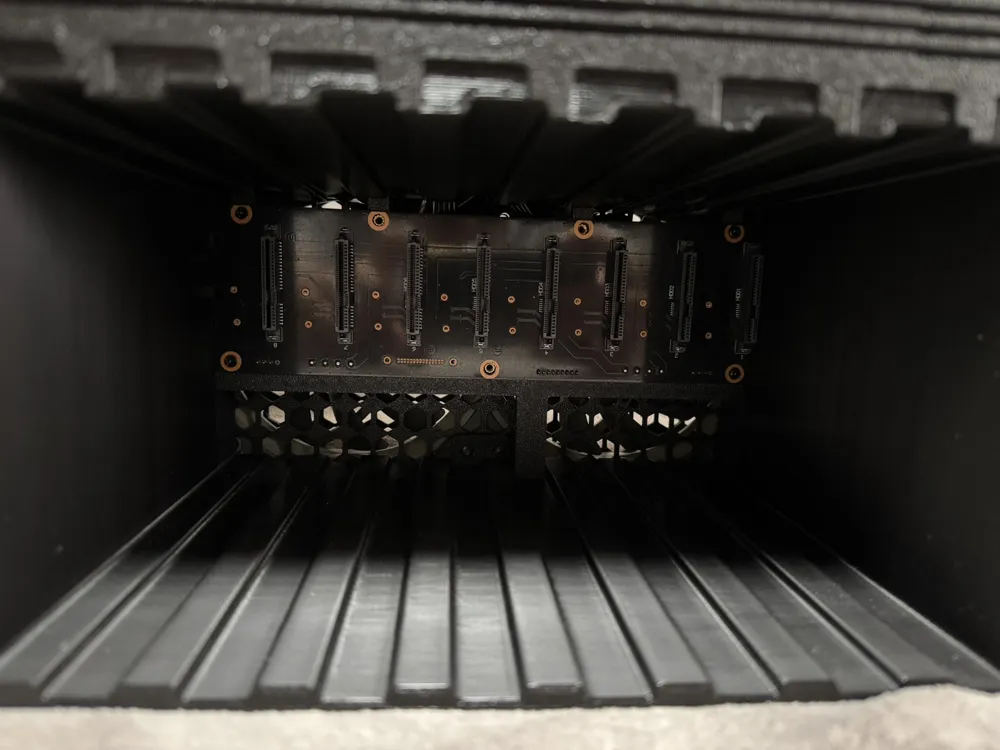
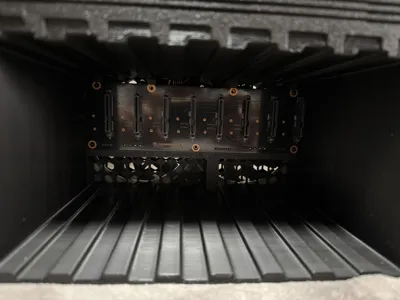
- Backplane - LINK - PHOTO
- Fan reductor (optional) - LINK - PHOTO
🔩 Mounting Hardware (M3 Screws & Inserts)
- M3 Threaded Inserts (OD 4.2mm) – 21 pcs – LINK
- M3 × 4mm Screws – 15 pcs - LINK
- M3 × 8mm Screws – 10 pcs - LINK
- M3 × 30mm Screws – 6 pcs - LINK
🛠️ Assembly Guide (with full URLs)
1. Install Inserts
- Install all M3 threaded inserts.
(Note: the relay and both 40mm fans screw directly into the case.)
2. Mount the Backplane
- Screw it into the back body of your case, use M3 x 4 screws
3. Wire the Relay
- Bridge the sense and + pins of the relay using this image:
https://imgur.com/a/V9DYsPn - Solder the USB cable to the relay.
- Cut the ATX PSU cable and connect it to NO and COM on the relay:
https://imgur.com/NfEeOqY
4. Install the Relay
- Mount it inside the case and screw it in place:
https://imgur.com/Q8PI6lo - Connect the PSU:
https://imgur.com/scU7Bha
Test the relay: Use a power bank to connect the USB cable—if the relay lights up and clicks, it works!
5. Install M.2 A+E to 2 SATA Module
- Open the Tiny PC and install the module in the M.2 Wi-Fi slot.
- Route the SATA cables through the VGA port (or any free opening):
https://imgur.com/waL0GNQ
6. Reassemble the Tiny
- Use pliers to remove the rubber feet.
- Replace the top cover (leave the RAM panel off for now):
https://imgur.com/47I5e2x
7. Mount the PSU
- Use 4 × M3 4mm screws to attach it to the back body: https://imgur.com/VXH3psn
8. Insert the Tiny into the NAS Case
- Flip the whole setup upside down.
- Slide the Tiny PC in from the front:
https://imgur.com/0bhOVkH
At this stage, it should look like this:
https://imgur.com/YNfyZTe
9. Install the ASM1166 SATA Adapter
- Mount the M.2 NVMe-to-6 SATA adapter on the bottom of the Tiny:
https://imgur.com/EWFBSFC - Connect the SATA cables and route them to the back.
- Fix the Tiny in place using 2 × M3 × 8mm screws.
- Connect all remaining cables and use M3 Screws to fix the back part to the main body
https://imgur.com/yd5Yl5u
10. Install the Fans
- Place each fan in its slot.
- Stack the layers like this:
Fan Grill (interior) → Fan → Fan Grill (exterior) - Secure them using 6 × M3 × 30mm screws.
- On this Step you can reduce the fan speed from 100% to other value by using some resistor, check the parts needed
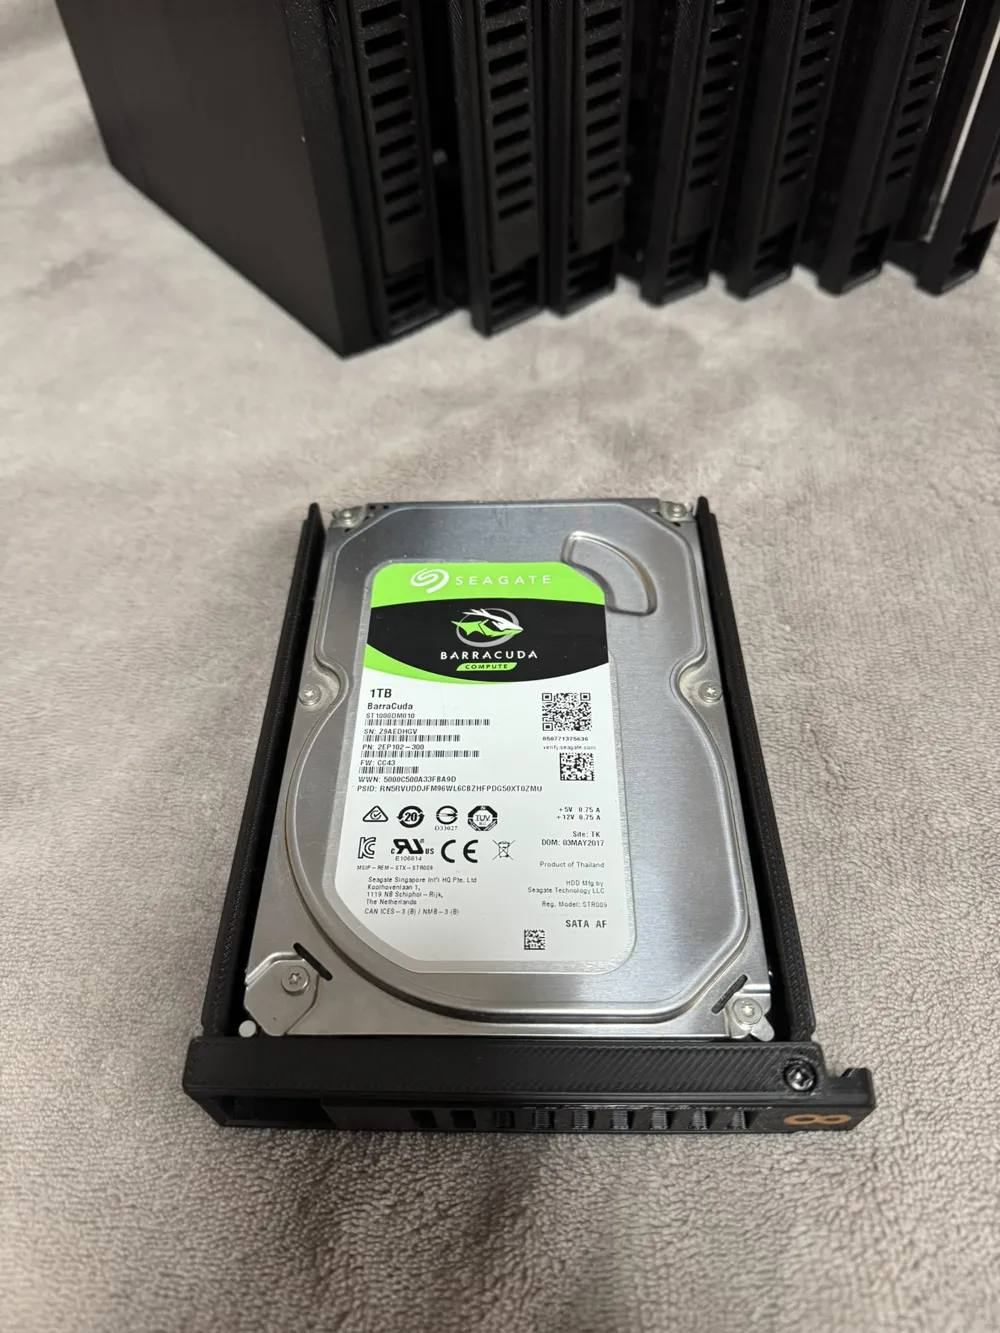
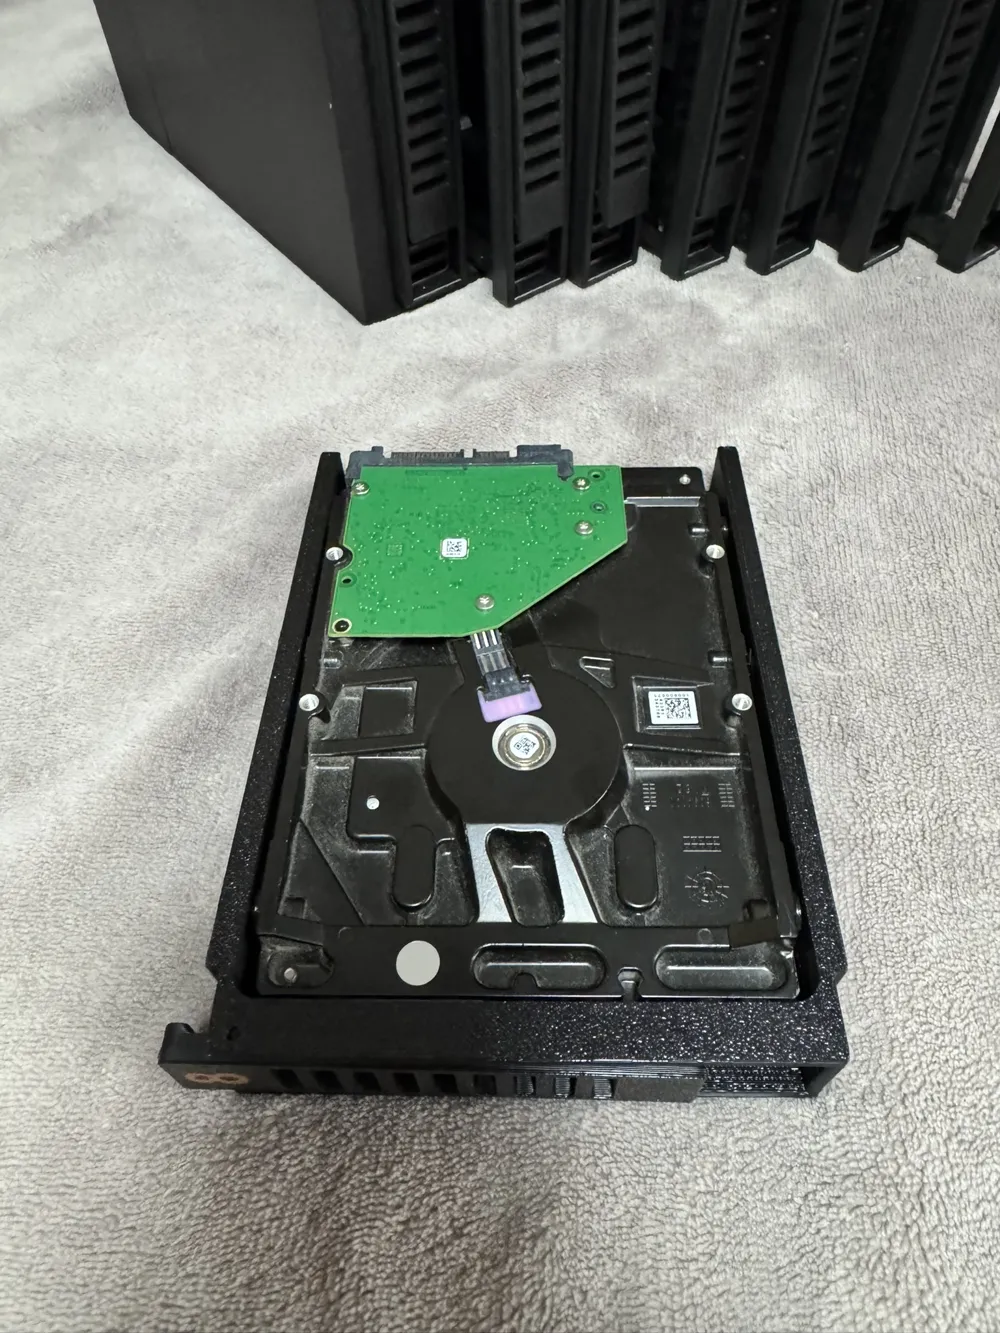
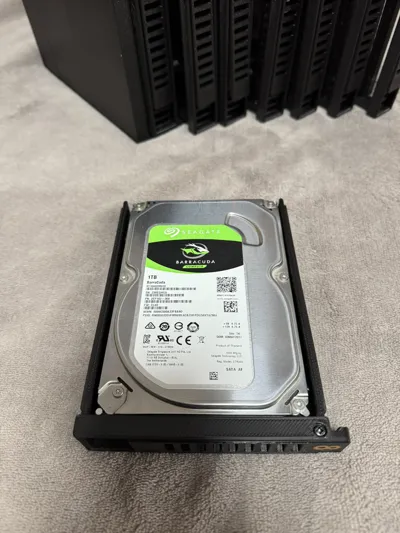
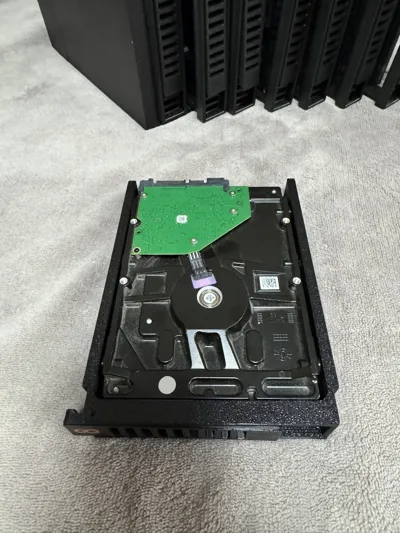
11. Place the screws on the caddy
License



Comment & Rating (173)