
Print Profile(4)


Description
How It Works
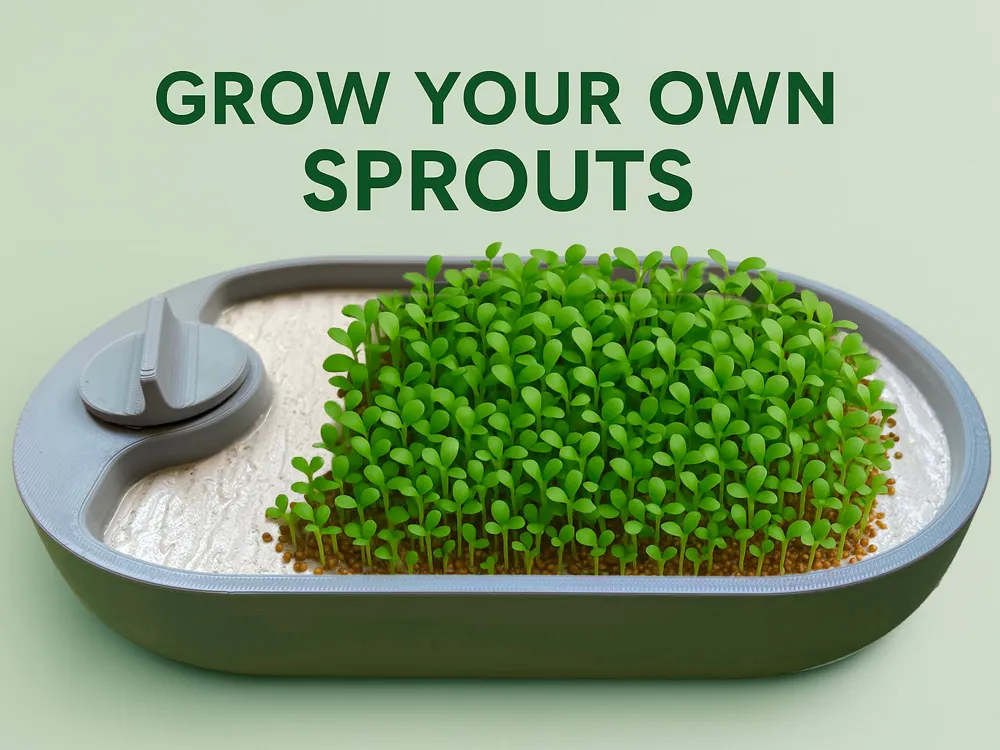
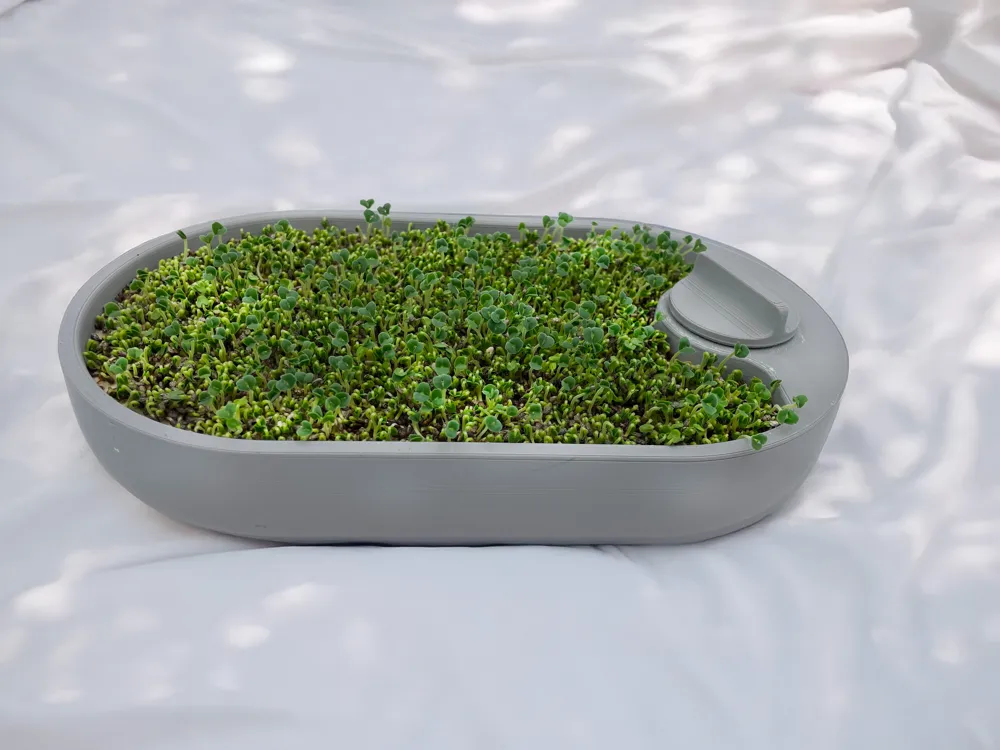
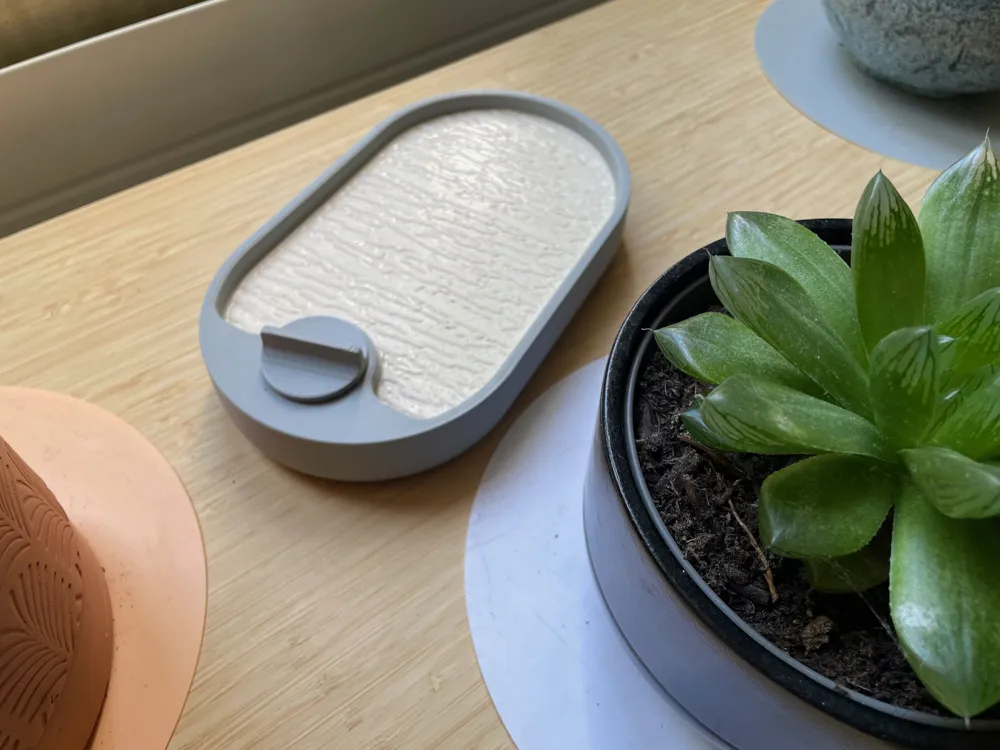
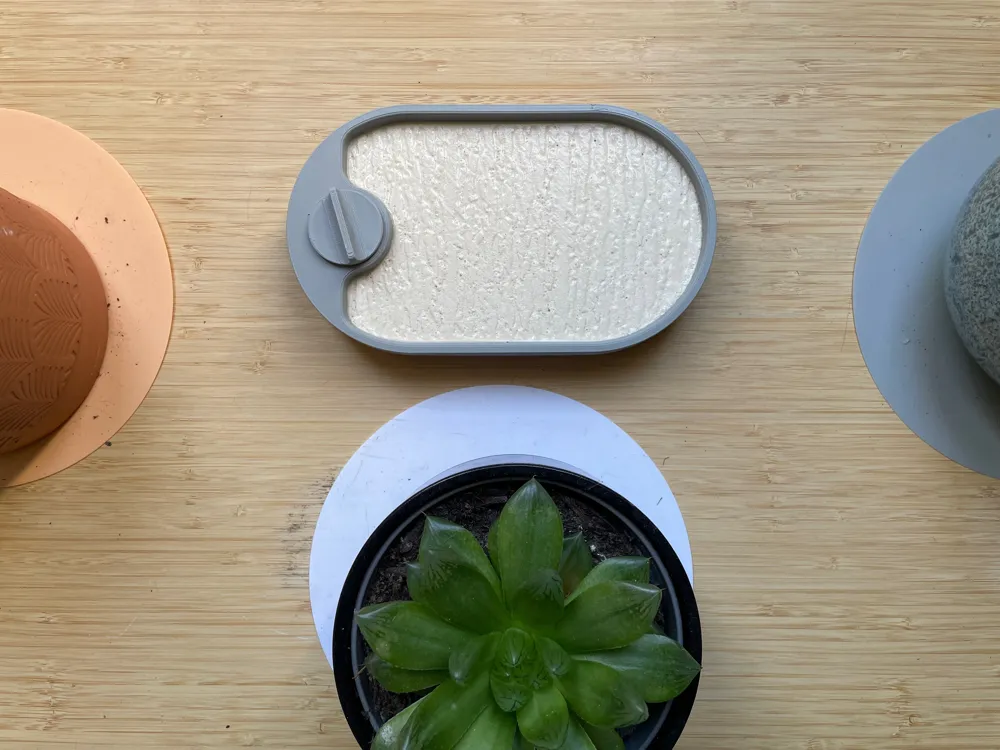
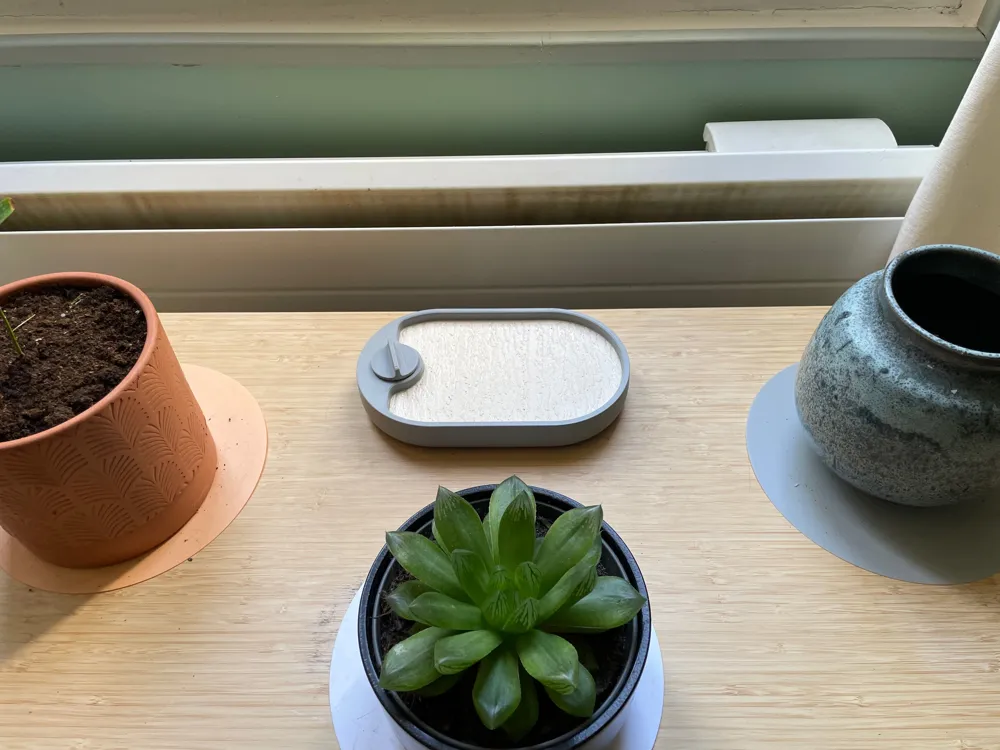
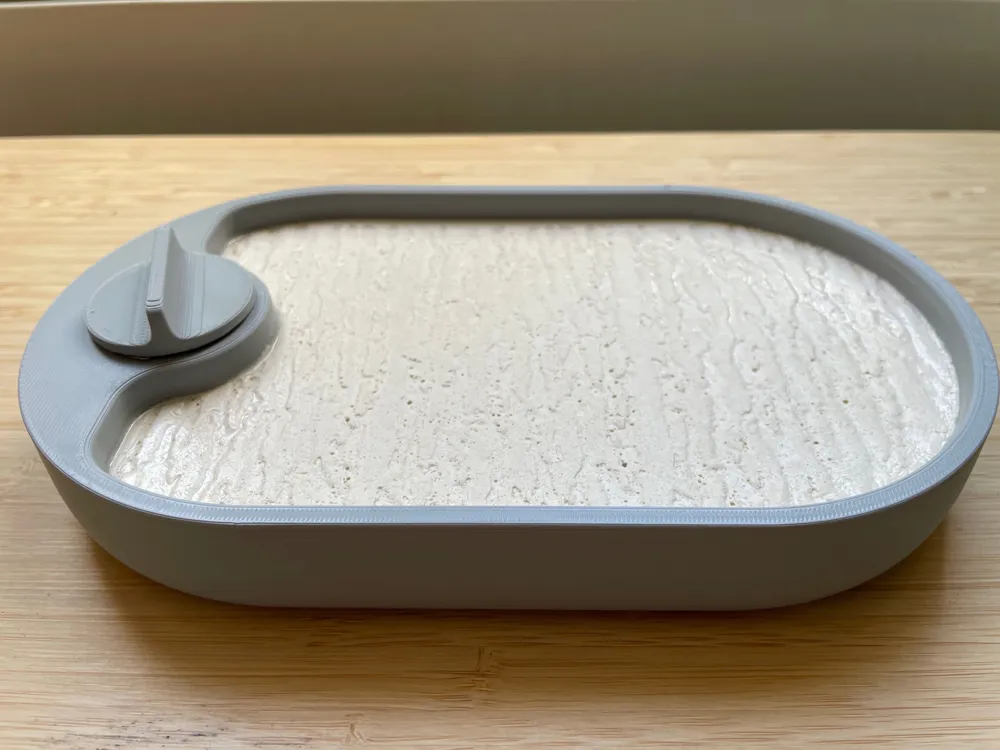
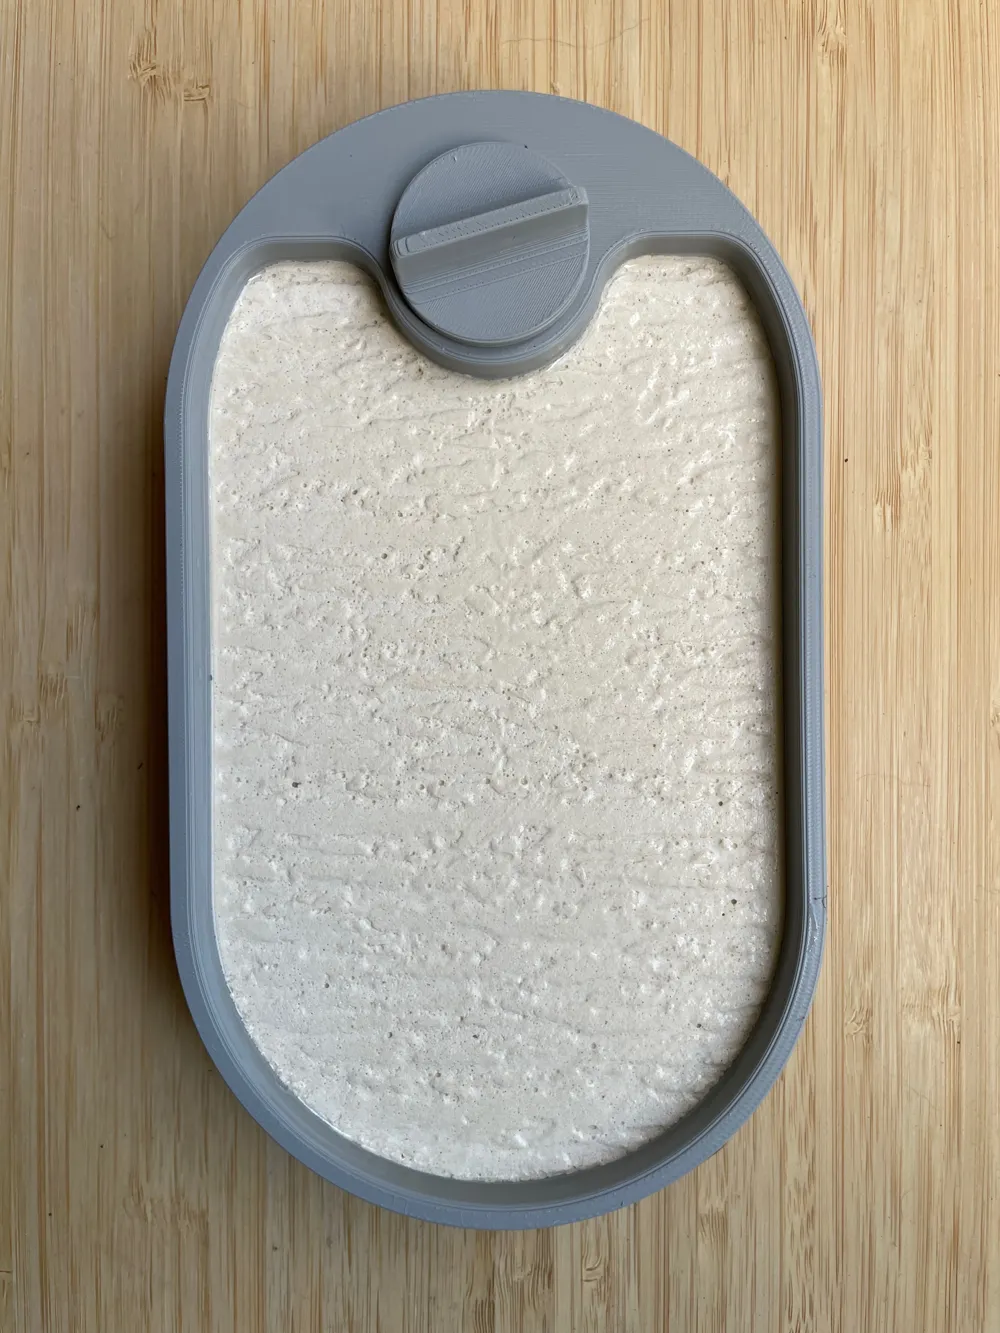
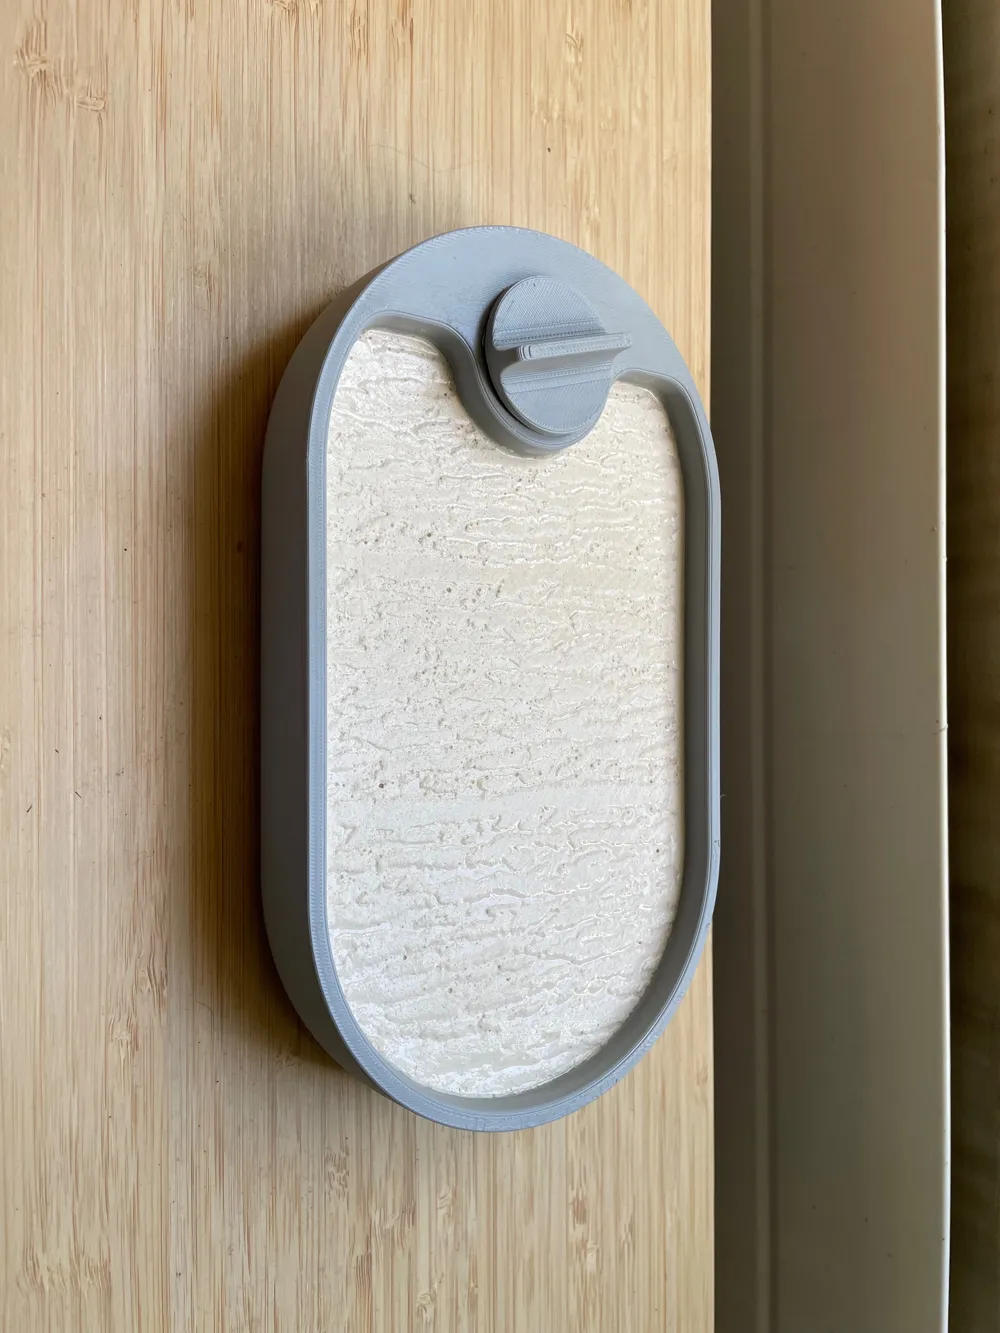
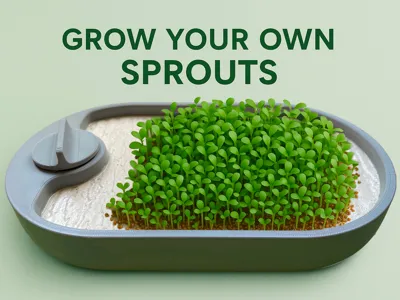
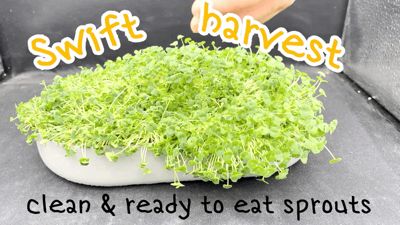
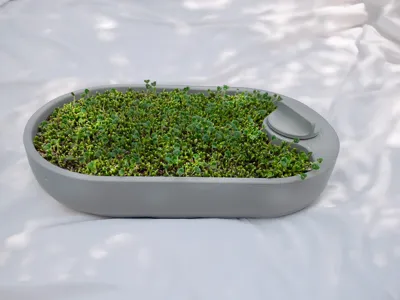
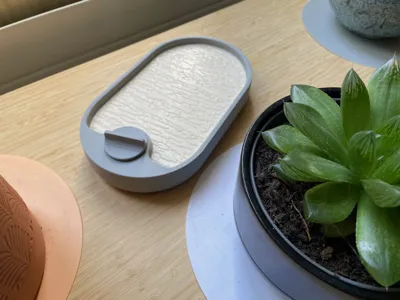
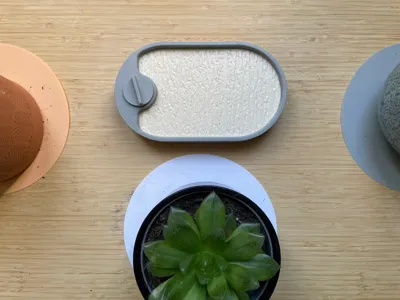
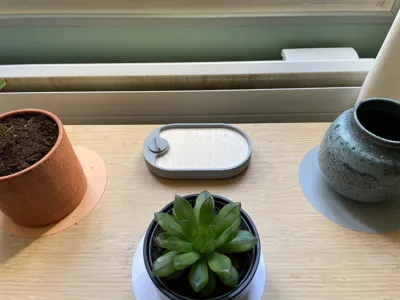
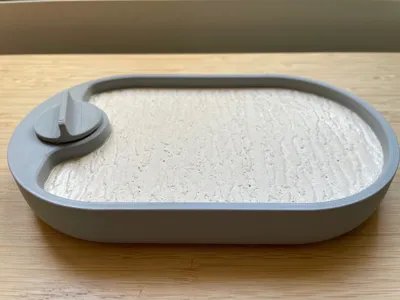
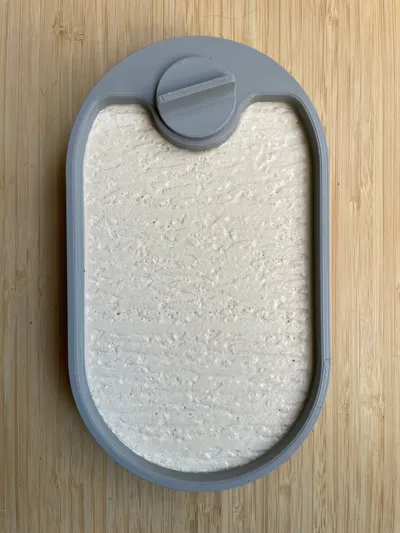
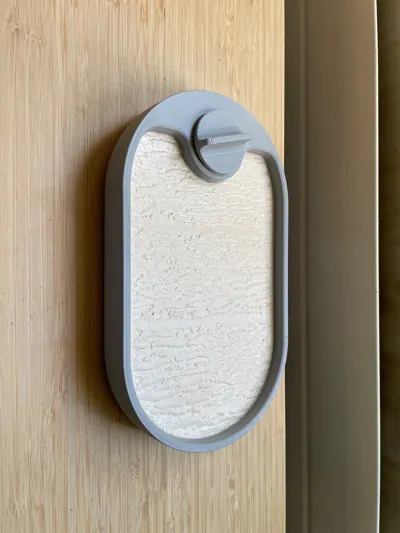
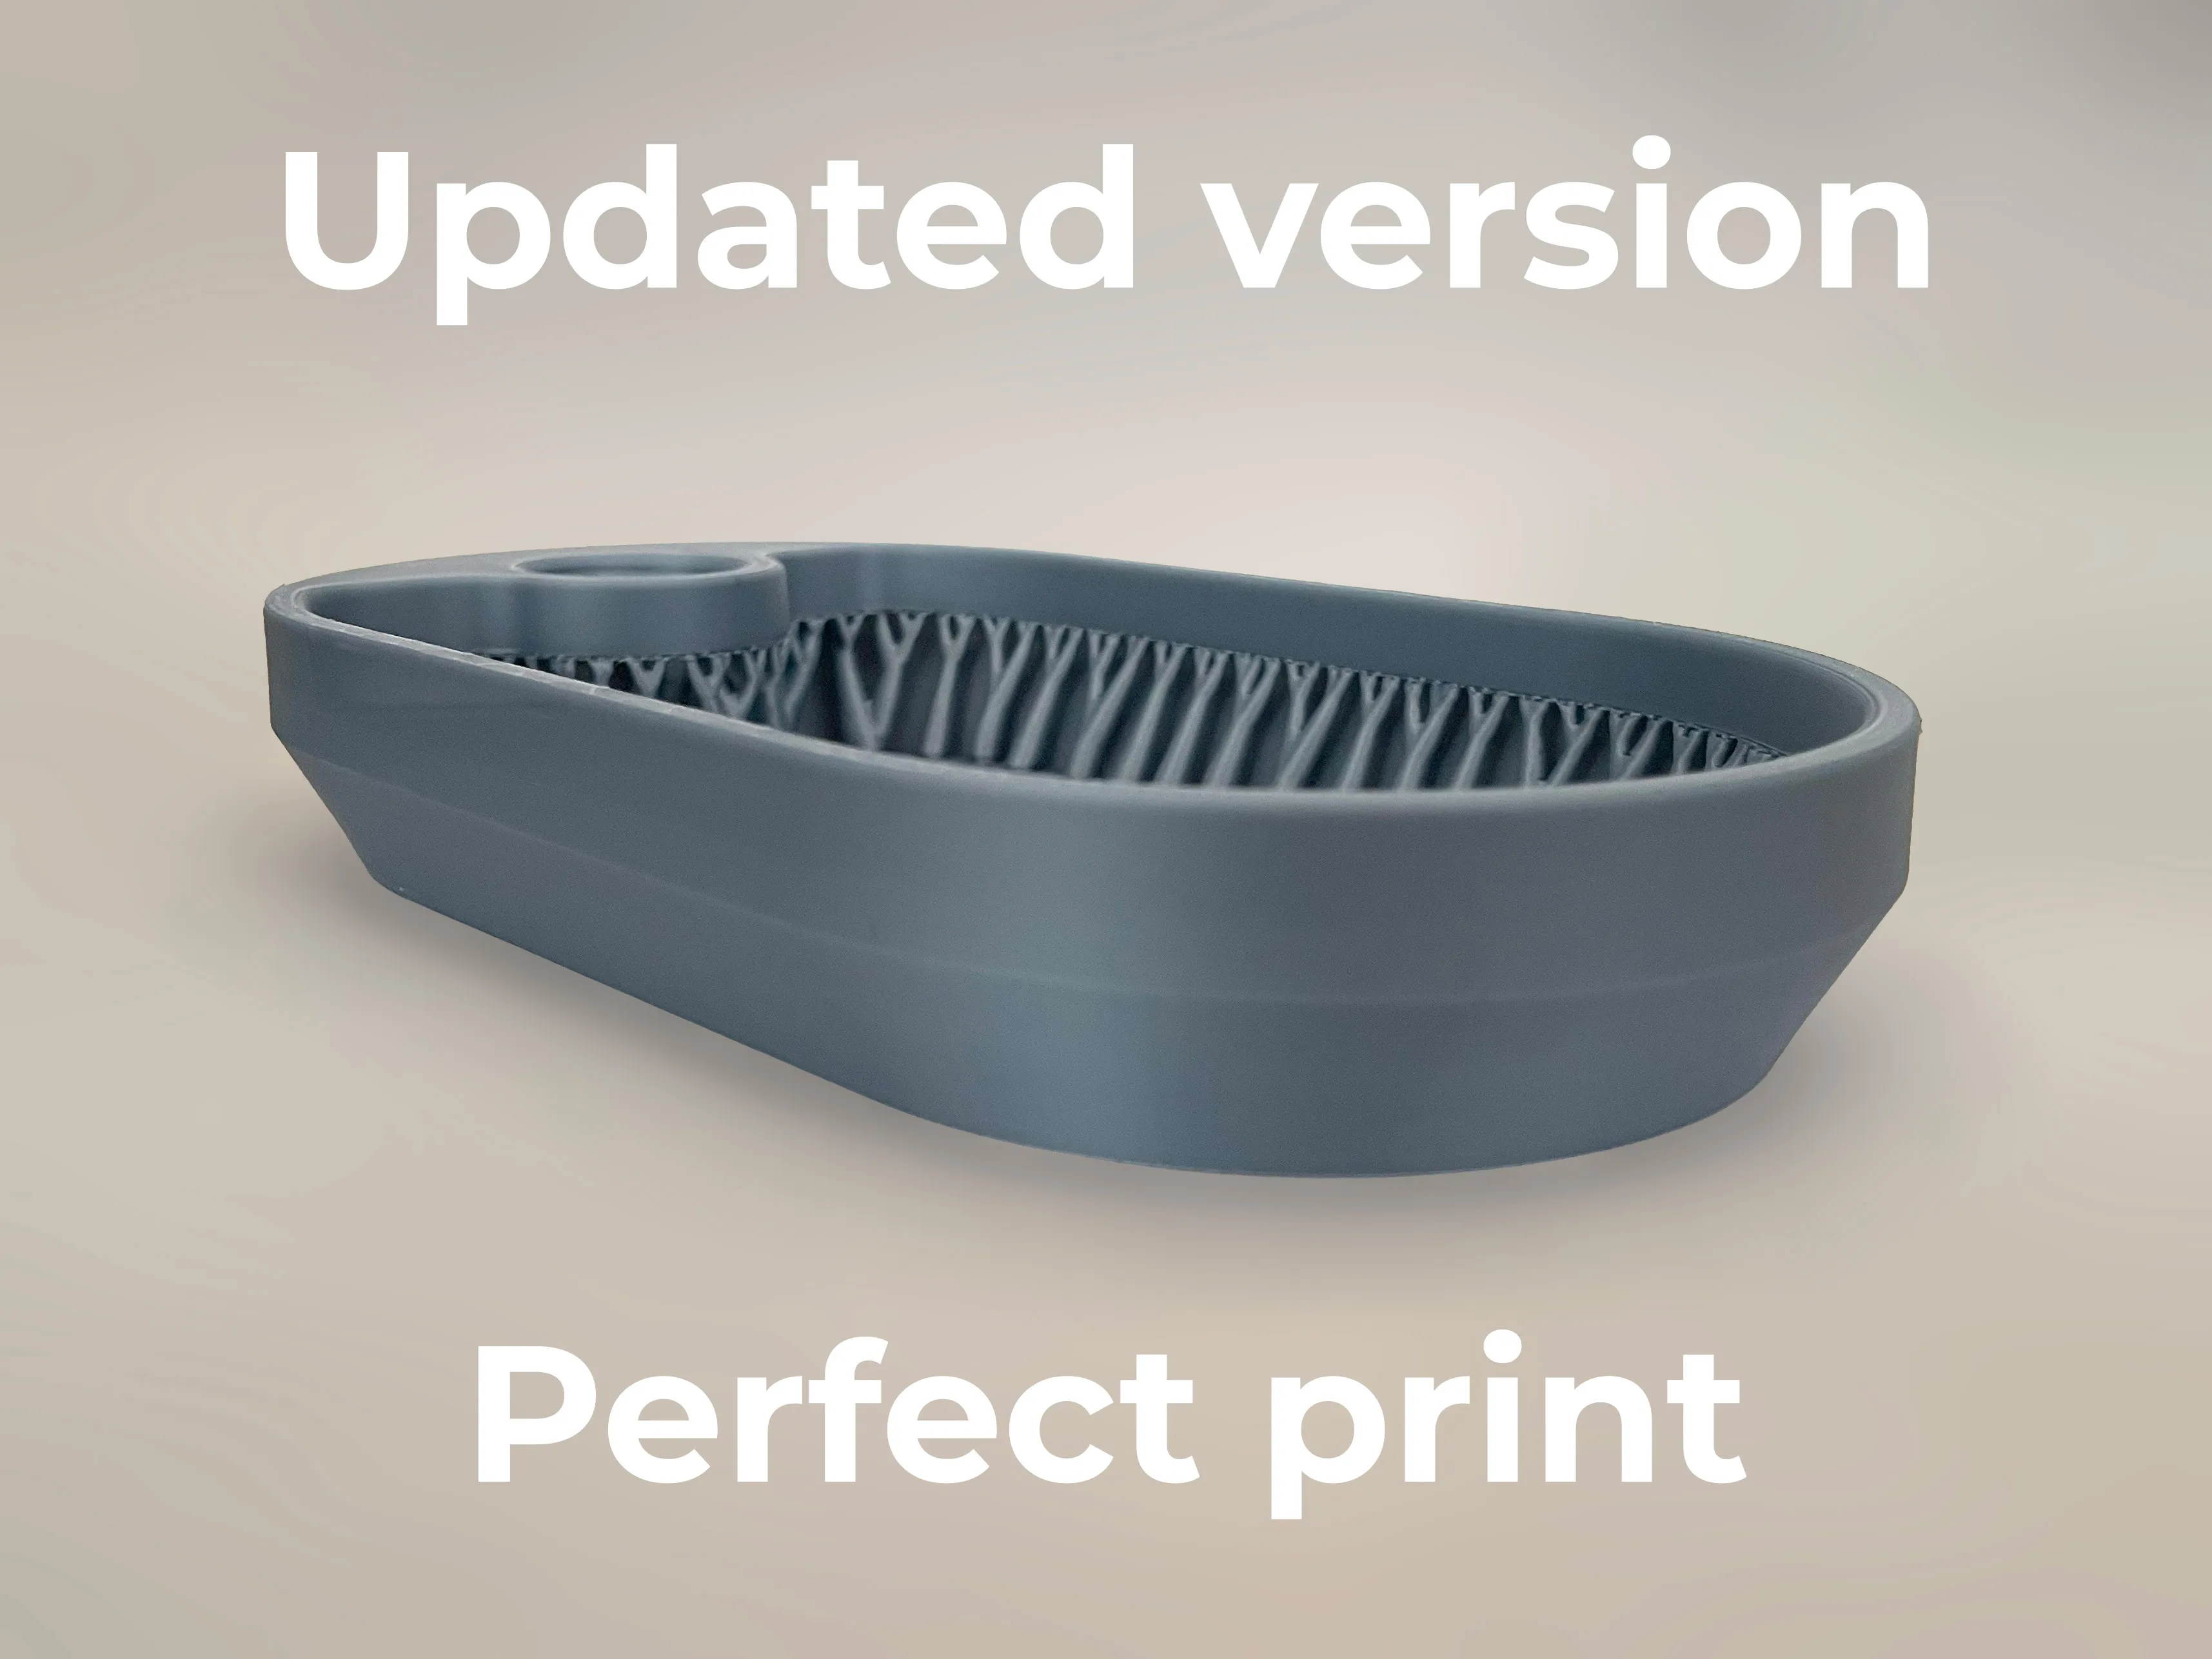
This sprouter uses a block of plaster as a porous water reservoir. Plaster slowly releases moisture, keeping your seeds evenly hydrated without soaking them. The textured mold surface ensures good adhesion for root development and increases the contact area for better germination.
The grey area of the sprouter, located just below the cap and not filled with plaster, serves as a dedicated water tank. It allows you to easily refill the system and ensures a constant supply of moisture to the plaster block through capillary action.
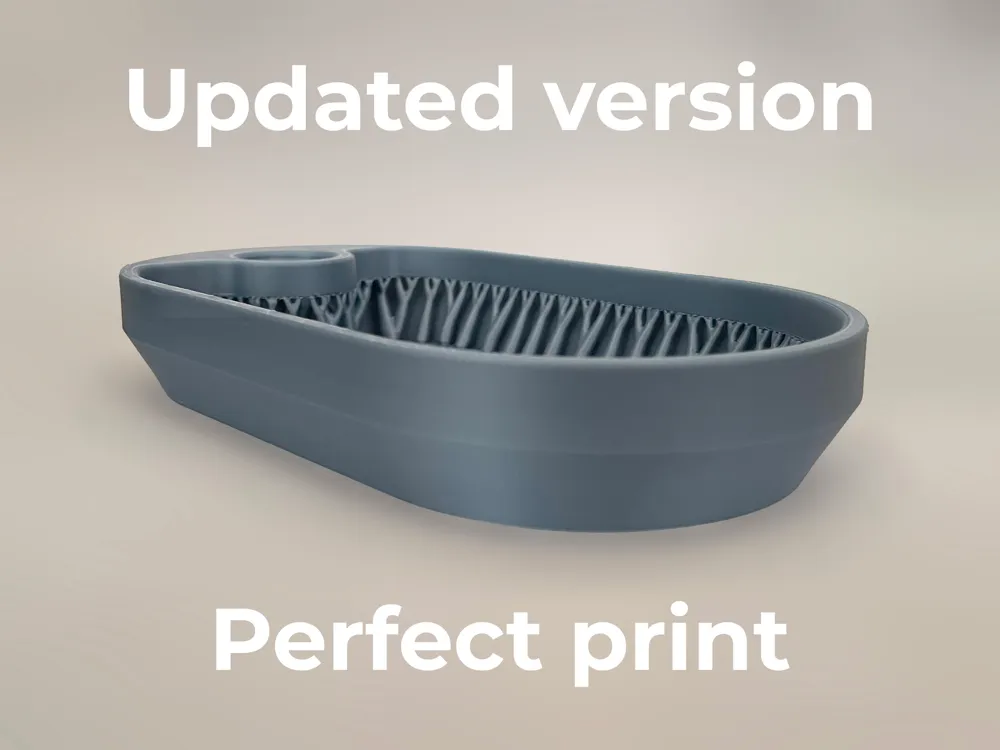
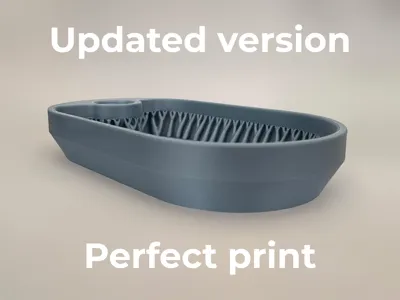
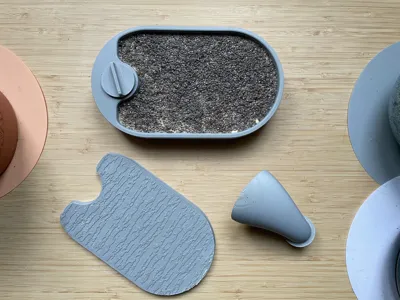
The sprouter is designed to make the most of the build volume of the Bambu Lab A1 mini. It requires two separate prints, both optimized for fast and clean printing while minimizing plastic use (manual supports are placed strategically to achieve the best quality-to-material efficiency ratio).
What You’ll Need
Materials:
- 260 g of Plaster of Paris (or any additive-free plaster)
- Liquid soap (clear and bubble-free if possible)
- Water
- Seeds of your choice
Tools:
- Spoon
- Knife
- Bowl or large glass
- Scale
- Masking tape
- Guitar pick or thin knife (optional, for unmolding)
Step by step guide
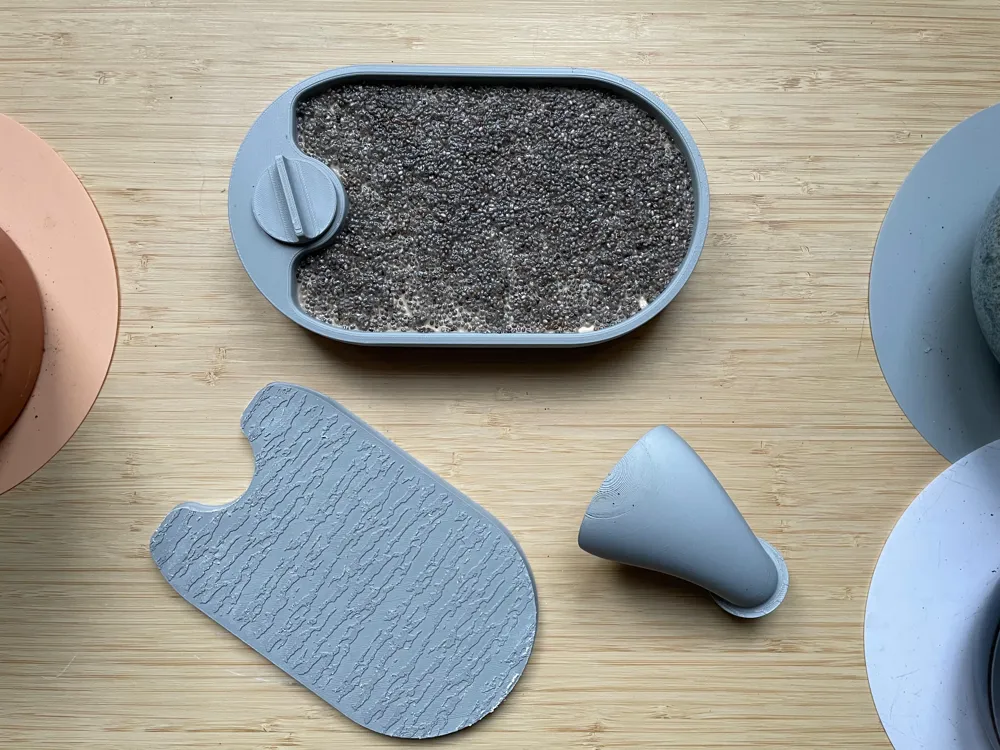
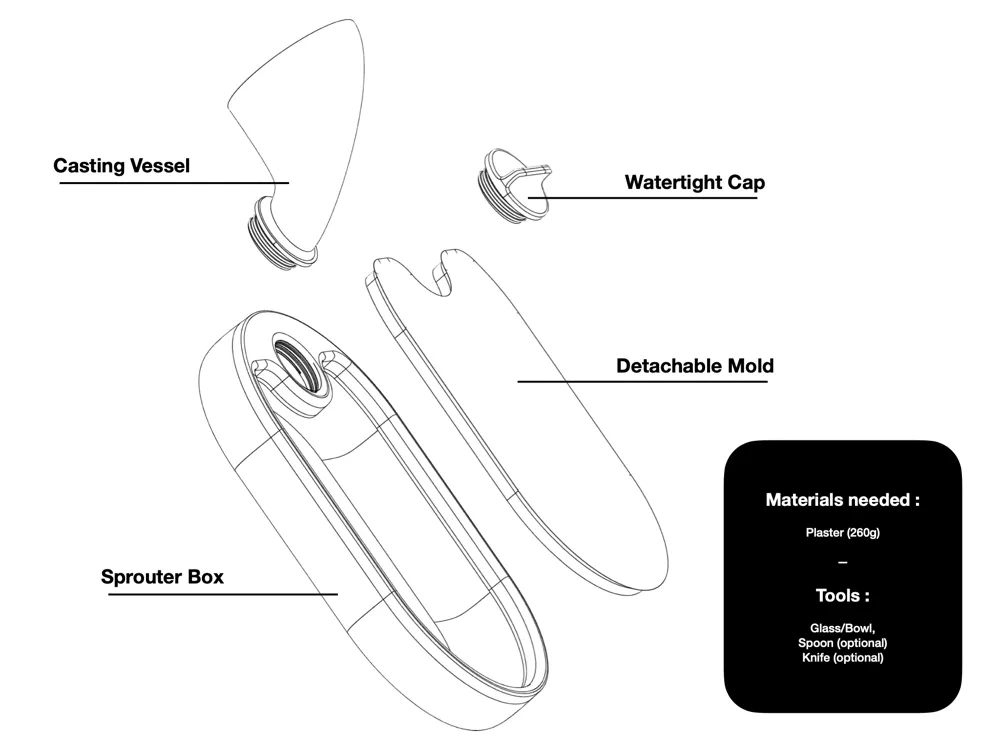
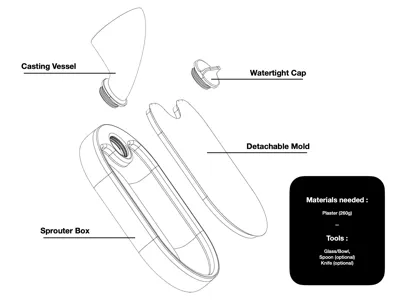
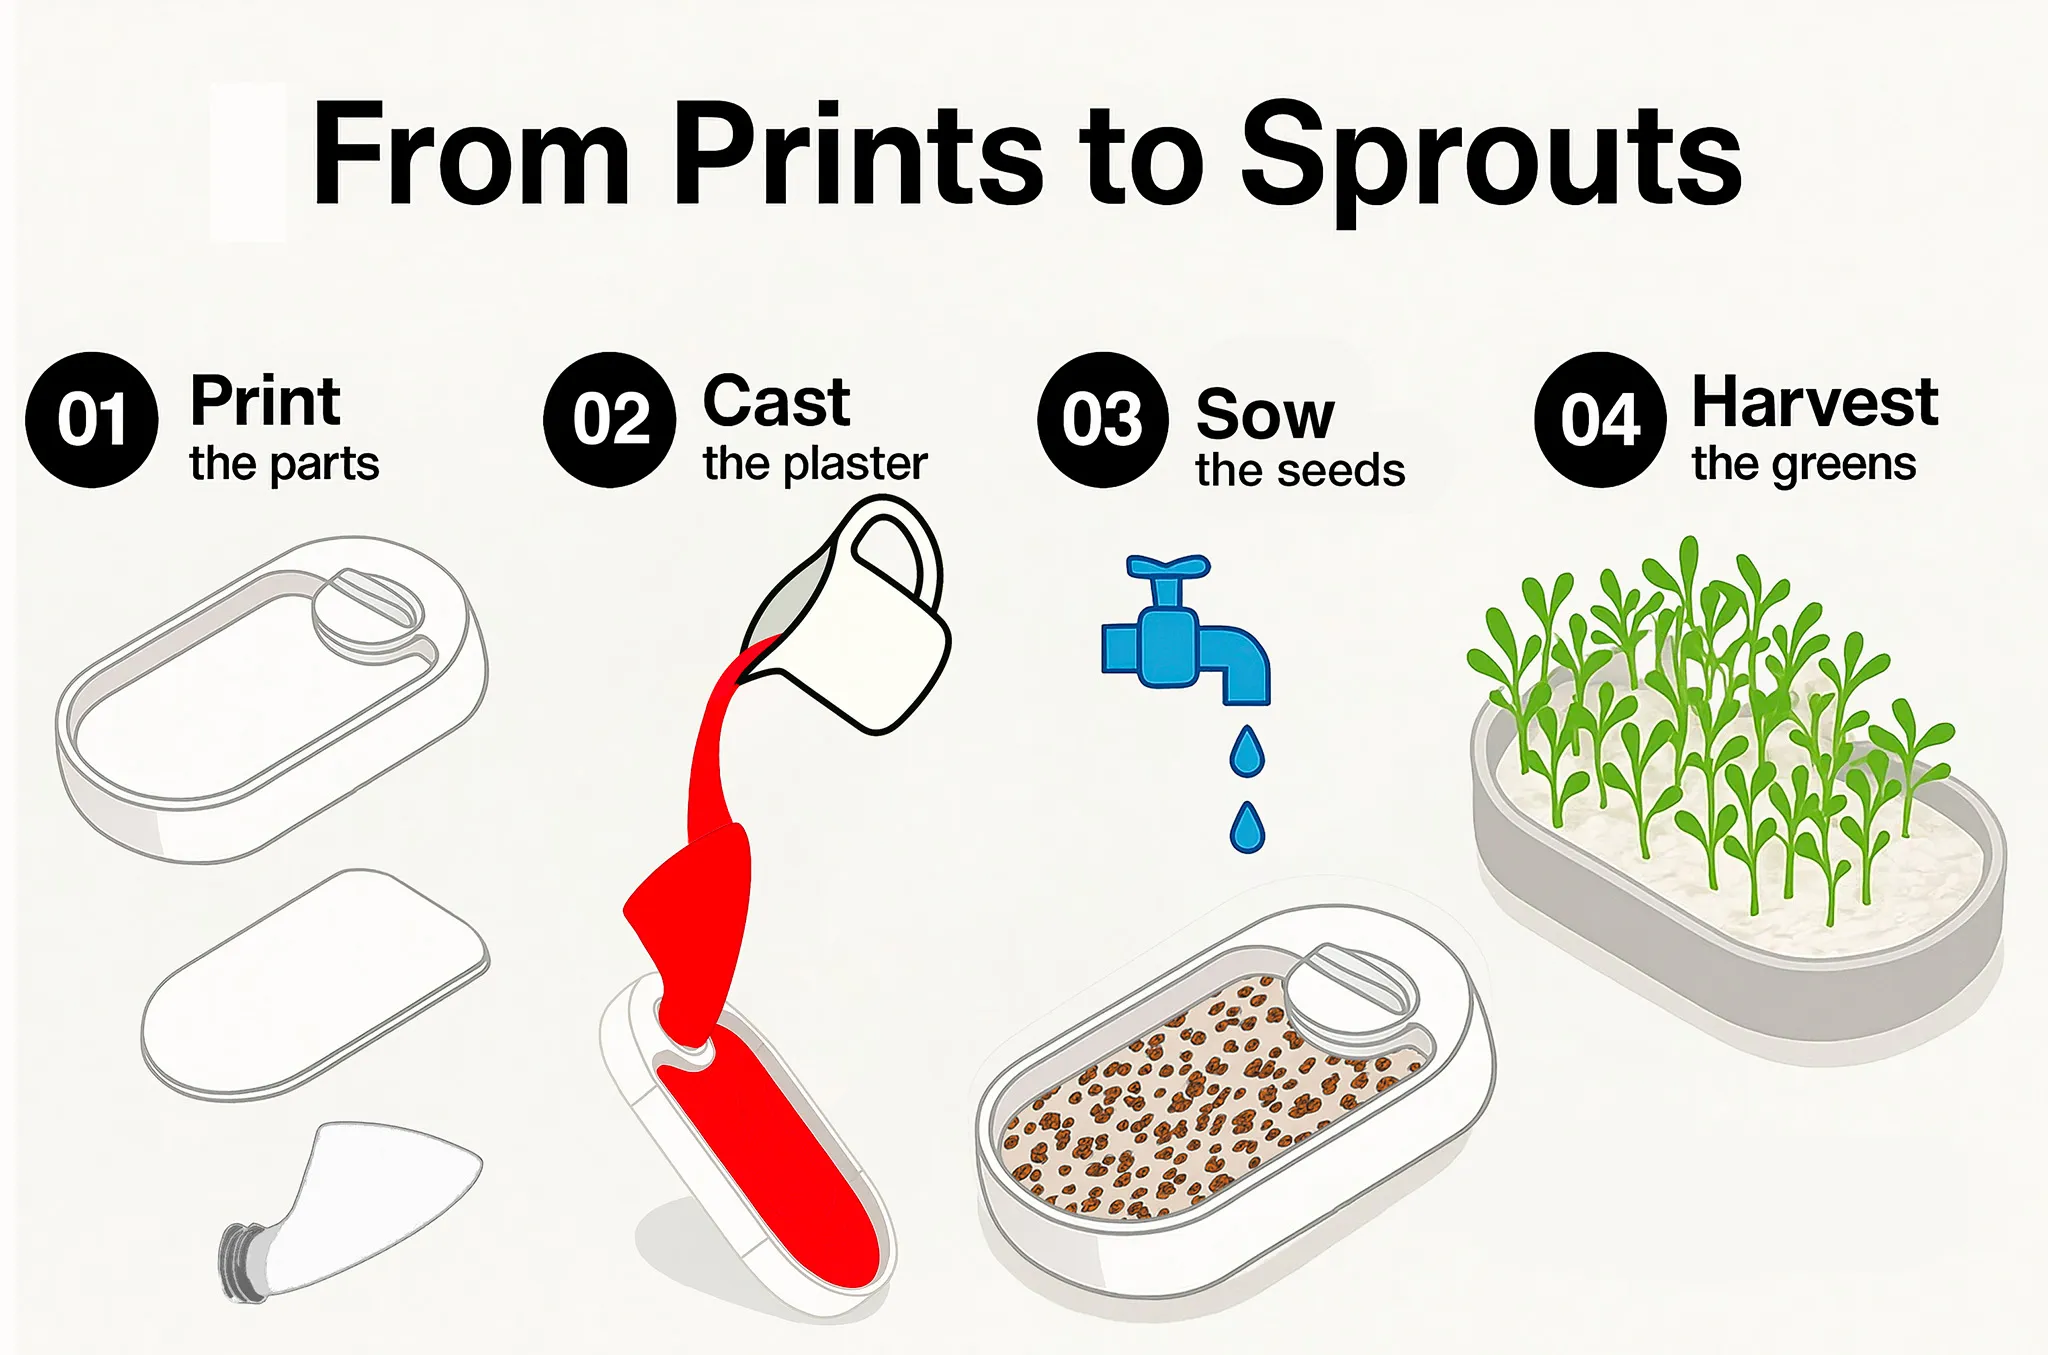
The first print is the sprouter itself, which takes 4 hours and 32 minutes to complete. The second print includes a casting vessel for cleanly filling the sprouter with plaster, a watertight cap, and a detachable mold that adds texture to the plaster. This texture is both aesthetic and functional: it helps roots better grip the surface while increasing the contact area for the seeds. Additional patterns will be released later. This second print takes 3 hours and 30 minutes.
The goal now is to pour a precise amount of plaster into the sprouter. This plaster will act as a porous, water-retaining material, keeping the seeds consistently moist. Make sure to use a basic plaster, such as Plaster of Paris, to avoid any unnecessary additives that could affect the edibility of the sprouted seeds.
Start in the evening before going to bed: generously coat the textured surface of the mold with liquid soap. Try to use a fresh soap without bubbles, if possible. Then place the mold vertically in your sink and let it sit overnight.
The next morning, pick up the mold by its edges and gently wipe away the liquid soap that may have settled at the base. Insert the mold into the sprouter (see attached PDF) and tape it firmly in place. Then screw the casting vase onto the sprouter (see attached PDF) and position the whole assembly vertically with the vase facing up (see attached PDF).
Weigh out 260 g or 260 ml of water in a large glass or bowl (don’t forget to tare the scale beforehand). If you don’t want to measure precisely, it’s better to go slightly over rather than under. Next, slowly sift plaster into the water until it reaches the surface and starts forming small white peaks. Wait until the peaks absorb water and turn from matte white to glossy gray, then mix gently but thoroughly.
Pour the mixture into the casting vase, filling it about halfway (see attached PDF, the red represents the plaster level). Firmly tap or shake the sprouter with short, sharp motions to release air bubbles and distribute the plaster evenly. Place it back vertically.
Ideally, wait until the plaster begins to set (it will become matte in appearance) before removing the vase and scraping away any excess plaster at the sprouter’s neck. If you miss that window, it’s okay—you can still remove the vase later, as long as the plaster hasn’t fully hardened. Once the plaster is firm (after several hours), you can remove the mold.
To do so, remove the tape and run water over the sprouter. The mold should come out easily by letting water seep into the gaps.
If not, use a guitar pick or a thin knife blade to gently slide between the mold and the sprouter. If the soap was applied well, this should be quite easy.
Finally, rinse off the remaining soap by running water over the plaster and gently scrubbing it with your fingers. If a bit of plaster leaked between the mold and the sprouter, simply scrape it off with a stainless steel spoon.
Please read the attached PDF for more information.
Documentation (1)
License

You shall not share, sub-license, sell, rent, host, transfer, or distribute in any way the digital or 3D printed versions of this object, nor any other derivative work of this object in its digital or physical format (including - but not limited to - remixes of this object, and hosting on other digital platforms). The objects may not be used without permission in any way whatsoever in which you charge money, or collect fees.
Comment & Rating (71)