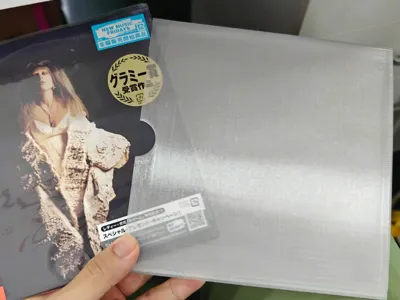
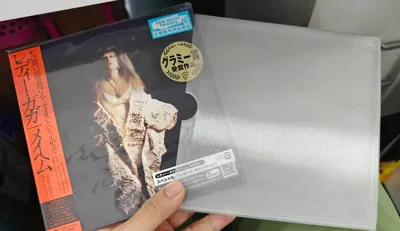
Japanese 7-inch CD jewel case protective sleeve


Print Profile(4)


Description
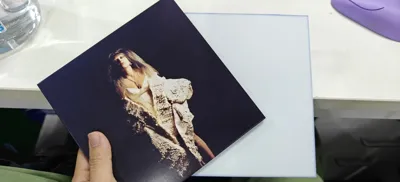
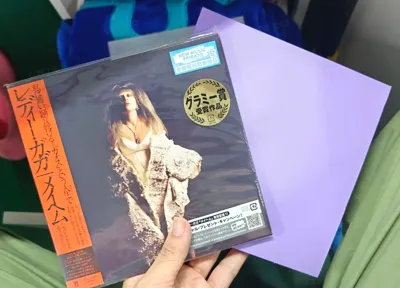
Upon purchasing my first Japanese CD, I discovered the packaging contained only a plastic bag and thin cardboard. I thus designed a CD case using Bambu Studio's simple modeling features for a perfect fit. Using transparent PETG yields a pleasing frosted glass effect. I've created both one-piece and two-piece designs, printable with PLA or transparent PETG. My album conveniently includes a matching card insert, usable as an alternative cover.


However, testing with various filaments and prints revealed some issues, which I wish to highlight:
With the A1 one-piece print, Y-axis movement causes slight wobbling at the top, resulting in minor surface imperfections resembling spaghetti. Light sanding can mitigate this.

Due to the A1's open design, significant temperature differences between ambient conditions and filament extrusion can cause warping in the one-piece case, affecting both PLA and transparent PETG. This can be remedied with a heated bed: for PLA, heat the bed to 50℃, gently press down on the corners, slowly raise the temperature, then gradually cool; for PETG, heat to 80℃, then apply heat from above using four filament spools before slowly cooling. X1C PLA one-piece prints exhibit far superior results.

When using transparent PETG, thorough filament drying is imperative; otherwise, trapped moisture will create numerous small surface imperfections, compromising clarity. With a 0.8mm nozzle, you may even hear the moisture popping during extrusion. For transparent PETG printing guidance, consult the wiki: https://wiki.bambulab.com/zh/knowledge-sharing/transparent-petg; If you lack a 0.8mm nozzle but wish to print with transparent PETG, consider downloading the corresponding nozzle preset from the wiki, importing it into your STL file, and reslicing.

Assembling the two-piece version requires adhesive, which presents its own challenges. Superglue is unsuitable for transparent PETG. I recommend this adhesive I found on a food delivery app; it cures slower than superglue, preventing sticky fingers. It forms a thin, easily removable film, facilitating adjustments.

Incidentally, this model is also uploaded to MakerWorld Global. My availability there is limited; feel free to leave a message or adjust the design in Bambu Studio if you have questions. This is my inaugural model, entirely designed in Bambu Studio. I will respond upon seeing your message, thank you kindly.
Comment & Rating (0)