
Rugged EDC Pen for Pilot G2 – Glove-Friendly
Print Profile(5)


Bill of Materials

Description
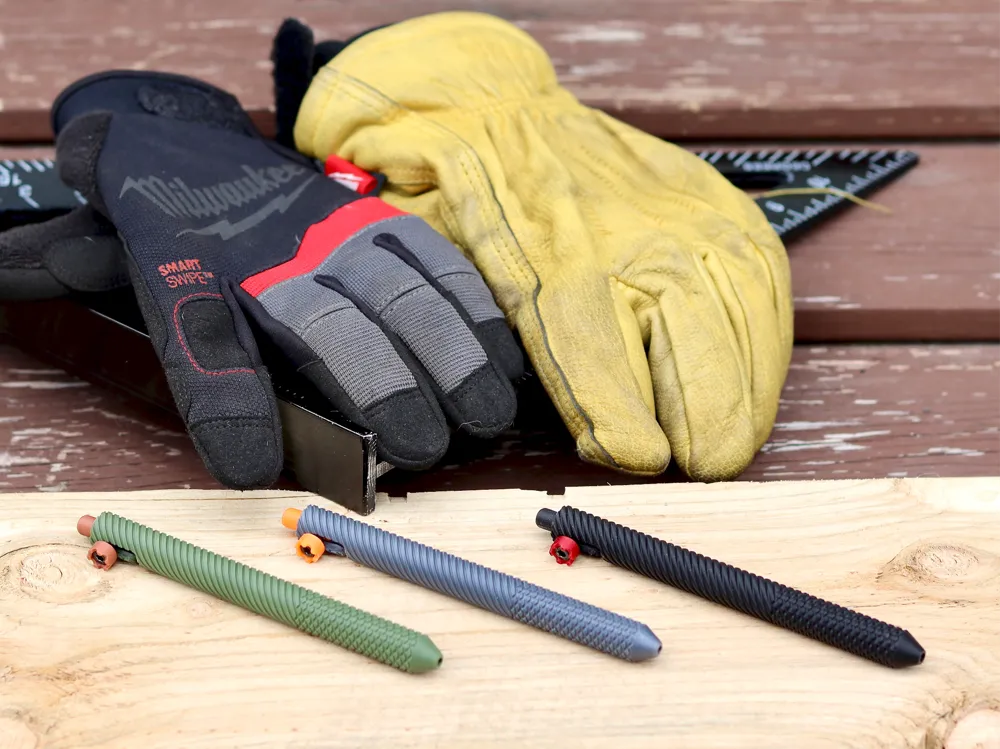
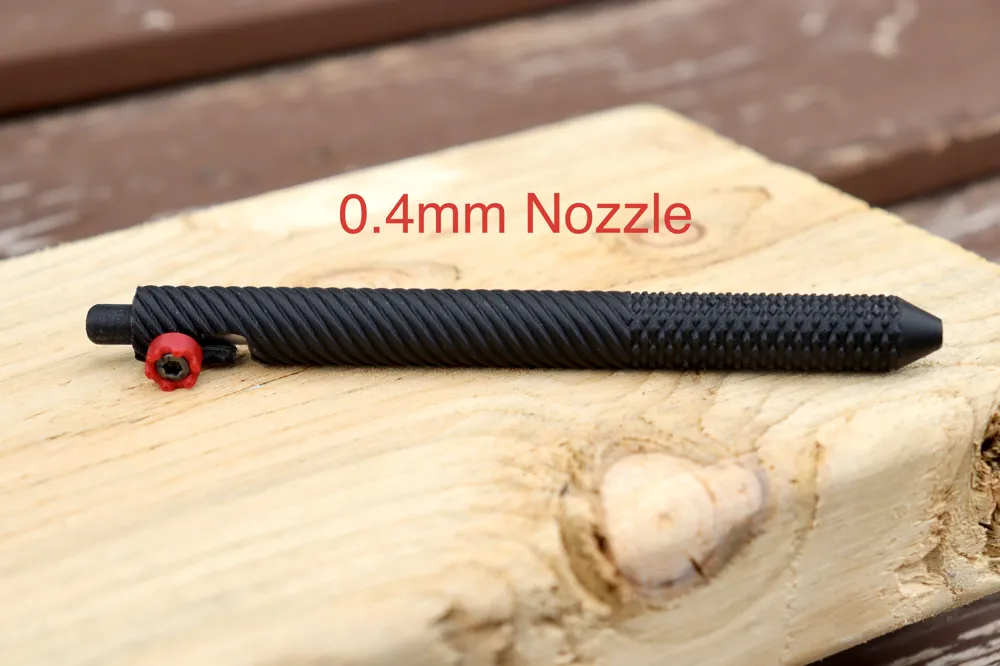
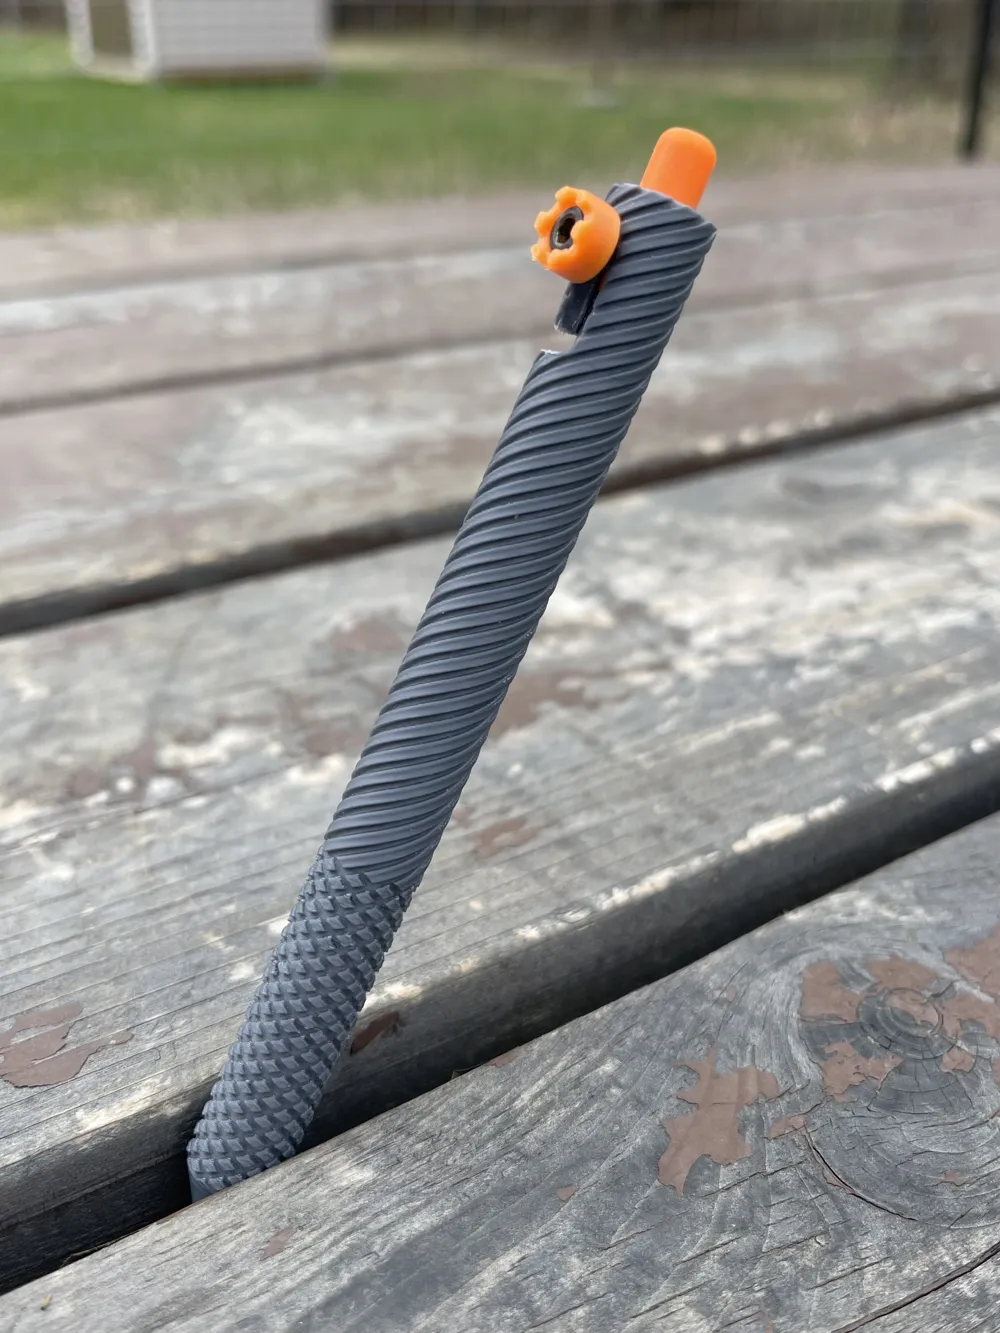
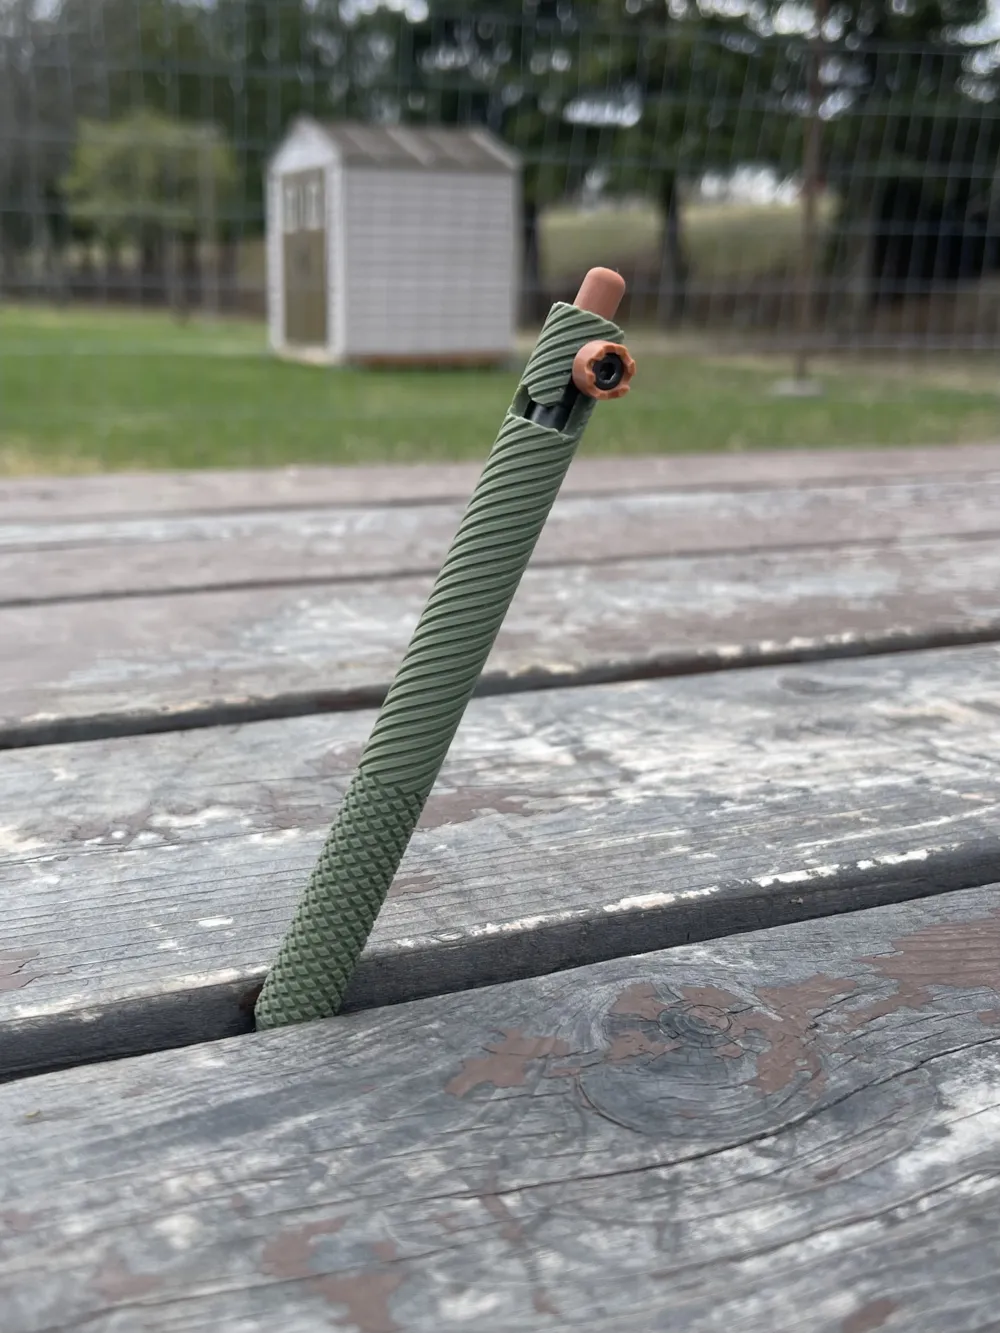
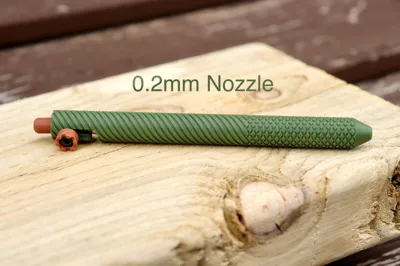
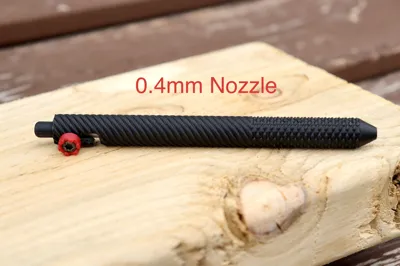
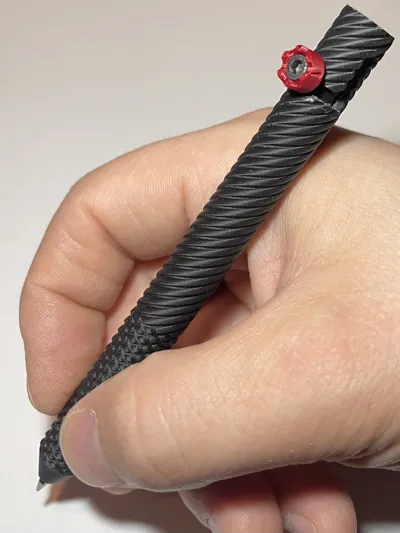
This compact EDC pen is built for real-world use and takes Pilot G2 cartridges as well as Pentel EnerGel and similar refills. It uses the original G2 spring, so no extra hardware is needed there.
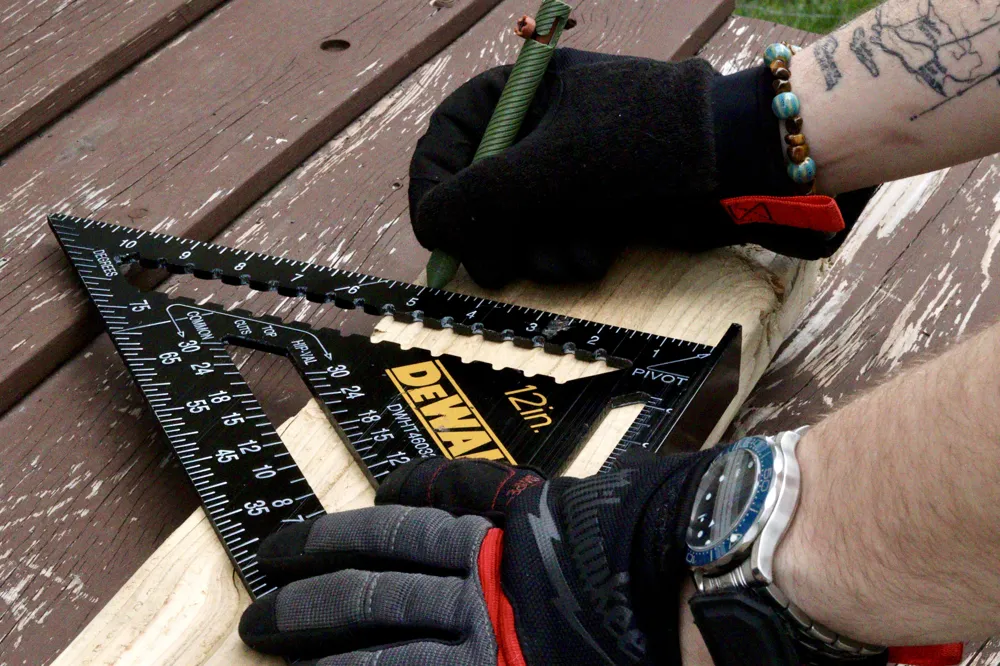
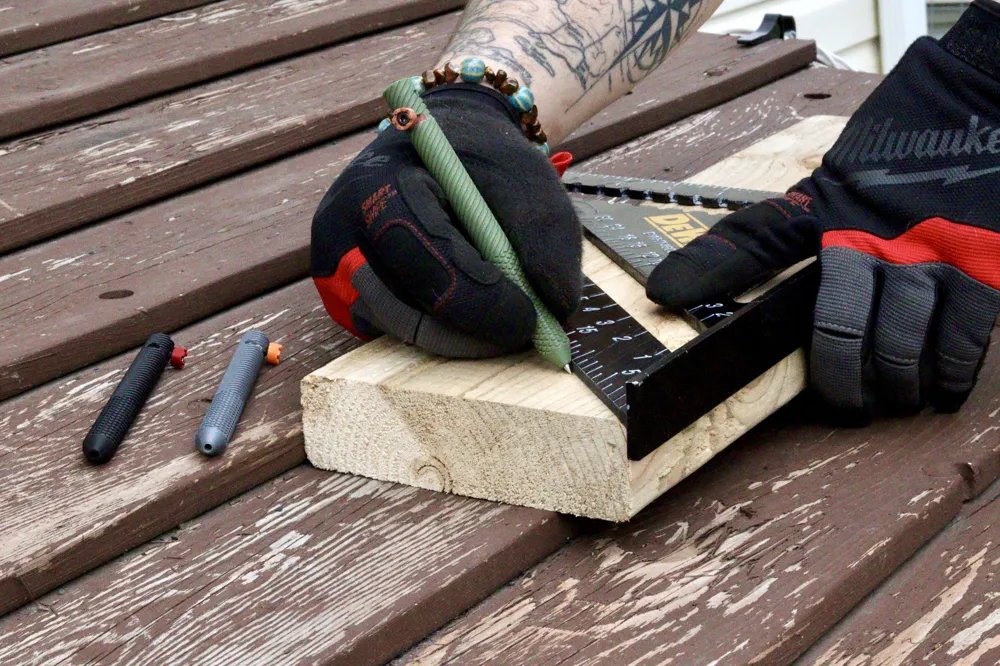
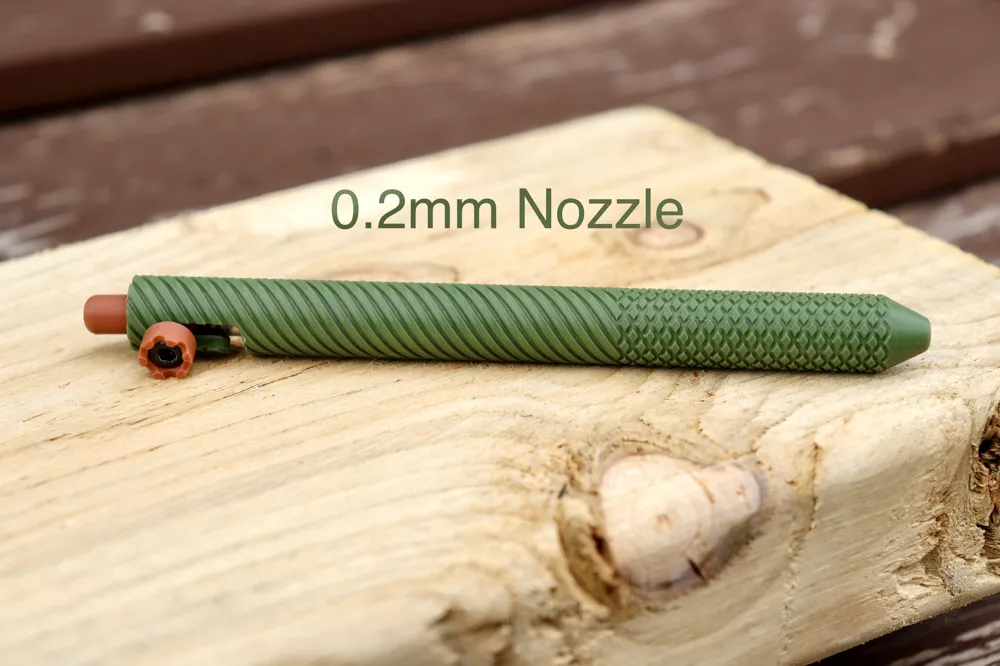
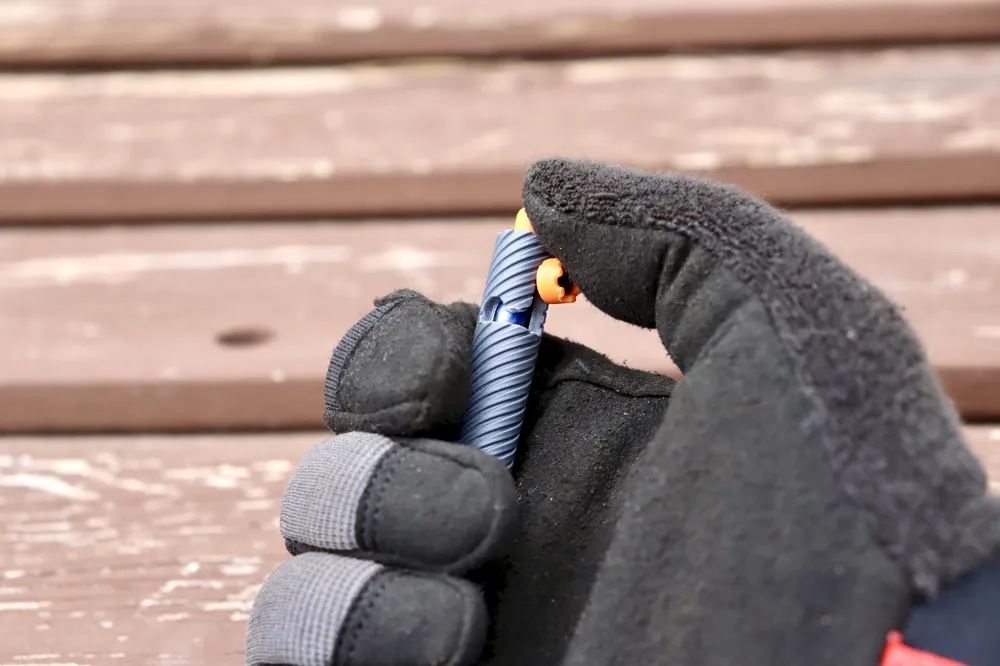
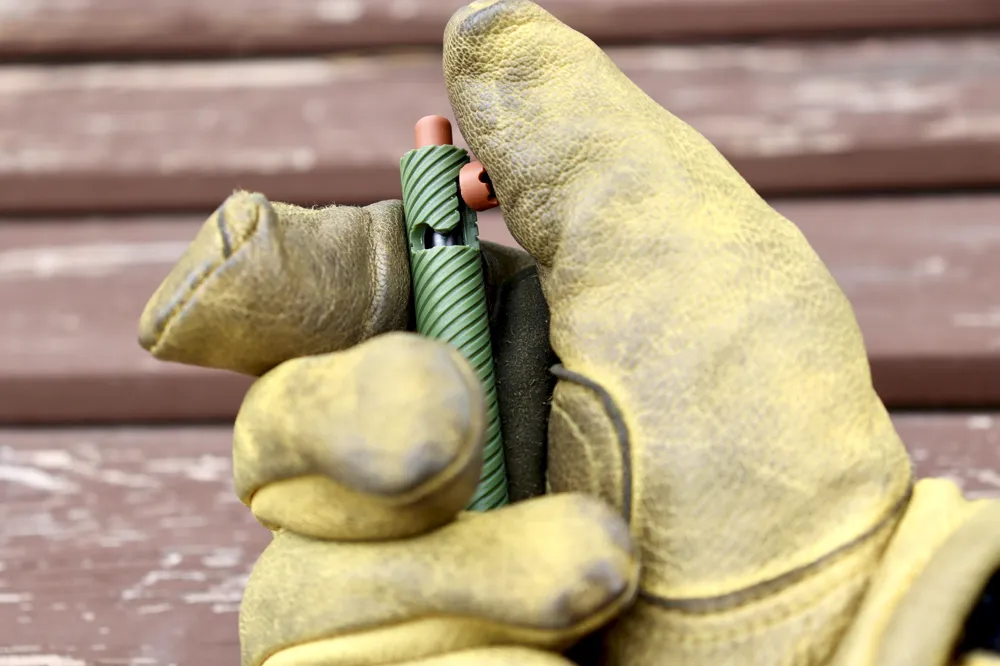
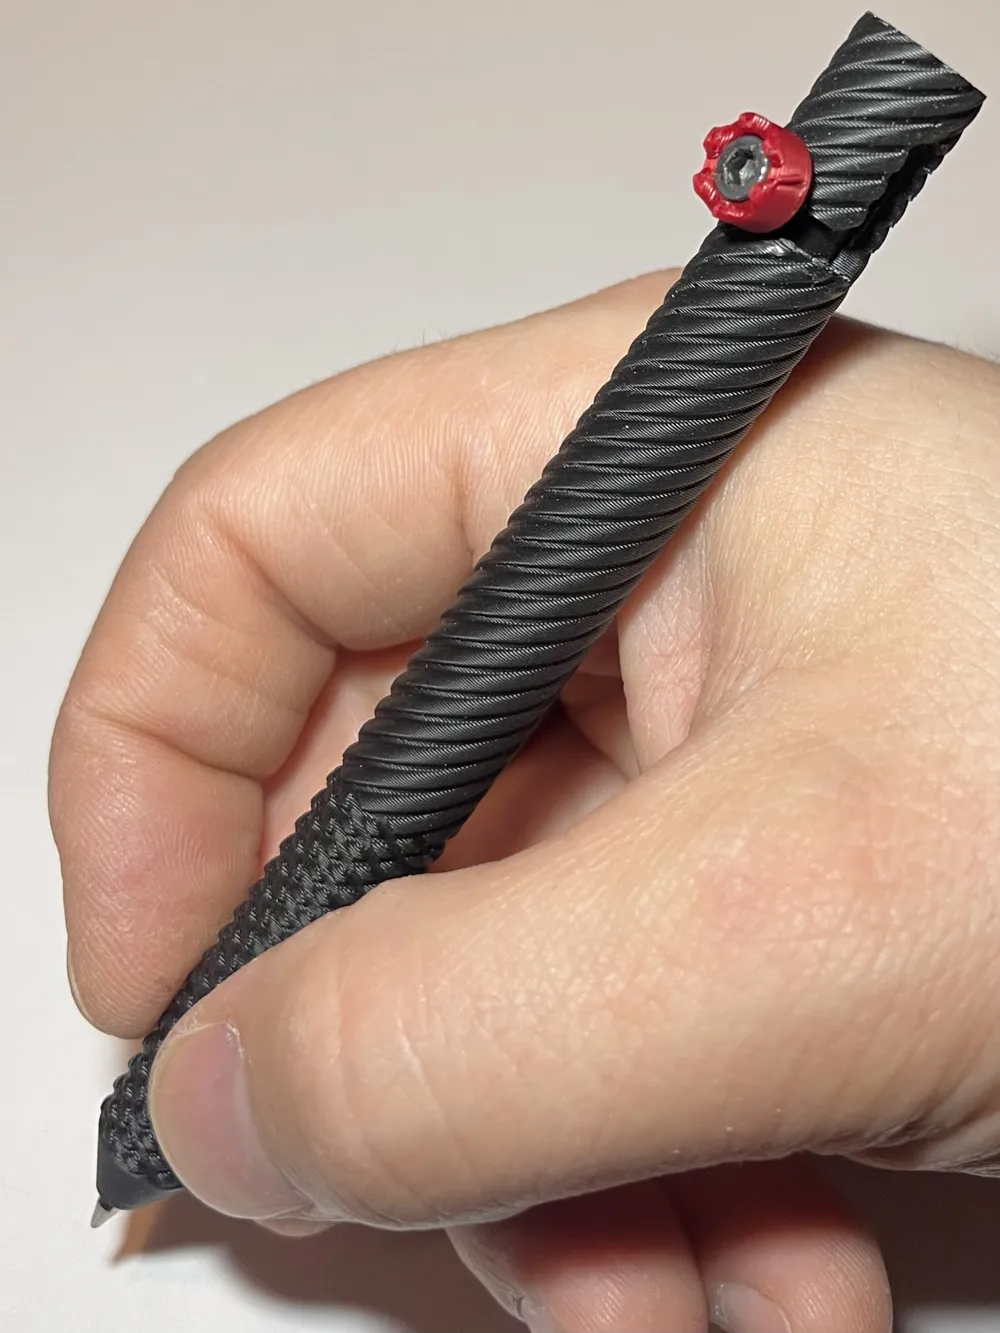
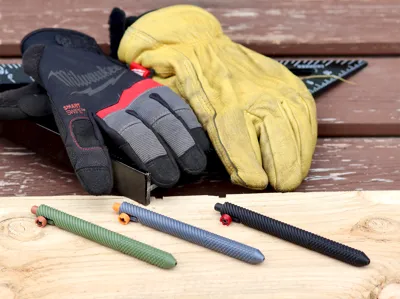
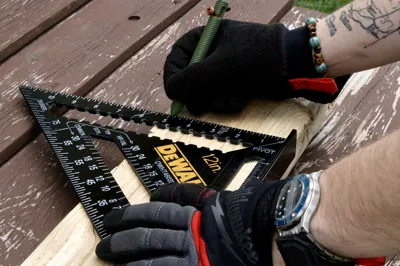
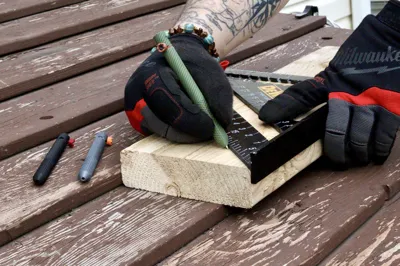
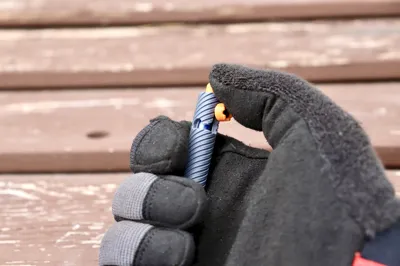
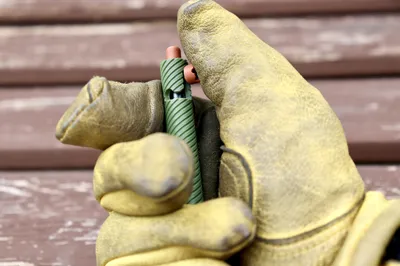
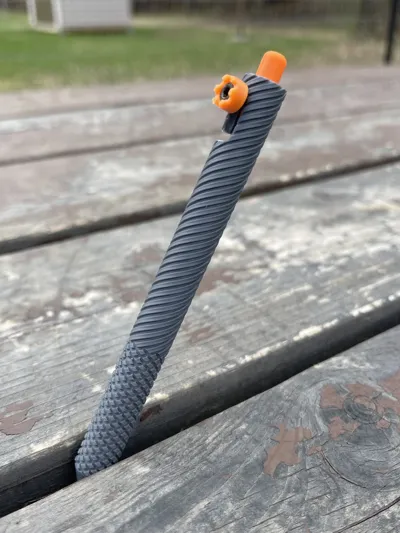
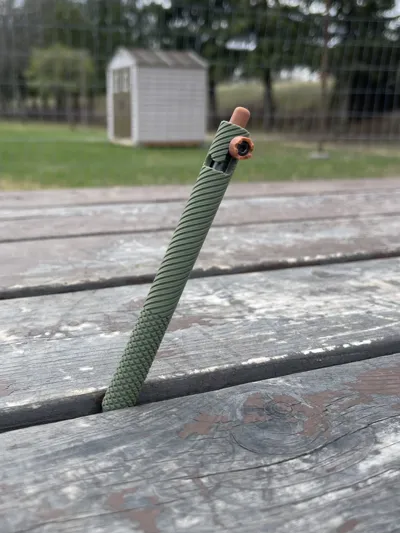
The body is fully knurled and twirled for excellent grip — even with thick or greasy gloves, you’ll have no problem using it. Whether it lives in your shop apron or your pocket, it’s tough, reliable, and always ready to write.
If you plan to use it around oil or fuel, PETG is the way to go. For casual use or a cleaner finish, PLA works just fine too.
The mechanism uses an M3x10mm screw, and I strongly recommend pre-drilling the hole with a 2.7mm bit. That prevents the slider from cracking along the layer lines during assembly.
If the click feels rough, the screw is likely threaded in too far. Back it off a bit and you should be good to go.
Want a sleeker look without the crown? Swap in an M3x8mm screw for a cleaner, flush finish.
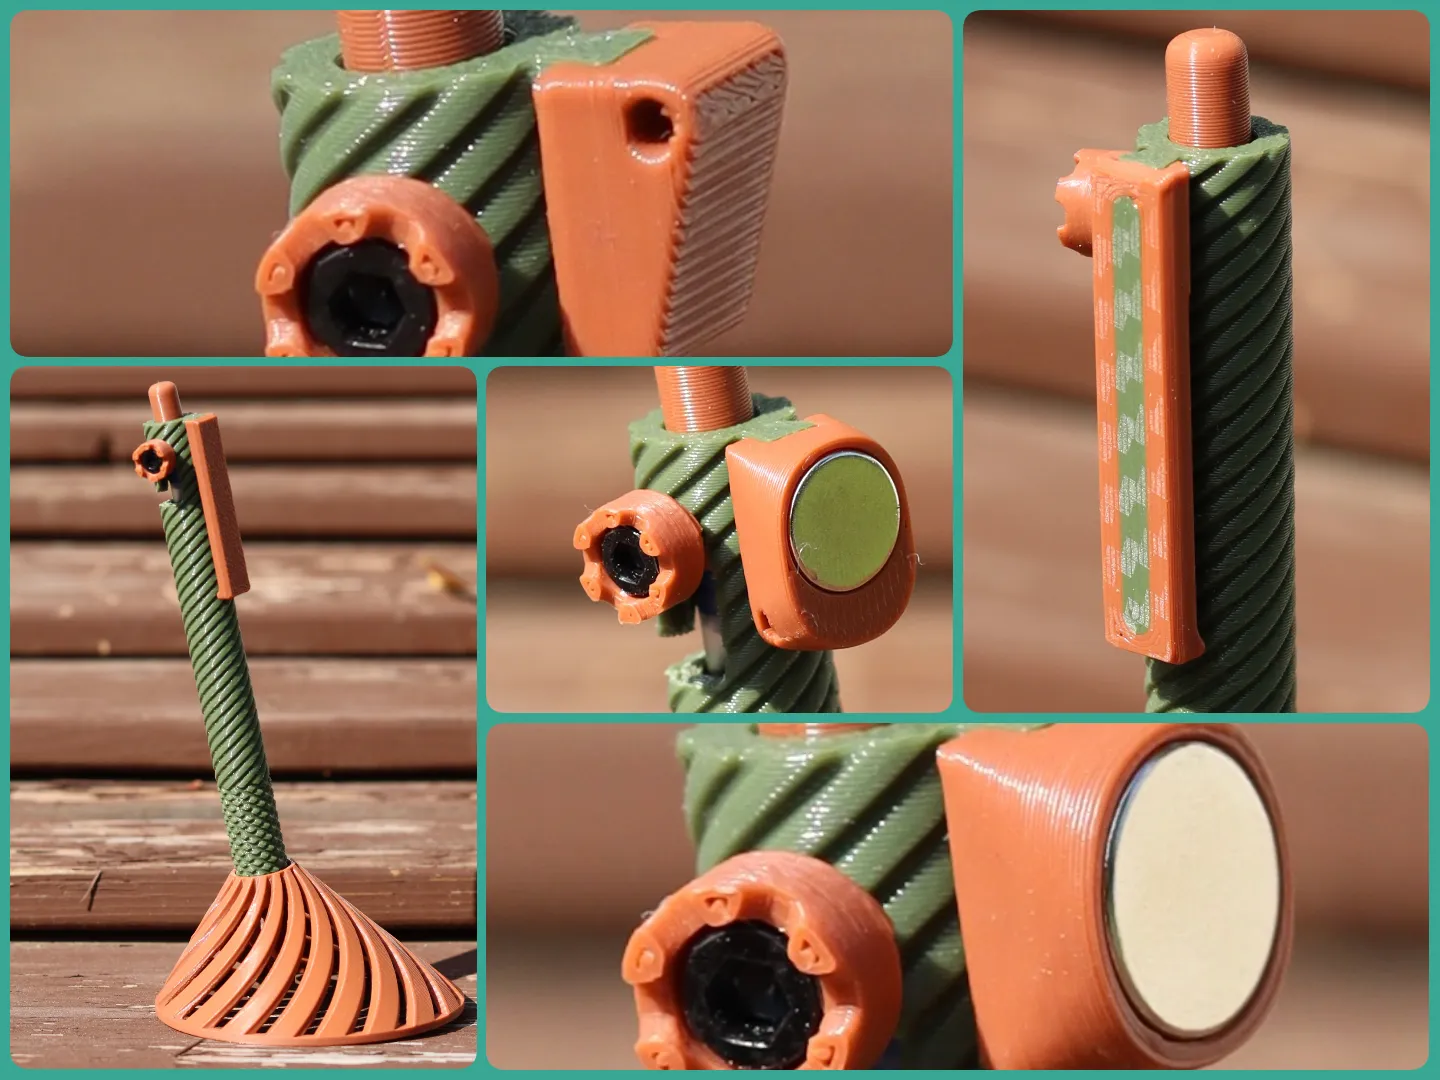
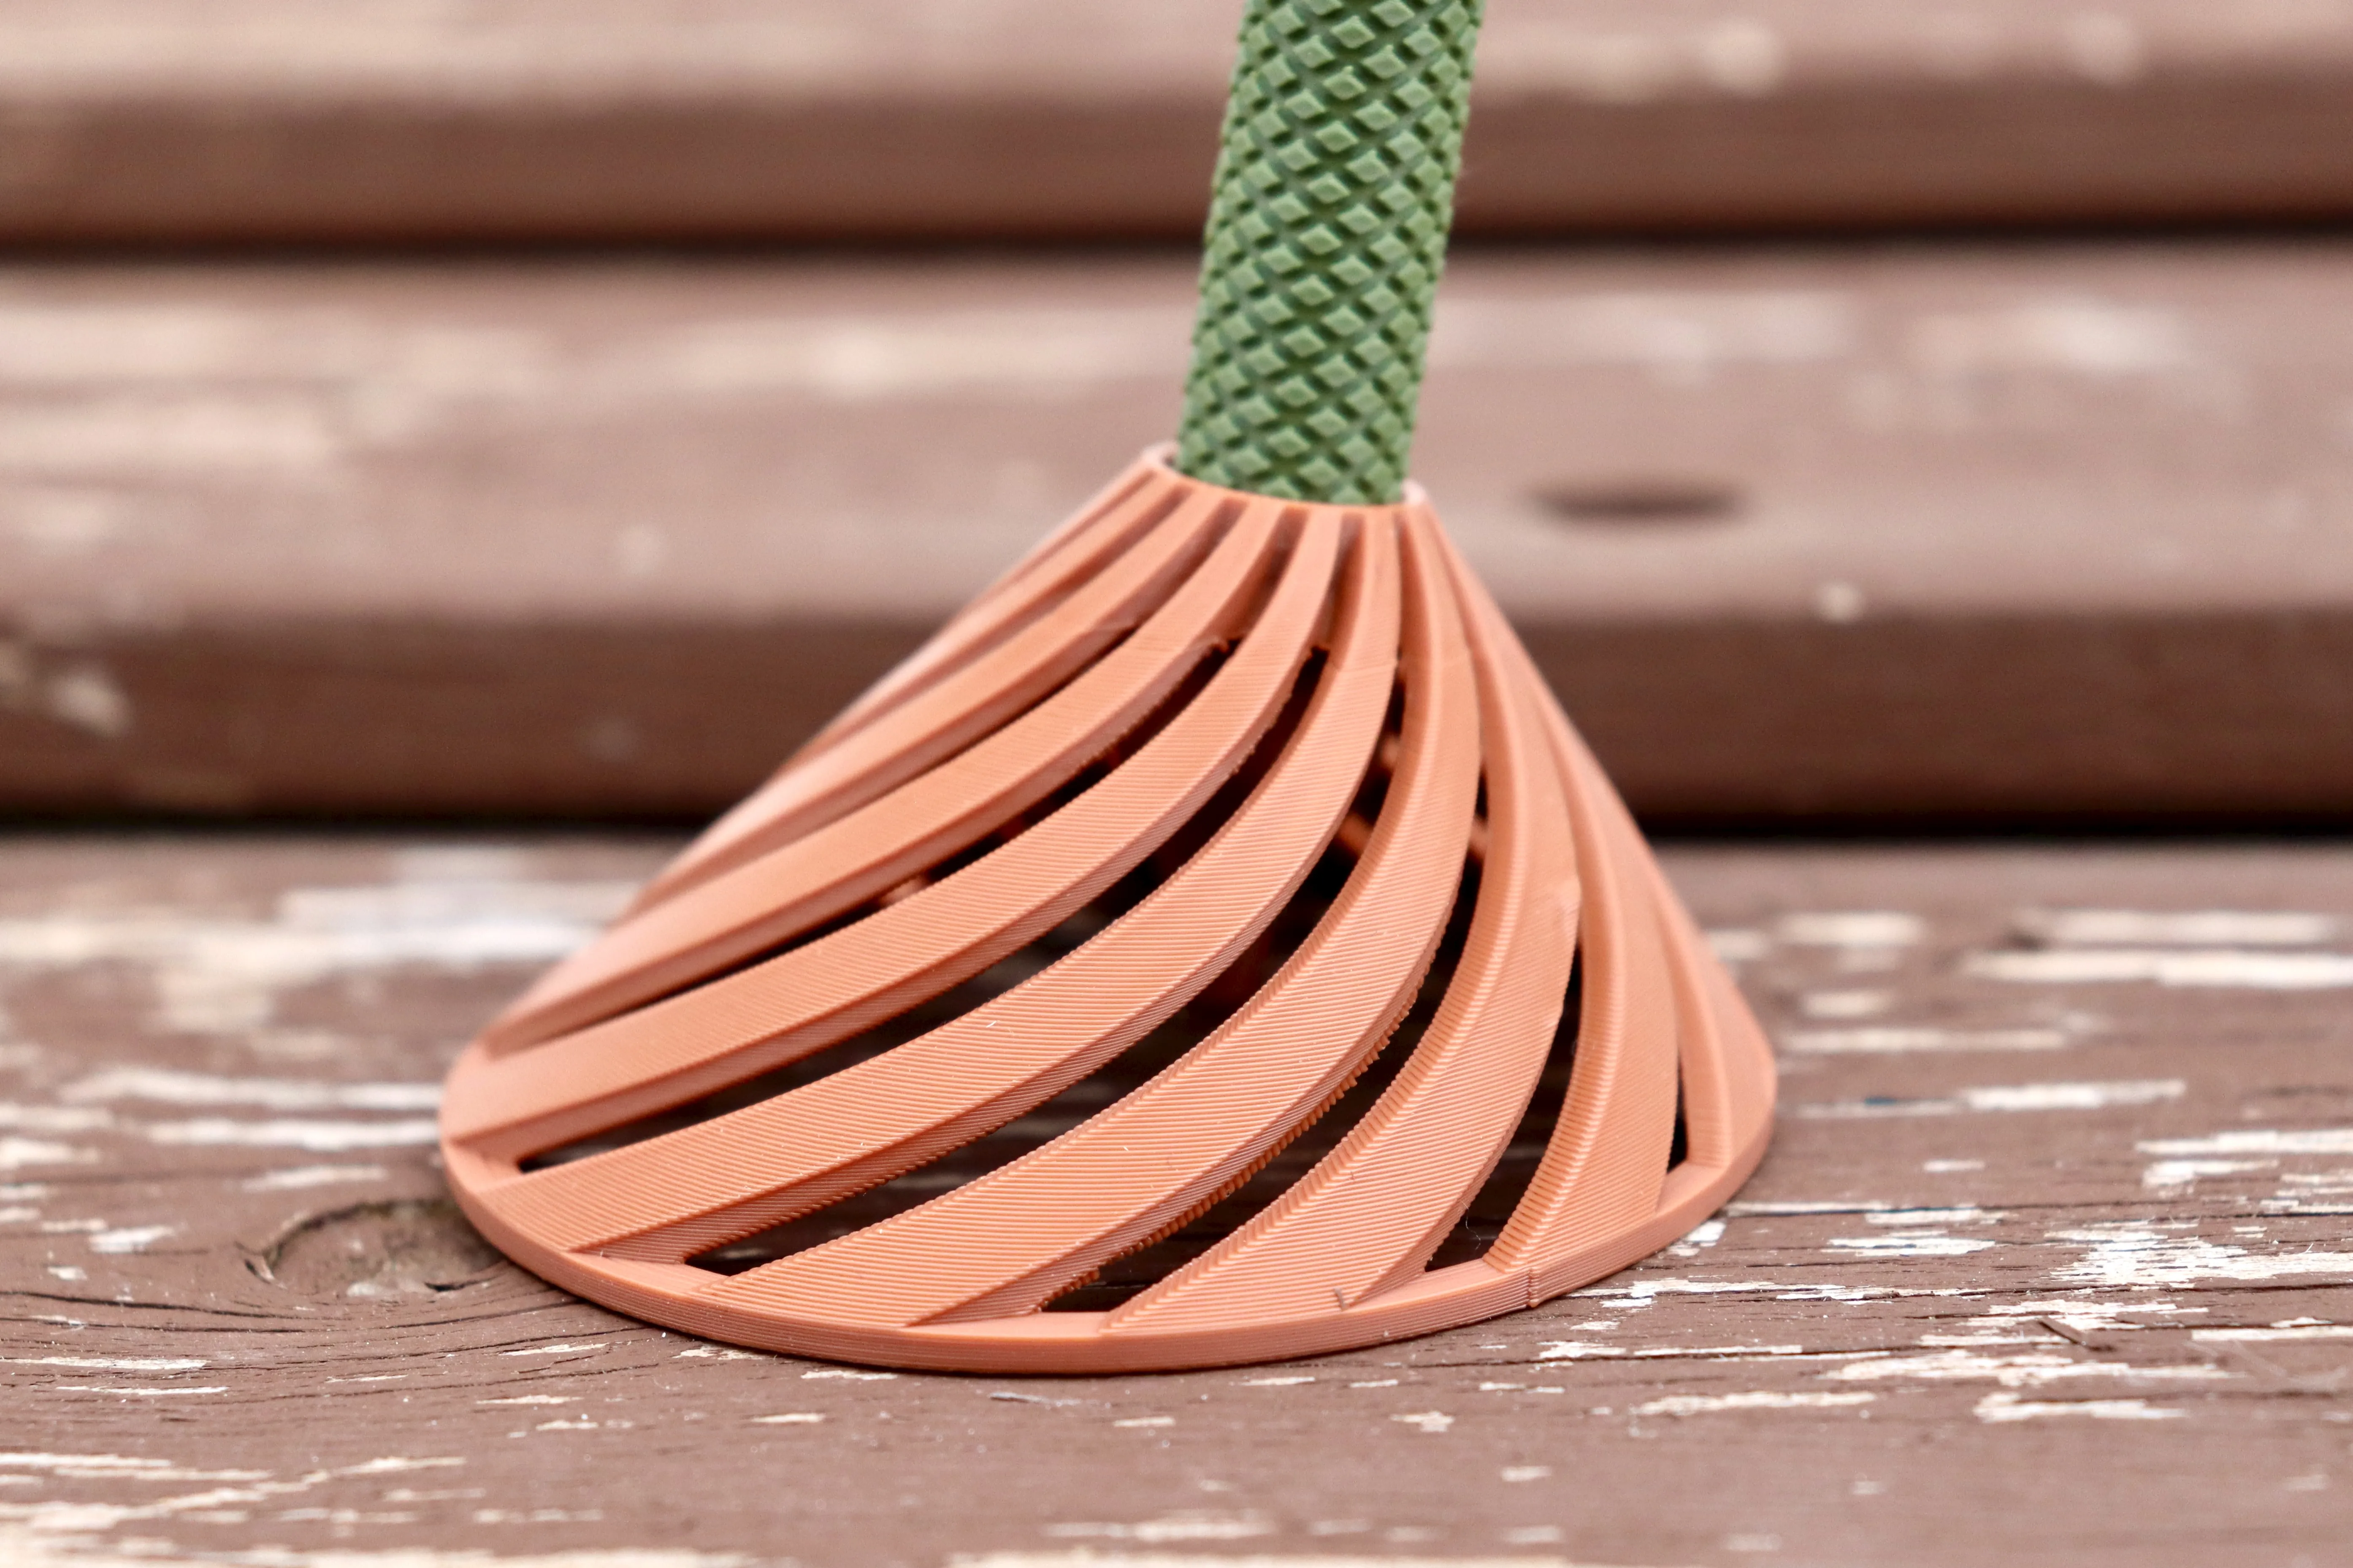
I made a stand for it if it interest you here is the link.
PS: If you’re using the crown, I found it feels more solid when glued to the screw. A small dab of super glue on the shoulder of the M3 screw before threading on the crown does the trick. It keeps everything tight and improves the overall feel.
PPS: I don’t think a full step-by-step guide is needed for this one, but if you’d like one, just let me know in the comments and I’ll put one together.
Boost Me (for free)
💬 If this print clicks (pun intended), consider giving it a boost!
It fuels the algorithm, inflates my sense of usefulness, and motivates me to keep creating functional designs like this one. 😄 Thanks for the support!
License

You shall not share, sub-license, sell, rent, host, transfer, or distribute in any way the digital or 3D printed versions of this object, nor any other derivative work of this object in its digital or physical format (including - but not limited to - remixes of this object, and hosting on other digital platforms). The objects may not be used without permission in any way whatsoever in which you charge money, or collect fees.


Comment & Rating (79)