
AMS Dry Box - easy2print - (dry box for AMS)
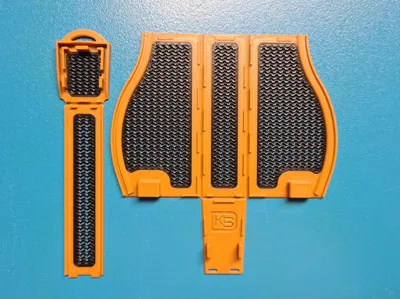
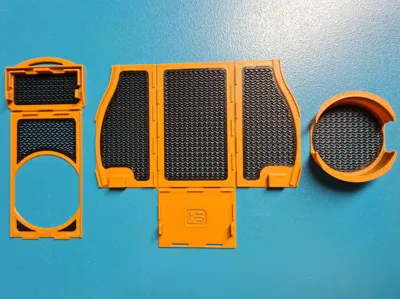
Print Profile(2)


Bill of Materials

Description
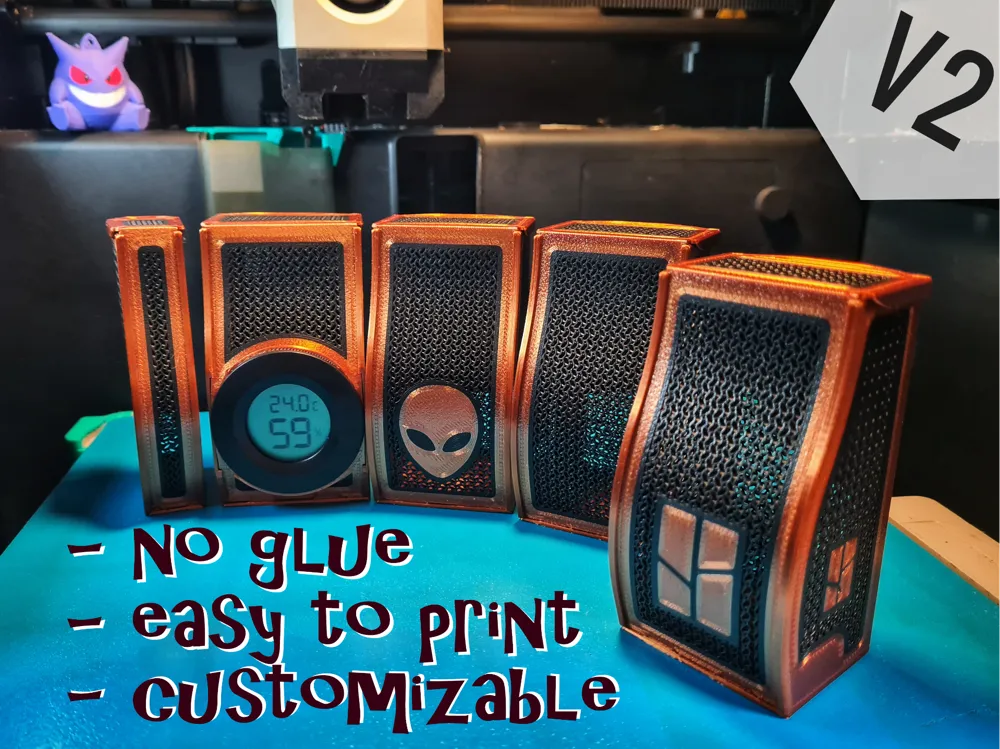
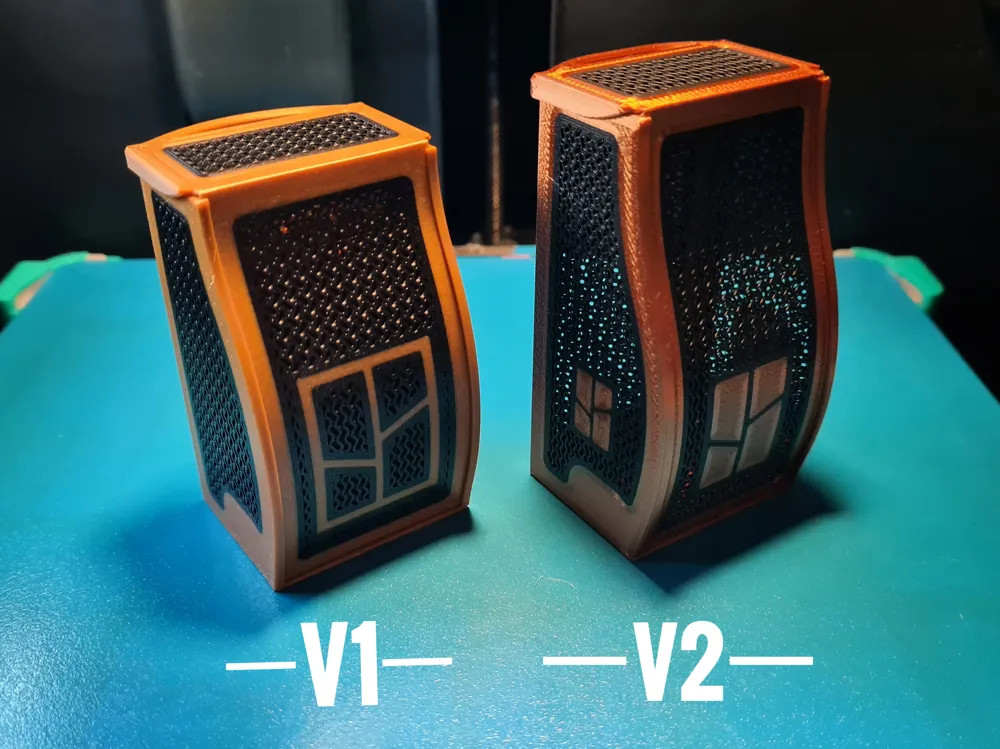
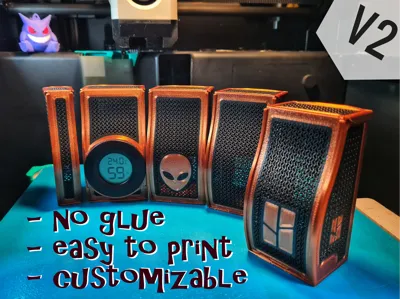
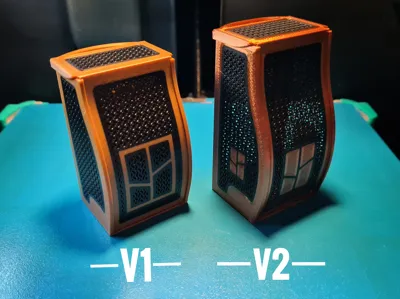
Attention, new models available (Version 2)!
- slightly taller than Version 1
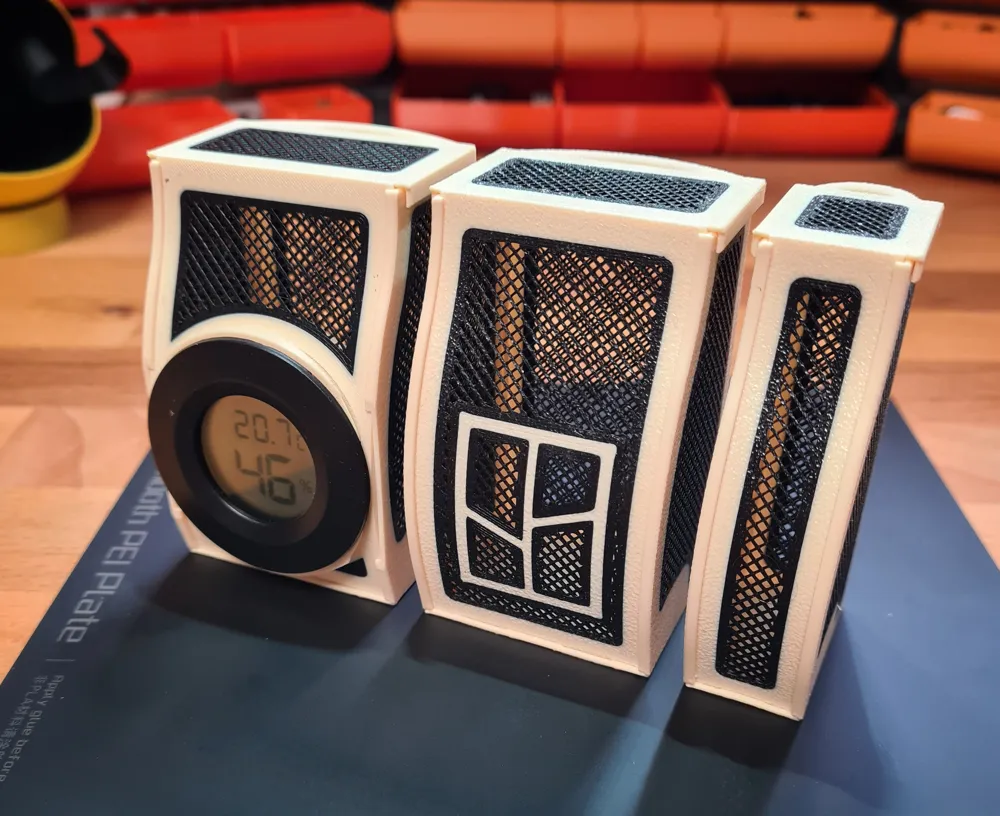
- the box with the hygrometer is slightly slimmer
- the small box now fits better
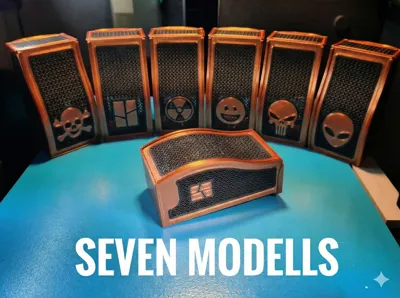
- a logo was added to the side walls
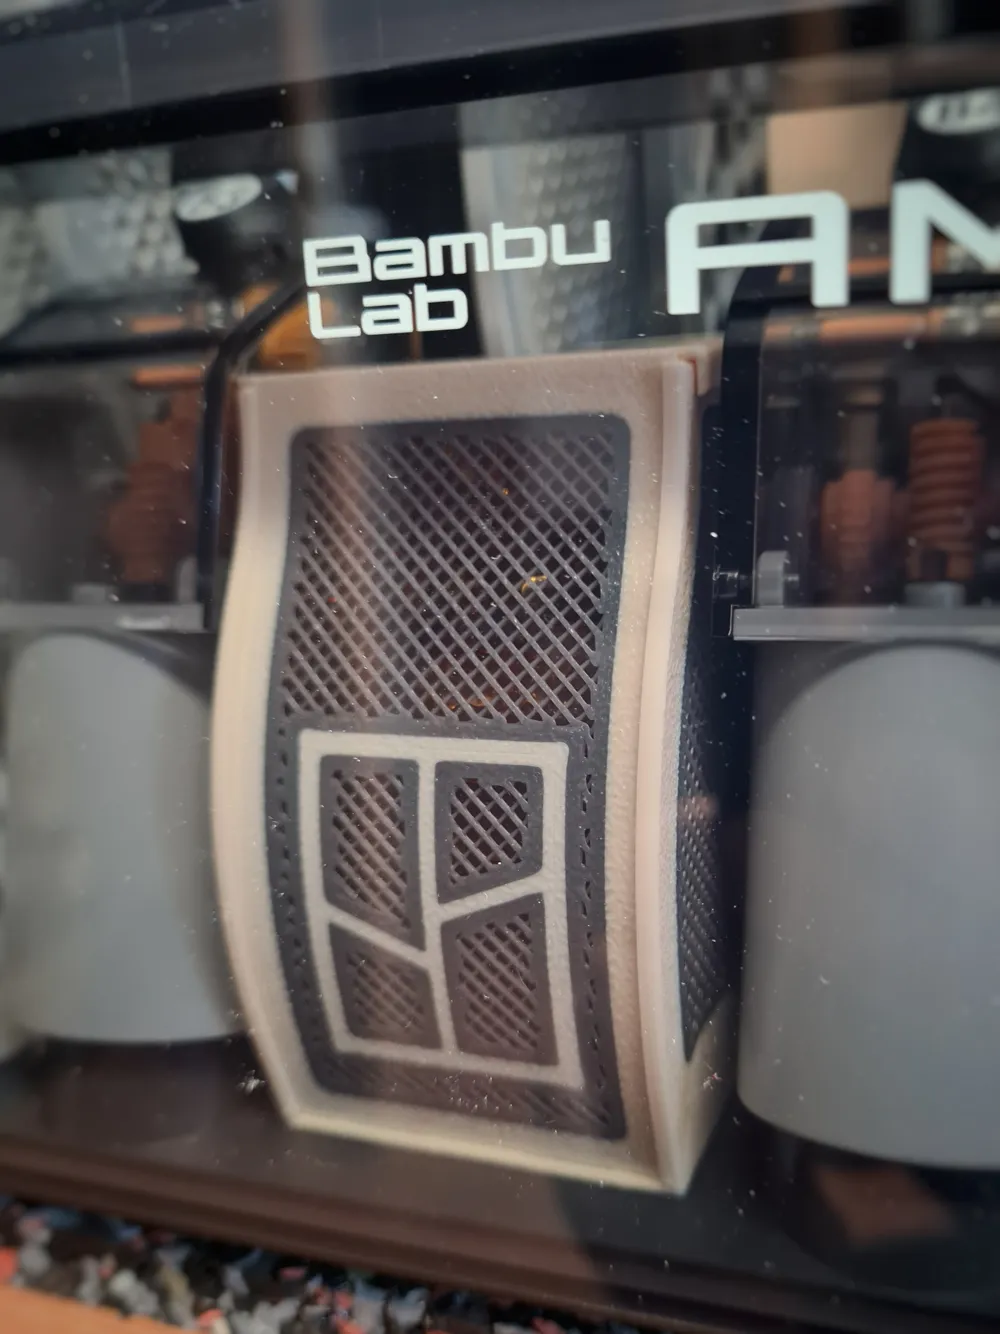
- feedback needed on whether the boxes also fit the AMS 2 (unfortunately I don't have one)
Hello fellow printers,
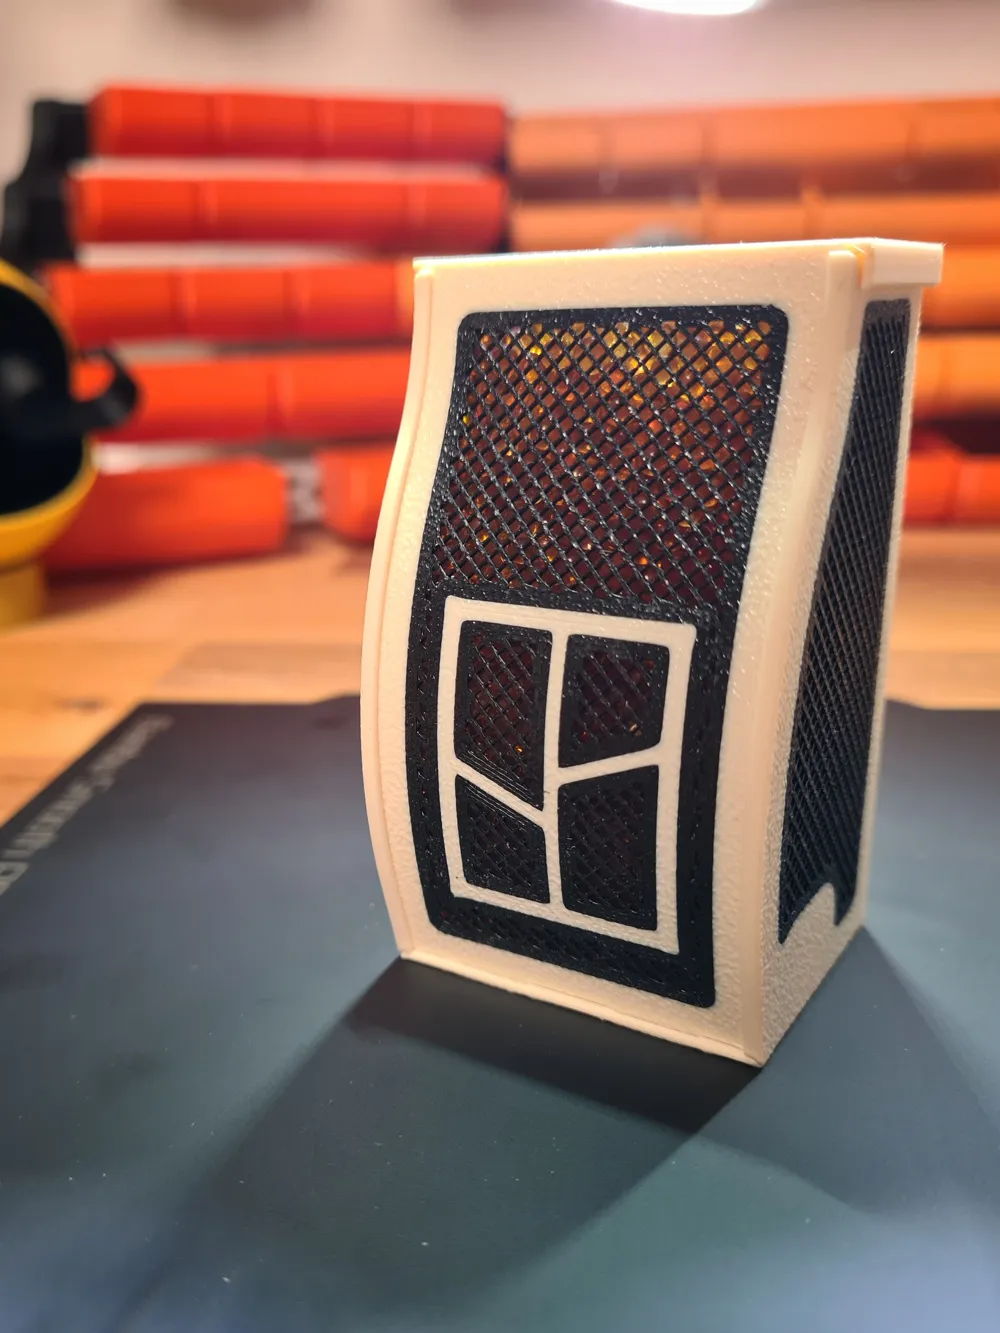
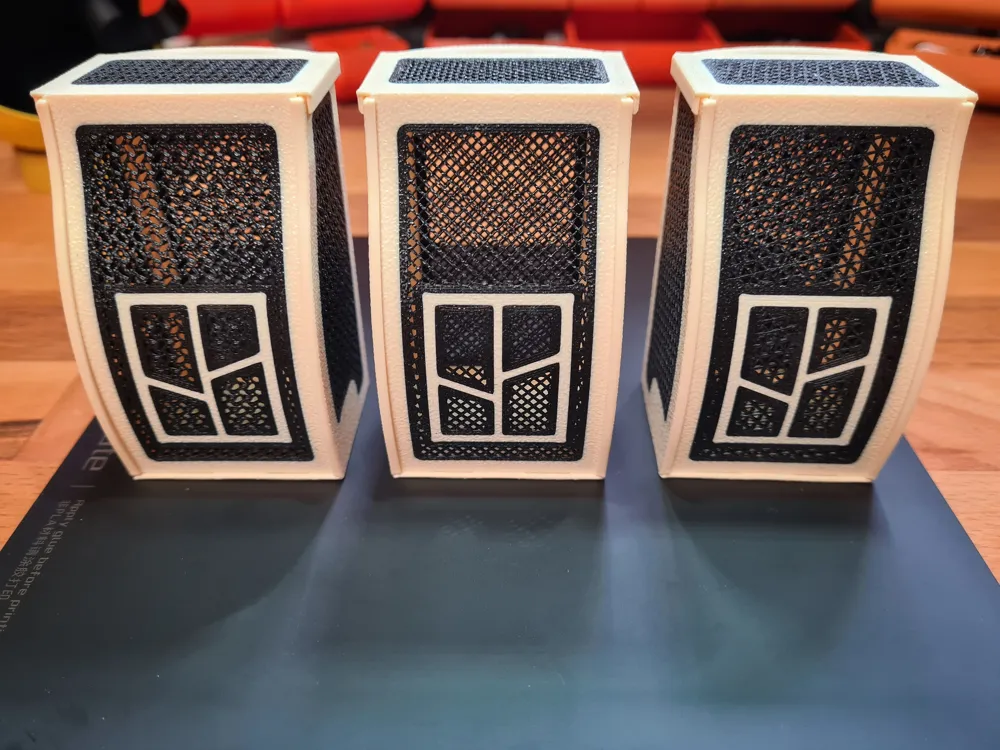
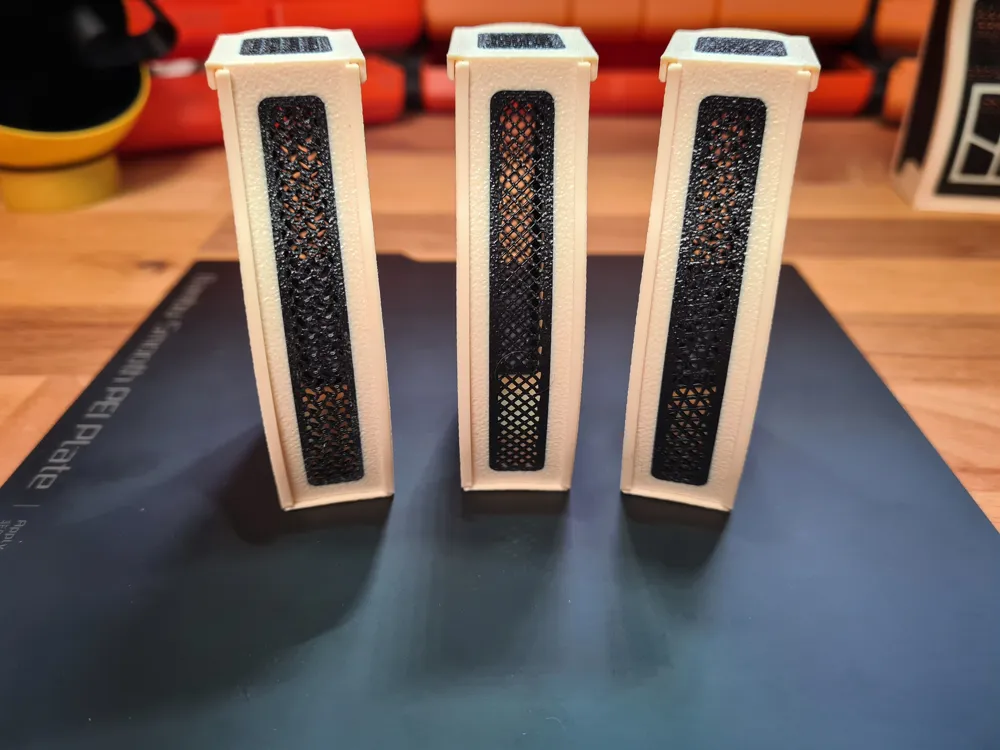
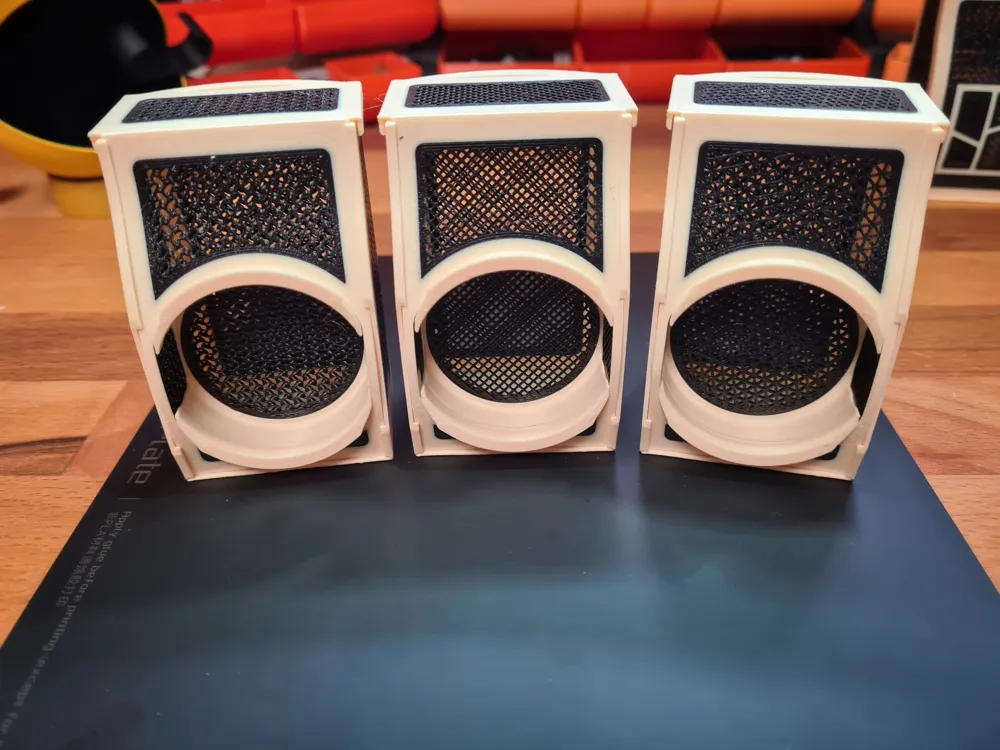
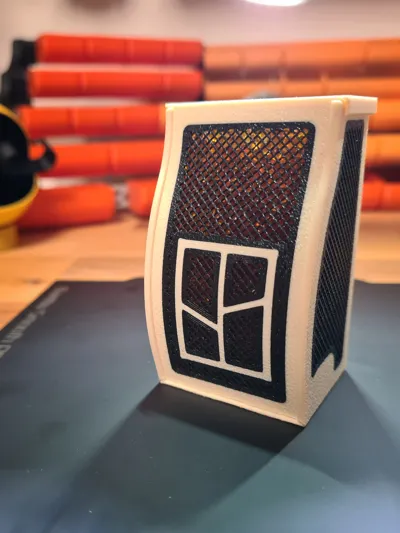
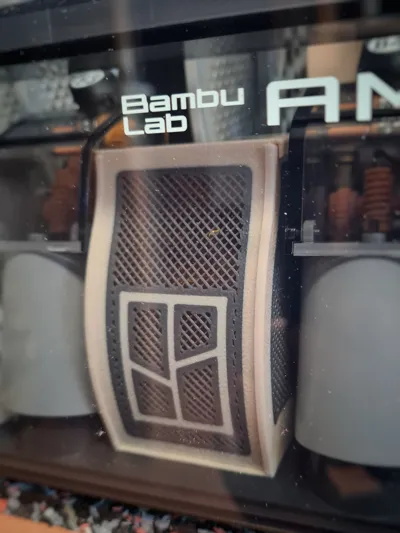
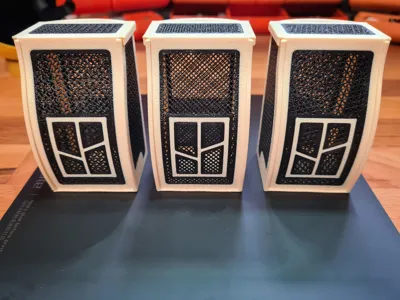
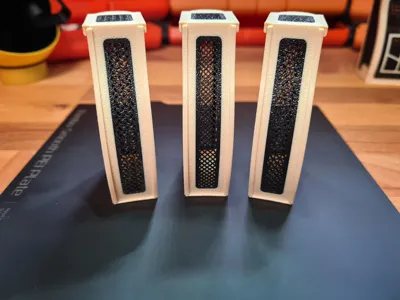
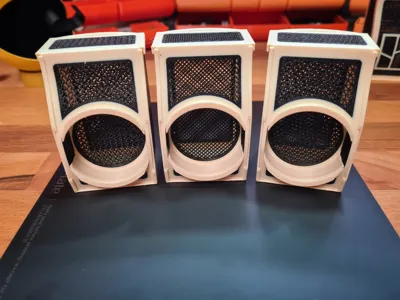
today I have new silica gel containers for your Bambu Lab AMS. These are quick and printer-friendly to print. Anyone who wishes can adjust the wall structure in the slicer. Here, the support structure is printed without bottom and top layers. You can experiment here depending on the desiccant used and your personal preference. I am sharing three of my favorite variations here.
I recommend printing the containers with PETG. I also tested with PLA. However, since PLA is somewhat brittle, it doesn't feel as good. ;-) But everyone can do as they please....
Here are some advantages of this model:
- one container has a print time of under 45 minutes
- requires little filament and is easy for the printer to handle
- printable with one or two colors
- no glue is needed for assembly (print > assemble > done)
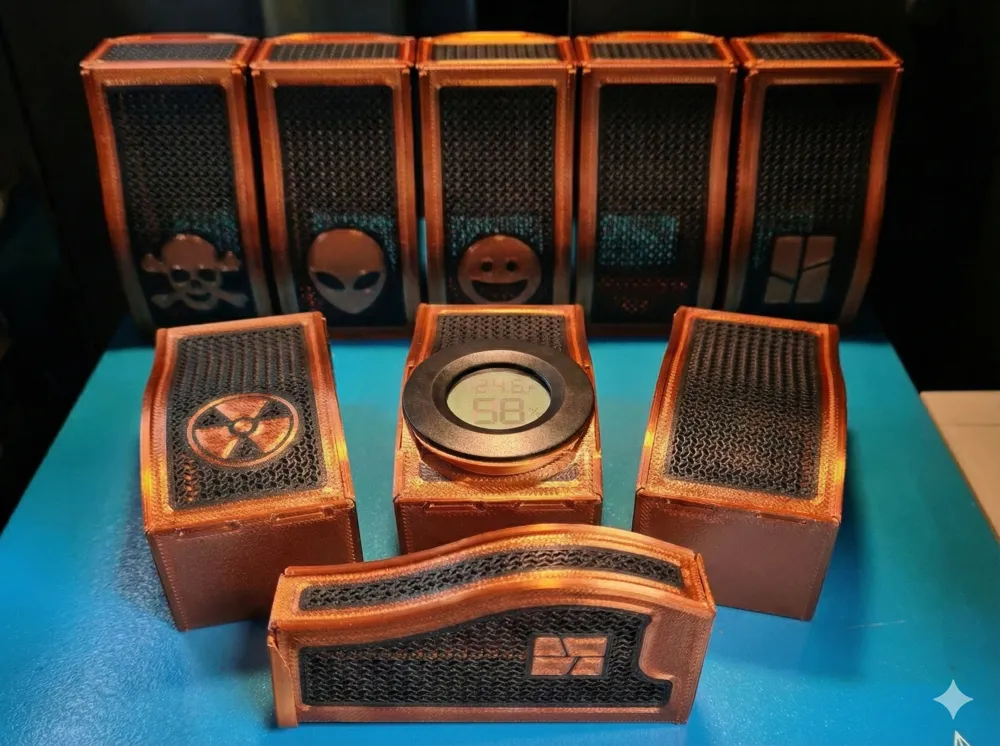
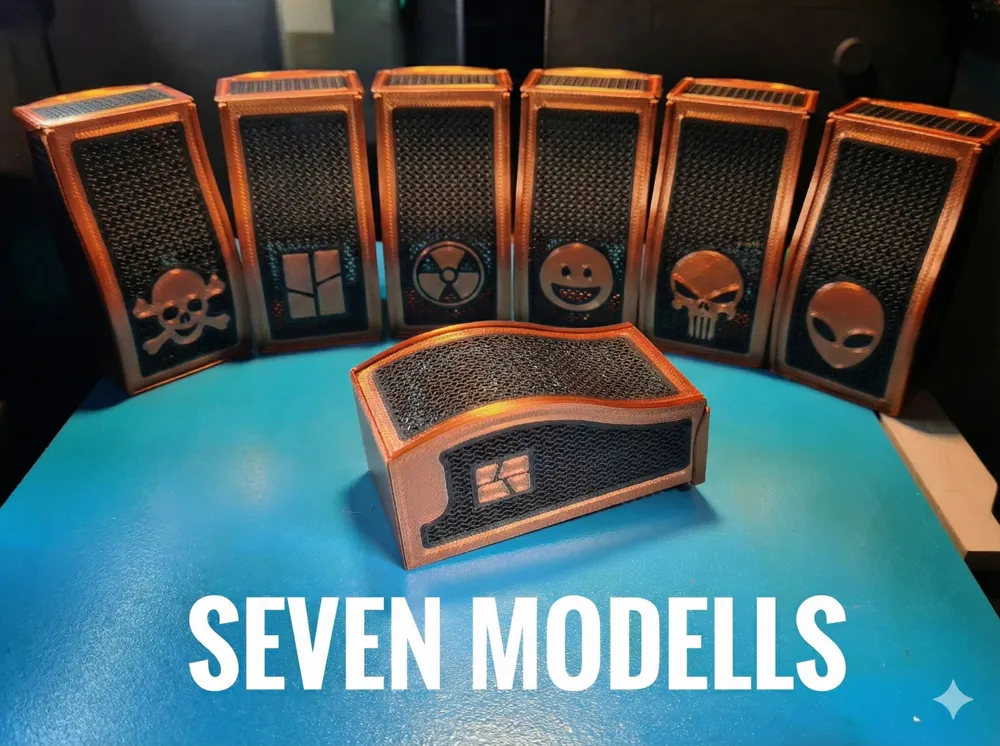
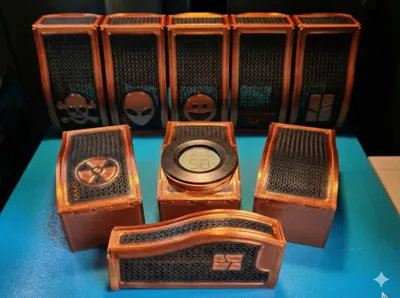
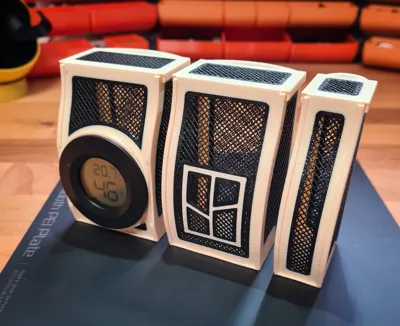
- three different containers are printable
- three different profiles with different wall structures selectable (Version 1)
the walls are printed as support structures, making them fully customizable; anyone who wants to can go wild here

Assembly instructions:
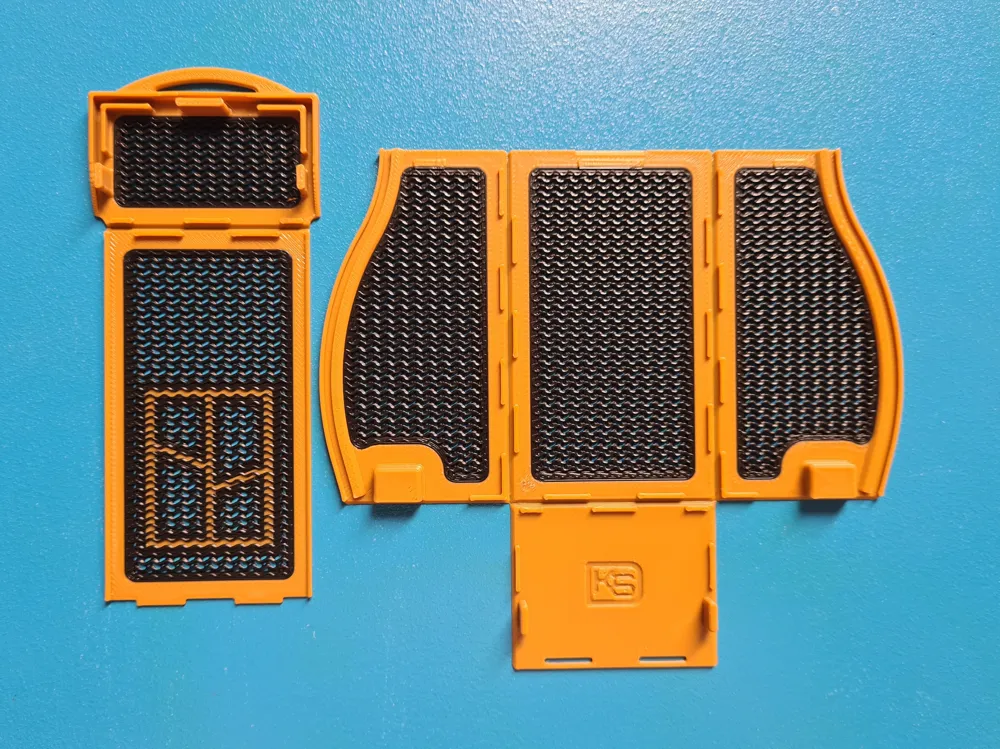
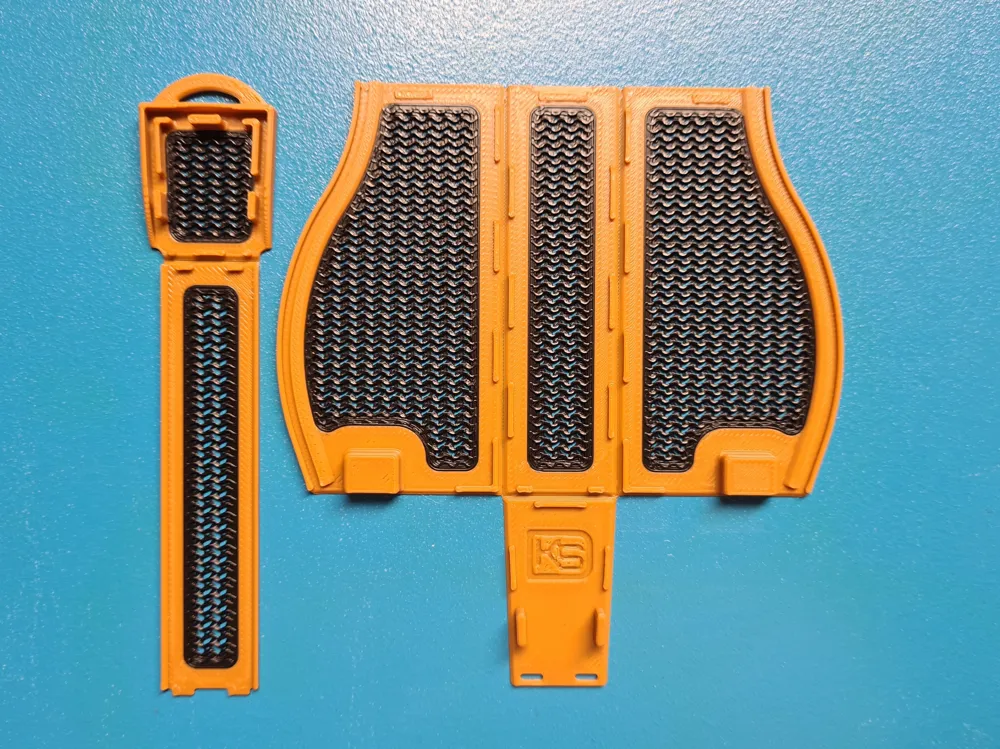
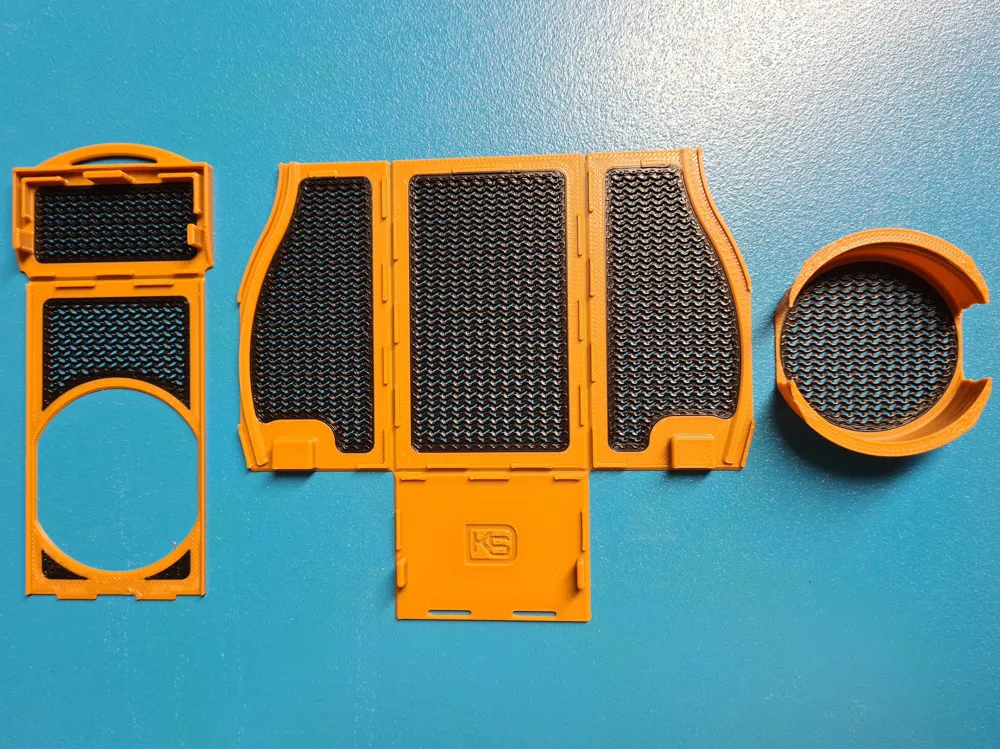
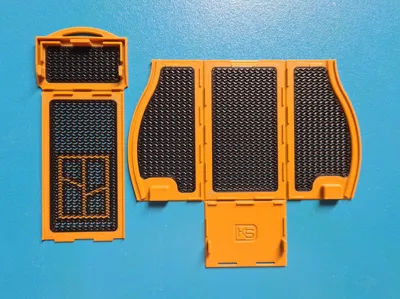
After printing, carefully remove the model from the print bed and bend it slightly!
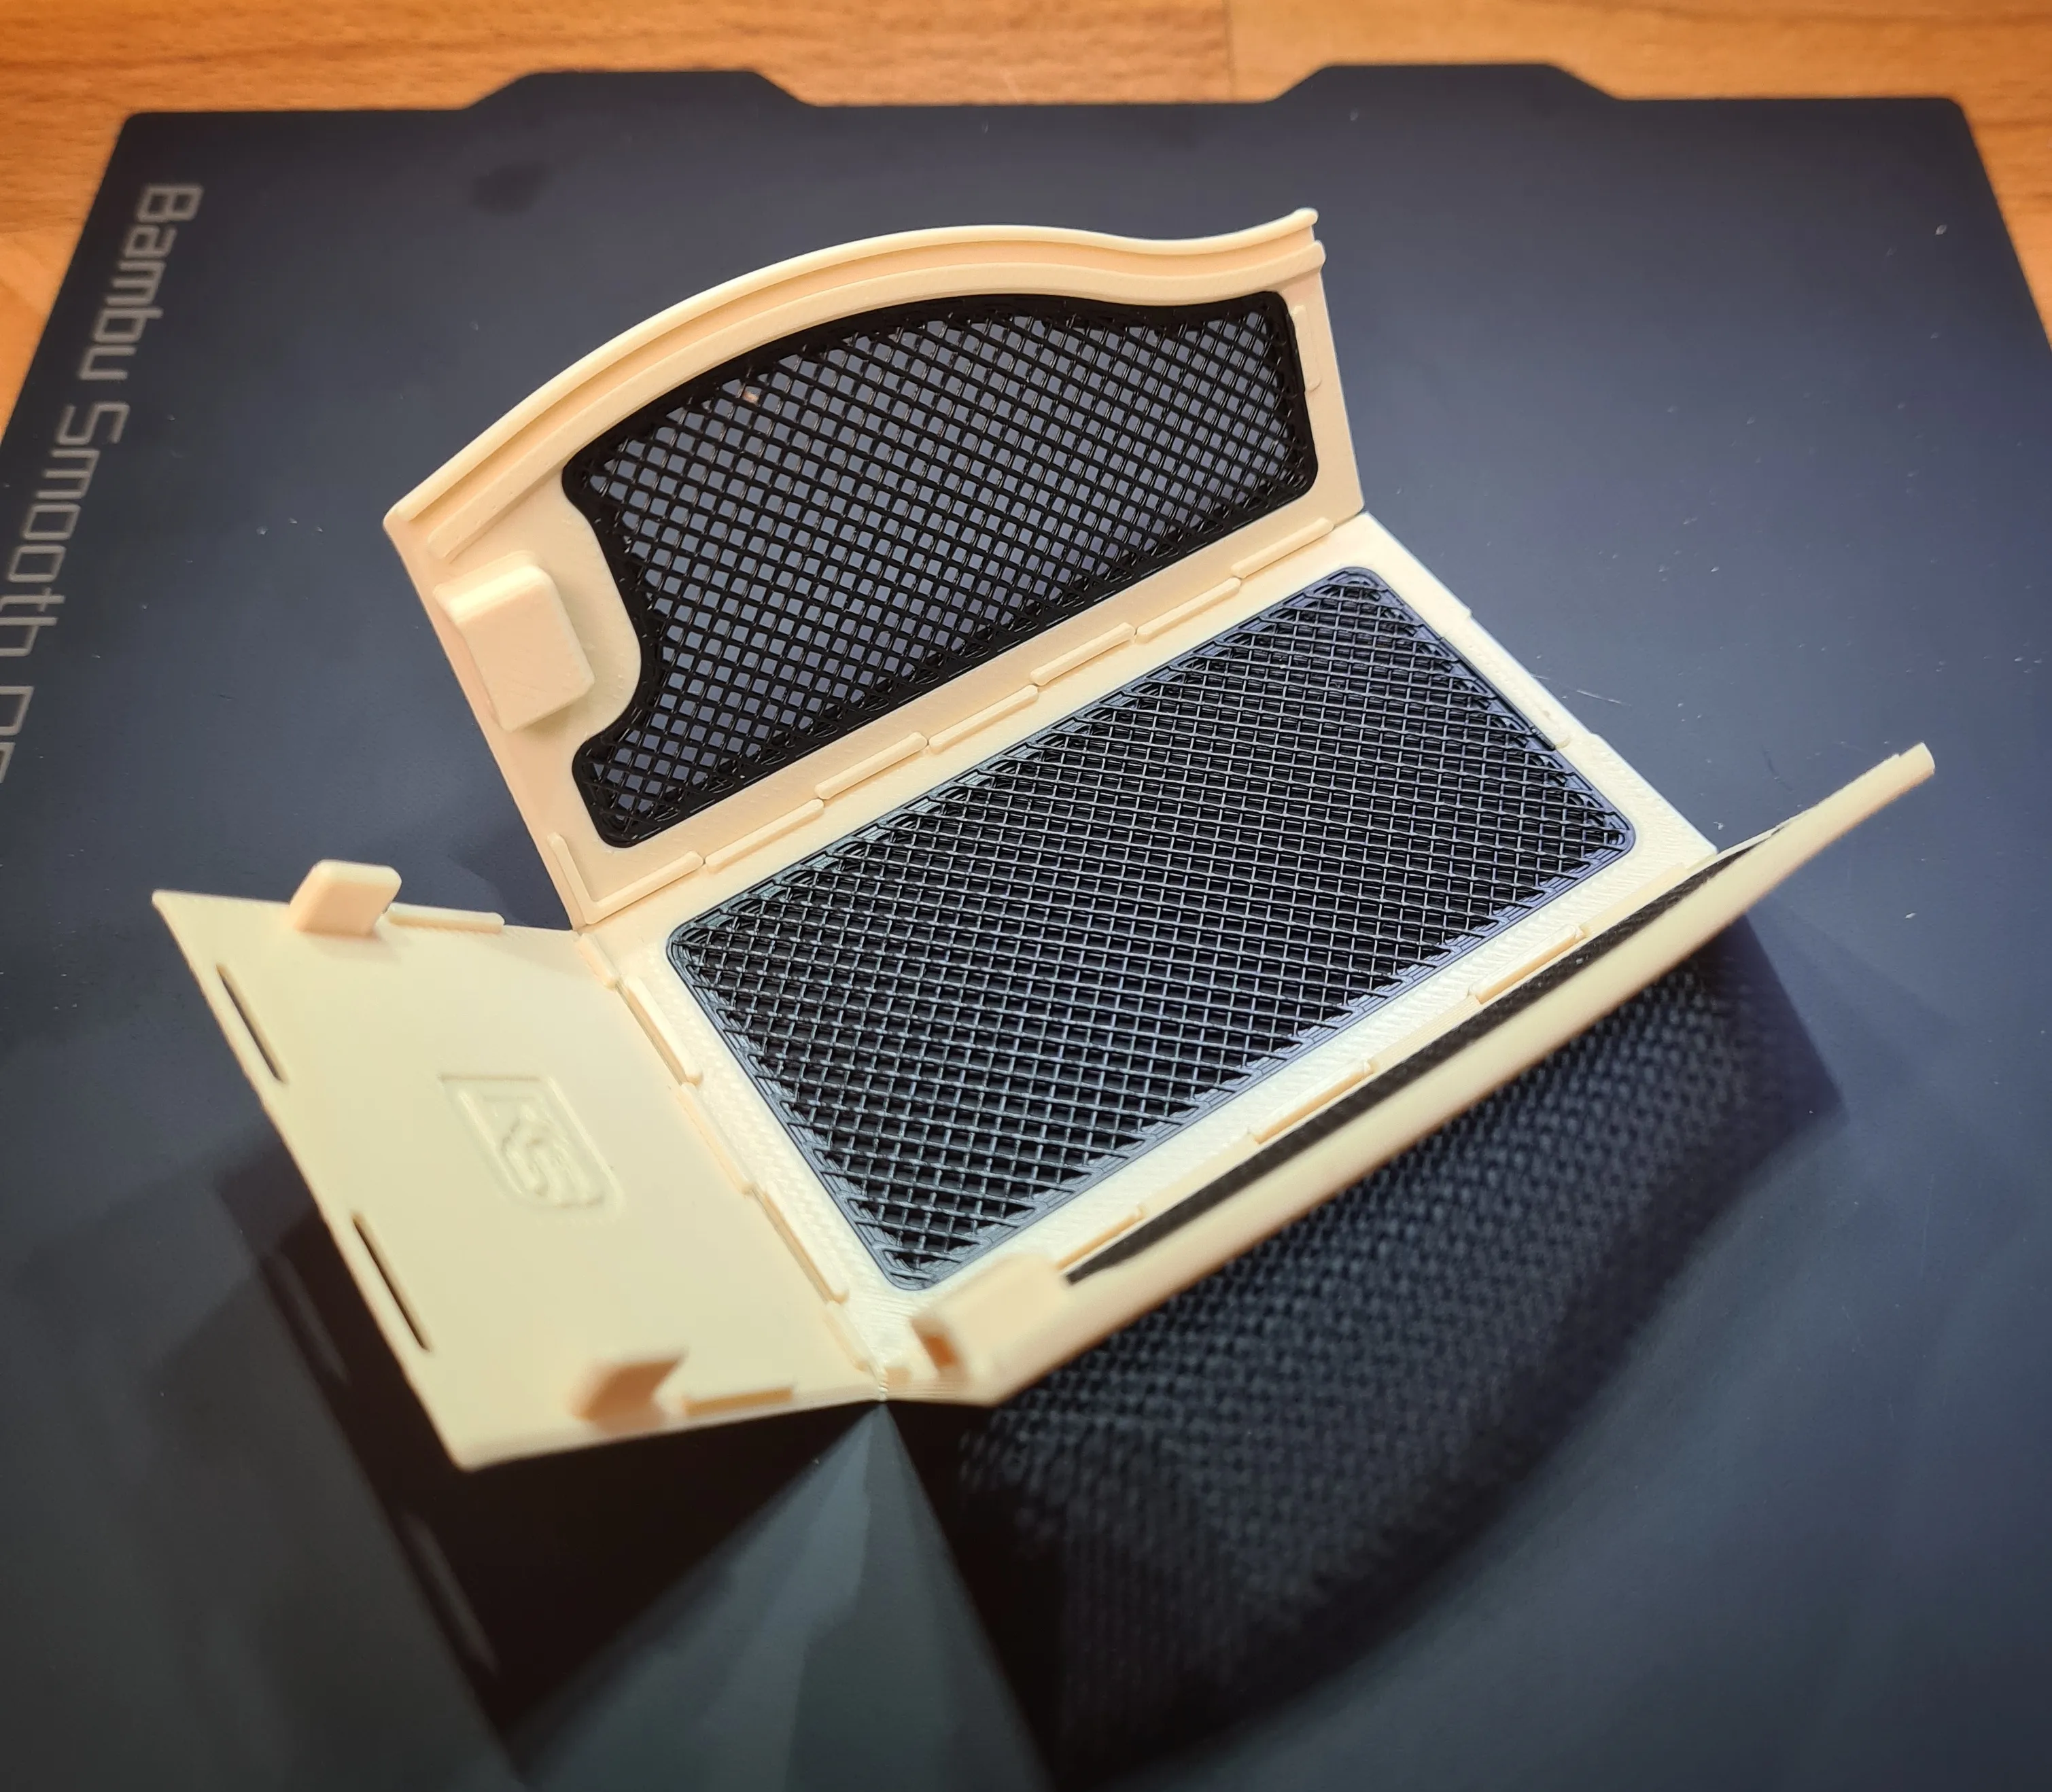
Then, interlock the walls as shown in the picture!
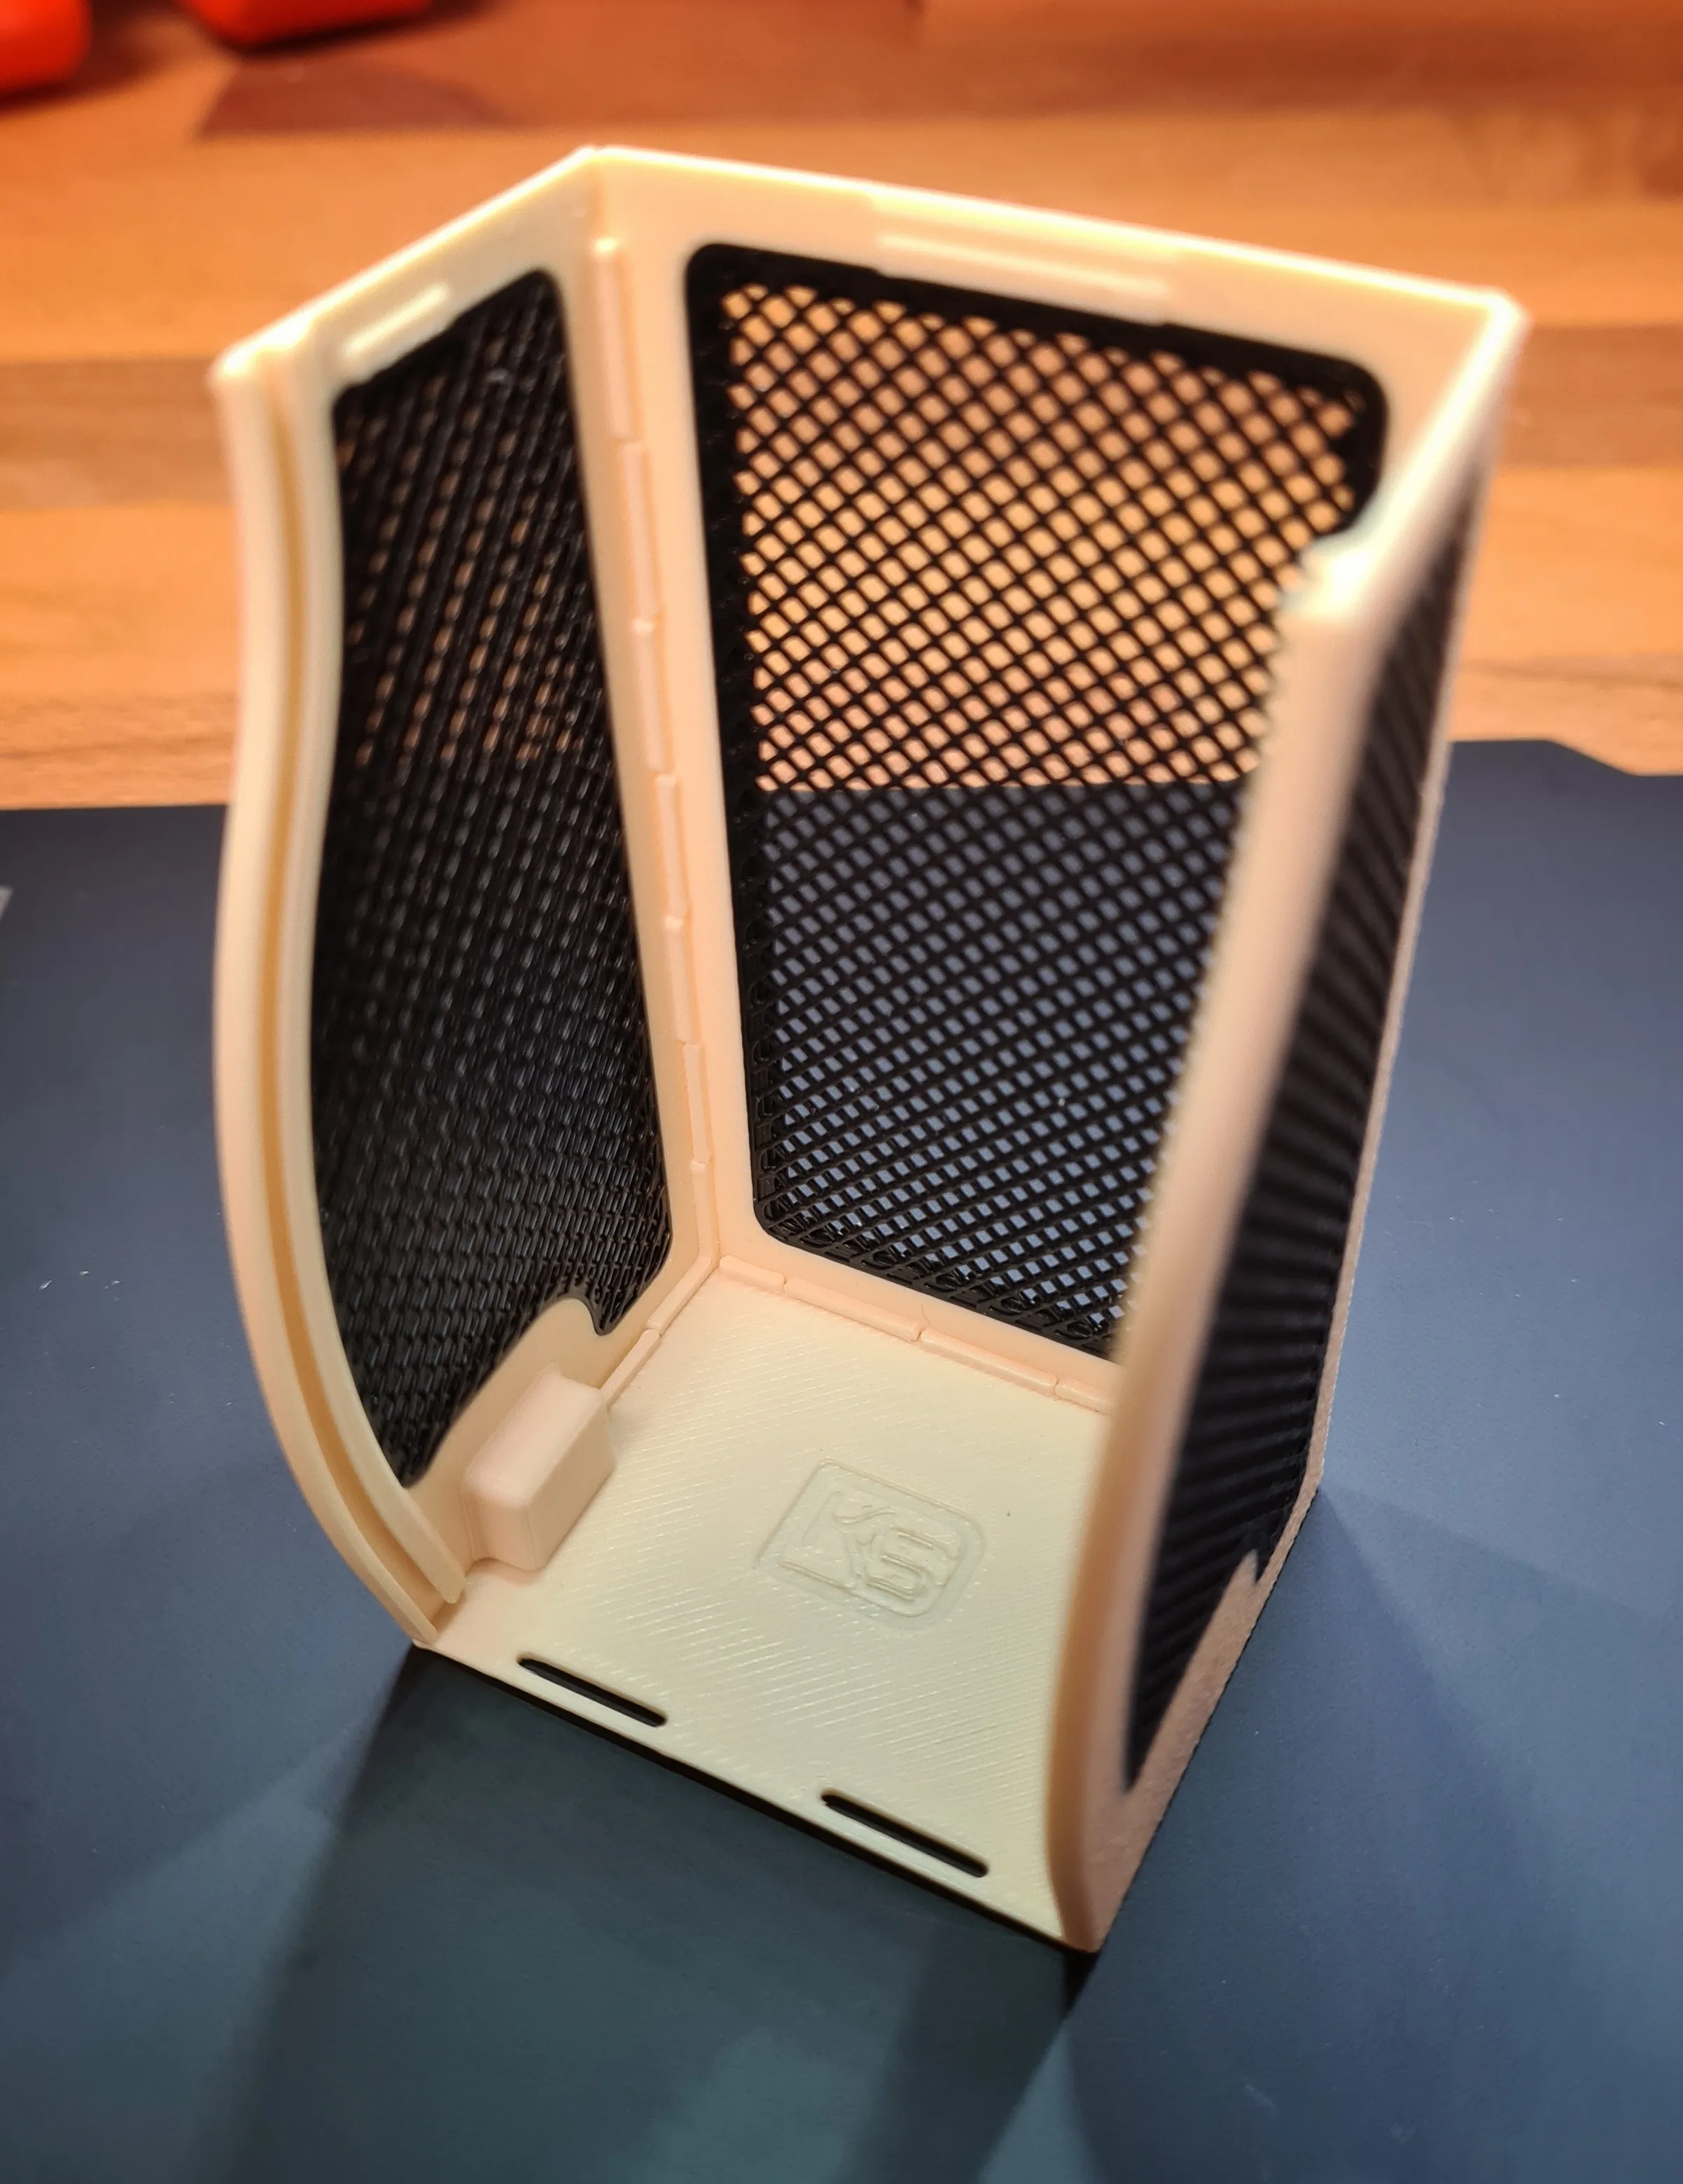
Then, insert the front into the guide and push it all the way down! Optionally, you can fix the tabs with a little glue (but it's not necessary).
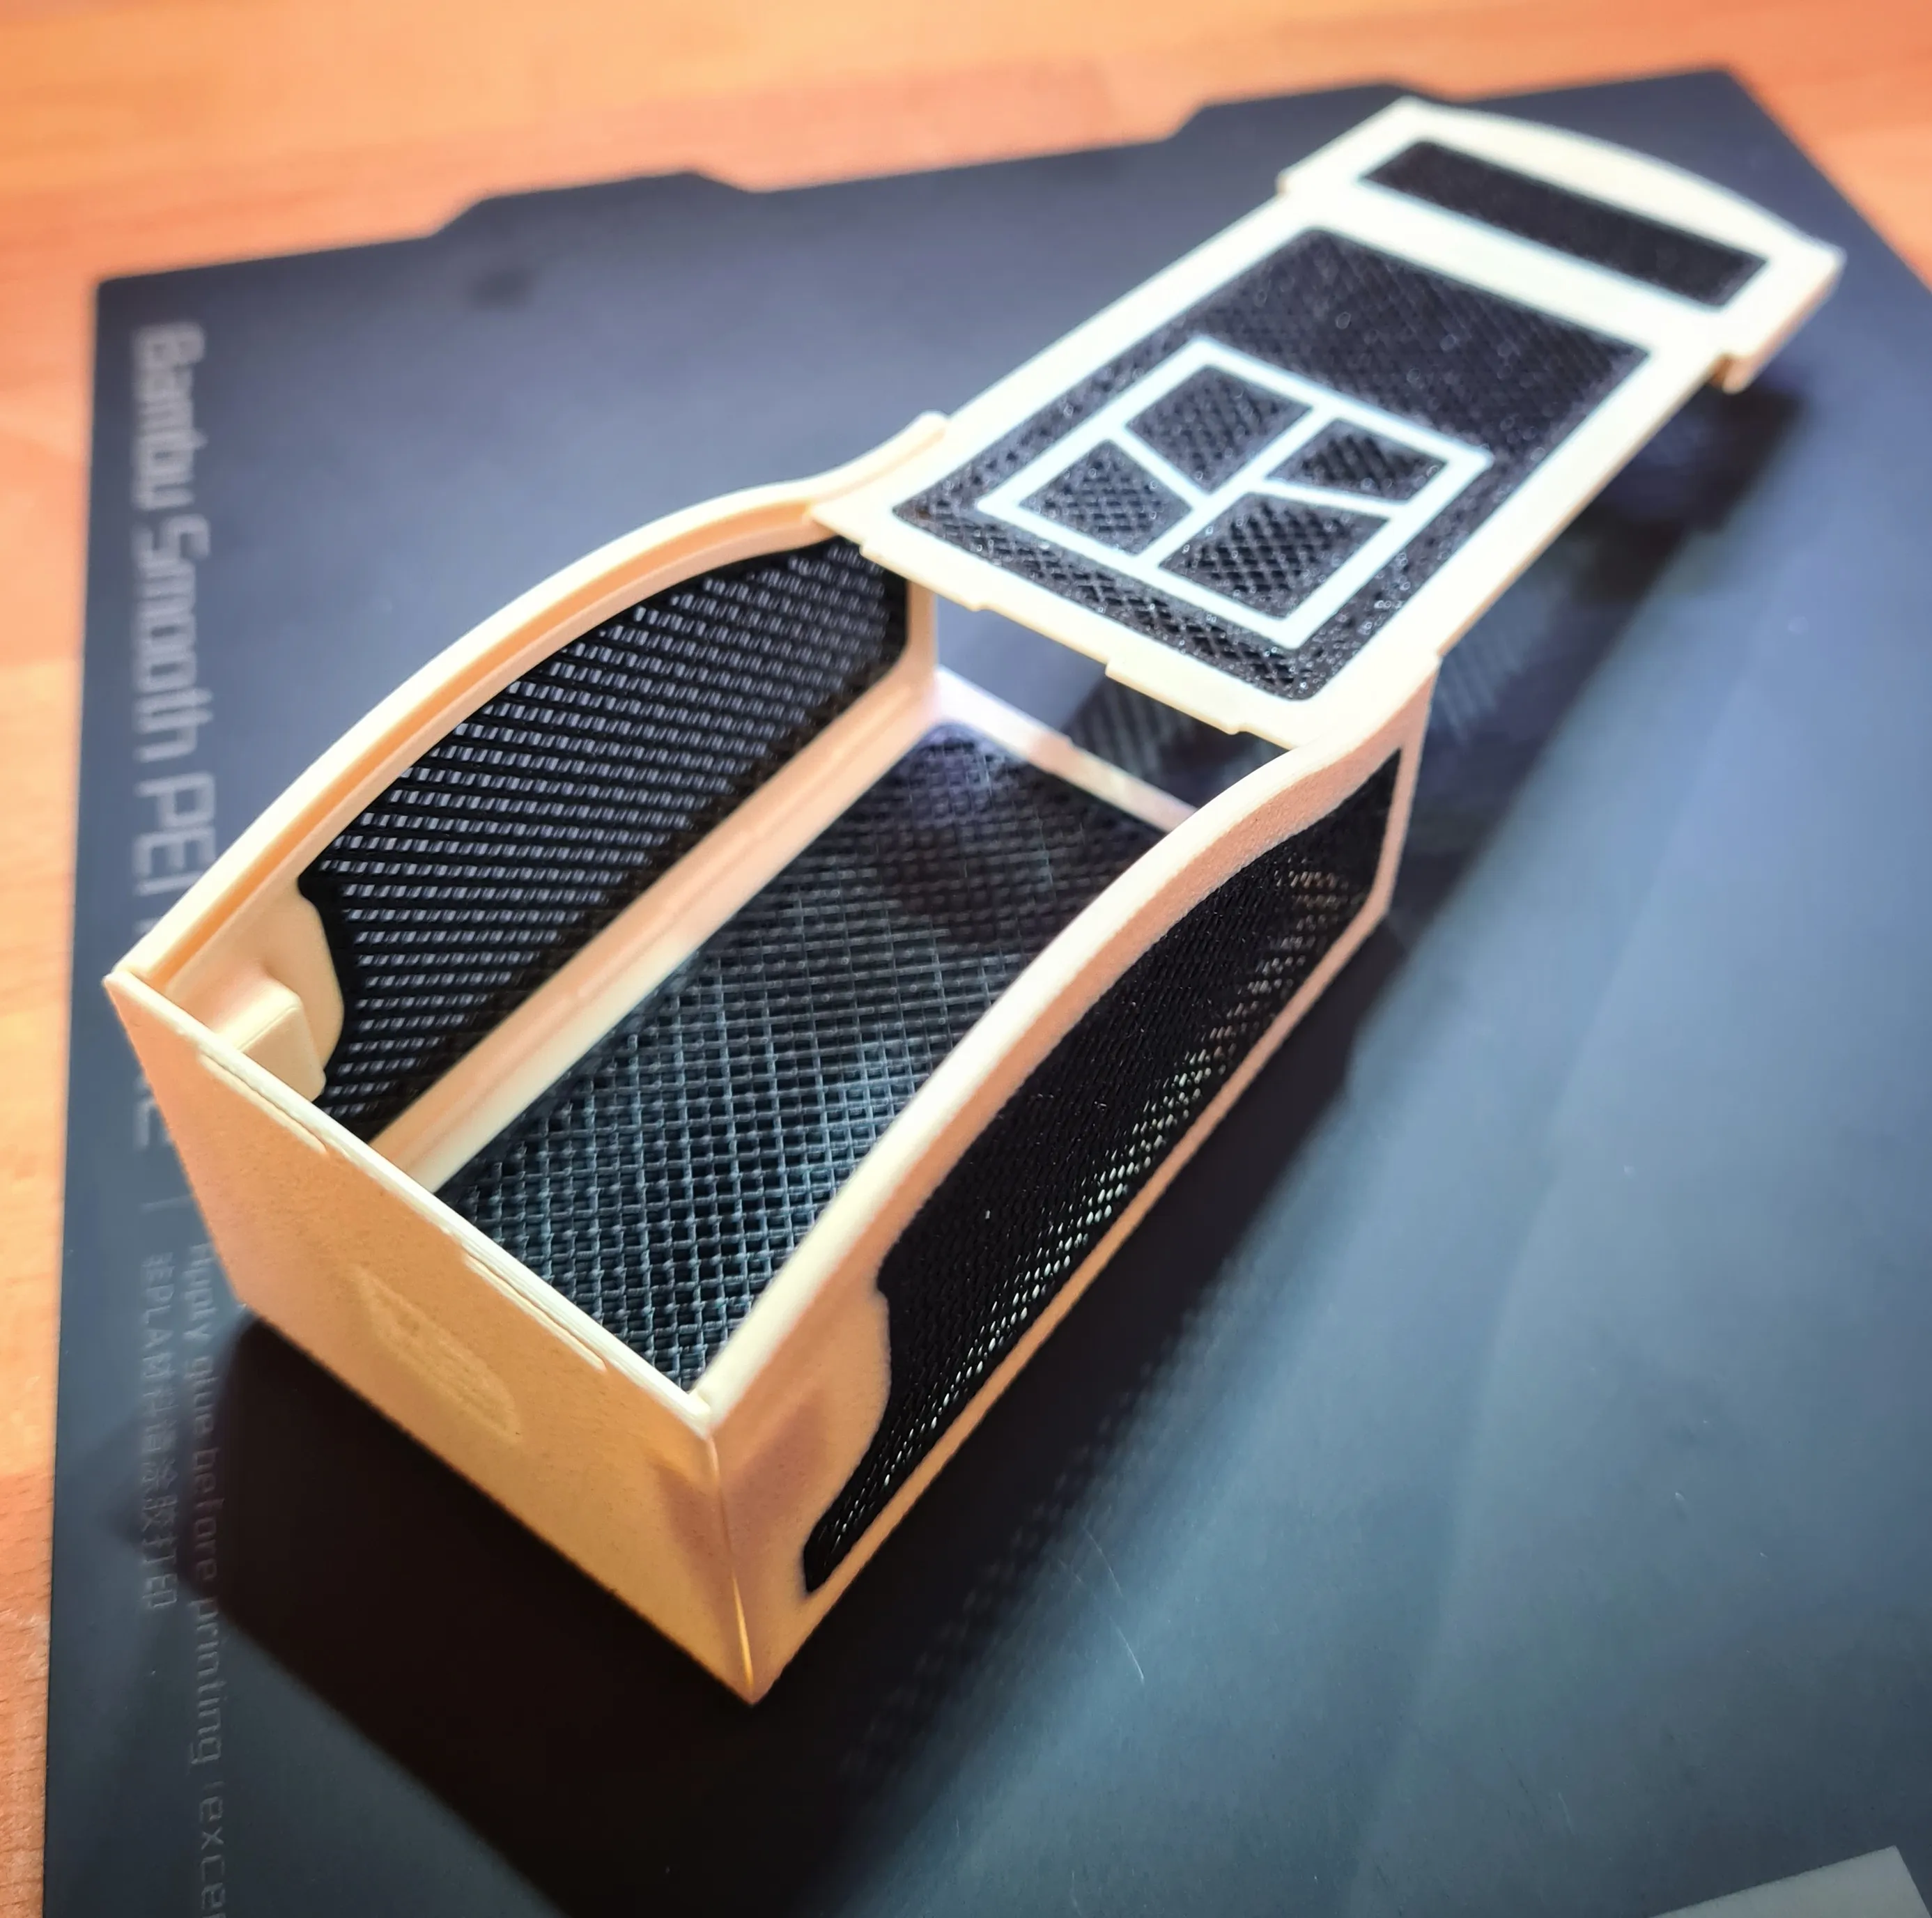
Ready for filling!!!!
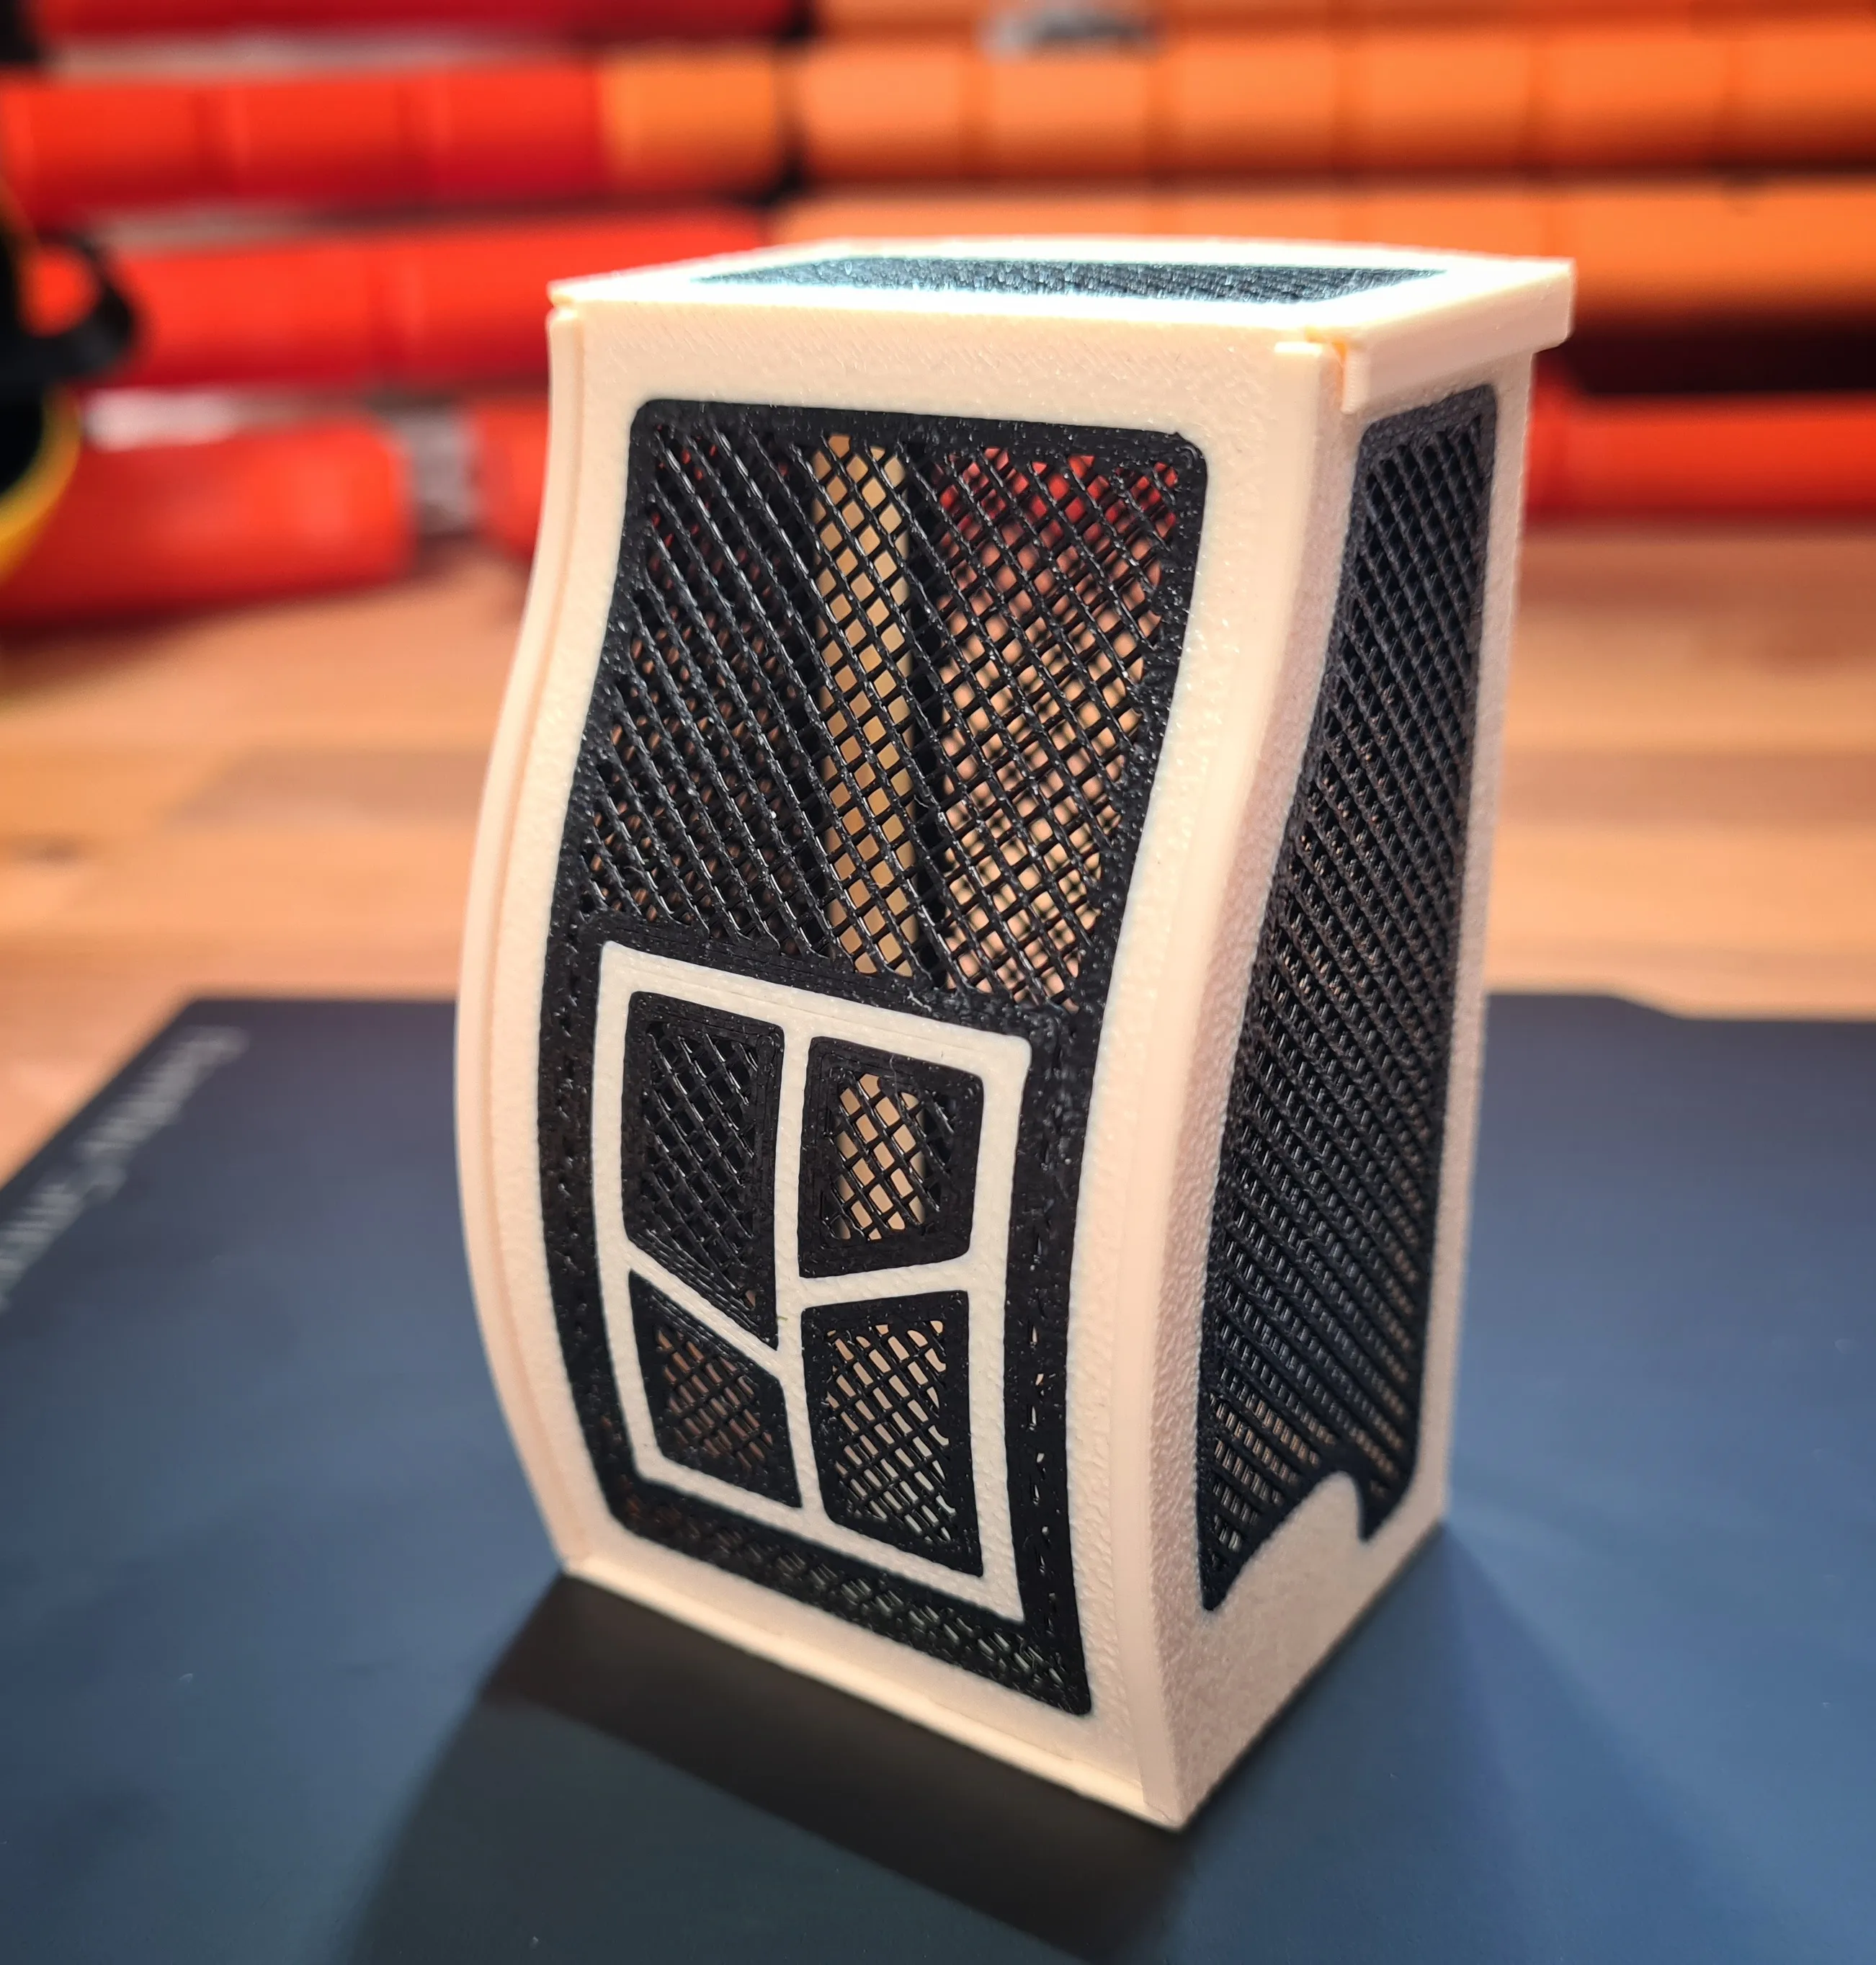
--------------------------------------------------------------------------------------------------
For the container with the hygrometer, push the front halfway, then thread it again and push it all the way down!
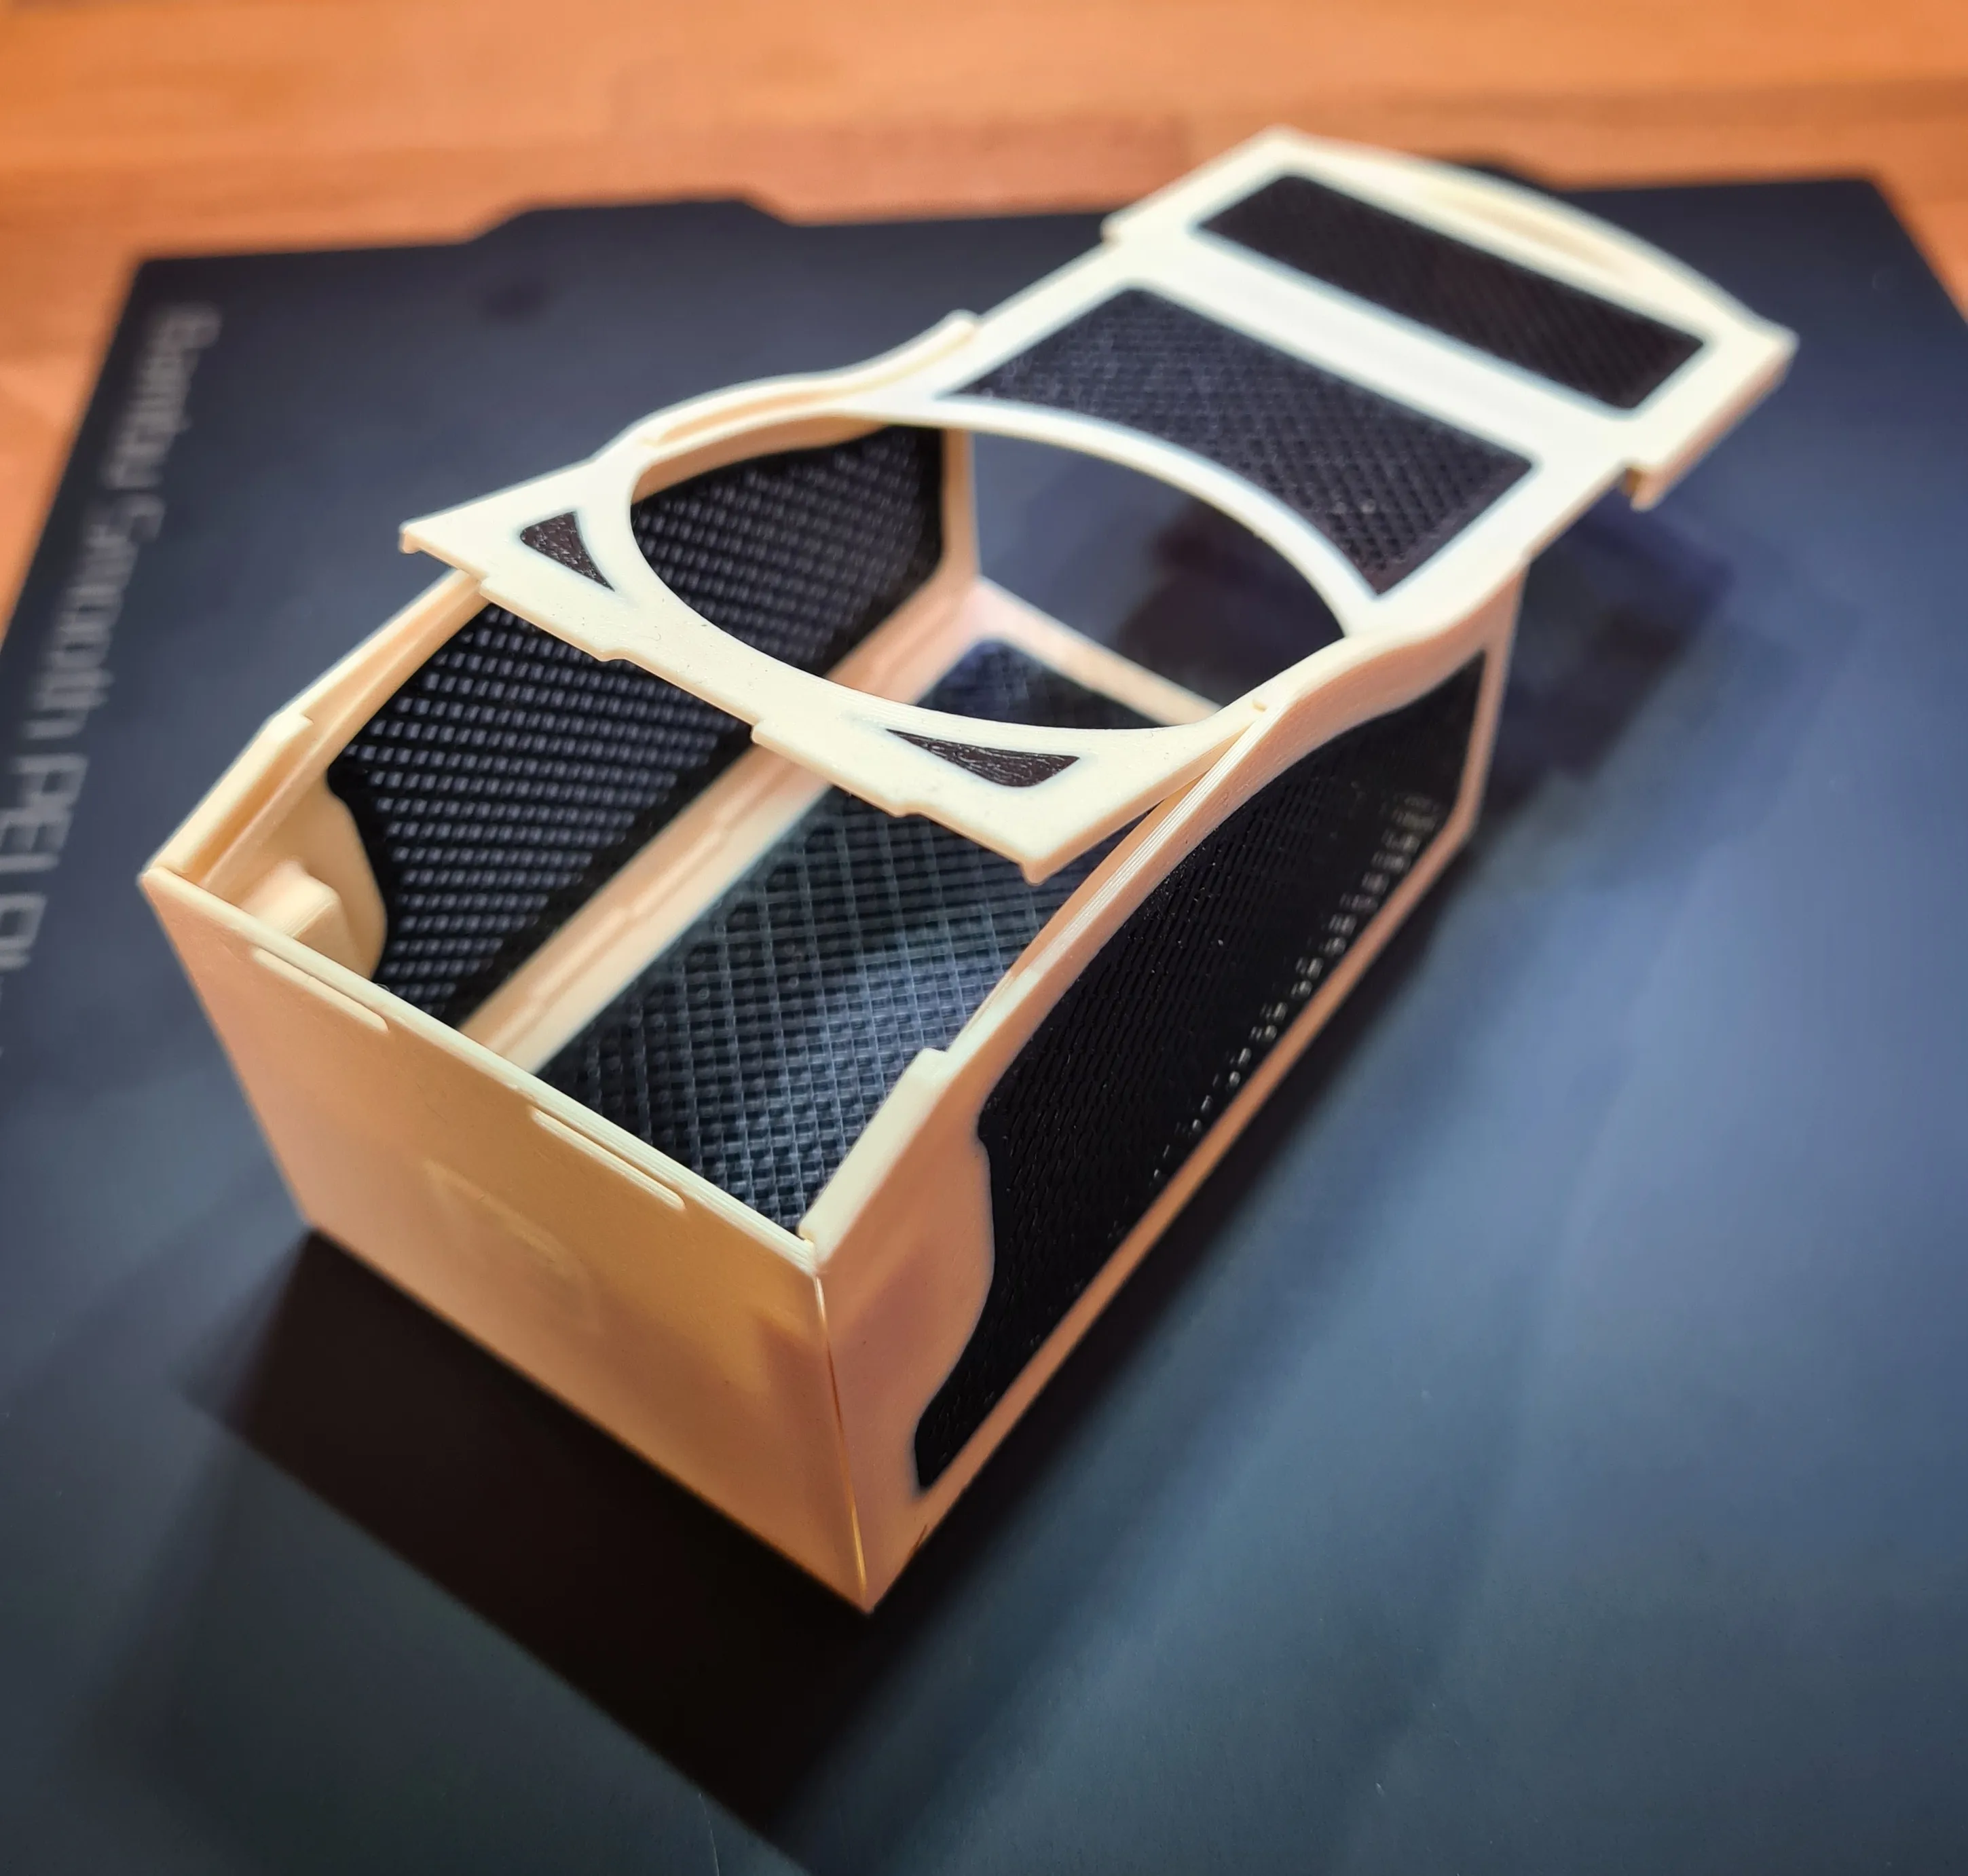
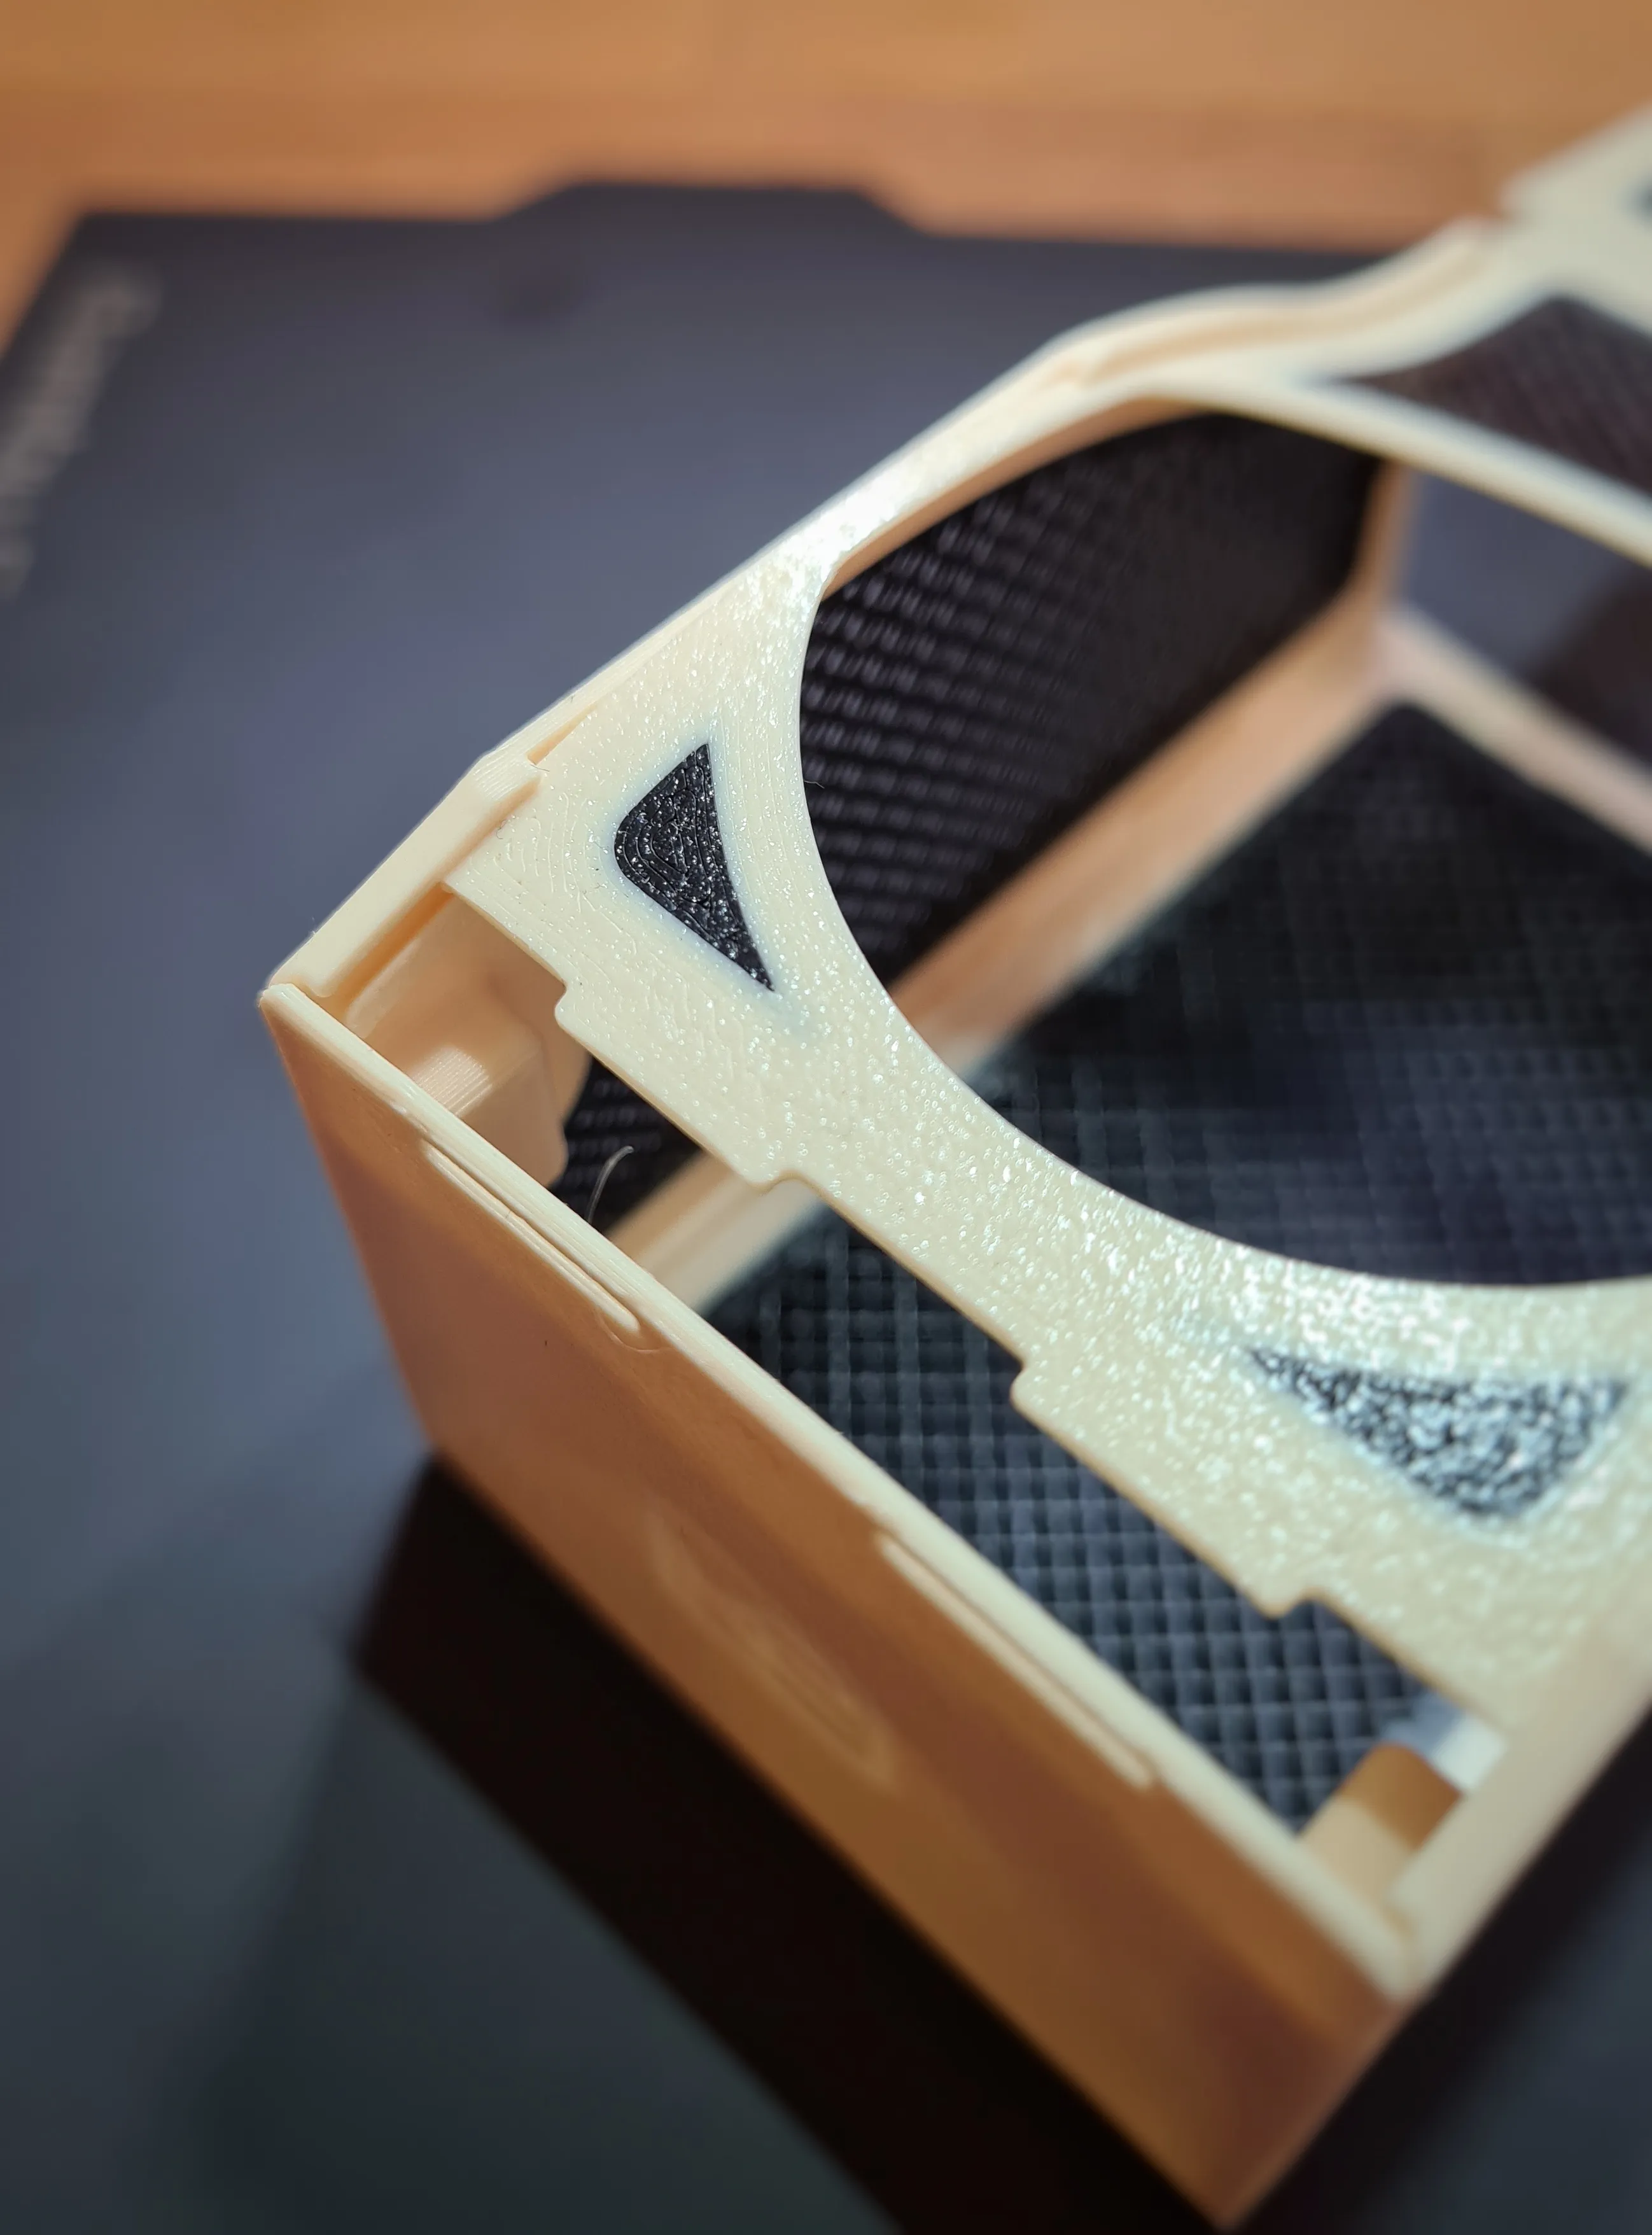
Then insert the basket, and finally the matching hygrometer!
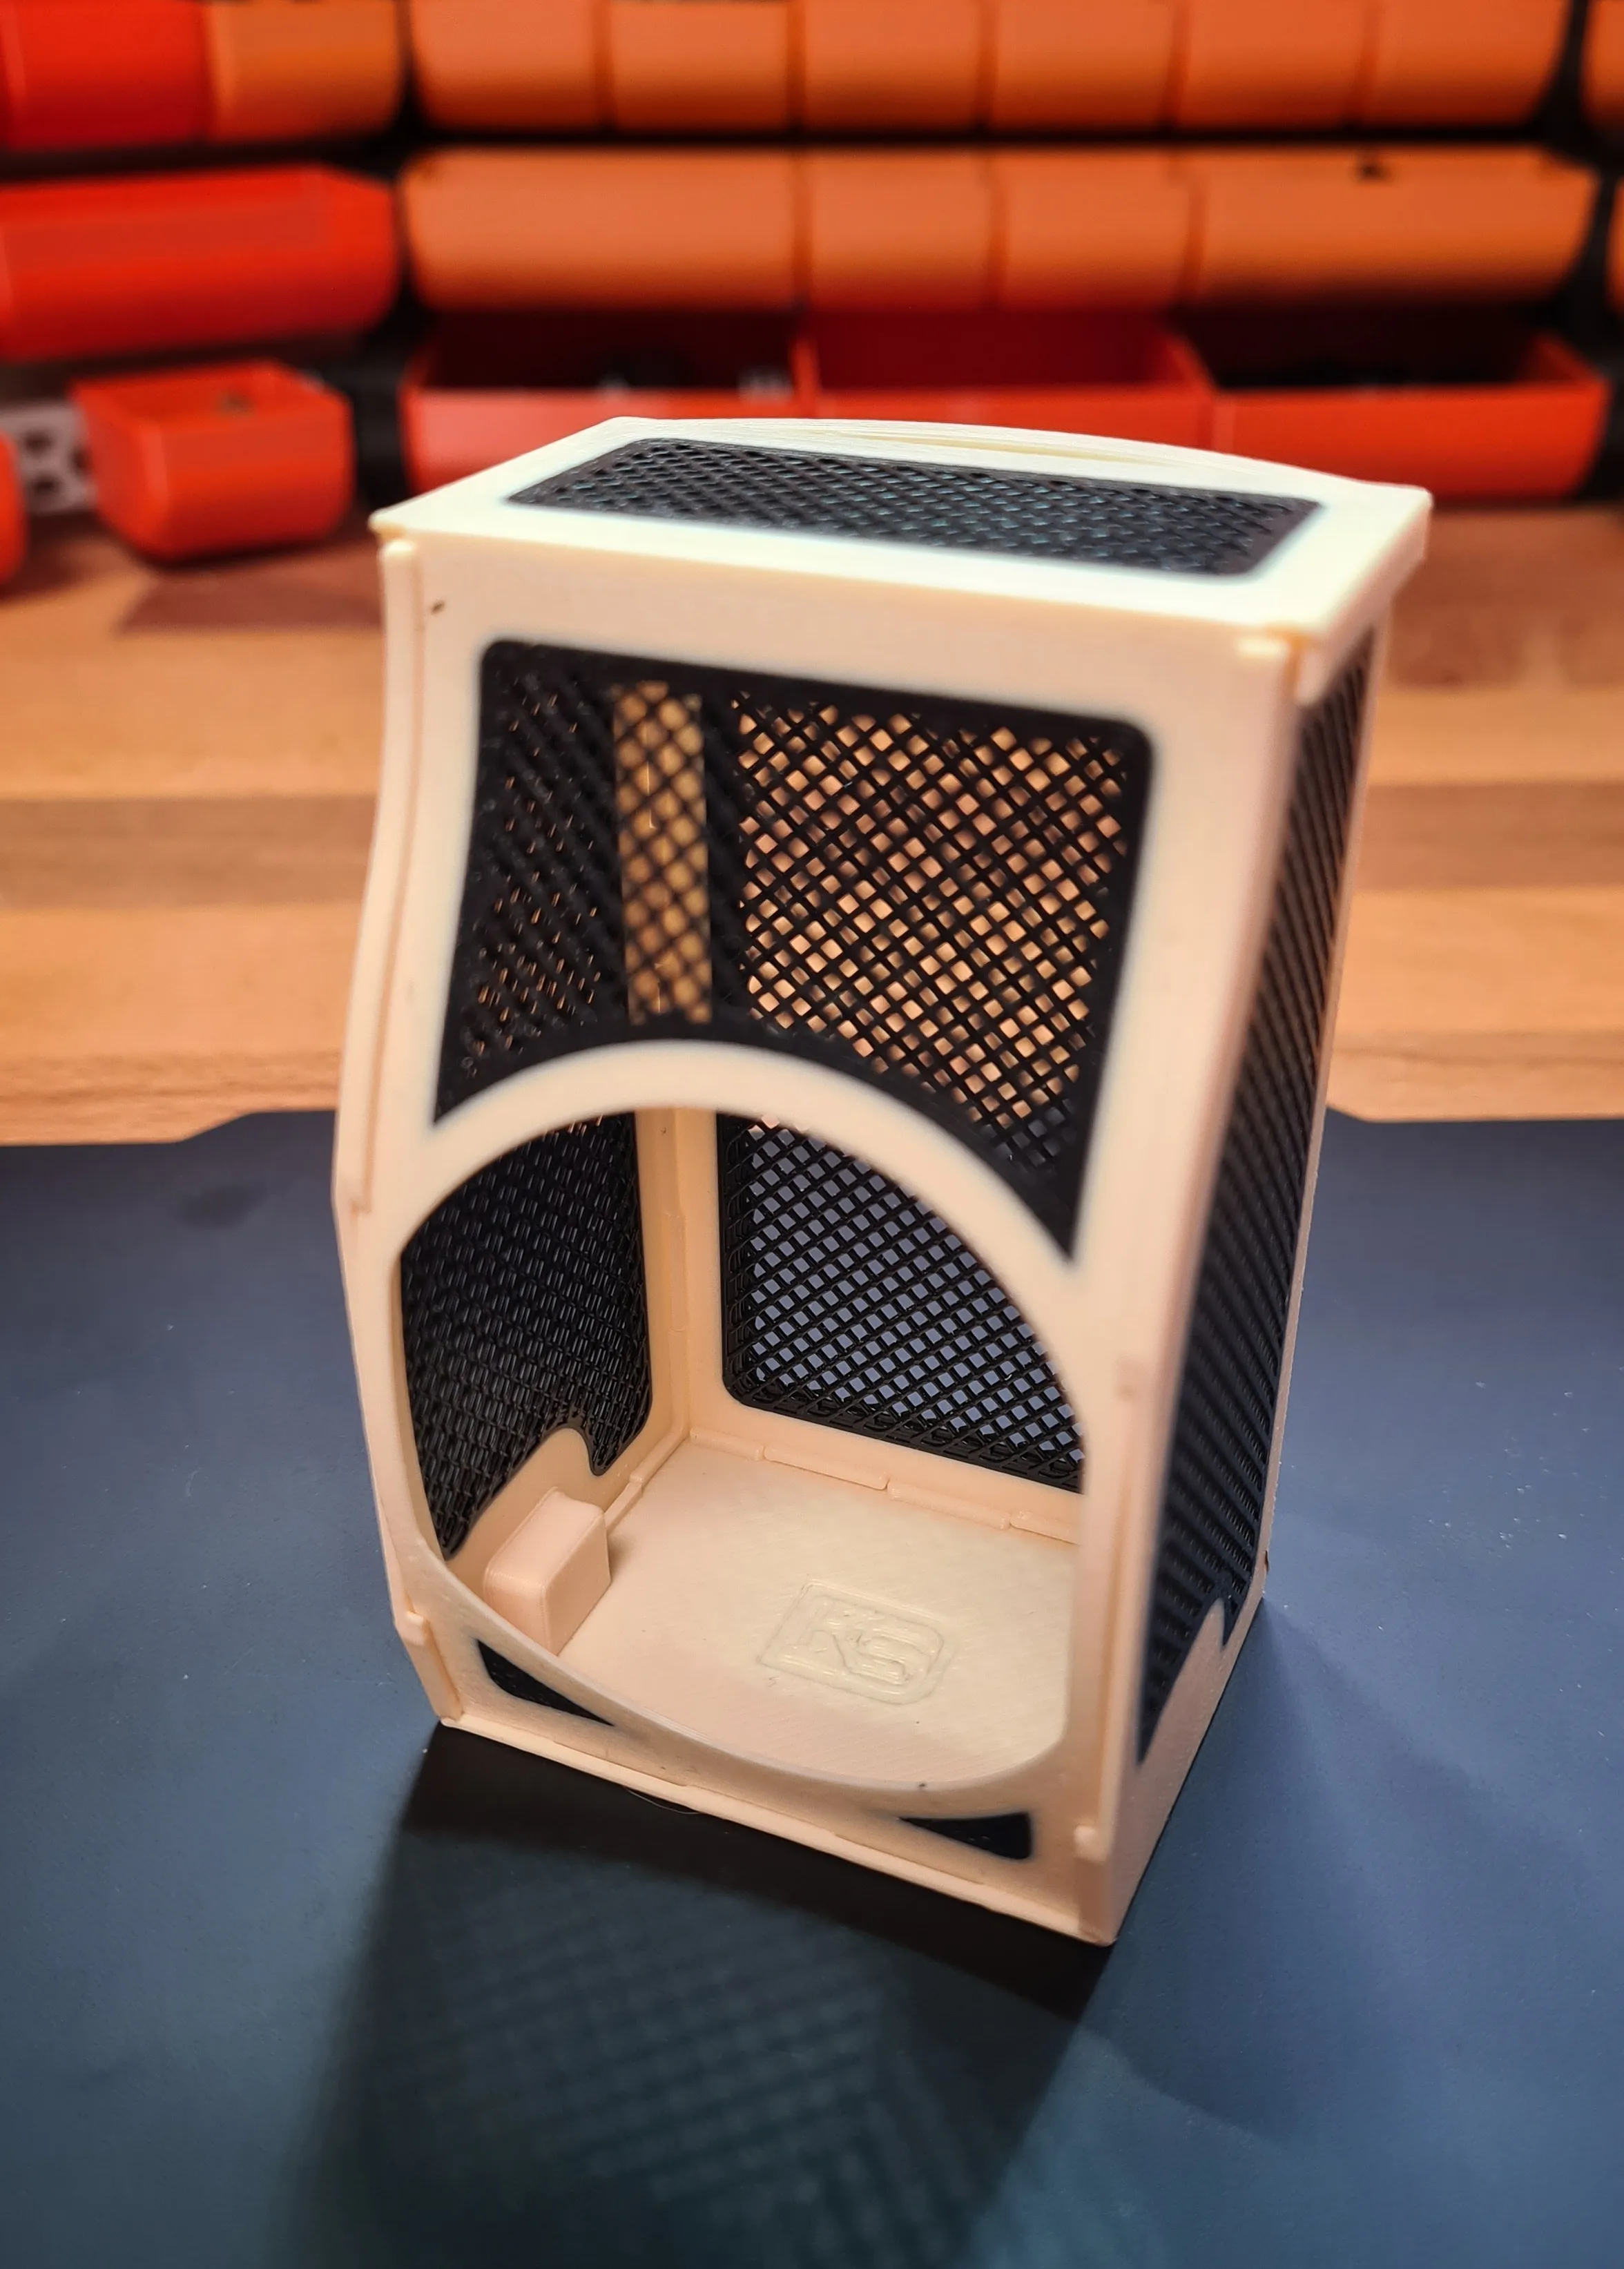
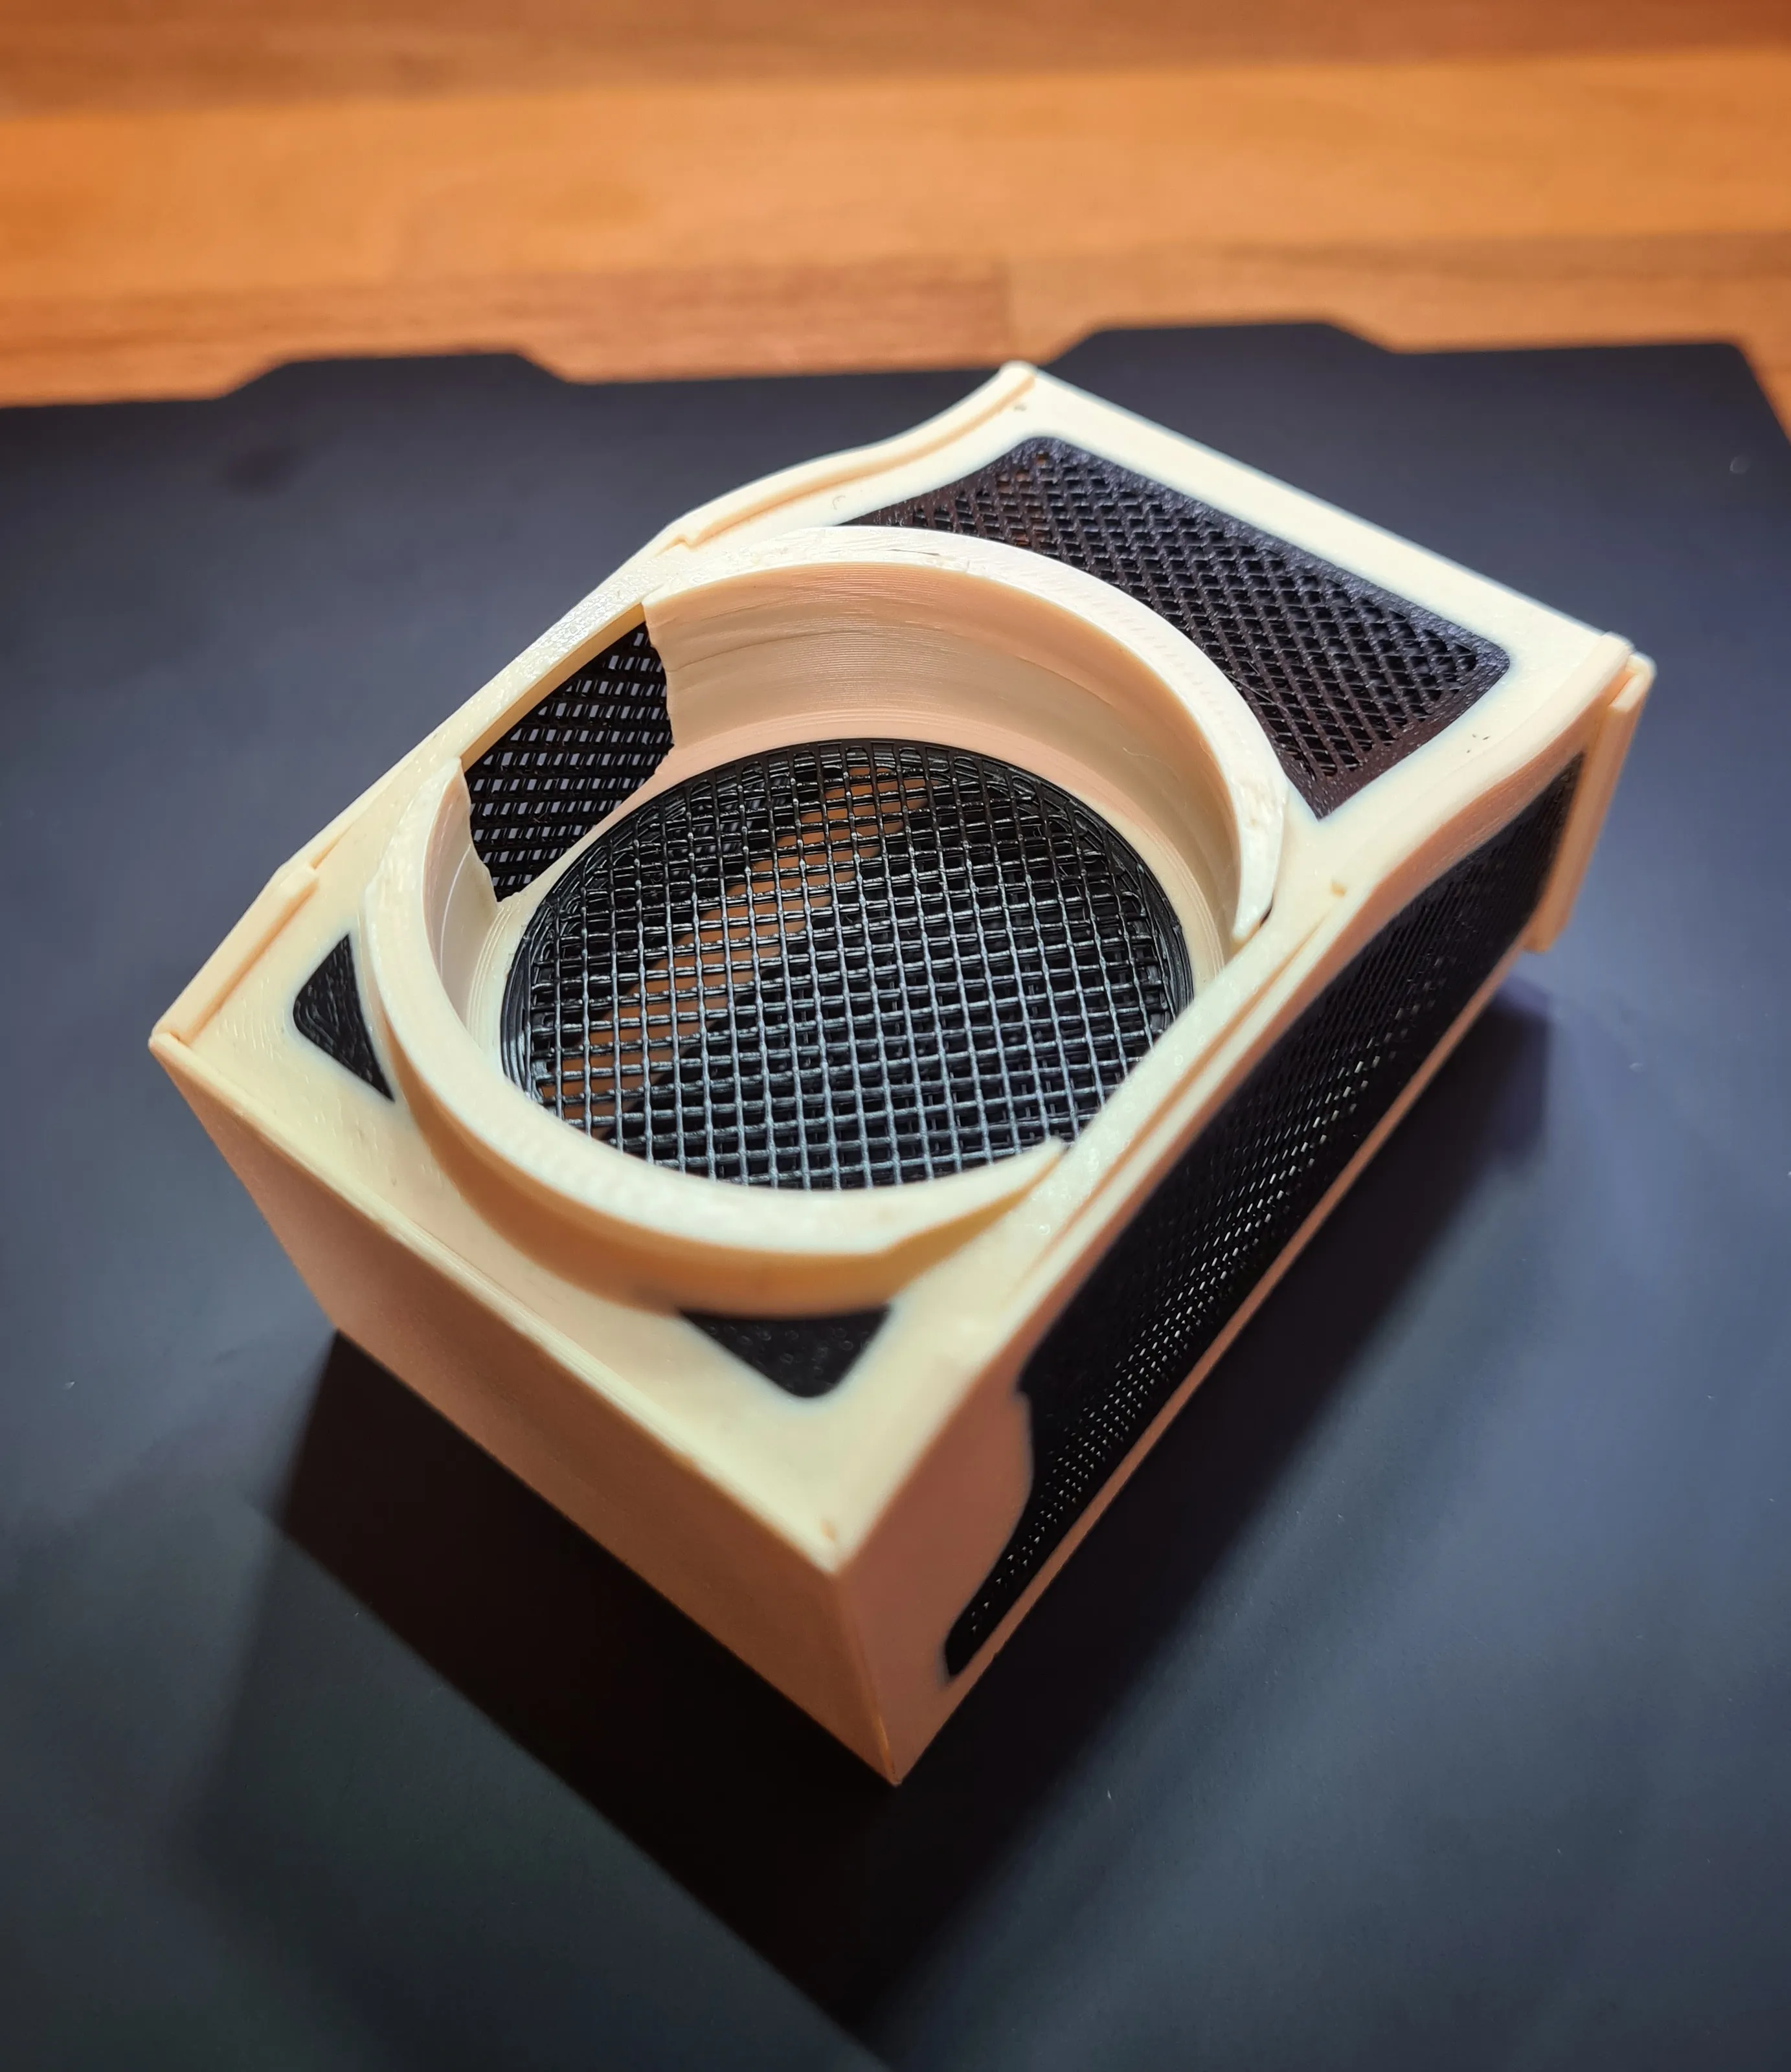
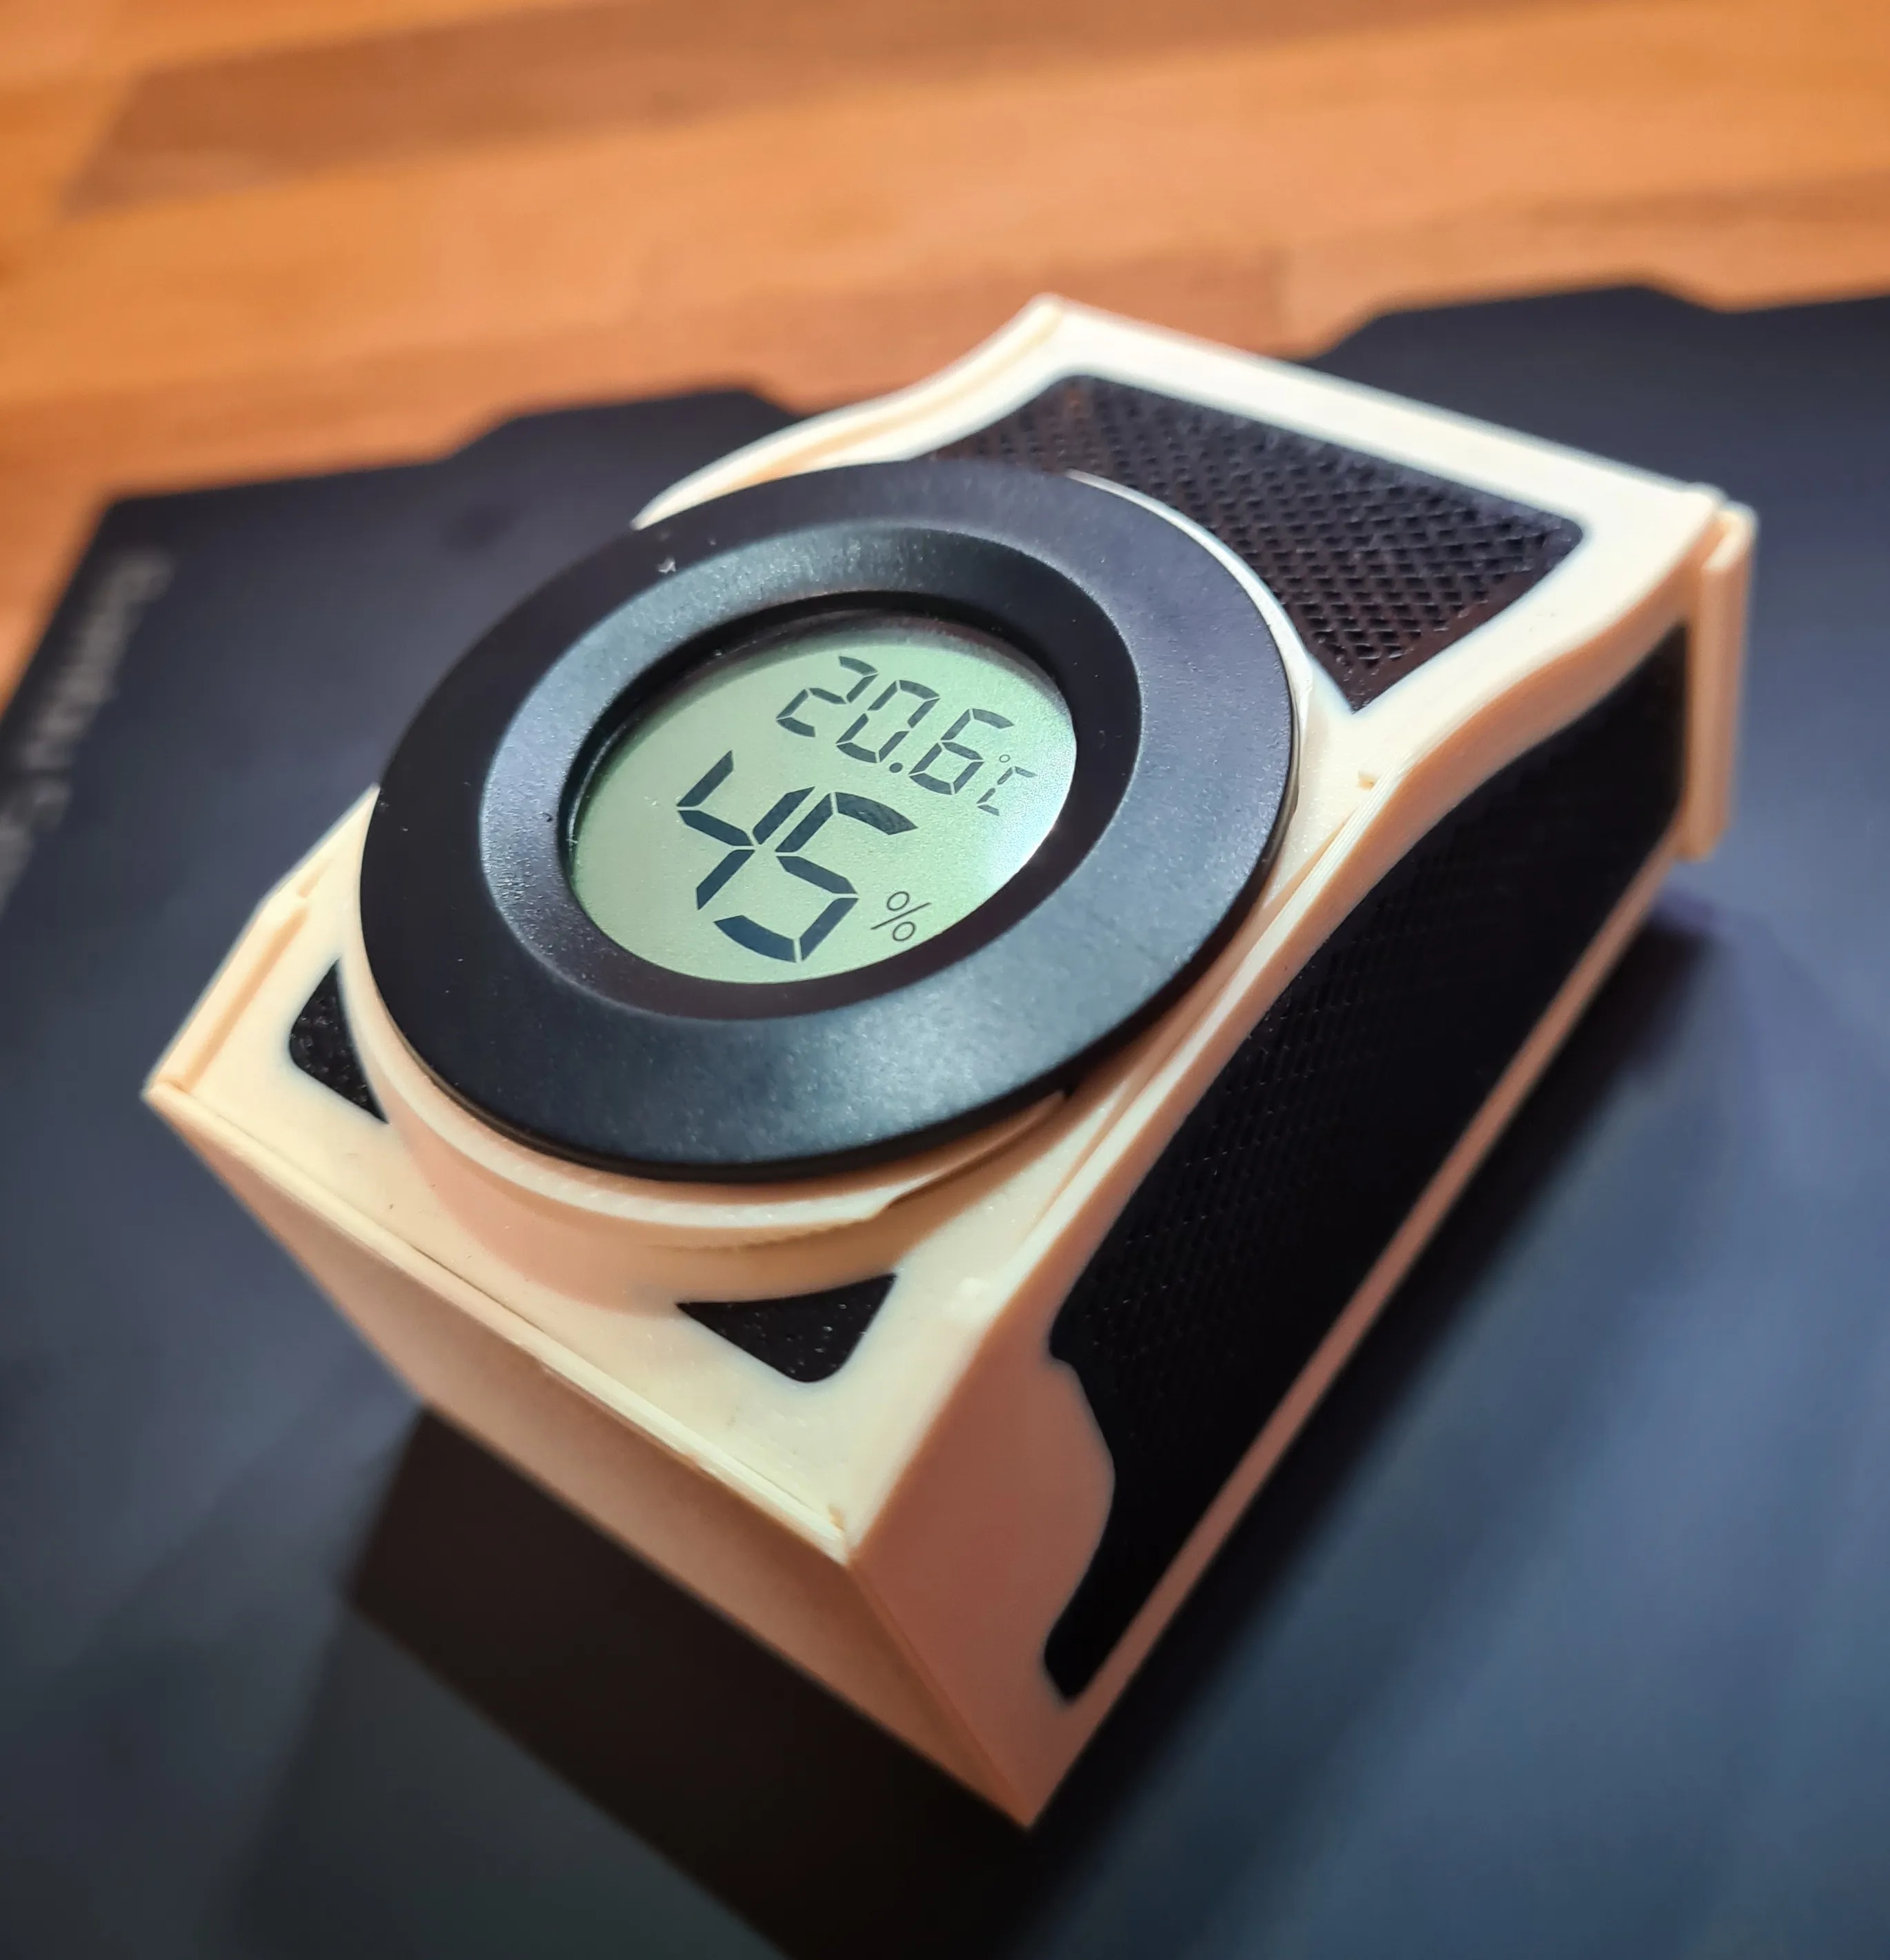
Tip: If the hygrometer sits too loosely in the basket, you can make it fit by adding some adhesive tape to the edges.
Have fun crafting!
Comments and pictures are welcome! :-)
You might also be interested in this!
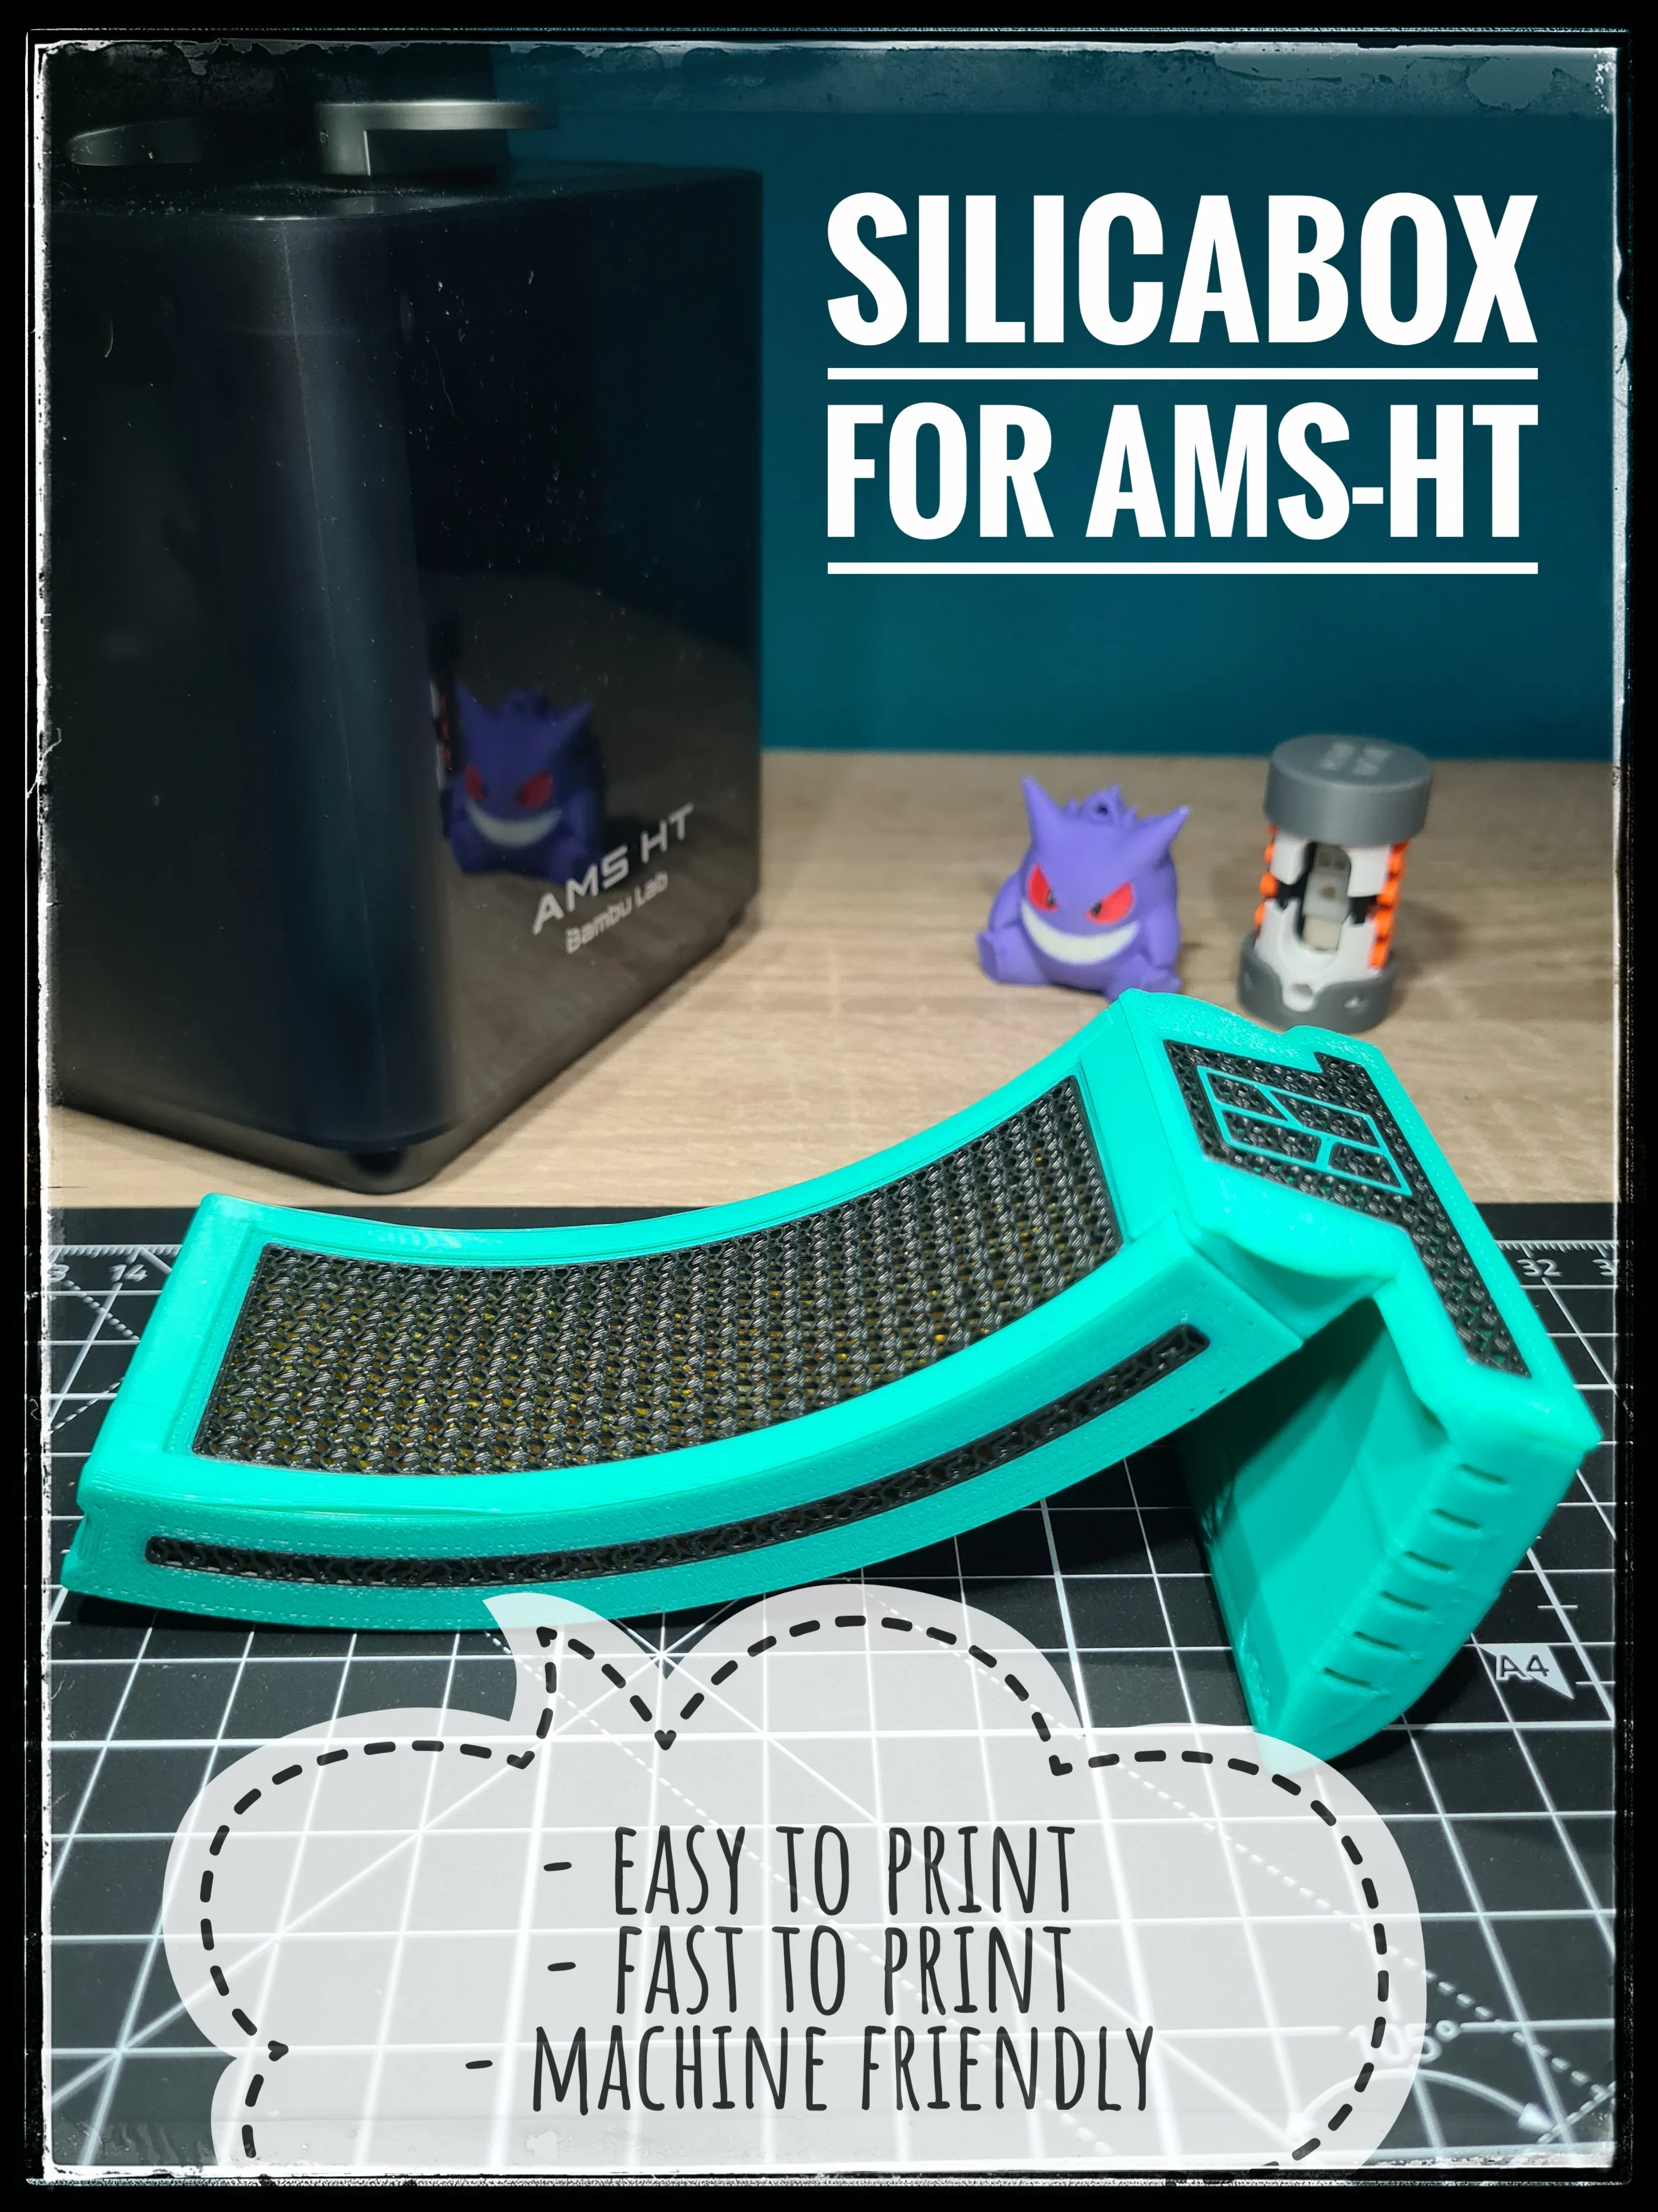
Boost Me (for free)
*** Thank you for the support, Makerworld rocks! ***
License

You shall not share, sub-license, sell, rent, host, transfer, or distribute in any way the digital or 3D printed versions of this object, nor any other derivative work of this object in its digital or physical format (including - but not limited to - remixes of this object, and hosting on other digital platforms). The objects may not be used without permission in any way whatsoever in which you charge money, or collect fees.


Comment & Rating (196)