


Print Profile(1)

Bill of Materials


- M4 self locking nut x 1: https://amzn.eu/d/gm7nEEr
- 5V USB touch dimmer switch x 1: https://it.aliexpress.com/item/1005006560489460.html?spm=a2g0o.order_list.order_list_main.5.3f7a3696XsBSma&gatewayAdapt=glo2ita
- LOCTITE 243 medium thread locker x 1: https://amzn.eu/d/eT7OgTs
- Aquarium Sand x 1: https://amzn.eu/d/bUZFz0X
- Double-sided tape x 1: https://amzn.eu/d/aYor0hc
- Adhesive non-slip pads x 1: https://amzn.eu/d/bH3ZhtQ
- M4 PA washers x 1: https://amzn.eu/d/21pxVTx
Description
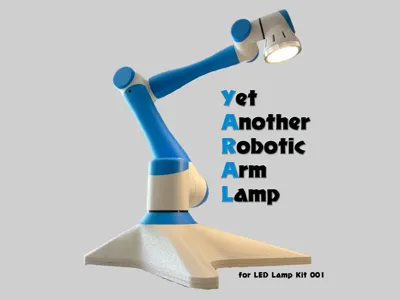
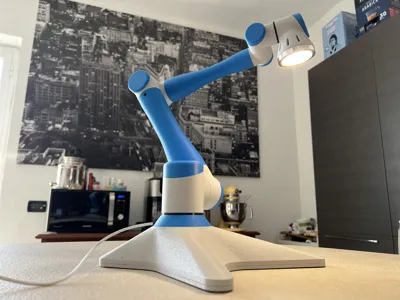
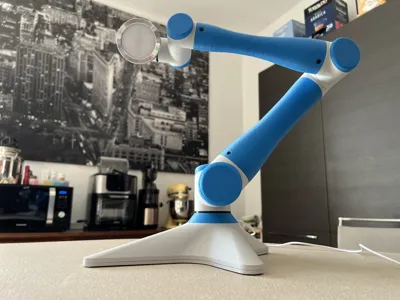
🦾 YARAL – Yet Another Robotic Arm Lamp
A robotic arm lamp inspired by the UR3e, designed to house the LED Lamp Kit 001. A visually striking project, fully 3D printable..

📂 Table of Contents
- ✅ Project Overview
- 🧠 Prerequisites & Considerations
- 🧰 Tools & Materials
- 🖨️ Print Details
- 🔁 Modifications, Tips & Troubleshooting
- 📎 Included Files
✅ 1. Project Overview
- Name: YARAL (Yet Another Robotic Arm Lamp)
- Inspiration: UR3e collaborative robot
- Purpose: Create a functional and aesthetic lamp using a realistic robotic arm design.
- Features:
- TPU friction joints
- Internal cable routing
- Weighted base
- Compatible with LED Lamp Kit 001
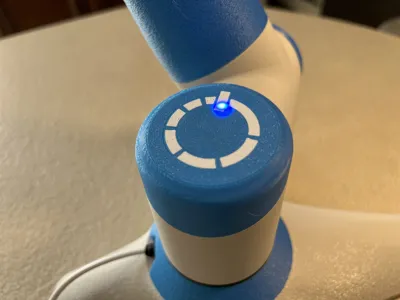
- Integrated touch dimmer
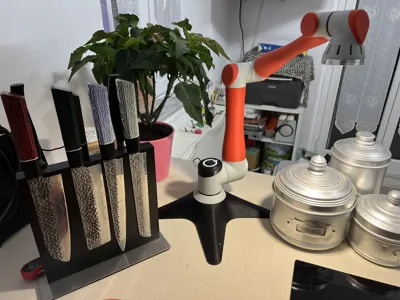
- Single- or dual-color cap version with logo
🧠 2. Prerequisites & Considerations
- Skills required:
- Basic soldering
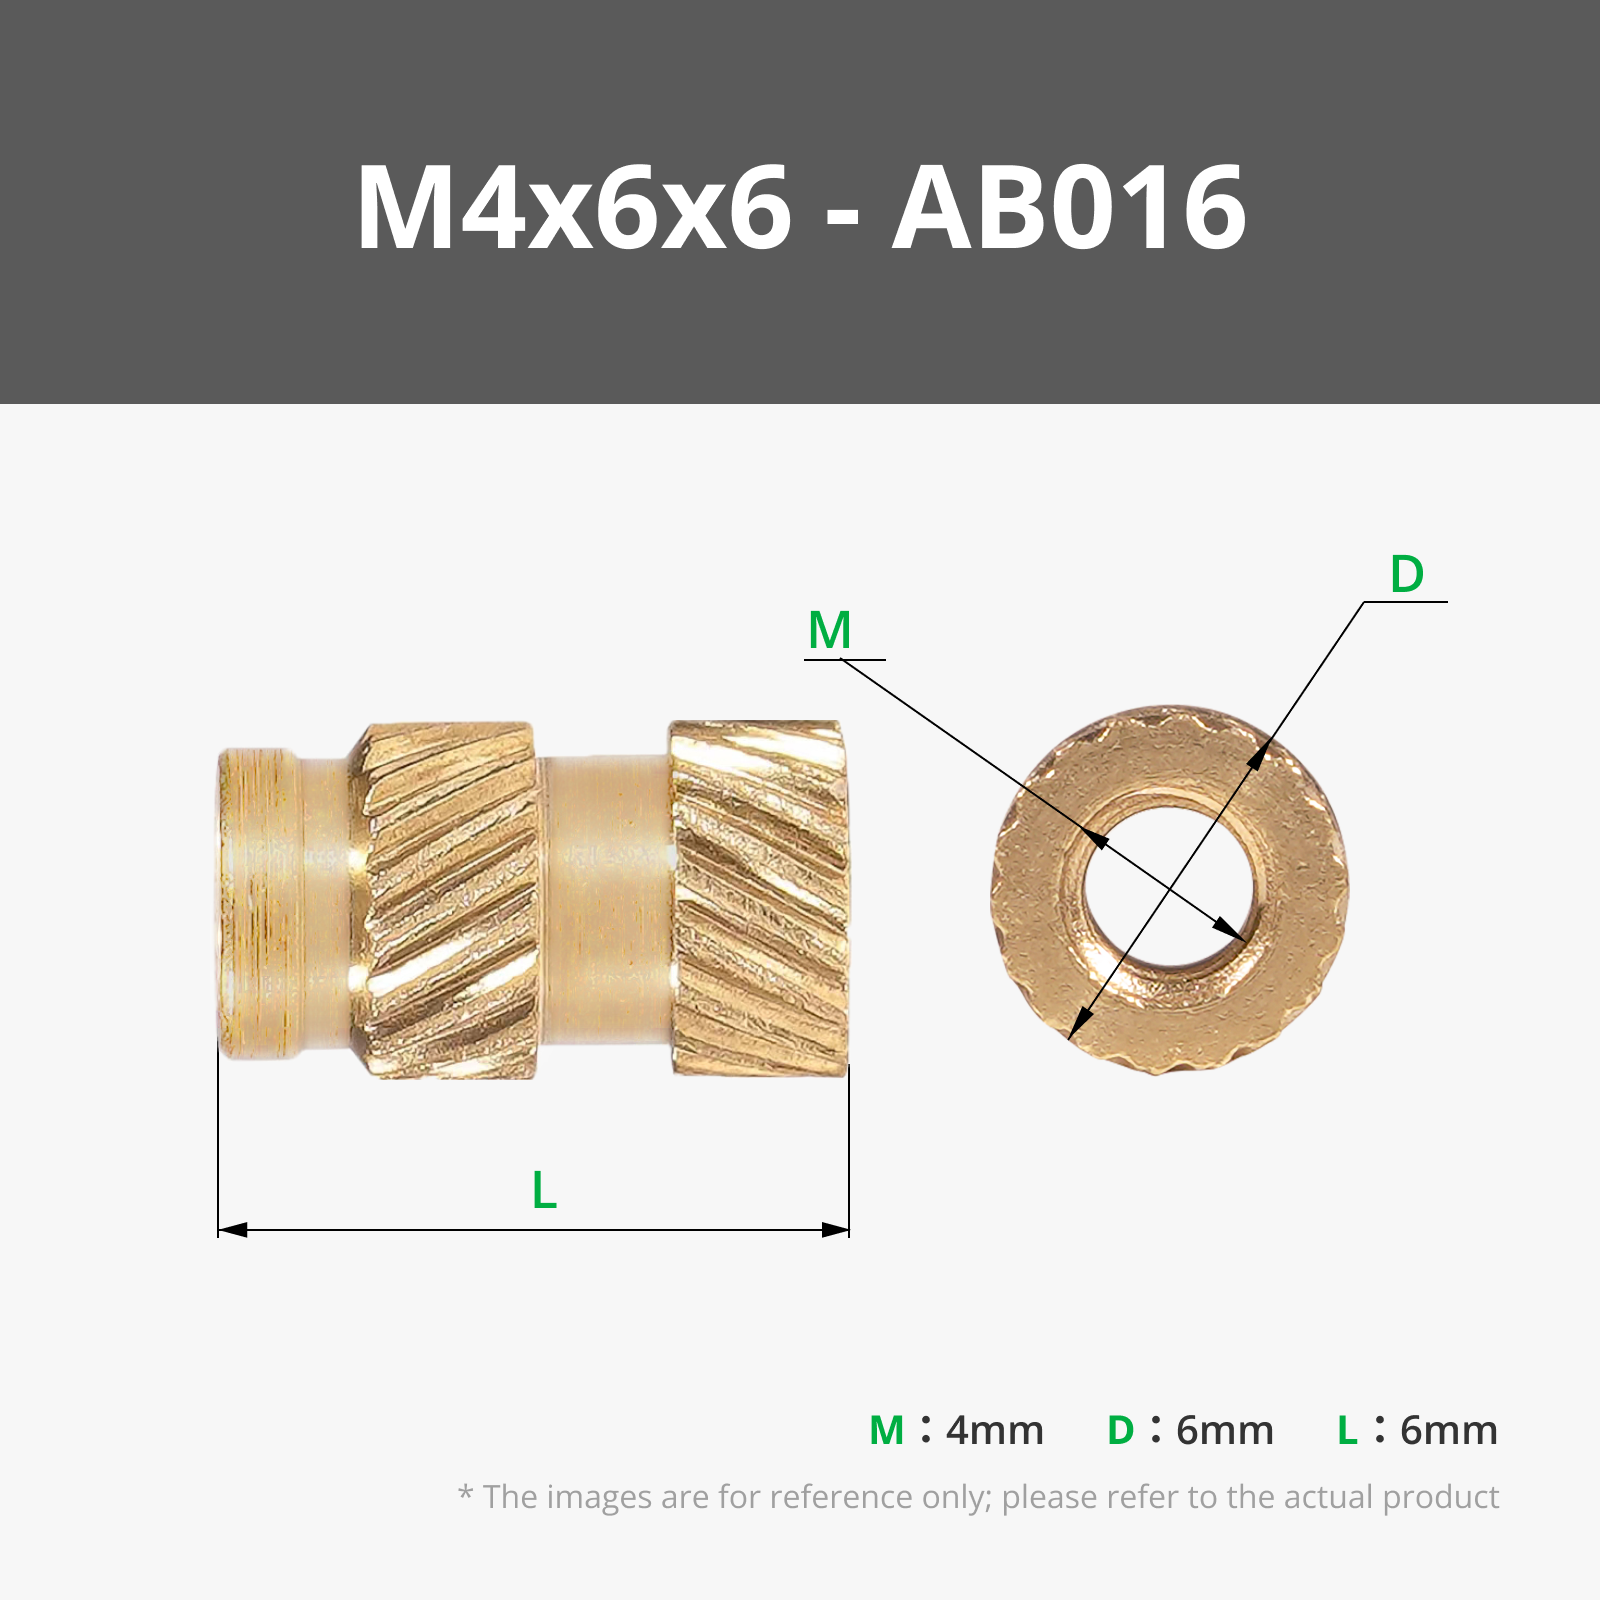
- Heat-set threaded insert installation
- Mechanical assembly
- The project uses slicer modifiers, so avoid Bambu Handy, which resets profiles.
- Certain Bambu Studio choices (e.g., modifier limitations) reduce flexibility — Orca Slicer is recommended for advanced users.


🧰 3. Tools & Materials
Recommended Materials:
| Component | Material | Notes |
|---|---|---|
| Base & joints | Matte PLA | Sturdy with a professional matte finish |
| Arms & joint covers | PETG HF | Lightweight, strong, better mechanical properties |
| Friction shims | TPU HF 95A | Adjustable joints (not AMS-compatible) |
| Weight filler | Fine sand | Aquarium sand recommended for cleanliness |
Required Tools:
- Screwdrivers / Hex / Torx keys
- Wire stripper & electrician’s scissors
- Cutter
- Soldering iron & solder wire
- Brass insert installation tip (optional)
- Hot glue gun
- Double-sided tape
- Medium-strength threadlocker
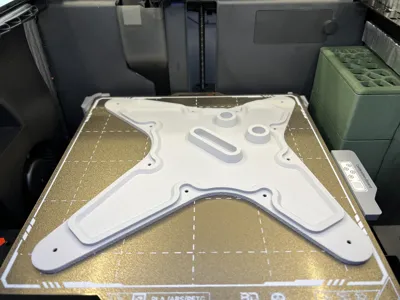
🖨️ 4. Print Details
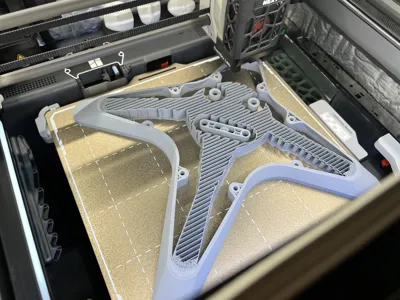
- Build plate divided into 6 plates by material.
- Materials used: PLA, PETG HF, TPU HF 95A.
- Custom slicer profile:
- 0.7 mm extrusion width for outer walls to improve overhangs
- Supports only for the base
- AMS notes:
- Not needed for the cap version with relief logo
- TPU HF 95A is AMS-incompatible — plate 6 must be printed manually.
⚠️ Do not start prints from Bambu Handy and do not save profiles on slicer close to avoid losing custom settings.
🔁 5. Modifications, Tips & Troubleshooting
- If joints loosen over time, increase TPU shim thickness by 0.2–0.4 mm in Z-axis.
- Use the relief-logo cap for single-color prints without AMS.
- Aquarium sand is a clean, economical weight filler.
Nylon washers improve screw rotation in joints and it prevents the screw from loosening during arm movements because of the friction. In fact, I used PTFE washers that I cut out myself with hole punch.es.

📎 6. Included Files
- 6 STL/G-code plates ready for printing
- Custom slicer profile
- Updated assembly guide
- Updated wiring guide
- Cap variants (single- and dual-color)
All joints include a cable passage designed to allow movement. To prevent damage to the wire, rotations are mechanically limited beyond certain angles.
Pay close attention to routing the lamp cable through the joint components. Only tighten joints once you verify the full angular range of motion is unobstructed by the cable.

To power the lamp, you'll need a USB power supply or a power bank.
Do not use cables with USB-C connectors for this project, as most smart chargers will not recognize the device and will not activate power delivery.

If all of this still hasn’t discouraged you from printing YARAL, then it’s time to carefully read the two attached guides to proceed with the build.
Boost Me (for free)
Love this project? A boost helps bring more ideas to life.
Documentation (2)
License
You shall not share, sub-license, sell, rent, host, transfer, or distribute in any way the digital or 3D printed versions of this object, nor any other derivative work of this object in its digital or physical format (including - but not limited to - remixes of this object, and hosting on other digital platforms). The objects may not be used without permission in any way whatsoever in which you charge money, or collect fees.
Comment & Rating (17)