
Moza HGP Shifter Mousepad and Headphone Holder
Print Profile(3)


Description
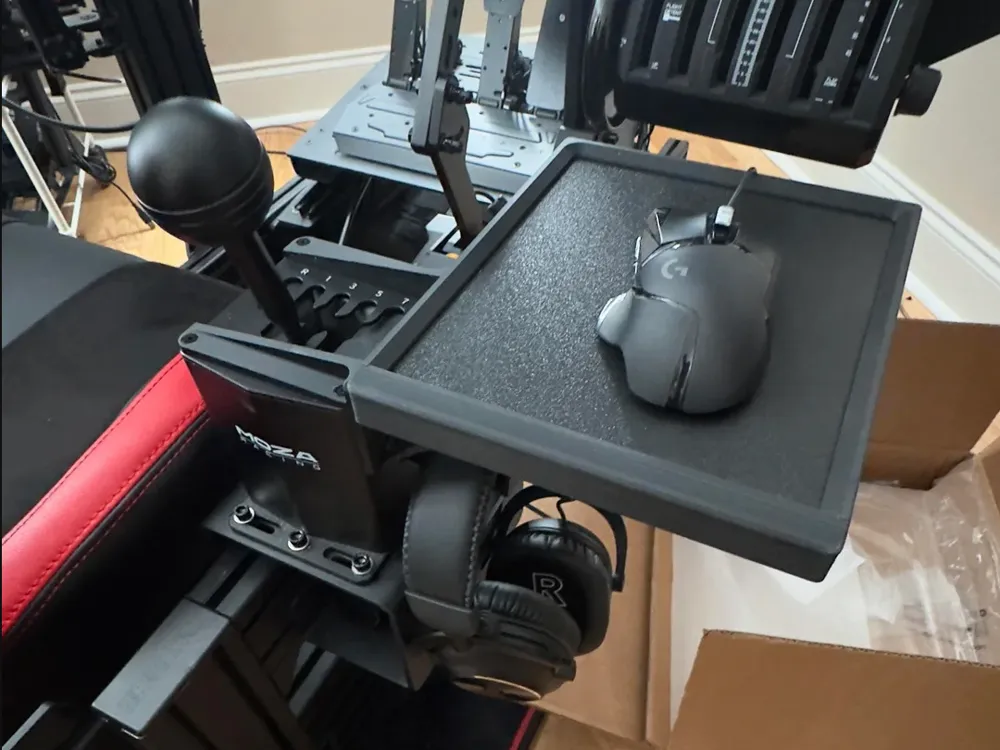
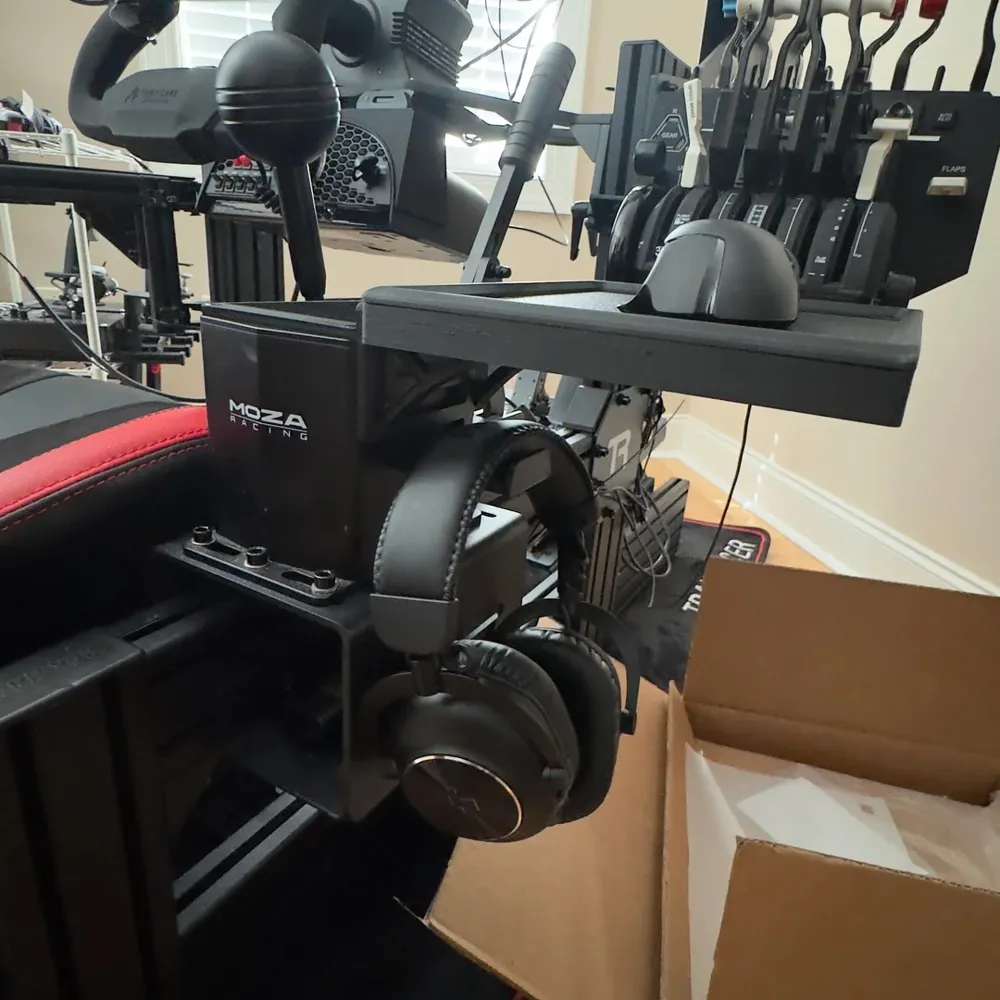
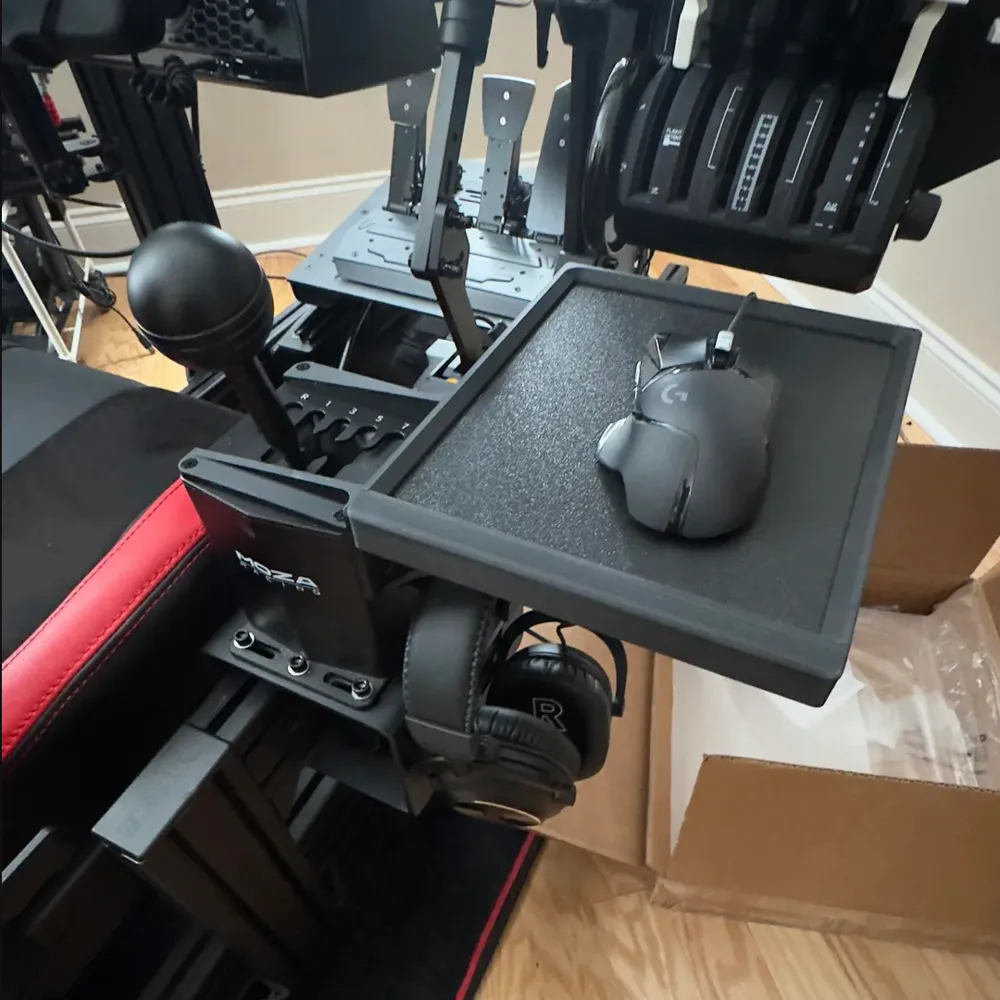
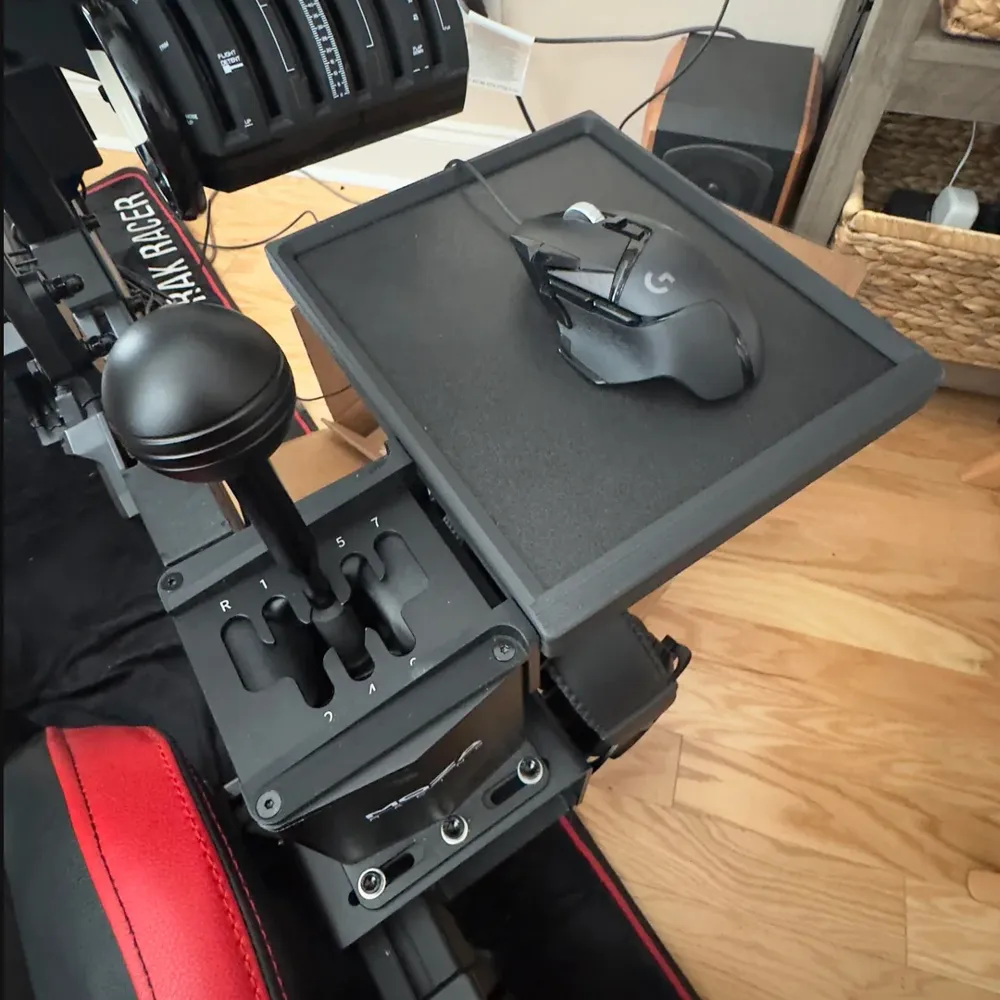
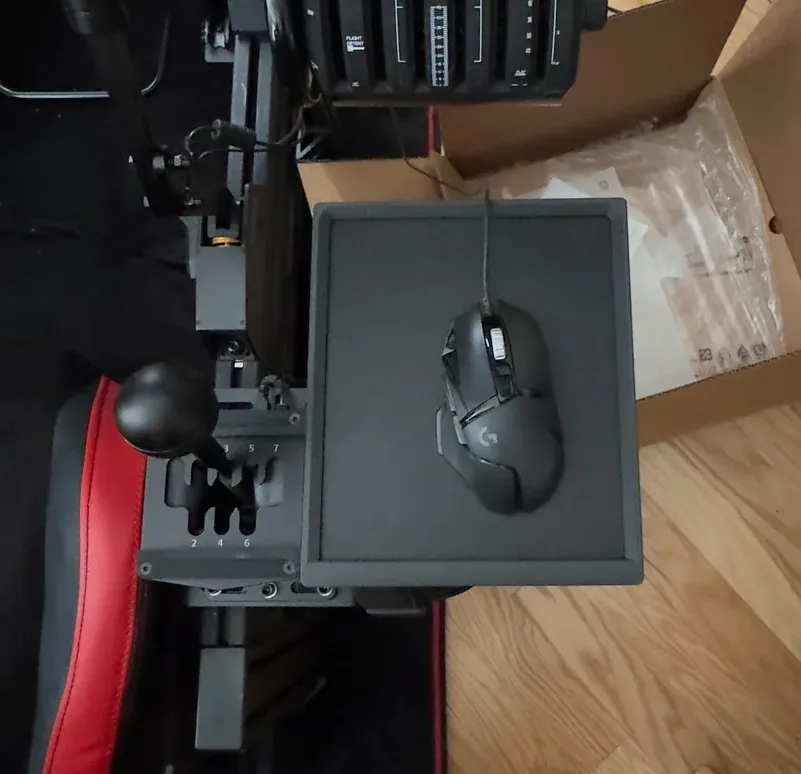
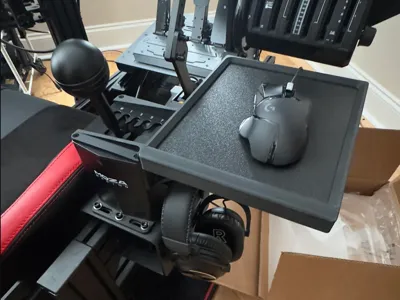
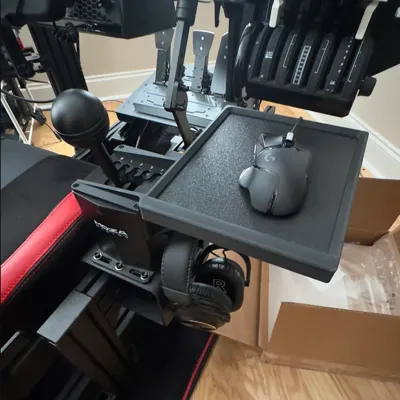
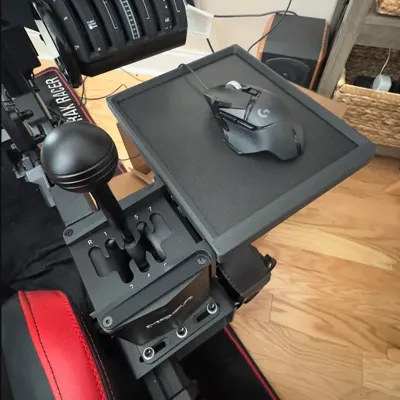
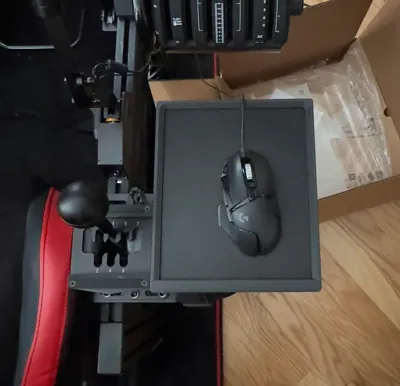
I made a mouse pad to fit the Moza MGP Shifter.
My simulator is used for driving and flight sims. In flight sims the mouse is needed a lot more so this makes life a bit more comfortable.
Your mouse will bounce around when you get sporty with the shifter, but for flying and racing menus it's great.
There are 3 plates each with different profiles.
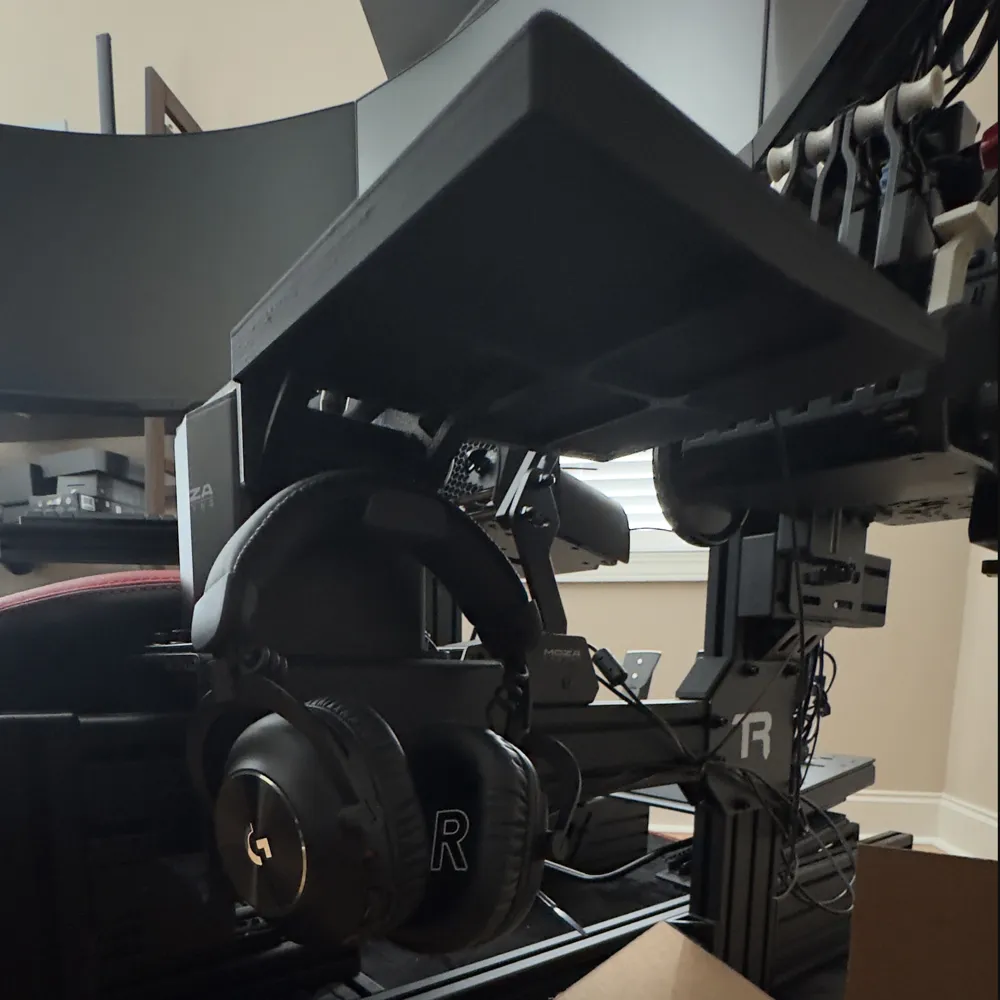
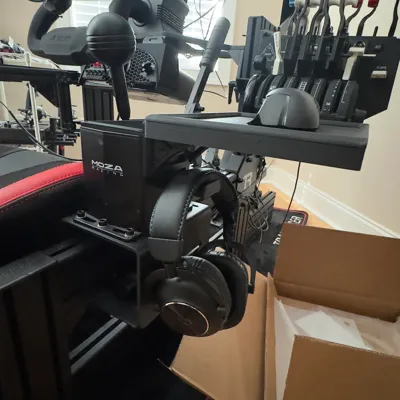
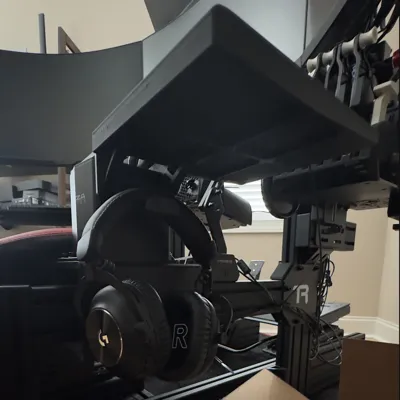
The plate with the brackets and headphone holder is meant to be printed in PETG. All of the parts are oriented for strength and ease of assemble. They are printed nearly solid because I didn't want to take any chances, and it feels very solid when finally assembled.
Some of my early test prints were in pla and they were very strong too, so you'll probably be fine with pla.
The mouse pad plate is printed face down in PLA so it has a nice finish and pics up the texture of the printing plate (a carbon fiber printing plate would be cool for this) It has some extra walls on the mouse pad surface, but overall, it's a fairly standard print. I did slow down the printer a bit on the outside walls and mouse surface to get a better surface finish.
The border plate on the mouse pad is also pla with a lower layer height so it is a little smoother. There are also little pins to attach the border to the mouse pad. I made these separate so that the bottom of the border and top of the mouse pad were printed directly on the plate and will fit together very cleanly. These little pins are the only parts that need a little drop of glue to hold the border on.
The mousepad/frame/headphone holder assembly requires no glue. The mousepad snaps in place on the bracket arms. Then the headphone holder lightly presses into the bracket arms. Once the assembly is attached to your shifter the headphone bracket is sandwiched between the mouse pad frame and the side of the shifter so it can't move. The whole thing feels very solid on my rig. No wiggling, no flexing, etc.
This is my very first MakerWorld upload. I've only had my printed for about a month. So be a pal and boost me if you like it. Keep that dopamine flowing, and I'll keep making stuff :P
And don't sell it please. Just enjoy.
If you want one, but don't have a printer, reach out to me and I'll prob make you one cheaper than anyone else will sell it to you.
License

You shall not share, sub-license, sell, rent, host, transfer, or distribute in any way the digital or 3D printed versions of this object, nor any other derivative work of this object in its digital or physical format (including - but not limited to - remixes of this object, and hosting on other digital platforms). The objects may not be used without permission in any way whatsoever in which you charge money, or collect fees.


Comment & Rating (34)