
BBS LM Wheel Clock - 3D Printable Model
Print Profile(1)

Bill of Materials
Description
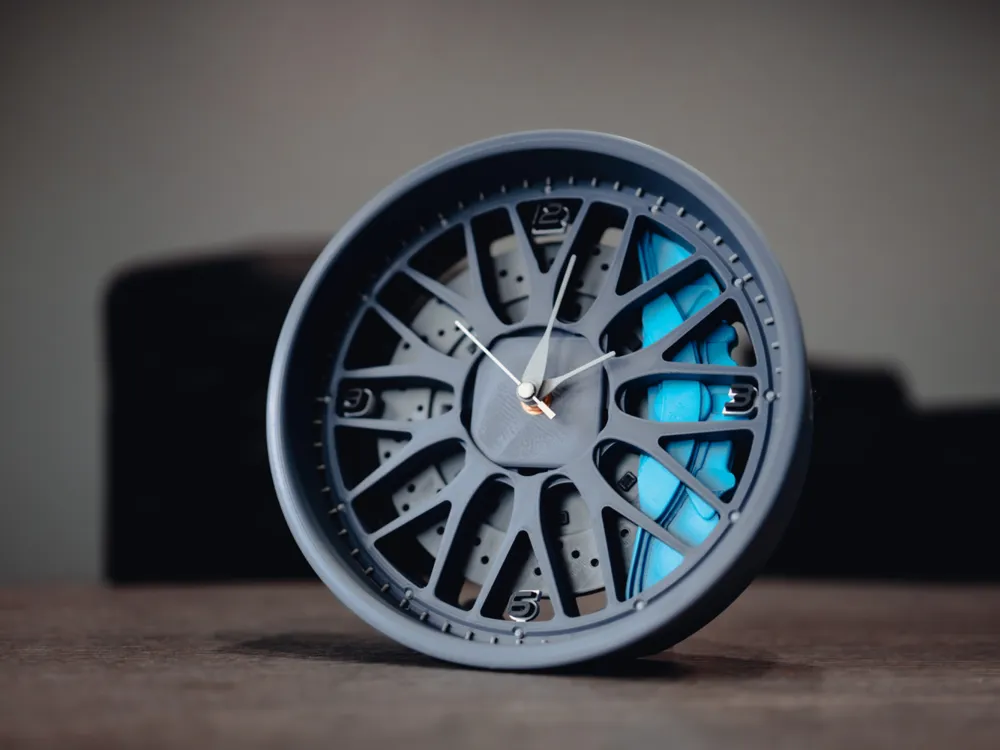
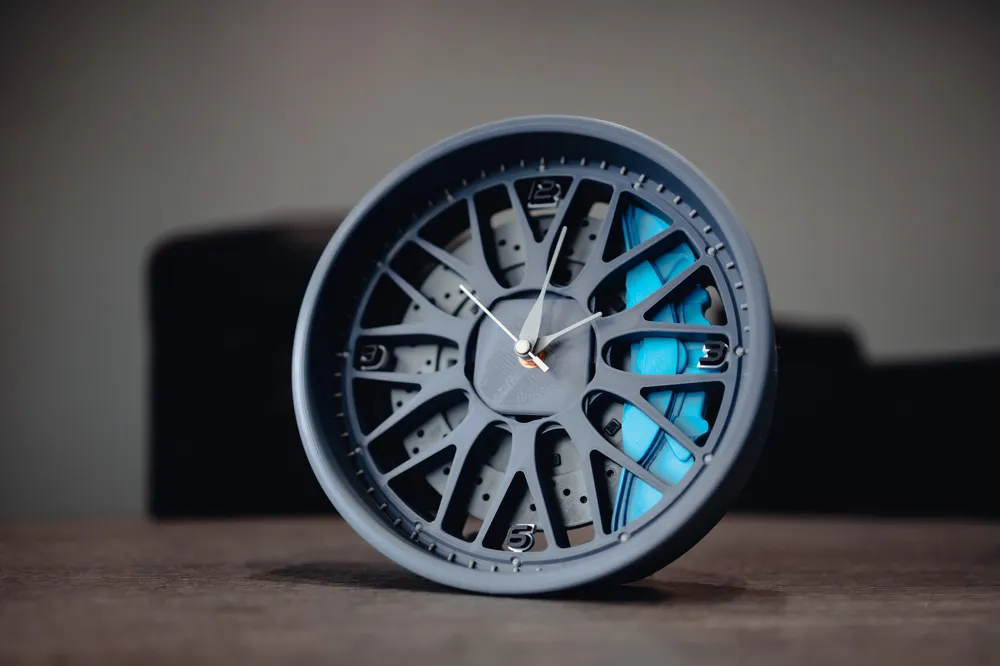
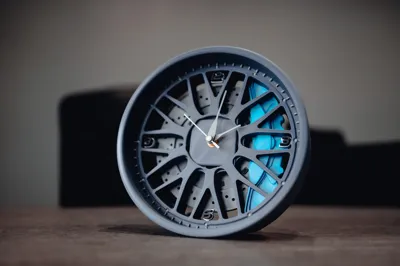
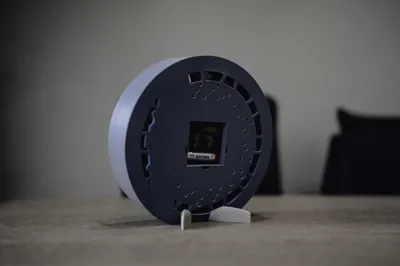
Rev up your desk with this sleek BBS LM wheel clock, designed to mimic a stylish car wheel complete with a caliper and brake rotor backdrop. This functional and decorative clock is a perfect fusion of automotive flair and practicality, ideal for car enthusiasts and makers alike. The model is optimized for 3D printing, requiring only four print plates: the clock face, stand, numbers, and clock hands. It’s compatible with Bambu Lab printers (P1S and X1C) and uses the Bambu Clock Kit 011, with printed hour and minute hands and a reused second hand. The design also accommodates other generic clock movements with a minor modification.
**Features:**
- Automotive-inspired BBS LM wheel design with caliper and rotor details.
- Prints in four plates: clock face, stand, numbers, and hands.
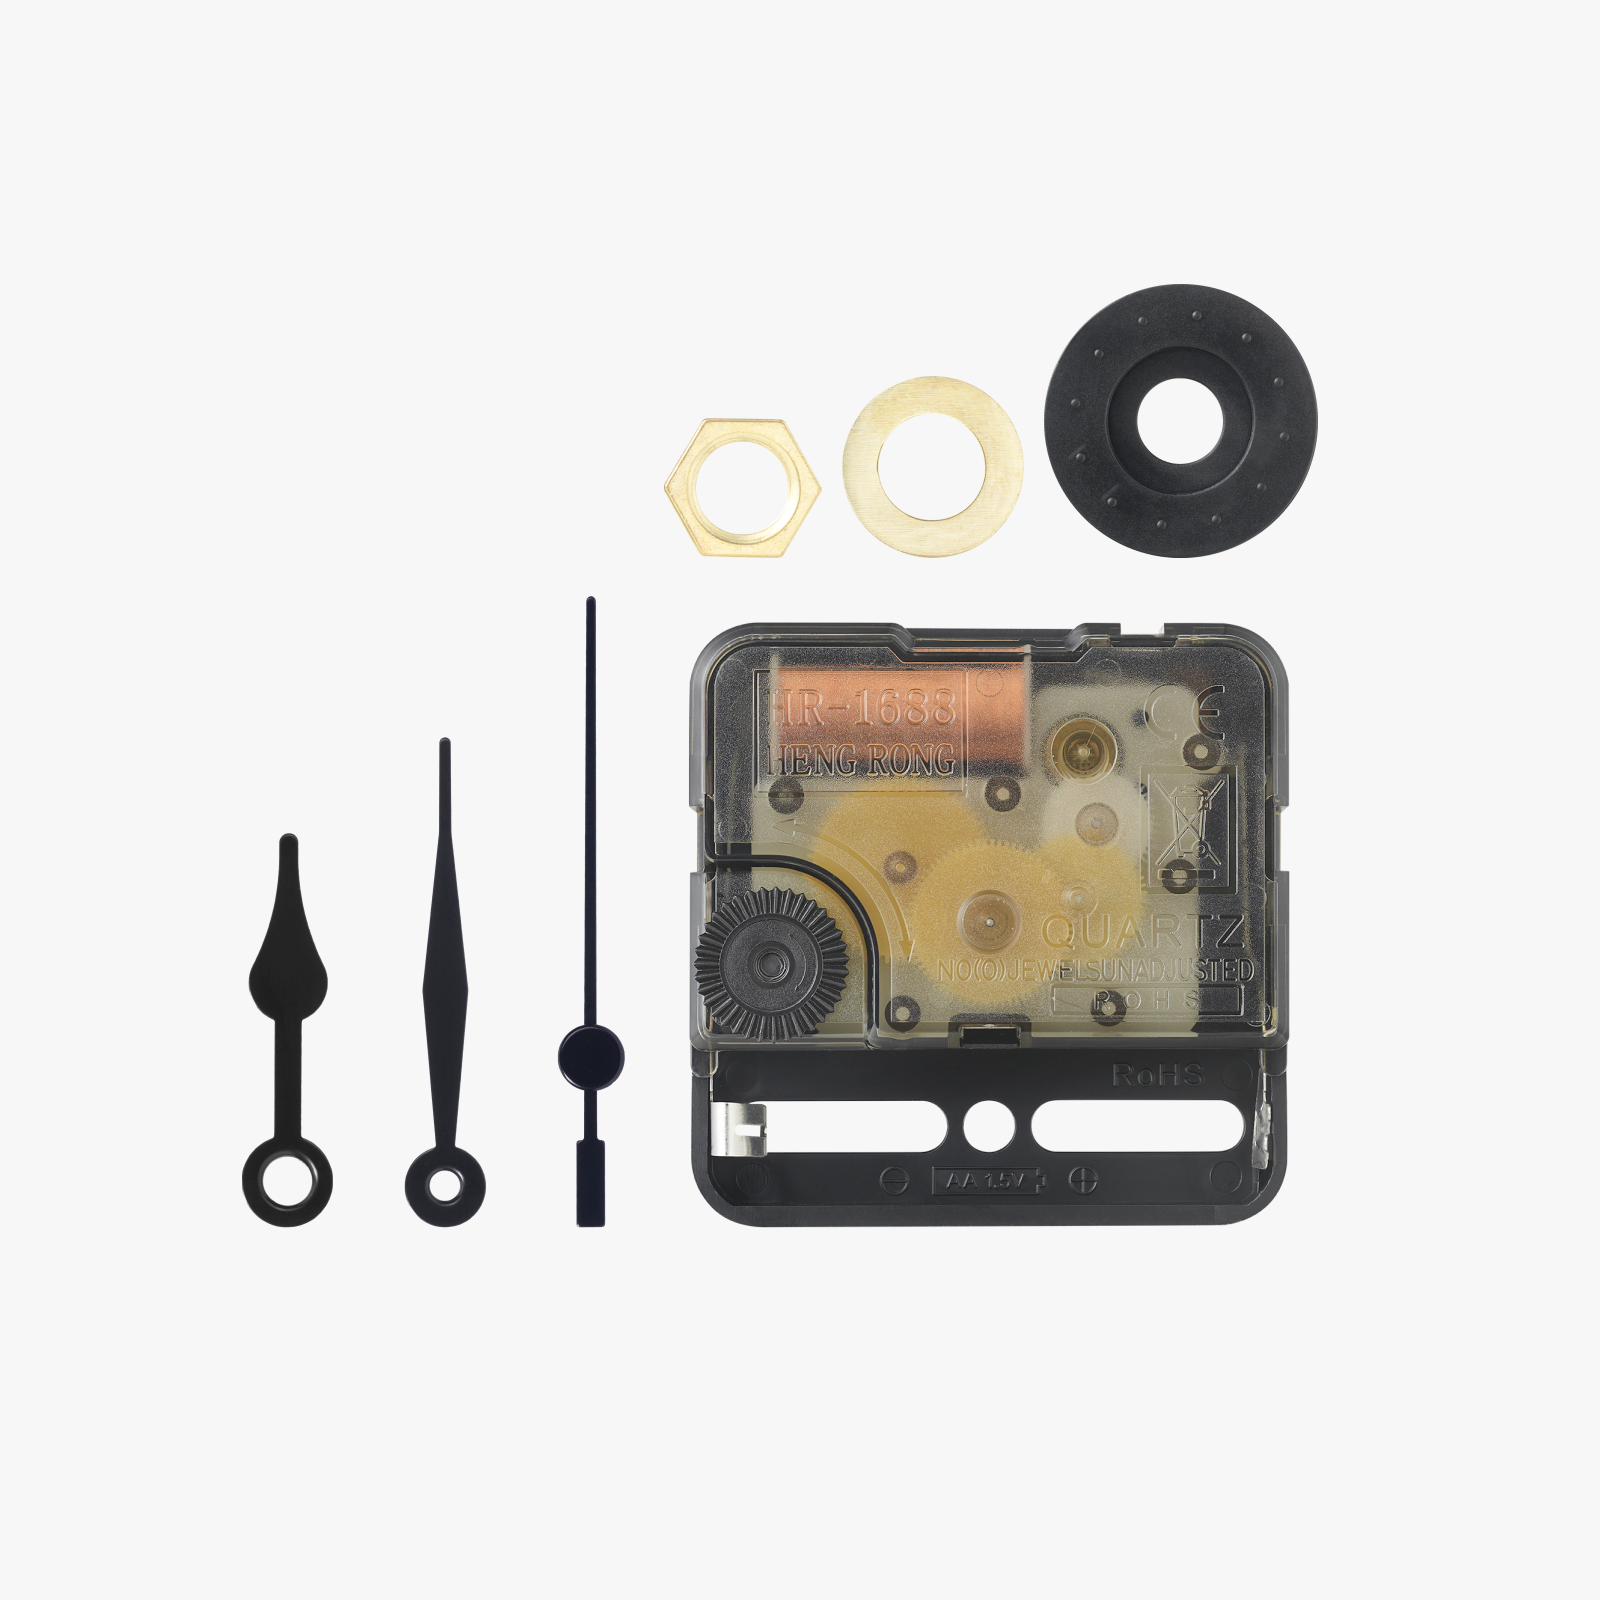
- Compatible with Bambu Clock Kit 011 (second hand reused; hour/minute hands printed).
- Fits P1S and X1C build plates; prime tower clears after slicing.
- Adaptable for other clock movements with a simple 1mm hollowing of the center hole.
**Printing and Assembly Instructions:**
1. **Print Files:**
- Print the four plates: clock face, stand, numbers, and clock hands.
- Recommended settings: Use standard Bambu Studio settings for PLA or PETG. Ensure proper bed adhesion for the clock face due to its size.
- Note: The clock face is optimized for P1S and X1C; the prime tower clears after slicing.
2. **Prepare the Clock Movement:**
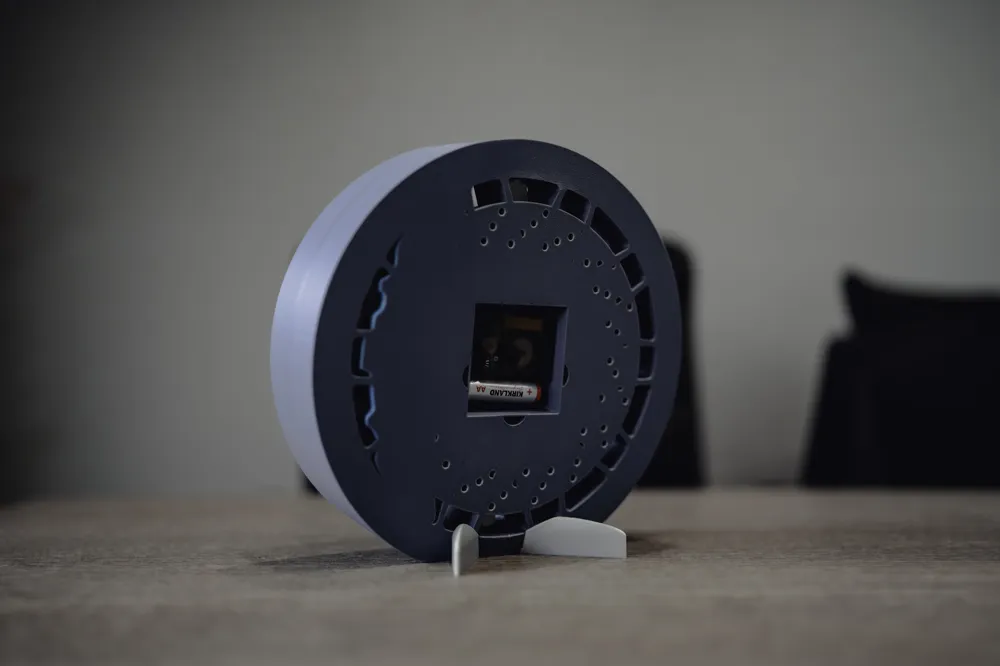
- This model is designed for Bambu Clock Kit 011. If using this kit, hollow out the center hole of the clock face by approximately 1mm (using a drill or modeling software) for a perfect fit.
- For other generic clock movements, the hole may fit as-is, but test the fit before assembly.
3. **Assemble the Numbers:**
- Apply a small dab of super glue or model glue to the peg of each number.
- Insert each number into its corresponding slot on the clock face, ensuring proper alignment (e.g., 12 at the top).
- Press firmly and hold briefly to secure.
4. **Install the Clock Hands:**
- Use the printed hour and minute hands; reuse the second hand from the Bambu Clock Kit 011.
- Align each hand with the clock movement’s posts. The hands are designed for a tight fit to maintain position.
- Apply firm pressure from the backside of the hands to secure them onto the movement posts. Be cautious to avoid bending.
**Notes:**
- The tight fit of the hands ensures accurate timekeeping but requires careful installation to avoid damage.
- If using a non-Bambu clock movement, verify the shaft length and hole size before printing, as minor adjustments may be needed.
- For best results, print numbers and hands in a contrasting color to the clock face for readability.
**Required Materials:**
- Bambu Clock Kit 011 (or compatible clock movement).
- 3D printer (P1S, X1C, or similar with a sufficient build volume).
- Filament (PLA or PETG recommended; multiple colors optional for aesthetic).
- Super glue or model glue for securing numbers.
- Small drill or modeling tool (if hollowing the center hole).
**Support:**
License

You shall not share, sub-license, sell, rent, host, transfer, or distribute in any way the digital or 3D printed versions of this object, nor any other derivative work of this object in its digital or physical format (including - but not limited to - remixes of this object, and hosting on other digital platforms). The objects may not be used without permission in any way whatsoever in which you charge money, or collect fees.


Comment & Rating (26)