


Print Profile(1)

Bill of Materials


Description
For Non-Commercial, Personal User Only
You are permitted to download and use this model for your own personal projects only. You may not distribute, sell, or share the digital files of this model with others, nor create and sell physical objects based on this model in its current, modified or adapted form.
About This Model
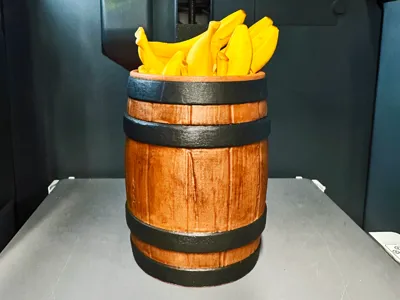
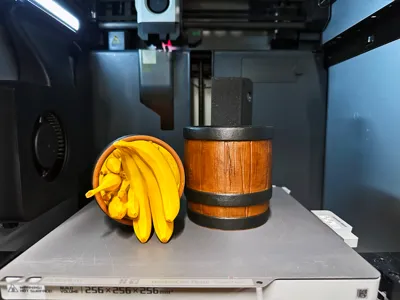
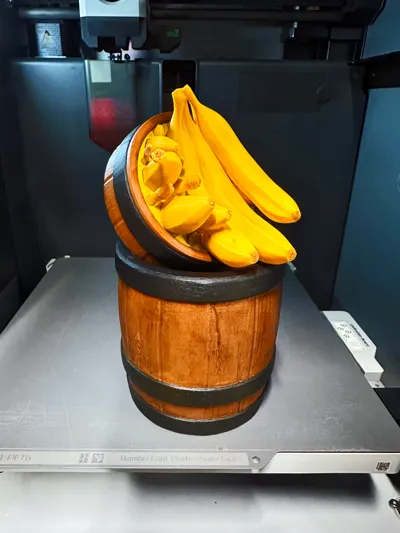
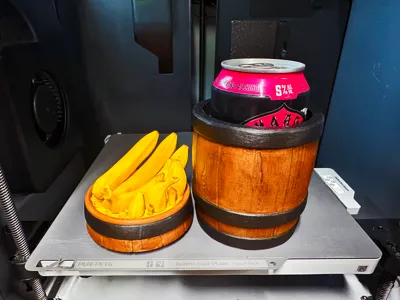
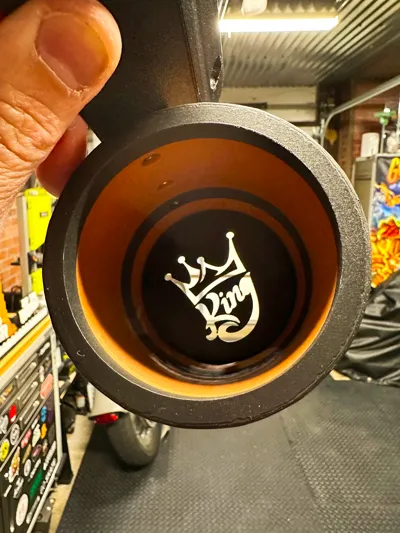
If you have a Stern King Kong pinball machine, and like to quench your thirst while wreaking havoc, this Banana filled Wood Barrel cup holder is for you! There are plenty of features in my pinball leg cup holder which allows it to not only function great, but makes it look amazing on your machine when it's not in use.
- Integrated 8mm x 2mm magnets which secure the lid to the bottom when in use.
- Drainage holes (King Logo) to allow cleanup / cleaning without unbolting from the machine.
- Single AMS friendly print which looks amazing fresh out of the printer.
- Two mounting bracket types to provide more / less clearance between flipper button and beverage.
Get Ready To Print
The print profile here has a total of four plates, but you only need to use 3 depending on the mounting bracket you want. Both the Wood Barrel and Banana Lid have been printed numerous times using Bambu PLA in Basic, Matte and Wood varieties. The Mounting Bracket really requires Bambu PETG HF or stronger. I've had great results using PETG CF, which blends in with the black powder coat on the pinball leg perfectly.
Plate 1 - Barrel
- This build plate has a built in pause on Layer 17 to allow the 8mm x 2mm magnets to be inserted into the base of the model. These magnets allow the lid to be secured to the bottom when the cup holder is in use.
- This plate requires two different types / colors of filament for both the wood barrel as well as the metal rings.
- Be gentle when removing the barrel from the build plate so you don't damage the “King” logo on the bottom.
Plate 2 - Banana Lid
- This build plate has a built in pause on Layer 17 to allow the 8mm x 2mm magnets to be inserted into the base of the model. These magnets allow the lid to be secured to the bottom when the cup holder is in use.
- This plate requires the same two types / colors of filament from the barrel plus the yellow you want to use for the bananas.
- Normal / Snug Supports are painted around the underside lip of this part.
Plate 5 - Short Bracket (Option #1)
- This bracket should be printed in PETG, PETG CF, or even ABS as it will take the brunt of any force when the cup holder is installed.
- There are Normal (Manual) / Painted supports under the upward angled section.
Plate 6 - Long Bracket (Option #2)
- If you would like more clearance between the cup holder and flipper button, use this version of the bracket.
- This bracket should be printed in PETG, PETG CF, or even ABS. It will take the brunt of any force when the cup holder is installed.
- There are Normal (Manual) / Painted supports under the upward angled section.
Assemble The Model
Assembly is very straightforward and requires the use of M3 sized fasteners to secure the cup holder body to the bracket prior to mounting on your machine. If you do not have the M3 hardware, I found this assortment (Amazon) to be useful for numerous projects here.
- Cup Holder + Bracket - Going from inside the back of the Wood Barrel, push an M3-16 Hex Button Head Screw, along with an M3 washer (or two depending on your tolerances), through the hole and into corresponding hole in the bracket. Place an M3 Nut into the matching shaped hole in the backside of the bracket and secure the screw into it. Repeat the above for all three mounting holes.
- Full Assembly To Leg - The leg bolts that came with your machine should be plenty long enough to secure your new cup holder. Make sure you brace your machine appropriately prior to removing both bolts for installation.
About The Model Photos
The cup holder in the photos, for those wondering, was printed using Bambu PLA Basic Brown and Matte Charcoal, and then aged using a some model washes before a matte gloss clear coat was applied. The same technique was applied to the Bananas after printing in Bambu PLA Basic Sunflower Yellow.
License
You shall not share, sub-license, sell, rent, host, transfer, or distribute in any way the digital or 3D printed versions of this object, nor any other derivative work of this object in its digital or physical format (including - but not limited to - remixes of this object, and hosting on other digital platforms). The objects may not be used without permission in any way whatsoever in which you charge money, or collect fees.
Comment & Rating (19)