


Print Profile(2)


Description
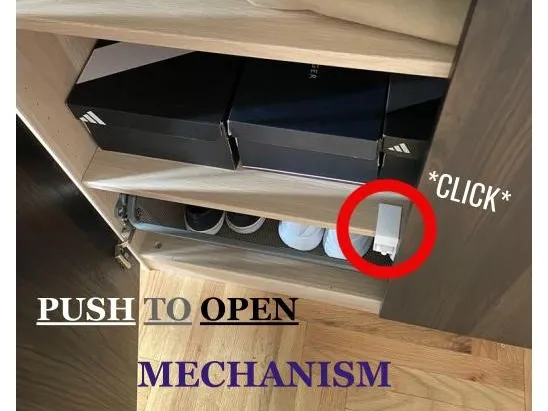
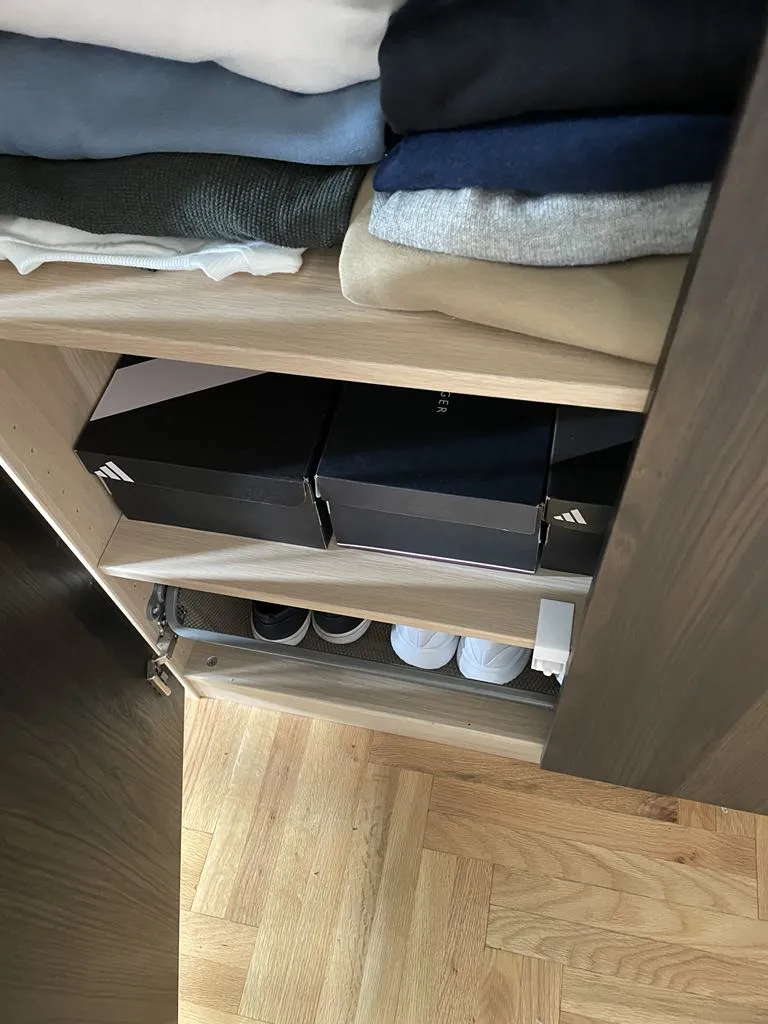
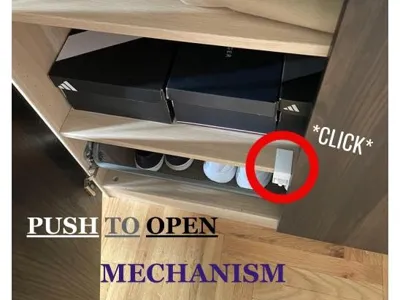
Tired of boring closet door handles? Upgrade to a sleek, modern aesthetic with this easy-to-print Push-to-Open Closet Door Mechanism! A simple press is all it takes for your door to pop open smoothly. Perfect for a minimalist look or for doors where handles are impractical.
Key Features:
- Ultra-Simple Design: Consists of just a few printed parts and assembles in under a minute!
- No Extra Hardware Needed: Forget screws or special fasteners for assembly. This design cleverly uses what you already have.
Eco-Friendly & Resourceful: Primarily designed to use springs salvaged from old ballpoint pens! If you're like me, you never throw out a good spring when a pen runs out of ink. If not, now's the time to start saving them! ;)
(or a cheap pack of pens will do the trick)
Click here for the adjustable mount!
Boost Me (for free)
Please consider boosting this model if you like it!:)
Spring Configuration:
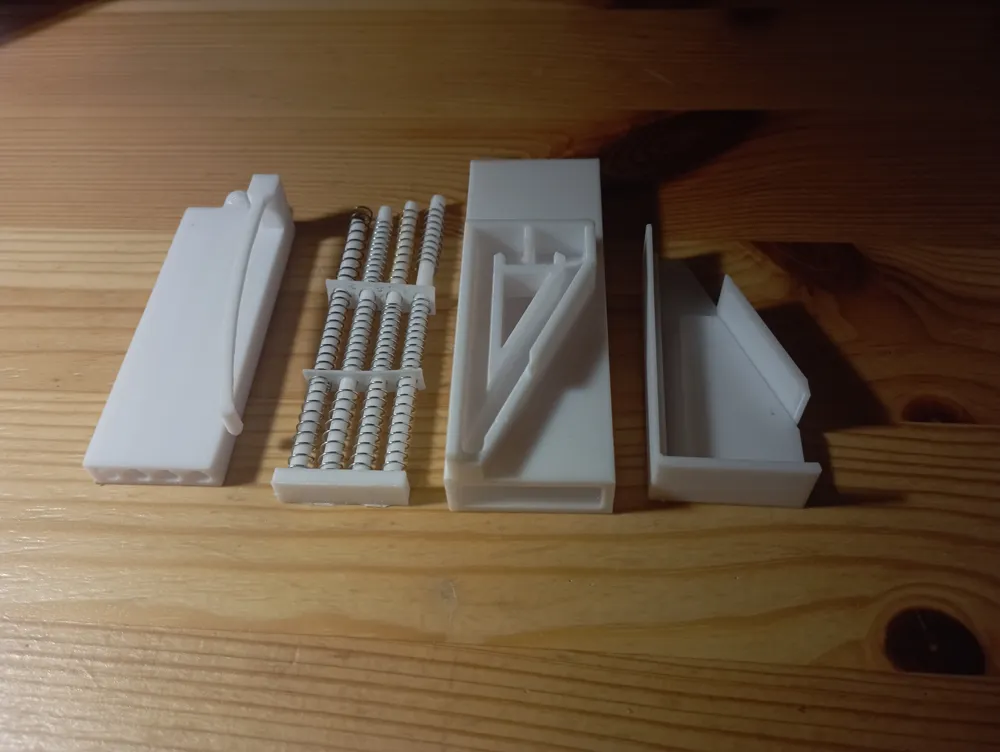
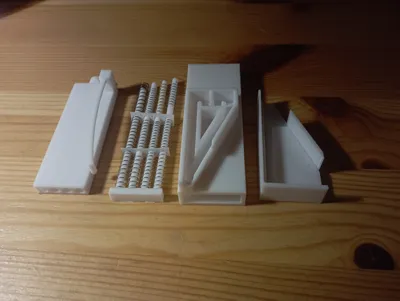
- The mechanism features 4 rods for springs. You can customize the "push" strength by varying the number of channels of springs used. For lighter doors, one or two channels might be sufficient. For my heavy closet door, I used springs in all 4 channels.
- On each rod, the springs should be stacked onto each other with the separator sheets between them. I recommend putting a sheet at the end too, to prevent the springs from slipping into the Push Button. Each row of springs should add up to about 55-65 mm relaxed and around 12-20 mm compressed.
- I have spent countless hours calculating the perfect lengths but you don't have to: just stack three springs onto each rod and try the mechanism, if it doesn't work, trim the ends of the springs. They don't add much to the pushing strength anyway.
Tips:

- For best results, try gently bending the ‘rod’ of the Push Button downwards after printing.
- You may need to clean up the rod’s path after removing supports to ensure smooth movement.
- Since the model is printed in PLA, the bending rod will wear out eventually. In that case you can print that part again and continue to use the mechanism.
Assembly:
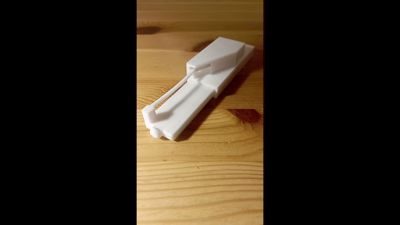
- Stack your springs onto the Spring Holder with the separator sheets in between.
- Insert the spring holder into the main Body.
- Insert the Push Button into the Body while adjusting the spring holder rods to slide into the dedicated holes.
- Pop the ‘rod’ of the Push Button into its path.
Installation:
Here is the model of the simple, adjustable mount I uploaded: Adjustable Mount for Push to Open Mechanism

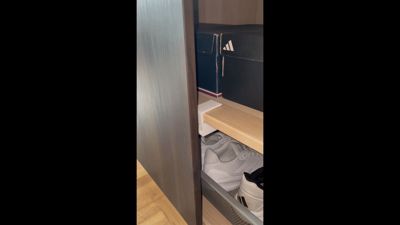
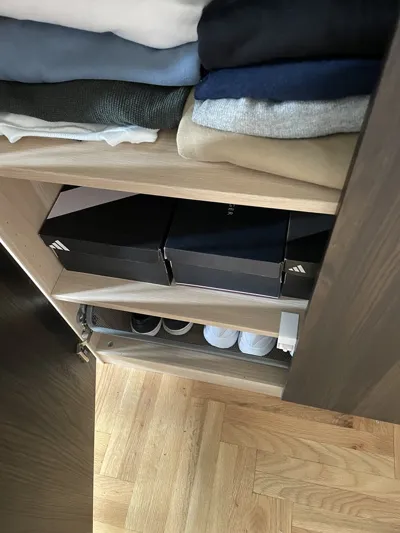
Otherwise, the main body can be mounted to the inside of your closet frame using strong double-sided adhesive tape (e.g., 3M VHB) or by drilling small pilot holes and using appropriate screws (model does not currently include screw holes). Position the mechanism so that when the closet door is closed, the Push Button is in the retracted state. When you press the door, the mechanism will release and push the door slightly ajar.
Optional: For smoother operation or to protect your door finish, you can place a small, smooth 'strike plate' (e.g., a piece of smooth tape or thin plastic) on the door where the mechanism makes contact (although, it is unlikely that the door would be damaged).
Please share your makes and don't hesitate to ask if you need help with anything. Happy printing!
License

You shall not share, sub-license, sell, rent, host, transfer, or distribute in any way the digital or 3D printed versions of this object, nor any other derivative work of this object in its digital or physical format (including - but not limited to - remixes of this object, and hosting on other digital platforms). The objects may not be used without permission in any way whatsoever in which you charge money, or collect fees.


Comment & Rating (6)